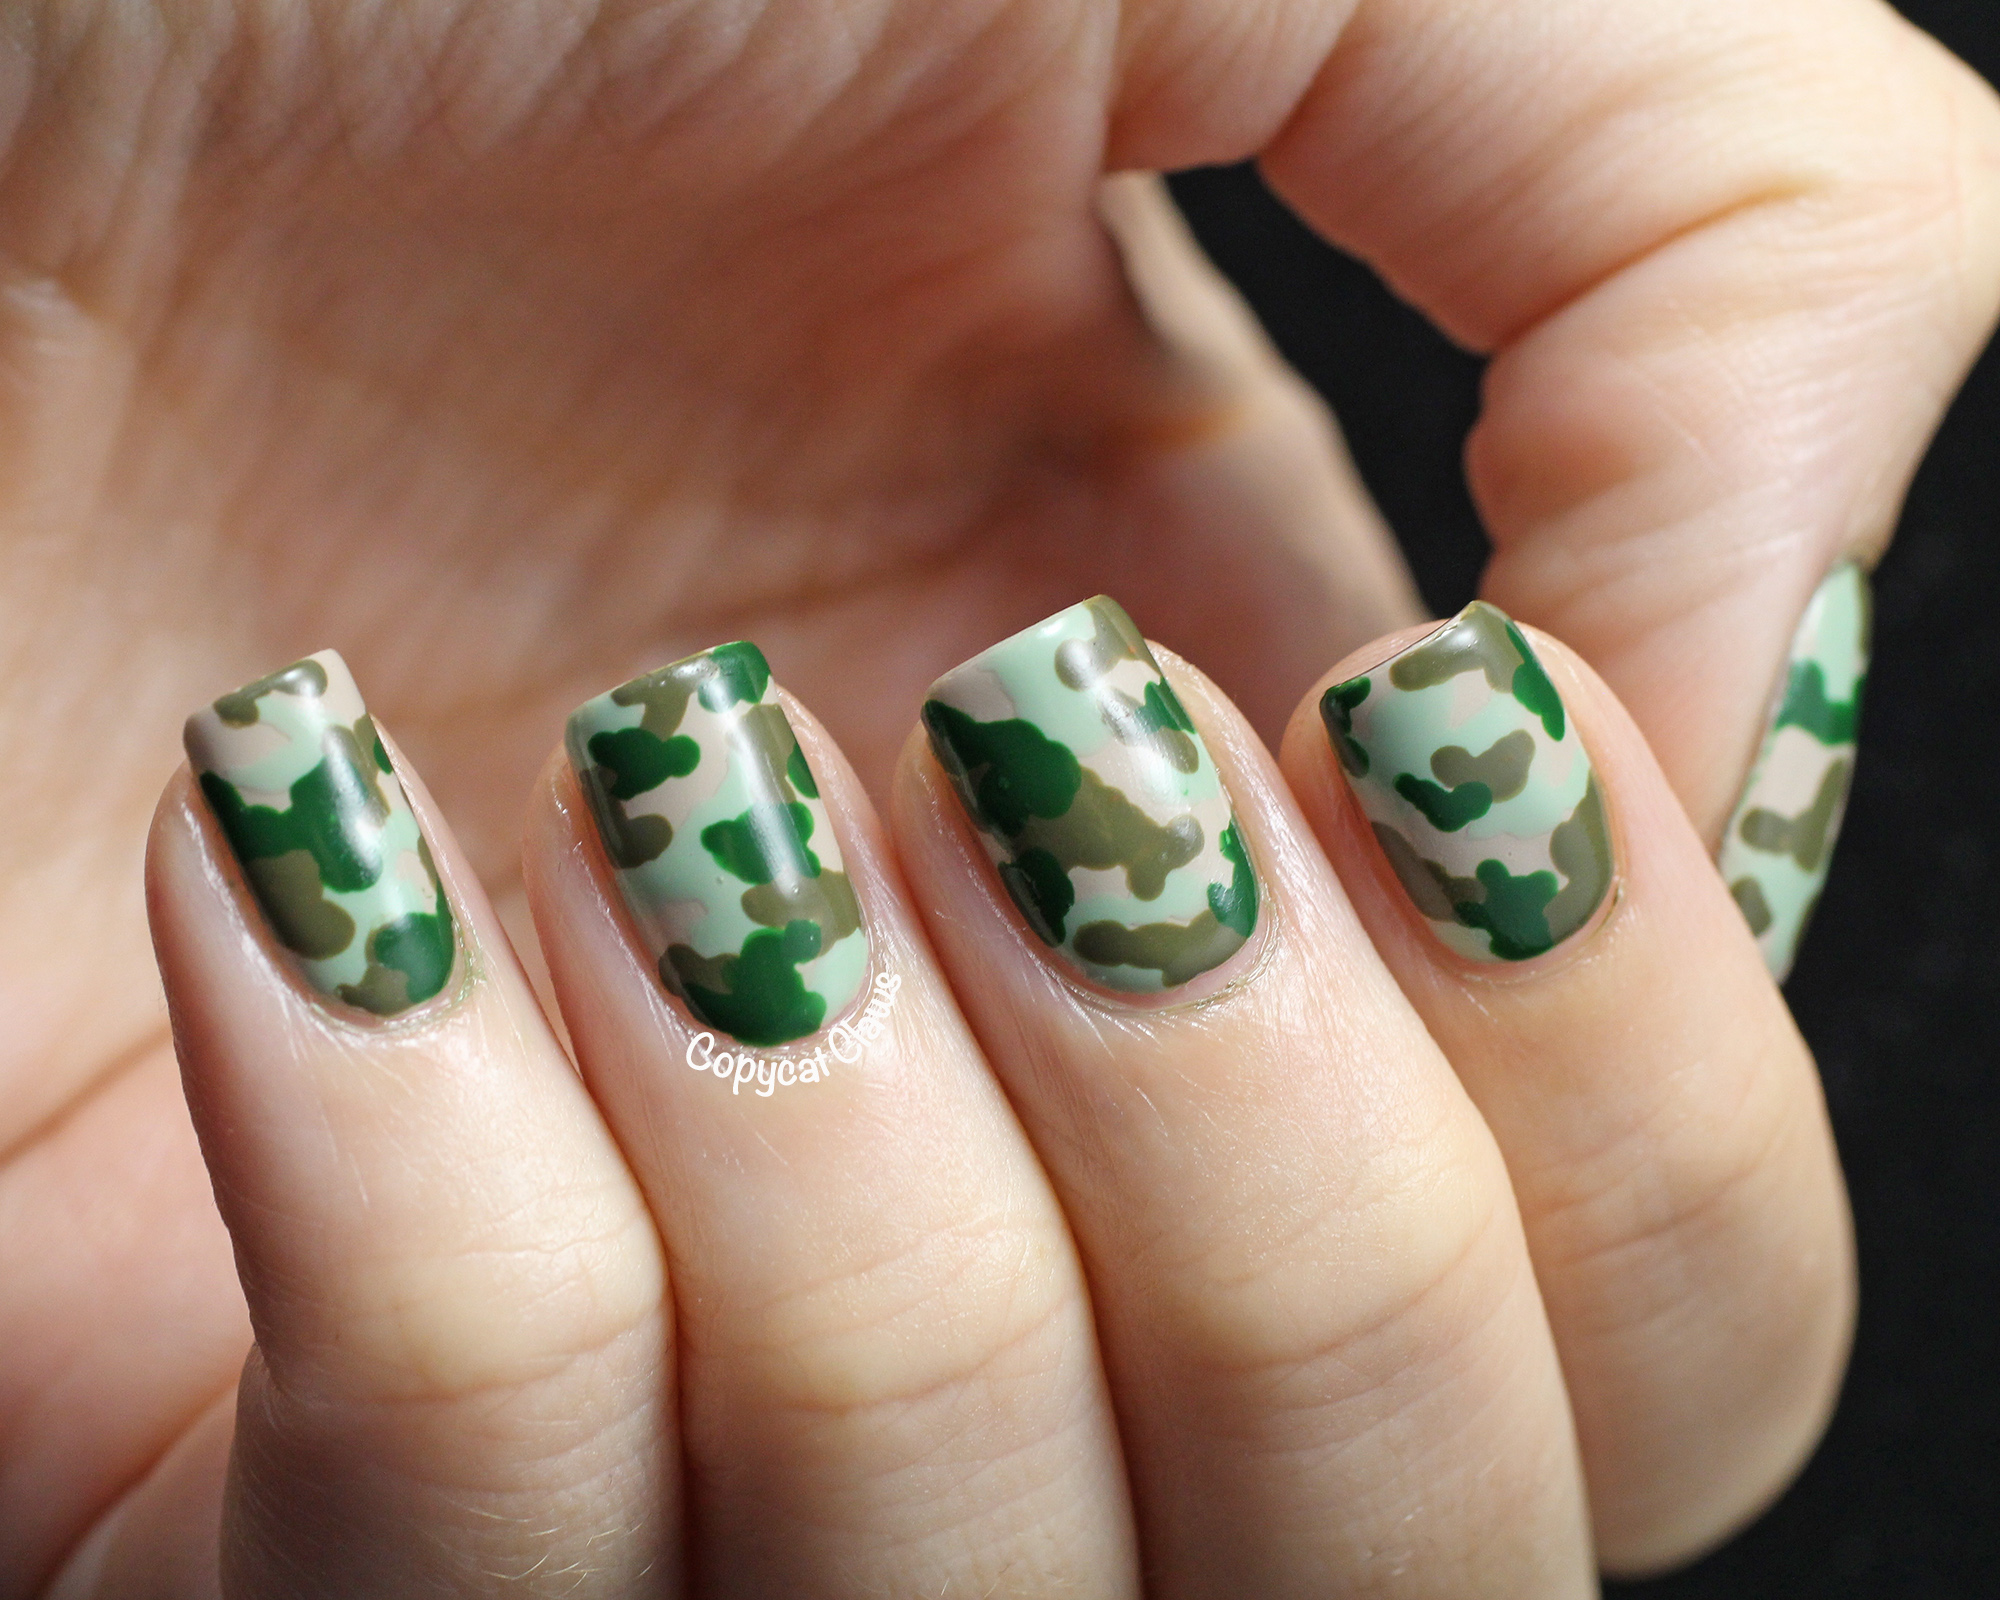
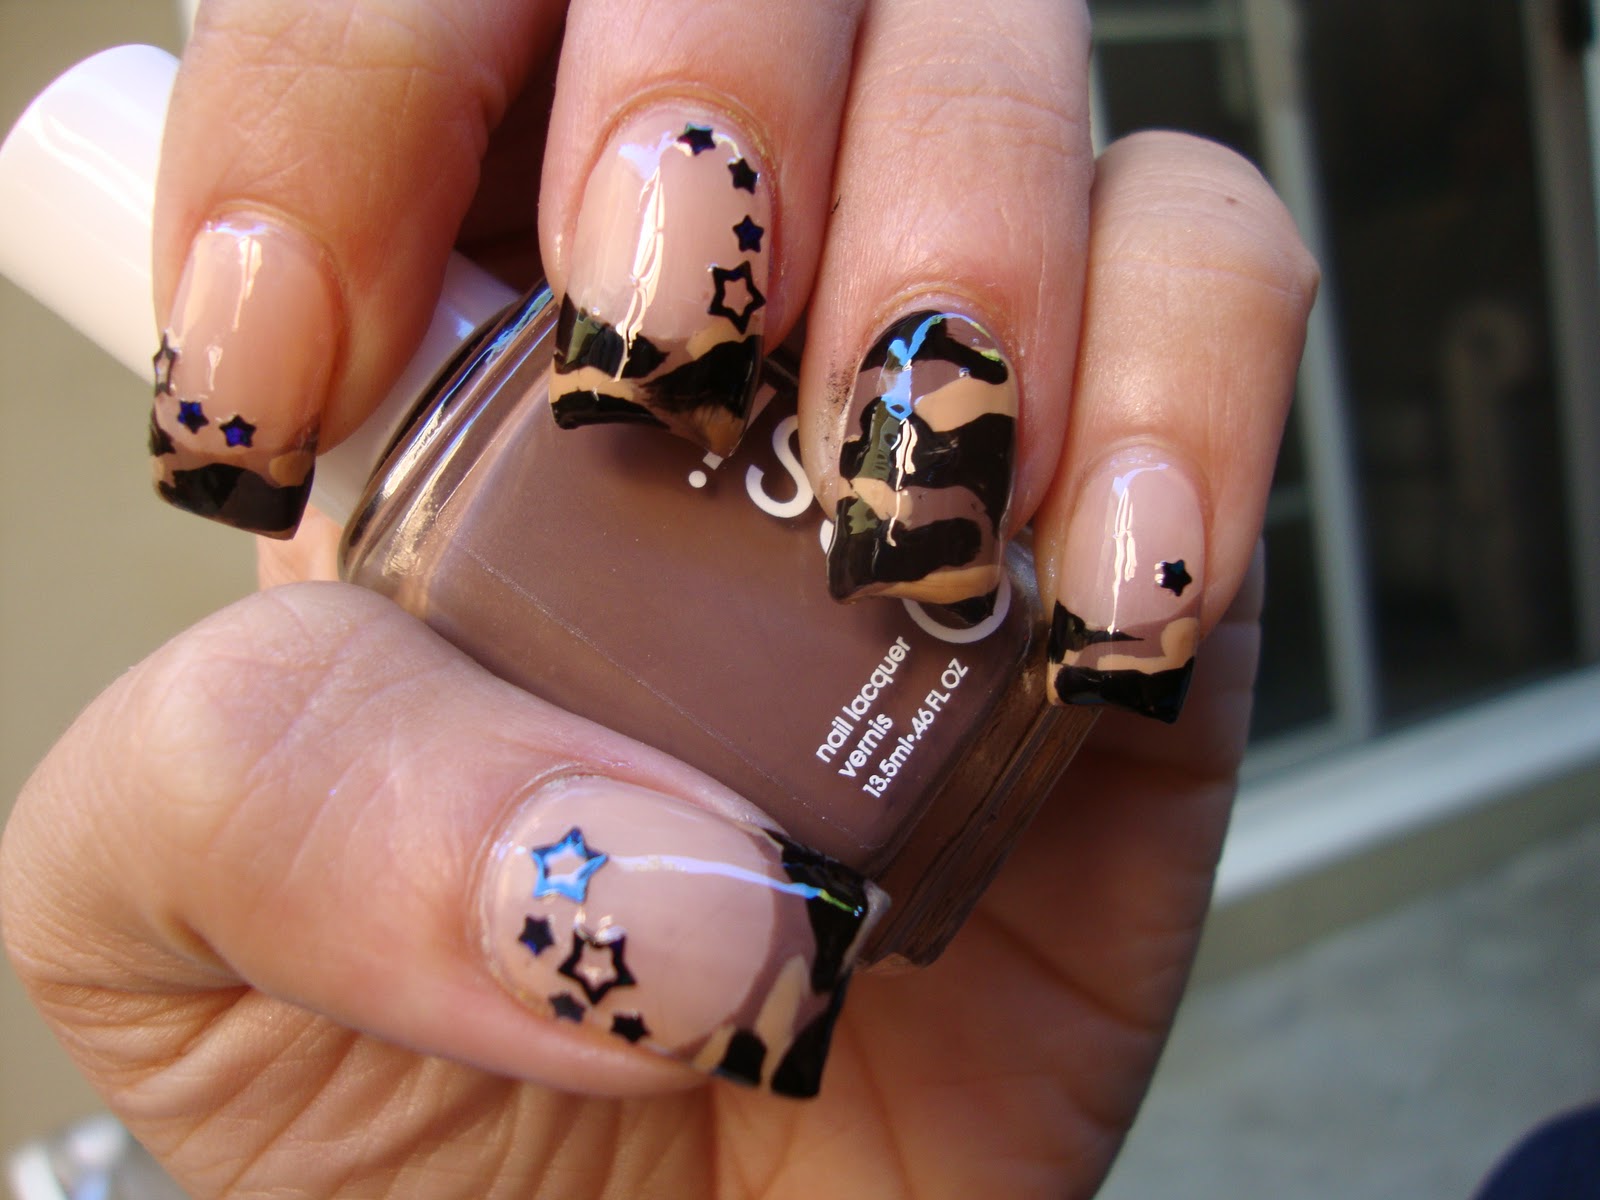
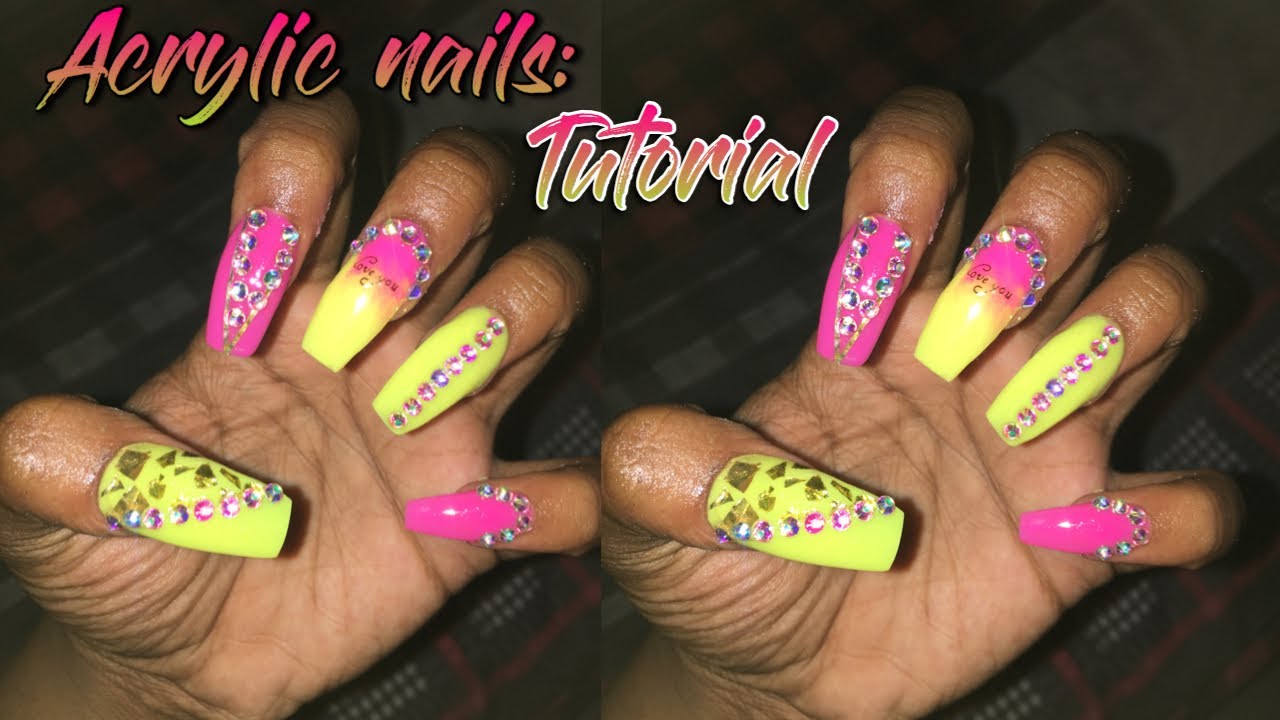
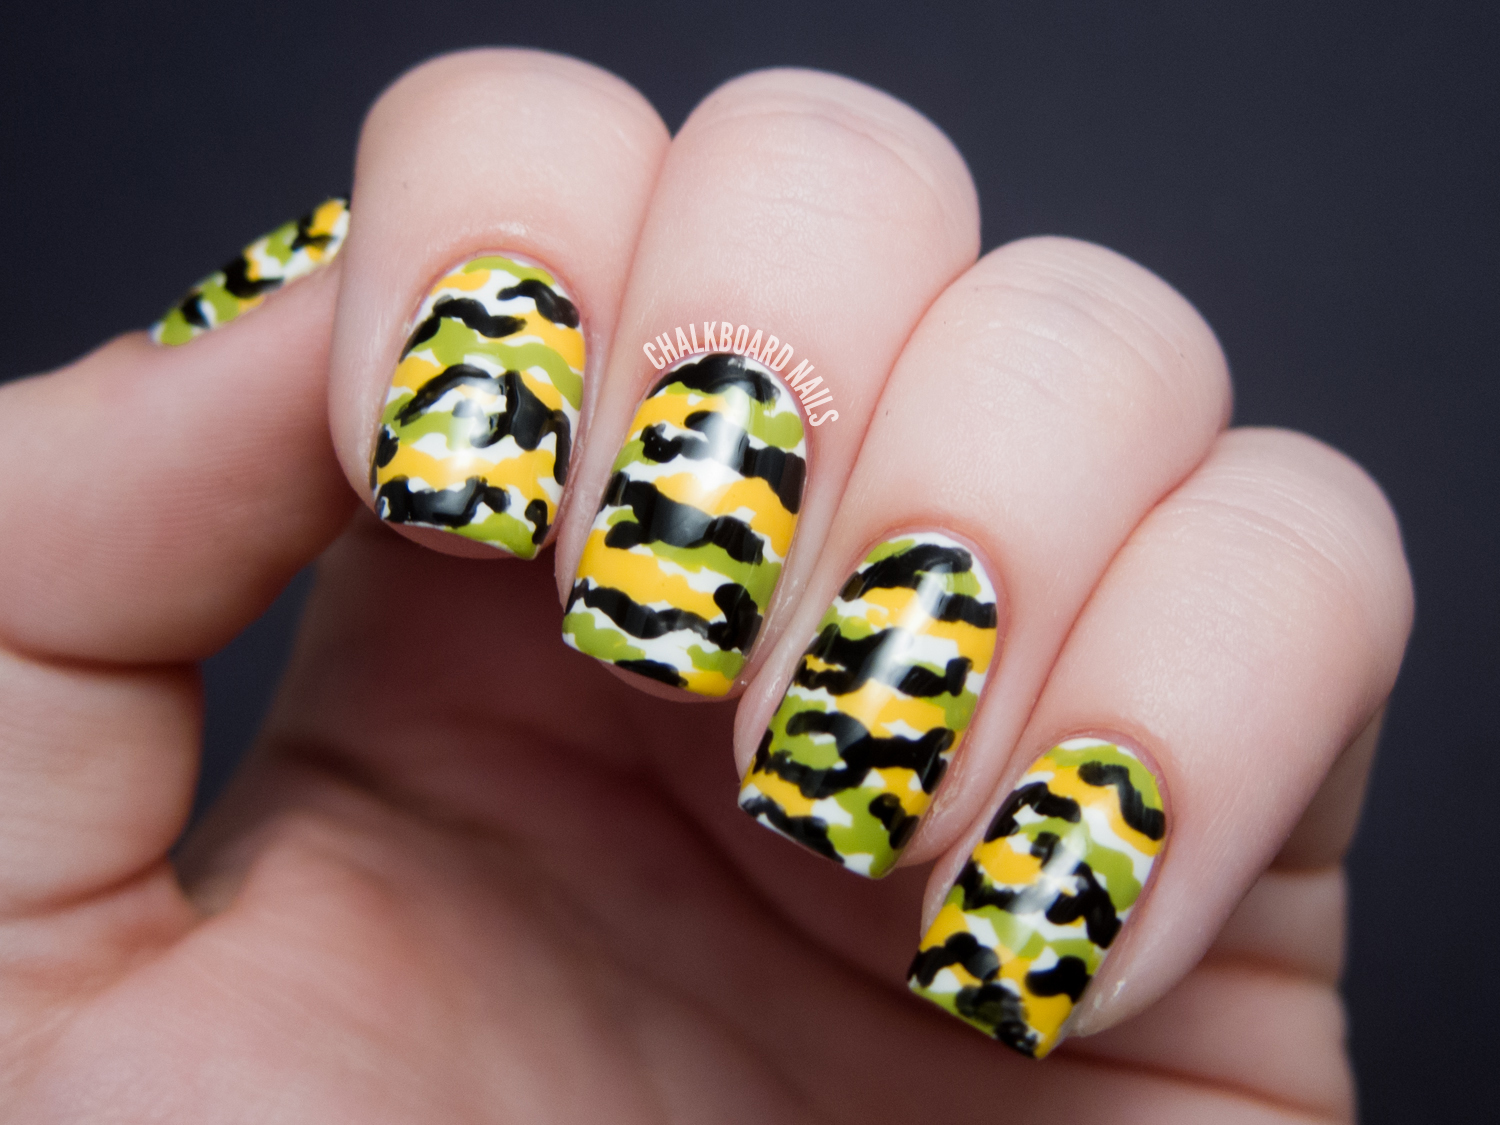
Acrylic nails are a popular choice for those looking to add some length and strength to their natural nails. And with the rise of camo fashion, it's no surprise that camo acrylic nails have become a must-have for nail enthusiasts. These nails feature a camouflage print, making them the perfect accessory for any outdoor event or military-inspired look. There are many different ways to achieve camo acrylic nails, from using nail wraps to hand-painting the design. The best part? You can customize the colors and pattern to make it unique to your style. So let's dive into the top 10 camo acrylic nail designs that will make a statement and elevate your nail game!1. Camo Acrylic Nails


1. Camo Acrylic Nails


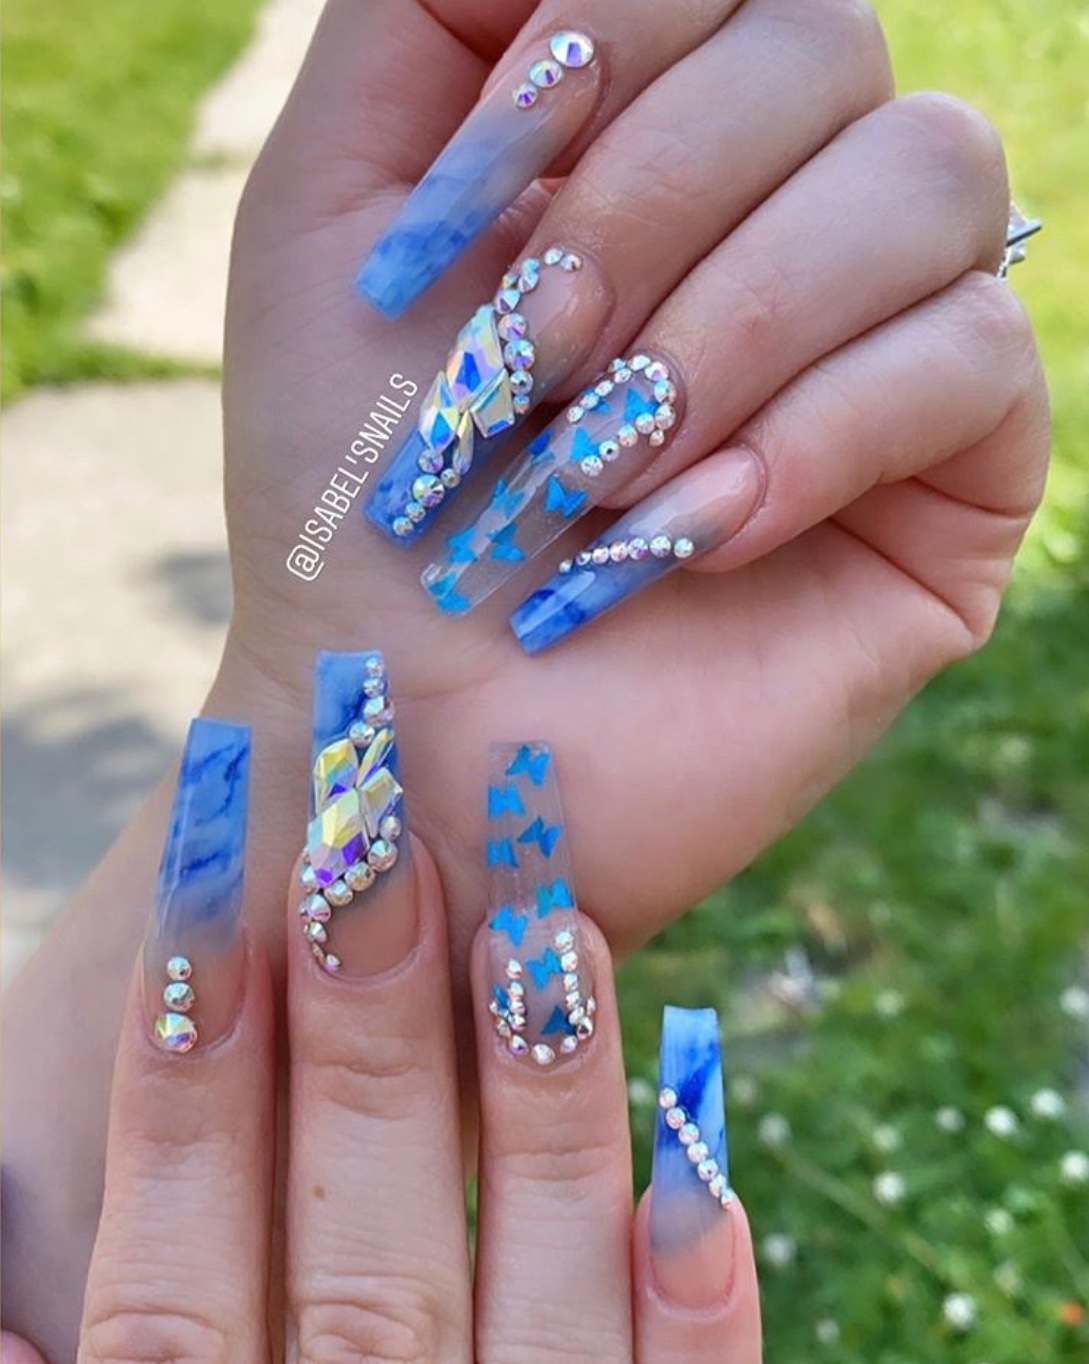
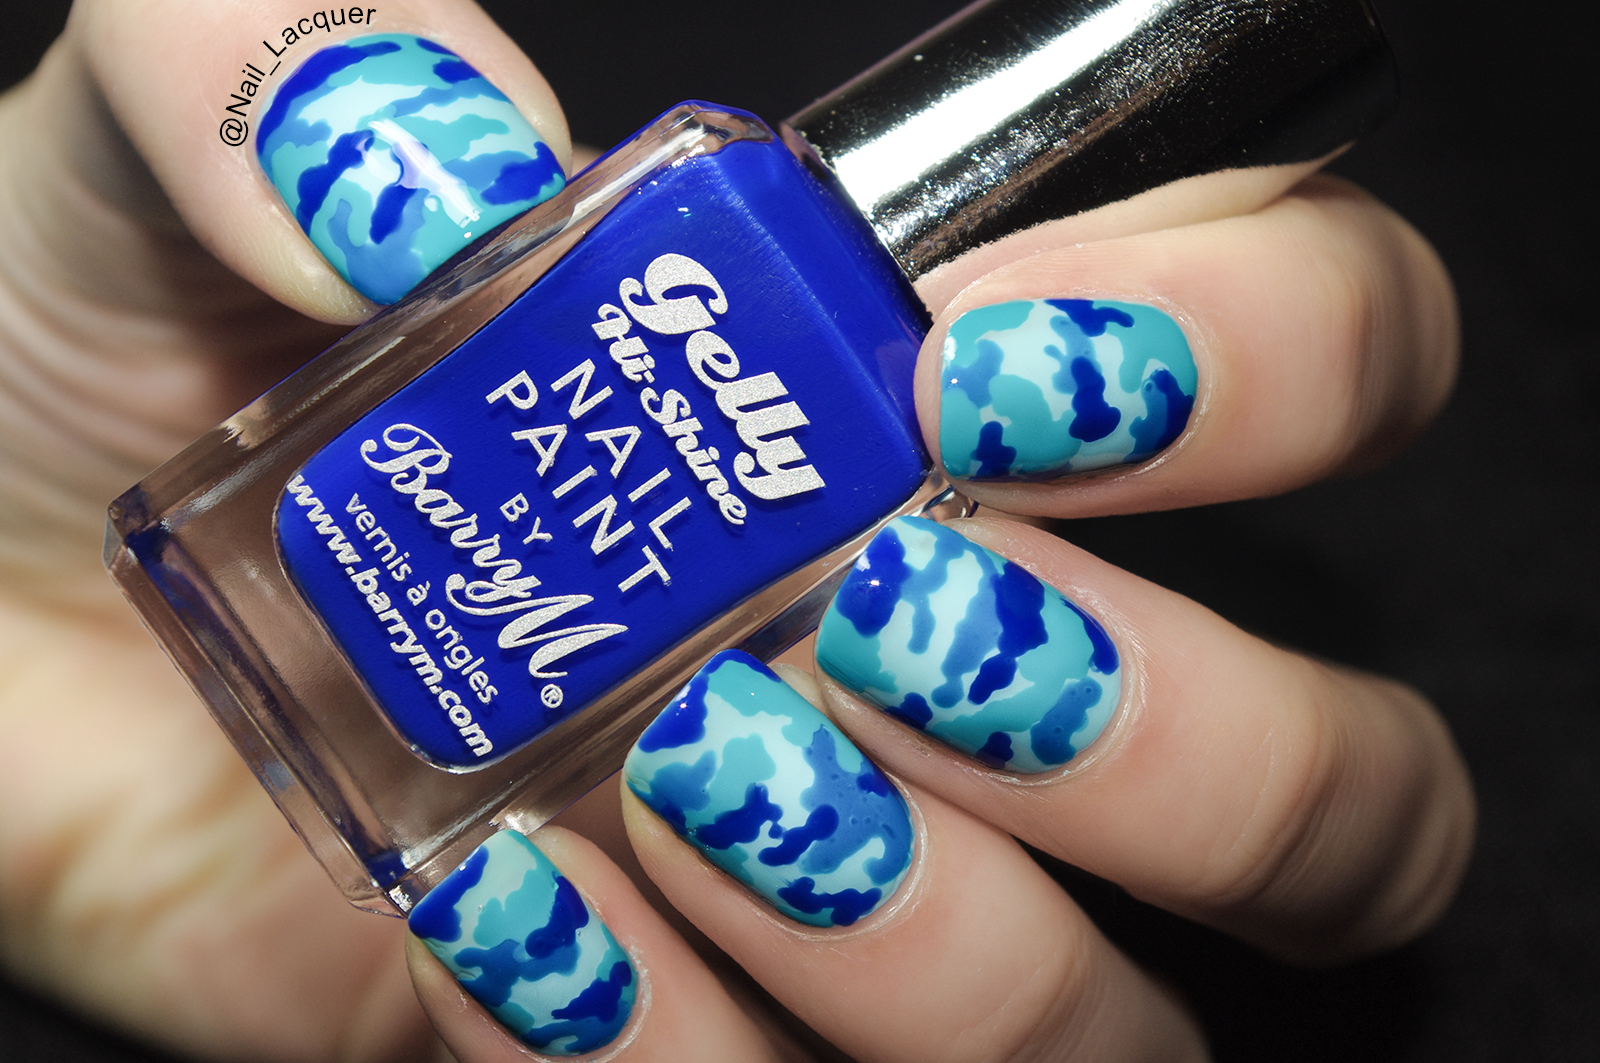
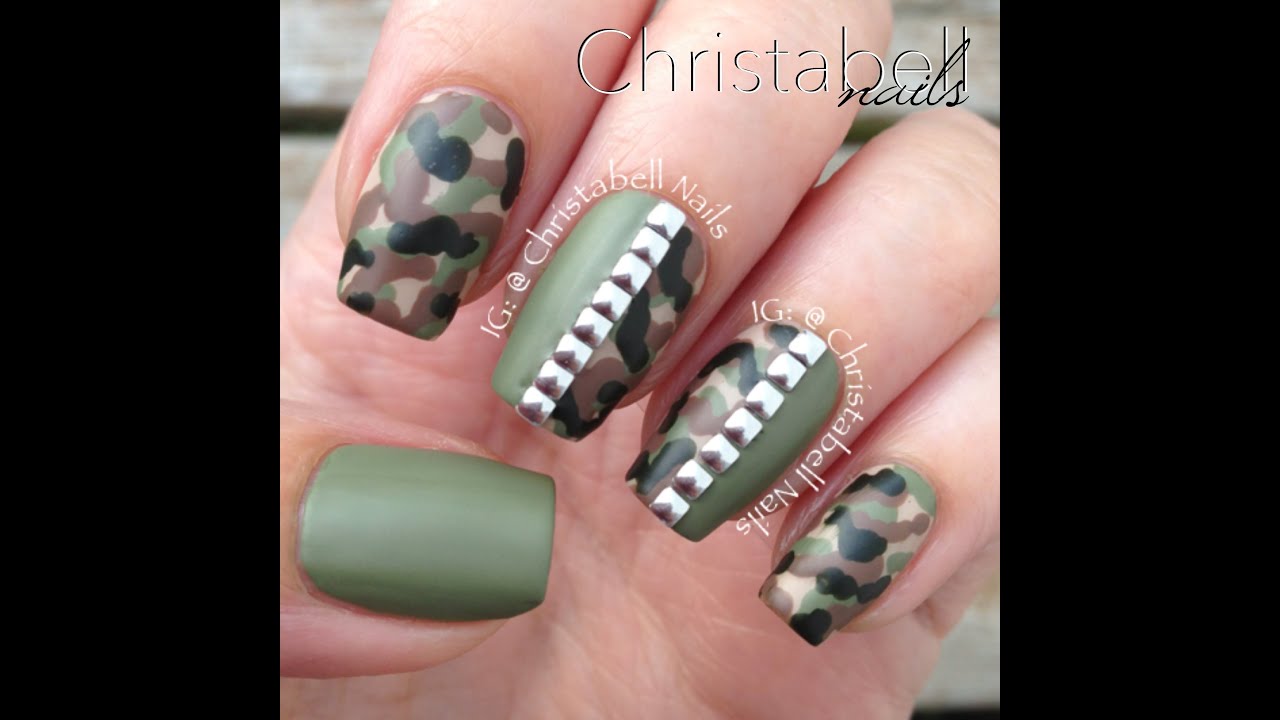
The beauty of camo nail designs is that there are endless possibilities and combinations to create a unique and eye-catching look. You can go for a classic green and brown camo, or switch it up with different color combinations like pink and black or blue and gray. You can also play around with the size and shape of the camo print, from small and subtle to bold and oversized. Camo nail designs also look great on any nail shape, from short and square to long and almond. You can even mix and match different camo designs on each nail for a playful and fun look. So get creative and have fun with your camo nail designs!2. Camo Nail Designs


2. Camo Nail Designs


Acrylic nail art allows for intricate and detailed designs, making it the perfect medium for camo nail art. You can create a realistic camo print by hand-painting each nail with different shades of green and brown, or you can use a camouflage stencil to achieve a more uniform look. You can also incorporate other elements into your camo acrylic nail art, such as glitter, rhinestones, or 3D decals. These will add some extra sparkle and texture to your nails and take your camo design to the next level.3. Camo Acrylic Nail Art


3. Camo Acrylic Nail Art


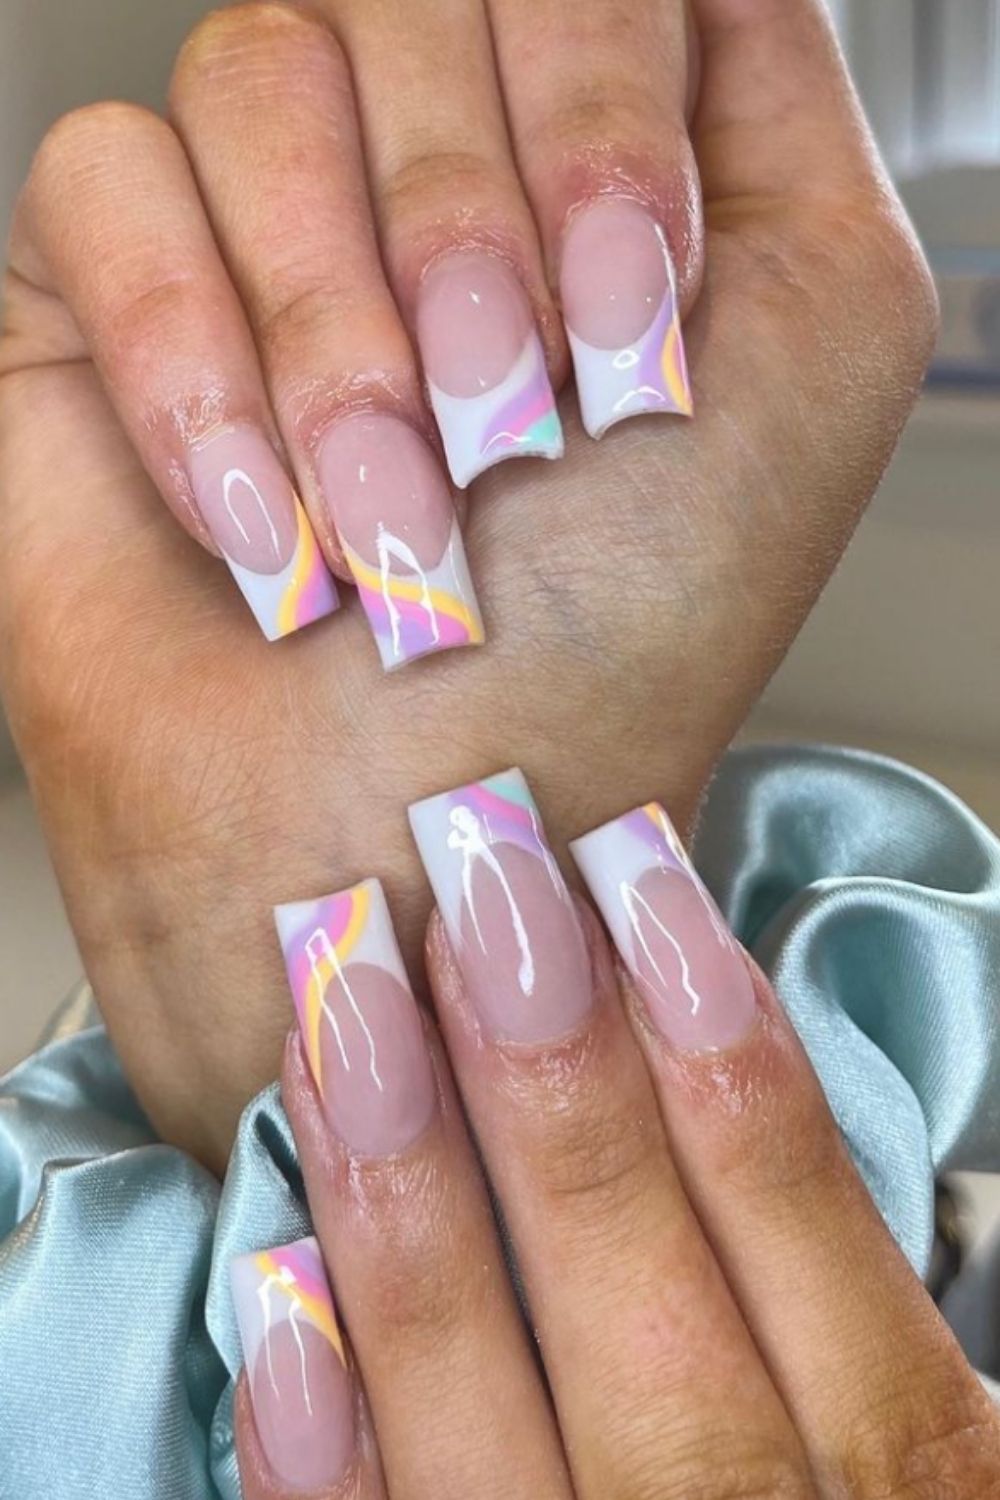
If you're looking for some inspiration for your next camo nail design, we've got you covered. Here are some camo nail ideas to get your creative juices flowing: - Camo French tips: Instead of the traditional white tips, try a camo pattern for a modern twist on the classic French manicure. - Ombre camo: Use different shades of the same color to create an ombre effect on your nails, with the darkest shade at the tip and the lightest at the base. - Camo accent nail: If you're not ready to commit to a full set of camo acrylics, you can still rock the trend with a single camo accent nail on each hand. - Camo and animal print: Combine two bold and edgy prints by incorporating a leopard or zebra print into your camo design. The possibilities are endless, so don't be afraid to experiment and come up with your own unique camo nail ideas.4. Camo Nail Ideas


4. Camo Nail Ideas


Camo nail designs are perfect for acrylic nails because the acrylic material provides a smooth and sturdy surface for intricate designs. Plus, acrylics can be easily shaped and filed to achieve the desired length and shape for your camo nails. If you're not sure how to create camo designs on your acrylic nails, you can always visit a professional nail salon. They will have the expertise and tools to give you the perfect camo acrylic nails that will last for weeks.5. Camo Nail Designs for Acrylics
5. Camo Nail Designs for Acrylics


Here are some tips to help you achieve the best results with your camo acrylic nails: - Prep your nails: Make sure your natural nails are clean and dry before applying acrylics. This will ensure that the acrylic adheres properly and lasts longer. - Choose quality products: Invest in good quality acrylic products to achieve a professional and long-lasting finish. Cheap products may lead to chipping or lifting of the acrylic. - Sealing the design: Once you've created your camo design, seal it with a top coat to protect the colors and prevent them from fading or chipping. - Take care of your nails: To maintain your camo acrylic nails, be gentle with your hands and avoid harsh chemicals that can damage the acrylic or chip the design. Also, regularly moisturize your cuticles to keep your nails healthy and strong.6. Camo Acrylic Nail Tips

6. Camo Acrylic Nail Tips


Camo nail art designs are not limited to just the classic camo pattern. You can also use different techniques and styles to create a unique camo look. Here are some ideas: - Marble camo: Use the water marbling technique to create a swirl of colors that resemble a camo print. - Negative space camo: Leave parts of your natural nail exposed to create a negative space effect with your camo design. - Geometric camo: Use a striping brush to create geometric shapes in different camo colors for a modern and edgy look. - Camo with a twist: Add a pop of color or a metallic accent to your camo design for a unique and eye-catching twist.7. Camo Nail Art Designs


7. Camo Nail Art Designs


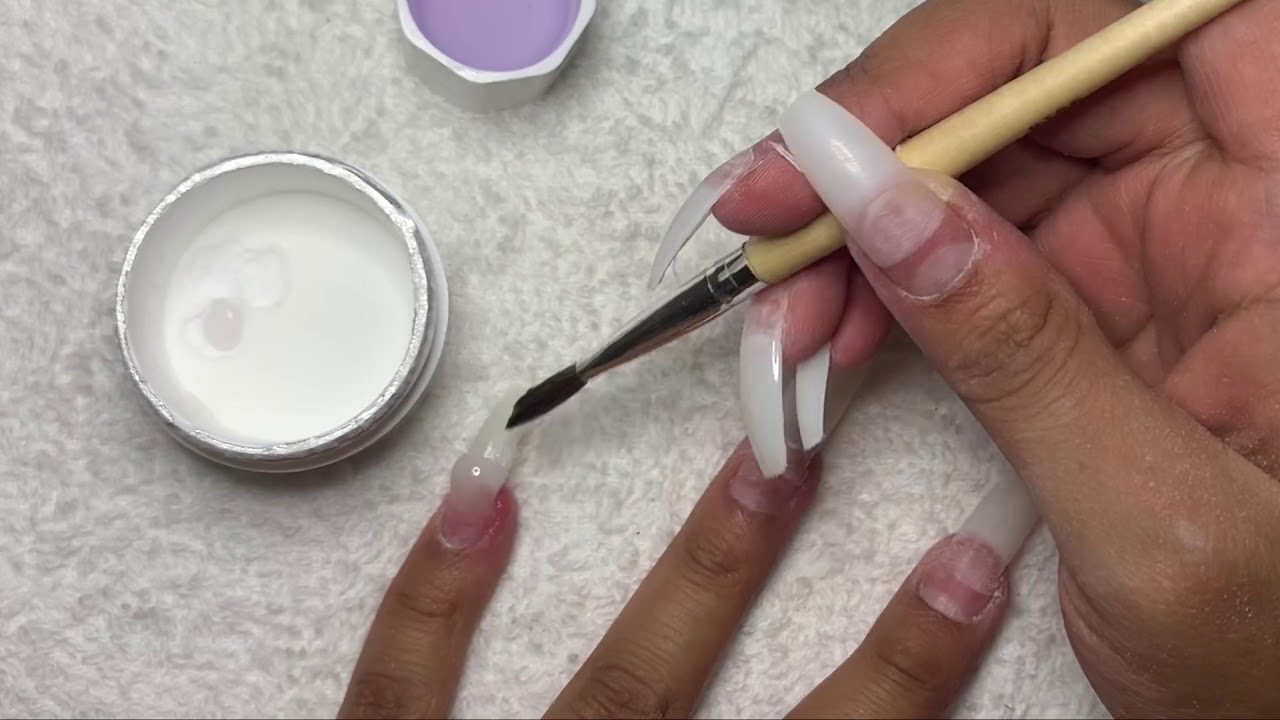
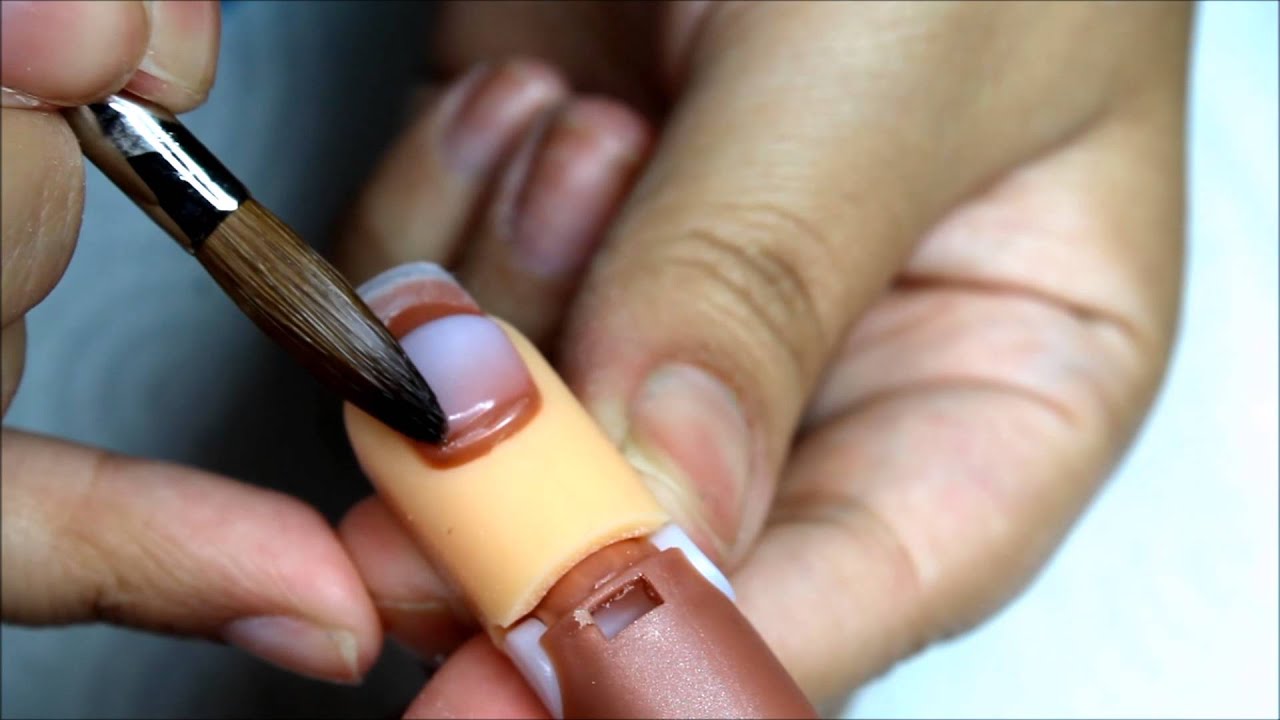
If you're feeling adventurous and want to try creating your own camo acrylic nails at home, here's a simple tutorial to get you started: - Prep your nails by filing and shaping them to your desired length and shape. - Apply a base coat to protect your natural nails. - Apply a layer of green acrylic to your nails using a small brush, leaving some spaces for the brown camo print. - Use a brown acrylic to create the camo print by dabbing the brush randomly on the green base. - Once the design is dry, seal it with a top coat. And there you have it – your very own camo acrylic nails!8. Camo Acrylic Nail Tutorial


8. Camo Acrylic Nail Tutorial


Short nails can also rock the camo trend! If you prefer to keep your nails short, you can still achieve a stunning camo look. Opt for smaller and more intricate camo designs, or focus on one or two accent nails instead of a full set. You can also try different nail shapes, such as square or oval, to make your short nails appear longer and give you more surface to work with for your camo design.9. Camo Nail Designs for Short Nails

9. Camo Nail Designs for Short Nails


If you're new to acrylic nails or nail art in general, don't worry – camo designs are beginner-friendly! Start with a simple camo pattern using two or three colors, and gradually work your way up to more complex designs. You can also use stencils or nail wraps to help you achieve a clean and uniform camo print. Practice makes perfect, so keep experimenting and soon you'll be creating stunning camo acrylic nail designs like a pro! In conclusion, camo acrylic nails are a fun and stylish way to add some edge and personality to your look. With the various design options and techniques available, you can easily customize your camo nails to suit your style and preferences. Whether you're a beginner or a seasoned nail pro, you can rock the camo trend with confidence and make a bold statement with your nails.10. Camo Acrylic Nail Designs for Beginners


10. Camo Acrylic Nail Designs for Beginners
The Latest Trend in Nail Design: Acrylic Camo Nails

What is Acrylic Camo Nail Design?
 Acrylic camo nail design is the latest trend in the world of nail art. It involves using acrylic powder and liquid to create a camouflage pattern on the nails. This design has gained popularity due to its versatility, allowing for endless color combinations and designs. It is perfect for those who want to make a statement with their nails and stand out from the crowd.
How is it Done?
 The process of creating acrylic camo nails involves a few simple steps. First, the nails are prepped by filing and shaping them to the desired length. Then, a base coat is applied to protect the natural nail and create a smooth surface for the acrylic to adhere to. Next, a layer of acrylic liquid is applied to the nail, followed by dipping it into the acrylic powder in a camo pattern of your choice. This process is repeated until the desired look is achieved. Once the acrylic has dried, the nails are filed and buffed to smooth out any rough edges. Finally, a topcoat is applied to seal in the design and give the nails a glossy finish.
Why Choose Acrylic Camo Nails?
 Acrylic camo nail design offers a unique and eye-catching look. With endless color combinations and patterns, you can truly customize your nails to fit your personal style. The design is also long-lasting, making it perfect for those who want low-maintenance nails that will last for weeks. Acrylic nails also add strength and durability to your natural nails, making them less prone to breaking or chipping.
How to Care for Acrylic Camo Nails
 To keep your acrylic camo nails looking their best, it is essential to properly care for them. Avoid using your nails as tools, as this can cause them to break or lift. It is also essential to regularly moisturize your hands and cuticles to prevent dryness and cracking. If your nails do start to lift or break, it is essential to have them professionally removed and replaced to avoid damage to your natural nails.
Final Thoughts
 Acrylic camo nail design is a fun and creative way to express yourself through your nails. Whether you prefer bold and bright colors or a more subtle look, there is a camo design for everyone. With proper care, your acrylic camo nails can last for weeks, making them a perfect choice for any occasion. So why not give this trend a try and see how it can elevate your nail game?


