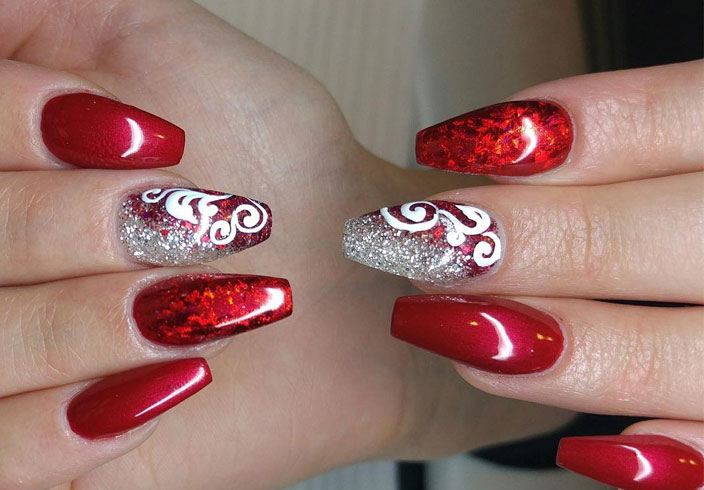
If you're looking for a bold and luxurious nail design, red and gold marble is the way to go. This design combines the rich, deep red color with shimmering gold accents for a glamorous and eye-catching look. The marble effect adds texture and depth to the nails, making them stand out even more. It's a perfect choice for a special occasion or a night out on the town. Plus, it's surprisingly easy to create with the right tools and techniques. To achieve this stunning design, start by painting your nails with a base coat of deep red polish. Once it's completely dry, use a small brush or a toothpick to create swirls and lines of gold polish on top. Don't worry about making them perfect, as the marble effect is meant to be a little messy and abstract. For an extra touch of elegance, you can also add some gold foil or glitter to the mix. Finish off with a top coat to seal in the design and give it a glossy finish. You'll be sure to turn heads with this opulent red and gold marble nail design.Red and Gold Marble Nail Design


Red and Gold Marble Nail Design

:max_bytes(150000):strip_icc()/121020-red-art-nail-designs-lead-2000-d0787e7365f44dfeaa27972ae713d448.jpg)
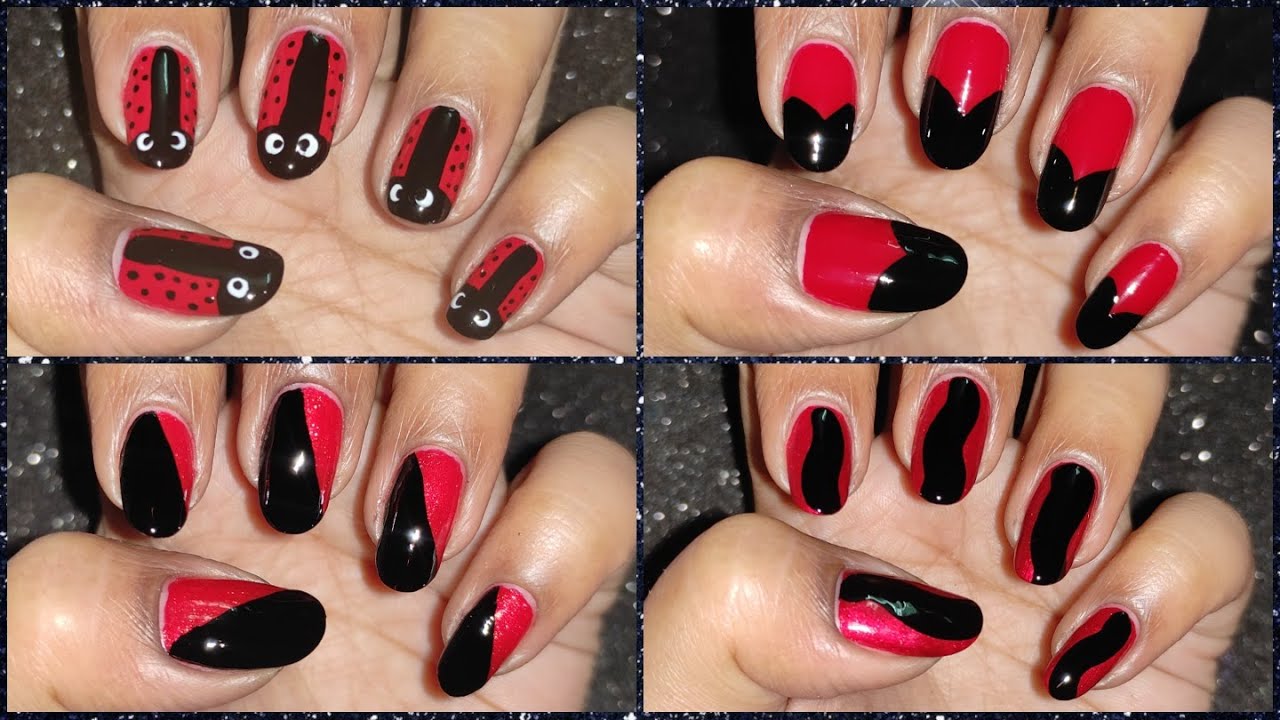
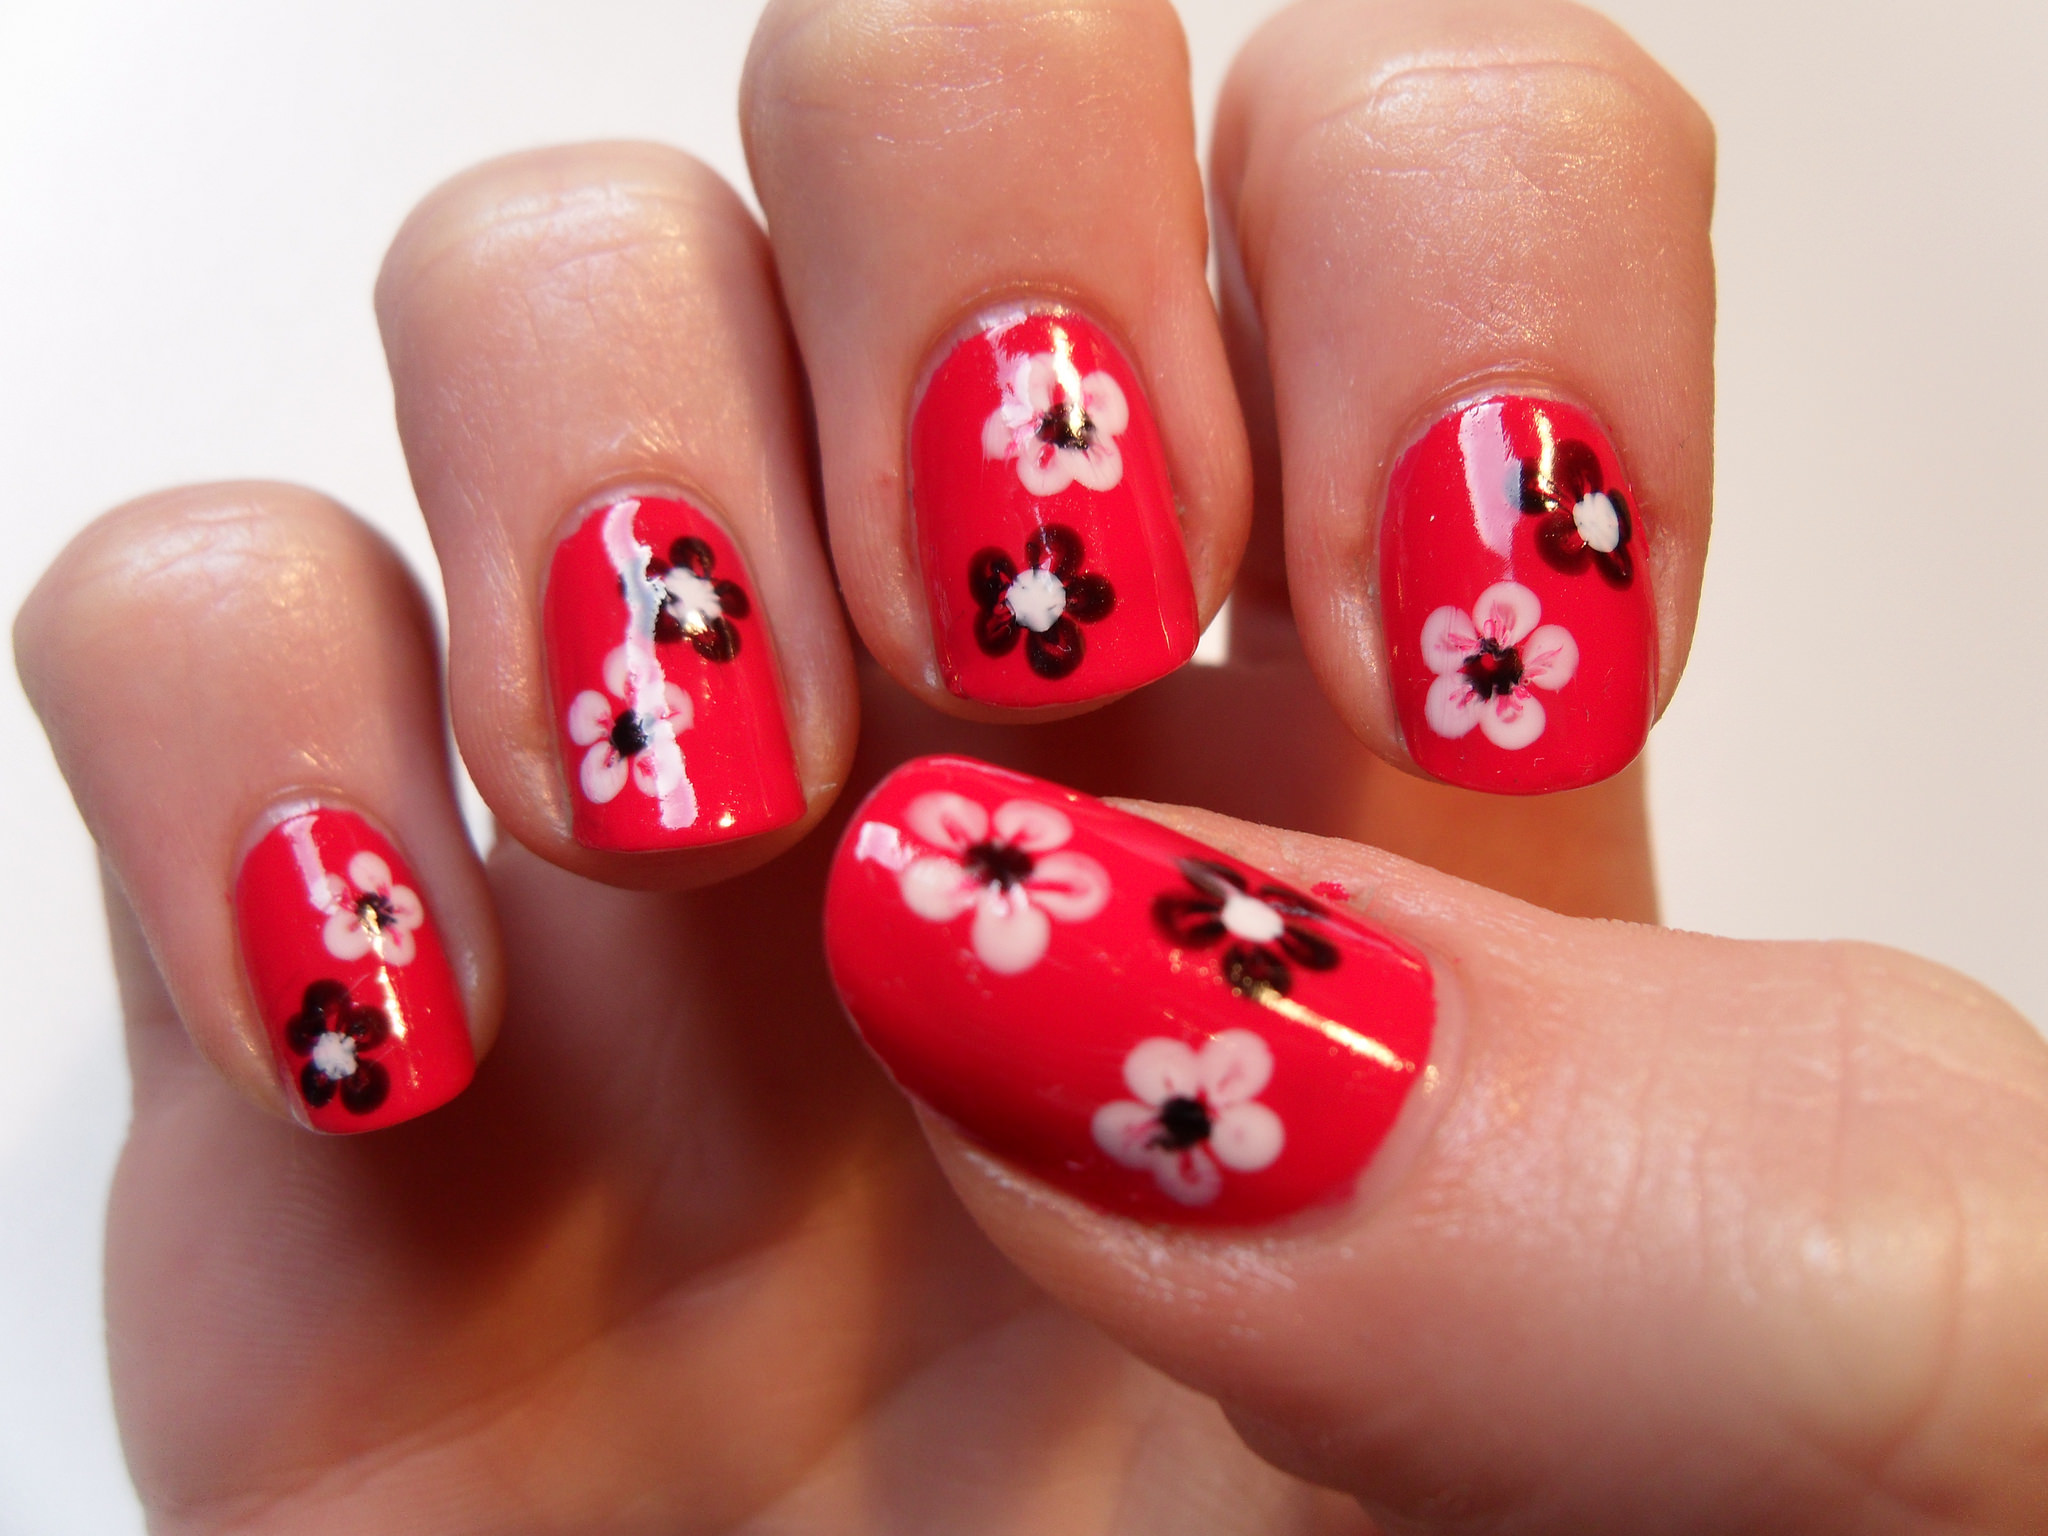
For a fun and playful nail design, look no further than red and white polka dots. This classic pattern is a timeless choice that never goes out of style, and it's incredibly easy to create on your own. Start by painting your nails with a base coat of bright red polish. Once it's dry, use a dotting tool or a toothpick to create white dots all over your nails. You can also use a bobby pin or the end of a makeup brush if you don't have a dotting tool. Vary the sizes and placement of the dots to add some visual interest. For a more dramatic look, you can also add some black or gold dots into the mix. Finish off with a top coat to seal in the design and give it a glossy finish. This adorable red and white polka dot nail design is perfect for any occasion, from a day at the office to a girls' night out.Red and White Polka Dot Nail Design

Red and White Polka Dot Nail Design


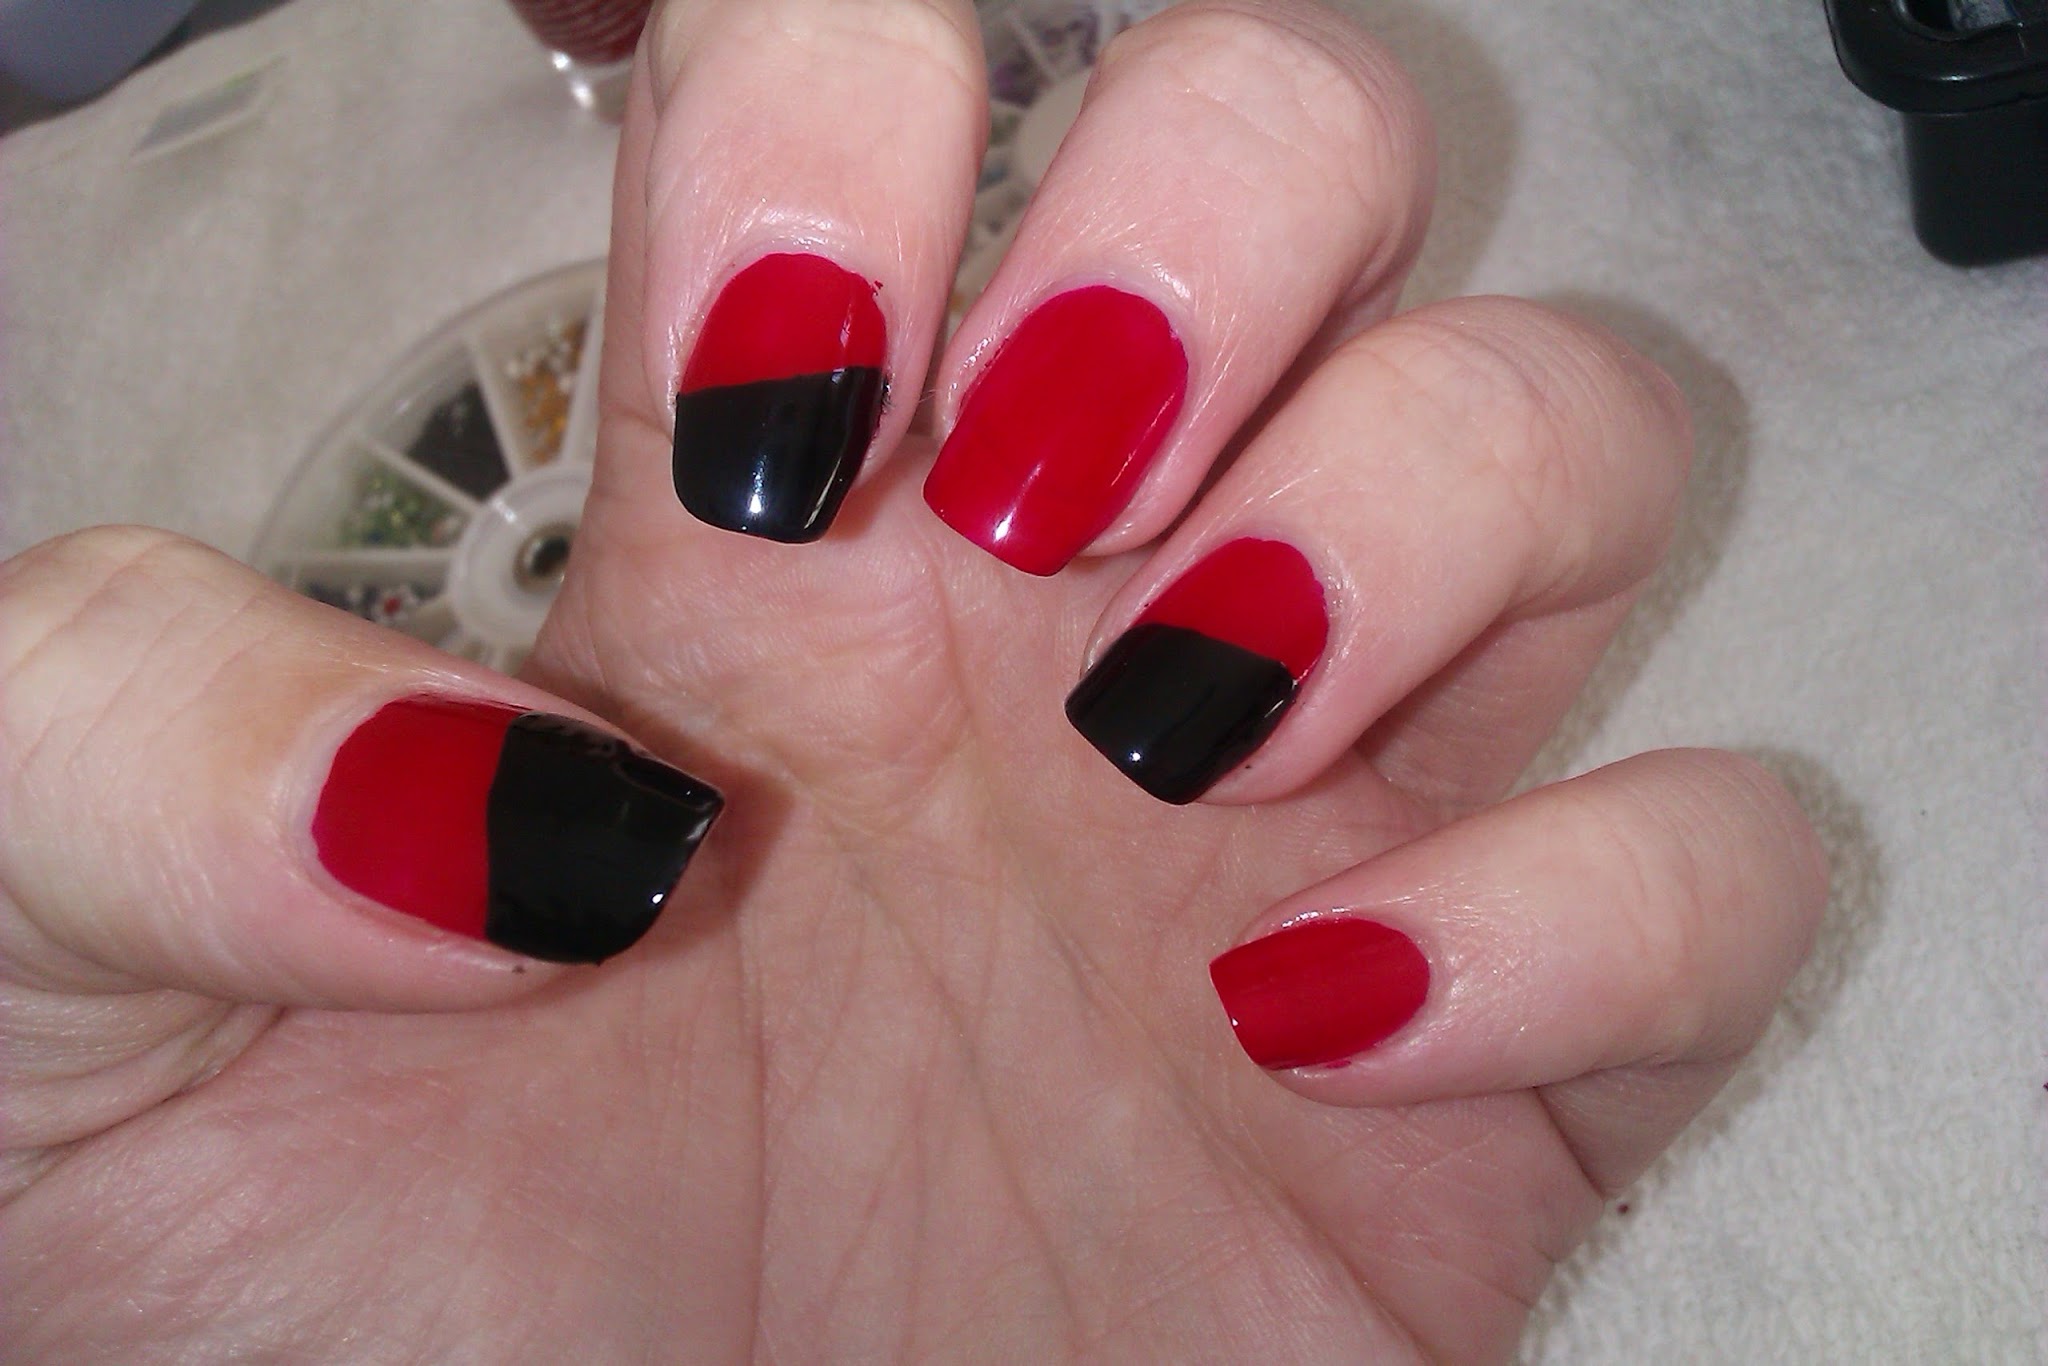
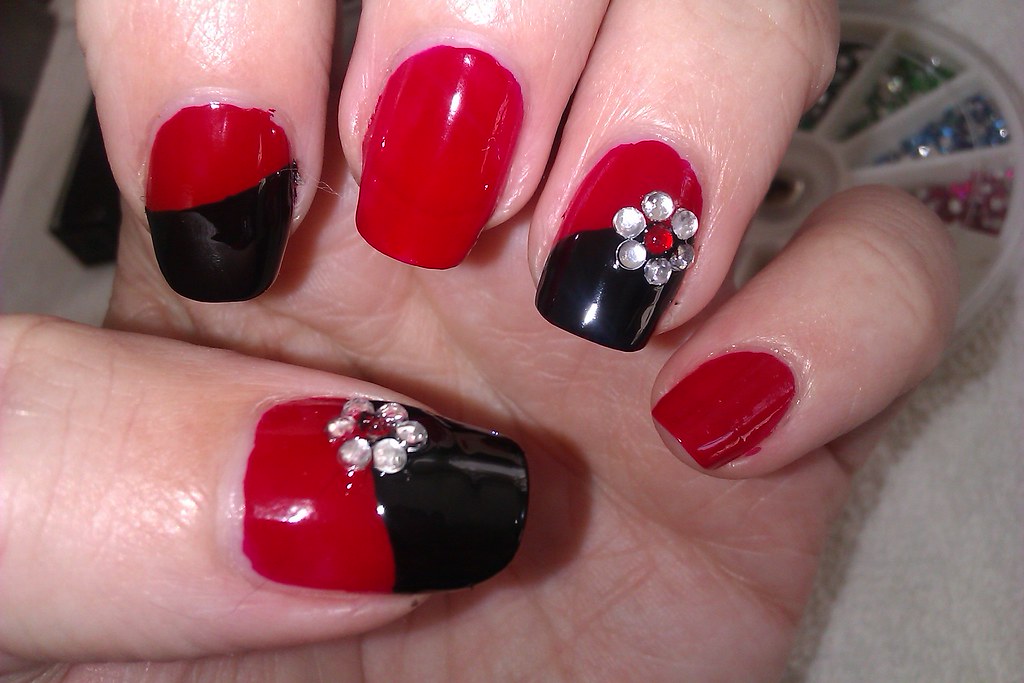
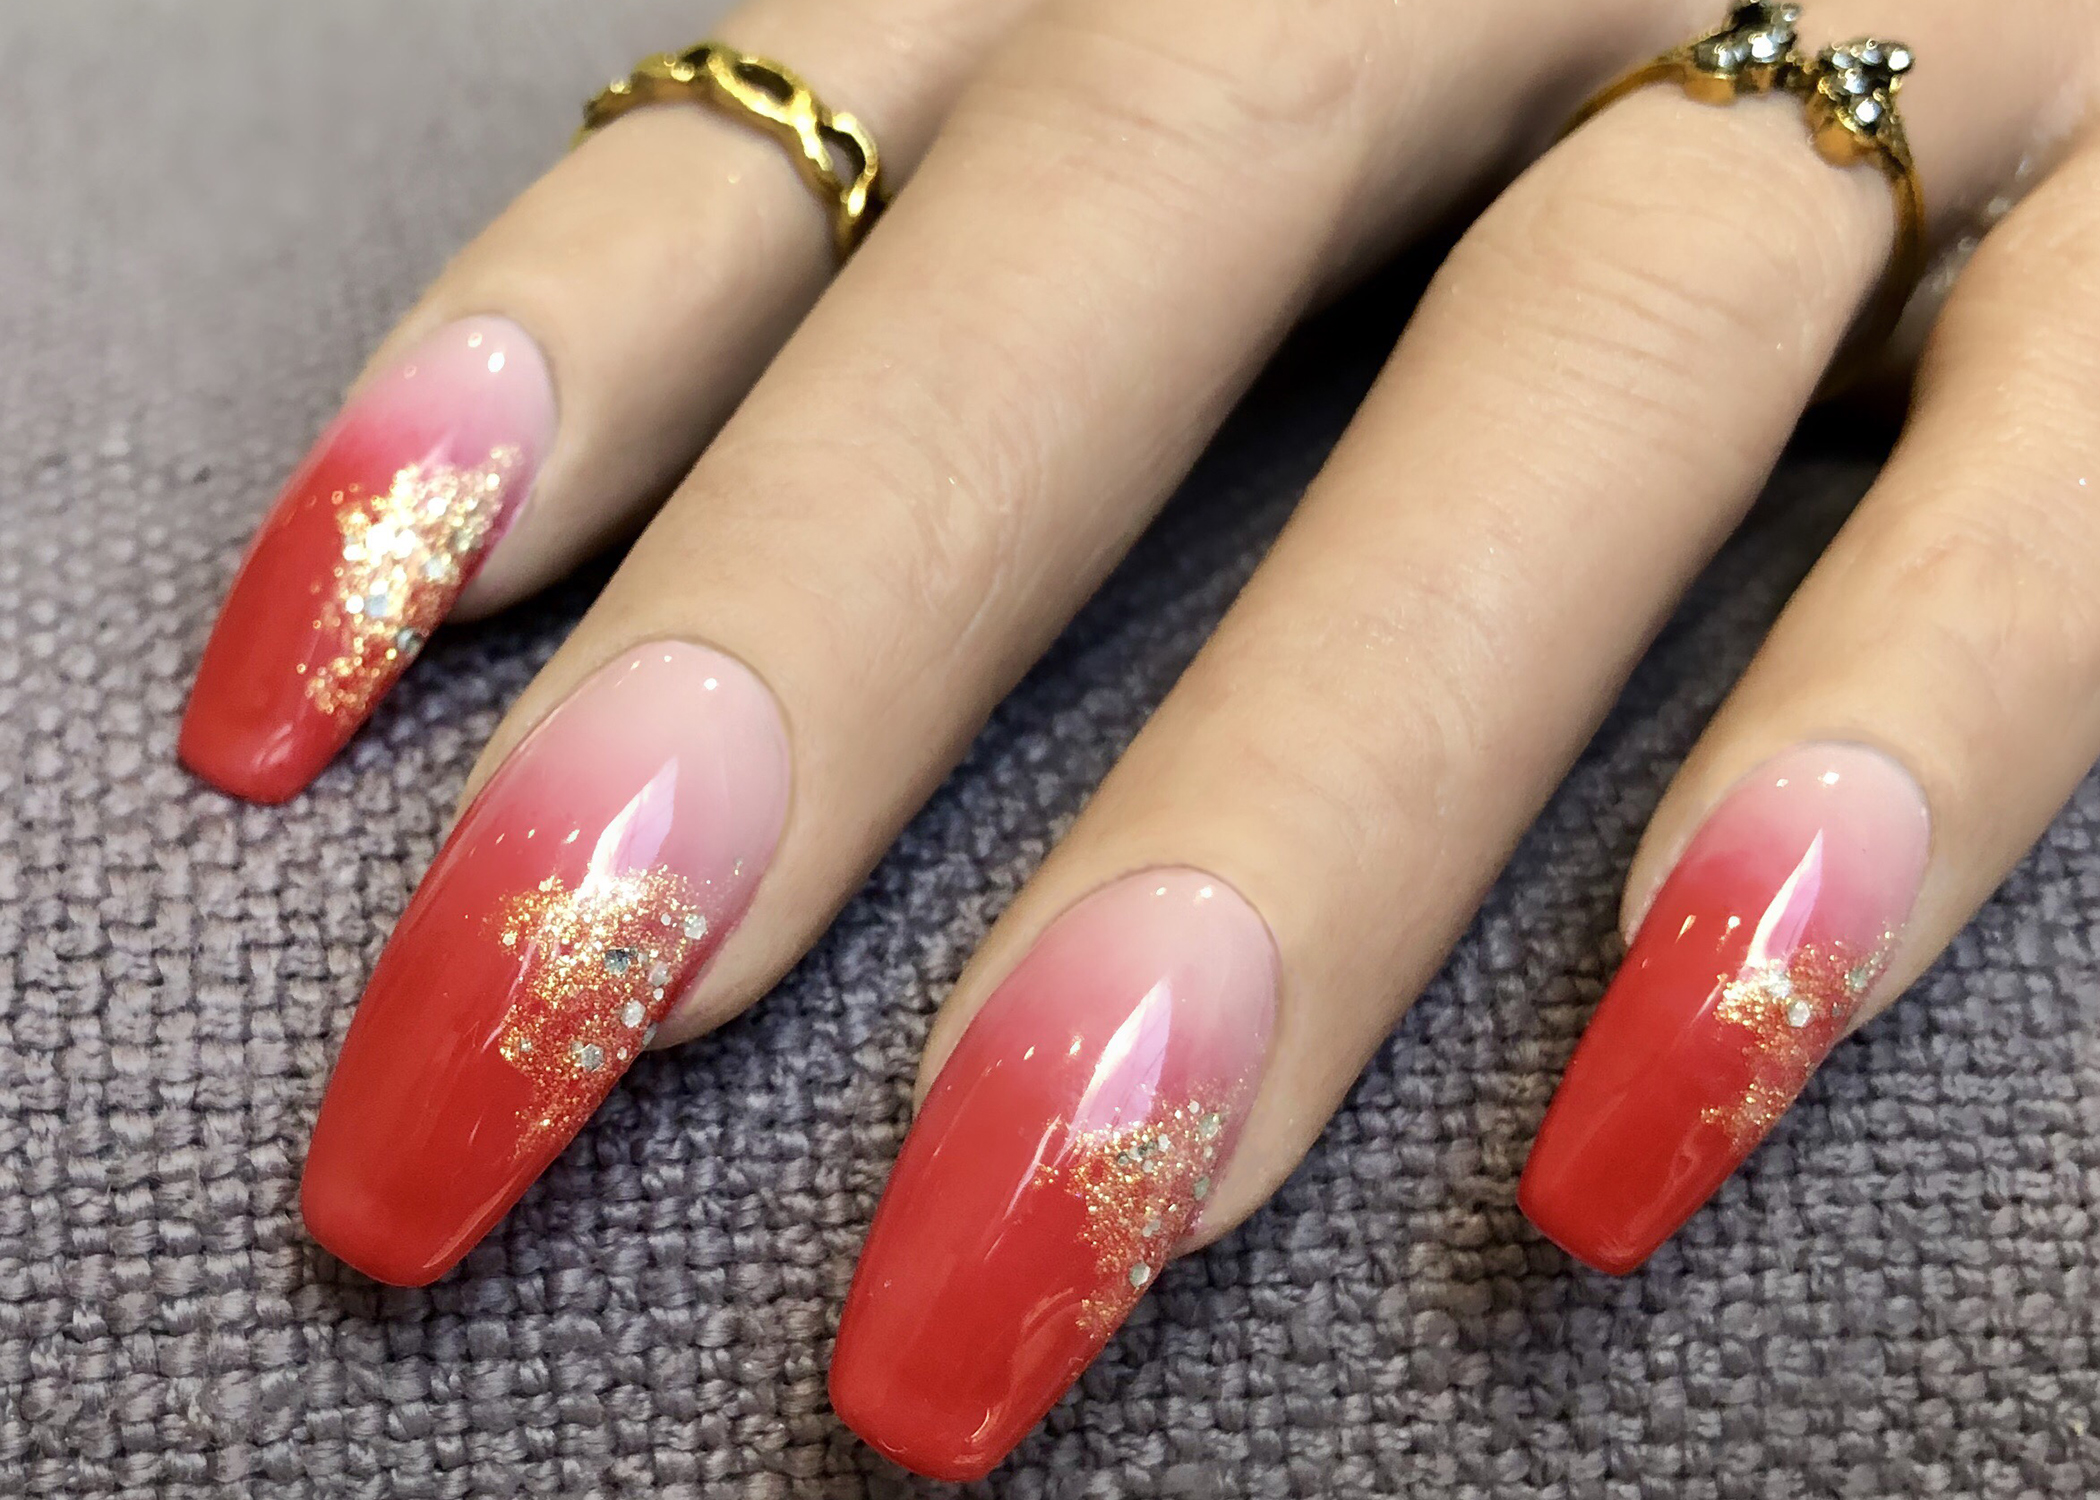
Ombre is a popular nail trend that involves blending two or more colors together for a gradient effect. For a bold and edgy look, try a red and black ombre design. To achieve this design, start by painting your nails with a base coat of bright red polish. Then, take a small sponge and paint one half of it with black polish and the other half with red polish. Gently dab the sponge onto your nails, starting from the tips and working your way up towards the cuticles. This will create a gradual transition from red to black on each nail. You can also experiment with different color combinations, such as a darker red and a deep burgundy, for a more sophisticated look. Finish off with a top coat to seal in the design and give it a smooth finish. This dramatic red and black ombre nail design is sure to make a statement.Red and Black Ombre Nail Design

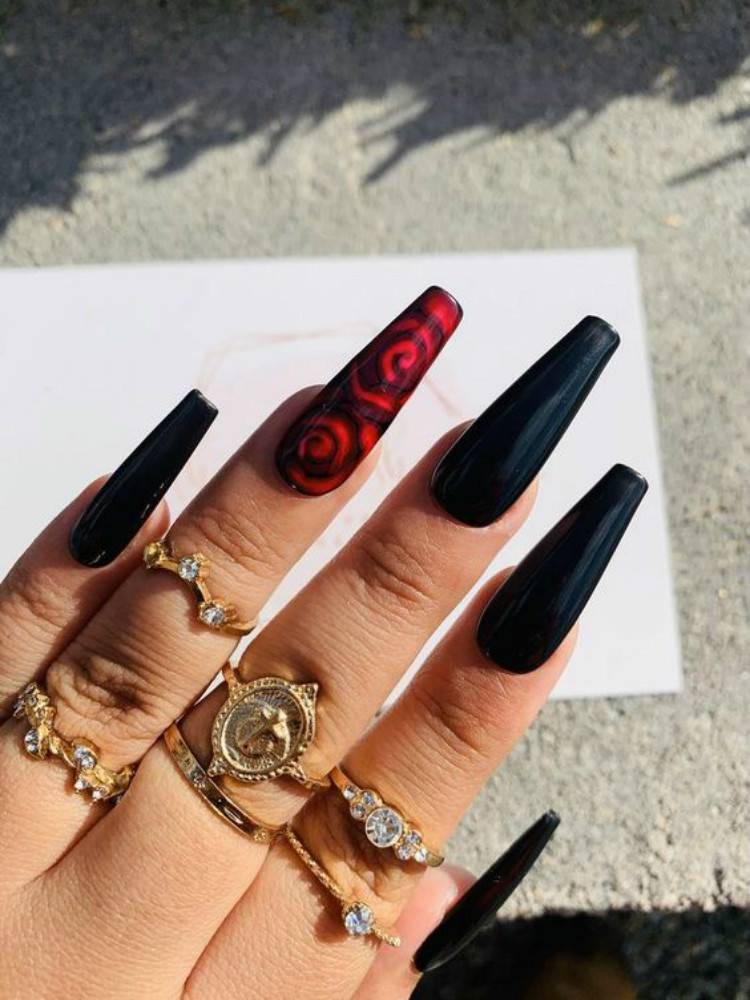
Red and Black Ombre Nail Design


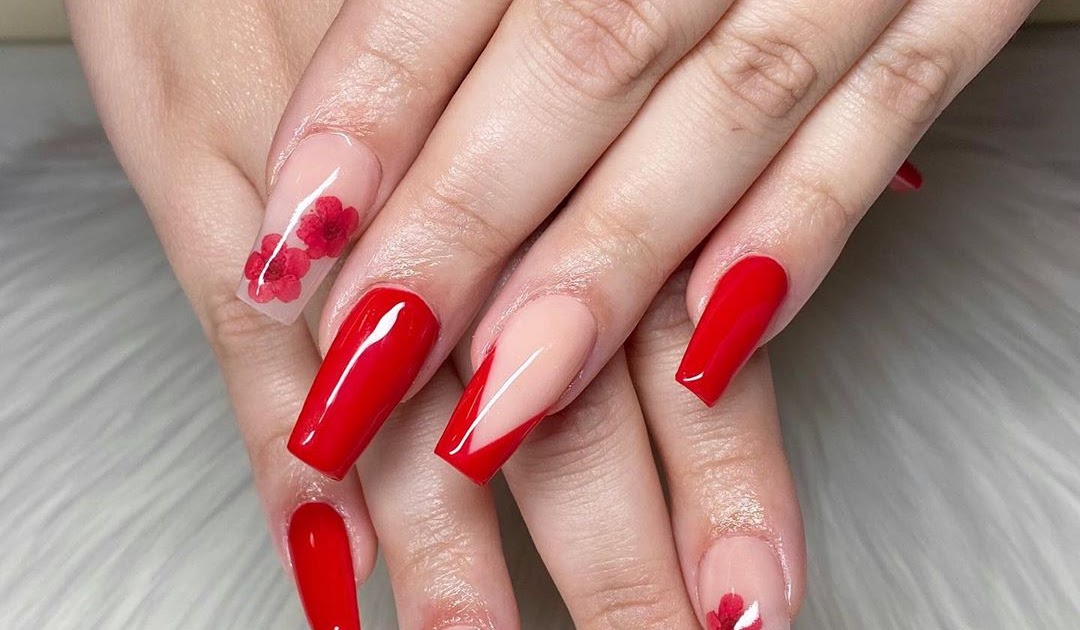
For a feminine and romantic nail design, try red and pink floral. This design combines the boldness of red with the softness of pink for a delicate and beautiful look. To create this design, start by painting your nails with a base coat of bright red polish. Once it's dry, use a small brush or a toothpick to create flower petals with pink polish. You can also add some green leaves or stems for a more realistic look. For an extra touch of elegance, you can add some silver or gold accents to the design, such as rhinestones or glitter. Finish off with a top coat to seal in the design and give it a glossy finish. This charming red and pink floral nail design is perfect for a date night or a wedding.Red and Pink Floral Nail Design

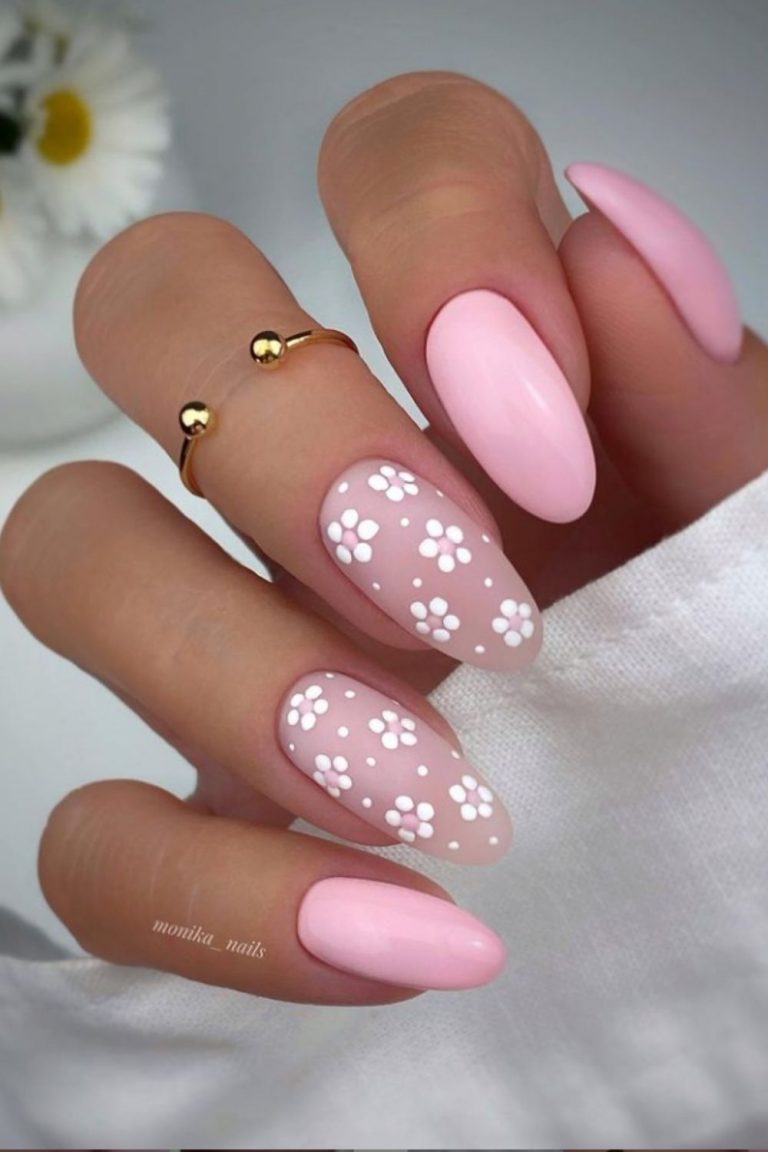
Red and Pink Floral Nail Design


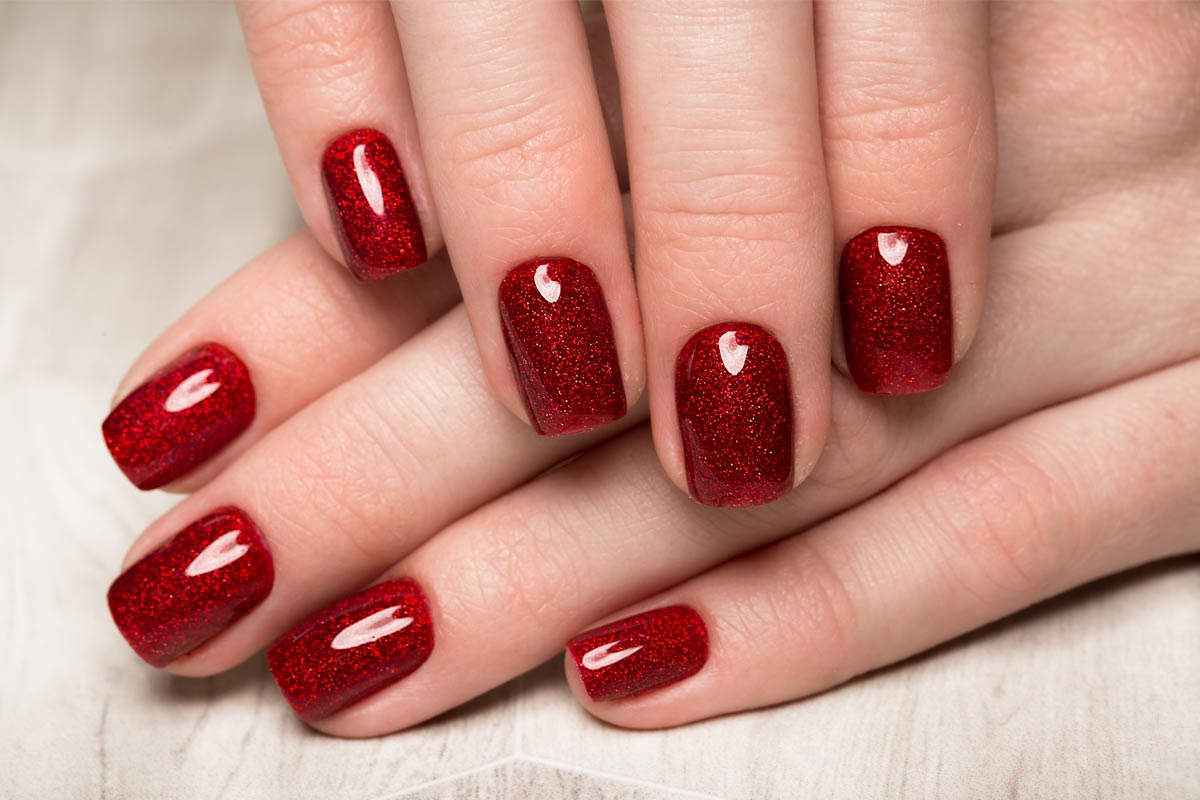
For a sparkly and festive nail design, try red and silver glitter. This design is perfect for the holiday season or any special occasion. To achieve this look, start by painting your nails with a base coat of bright red polish. Once it's dry, use a small brush or a toothpick to create a gradient effect with silver glitter polish. Start from the tips of your nails and work your way up towards the cuticles, using less glitter as you go up. You can also add some silver rhinestones or studs for added glam. Finish off with a top coat to seal in the design and give it a shiny finish. This festive red and silver glitter nail design will make you the life of the party.Red and Silver Glitter Nail Design


Red and Silver Glitter Nail Design

For a cosmic and out-of-this-world nail design, try red and purple galaxy. This design incorporates swirling colors and glitter to mimic the look of a galaxy. To achieve this design, start by painting your nails with a base coat of bright red polish. Once it's dry, use a sponge and dab on some purple, blue, and black polish to create a nebula-like effect. You can also use a small brush or a toothpick to add some white dots for stars. To add some dimension, you can also sprinkle on some silver or holographic glitter. Finish off with a top coat to seal in the design and give it a shiny finish. This galactic red and purple galaxy nail design is perfect for any space lover or science fiction fan.Red and Purple Galaxy Nail Design


Red and Purple Galaxy Nail Design

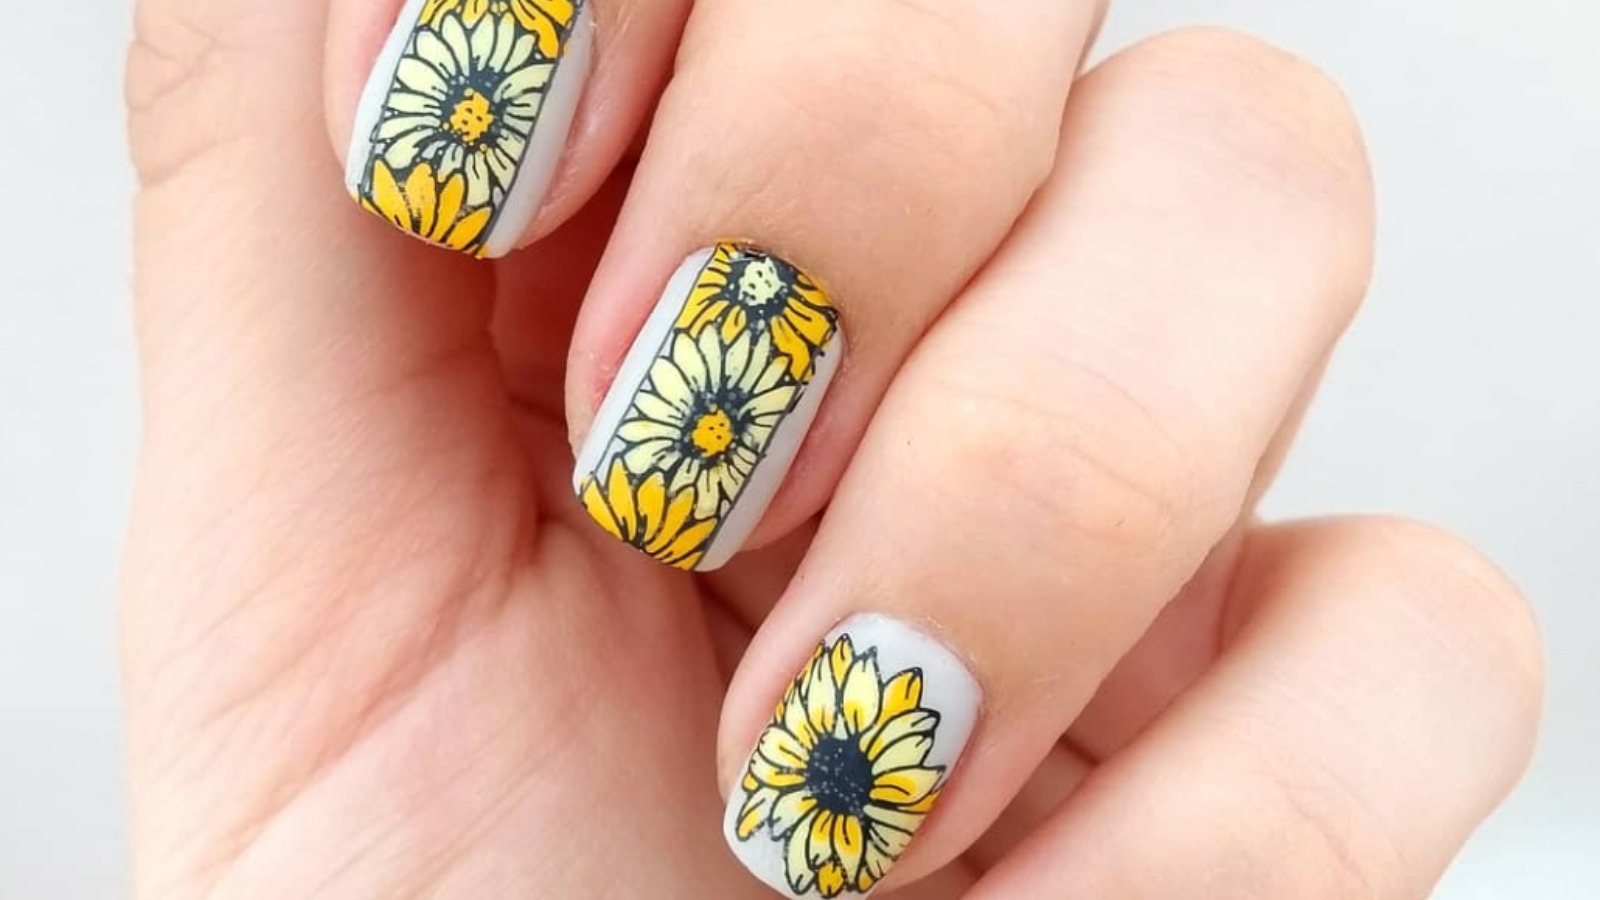
If you're a fan of adorable and cheerful designs, you'll love red and yellow sunflowers. This design is perfect for the summer season or any time you want to add a pop of color to your look. To create this design, start by painting your nails with a base coat of bright red polish. Once it's dry, use a small brush or a toothpick to create the sunflower petals with yellow polish. Add some brown dots in the center to mimic the seeds. You can also add some green leaves for a more realistic look. Finish off with a top coat to seal in the design and give it a glossy finish. This sunny red and yellow sunflower nail design will brighten up your day.Red and Yellow Sunflower Nail Design

Red and Yellow Sunflower Nail Design


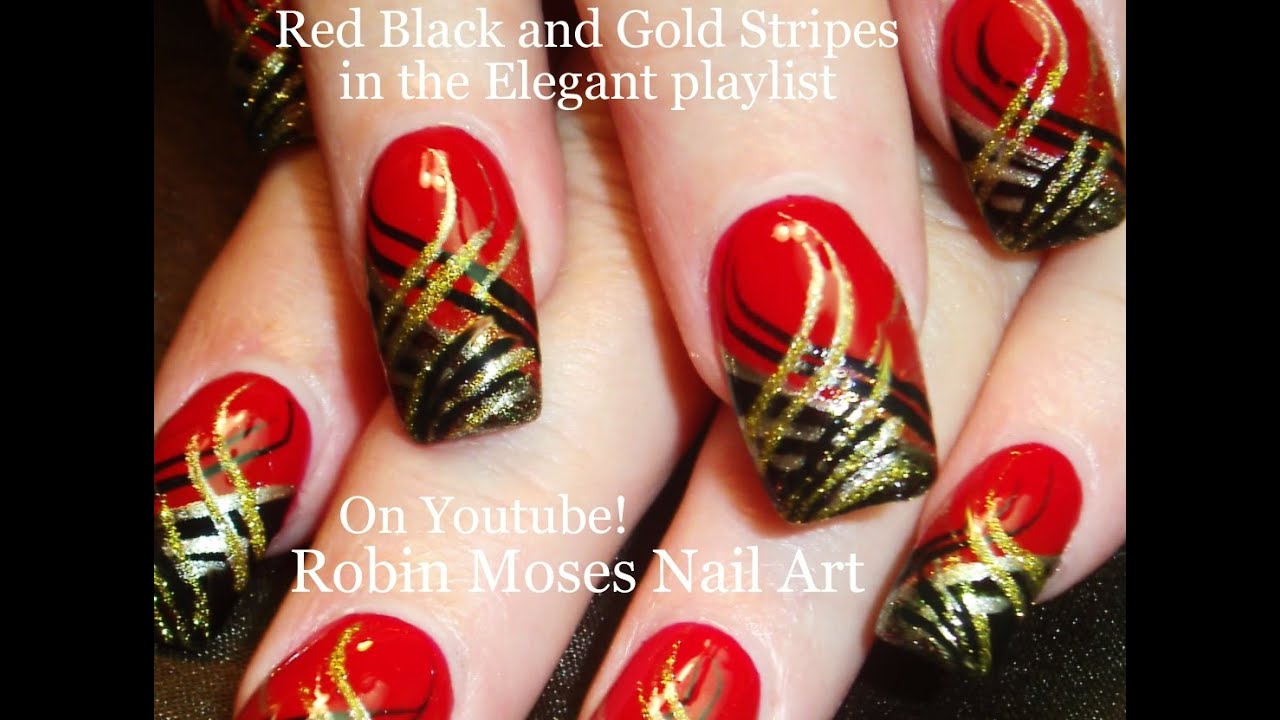
For a nautical and preppy look, try red and blue stripes on your nails. This design is perfect for the summer season and can also be worn for a Fourth of July celebration. To achieve this design, start by painting your nails with a base coat of bright red polish. Once it's dry, use a striping brush or tape to create thin blue stripes on some or all of your nails. You can also experiment with different patterns, such as horizontal or diagonal stripes. For a more playful look, you can also add some white stripes or dots into the mix. Finish off with a top coat to seal in the design and give it a shiny finish. This classic red and blue striped nail design will never go out of style.Red and Blue Striped Nail Design

Red and Blue Striped Nail Design
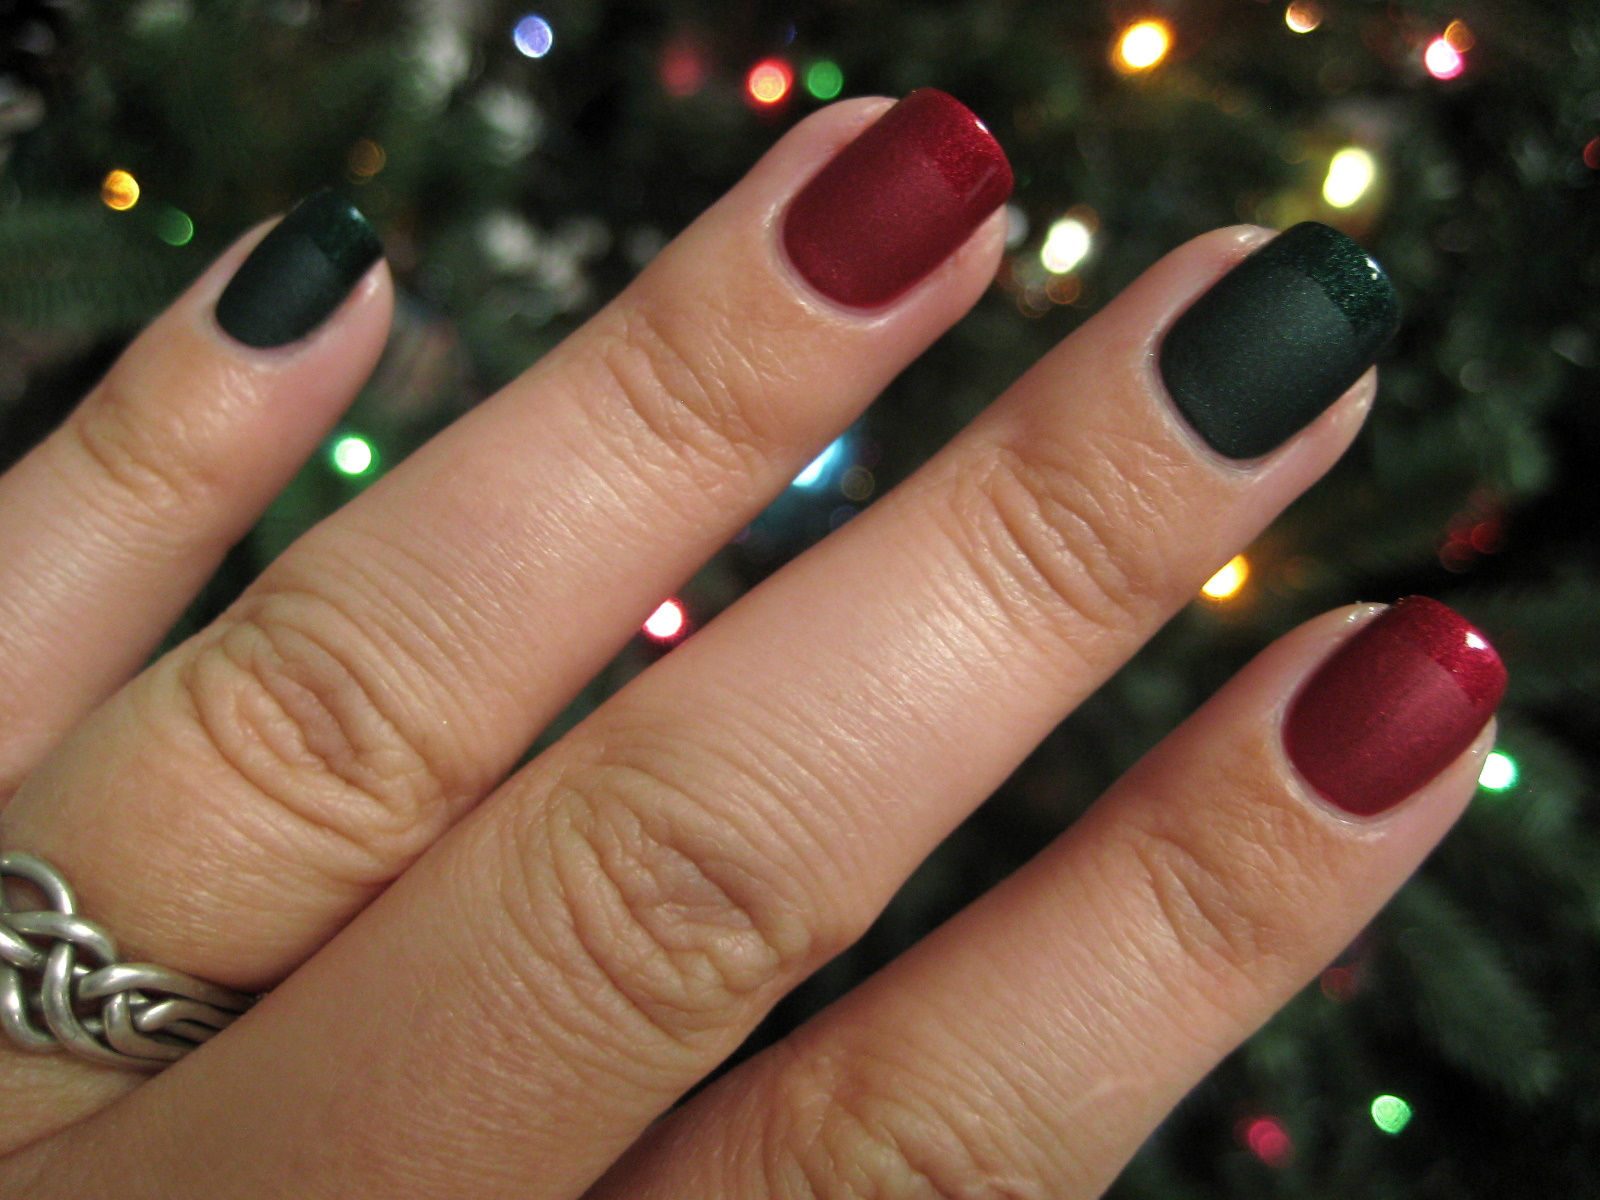
For a festive and cheerful nail design, try red and green Christmas nails. This design is perfect for the holiday season and can be worn to any Christmas party or gathering. To create this design, start by painting your nails with a base coat of bright red polish. Once it's dry, use a small brush or a toothpick to create a Christmas tree with green polish on one or all of your nails. You can also add some gold or silver accents to the tree using glitter or rhinestones. For a more playful look, you can also add some white dots or stripes for snow or use red and green polishes to create a candy cane design. Finish off with a top coat to seal in the design and give it a glossy finish. These merry red and green Christmas nails will get you in the holiday spirit.Red and Green Christmas Nail Design

Red and Green Christmas Nail Design


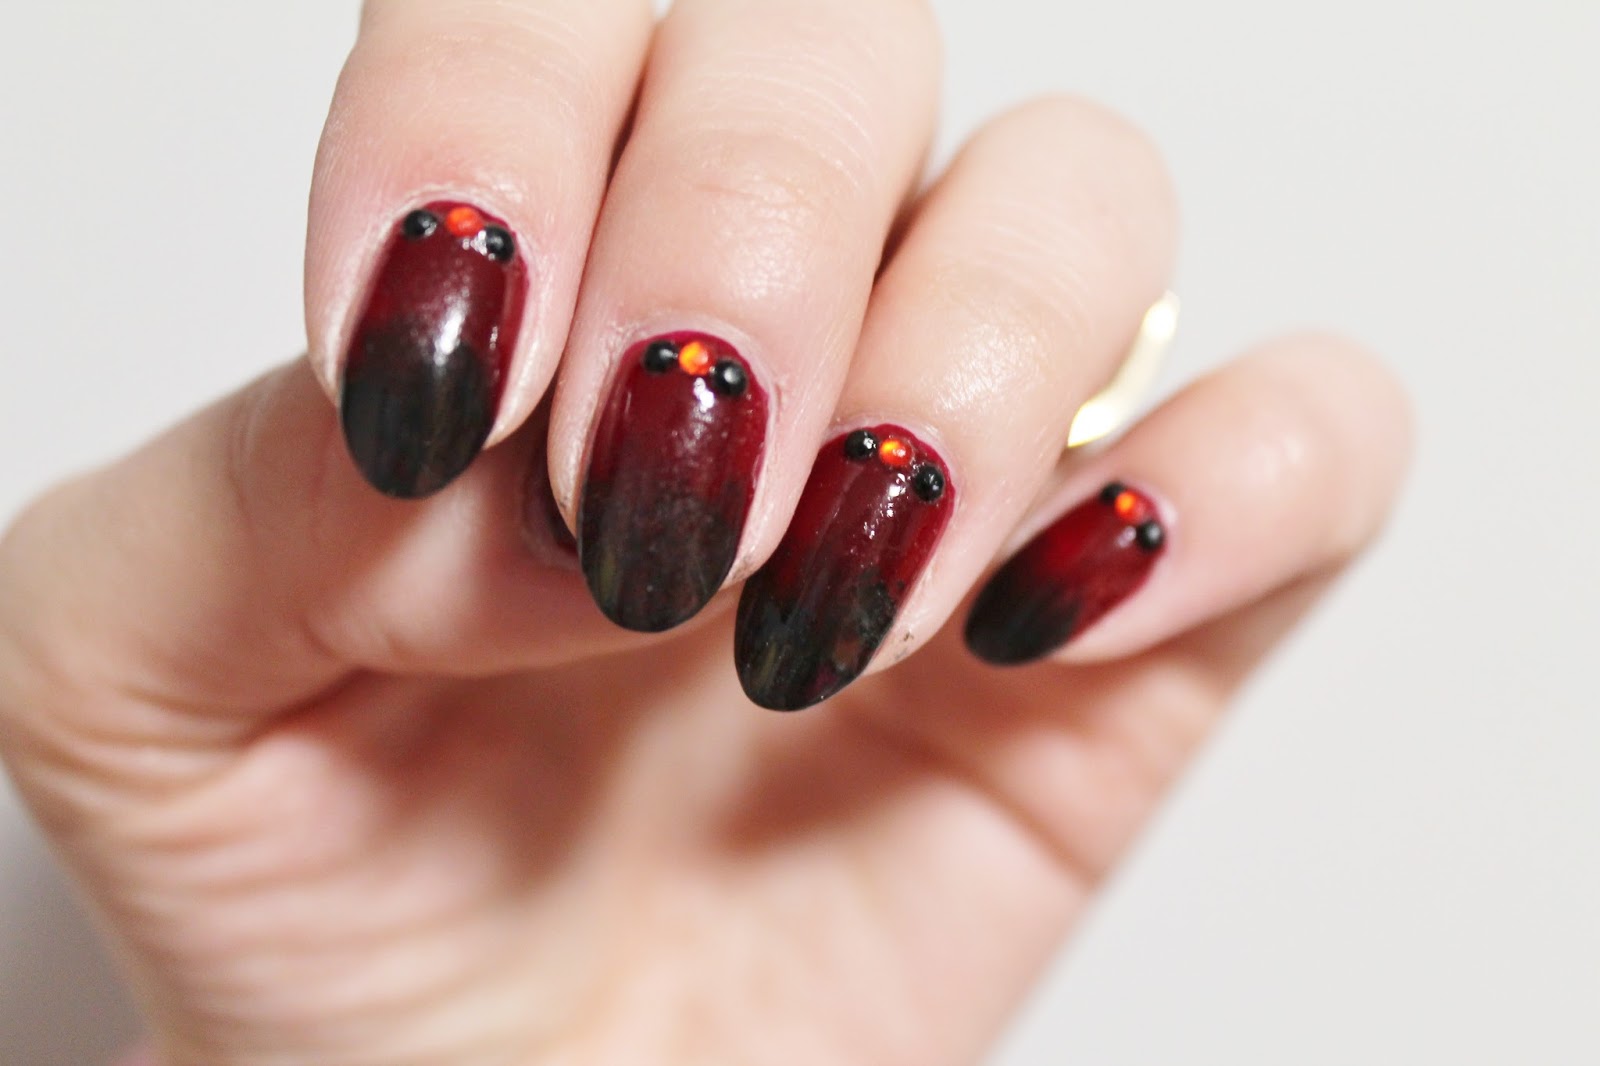
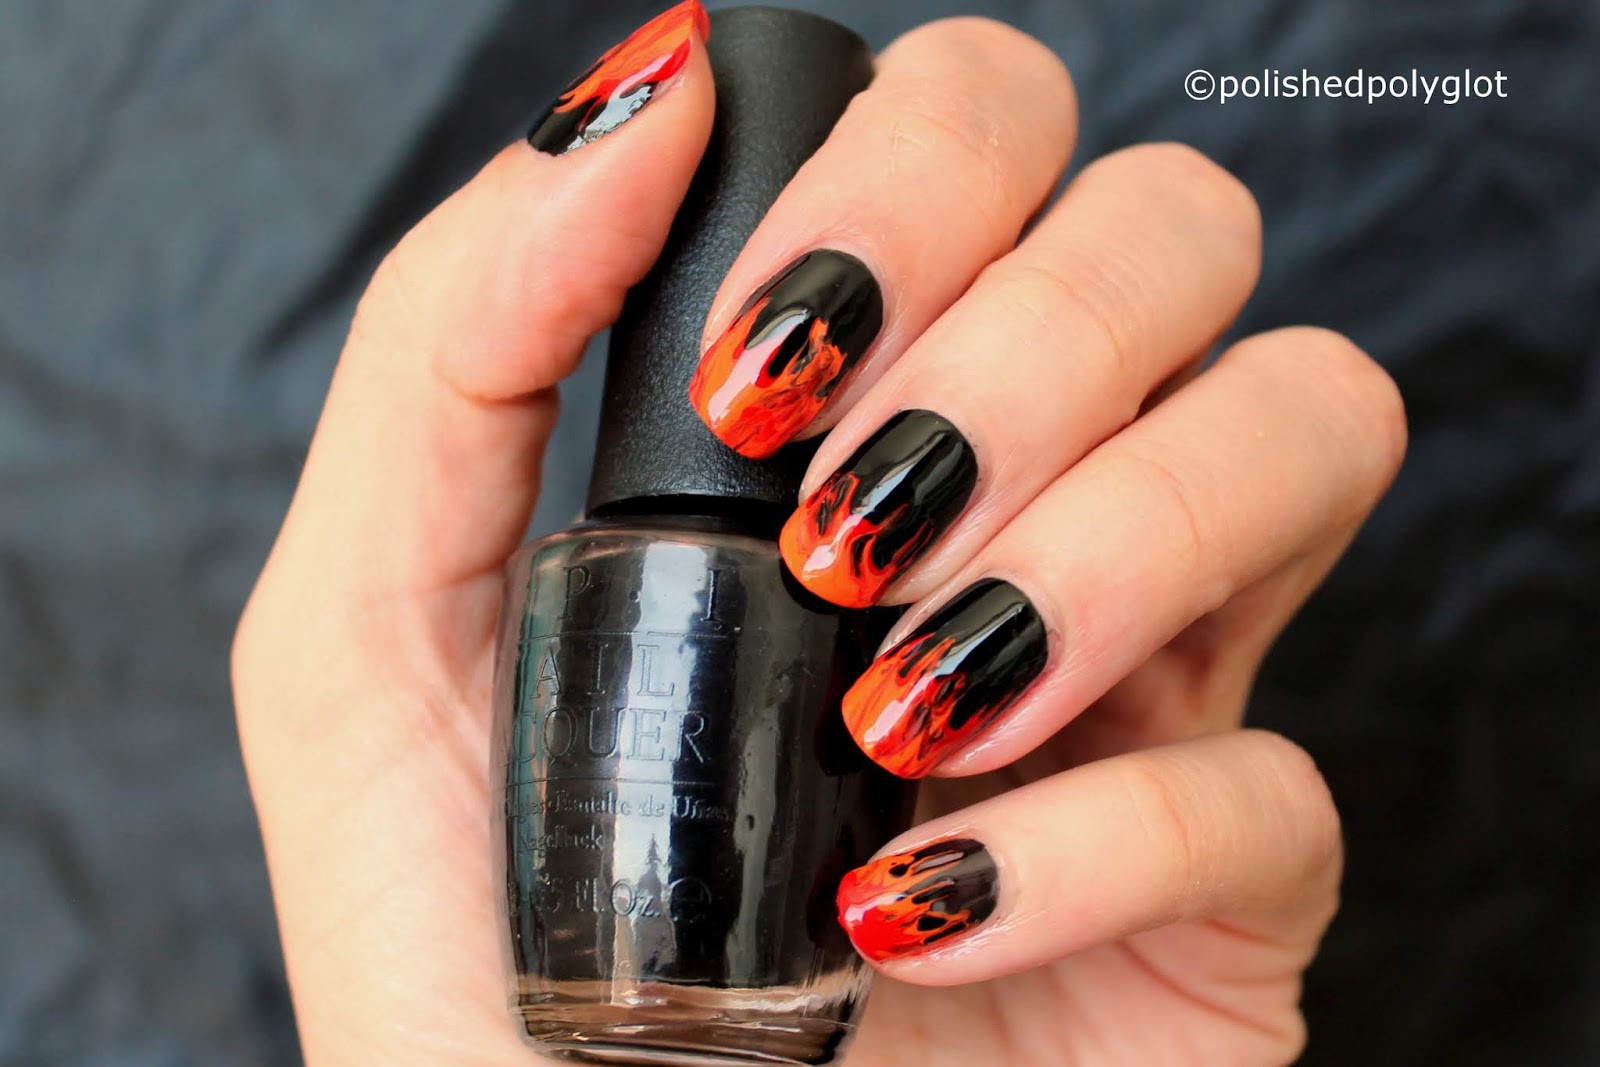
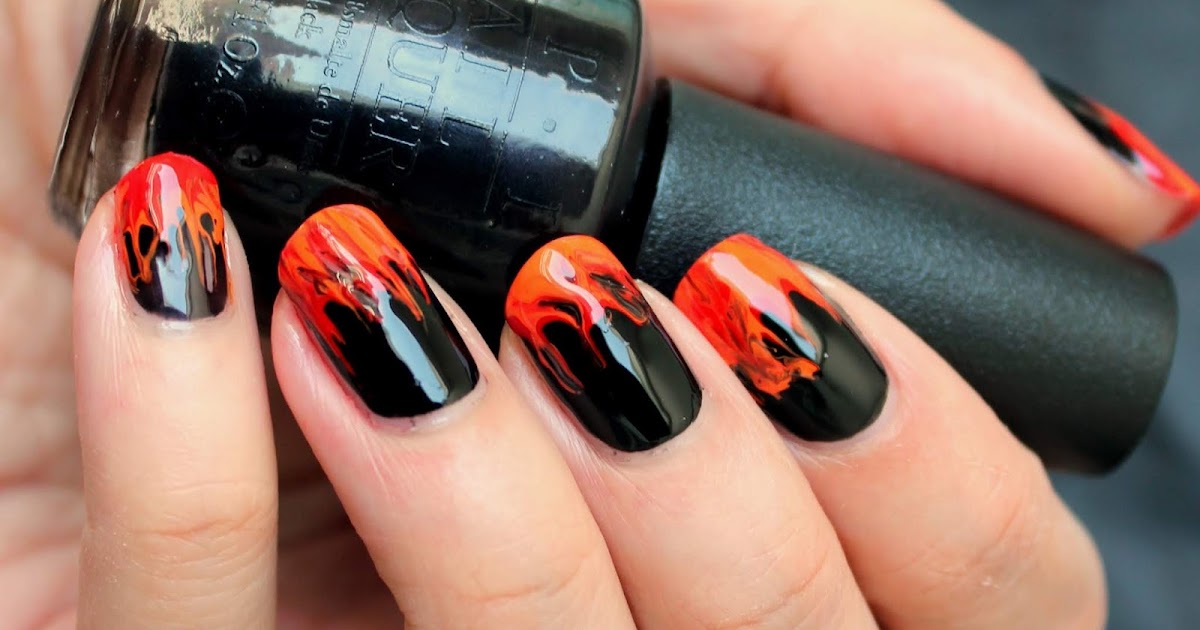
For a fiery and bold nail design, try red and orange fire nails. This design evokes the image of flames and is perfect for those who want to make a statement. To achieve this design, start by painting your nails with a base coat of bright red polish. Once it's dry, use a sponge to dab on some orange polish to create an ombre effect. Then, use a small brush or a toothpick to add some yellow and white accents to mimic the look of flames. For an extra touch of drama, you can also add some black or silver accents. Finish off with a top coat to seal in the design and give it a glossy finish. These hot red and orange fire nails will definitely turn heads.Red and Orange Fire Nail Design
Red and Orange Fire Nail Design
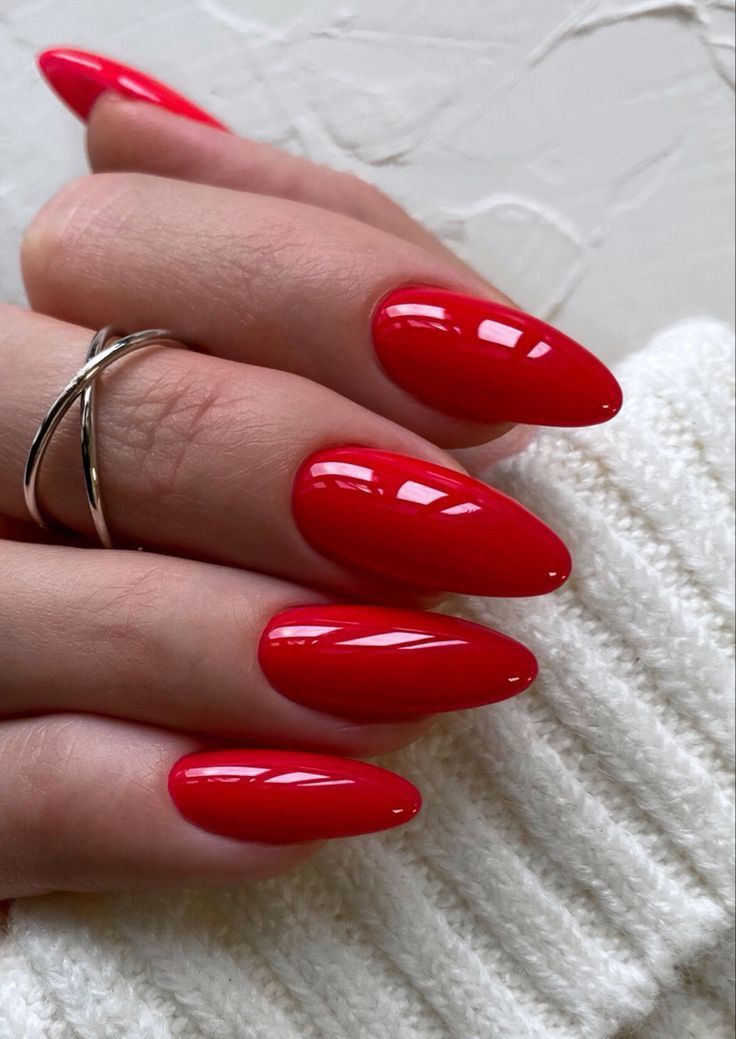
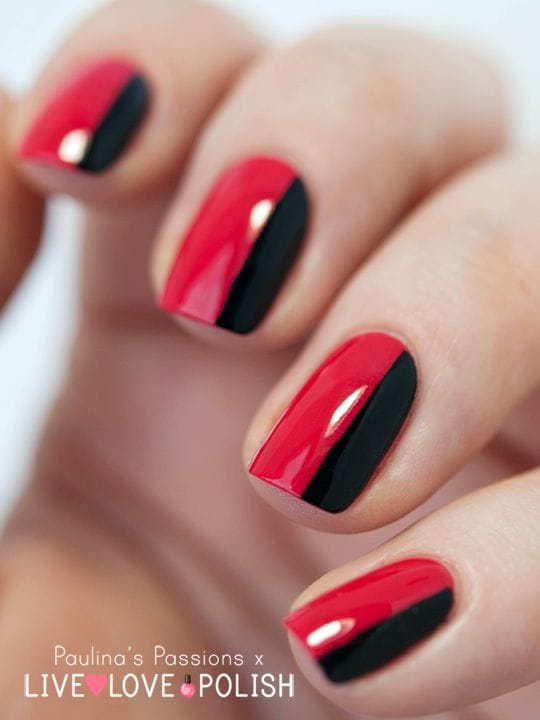
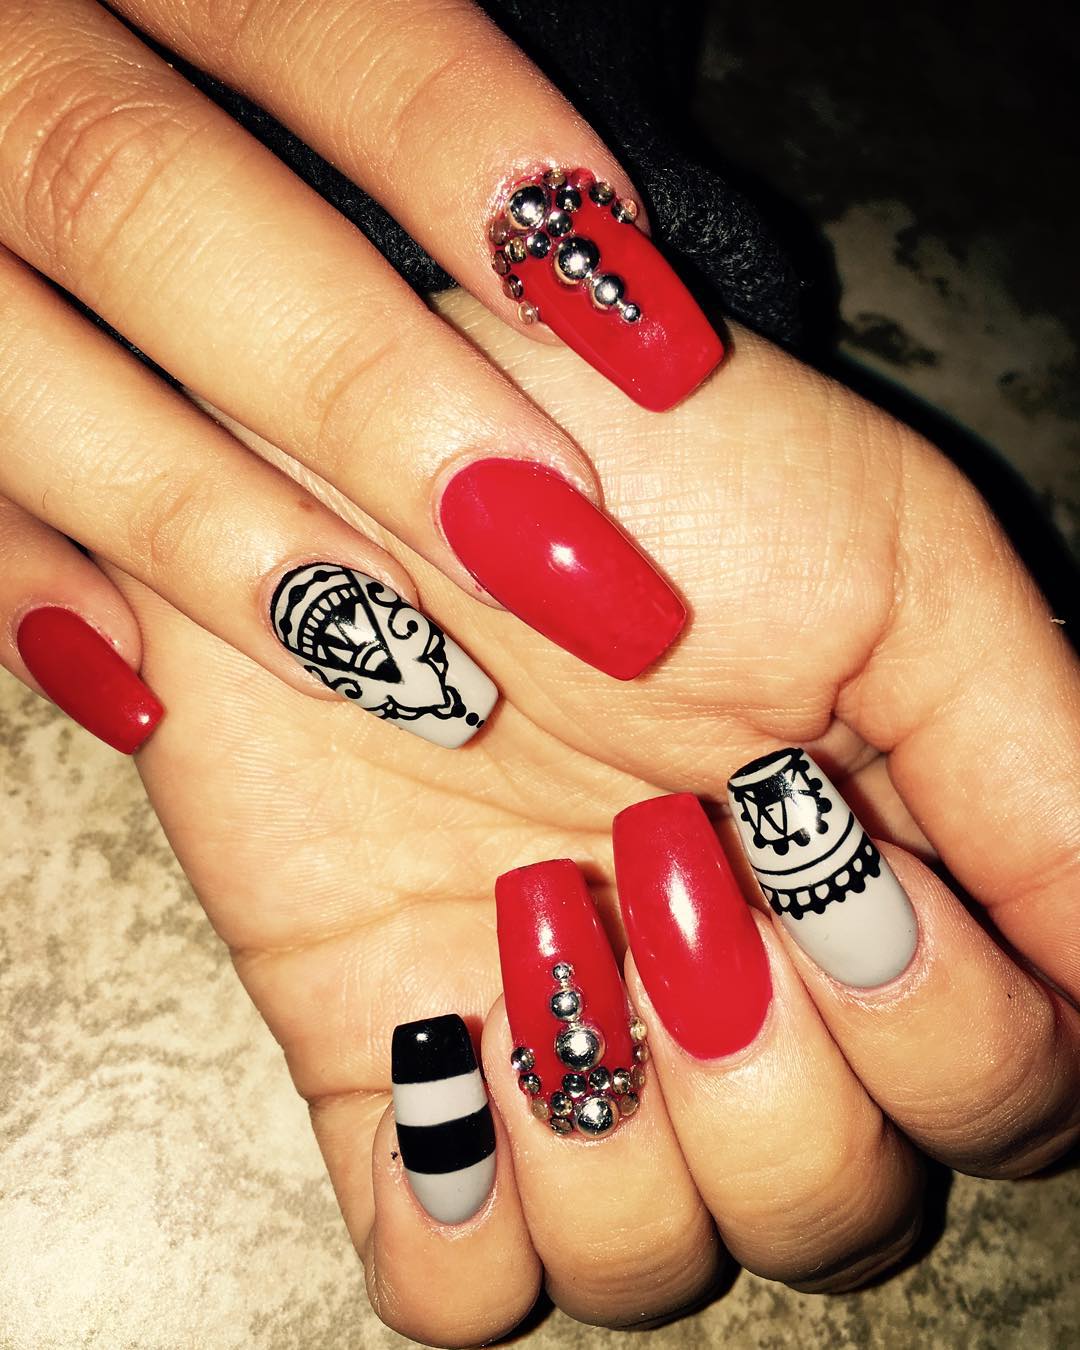
Aesthetic Red Nail Design: The Perfect Addition to Your House Design

Why Red Nails?
 When it comes to house design, every detail matters. From the color of the walls to the furniture and decor, everything plays a role in creating the perfect aesthetic. One often overlooked aspect of house design is the color of our nails. But trust us,
red nails
can make all the difference. Red is a bold and vibrant color that exudes confidence and elegance. It is a timeless color that can elevate any look, and the same applies to your house design. Adding a touch of
red nail design
to your home can take it from ordinary to extraordinary.
When it comes to house design, every detail matters. From the color of the walls to the furniture and decor, everything plays a role in creating the perfect aesthetic. One often overlooked aspect of house design is the color of our nails. But trust us,
red nails
can make all the difference. Red is a bold and vibrant color that exudes confidence and elegance. It is a timeless color that can elevate any look, and the same applies to your house design. Adding a touch of
red nail design
to your home can take it from ordinary to extraordinary.
A Touch of Glamour
 Red nails are synonymous with glamour and luxury. By incorporating this color into your house design, you are instantly adding a touch of sophistication and opulence to your space. Red is a bold and eye-catching color that can make a statement in any room. Whether it's a bright red accent wall or a subtle pop of red in your decor,
aesthetic red nail design
is the perfect way to add some glamour to your home.
Red nails are synonymous with glamour and luxury. By incorporating this color into your house design, you are instantly adding a touch of sophistication and opulence to your space. Red is a bold and eye-catching color that can make a statement in any room. Whether it's a bright red accent wall or a subtle pop of red in your decor,
aesthetic red nail design
is the perfect way to add some glamour to your home.
Complementing Your Existing Color Palette
 One of the best things about red nails is that they can complement any color palette. Whether your house design is monochromatic or a mix of different colors, red nails can tie everything together. The key is to choose the right shade of red that complements your existing color scheme. For example, if your house has a lot of neutral tones, a bold red nail design can add a pop of color and create a stunning contrast. On the other hand, if your house already has a lot of vibrant colors, a more subtle red nail design can add a cohesive touch to the overall aesthetic.
Bringing Life to Your Space
 Red is often associated with passion, energy, and excitement. By incorporating red nails into your house design, you are bringing these qualities into your space. Red is a warm and inviting color that can make your house feel more welcoming and lively. It can also help create a cozy and intimate atmosphere, making your home a place where you can truly relax and unwind.
In conclusion,
aesthetic red nail design
is the perfect addition to your house design. It can bring glamour, complement your existing color palette, and add life to your space. So why not give it a try and see the amazing difference it can make in your home? With the right shade of red and some creativity, your house can become the envy of the neighborhood.
Red is often associated with passion, energy, and excitement. By incorporating red nails into your house design, you are bringing these qualities into your space. Red is a warm and inviting color that can make your house feel more welcoming and lively. It can also help create a cozy and intimate atmosphere, making your home a place where you can truly relax and unwind.
In conclusion,
aesthetic red nail design
is the perfect addition to your house design. It can bring glamour, complement your existing color palette, and add life to your space. So why not give it a try and see the amazing difference it can make in your home? With the right shade of red and some creativity, your house can become the envy of the neighborhood.


