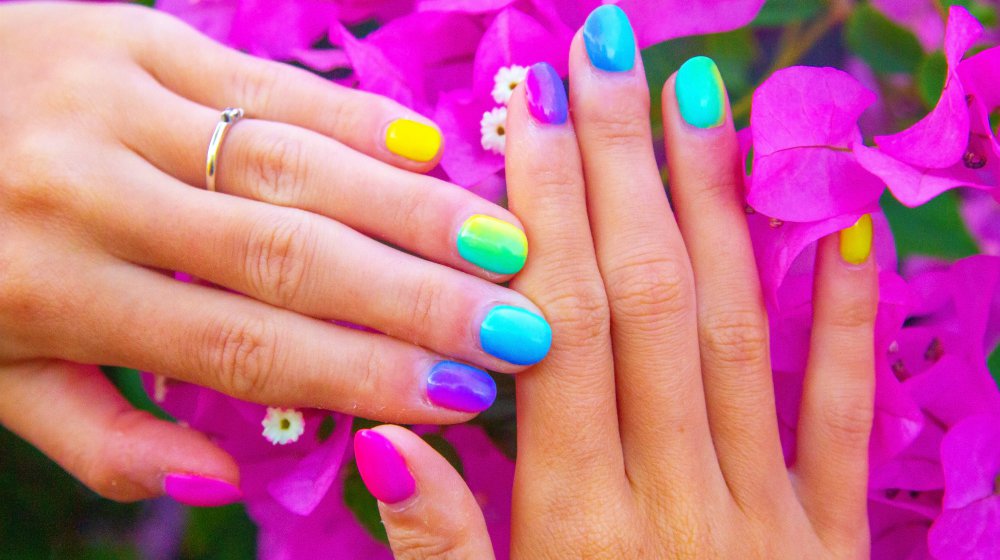
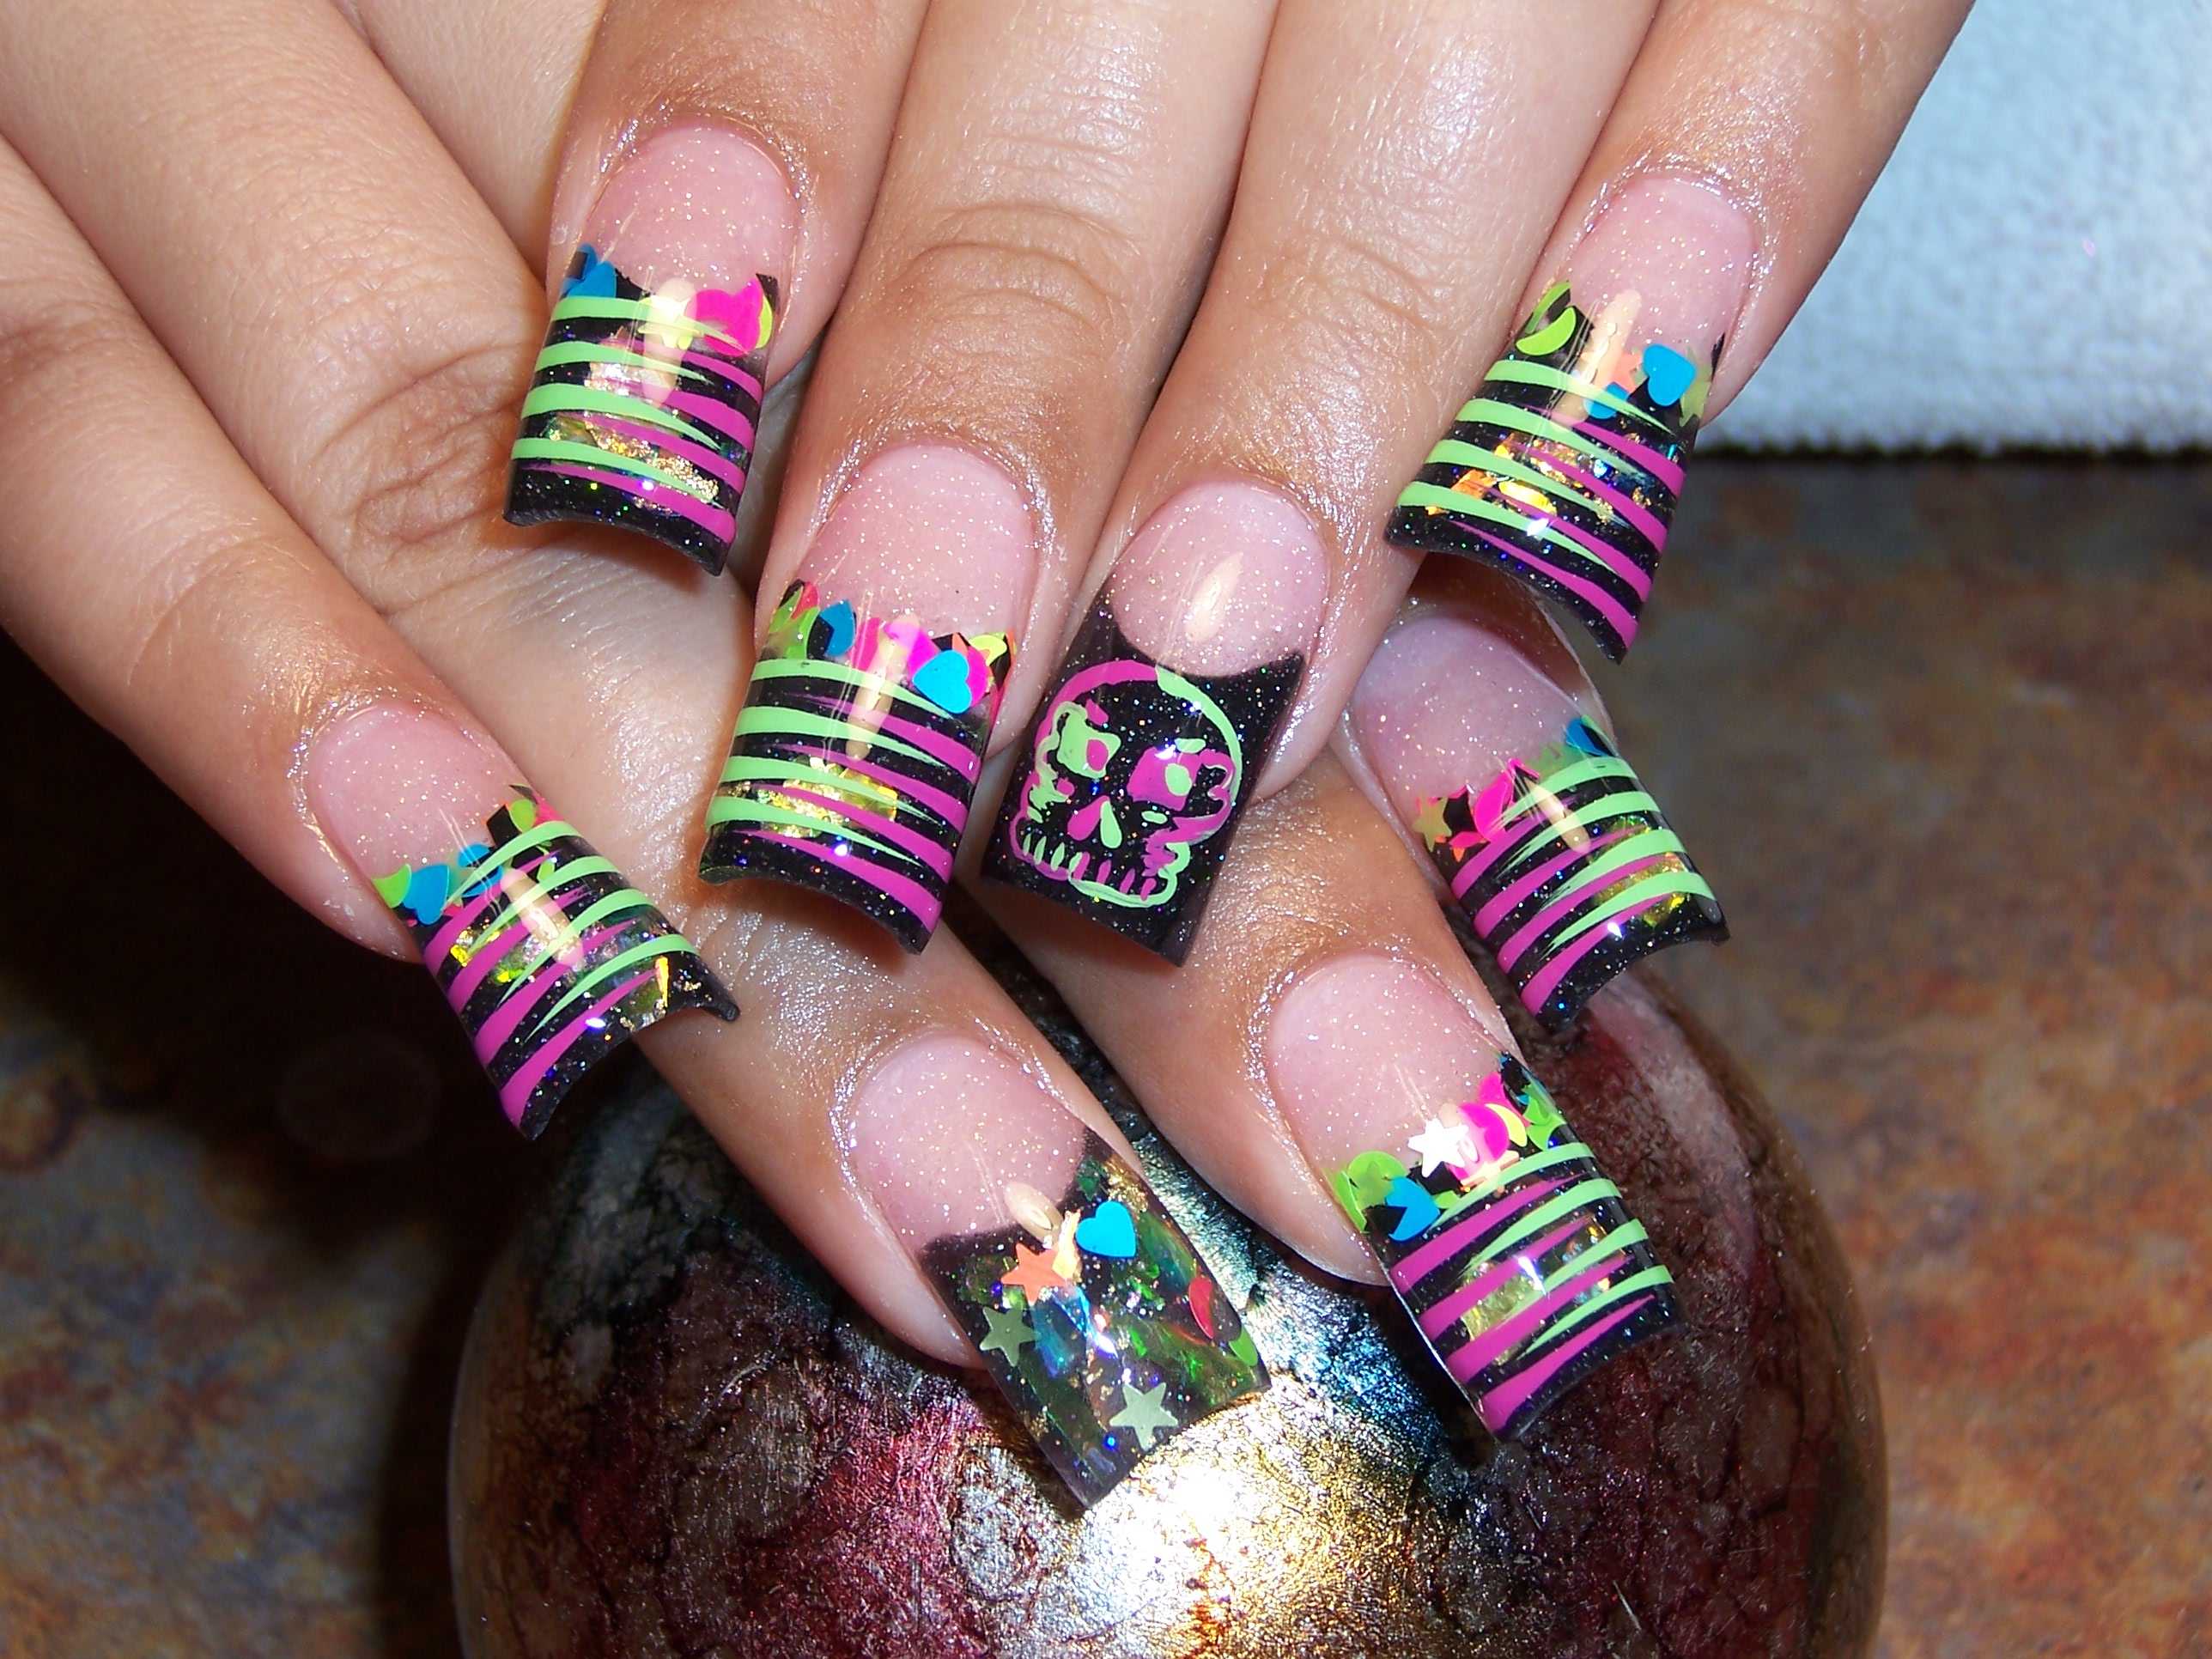
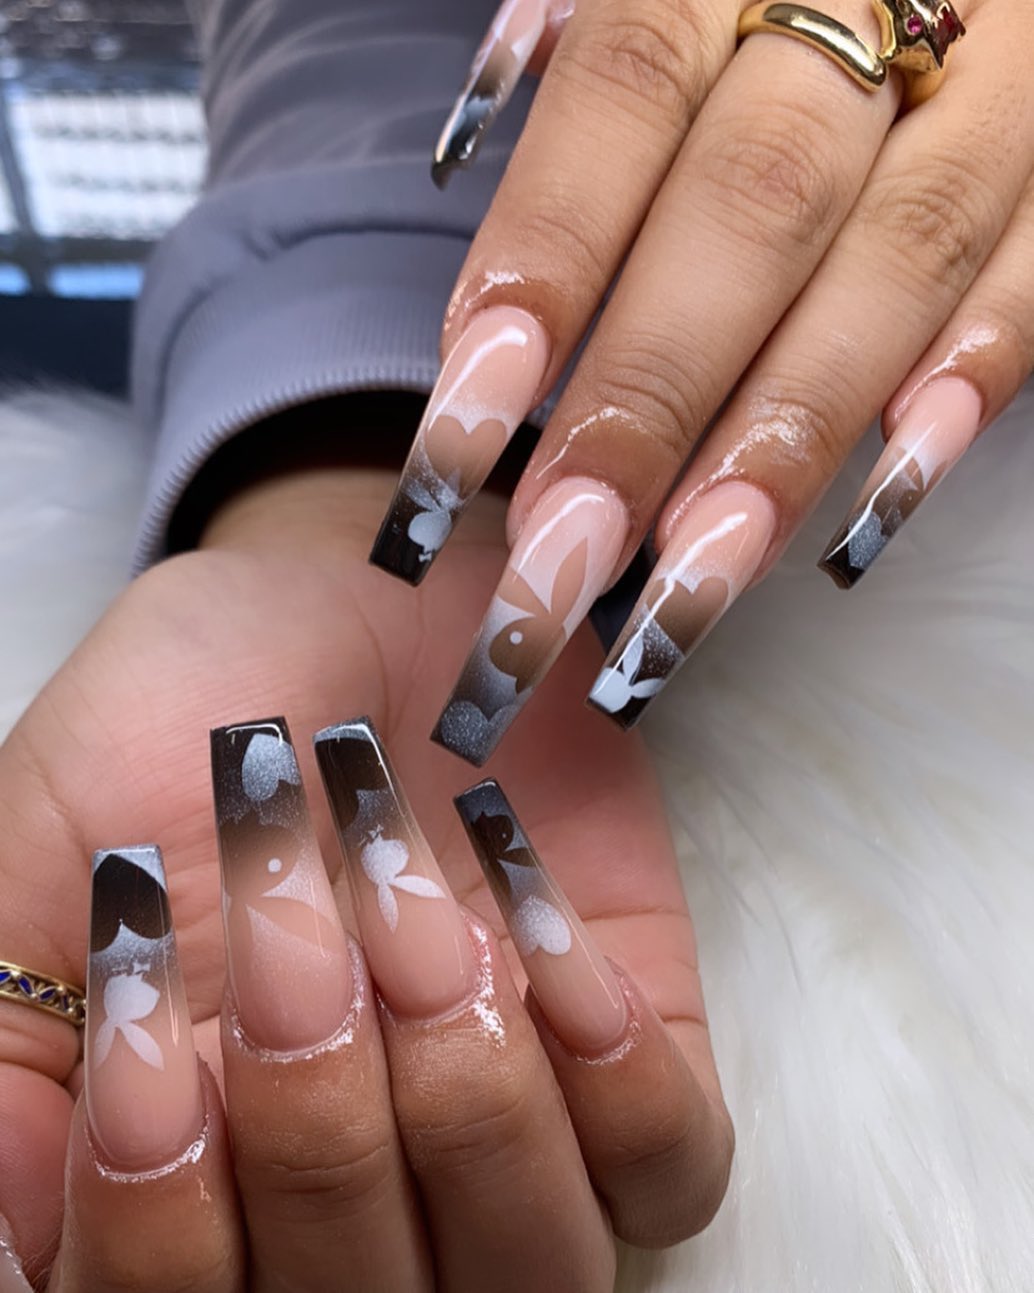
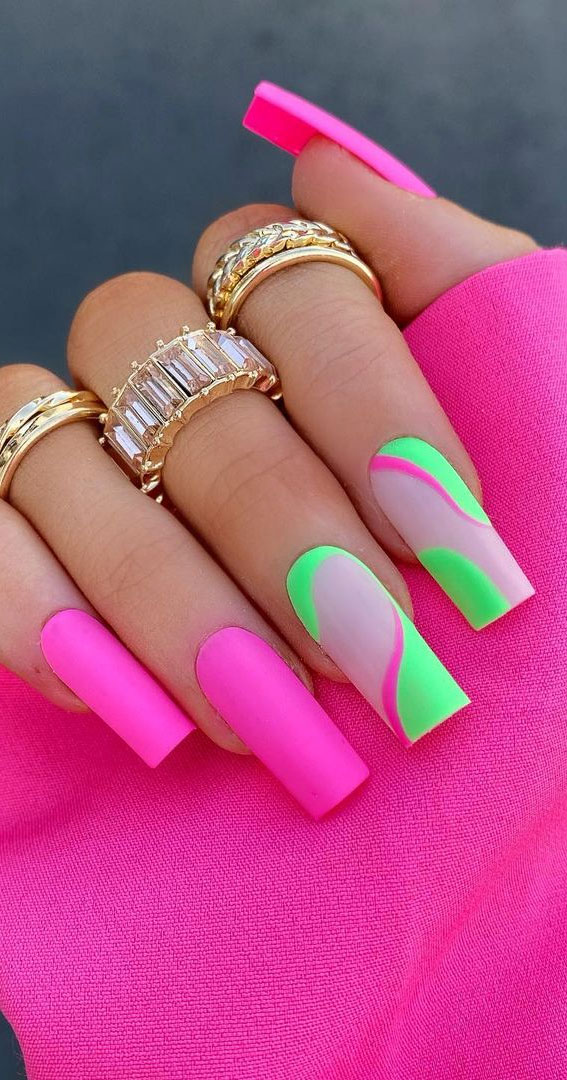
Looking to add a pop of color to your nails? Look no further than neon airbrush nail designs! These vibrant and eye-catching designs are perfect for summer or any time you want to make a statement. And the best part? They're easier to create than you may think. Follow this tutorial for a step-by-step guide on how to achieve the perfect neon airbrush nail design. Start by gathering your materials. You will need a set of neon nail polishes, an airbrush machine, and a top coat. You can also use stencils or tape to create more intricate designs. Begin by applying a base coat to your nails. This will help your nail polish last longer and protect your natural nails. Once the base coat is dry, it's time to start airbrushing! Choose your first neon color and load it into the airbrush machine. Hold the airbrush about 4-6 inches away from your nail and spray in a smooth, even motion. For a more opaque color, you may need to do a second coat. Once your first color is dry, repeat the process with your second neon color. You can choose to create a gradient effect by spraying the second color on the tips of your nails or use a stencil to create a more intricate design. Once all of your colors are dry, apply a top coat to seal in your design and add shine. And there you have it - a gorgeous neon airbrush nail design that will stand out in any crowd!1. Neon Airbrush Nail Design Tutorial

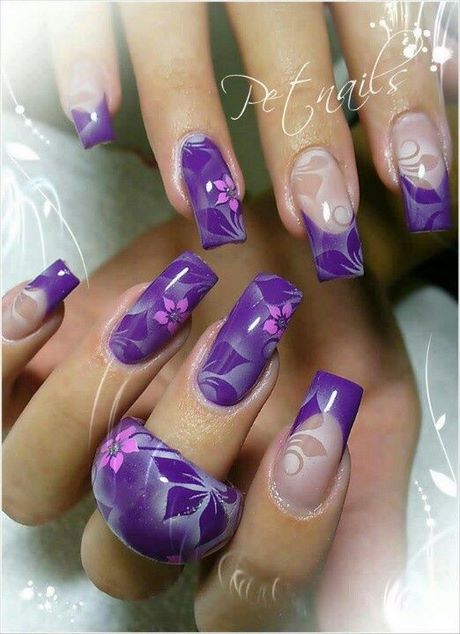

1. Neon Airbrush Nail Design Tutorial

:max_bytes(150000):strip_icc()/293212593_589892279374684_7867645752657859030_n-686cd44ab40742219df369ce76c03ff2.jpg)
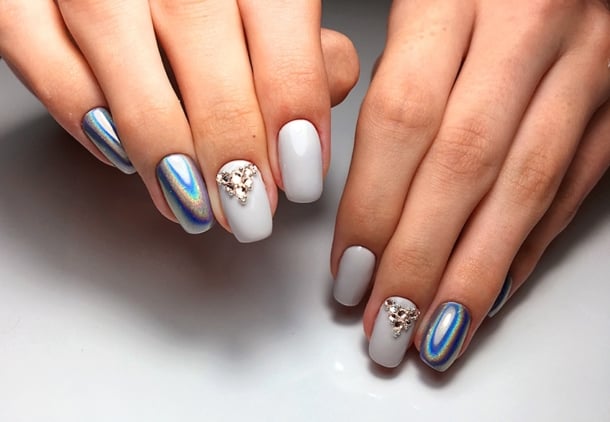


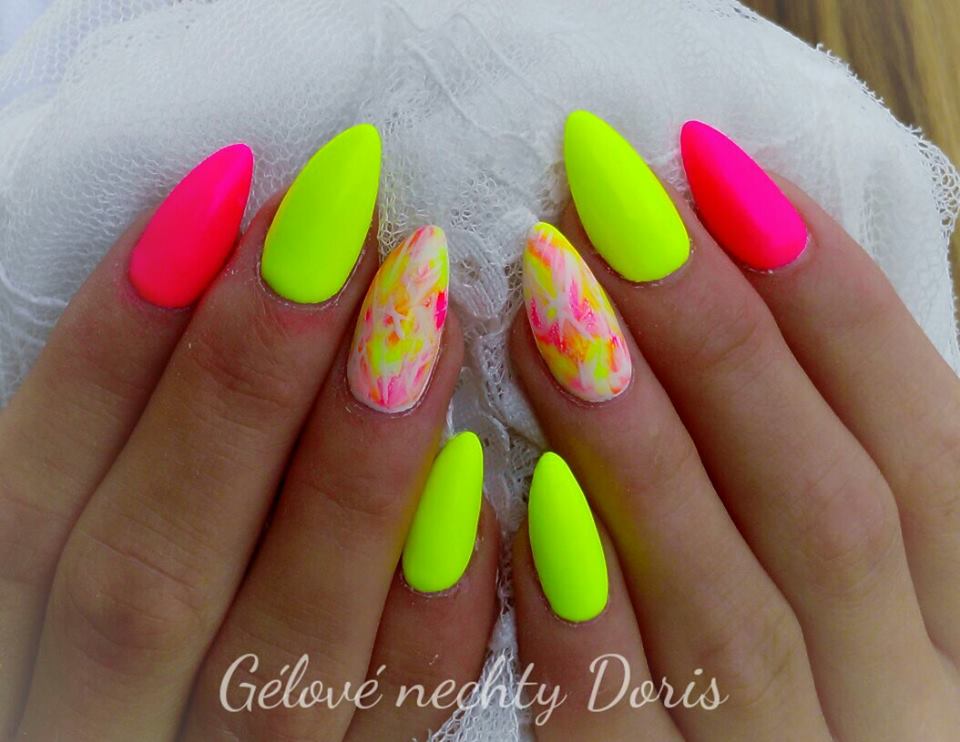
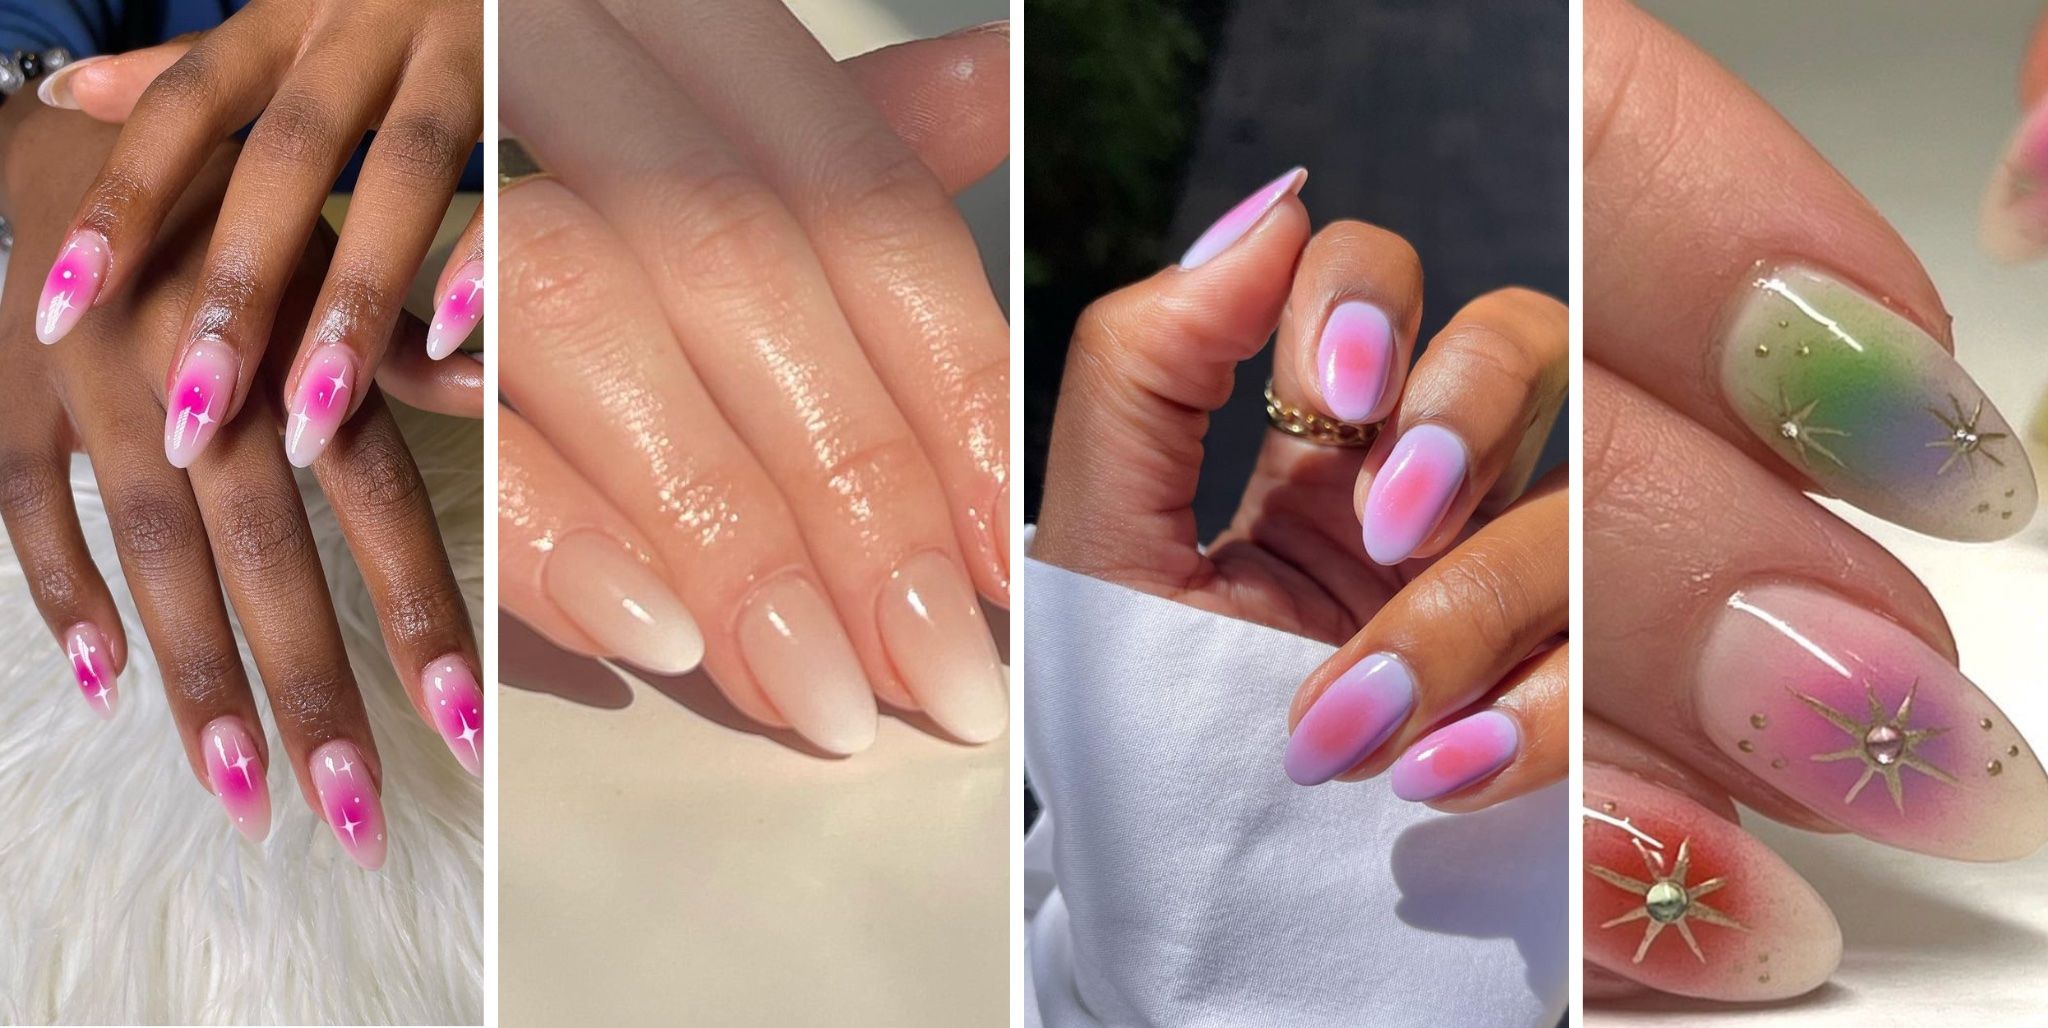
Summer is the perfect time to experiment with bold and bright colors, and what better way to do that than with neon nail designs? These fun and playful designs are perfect for showing off your summer style. Here are some of the best neon nail designs to try this season. Neon ombre nails are a popular choice for summer. Create a gradient effect by using different shades of neon colors on each nail. You can also add a touch of glitter for some extra sparkle. If you're feeling adventurous, try a neon animal print nail design. Use stencils or freehand your design for a wild and fun look. For a more subtle neon look, try a French tip design with neon colors. This is a great way to add a pop of color to a classic and elegant manicure. Another popular trend is neon color blocking. Use two or three neon colors and paint each nail a different color. You can also use tape to create clean and straight lines for a more polished look. No matter which neon nail design you choose, you'll be sure to turn heads and make a statement this summer.2. Best Neon Nail Designs for Summer


2. Best Neon Nail Designs for Summer


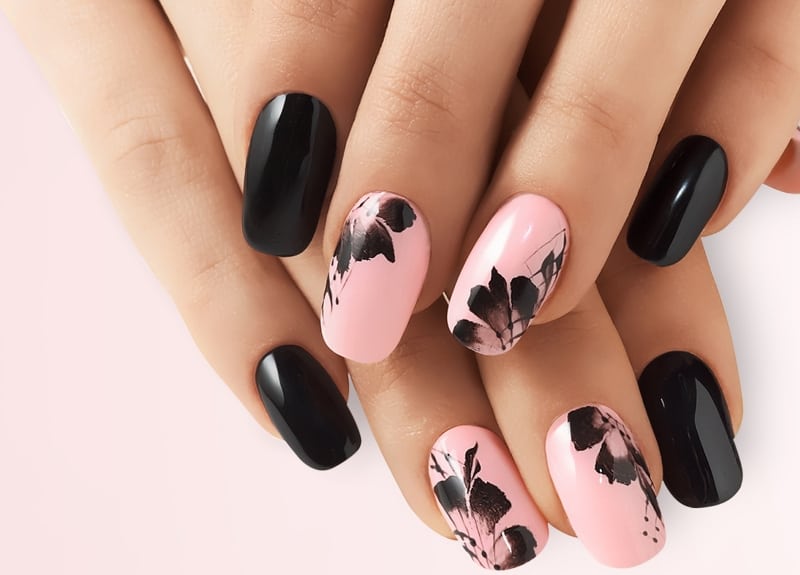
If you're looking for a more advanced neon airbrush nail design, try creating a color fade. This technique involves blending two or more neon colors together to create a seamless gradient effect. Here's how to achieve the perfect neon color fade with an airbrush. Start by selecting your colors. You can choose two colors that are similar in shade for a more subtle fade, or choose two contrasting colors for a bolder look. Load your first color into the airbrush machine and spray it onto your nail, starting at the top. Then, load your second color and spray it onto your nail, starting at the bottom. Make sure to overlap the two colors slightly to create a smooth transition. If needed, you can use a brush or sponge to blend the colors together for a more seamless fade. Once your nail is dry, you can add a top coat to seal in your design and add shine. This technique may take some practice, but the end result is a stunning and unique neon color fade.3. How to Create a Neon Color Fade with Airbrush


3. How to Create a Neon Color Fade with Airbrush

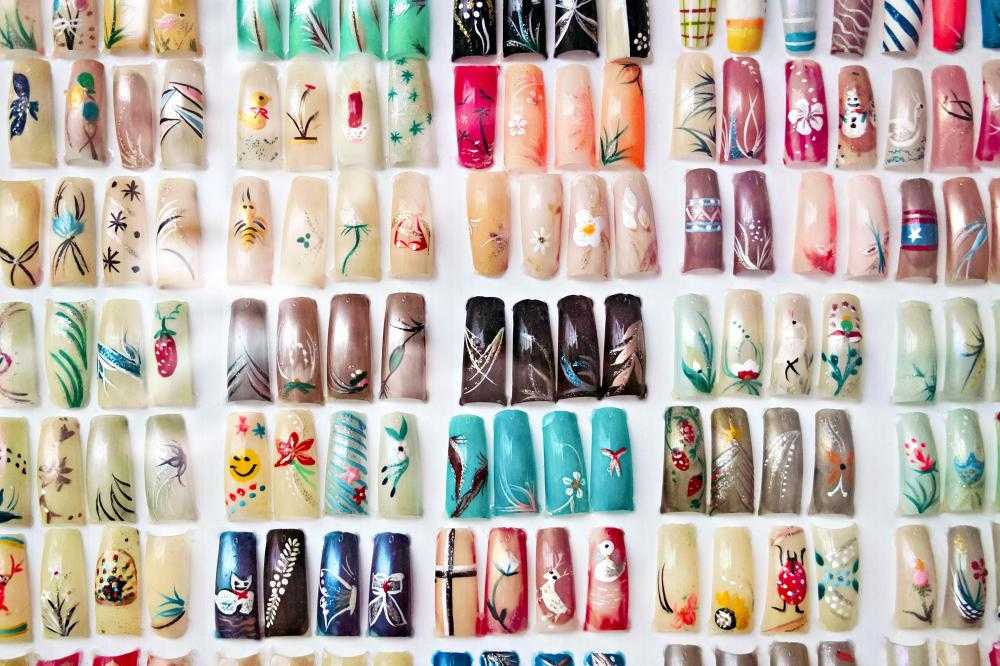


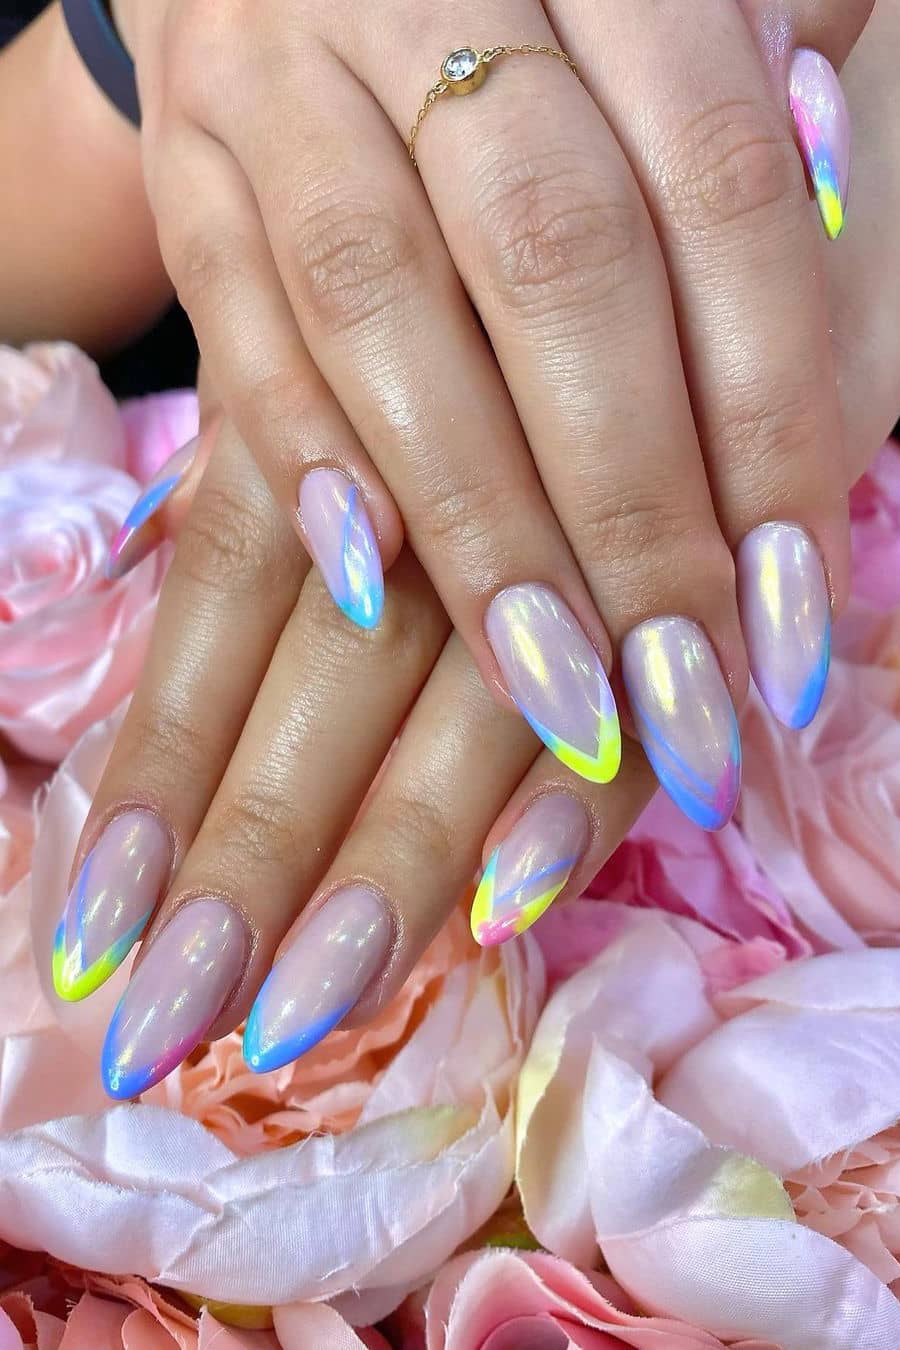
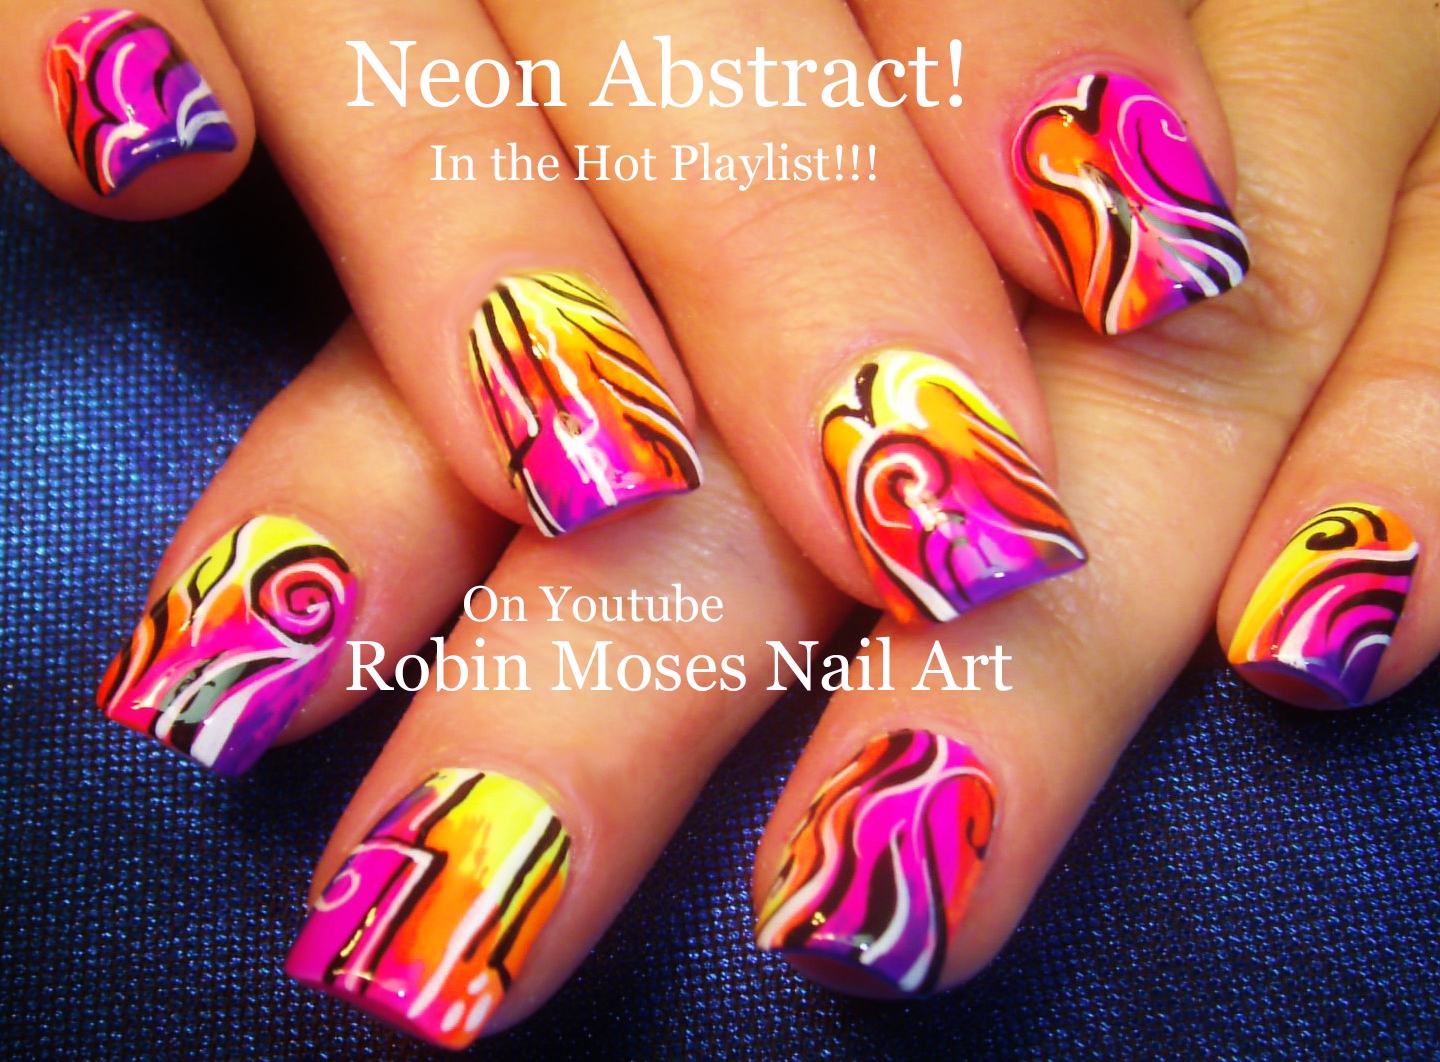
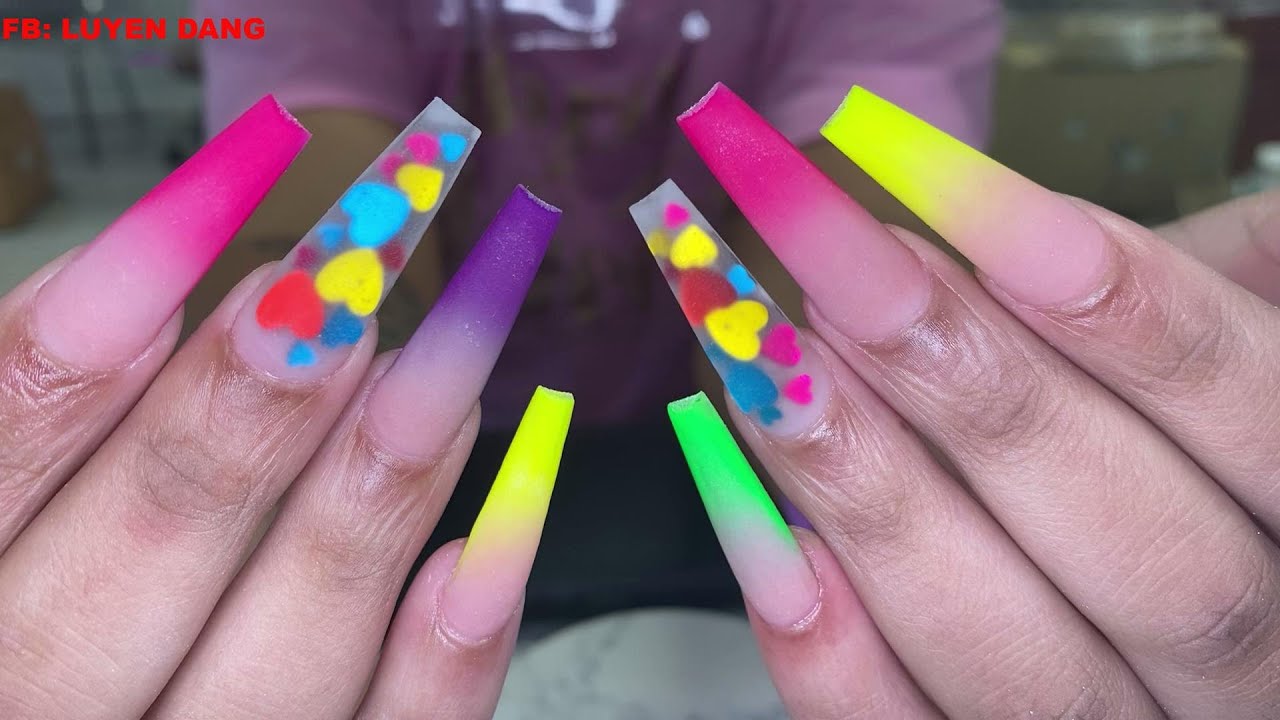
When it comes to neon airbrush nail designs, the possibilities are endless. You can create simple and bold designs or intricate and detailed ones. Here are some ideas to get you inspired. Create a neon galaxy design by airbrushing different shades of neon colors onto a black or dark blue base. You can also add glitter or stars for a more celestial look. For a fun and playful look, try a neon splatter design. Load your airbrush with different neon colors and spray them onto your nails for a messy, yet artistic, look. Use stencils or tape to create geometric shapes with neon colors. This is a great option for those who prefer a more clean and modern design. You can also use your airbrush to create a watercolor effect with neon colors. Simply spray different colors onto your nail and use a brush or sponge to blend them together. Don't be afraid to get creative and experiment with different neon airbrush nail art ideas. The more you play around, the more unique and personalized your designs will be.4. Neon Airbrush Nail Art Ideas


4. Neon Airbrush Nail Art Ideas


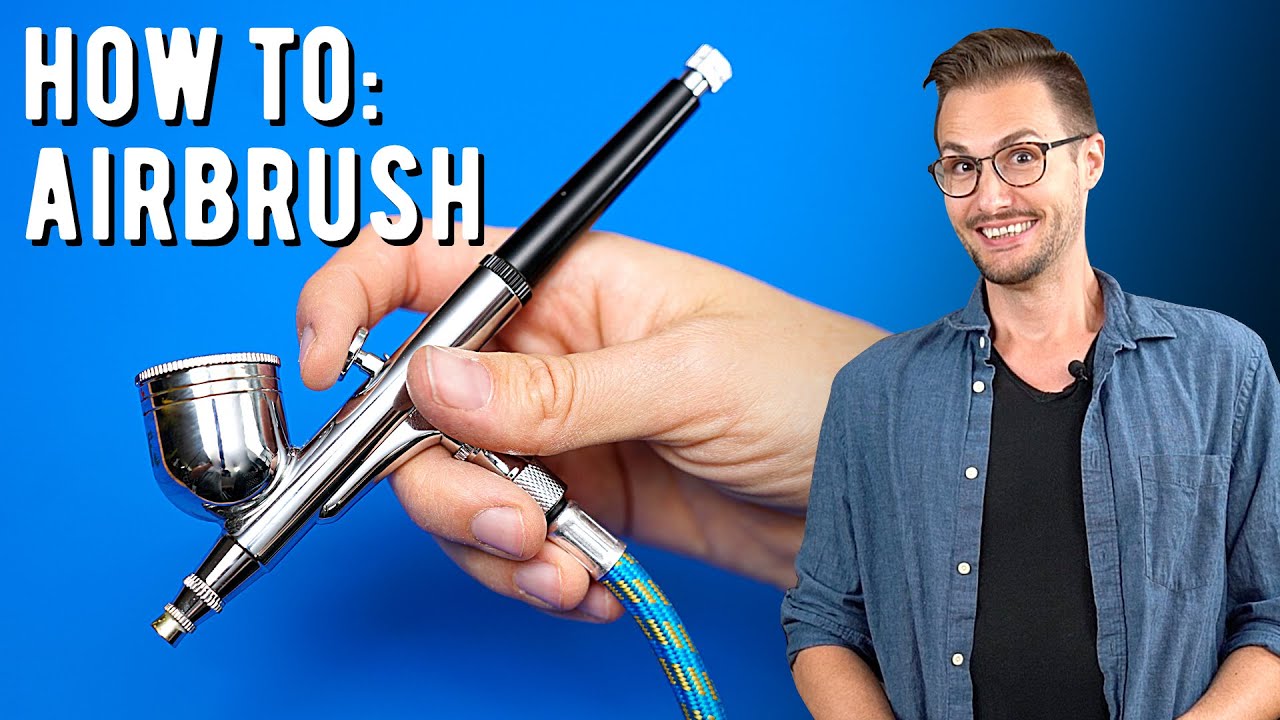
Airbrushing your nails may seem intimidating at first, but with the right tools and techniques, it can be a fun and easy process. Here is a step-by-step guide for airbrushing neon nails. Step 1: Prep your nails by applying a base coat and letting it dry completely. Step 2: Load your airbrush machine with your desired neon color(s). Step 3: Hold the airbrush about 4-6 inches away from your nail and spray in a smooth, even motion. For a more opaque color, you may need to do a second coat. Step 4: If using stencils or tape, apply them to your nail before airbrushing. Make sure they are secure and cover the areas you do not want to be painted. Step 5: Once all of your colors are dry, remove any stencils or tape and apply a top coat to seal in your design and add shine. Remember to have patience and practice, and you'll be airbrushing like a pro in no time!5. Step-by-Step Guide to Airbrushing Neon Nails


5. Step-by-Step Guide to Airbrushing Neon Nails


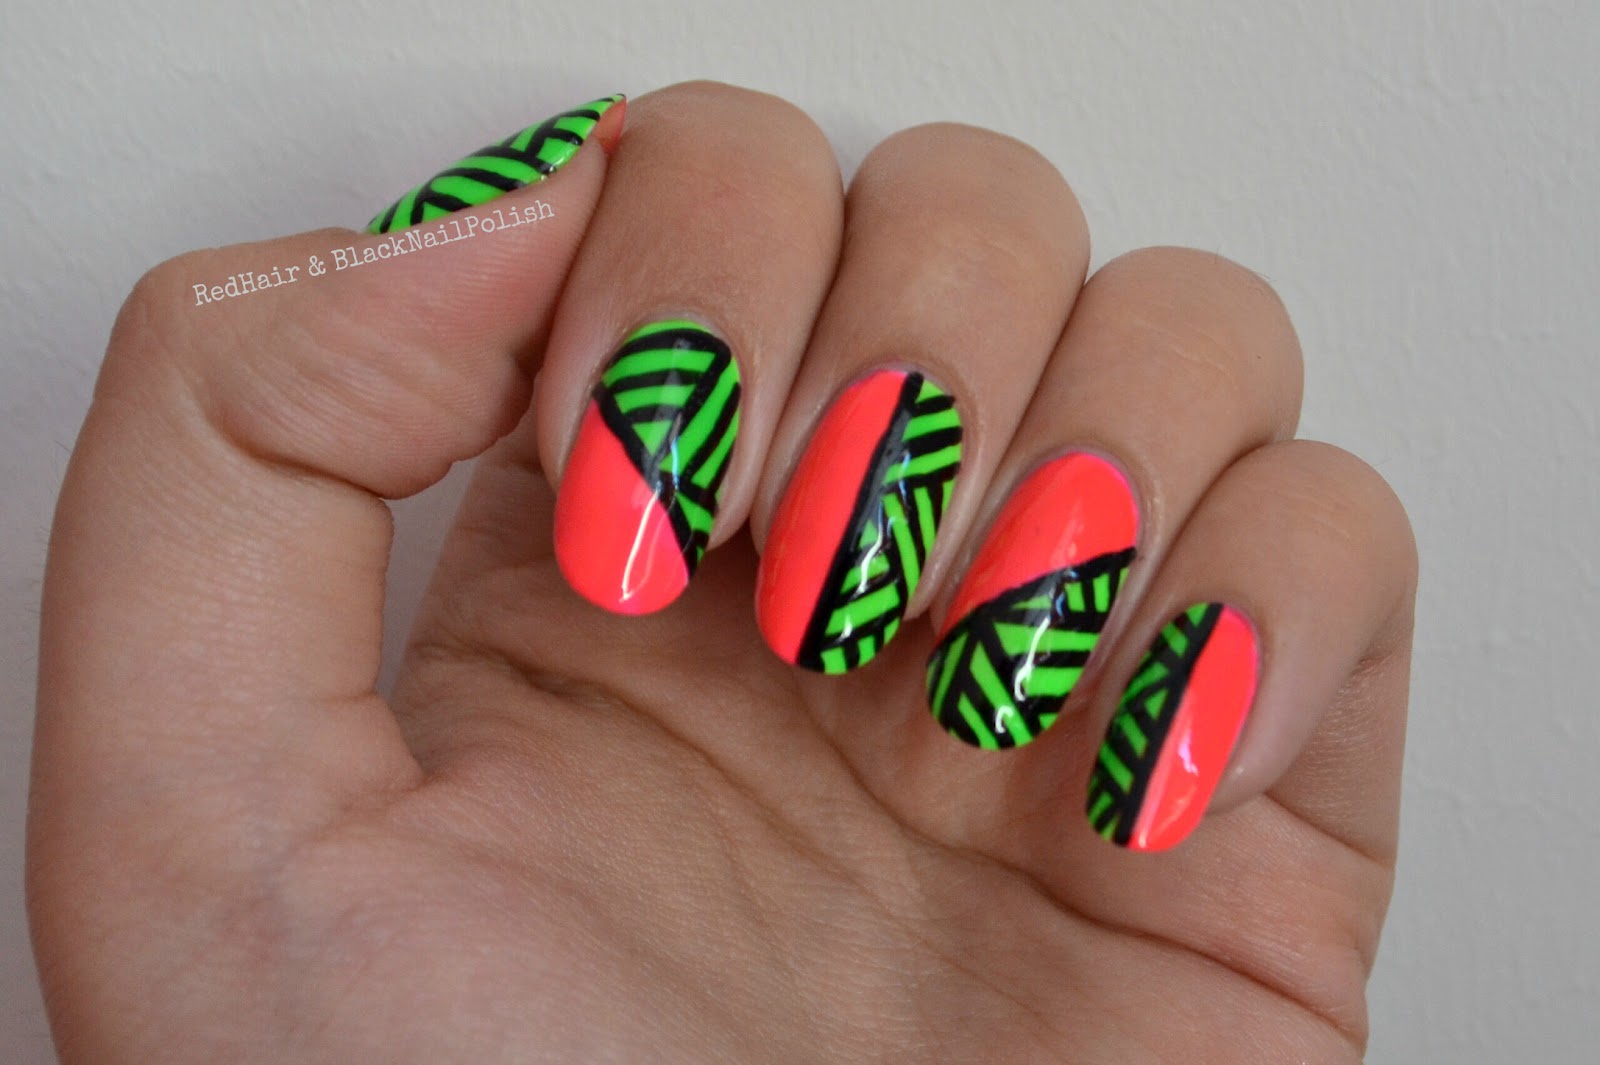
Color blocking is a popular trend in fashion and beauty, and it's no different when it comes to nail art. This design involves using two or more colors to create bold and graphic blocks of color. Here's how to achieve a neon color blocking nail design with an airbrush. Start by selecting your desired neon colors. You can choose two or three colors, depending on your preference. Load your first color into the airbrush machine and spray it onto your nail, starting at the top. Then, load your second color and spray it onto your nail, starting at the bottom. You can also use tape to create clean and straight lines. Once your first layer is dry, you can add a second layer of color for a more opaque look. You can also use stencils to create different shapes or patterns with your colors. Finish off with a top coat to seal in your design and add shine. This is a fun and trendy way to incorporate neon colors into your nail art.6. Neon Color Blocking Nail Design with Airbrush


6. Neon Color Blocking Nail Design with Airbrush


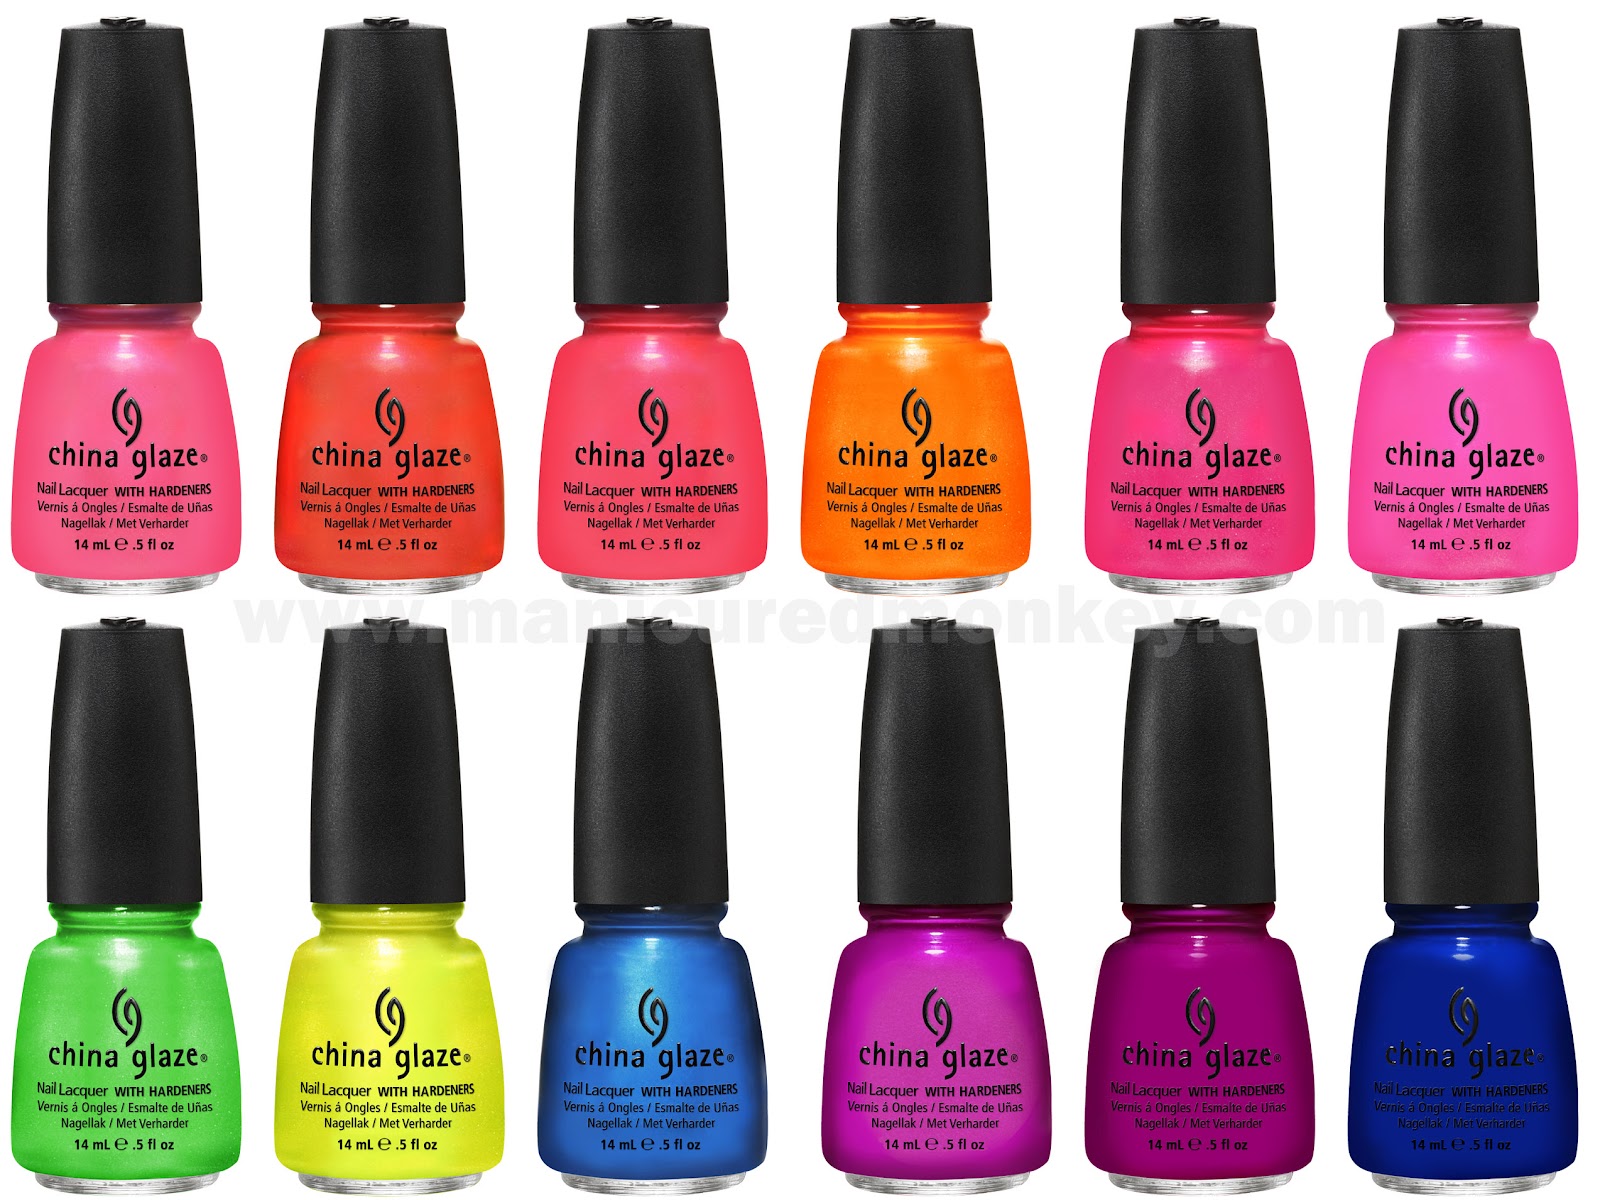
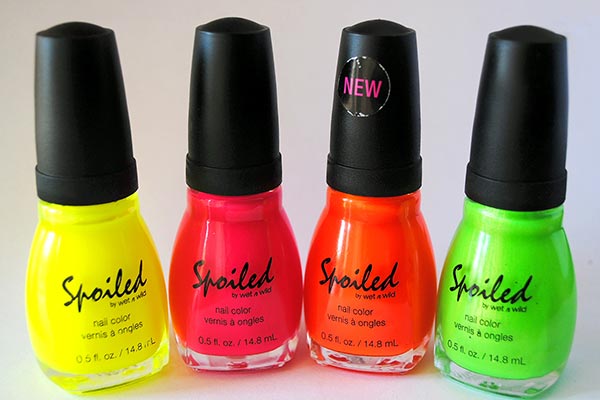
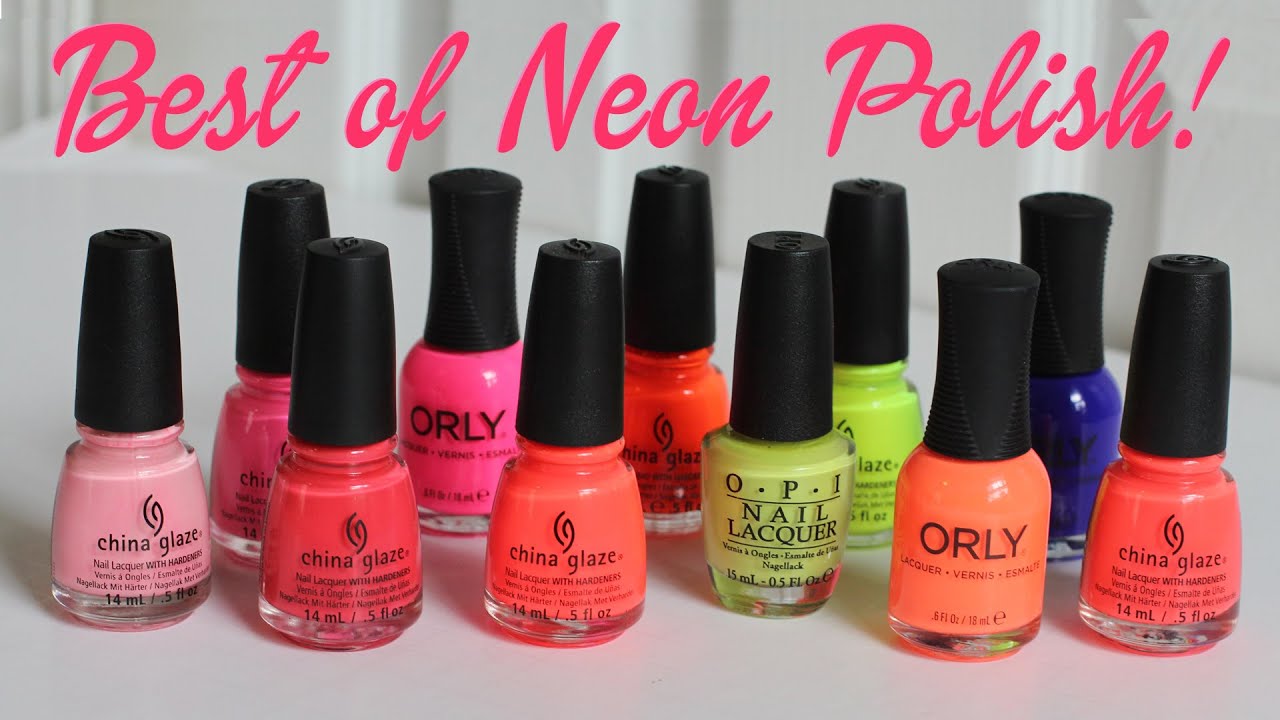
When it comes to airbrushing, not all nail polishes are created equal. Some brands may be too thick or not compatible with airbrush machines. Here are the top 10 neon nail polish brands that are perfect for airbrushing. 1. OPI - known for their high-quality and long-lasting formulas, OPI offers a wide range of neon colors that are perfect for airbrushing. 2. China Glaze - another popular brand among nail enthusiasts, China Glaze offers a variety of neon shades that are great for airbrushing. 3. Essie - known for their wide range of colors and high-quality formulas, Essie also has a great selection of neon shades for airbrushing. 4. Orly - this brand offers a collection specifically designed for airbrushing, including a variety of neon colors. 5. Color Club - another brand with a specific collection for airbrushing, Color Club has a great selection of vibrant neon colors. 6. Zoya - this brand offers a variety of neon colors that are perfect for airbrushing, with a long-lasting formula. 7. Sally Hansen - a well-known drugstore brand, Sally Hansen offers a range of neon shades that are budget-friendly and great for airbrushing. 8. Revlon - another drugstore brand, Revlon offers a wide range of neon colors, perfect for airbrushing. 9. Sinful Colors - known for their affordable and trendy colors, Sinful Colors has a great selection of neon shades for airbrushing. 10. Wet n Wild - a budget-friendly brand that offers a variety of neon shades, Wet n Wild is a great option for airbrushing on a budget.7. Top 10 Neon Nail Polish Brands for Airbrushing


7. Top 10 Neon Nail Polish Brands for Airbrushing


Ombre nail designs are a popular trend that involves blending two or more colors together to create a gradient effect. Here's a tutorial on how to achieve a neon ombre airbrush nail design. Start by selecting your desired neon colors. You can choose two colors that are similar in shade for a more subtle ombre, or two contrasting colors for a bolder look. Load your first color into the airbrush machine and spray it onto your nail, starting at the top. Then, load your second color and spray it onto your nail, starting at the bottom. Make sure to overlap the two colors slightly to create a smooth transition. If needed, you can use a brush or sponge to blend the colors together for a more seamless ombre effect. Once your nail is dry, you can add a top coat to seal in your design and add shine. This is a simple and stunning way to incorporate neon colors into your nail art.8. Neon Ombre Airbrush Nail Design Tutorial


8. Neon Ombre Airbrush Nail Design Tutorial


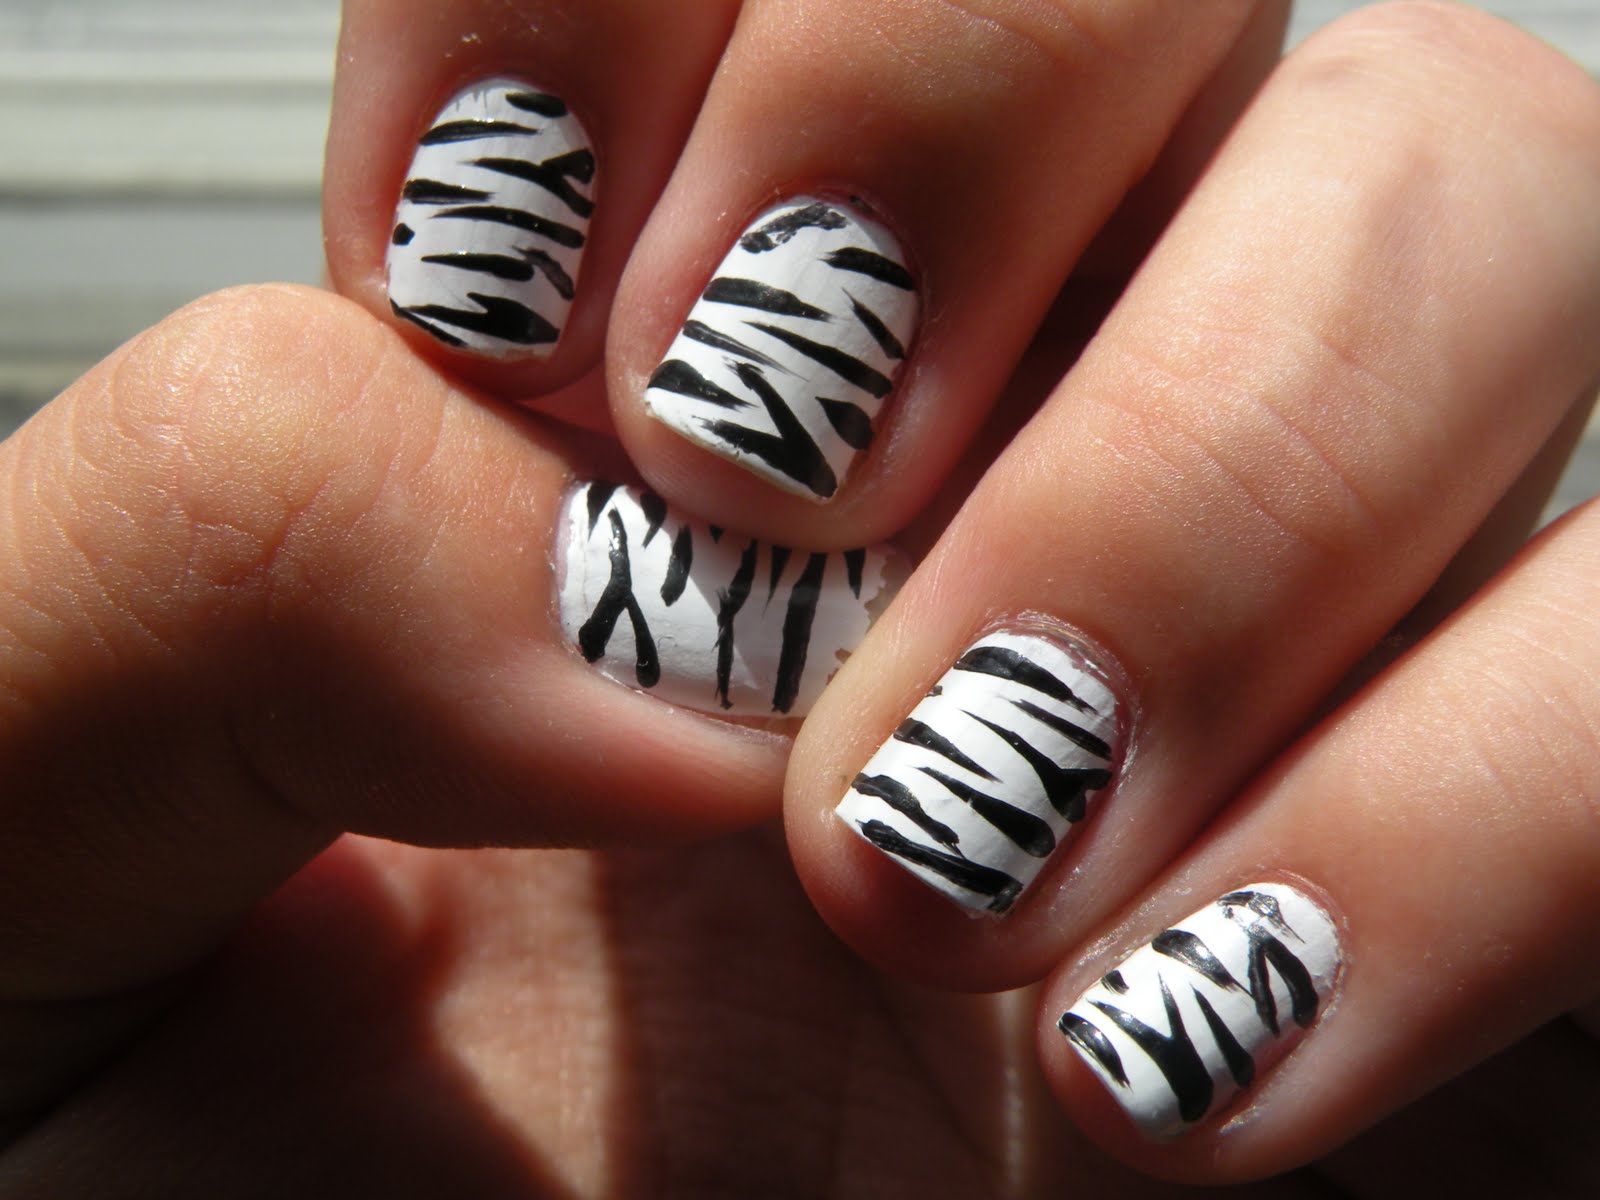
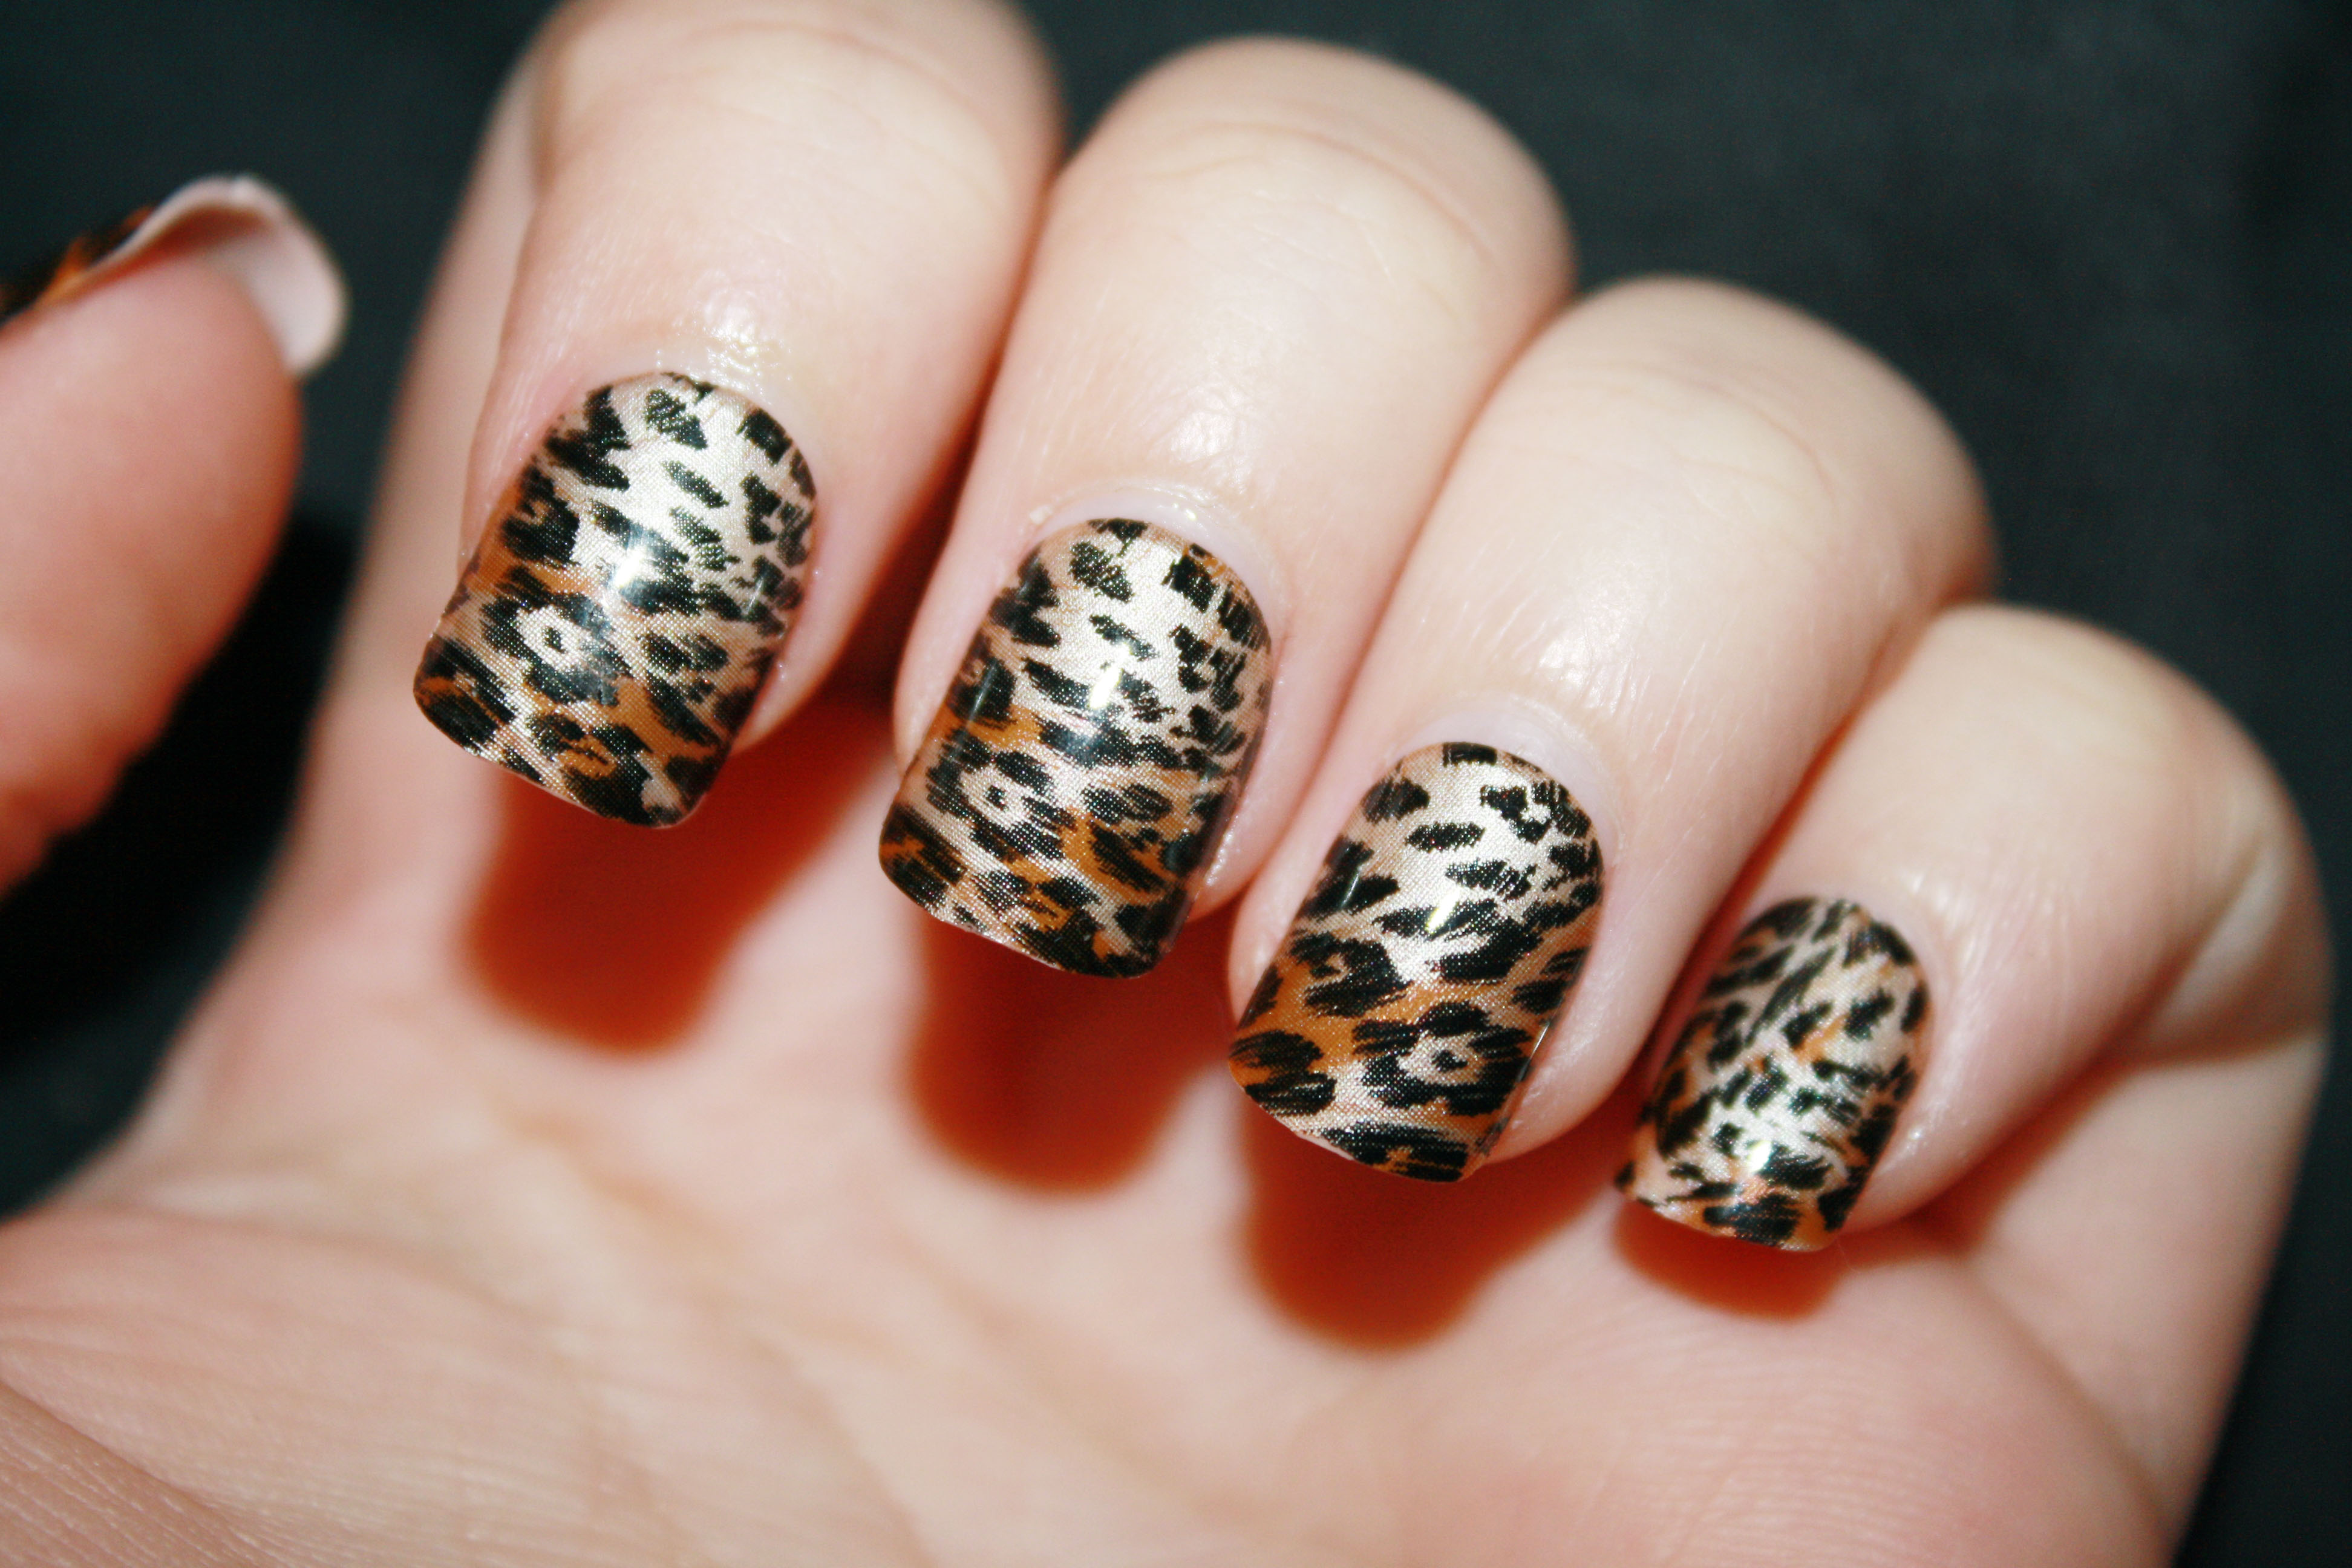
Bring out your wild side with a neon animal print nail design. This is a fun and playful way to incorporate neon colors into your manicure. Here's how to achieve this look with an airbrush. Start by applying a base coat to your nails and letting it dry completely. Choose your desired animal print pattern - leopard, zebra, or tiger - and load your airbrush machine with the appropriate colors. Using stencils or freehand, create your animal print pattern on your nails. You can mix and match different patterns or colors for a more unique look. Once your design is dry, you can add a top coat to seal in your design and add shine. This is a fun and creative way to incorporate neon colors into your nail art.9. Neon Animal Print Nail Design with Airbrush


9. Neon Animal Print Nail Design with Airbrush

The classic French tip manicure gets a bright and bold update with the addition of neon colors. Here's a tutorial on how to achieve a neon French tip nail design with an airbrush. Start by applying a base coat to your nails and letting it dry completely. Choose your desired neon colors and load them into your airbrush machine. Hold the airbrush about 4-6 inches away from your nail and spray the color onto the tips of your nails, creating a gradient effect. You can also use stencils or tape to create clean and straight lines. Once your design is dry, you can add a top coat to seal in your design and add shine. This is a fun and modern twist on a classic manicure.10. Neon French Tip Nail Design with Airbrush


10. Neon French Tip Nail Design with Airbrush


Airbrush Nail Design: The Ultimate Guide to Neon Color

When it comes to nail art, there are endless possibilities and techniques to make your nails stand out. One of the most popular and eye-catching methods is airbrush nail design using neon colors. This trend has taken the beauty world by storm, and for good reason. Not only does it create a bold and vibrant look, but it also allows for precision and intricate designs that are hard to achieve with traditional nail polish.
The Basics of Airbrush Nail Design

Airbrush nail design is a technique that involves using an airbrush machine to spray a fine mist of color onto the nails. This allows for a smooth and flawless application of the color, giving your nails a professional and polished look. The airbrush machine is typically used with stencils or freehand to create intricate designs that are unique and personalized.
Airbrush machines are not just limited to creating designs, but they can also be used to apply a base color or gradient effect. This makes it a versatile tool for any nail artist looking to elevate their game.
The Popularity of Neon Colors

Neon colors have been a staple in fashion and beauty trends for decades. Their bright and bold hues make a statement and add a playful touch to any look. When it comes to airbrush nail design, neon colors are a game-changer. The use of neon colors allows for endless creativity and gives your nails a vibrant and eye-catching look.
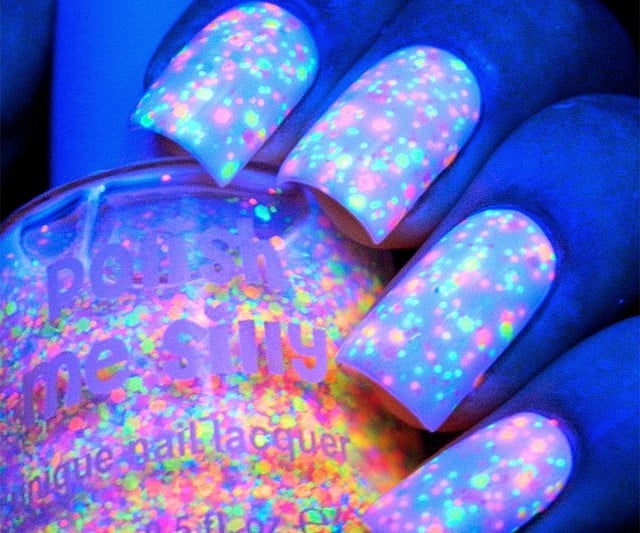
Neon colors also have the advantage of glowing under blacklight, making them perfect for a night out or festival look. They also complement a variety of skin tones, making them a popular choice among nail artists and clients alike.
Tips for Achieving the Perfect Airbrush Nail Design with Neon Colors

Choosing the right equipment and products is crucial for achieving a flawless airbrush nail design with neon colors. Here are some tips to get you started:
- Invest in a good quality airbrush machine and nail polish specifically formulated for airbrushing.
- Practice using stencils and freehand techniques to create different designs.
- Start with a base color and then add neon colors for a gradient effect.
- Use a topcoat to seal and protect the design.
- Clean your airbrush machine regularly to ensure it works properly.
With these tips and some practice, you can achieve stunning airbrush nail designs using neon colors that will make your clients' nails pop.
In Conclusion

Airbrush nail design using neon colors is a fun and creative way to elevate your nail game. Whether you're a professional nail artist or a DIY enthusiast, this technique allows for endless possibilities and allows you to express your unique style. So why not give it a try and see the magic of neon colors on your nails!


