If you're looking to add a pop of color to your nails this summer, why not try out some neon airbrush nail designs? These vibrant and eye-catching designs are perfect for the warm weather and will make a statement wherever you go. In this tutorial, we will guide you through the steps to create your own neon airbrush nail designs at home. Get ready to turn heads with your bold and beautiful nails!Neon Airbrush Nail Design Tutorial


Neon Airbrush Nail Design Tutorial


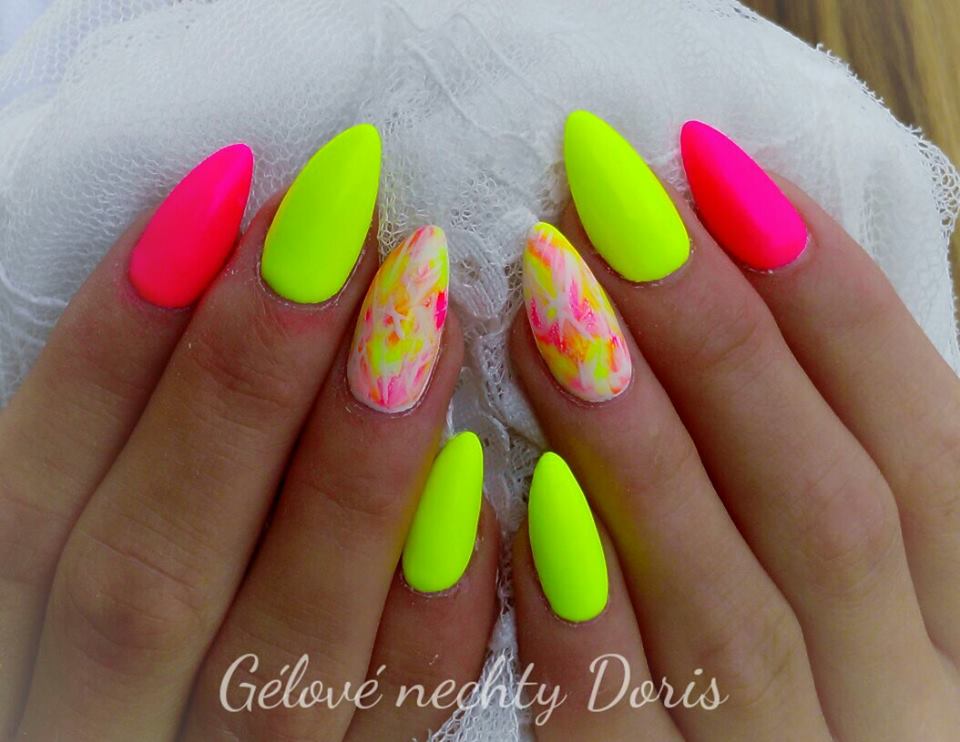
Creating neon airbrush nail tips is easier than you might think. All you need is an airbrush machine, some neon nail polish, and a steady hand. Start by applying a base coat to protect your natural nails. Then, using a thin brush or tape, create a straight line across the tip of your nail. This will serve as a guide for your airbrushing. Choose your desired neon color and start airbrushing from the tip of your nail, moving towards the cuticle. Repeat on all nails and seal with a top coat for a glossy finish.How to Create Neon Airbrush Nail Tips


How to Create Neon Airbrush Nail Tips

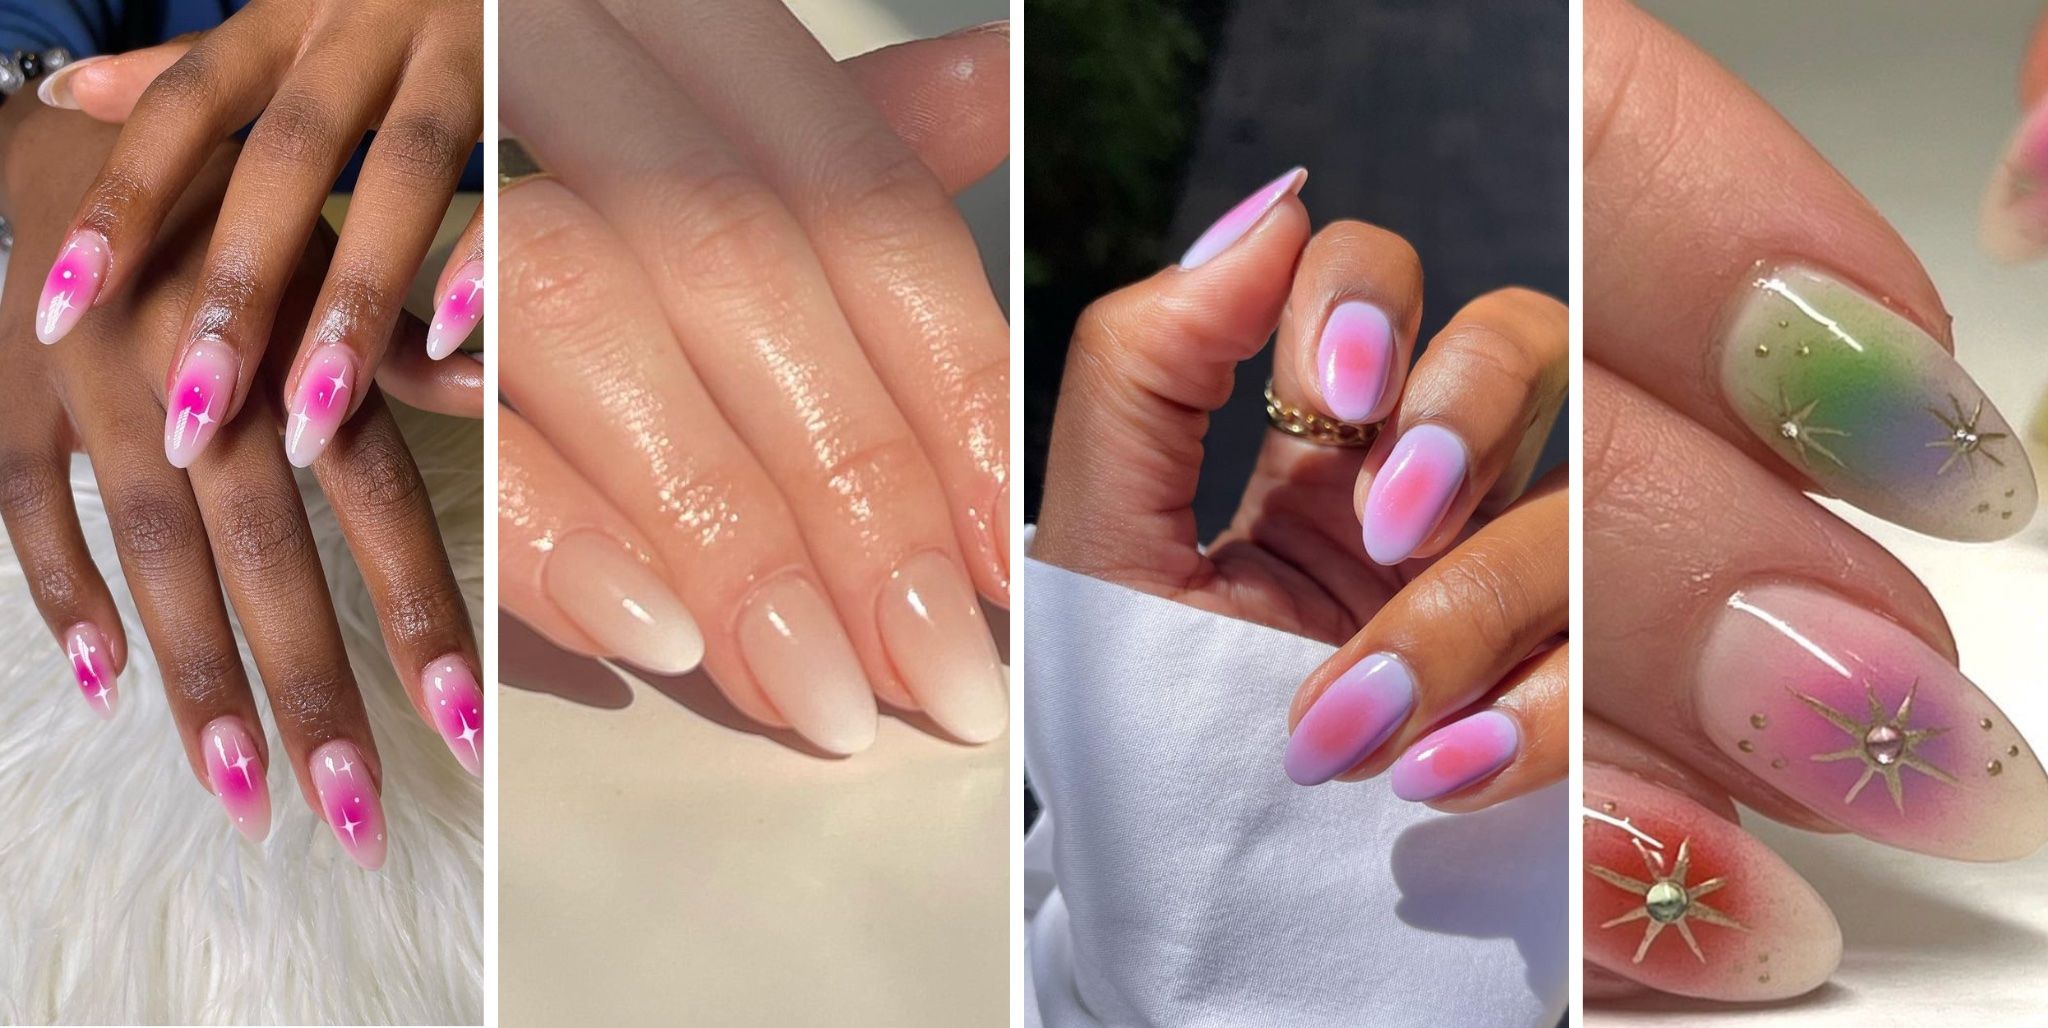
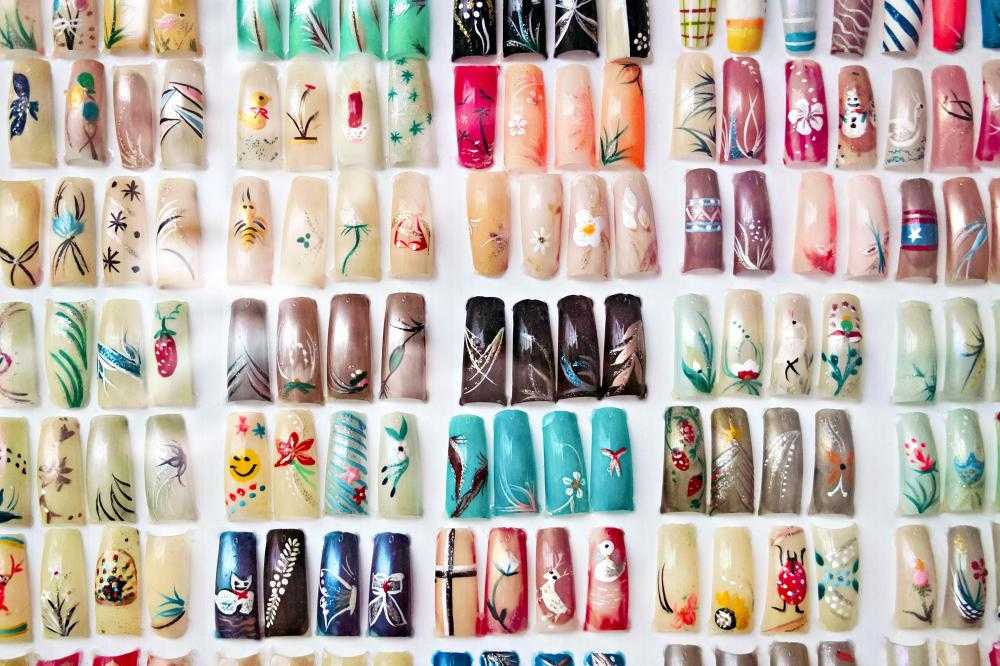
There are endless possibilities when it comes to neon airbrush nail designs. From simple tips to intricate patterns, you can let your creativity run wild. Here are 10 ideas to get you started: 1. Neon Gradient: Create a gradient effect using different shades of neon nail polish. Start with the lightest color at the tip of your nail and gradually move towards the cuticle with darker shades. 2. Neon Marble: Use a water marbling technique to create a swirl of neon colors on your nails. 3. Neon Floral: Add a touch of summer to your nails with neon floral designs. Use a fine brush to create delicate petals in different neon shades. 4. Neon Geometric: Create a modern and edgy look by using neon colors to create geometric shapes on your nails. 5. Neon Stripes: Add some stripes to your nails using neon nail polish and a thin brush. You can opt for vertical, horizontal, or diagonal stripes for a different look. 6. Neon Animal Print: Show off your wild side with neon animal print designs. Use a small brush or nail stamping kit to create leopard, zebra, or tiger prints in neon colors. 7. Neon Glitter: Add some sparkle to your neon airbrush nail design by incorporating glitter. You can use a glittery top coat or apply loose glitter on top of your design for an extra touch of glam. 8. Neon Negative Space: Leave some empty space on your nails and create a neon design within it. This negative space look is trendy and perfect for those who want a more subtle neon look. 9. Neon Tie-Dye: Use a sponge to create a tie-dye effect on your nails with neon colors. This design is fun and playful, perfect for a summer day out. 10. Neon French Tip: Give the classic French tip a twist by using neon colors instead of white. This look is simple yet bold and will make your nails stand out.10 Neon Airbrush Nail Designs for Summer

10 Neon Airbrush Nail Designs for Summer


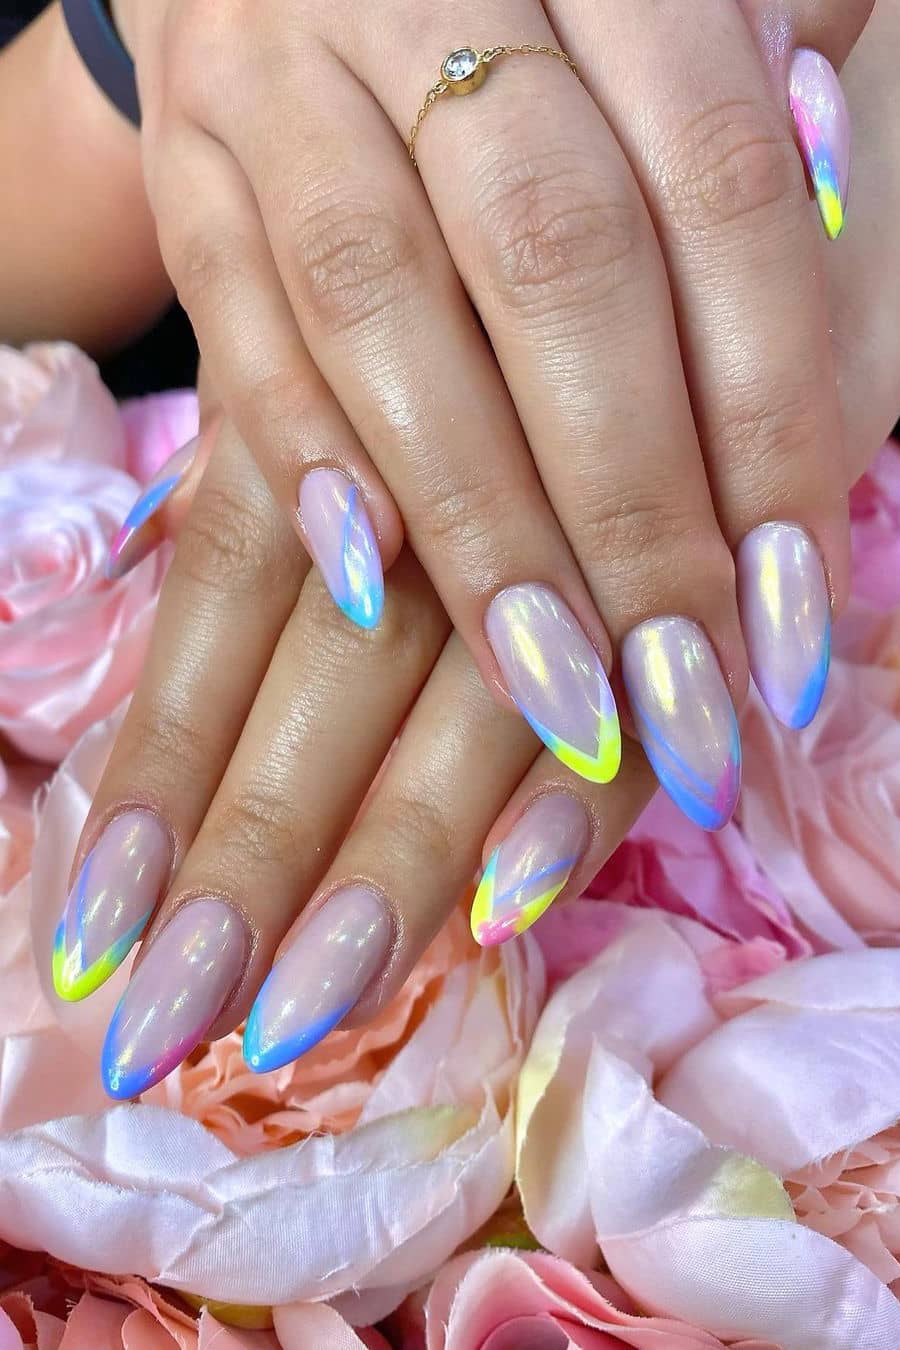
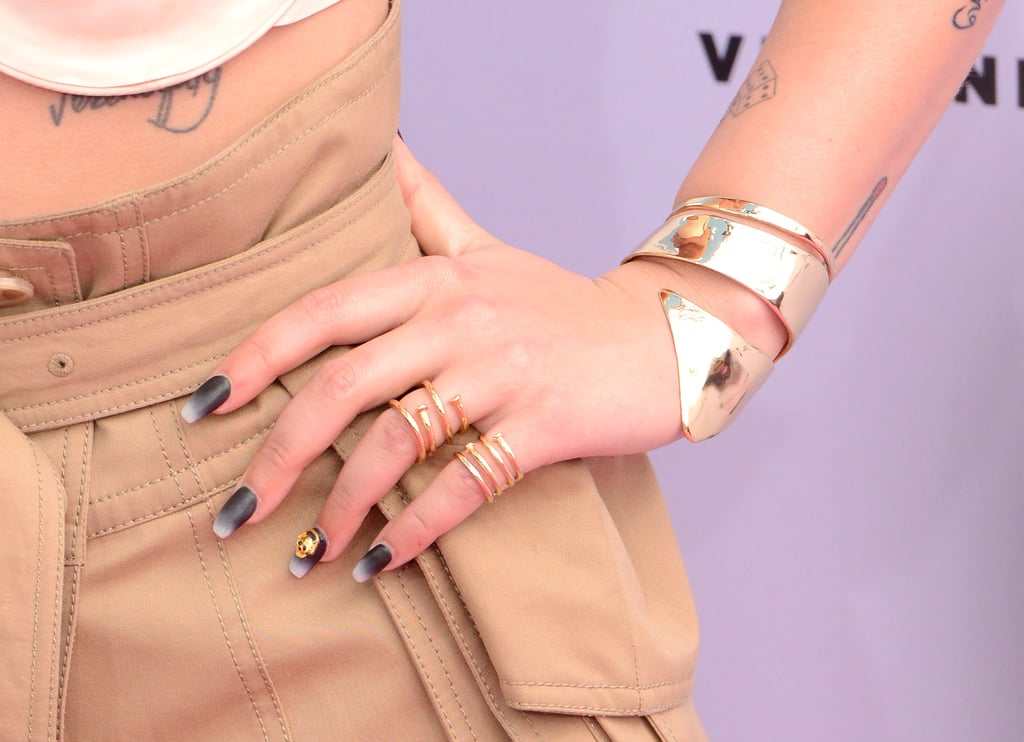
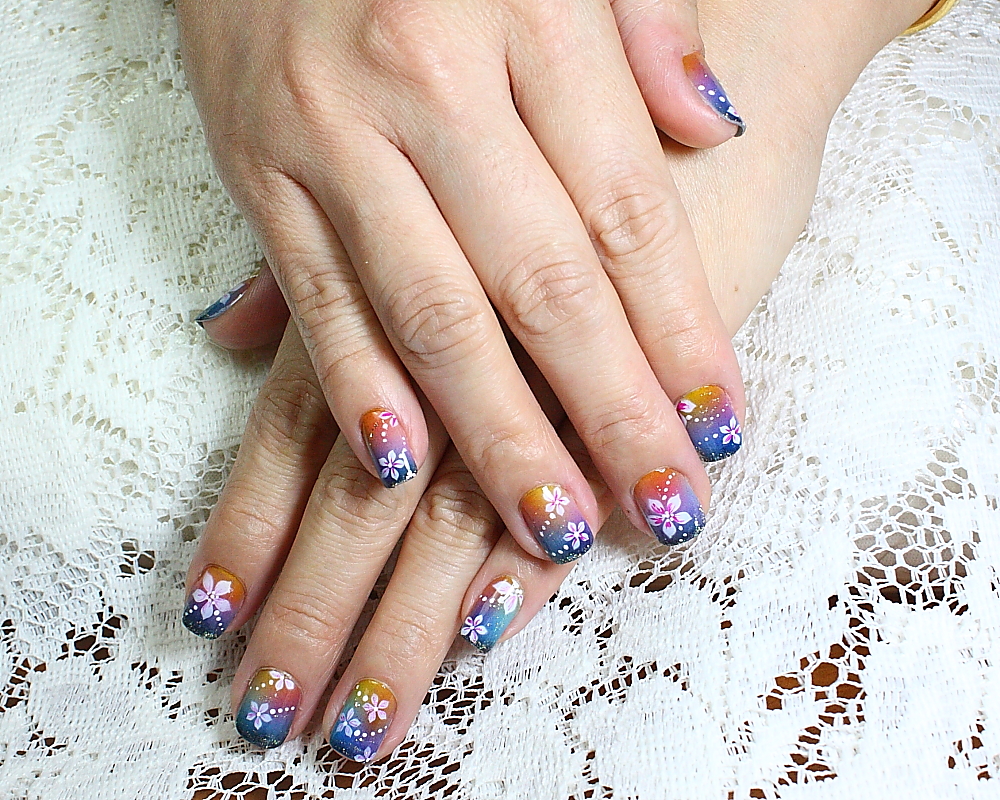
For a unique and eye-catching look, try a neon color fade airbrush nail design. Start by applying a light base color all over your nail. Then, use a darker neon color and airbrush it from the tip of your nail, gradually fading it towards the cuticle. You can use multiple neon colors for a more vibrant look. Seal with a top coat for a glossy finish.Neon Color Fade Airbrush Nails
Neon Color Fade Airbrush Nails

:max_bytes(150000):strip_icc()/airbrushnails12-04e87186e4fe4129ad654ed0f587f1b3.jpg)
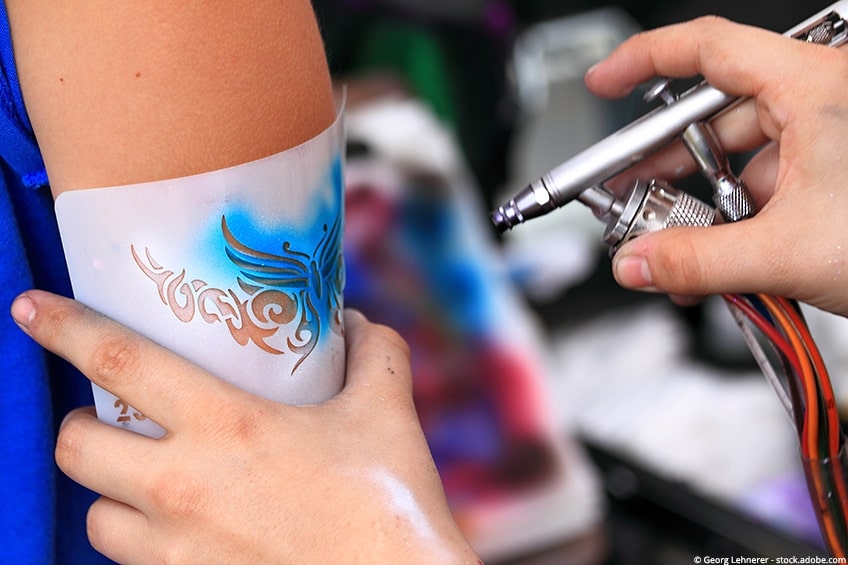
If you're new to airbrush nail art, here is a step-by-step guide to help you create beautiful designs: Step 1: Prep your nails by filing, shaping, and applying a base coat. Step 2: Choose your desired design and gather all the necessary tools and colors. Step 3: If using tape or stickers for your design, place them on your nails now. Step 4: Load your airbrush machine with the desired neon color. Step 5: Hold the airbrush about 5-6 inches away from your nail and start airbrushing in short, quick bursts. Step 6: Move the airbrush in different directions to create your desired design. Step 7: Repeat on all nails and allow the design to dry completely. Step 8: Seal with a top coat for a glossy finish and longer-lasting design.Step-by-Step Guide to Airbrush Nail Art


Step-by-Step Guide to Airbrush Nail Art


Ombre designs are a popular choice for nail art, and it looks even better in neon colors. To create an ombre effect on your airbrush nail tips, start by applying a base color all over your nail. Then, using a sponge or brush, gradually add neon colors from the tip of your nail towards the cuticle. Blend the colors together for a seamless ombre look.Neon Ombre Airbrush Nail Tips
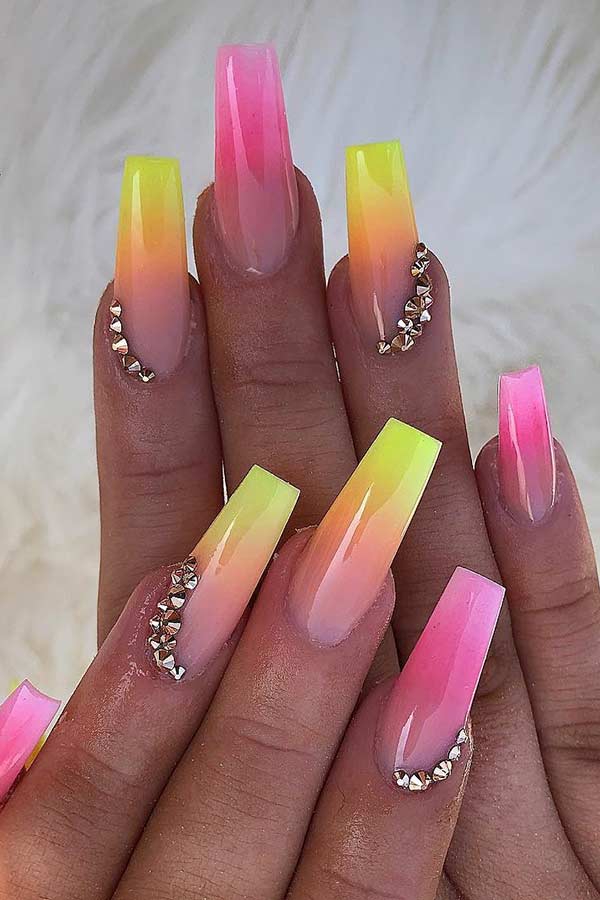
Neon Ombre Airbrush Nail Tips


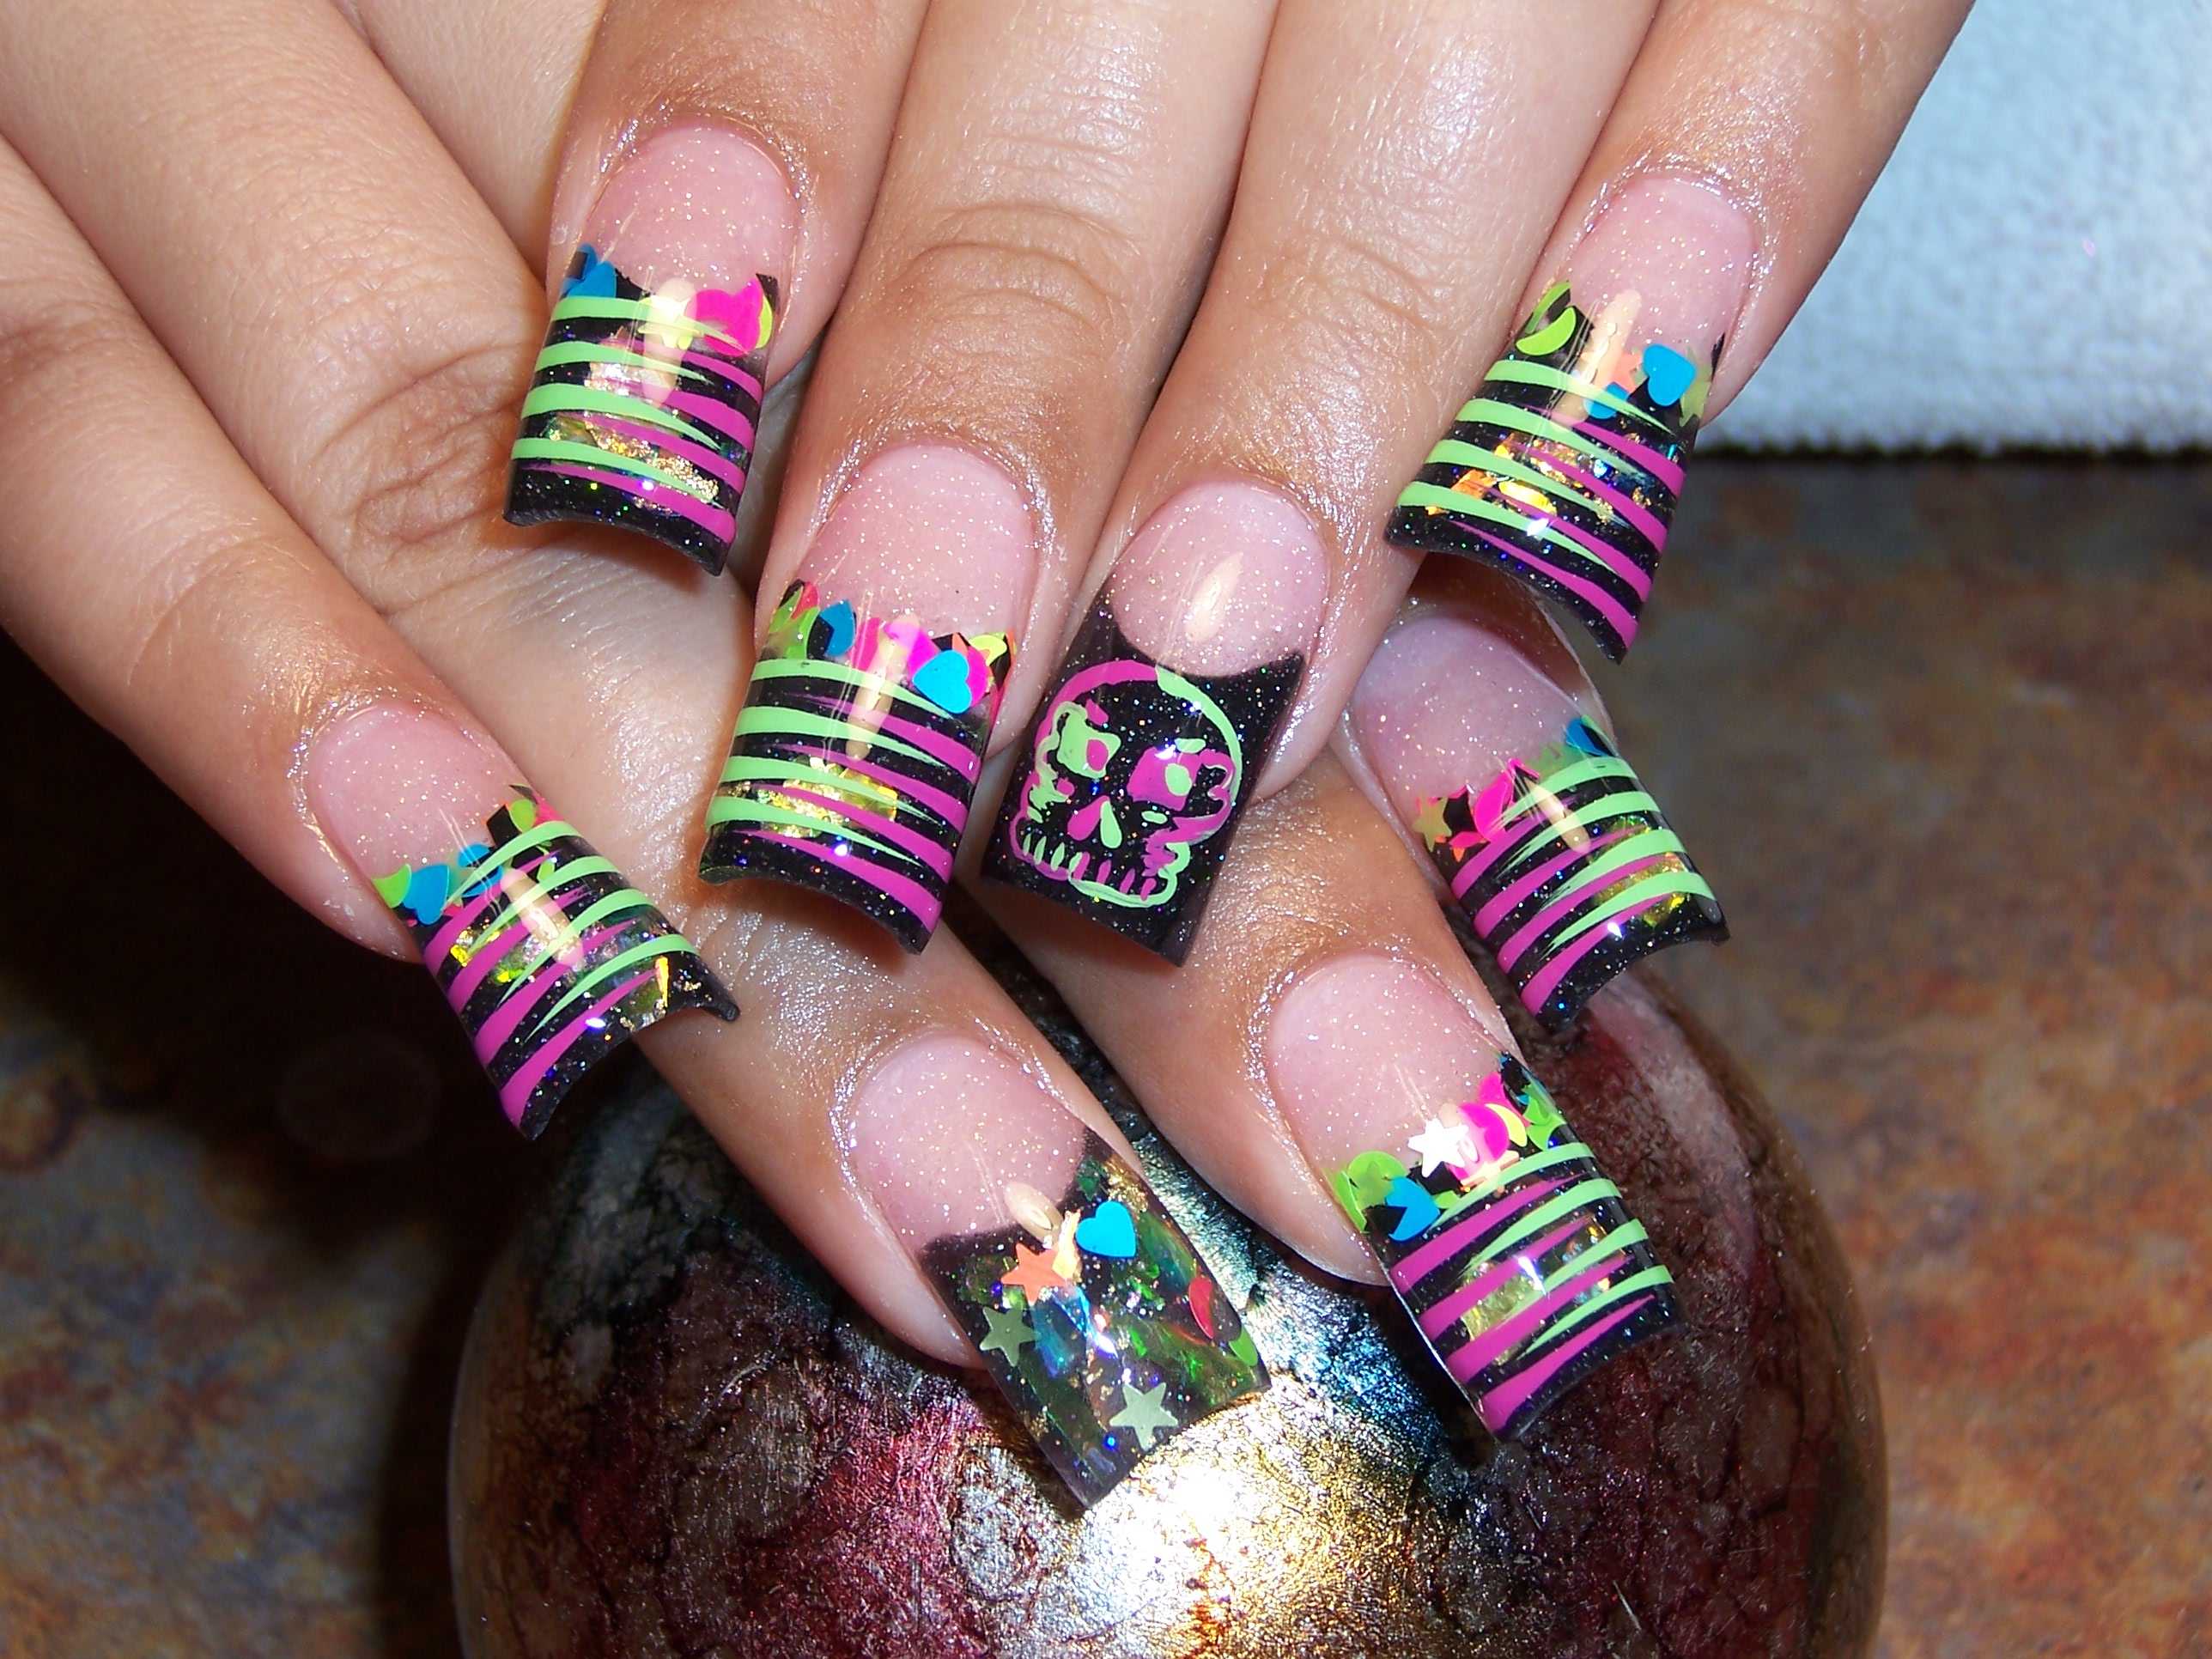
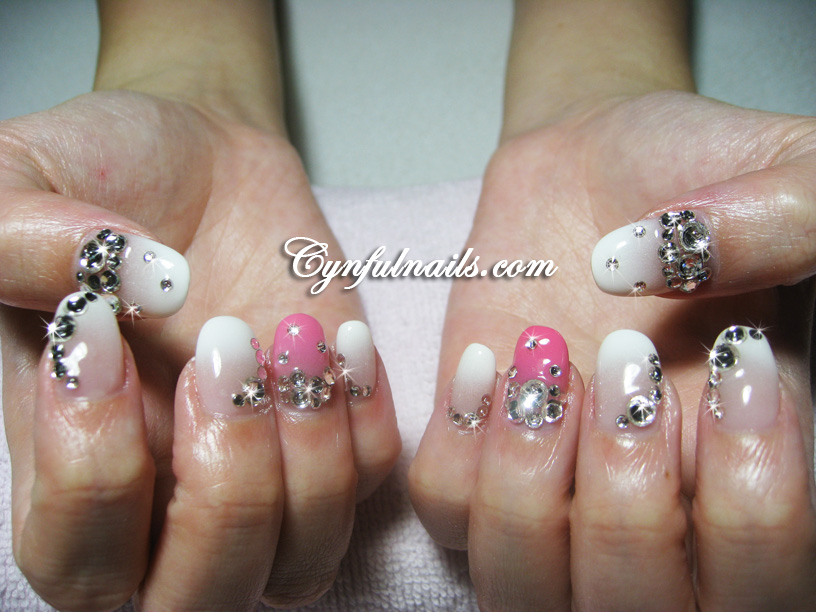
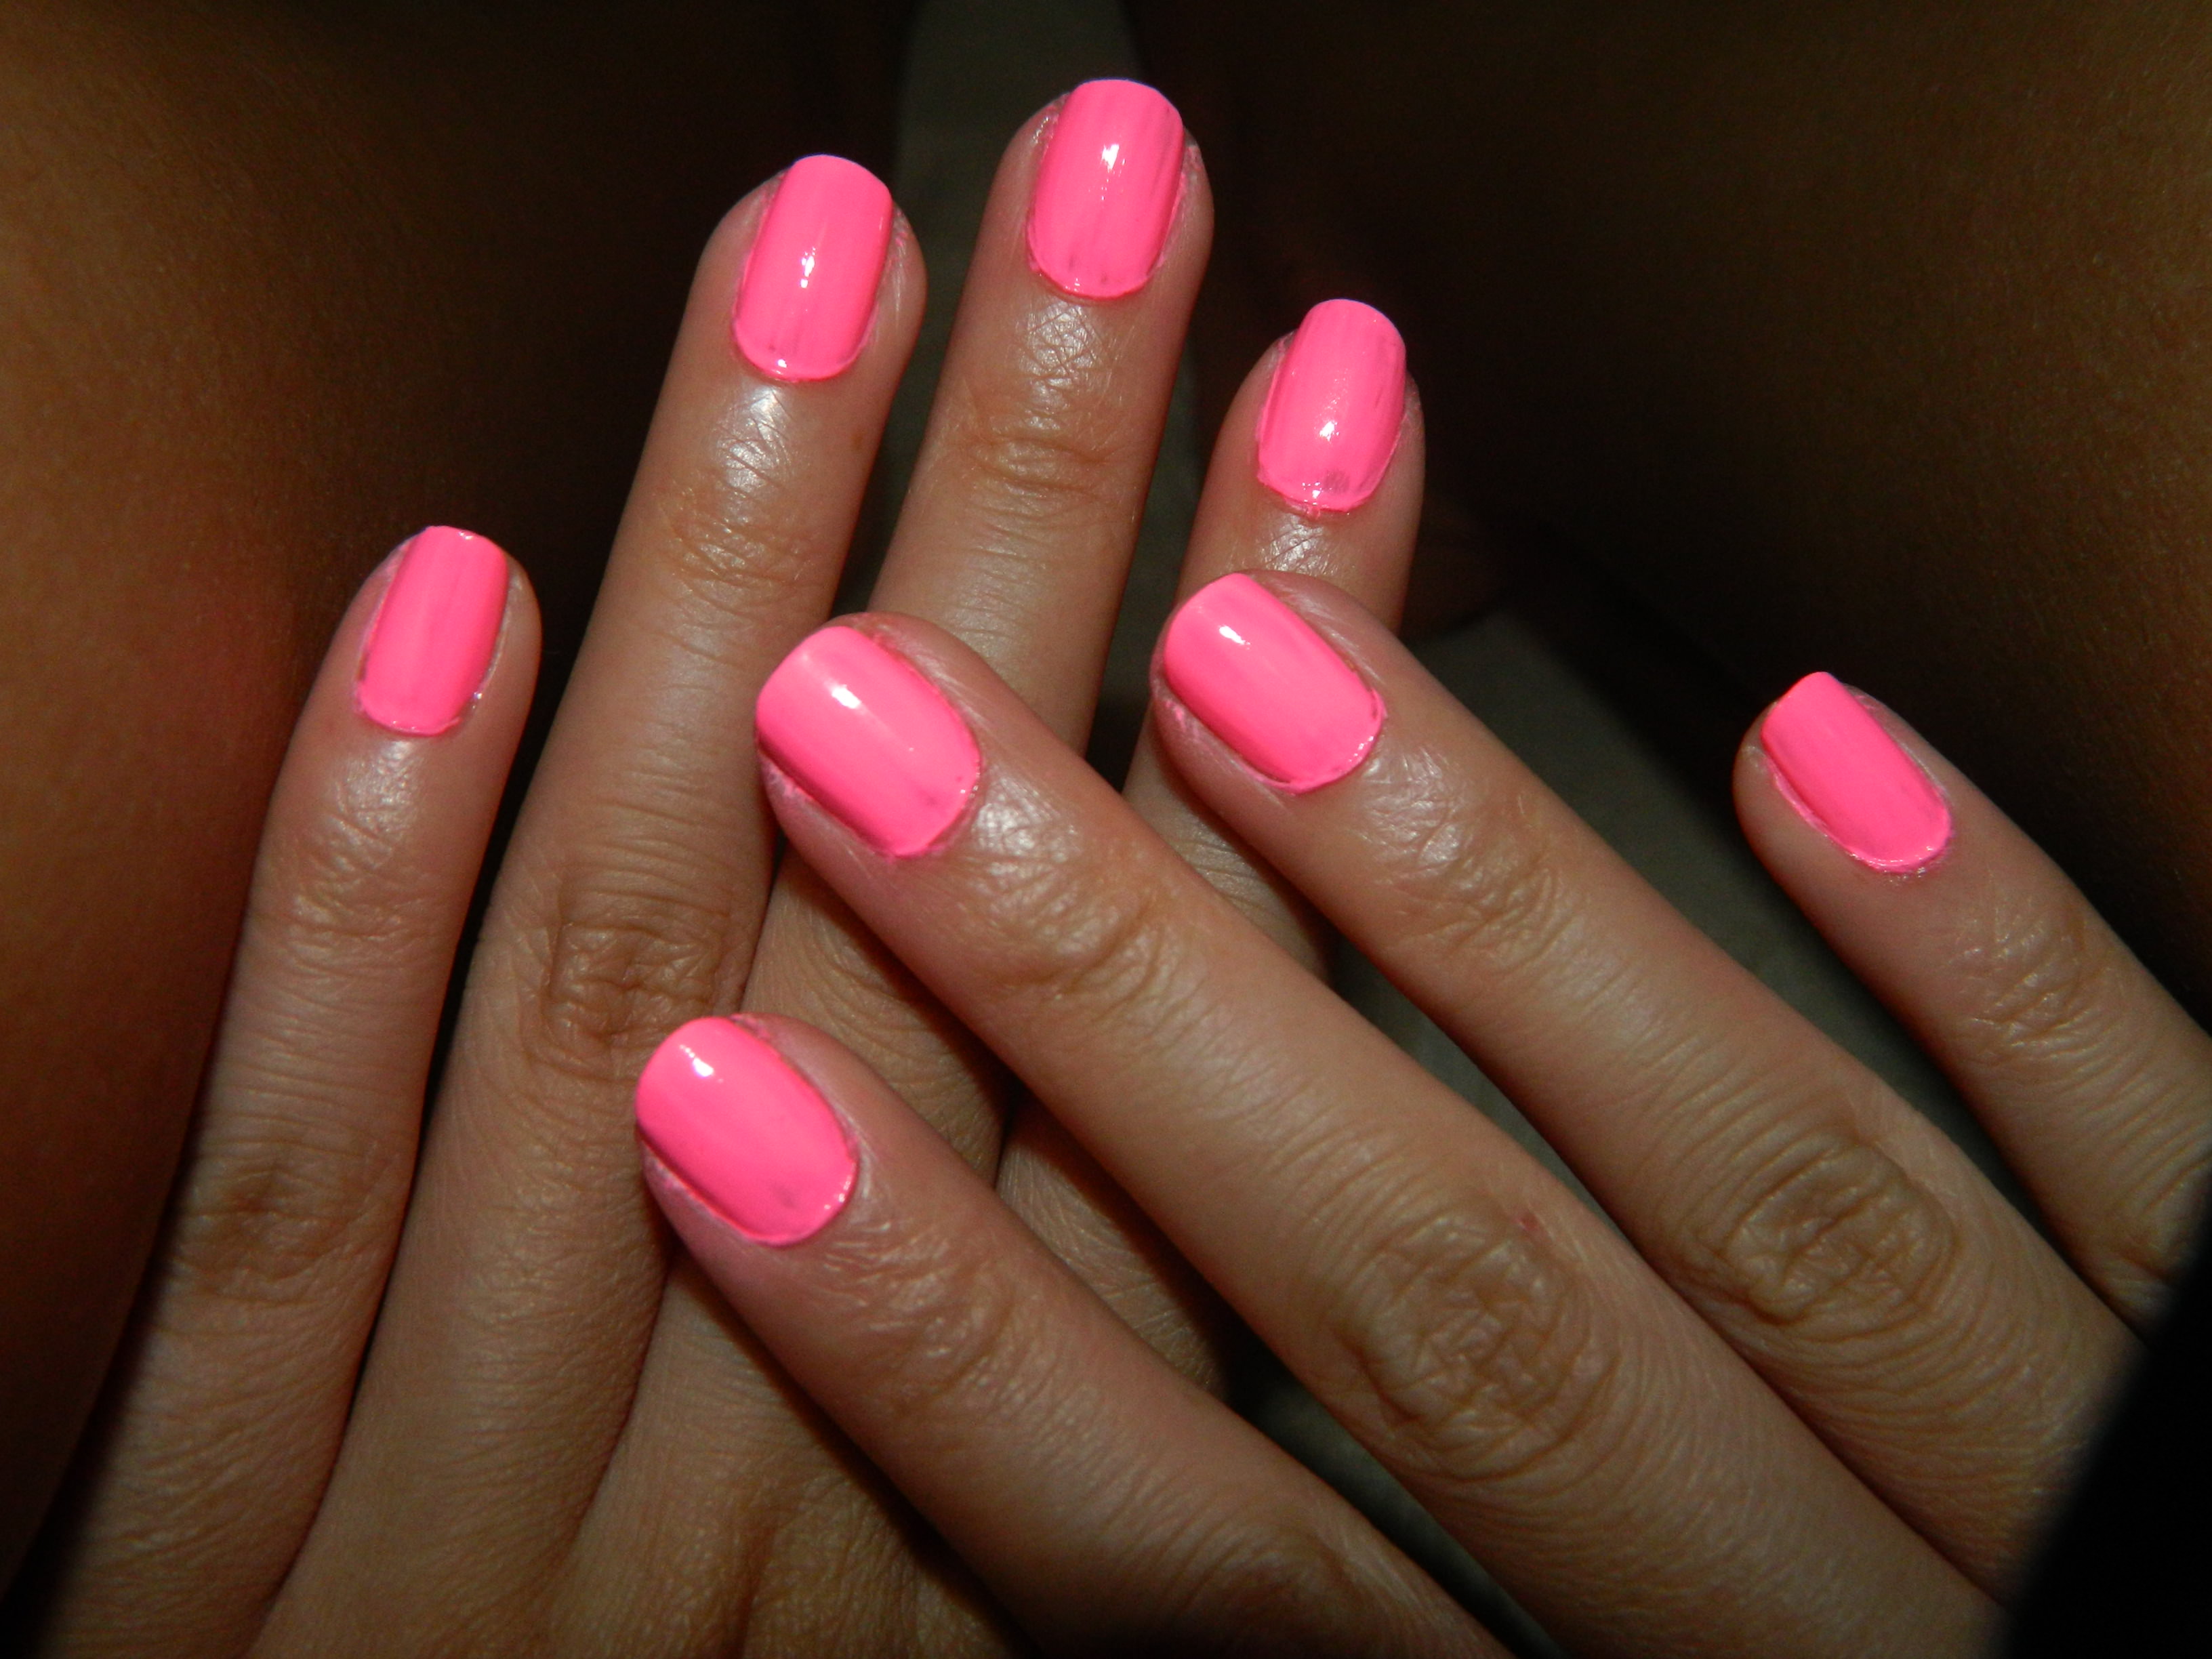
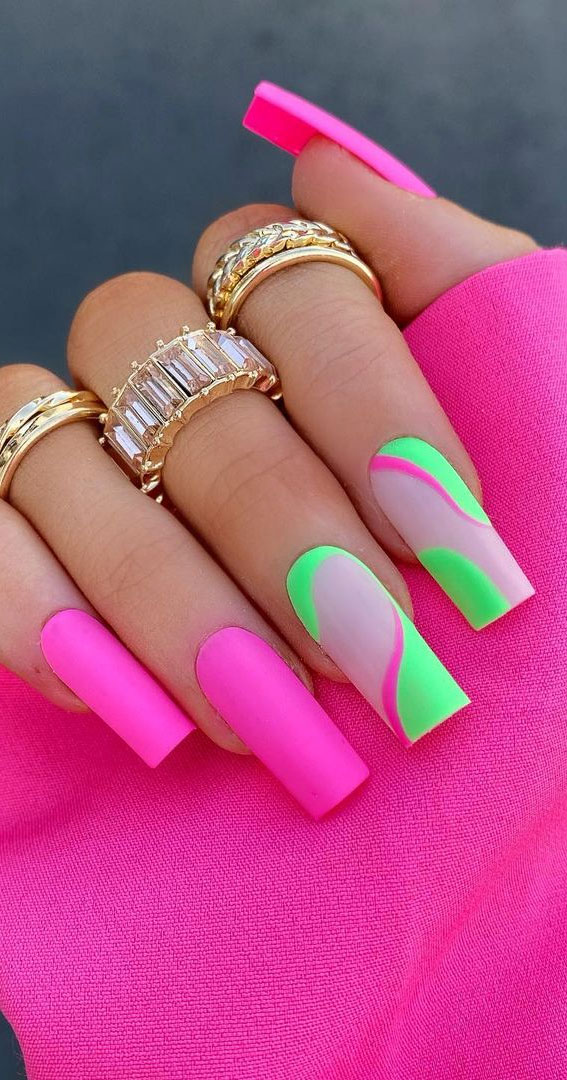
If you want to make a statement with your nails, then go for bright tips with your airbrush designs. You can use any neon color or mix and match multiple colors for a bold and vibrant look. You can also add some glitter or rhinestones for extra bling.Best Airbrush Nail Designs for Bright Tips


Best Airbrush Nail Designs for Bright Tips


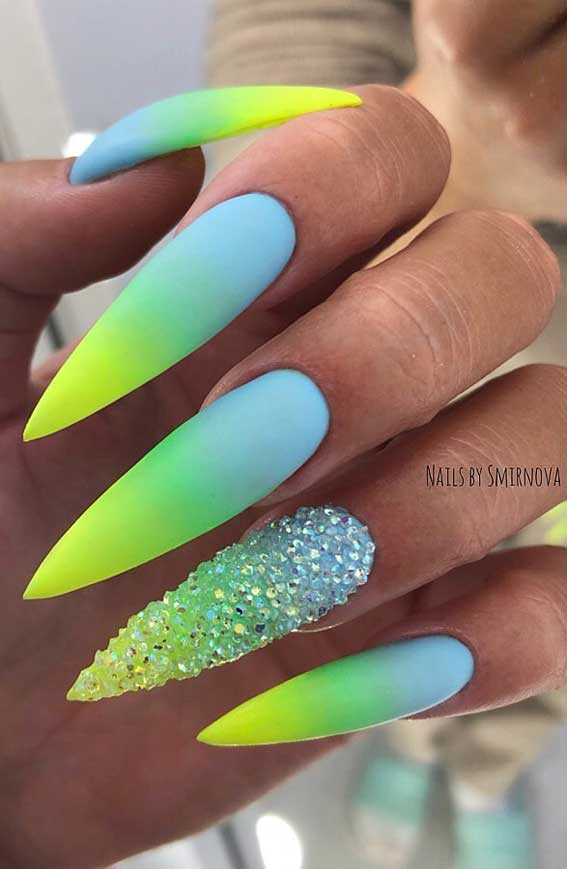
Color blocking is a fun and trendy way to add multiple neon colors to your nails. Use tape or stickers to create clean lines and then airbrush each section with a different neon color. You can also create a color blocking effect on each nail, using different neon colors for each finger.Neon Color Blocking Airbrush Nails

Neon Color Blocking Airbrush Nails


If you're new to using an airbrush for nail art, here are some tips to get you started: 1. Practice: Before attempting a full design, practice using the airbrush on a piece of paper or a fake nail to get a feel for it. 2. Use stencils: Stencils can help create precise designs, especially if you're not confident with freehand airbrushing. 3. Clean your airbrush regularly: Make sure to clean your airbrush after each use to prevent clogging and ensure it continues to function properly. 4. Experiment with different techniques: There are many techniques you can use with an airbrush, such as stenciling, fading, and splattering. Don't be afraid to try them out and see what works best for you.How to Use an Airbrush for Nail Art

How to Use an Airbrush for Nail Art
French tips are a classic and elegant nail design, but they can also be fun and bold in neon colors. Create a traditional French tip using white nail polish and then airbrush over it with your desired neon color. You can also reverse the colors and use a neon base with a white tip for a unique look. With these 10 airbrush nail design tips, you'll be ready to rock some bright and beautiful nails this summer. So grab your airbrush machine and get creative with neon colors for a fun and fashionable look. Don't forget to share your designs with us in the comments below!Neon French Tip Airbrush Nails


Neon French Tip Airbrush Nails
How to Create Eye-Catching Airbrush Nail Designs with Neon Colors

Why Choose Airbrush Nail Design?
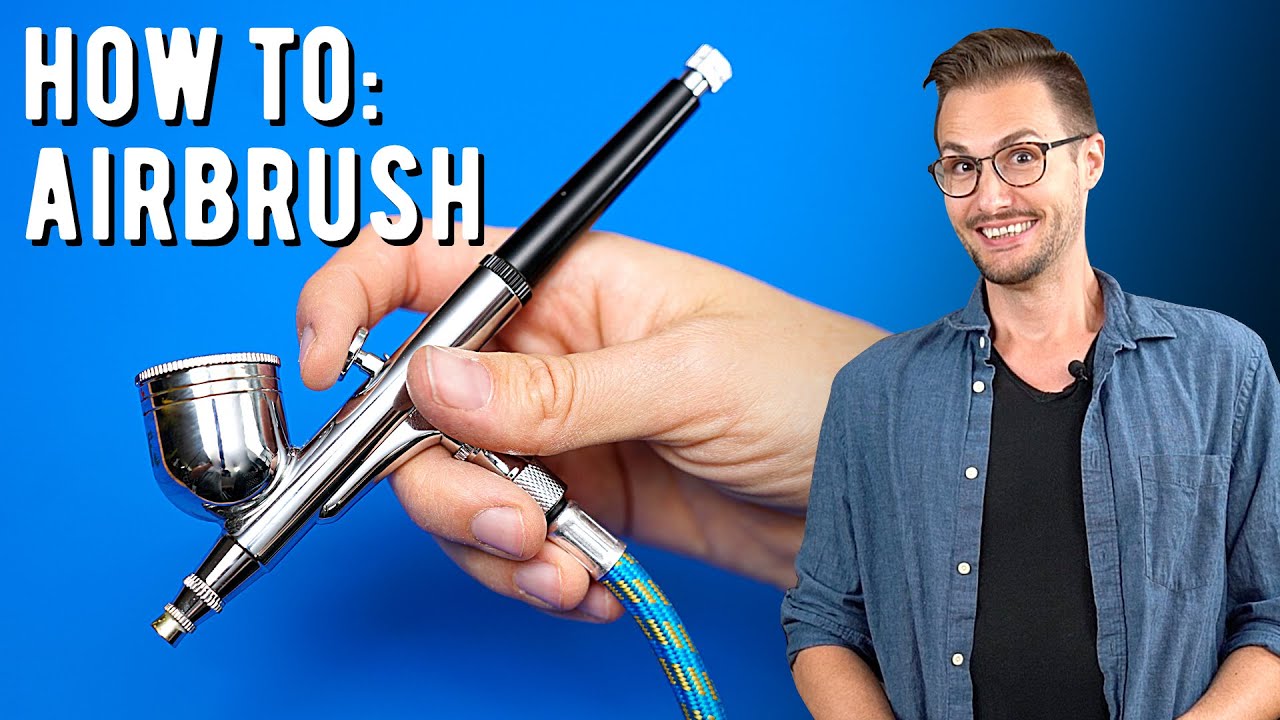
 Airbrush nail design has become increasingly popular in the world of nail art, and for good reason. This technique allows for precise and intricate designs that cannot be achieved by traditional methods. With airbrushing, you can create stunning and unique designs that are sure to turn heads. And what better way to make a statement than with neon colors? Neon colors are bright and vibrant, making them the perfect choice for a fun and eye-catching airbrush nail design.
Preparation is Key
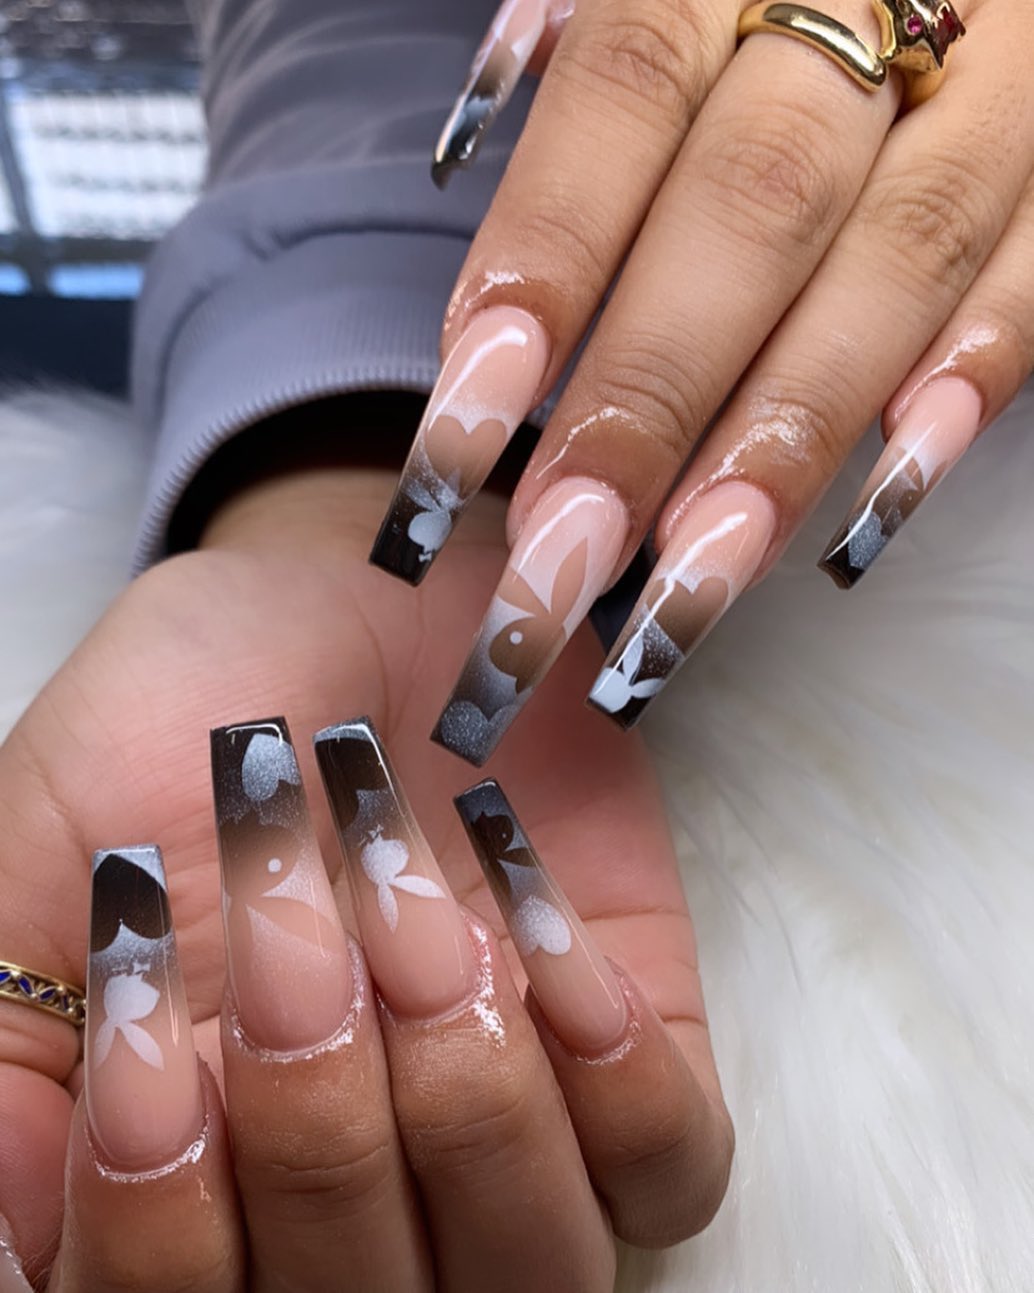
:max_bytes(150000):strip_icc()/293212593_589892279374684_7867645752657859030_n-686cd44ab40742219df369ce76c03ff2.jpg) Before diving into creating your airbrush nail design, it's important to prepare your nails properly. This will ensure that your design lasts longer and looks flawless. Start by shaping and buffing your nails, then apply a base coat to protect your natural nails. Next, apply a white base color to make your neon colors pop even more. Let it dry completely before moving on to the fun part – the airbrushing!
Before diving into creating your airbrush nail design, it's important to prepare your nails properly. This will ensure that your design lasts longer and looks flawless. Start by shaping and buffing your nails, then apply a base coat to protect your natural nails. Next, apply a white base color to make your neon colors pop even more. Let it dry completely before moving on to the fun part – the airbrushing!
Choosing the Right Neon Colors
 When it comes to choosing neon colors for your airbrush nail design, the possibilities are endless. You can go for a bold and bright look with a mix of different neon shades, or opt for a more subtle design by using one or two neon colors as accents. Whichever route you choose, make sure to
incorporate your main keyword, "neon color tips,"
and choose colors that complement each other well.
When it comes to choosing neon colors for your airbrush nail design, the possibilities are endless. You can go for a bold and bright look with a mix of different neon shades, or opt for a more subtle design by using one or two neon colors as accents. Whichever route you choose, make sure to
incorporate your main keyword, "neon color tips,"
and choose colors that complement each other well.
The Airbrushing Process
 Now it's time to start airbrushing! Make sure to use a high-quality airbrush and nail polish in order to achieve the best results. Start by practicing on a piece of paper to get a feel for the airbrush and the pressure needed to create different designs. Once you feel confident, start creating your design on your nails. You can use stencils or freehand your design – both methods can result in stunning results.
Finishing Touches
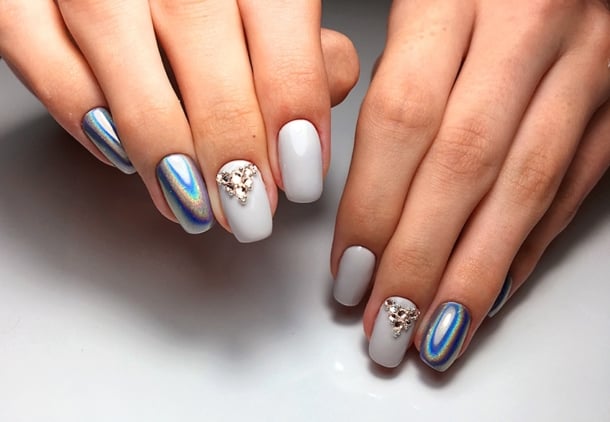
 Once your airbrush design is complete, let it dry completely before adding a top coat to seal in your design and protect it from chipping. You can also add some extra embellishments, such as rhinestones or glitter, to make your design stand out even more. And voila! You now have a unique and eye-catching airbrush nail design using neon colors.
In Conclusion
 Airbrush nail design with neon colors is a fun and creative way to express yourself through your nails. With proper preparation, color choice, and technique, you can achieve stunning and professional-looking designs right at home. So why settle for plain and boring nails when you can have a colorful and vibrant airbrushed look? Give it a try and let your creativity shine through!


