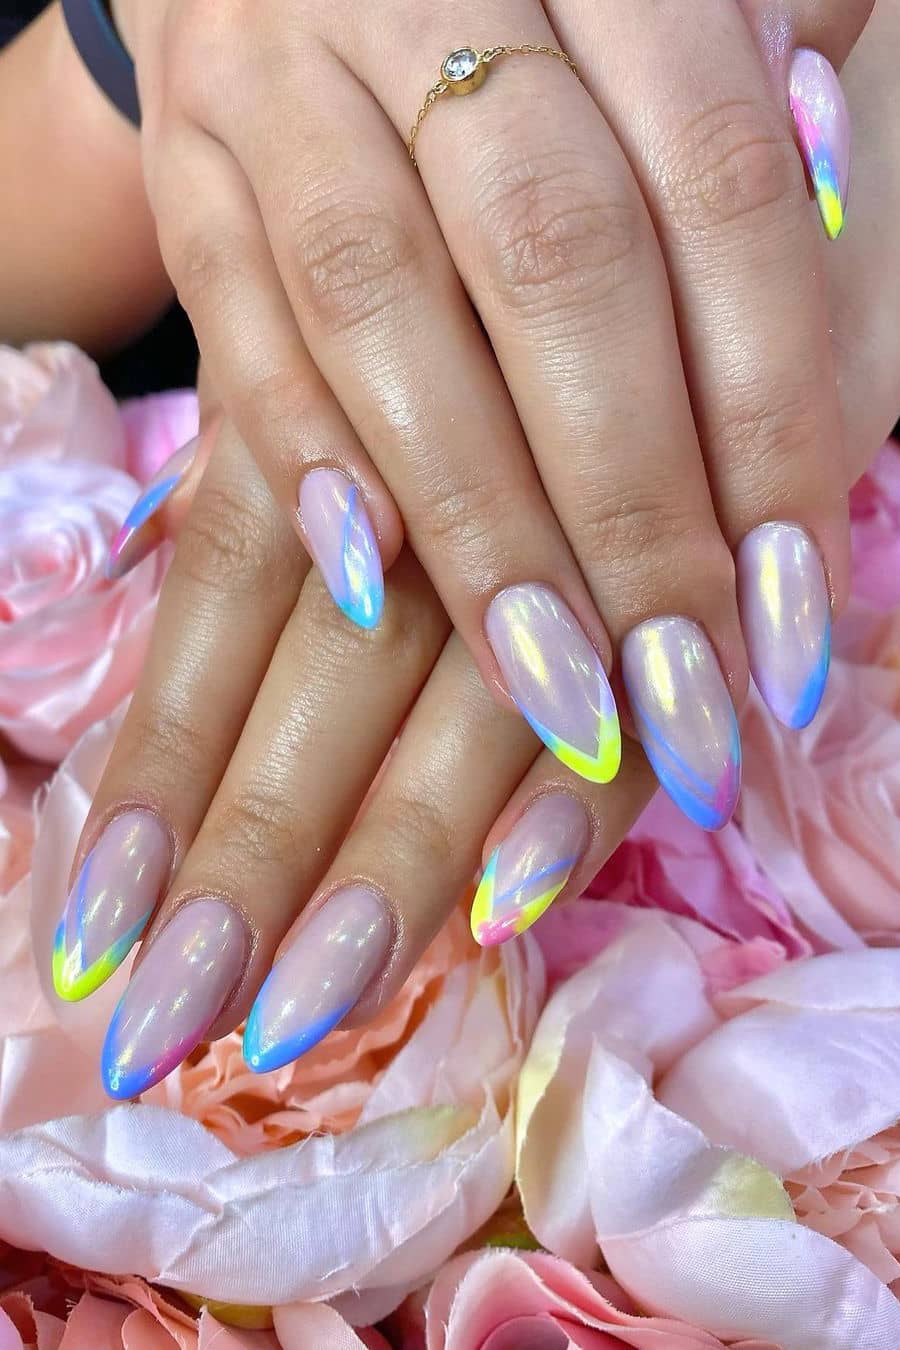
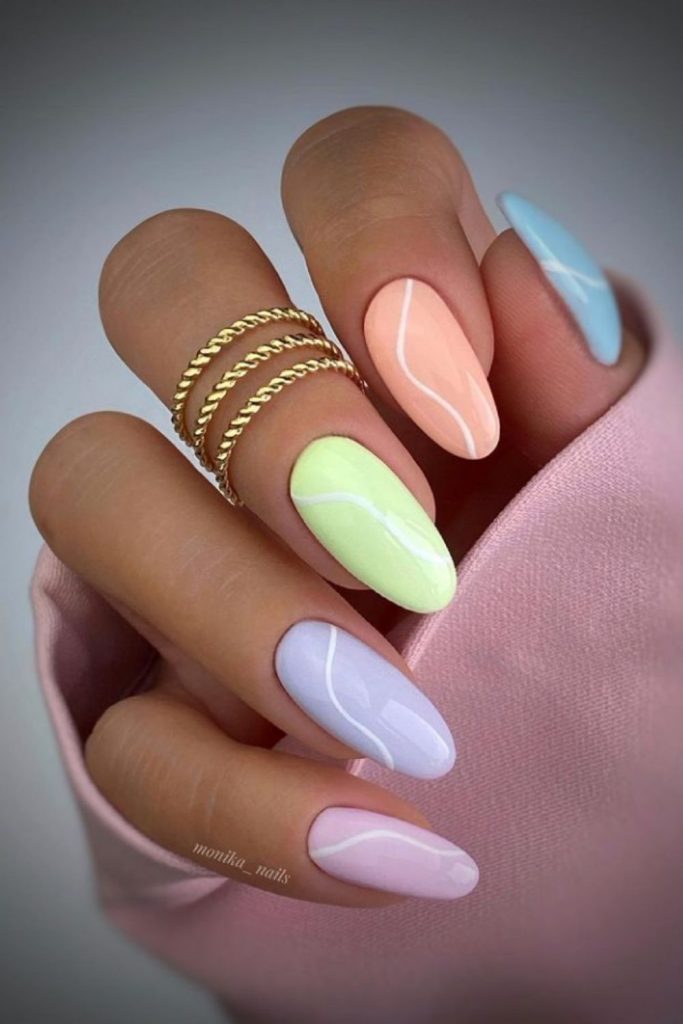
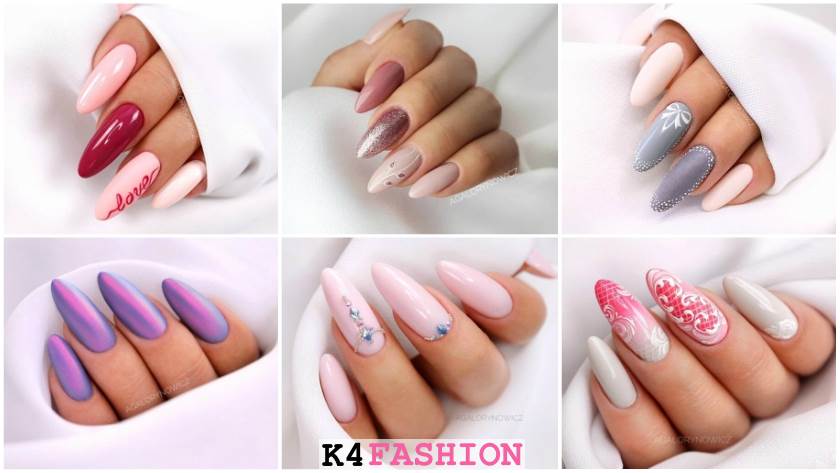
If you're new to the world of nail art, it can be overwhelming to try and recreate the intricate designs you see on social media. But fear not, with a little practice and the right tools, you can achieve stunning nail art looks at home. Here are 10 easy nail art designs for beginners that will have you feeling like a pro in no time! First up, let's start with a classic and simple design – the French manicure. To achieve this look, simply paint the tips of your nails white and add a clear coat over the rest of the nail. It's a timeless look that never goes out of style. Next, try a polka dot design. All you need is a dotting tool or a bobby pin and your favorite nail polish colors. Simply dip the tool into the polish and create dots on your nails. You can go for a scattered look or create a pattern – the options are endless! For those feeling a little more adventurous, try a geometric design. Use tape to create clean lines and shapes on your nails, and then paint over them with your desired color. Once the polish is dry, carefully remove the tape to reveal your unique design. If you're a fan of glitter, try a glitter gradient nail. Start with a base color and then use a makeup sponge to dab on glitter polish to the tips of your nails. This creates a subtle and glamorous look. Brighten up your nails with a floral design. Use a thin brush to create delicate flowers on your nails, and add a top coat to seal in the design. You can use different colors to create a bouquet on each nail or stick to one color for a more cohesive look. If you're feeling bold, try a negative space design. This involves leaving parts of your natural nail exposed while painting a design on the rest. You can use tape or stickers to create clean lines and shapes, or simply freehand it for a more abstract look. Another easy design to try is a marble effect. Simply drop a few drops of different nail polish colors onto a piece of plastic wrap, and then roll your nail over it to create a marbled effect. It's a simple yet eye-catching design. For those with shorter nails, don't worry – there are still plenty of options for you! Try a half-moon design by painting the bottom half of your nail one color and the top half another. You can also add a glitter or metallic line to separate the colors. Feeling playful? Try a cartoon character or emoji nail art design. You can use nail stickers or freehand it using different colored polishes. This is a fun and creative way to express your personality through your nails. Last but not least, try a gradient design. This involves blending two or more colors together on your nails, creating an ombre effect. Use a makeup sponge to dab on the colors and blend them together for a seamless look.1. 10 Easy Nail Art Designs for Beginners: The Ultimate Guide!

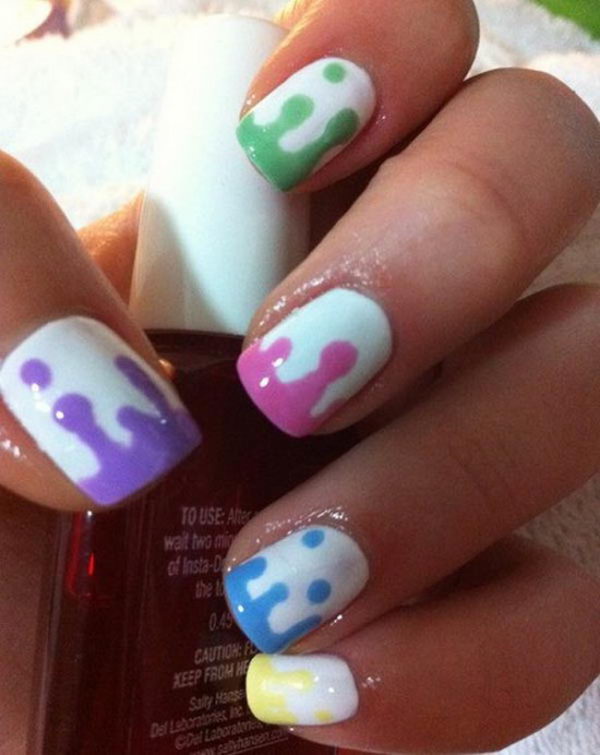
1. 10 Easy Nail Art Designs for Beginners: The Ultimate Guide!


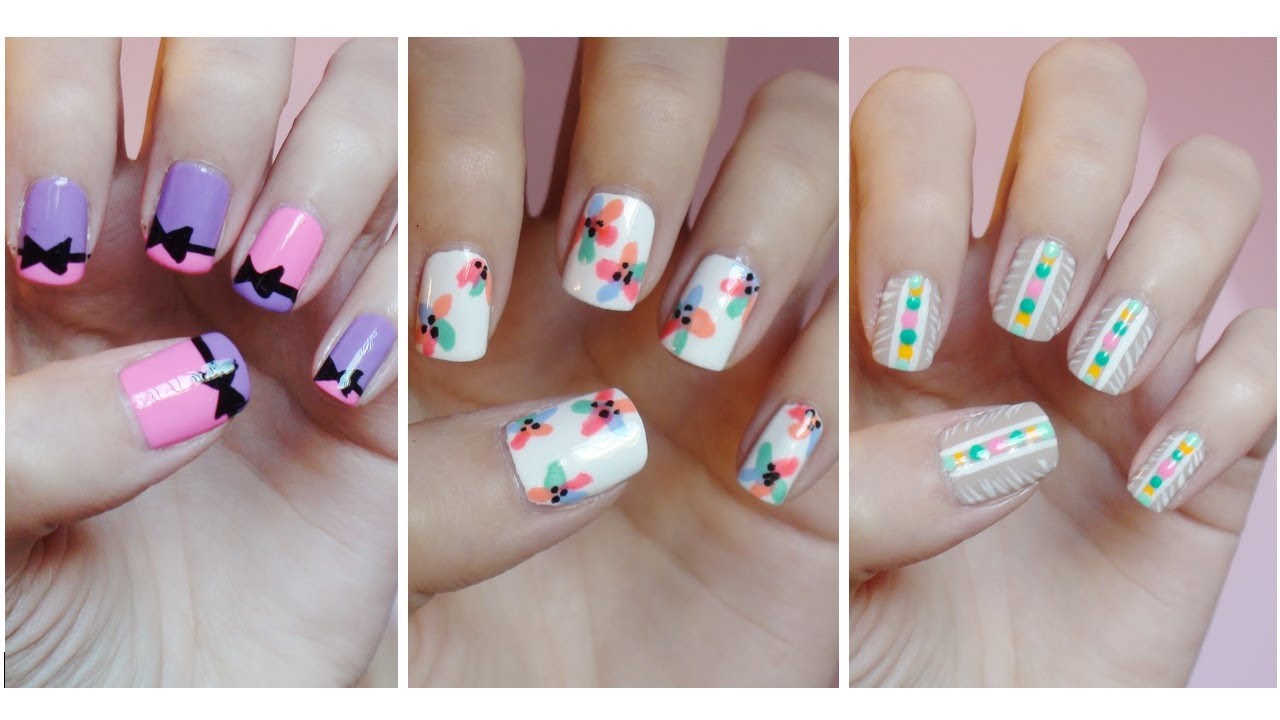


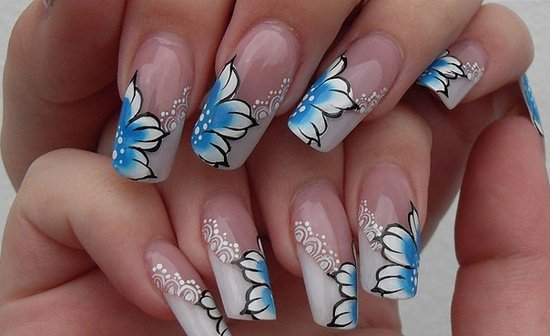
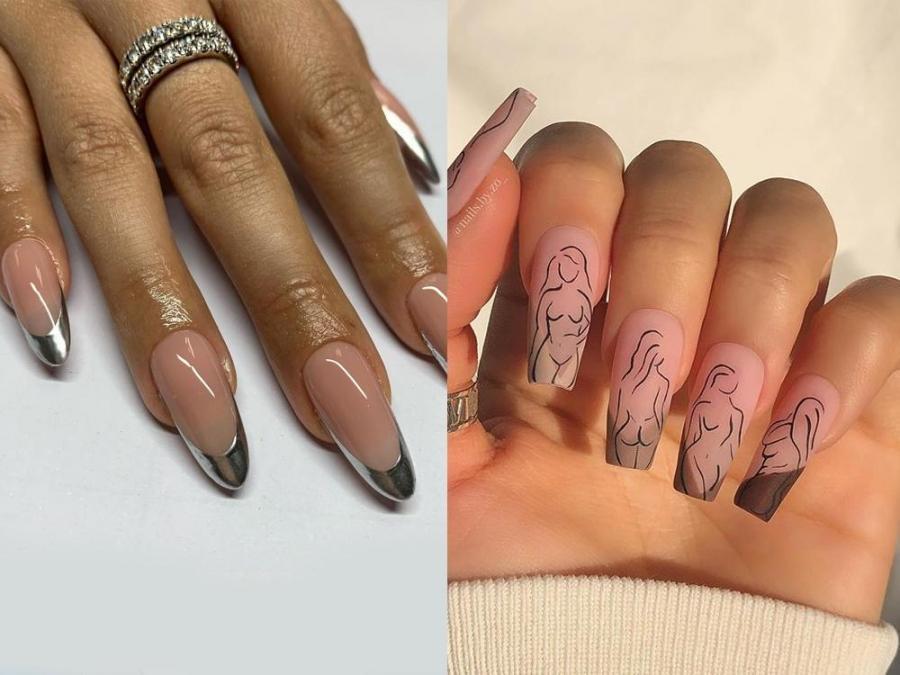
Are you ready to take your nail art game to the next level? Look no further – here are 20 amazing nail art designs to try this year. These designs are perfect for any occasion, from everyday wear to special events. Let's start with a popular trend – the negative space manicure. This involves leaving parts of your natural nail exposed while adding intricate designs on the rest. You can use different colors, patterns, and shapes to create a unique and eye-catching look. A classic yet elegant design is the half-moon manicure. This involves painting the bottom half of your nail one color and the top half another. You can use contrasting colors or try a metallic or glitter line to separate the colors. If you're a fan of floral designs, try a delicate and feminine rose manicure. Use a thin brush to create roses on your nails, and add a top coat to seal in the design. You can use different colors to create a bouquet on each nail or stick to one color for a more cohesive look. For a more edgy and daring look, try a studded nail design. You can purchase nail studs in different shapes and sizes and glue them onto your nails for a unique and textured look. You can also add them to a negative space design for a more subtle effect. Another fun and playful design to try is the rainbow manicure. Use different colored polishes to create a rainbow on your nails, or try a pastel rainbow for a softer look. You can also add glitter or metallic accents to make the design pop. For a more intricate and detailed design, try a lace manicure. You can use lace stickers or freehand the design using a thin brush and white polish. It's a delicate and elegant look that is perfect for special occasions. If you're a fan of geometric designs, try a bold and colorful pattern on your nails. You can use tape or stickers to create clean lines and shapes, or freehand it for a more abstract look. The options are endless with this design. A popular and fun design to try is the galaxy manicure. This involves creating a starry and celestial look on your nails using different colored polishes and glitter. It's a unique and eye-catching design that will have people asking where you got your nails done. For a simple yet chic look, try a metallic accent nail. Use a metallic polish on one nail, or try a gradient of metallic shades for a more dramatic effect. You can also add glitter or rhinestones for extra bling. Last but not least, try a 3D nail art design. You can use acrylic or gel to create 3D shapes and designs on your nails, or purchase pre-made 3D stickers and apply them to your nails. It's a fun and unique way to add dimension to your nail art.2. 20 Amazing Nail Art Designs to Try This Year
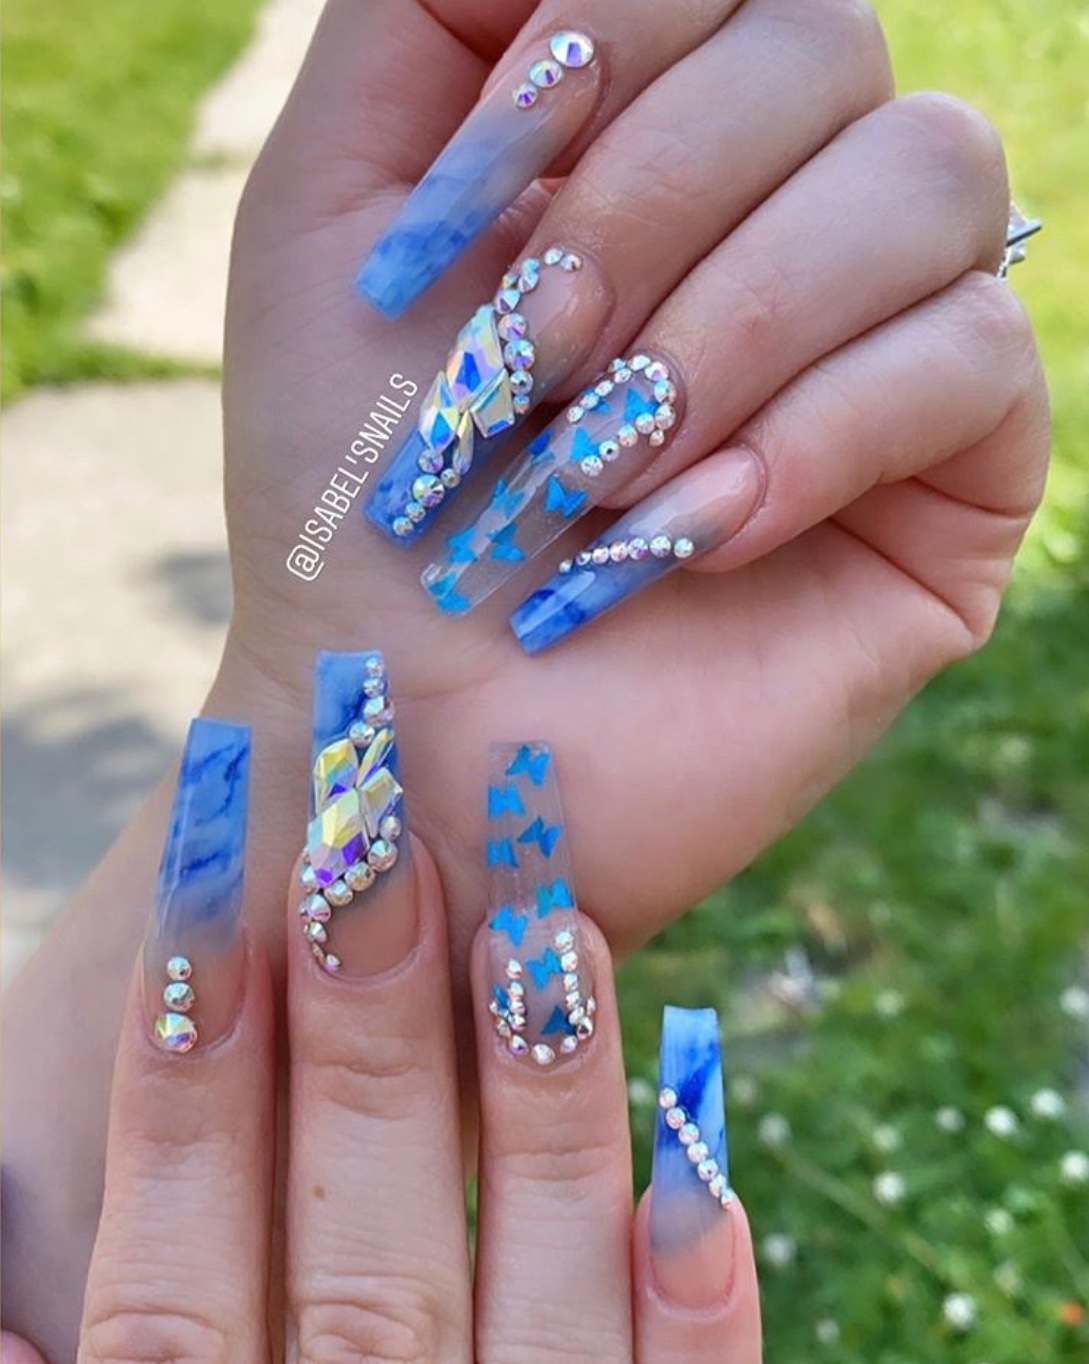
2. 20 Amazing Nail Art Designs to Try This Year


If you're a beginner in the world of nail art, don't worry – we've got you covered. Here are step by step nail art designs that are perfect for beginners. These designs are simple and easy to recreate, but still look impressive and stylish. First up, let's start with a classic and simple design – the French manicure. To achieve this look, simply paint the tips of your nails white and add a clear coat over the rest of the nail. It's a timeless look that never goes out of style, and it's also a great way to practice your nail painting skills. Next, try a polka dot design. All you need is a dotting tool or a bobby pin and your favorite nail polish colors. Simply dip the tool into the polish and create dots on your nails. You can go for a scattered look or create a pattern – the options are endless! For those feeling a little more adventurous, try a geometric design. Use tape to create clean lines and shapes on your nails, and then paint over them with your desired color. Once the polish is dry, carefully remove the tape to reveal your unique design. This is a great way to practice your precision and hand-eye coordination. If you're a fan of glitter, try a glitter gradient nail. Start with a base color and then use a makeup sponge to dab on glitter polish to the tips of your nails. This creates a subtle and glamorous look, and it's also an easy way to incorporate glitter into your nail art. Brighten up your nails with a floral design. Use a thin brush to create delicate flowers on your nails, and add a top coat to seal in the design. You can use different colors to create a bouquet on each nail or stick to one color for a more cohesive look. This is a great way to practice your brush strokes and flower shapes. If you're feeling bold, try a negative space design. This involves leaving parts of your natural nail exposed while painting a design on the rest. You can use tape or stickers to create clean lines and shapes, or simply freehand it for a more abstract look. This is a great way to practice your freehand skills and experiment with different designs. Another easy design to try is a marble effect. Simply drop a few drops of different nail polish colors onto a piece of plastic wrap, and then roll your nail over it to create a marbled effect. It's a simple yet eye-catching design and a great way to practice your nail painting techniques. For those with shorter nails, don't worry – there are still plenty of options for you! Try a half-moon design by painting the bottom half of your nail one color and the top half another. You can also add a glitter or metallic line to separate the colors. This is a great way to practice your precision and nail painting skills on a smaller canvas. Feeling playful? Try a cartoon character or emoji nail art design. You can use nail stickers or freehand it using different colored polishes. This is a fun and creative way to express your personality through your nails, and it's also a great way to practice your freehand skills. Last but not least, try a gradient design. This involves blending two or more colors together on your nails, creating an ombre effect. Use a makeup sponge to dab on the colors and blend them together for a seamless look. This is a great way to practice your blending skills and experiment with different color combinations.3. Step by Step Nail Art Designs for Beginners


3. Step by Step Nail Art Designs for Beginners


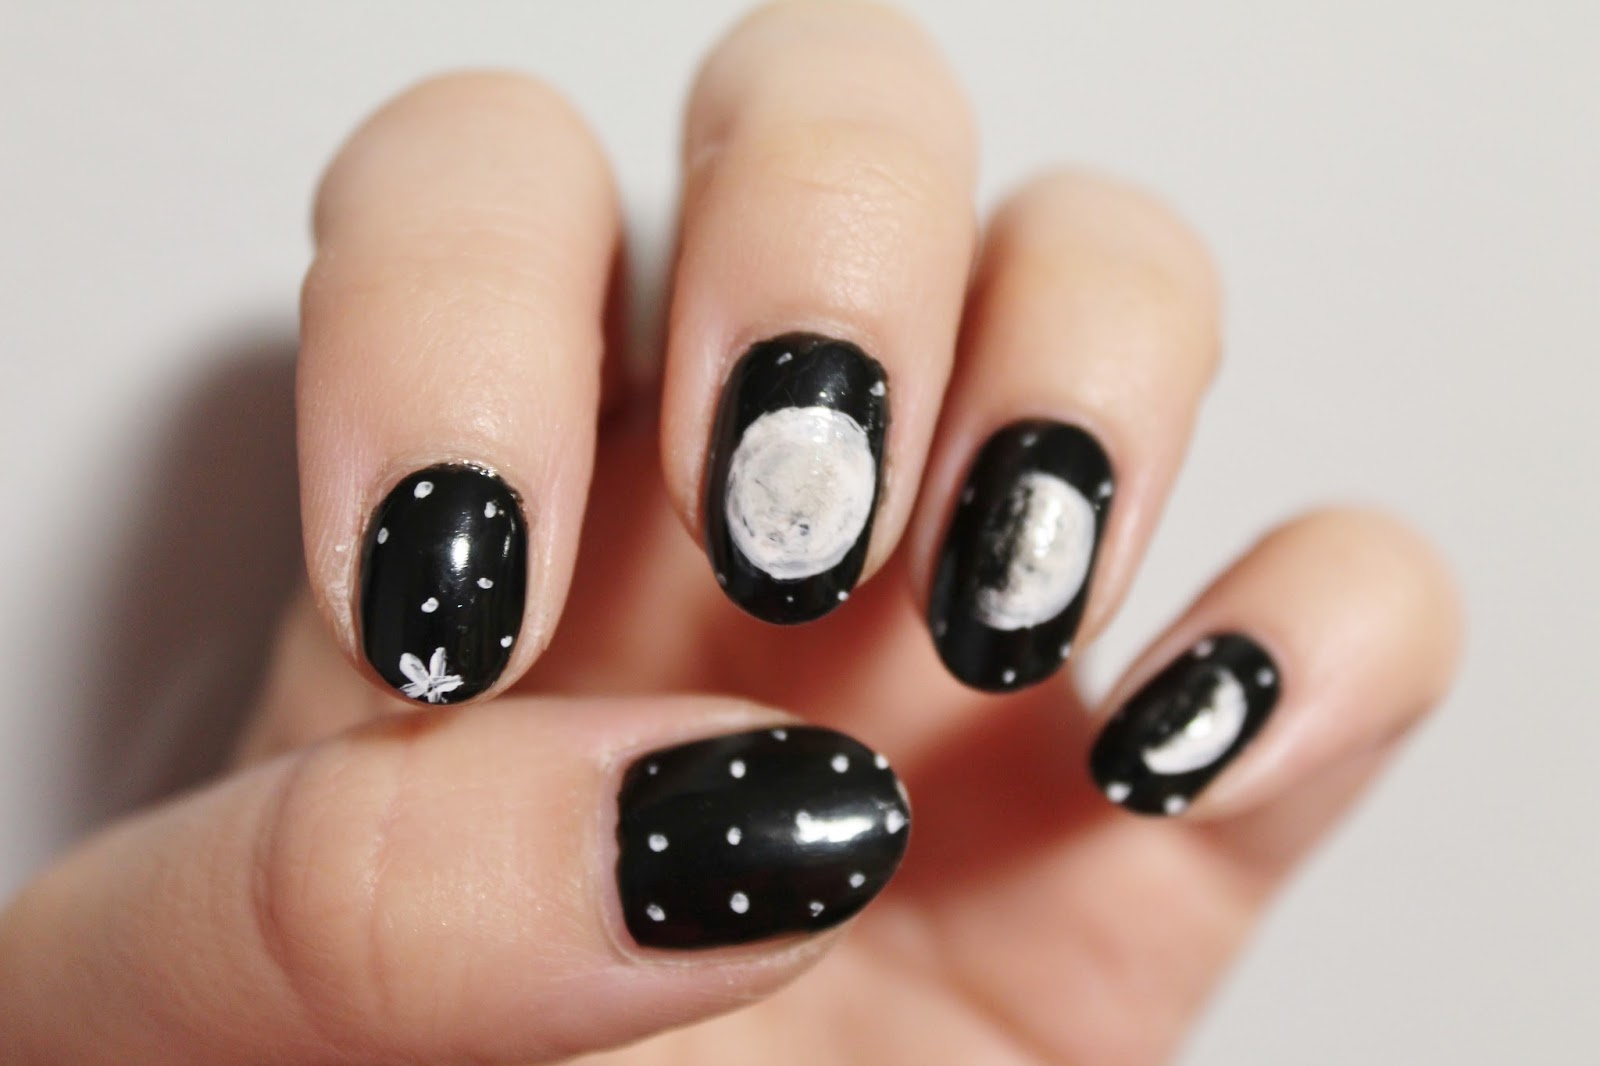
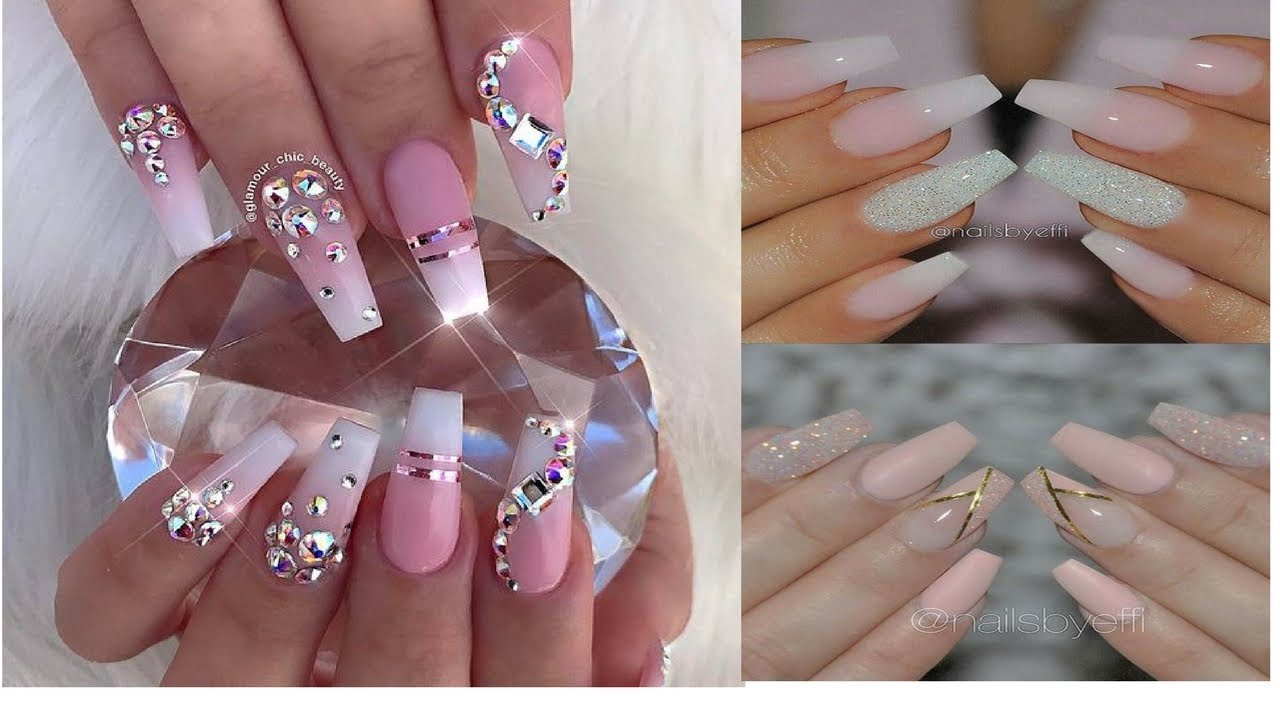
As we enter a new year, it's time to update your nail art game with the latest and best designs. Here are 30 of the best nail designs of 2021 that will have you looking stylish and on-trend. A trend that is here to stay is the negative space manicure. This involves leaving parts of your natural nail exposed while adding intricate designs on the rest. You can use different colors, patterns, and shapes to create a unique and eye-catching look. If you're a fan of geometric designs, try a bold and colorful pattern on your nails. You can use tape or stickers to create clean lines and shapes, or freehand it for a more abstract look. The options are endless with this design, and it's a great way to incorporate multiple colors into your nail art. A classic yet elegant design is the half-moon manicure. This involves painting the bottom half of your nail one color and the top half another. You can use contrasting colors or try a metallic or glitter line to separate the colors. This is a timeless look that will never go out of style. For a more edgy and daring look, try a studded nail design. You can purchase nail studs in different shapes and sizes and glue them onto your nails for a unique and textured look. You can also add them to a negative space design for a more subtle effect. Another fun and playful design to try is the rainbow manicure. Use different colored polishes to create a rainbow on your nails, or try a pastel rainbow for a softer look. You can also add glitter or metallic accents to make the design pop. This is a great way to incorporate multiple colors into your nail art. For a more intricate and detailed design, try a lace manicure. You can use lace stickers or freehand the design using a thin brush and white polish. It's a delicate and elegant look that is perfect for special occasions, and it's also a great way to experiment with different patterns. If you're a fan of floral designs, try a delicate and feminine rose manicure. Use a thin brush to create roses on your nails, and add a top coat to seal in the design. You can use different colors to create a bouquet on each nail or stick to one color for a more cohesive look. This is a great way to incorporate a pop of color into your nail art. For a simple yet chic look, try a metallic accent nail. Use a metallic polish on one nail, or try a gradient of metallic shades for a more dramatic effect. You can also add glitter or rhinestones for extra bling. This is a great way to add some sparkle and shine to your nails. Last but not least, try a 3D nail art design. You can use acrylic or gel to create 3D shapes and designs on your nails, or purchase pre-made 3D stickers and apply them to your nails. It's a fun and unique way to add dimension to your nail art, and it's also a great way to experiment with different textures.4. 30 Best Nail Designs of 2021

4. 30 Best Nail Designs of 2021


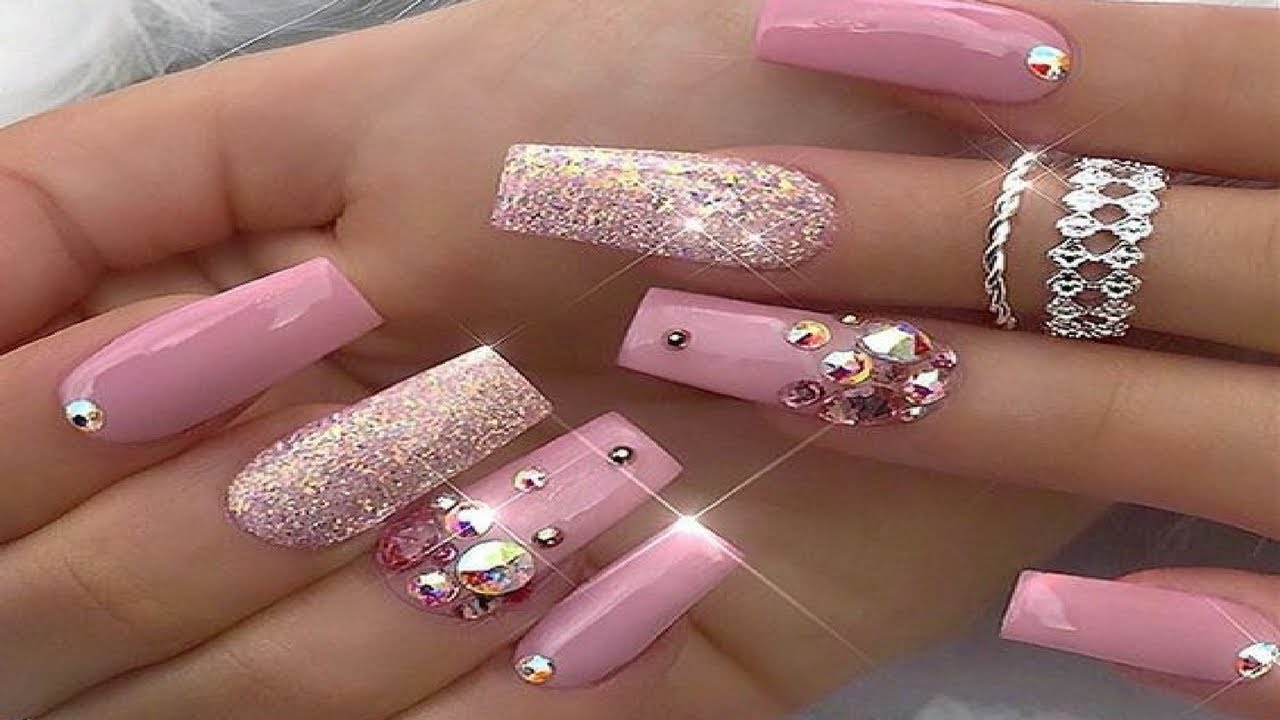
Who said you need long nails to rock beautiful nail art? Here are 50 amazing nail art designs for short nails that will have you embracing your shorter nails and looking stylish at the same time. Let's start with a classic and simple design – the French manicure. To achieve this look, simply paint the tips of your nails white and add a clear coat over the rest of the nail. It's a timeless look that never goes out of style and looks great on shorter nails. If you're a fan of geometric designs, try a bold and colorful pattern on your nails. You can use tape or stickers to create clean lines and shapes, or freehand it for a more abstract look. The options are endless with this design, and it's a great way to incorporate multiple colors into your nail art on shorter nails. A popular and fun design to try is the galaxy manicure. This involves creating a starry and celestial look on your nails using different colored polishes and glitter. It's a unique and eye-catching design that will have people asking where you got your nails done, and it looks great on shorter nails. Brighten up your nails with a floral design. Use a thin brush to create delicate flowers on your nails, and add a top coat to seal in the design. You can use different colors to create a bouquet on each nail or stick to one color for a more cohesive look. This is a great way to add a pop of color to your shorter nails. For a more intricate and detailed design, try a lace manicure. You can use lace stickers or freehand the design using a thin brush and white polish. It's a delicate and elegant look that is perfect for special occasions, and it looks great on shorter nails. If you're feeling bold, try a negative space design. This involves leaving parts of your natural nail exposed while painting a design on the rest. You can use tape or stickers to create clean lines and shapes, or simply freehand it for a more abstract look. This is a great way to add some edge to your shorter nails.5. 50 Amazing Nail Art Designs for Short Nails


5. 50 Amazing Nail Art Designs for Short Nails


Create Stunning Nail Art Designs in Just a Few Simple Steps
Unleash Your Creativity with These Amazing Nail Art Designs
 Are you tired of boring, plain nails? Do you want to add some flair and personality to your look? Look no further than
nail art design
. With just a few simple steps, you can transform your nails into stunning works of art that will leave everyone in awe.
Nail art design
has become increasingly popular in recent years, with more and more people opting for unique and intricate designs on their nails. It's a fun and creative way to express yourself and add some fun to your everyday look. Plus, with the right tools and techniques, you can achieve professional-looking designs right at home.
Are you tired of boring, plain nails? Do you want to add some flair and personality to your look? Look no further than
nail art design
. With just a few simple steps, you can transform your nails into stunning works of art that will leave everyone in awe.
Nail art design
has become increasingly popular in recent years, with more and more people opting for unique and intricate designs on their nails. It's a fun and creative way to express yourself and add some fun to your everyday look. Plus, with the right tools and techniques, you can achieve professional-looking designs right at home.
Step 1: Gather Your Supplies
 Before you get started, make sure you have all the necessary supplies. This includes a base coat, top coat, nail polish colors of your choice, nail art brushes, dotting tools, and any other embellishments you want to add. Having all your supplies ready will make the process much smoother and enjoyable.
Step 2: Prep Your Nails
 Before you start painting, it's important to prep your nails. This includes removing any old polish, shaping and filing your nails, and pushing back your cuticles. This will ensure a smooth and clean surface for your
nail art design
to adhere to.
Before you start painting, it's important to prep your nails. This includes removing any old polish, shaping and filing your nails, and pushing back your cuticles. This will ensure a smooth and clean surface for your
nail art design
to adhere to.
Step 3: Get Creative
 Now comes the fun part – creating your
nail art design
. The possibilities are endless, from simple polka dots to intricate designs. You can use different colors, patterns, and techniques to create a unique look. Don't be afraid to experiment and let your creativity run wild.
Now comes the fun part – creating your
nail art design
. The possibilities are endless, from simple polka dots to intricate designs. You can use different colors, patterns, and techniques to create a unique look. Don't be afraid to experiment and let your creativity run wild.
Step 4: Add Some Bling
 If you want to take your
nail art design
to the next level, add some bling. You can use rhinestones, glitter, or even tiny stickers to add some sparkle and dimension to your nails. Just make sure to seal it all in with a top coat to make it last.
If you want to take your
nail art design
to the next level, add some bling. You can use rhinestones, glitter, or even tiny stickers to add some sparkle and dimension to your nails. Just make sure to seal it all in with a top coat to make it last.
Step 5: Seal the Deal
 After all your hard work, don't forget to seal your
nail art design
with a top coat. This will not only make your design last longer but also give it a glossy finish. Plus, it will protect your nails from chipping and smudging.
With these simple steps, you can create your own amazing
nail art designs
right at home. So why not give it a try and add some fun and flair to your look? Your nails will thank you.
After all your hard work, don't forget to seal your
nail art design
with a top coat. This will not only make your design last longer but also give it a glossy finish. Plus, it will protect your nails from chipping and smudging.
With these simple steps, you can create your own amazing
nail art designs
right at home. So why not give it a try and add some fun and flair to your look? Your nails will thank you.


