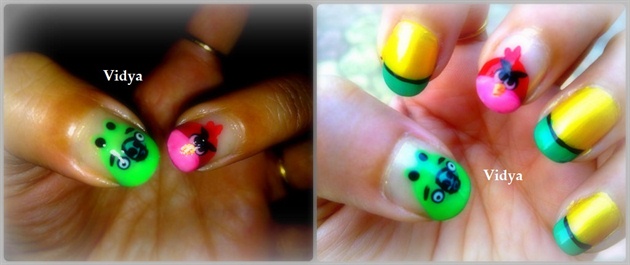
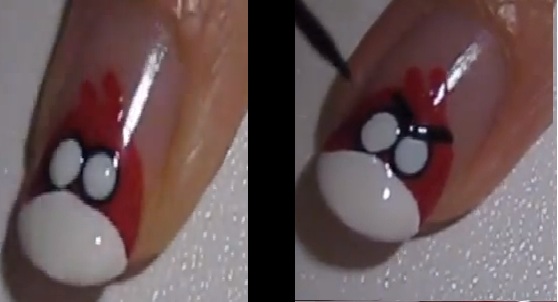
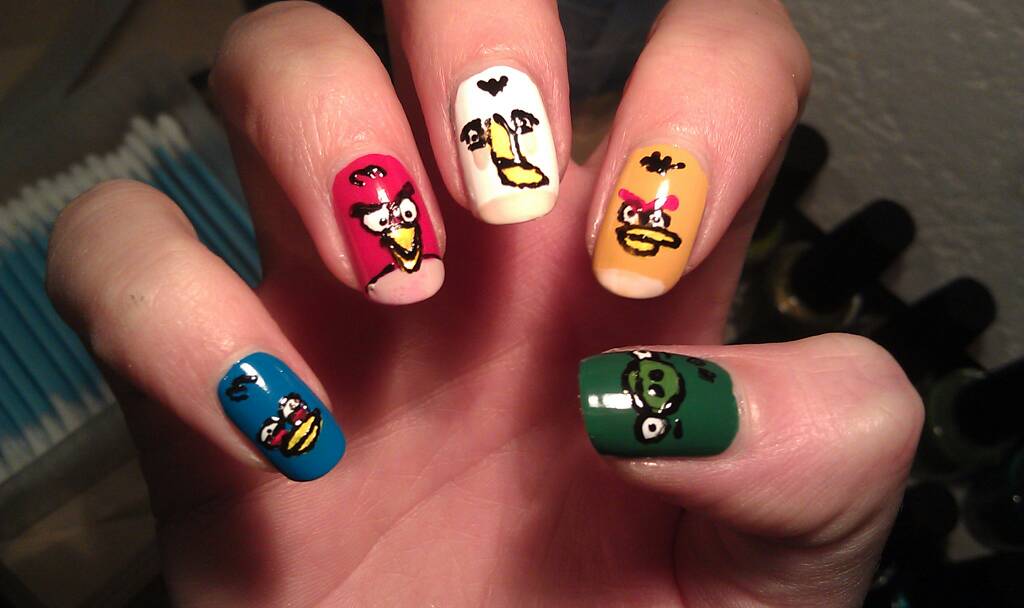
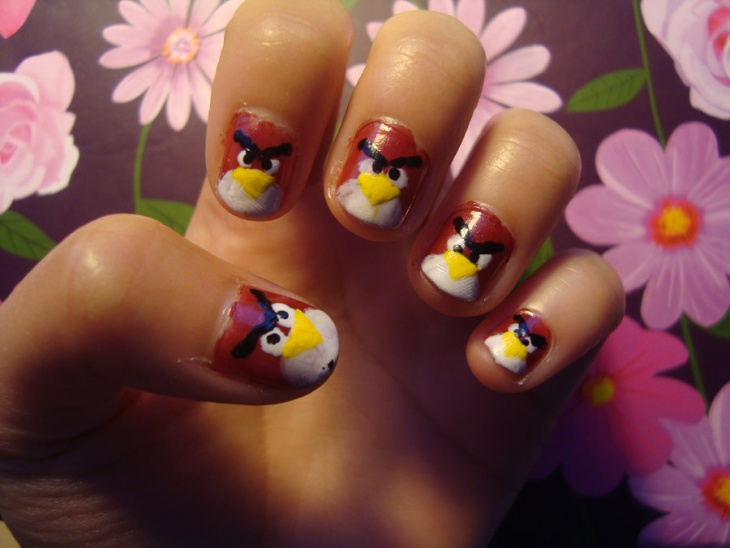
If you're a fan of the popular game, Angry Birds, then you'll love these nail art designs that are sure to make a statement. With this tutorial, you'll learn how to recreate your favorite Angry Birds characters on your nails for a fun and playful look. Start by applying a base coat to protect your nails and create a smooth surface to work on. Then, using a small brush or toothpick, create the iconic red circle for the body of the Angry Bird. Fill it in with bold red polish, leaving a small gap at the bottom for the beak. Next, use a yellow polish to create the triangular beak and a white polish for the eyes. Add a small black dot for the pupil using a toothpick or dotting tool. Repeat this process for each nail, using different colors for the different Angry Birds characters. For the finishing touch, add a top coat to seal in your design and give it a glossy finish. You now have a fun and eye-catching manicure that pays tribute to the beloved game.1. Angry Birds Nail Art Tutorial


1. Angry Birds Nail Art Tutorial


If you're new to nail art, don't worry – these Angry Birds designs are perfect for beginners. Start with a simple base color such as white or light blue and let it dry completely before moving on to the next step. Using a toothpick or small brush, create the basic shape of the Angry Bird in the center of your nail with a bold color like red or yellow. Then, with a lighter shade of the same color, add small details such as the beak and eyes. If you're feeling adventurous, you can also add some glitter or sequins to your design for some extra sparkle. Once you're happy with your design, seal it in with a top coat and show off your cute and easy Angry Birds nails.2. Angry Birds Nail Art Designs for Beginners


2. Angry Birds Nail Art Designs for Beginners
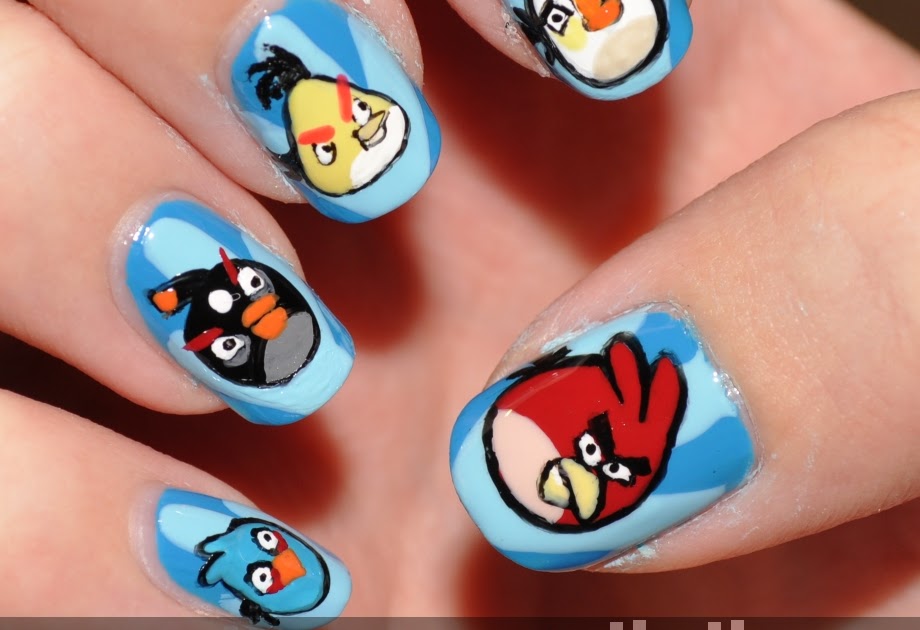
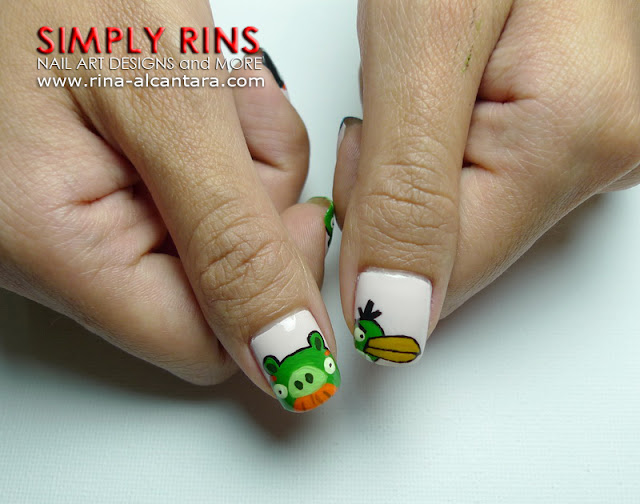
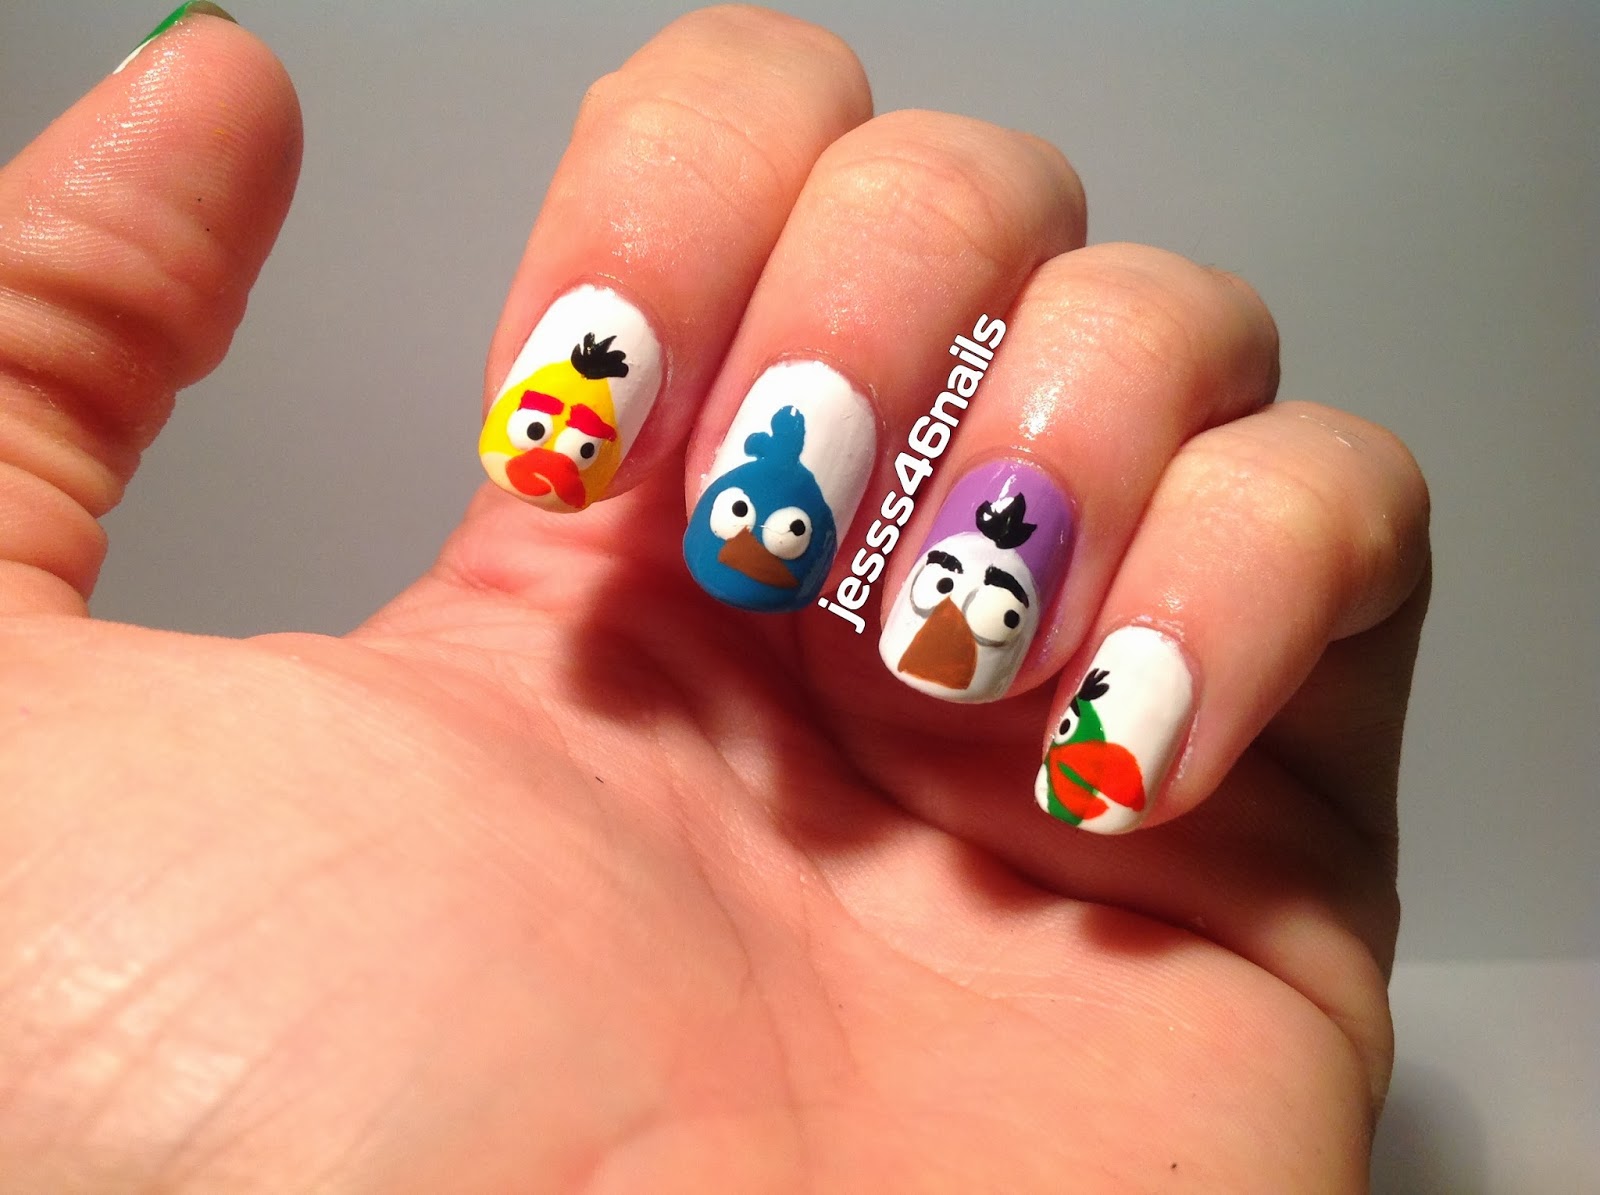
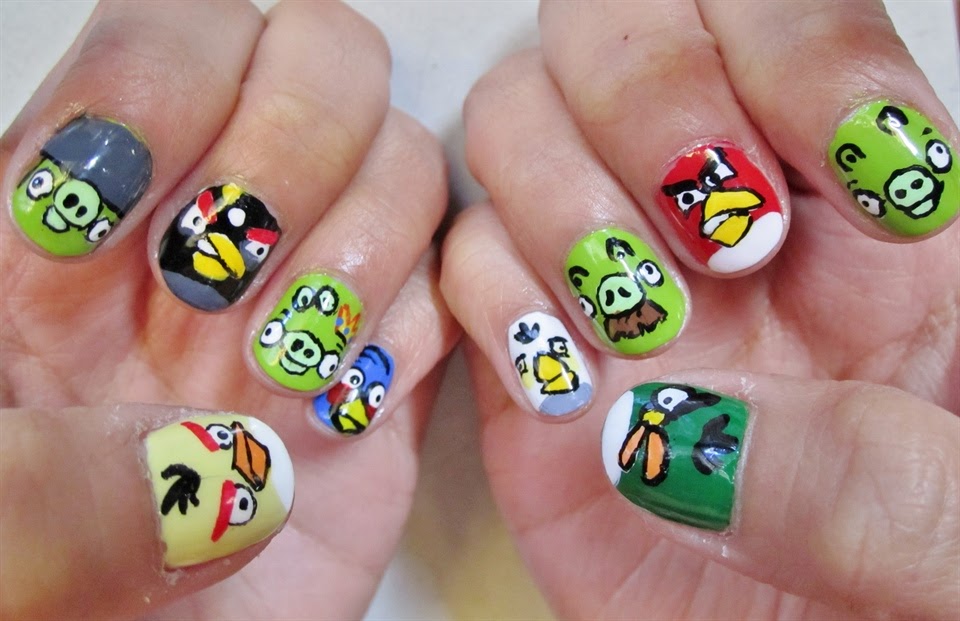
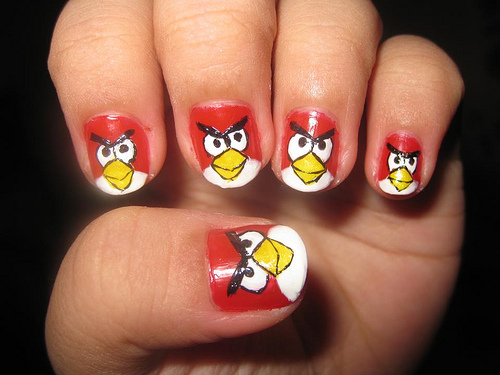
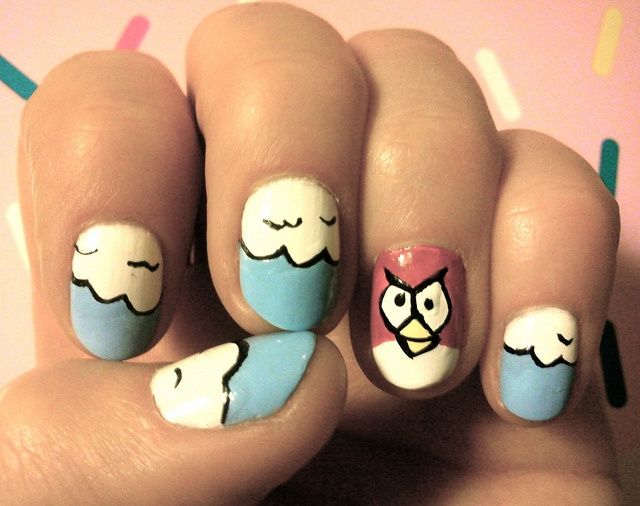
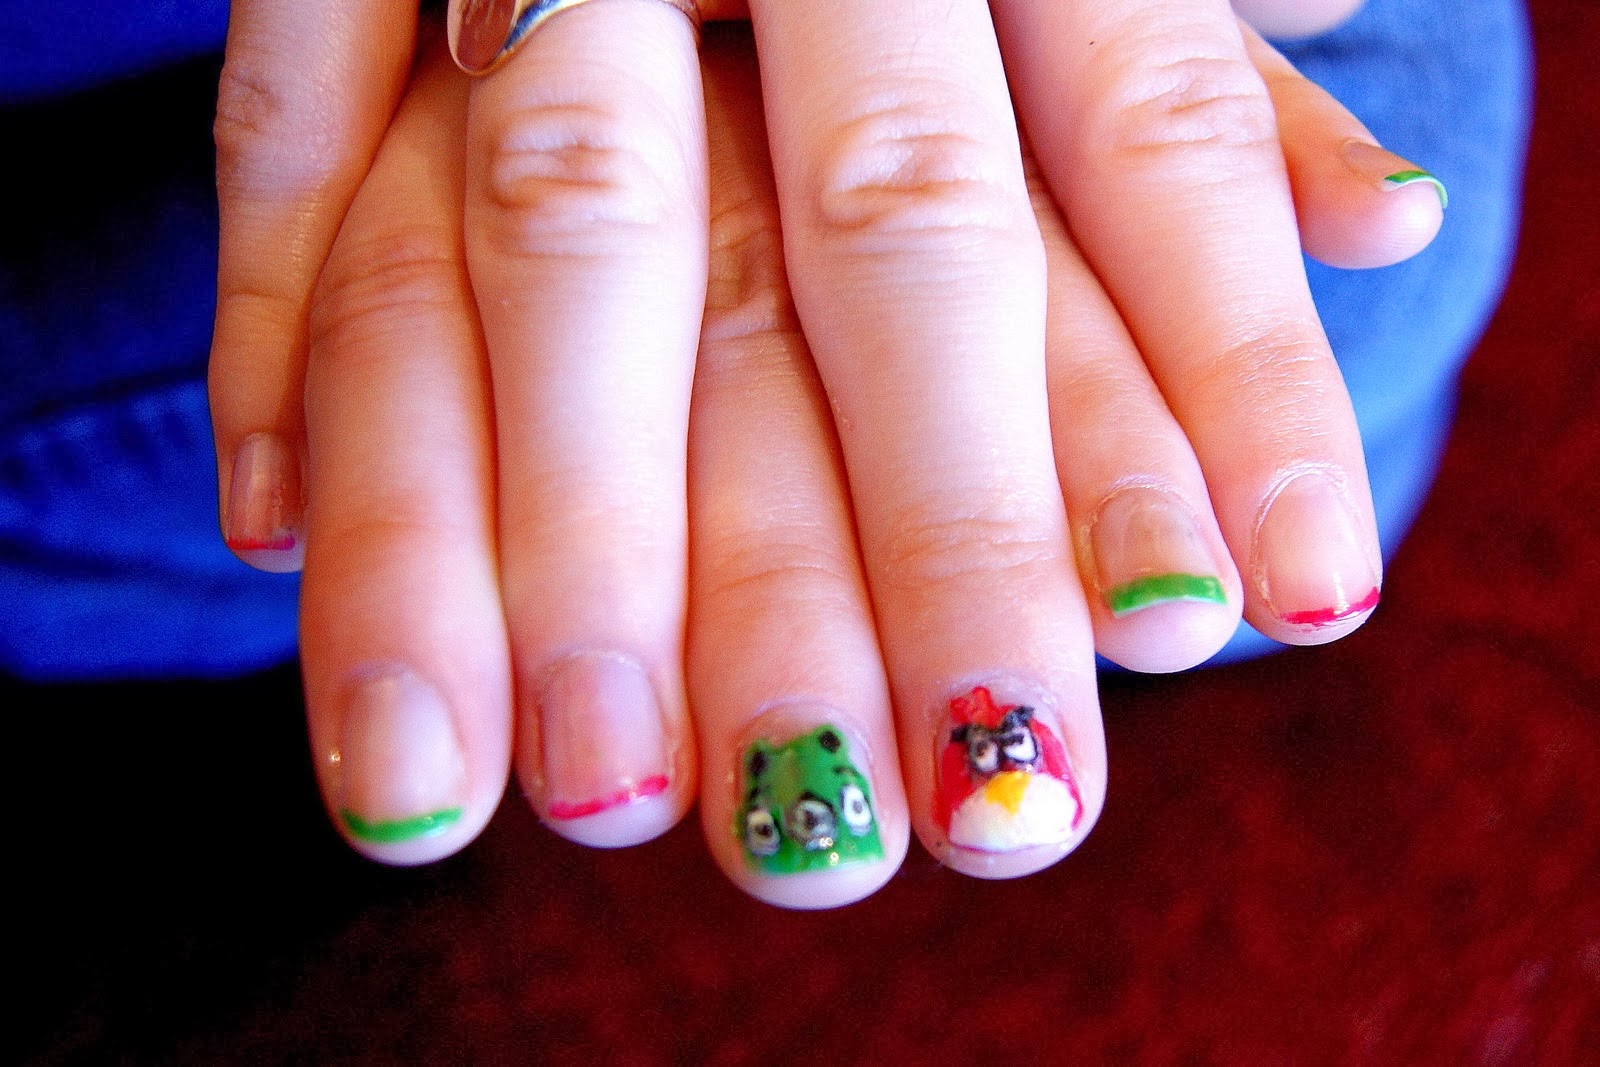
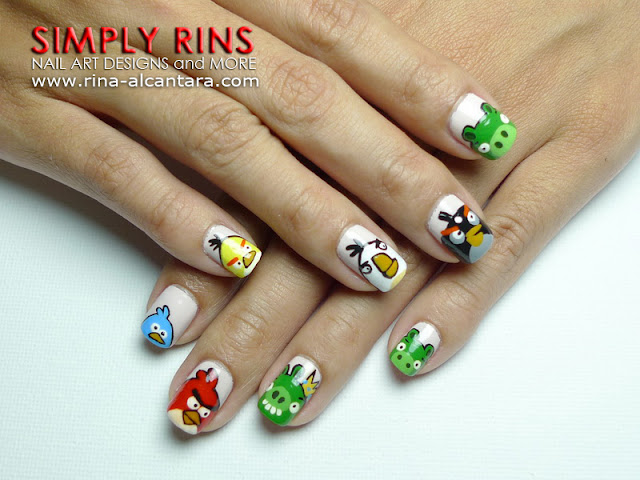
There are endless possibilities when it comes to creating Angry Birds nail art. Here are a few creative ideas to get you started. For a more minimalist approach, you can paint each nail a different color and add the basic shape of the Angry Bird in the same color on each nail. This creates a playful and colorful look that is perfect for summer. If you want to take your nail art to the next level, try creating a 3D effect by using different shades of the same color for each layer of the Angry Bird's body. This will give your nails a unique and dimensional look. You can also get inspired by different levels and themes of the game, such as the space or pirate Angry Birds, and incorporate those elements into your design. Let your imagination run wild and have fun with it!3. Angry Birds Nail Art Ideas


3. Angry Birds Nail Art Ideas

.jpg)

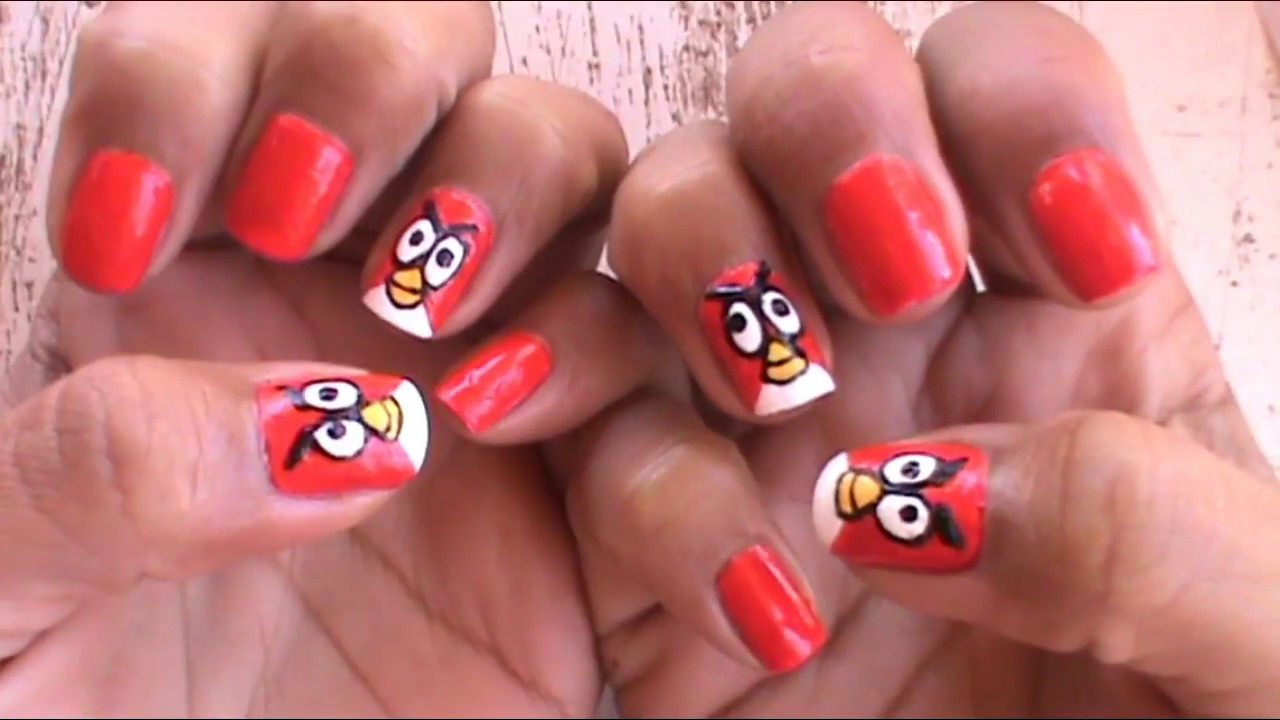
For those who prefer a step-by-step guide, here is a breakdown of how to create Angry Birds nail art. Step 1: Apply a base coat to protect your nails. Step 2: Paint your nails with a base color and let it dry completely. Step 3: Using a small brush or toothpick, create the basic shape of the Angry Bird in the center of your nail. Step 4: Fill in the shape with a bold color. Step 5: Use a lighter shade of the same color to add small details such as the beak and eyes. Step 6: Repeat this process for each nail, using different colors for different Angry Birds characters. Step 7: Add any additional details or accents such as glitter or sequins. Step 8: Seal in your design with a top coat and let it dry completely. Step 9: Show off your fun and playful Angry Birds nails!4. Angry Birds Nail Art Step by Step

4. Angry Birds Nail Art Step by Step

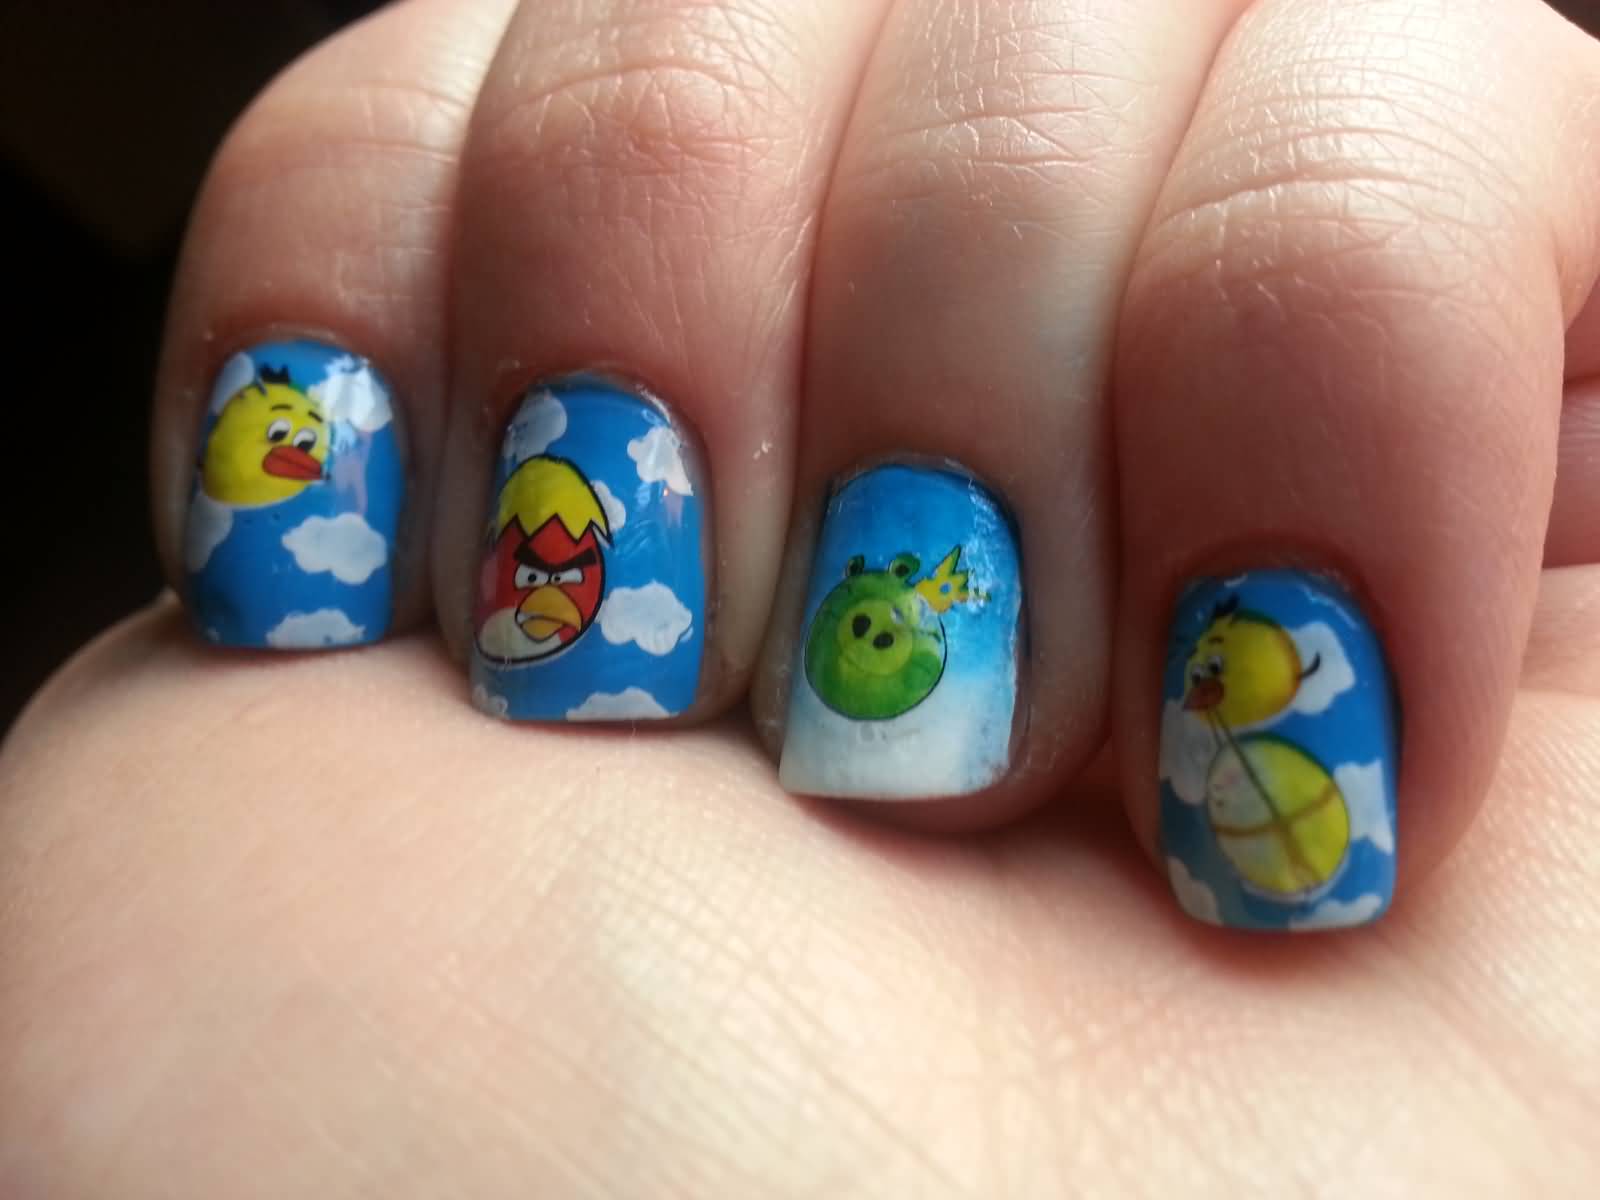
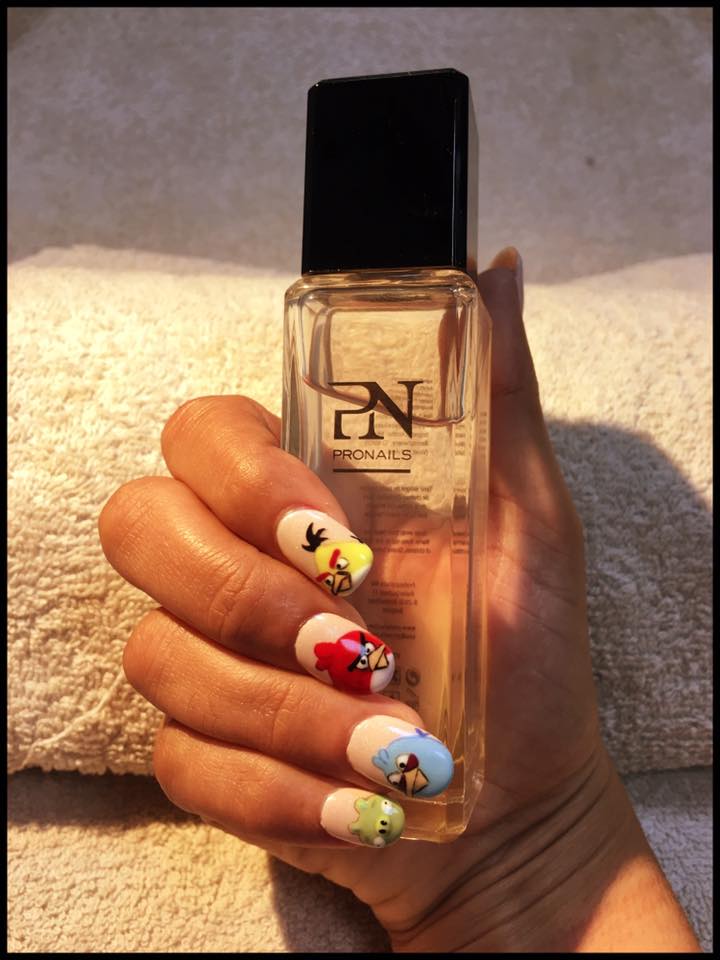
If you're not confident in your nail art skills, you can still achieve a cute and professional-looking Angry Birds manicure with nail stickers. Start by applying a base coat and letting it dry completely. Then, simply apply the Angry Birds nail stickers onto your nails, following the instructions on the packaging. Finish off with a top coat for a lasting and flawless look. Nail stickers are also a convenient option for those who don't have the time or patience to create intricate designs. They come in a variety of designs and can easily be found at most drugstores or beauty supply stores.5. Angry Birds Nail Art Stickers


5. Angry Birds Nail Art Stickers

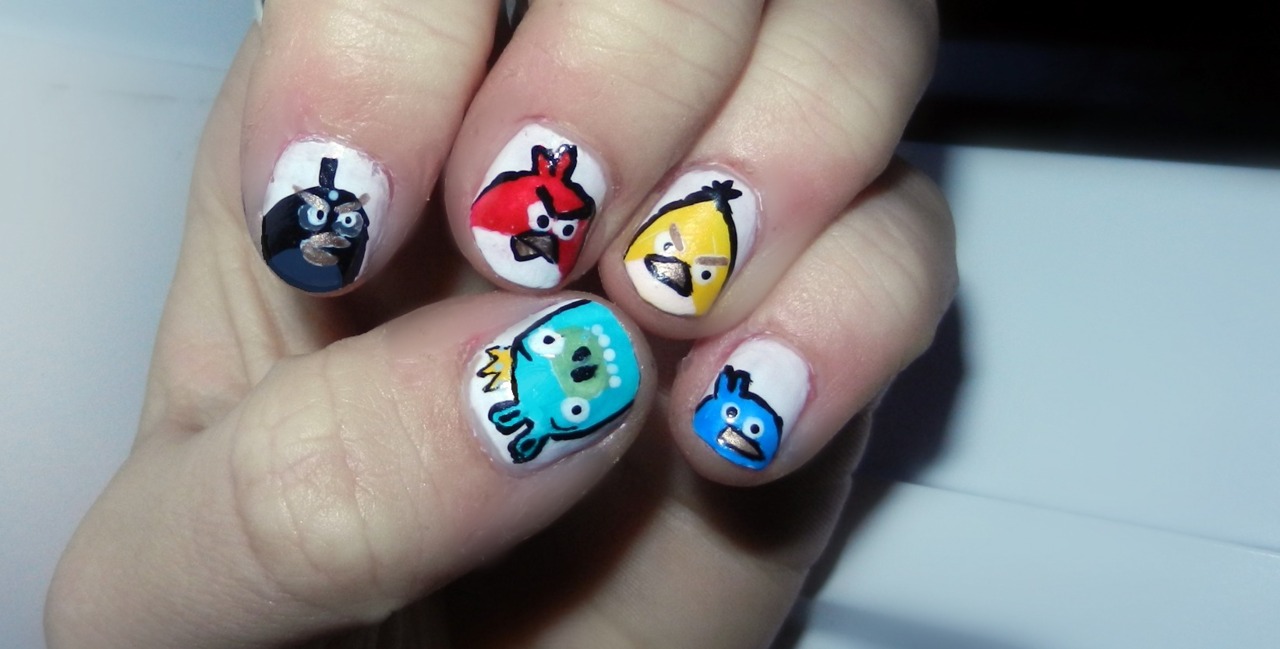
If you want to take your nail art to the next level, consider using nail art decals. These are pre-made designs that you can simply apply onto your nails for a professional and intricate look. Decals are perfect for creating detailed designs such as the Angry Birds characters. They are also easy to apply and can be found in a variety of designs and themes, making it convenient to create a unique and personalized look.6. Angry Birds Nail Art Decals

6. Angry Birds Nail Art Decals
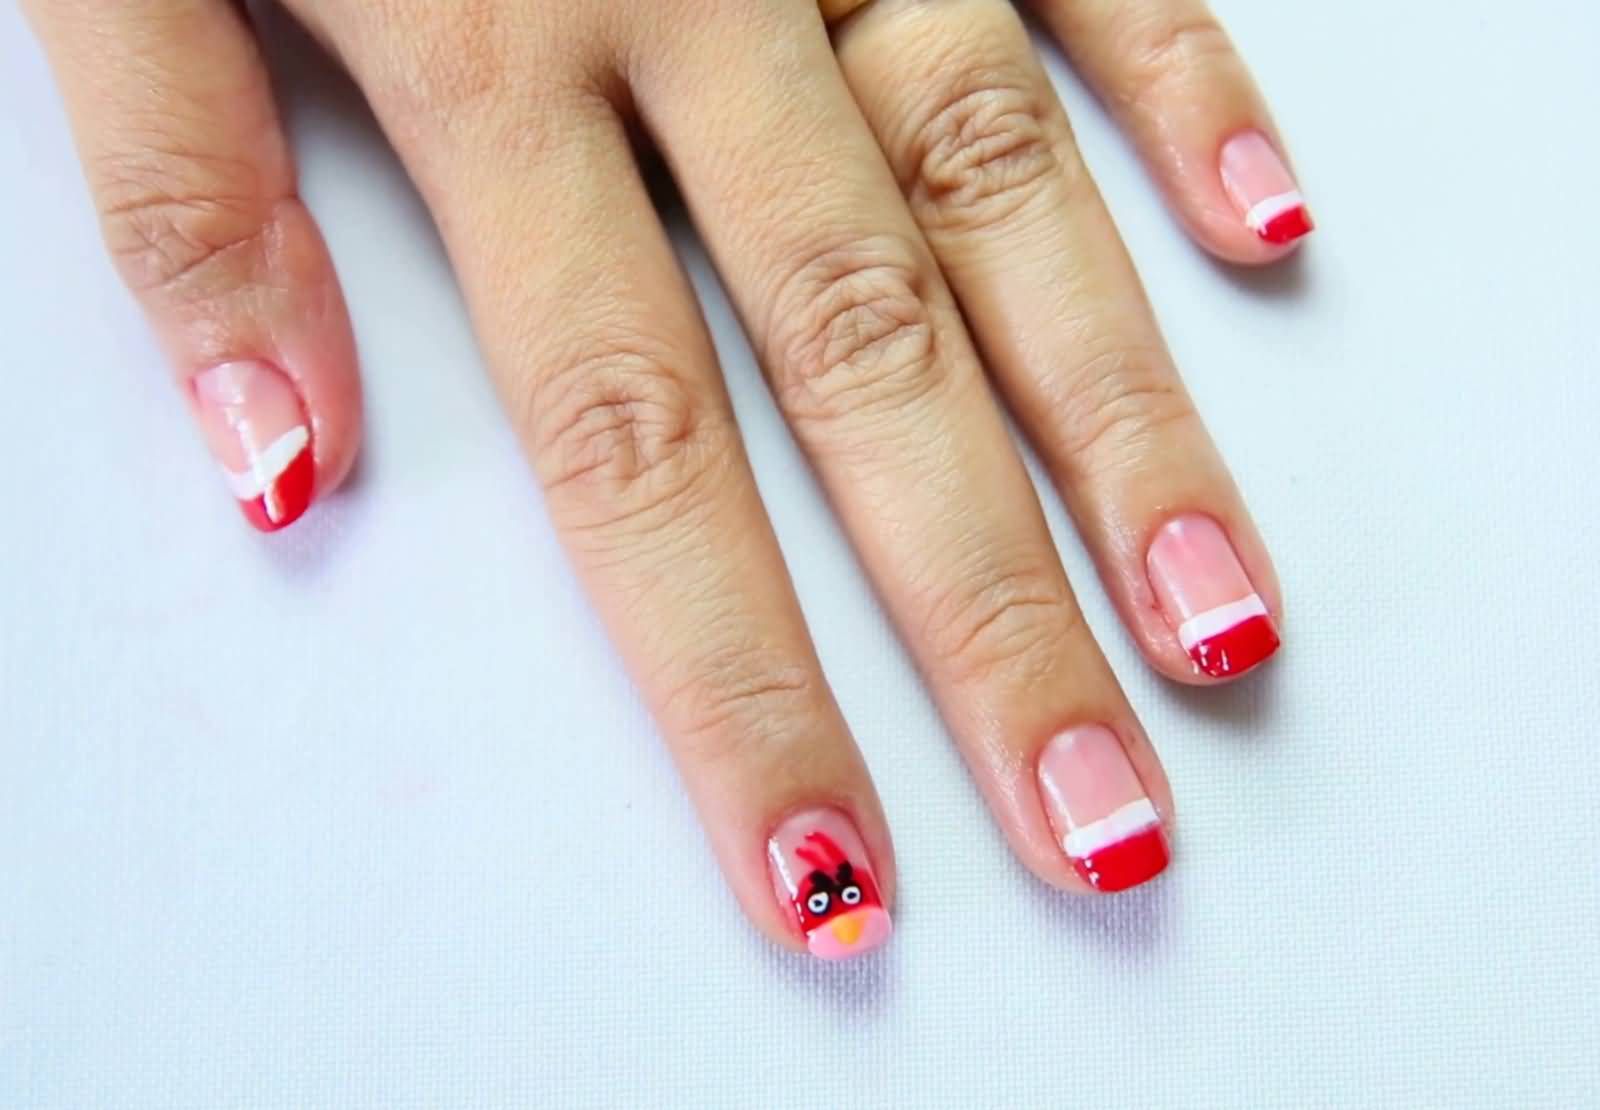
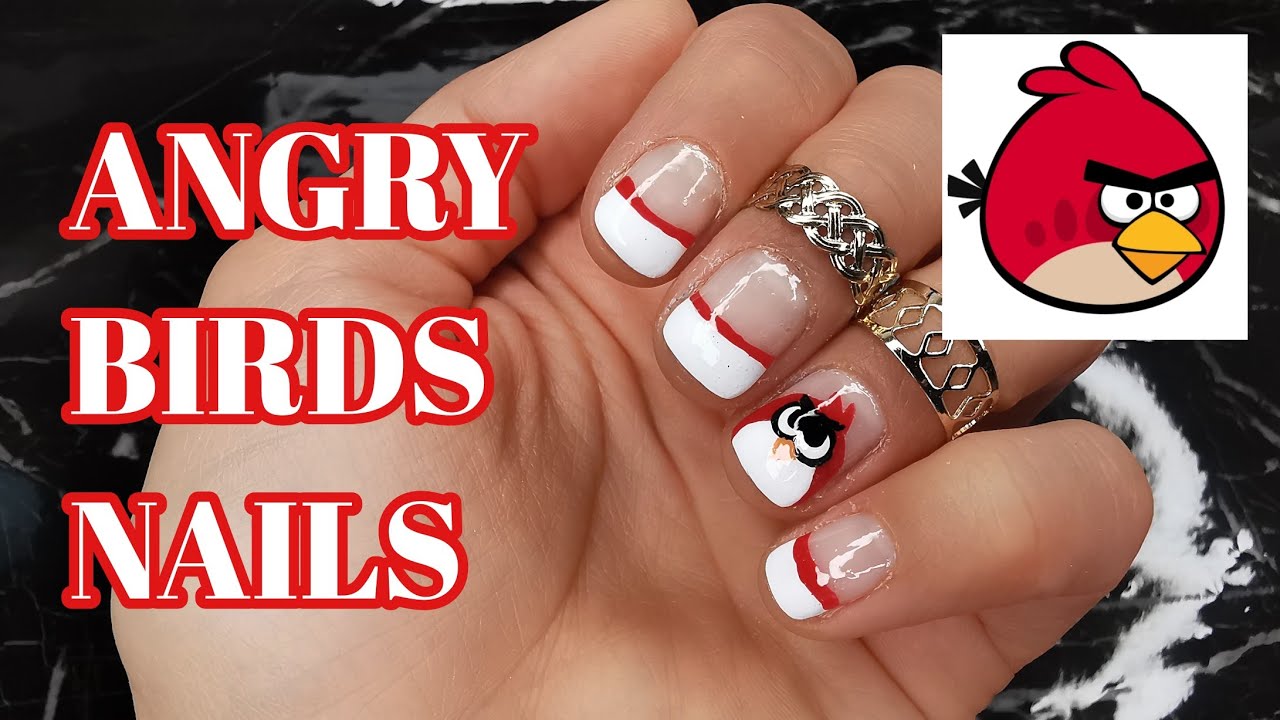
Just because you have short nails doesn't mean you can't join in on the fun of Angry Birds nail art. In fact, shorter nails can make for a cuter and more compact design. For shorter nails, focus on creating smaller and simpler designs such as the iconic red circle and beak of the Angry Bird. You can also use smaller brushes or toothpicks to create finer details. Don't be afraid to get creative and experiment with different designs that work for your nail length.7. Angry Birds Nail Art for Short Nails


7. Angry Birds Nail Art for Short Nails

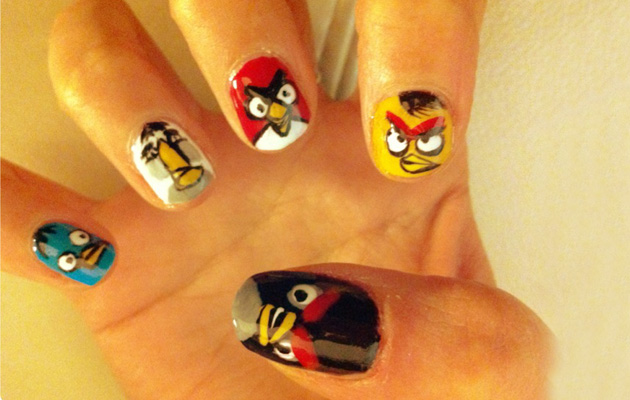
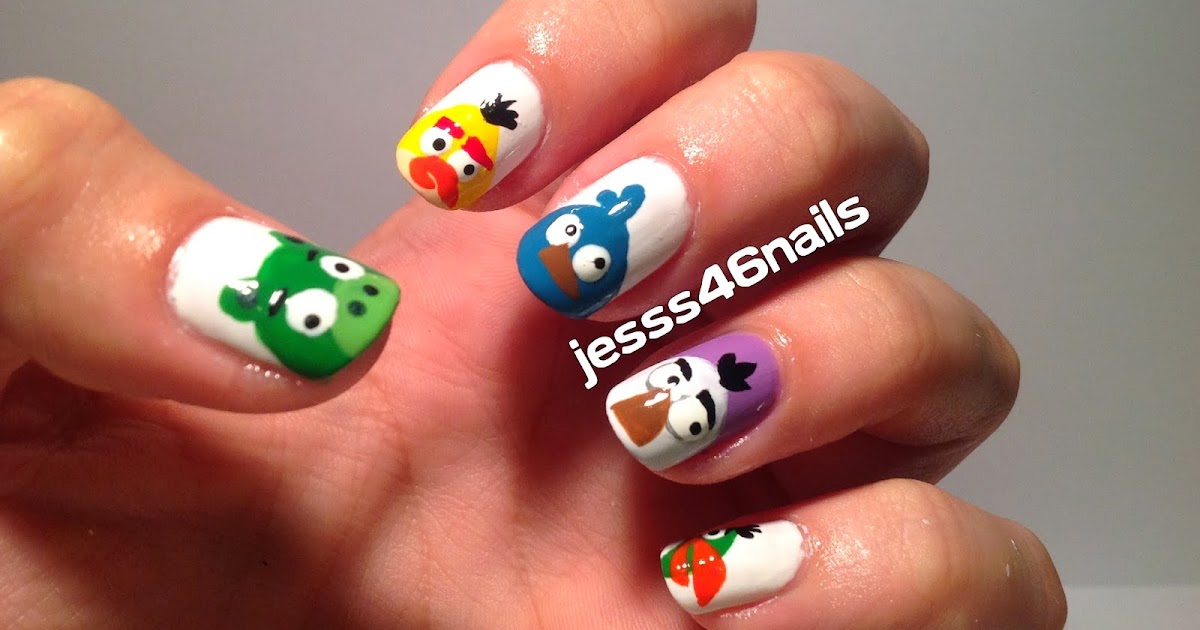
On the other hand, if you have long nails, you have more space to work with and can create more elaborate designs. You can incorporate multiple characters, backgrounds, and other fun elements into your nail art. Just be sure to adjust the size of your designs accordingly to fit your longer nails. You can also use different colors or add glitter and sequins to make your design stand out even more.8. Angry Birds Nail Art for Long Nails


8. Angry Birds Nail Art for Long Nails

If you don't have any nail art tools, don't worry – you can still create cute Angry Birds nails with a simple toothpick. This common household item is perfect for creating small details and can be found in almost every household. Using the pointed end of the toothpick, you can create the shapes of the Angry Birds characters and add details such as the beak and eyes. It may take a bit more patience and precision, but the end result will be worth it.9. Angry Birds Nail Art with Toothpick
9. Angry Birds Nail Art with Toothpick
A dotting tool is another essential tool for creating detailed nail art. It's perfect for creating small dots or intricate designs, making it ideal for recreating the characters and elements of Angry Birds. Simply dip the dotting tool into your desired polish and create small dots to form the shape of the Angry Bird's body. Then, use a smaller dotting tool to add details such as the beak and eyes. This tool makes it easy to achieve a perfect and uniform look.10. Angry Birds Nail Art with Dotting Tool

10. Angry Birds Nail Art with Dotting Tool

Transform Your Nails with Angry Birds Nail Art Design
A Fun and Playful Way to Express Your Personality
 Are you tired of the same old boring nail designs? Do you want something unique and eye-catching? Look no further than the
Angry Birds nail art design
. This fun and playful design is a great way to express your personality and add a pop of color to your overall look. Whether you're a fan of the popular mobile game or just want to stand out from the crowd, this nail art design is perfect for you.
Are you tired of the same old boring nail designs? Do you want something unique and eye-catching? Look no further than the
Angry Birds nail art design
. This fun and playful design is a great way to express your personality and add a pop of color to your overall look. Whether you're a fan of the popular mobile game or just want to stand out from the crowd, this nail art design is perfect for you.
How to Achieve the Angry Birds Nail Art Design
 First, start with a clean and trimmed set of nails. Next, choose a base color that will serve as the background for your design. This can be anything from a bright yellow to a deep blue, depending on your preference. Once your base color is dry, it's time to add the
Angry Birds
elements.
Using a fine-tipped brush or a nail art pen, draw the iconic red bird, yellow bird, and green pig on your nails. You can also add other elements from the game, such as the slingshot or the game logo. Don't worry about making it perfect – the imperfections add to the charm of this design.
Next, add some details to your design using different colors. For example, you can add a white belly and black eyebrows to the red bird, or add a white eye and orange beak to the yellow bird. You can also add some grass or clouds in the background to make your design more dynamic.
Finally, seal your design with a top coat to make it last longer and give it a glossy finish. And there you have it – your very own
Angry Birds nail art design
! You can also add some glitter or rhinestones for some extra sparkle.
First, start with a clean and trimmed set of nails. Next, choose a base color that will serve as the background for your design. This can be anything from a bright yellow to a deep blue, depending on your preference. Once your base color is dry, it's time to add the
Angry Birds
elements.
Using a fine-tipped brush or a nail art pen, draw the iconic red bird, yellow bird, and green pig on your nails. You can also add other elements from the game, such as the slingshot or the game logo. Don't worry about making it perfect – the imperfections add to the charm of this design.
Next, add some details to your design using different colors. For example, you can add a white belly and black eyebrows to the red bird, or add a white eye and orange beak to the yellow bird. You can also add some grass or clouds in the background to make your design more dynamic.
Finally, seal your design with a top coat to make it last longer and give it a glossy finish. And there you have it – your very own
Angry Birds nail art design
! You can also add some glitter or rhinestones for some extra sparkle.
Stand Out with Angry Birds Nail Art Design
 Not only is this design fun and playful, but it's also a great way to stand out from the crowd. Whether you're heading to a party or just want to add some color to your everyday look, the
Angry Birds nail art design
is sure to turn heads and make a statement.
So why settle for boring and basic nail designs when you can have a unique and fun design that reflects your personality? Try out the
Angry Birds nail art design
and watch as your nails become a conversation starter wherever you go.
Now that you know how to achieve this design, why not give it a try? Transform your nails and show off your love for Angry Birds with this fun and creative nail art design.
Not only is this design fun and playful, but it's also a great way to stand out from the crowd. Whether you're heading to a party or just want to add some color to your everyday look, the
Angry Birds nail art design
is sure to turn heads and make a statement.
So why settle for boring and basic nail designs when you can have a unique and fun design that reflects your personality? Try out the
Angry Birds nail art design
and watch as your nails become a conversation starter wherever you go.
Now that you know how to achieve this design, why not give it a try? Transform your nails and show off your love for Angry Birds with this fun and creative nail art design.


