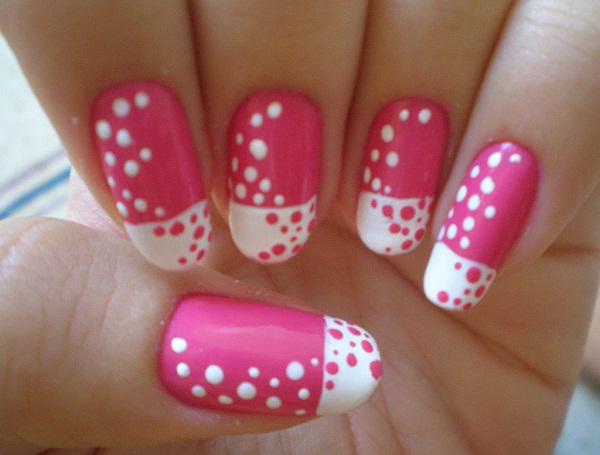
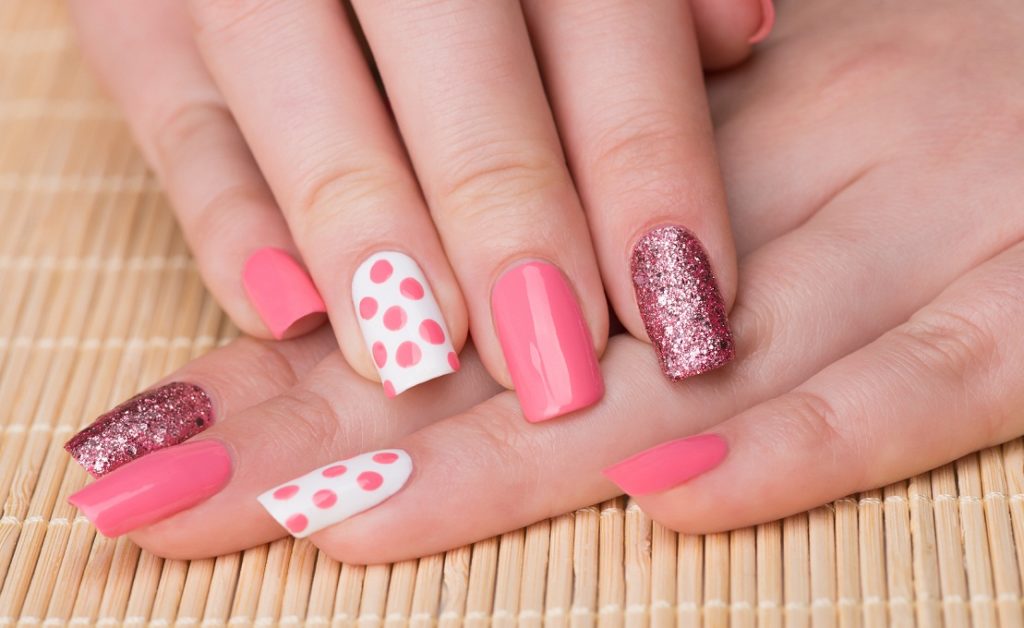
If you're new to the world of nail art, it can be overwhelming to know where to start. But don't worry, we've got you covered with some simple and easy nail art designs that are perfect for beginners. One of the easiest designs to try is a color block design. Simply paint each nail a different color and you have an instant nail art look. You can use complementary colors or mix it up with different shades of the same color. Another simple design is a polka dot manicure. You can achieve this look by using a toothpick or the end of a bobby pin to create dots on your nails. You can do all one color or mix it up with different colors. If you want to add a little sparkle to your nails, try a glitter accent nail. Simply paint all your nails one color and then add a glitter accent nail on each hand. This is an easy way to add some glam to your nails without too much effort.Simple Nail Art Designs for Beginners


Simple Nail Art Designs for Beginners


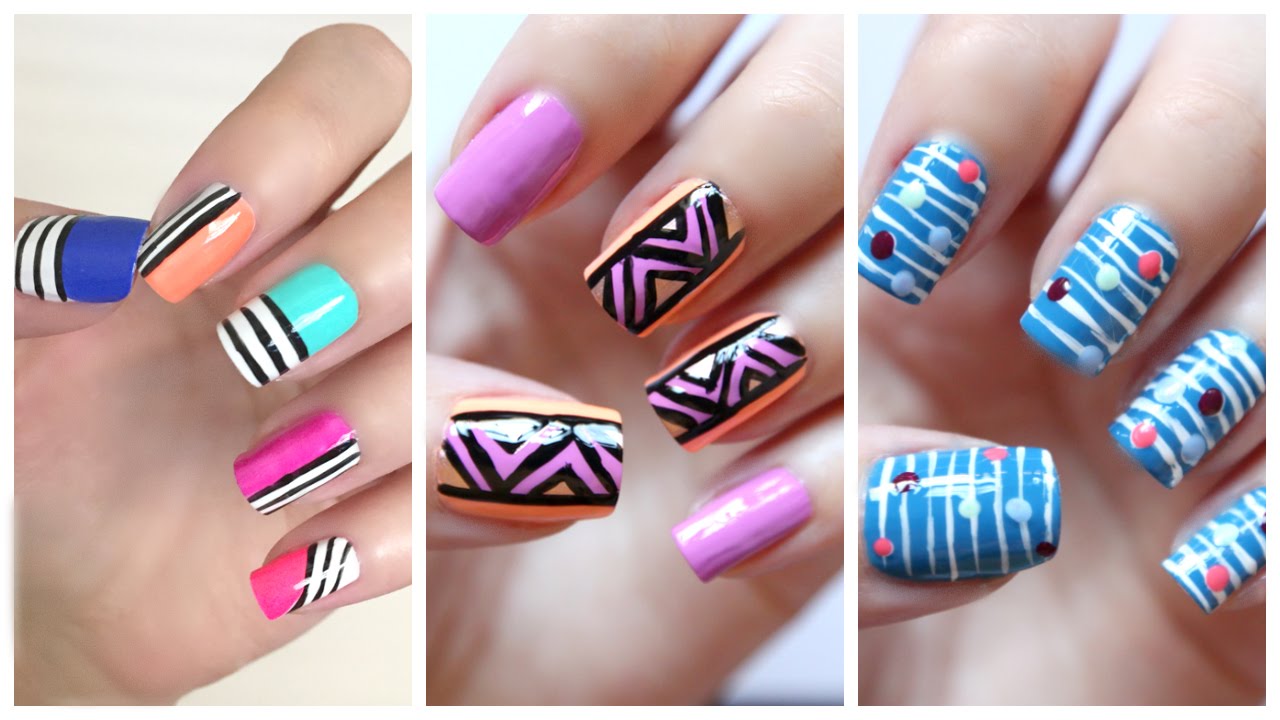
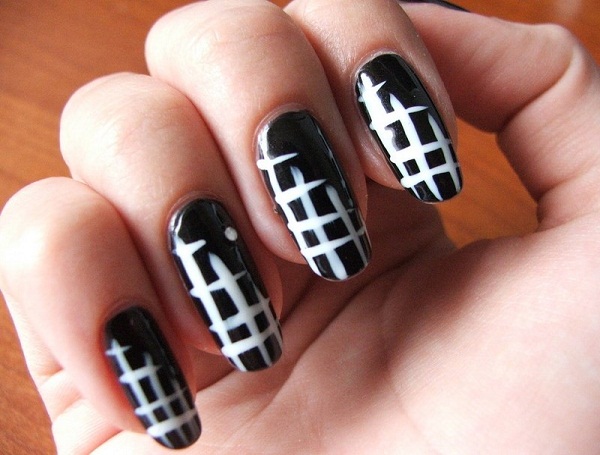
For those looking for more than just a simple design, here are some basic nail art designs that are perfect for beginners. A striped manicure is a great way to add some fun to your nails. You can use striping tape or even a toothpick to create straight lines on your nails. Play around with different colors and patterns to create your own unique look. If you want to try your hand at some nail art tools, a marble design is a great place to start. You can use a dotting tool or even a toothpick to create a marbled effect on your nails. This design looks great with any color combination. Another basic design that looks more complicated than it is, is a half-moon manicure. Simply paint your entire nail one color and then use a smaller brush or a toothpick to create a half-moon shape at the base of your nail. You can also use a stencil for a more precise look.Basic Nail Art Designs for Beginners

Basic Nail Art Designs for Beginners


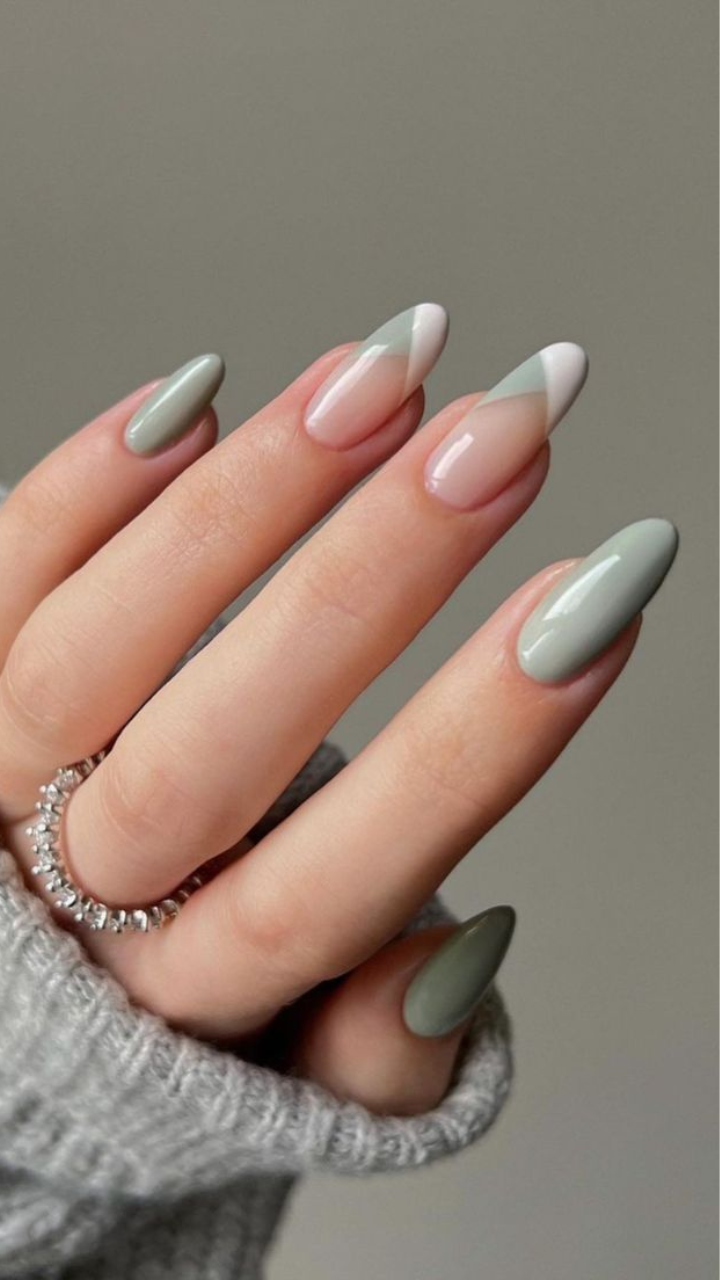
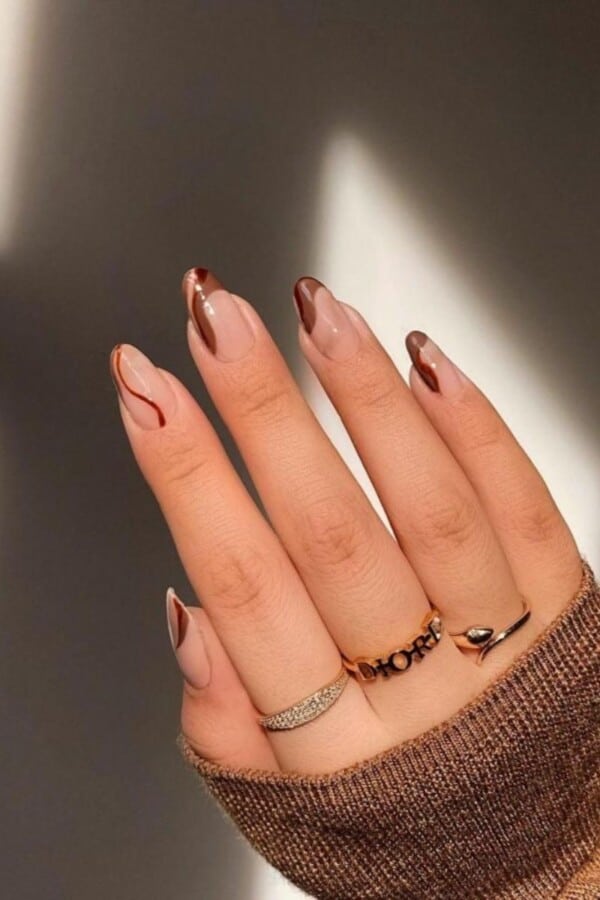
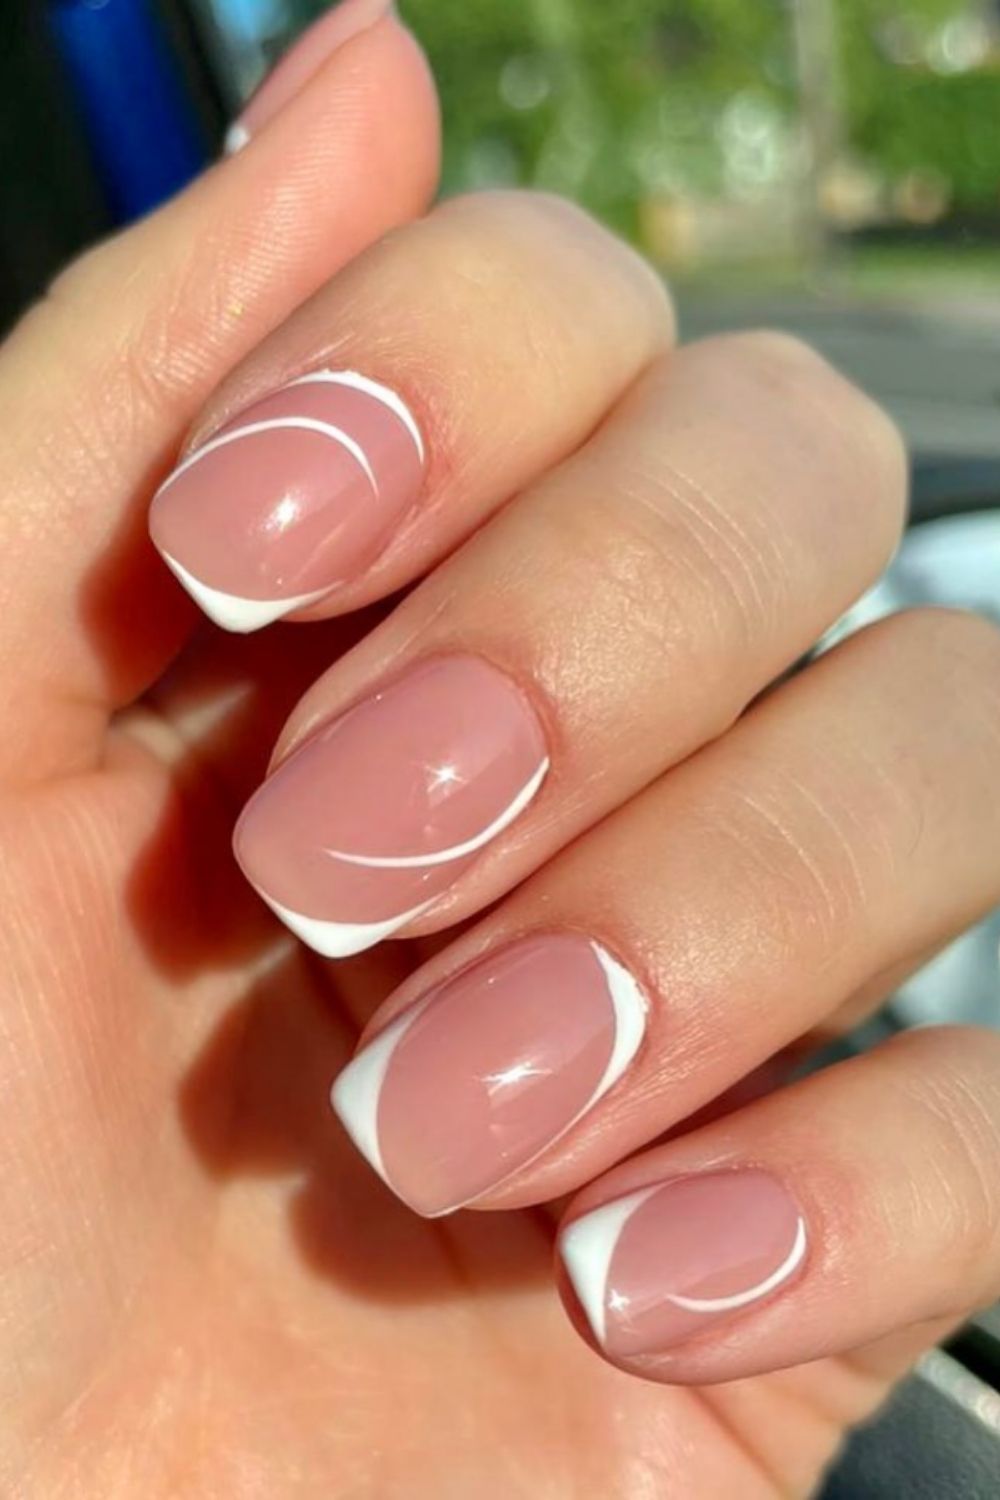
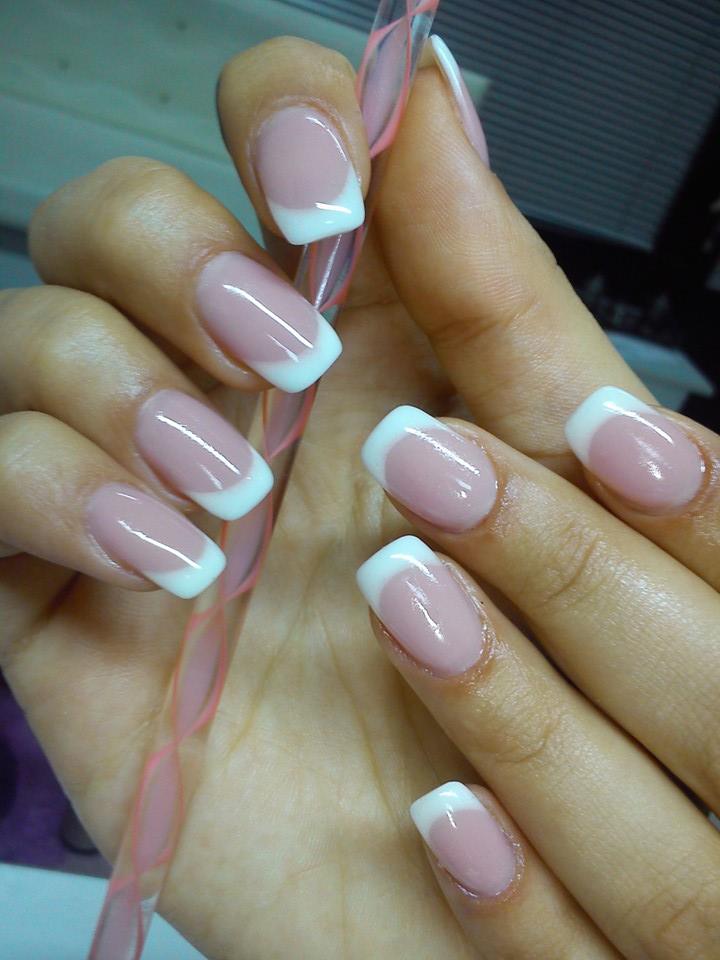
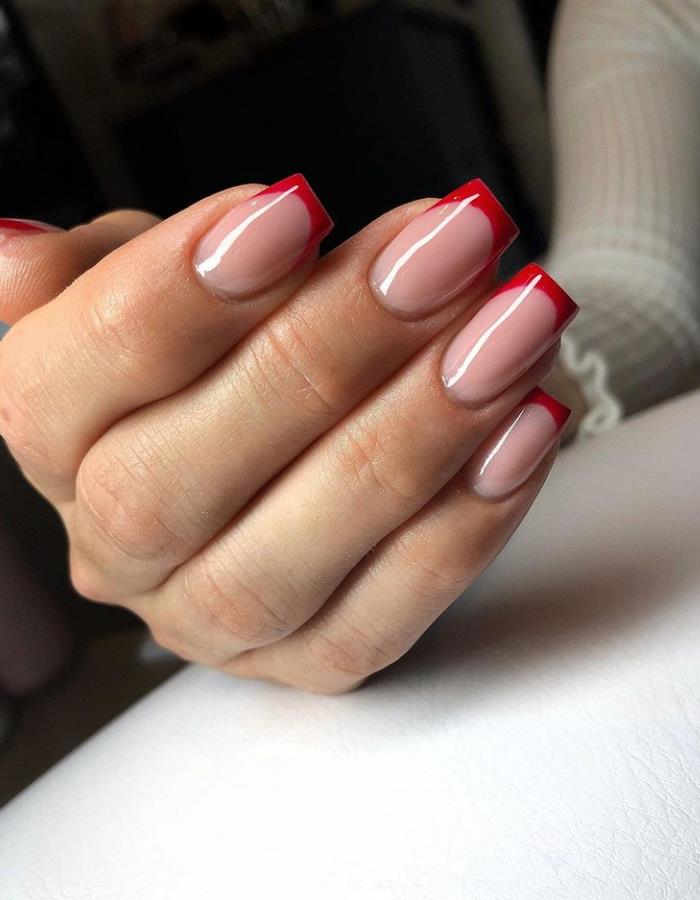
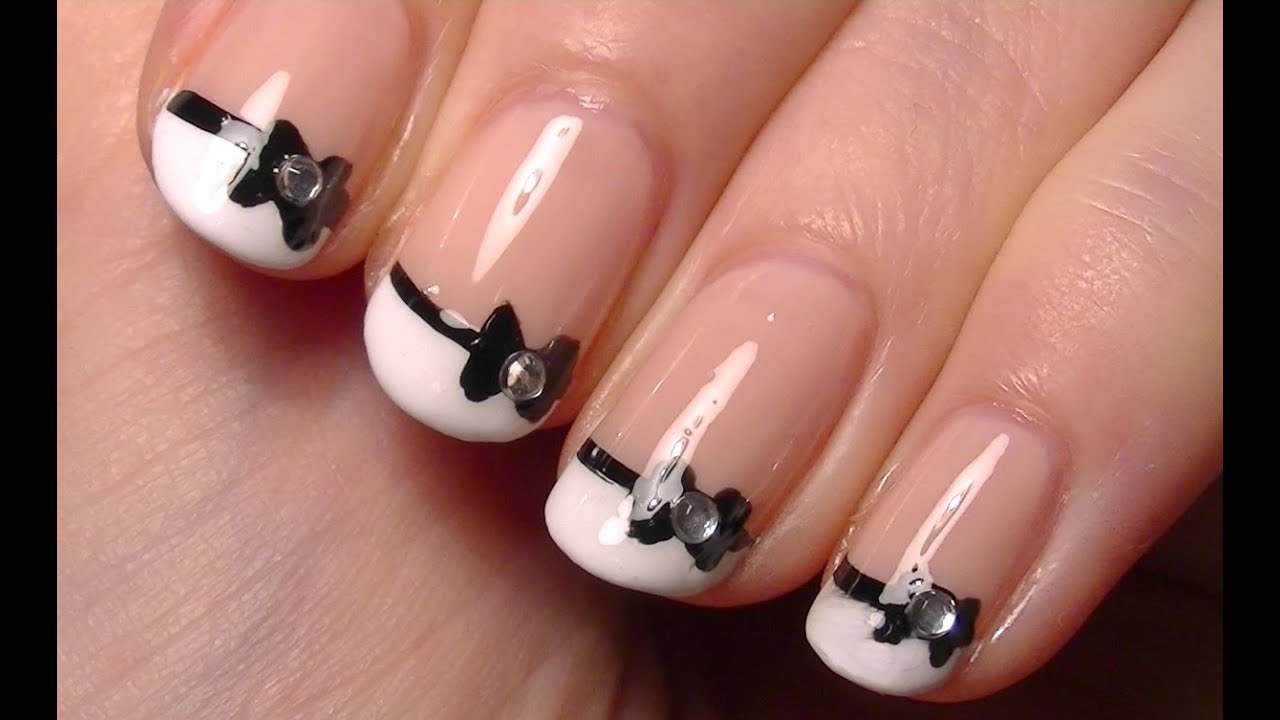
Not feeling very confident in your nail art skills? Here are some easy designs that anyone can do. A french tip manicure is a classic look that is simple to achieve. You can use a white polish for a traditional look or mix it up with different colors. You can also add some glitter or a different color to the tips for a modern twist. If you want to add some dimension to your nails, try a ombre design. You can use a sponge to create a gradient effect on your nails. This looks great with any color combination, but a popular choice is to use a light and dark shade of the same color. For a fun and playful design, try a watermelon manicure. Paint your nails green and then add a red tip for the "fruit". Use a toothpick to add black seeds and you have a cute and easy summer nail art look.Easy Nail Art Designs for Beginners


Easy Nail Art Designs for Beginners

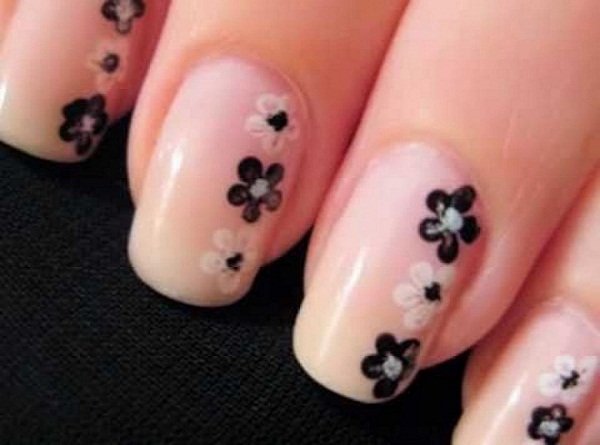


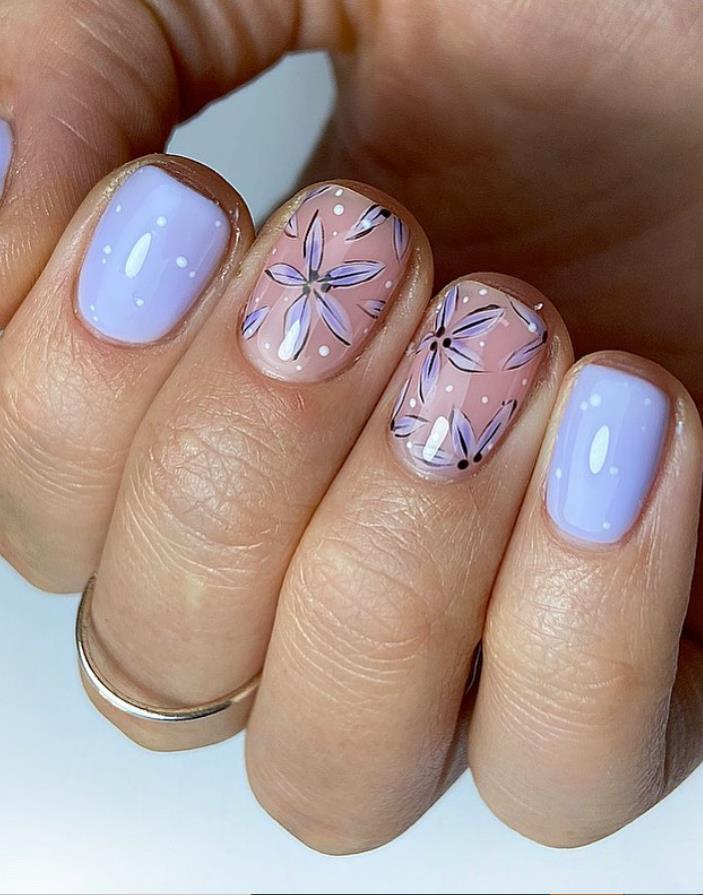
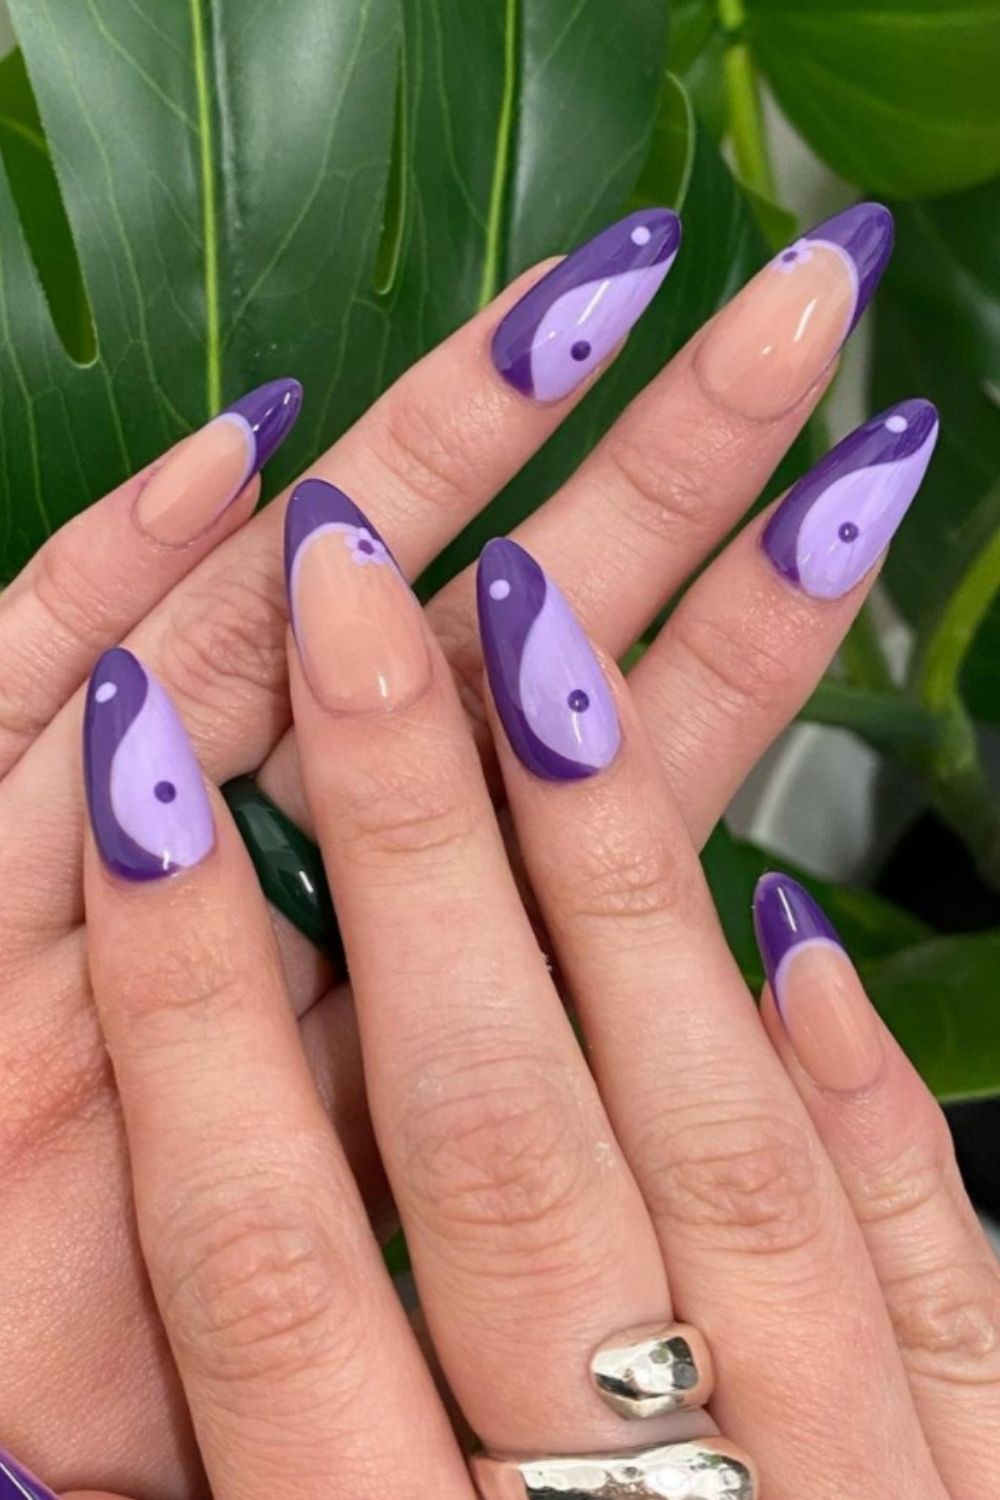
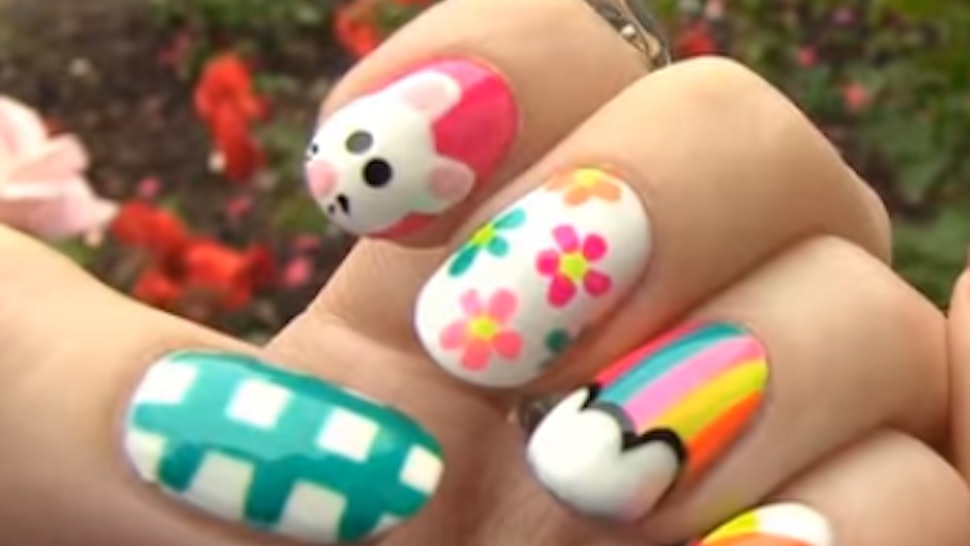
If you're stuck for inspiration, here are some basic nail art ideas to get you started. A geometric design is a great way to add some interest to your nails. You can use striping tape or a brush to create different shapes and patterns on your nails. This design looks great with bold colors and can be customized to your liking. If you're feeling daring, try a negative space manicure. This involves leaving some of your natural nail exposed while creating a design on the rest of your nail. This can be achieved with tape or freehand with a small brush. For a feminine and romantic look, try a floral design. You can use a small brush or even a toothpick to create flowers on your nails. This design looks great with pastel colors for a soft and delicate look.Basic Nail Art Ideas


Basic Nail Art Ideas


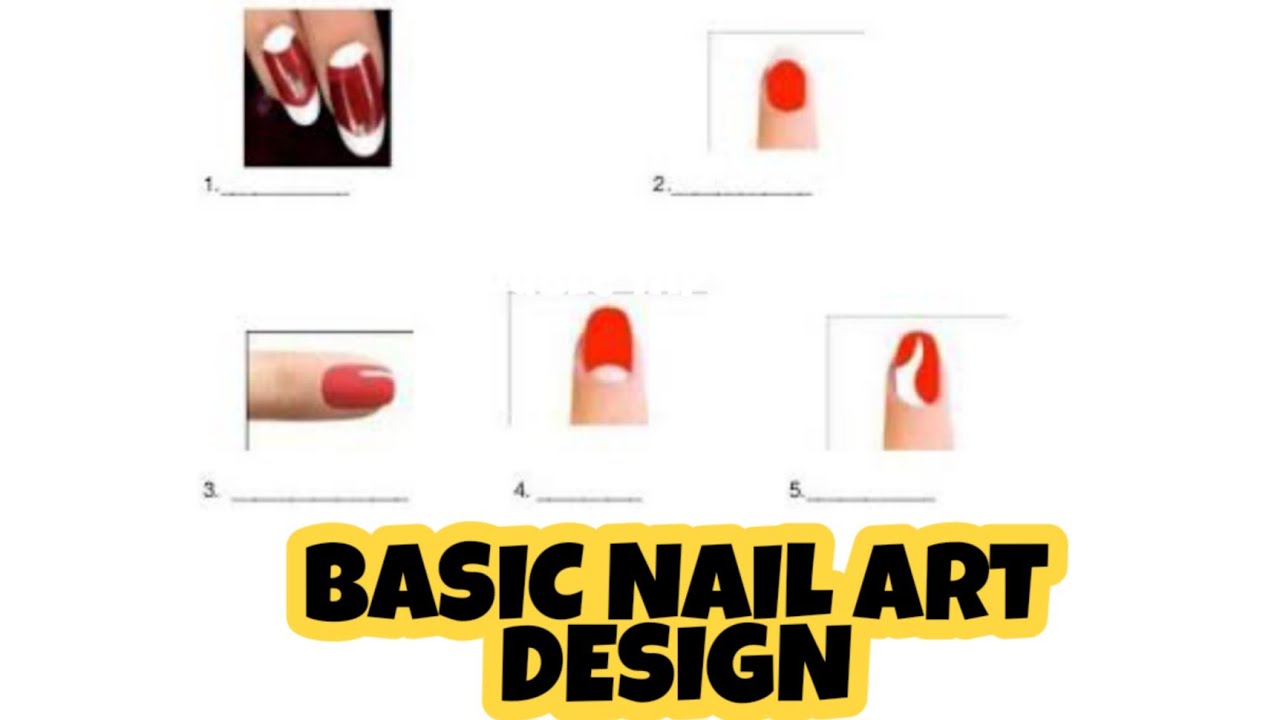
If you're a visual learner, here are some basic nail art designs broken down into easy step by step instructions. Step 1: Start with clean, dry nails and apply a base coat to protect your nails. Step 2: Choose your desired design and gather your tools, such as polish, brushes, toothpicks, and tape. Step 3: Apply your base color and let it dry completely. Step 4: Use your tools to create your design. Be patient and take your time to achieve the look you want. Step 5: Once your design is complete, let it dry completely before applying a top coat to seal and protect your design.Basic Nail Art Designs Step by Step
Basic Nail Art Designs Step by Step
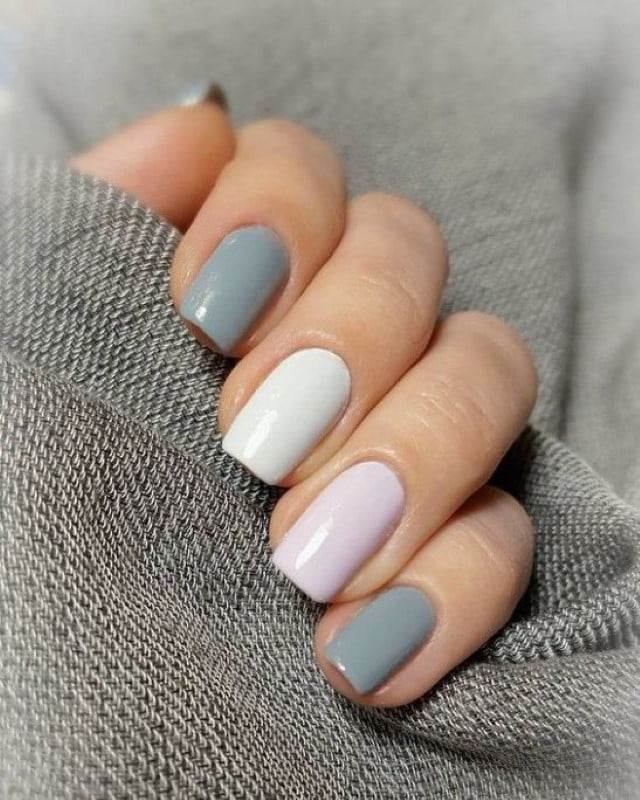
Short nails don't mean you can't have fun with nail art. Here are some simple designs that work well on shorter nails. A half-moon design works great on short nails as it elongates the nail bed. You can also try a reverse half-moon design by painting the base of your nail a different color. If you want to add some texture to your nails, try a matte design. Simply paint your nails with a matte top coat for a sleek and modern look. For a chic and sophisticated look, try a metallic design. You can use metallic polish or even add some foil or glitter for a bold and shiny look.Basic Nail Art Designs for Short Nails

Basic Nail Art Designs for Short Nails

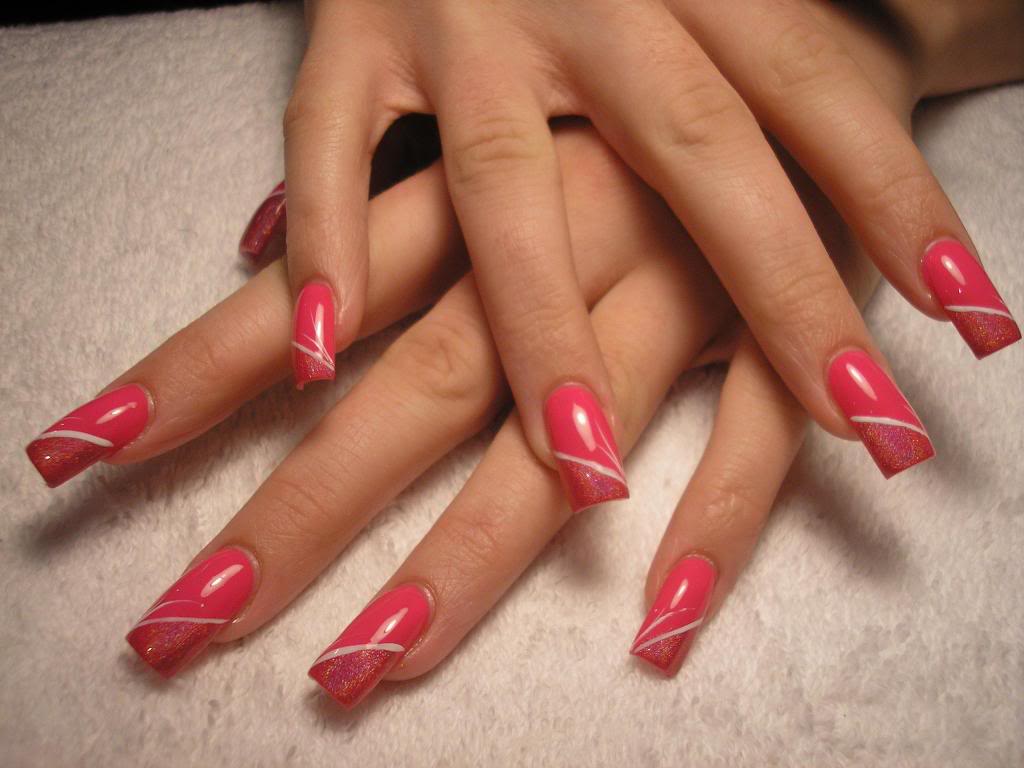
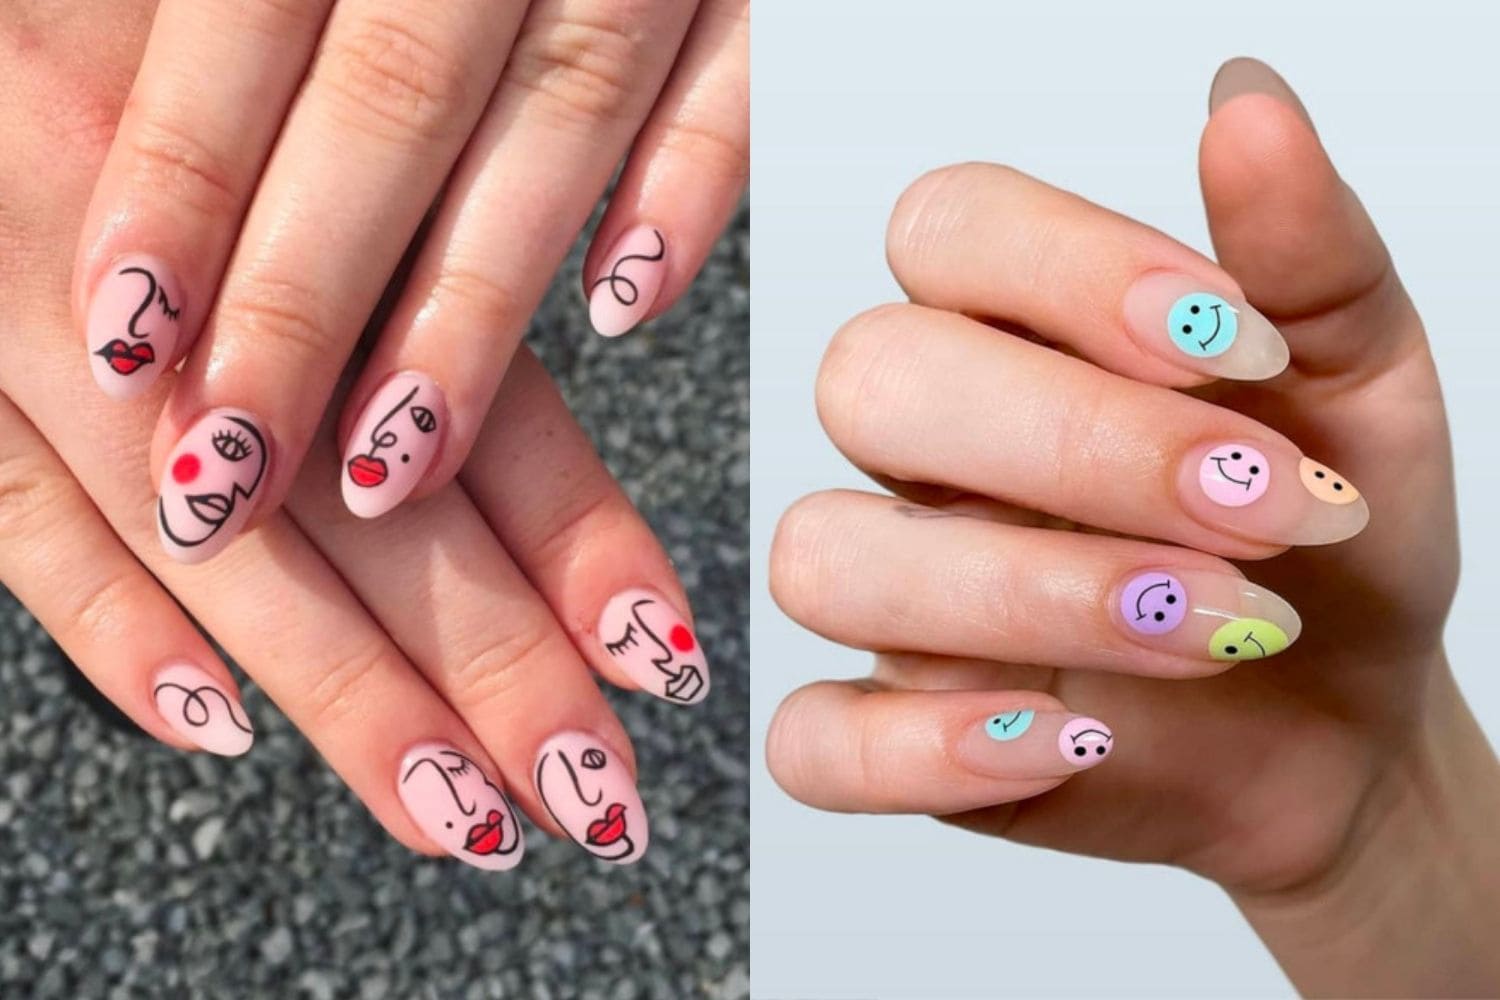
Long nails are perfect for showing off your nail art skills. Here are some designs that look great on longer nails. A gradient design is a great way to utilize the length of your nails. You can use multiple colors to create a rainbow effect or stick to shades of the same color for a more subtle look. If you want to add some bling to your nails, try a jeweled design. You can use small rhinestones or pearls to create a glamorous and eye-catching design on your nails. For a fun and playful look, try a cartoon design. You can use different colors and patterns to create your favorite cartoon characters or simple shapes and designs for a more subtle look.Basic Nail Art Designs for Long Nails
Basic Nail Art Designs for Long Nails

You don't need fancy tools to create beautiful nail art. Here are some designs that can be achieved without any tools. A spotty design can be achieved by simply using the end of a bobby pin or toothpick to create dots on your nails. You can use one color or mix it up with different colors for a fun and playful look. If you want to add some stripes to your nails, try a scotch tape design. Simply cut strips of tape and place them on your nails before painting them with a different color. Once the polish is dry, carefully remove the tape to reveal your striped design. For a unique and artistic look, try a watercolor design. Simply mix different colors of polish on a piece of paper and then use a sponge to dab the colors onto your nails. This creates a beautiful and abstract design with minimal effort.Basic Nail Art Designs for Beginners without Tools


Basic Nail Art Designs for Beginners without Tools


A toothpick can be a versatile tool for creating nail art. Here are some designs that can be achieved with a toothpick. Step 1: Start with clean, dry nails and apply a base coat to protect your nails. Step 2: Choose your desired design and gather your tools, such as polish, a toothpick, and a small brush. Step 3: Apply your base color and let it dry completely. Step 4: Use the toothpick to create your design. You can use the tip for small dots or the side for thicker lines. Step 5: Once your design is complete, let it dry completely before applying a top coat to seal and protect your design.Basic Nail Art Designs for Beginners with Toothpick
Basic Nail Art Designs for Beginners with Toothpick


Tape is a great tool for creating clean and precise lines on your nails. Here are some designs that you can achieve with tape. A chevron design is easy to achieve with tape. Simply cut small pieces of tape and place them diagonally on your nails. Paint over them with a different color and then carefully remove the tape to reveal your chevron design. If you want to add some geometric shapes to your nails, try a triangle design. Cut small pieces of tape into triangles and place them on your nails. Paint over them with a different color and then carefully remove the tape to reveal your geometric design. For a modern and edgy look, try a geometric cutout design. Cut small pieces of tape and place them in a pattern on your nails. Paint over them with a different color and then carefully remove the tape to reveal your unique design.Basic Nail Art Designs for Beginners with Tape


Basic Nail Art Designs for Beginners with Tape

Taking Your Nail Art Designs to the Next Level

Exploring Different Techniques and Styles
 When it comes to nail art, there are endless possibilities to explore. From simple designs to intricate patterns, there is something for everyone. One of the most popular techniques is the use of
basic nail art designs
. This involves using simple shapes, lines, and colors to create stunning and eye-catching designs on your nails. However, with a little creativity and practice, you can take your
nail art
to the next level and create unique and personalized designs that will truly make a statement.
When it comes to nail art, there are endless possibilities to explore. From simple designs to intricate patterns, there is something for everyone. One of the most popular techniques is the use of
basic nail art designs
. This involves using simple shapes, lines, and colors to create stunning and eye-catching designs on your nails. However, with a little creativity and practice, you can take your
nail art
to the next level and create unique and personalized designs that will truly make a statement.
Experiment with Different Tools and Materials
 The key to elevating your nail art is to experiment with different tools and materials. While traditional nail polish and brushes are great for creating basic designs, there are other tools that can help you achieve more intricate and detailed designs. For example, using
nail art pens
can give you more precision and control when creating fine lines and intricate patterns. You can also try using
nail stamps
or
stencils
for more complex designs. Don't be afraid to try out different materials such as glitter, rhinestones, or even dried flowers to add texture and dimension to your designs.
The key to elevating your nail art is to experiment with different tools and materials. While traditional nail polish and brushes are great for creating basic designs, there are other tools that can help you achieve more intricate and detailed designs. For example, using
nail art pens
can give you more precision and control when creating fine lines and intricate patterns. You can also try using
nail stamps
or
stencils
for more complex designs. Don't be afraid to try out different materials such as glitter, rhinestones, or even dried flowers to add texture and dimension to your designs.
Get Inspired by the Latest Trends
 Another way to take your nail art to the next level is to stay updated with the latest trends. Follow
professional nail artists
on social media platforms like Instagram or Pinterest for inspiration and ideas. You can also attend
nail art workshops
or watch tutorials online to learn new techniques and styles. Don't be afraid to put your own spin on popular trends and make them your own. This will help you develop your unique style and stand out from the crowd.
Another way to take your nail art to the next level is to stay updated with the latest trends. Follow
professional nail artists
on social media platforms like Instagram or Pinterest for inspiration and ideas. You can also attend
nail art workshops
or watch tutorials online to learn new techniques and styles. Don't be afraid to put your own spin on popular trends and make them your own. This will help you develop your unique style and stand out from the crowd.
Practice, Practice, Practice
 As with any skill, practice makes perfect. Don't be discouraged if your first attempts at
nail art
don't turn out exactly how you imagined. Keep practicing and experimenting with different techniques and styles until you find what works best for you. You can also try practicing on a
fake nail set
or on your friends' nails to improve your skills. Remember, the more you practice, the better you will become.
In conclusion, with the right tools, inspiration, and practice, you can take your
basic nail art designs
to the next level. Don't be afraid to try new things and put your own personal touch on your designs. With dedication and creativity, you can create stunning and unique nail art that will make a statement and show off your personal style. So go ahead and explore the world of nail art and have fun creating beautiful designs on your nails.
As with any skill, practice makes perfect. Don't be discouraged if your first attempts at
nail art
don't turn out exactly how you imagined. Keep practicing and experimenting with different techniques and styles until you find what works best for you. You can also try practicing on a
fake nail set
or on your friends' nails to improve your skills. Remember, the more you practice, the better you will become.
In conclusion, with the right tools, inspiration, and practice, you can take your
basic nail art designs
to the next level. Don't be afraid to try new things and put your own personal touch on your designs. With dedication and creativity, you can create stunning and unique nail art that will make a statement and show off your personal style. So go ahead and explore the world of nail art and have fun creating beautiful designs on your nails.


