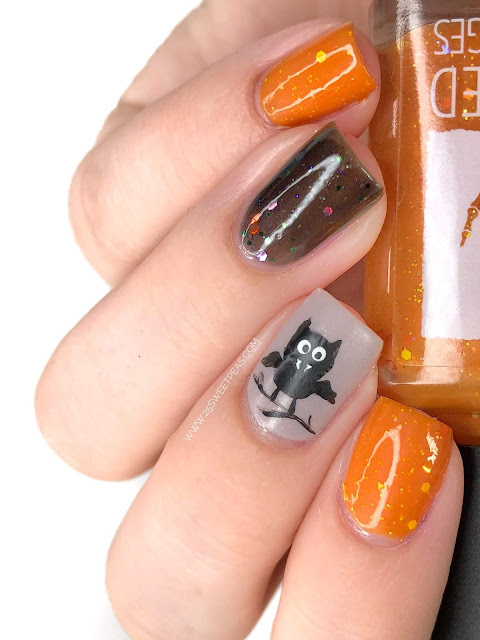
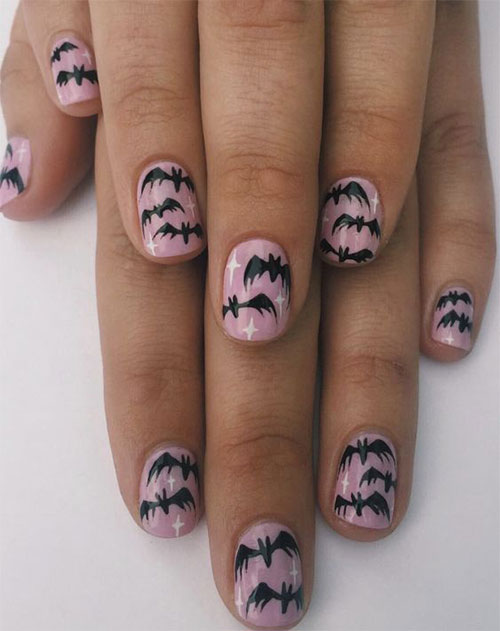
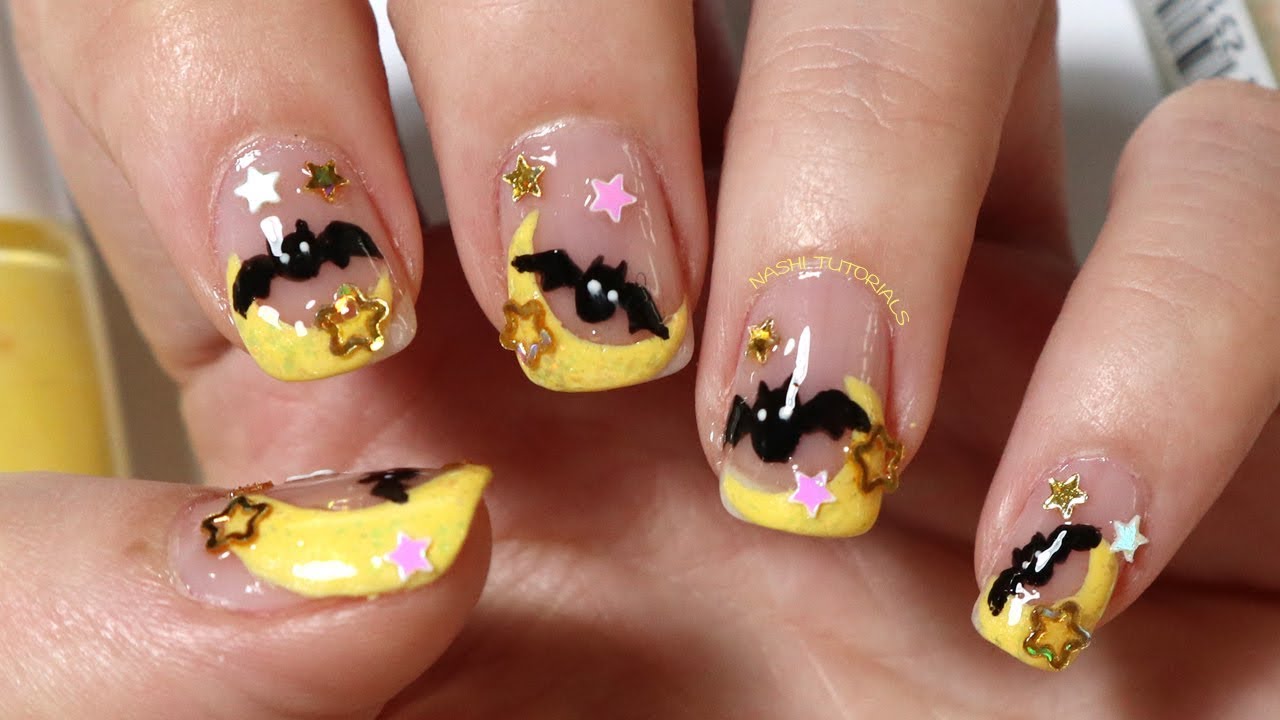
Get ready to spook up your nails this Halloween with these eerie and eye-catching bat nail art designs. These creepy creatures of the night are the perfect inspiration for a Halloween manicure that will make your nails stand out from the crowd. Featured keywords: Halloween, nail art, bat, designs For this design, start with a black base coat on all of your nails. Then, using a thin nail art brush, create two small triangles on the top corners of your nails to represent bat ears. Next, use the same brush to draw curved lines from the ears to the bottom of your nail, creating the bat's wings. Finally, add two small white dots for eyes and voila! You have a simple and spooky Halloween bat nail art design.1. Halloween Bat Nail Art Design


1. Halloween Bat Nail Art Design


If you want a more adorable and playful take on the bat nail art, try this cute design. Start by painting your nails with a light purple base coat. Then, using a small nail art brush, create two bat ears on the top corners of your nails with black nail polish. Next, use a dotting tool to create two big white eyes with black pupils. You can also add a smiley face to make the bat look even cuter. Finish off with a shiny top coat for a glossy finish. Featured keywords: Cute, bat, nail art, design2. Cute Bat Nail Art Design

2. Cute Bat Nail Art Design

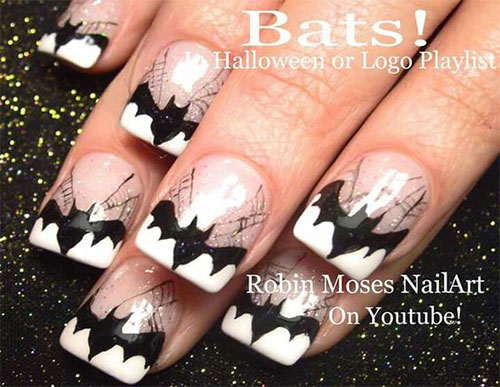
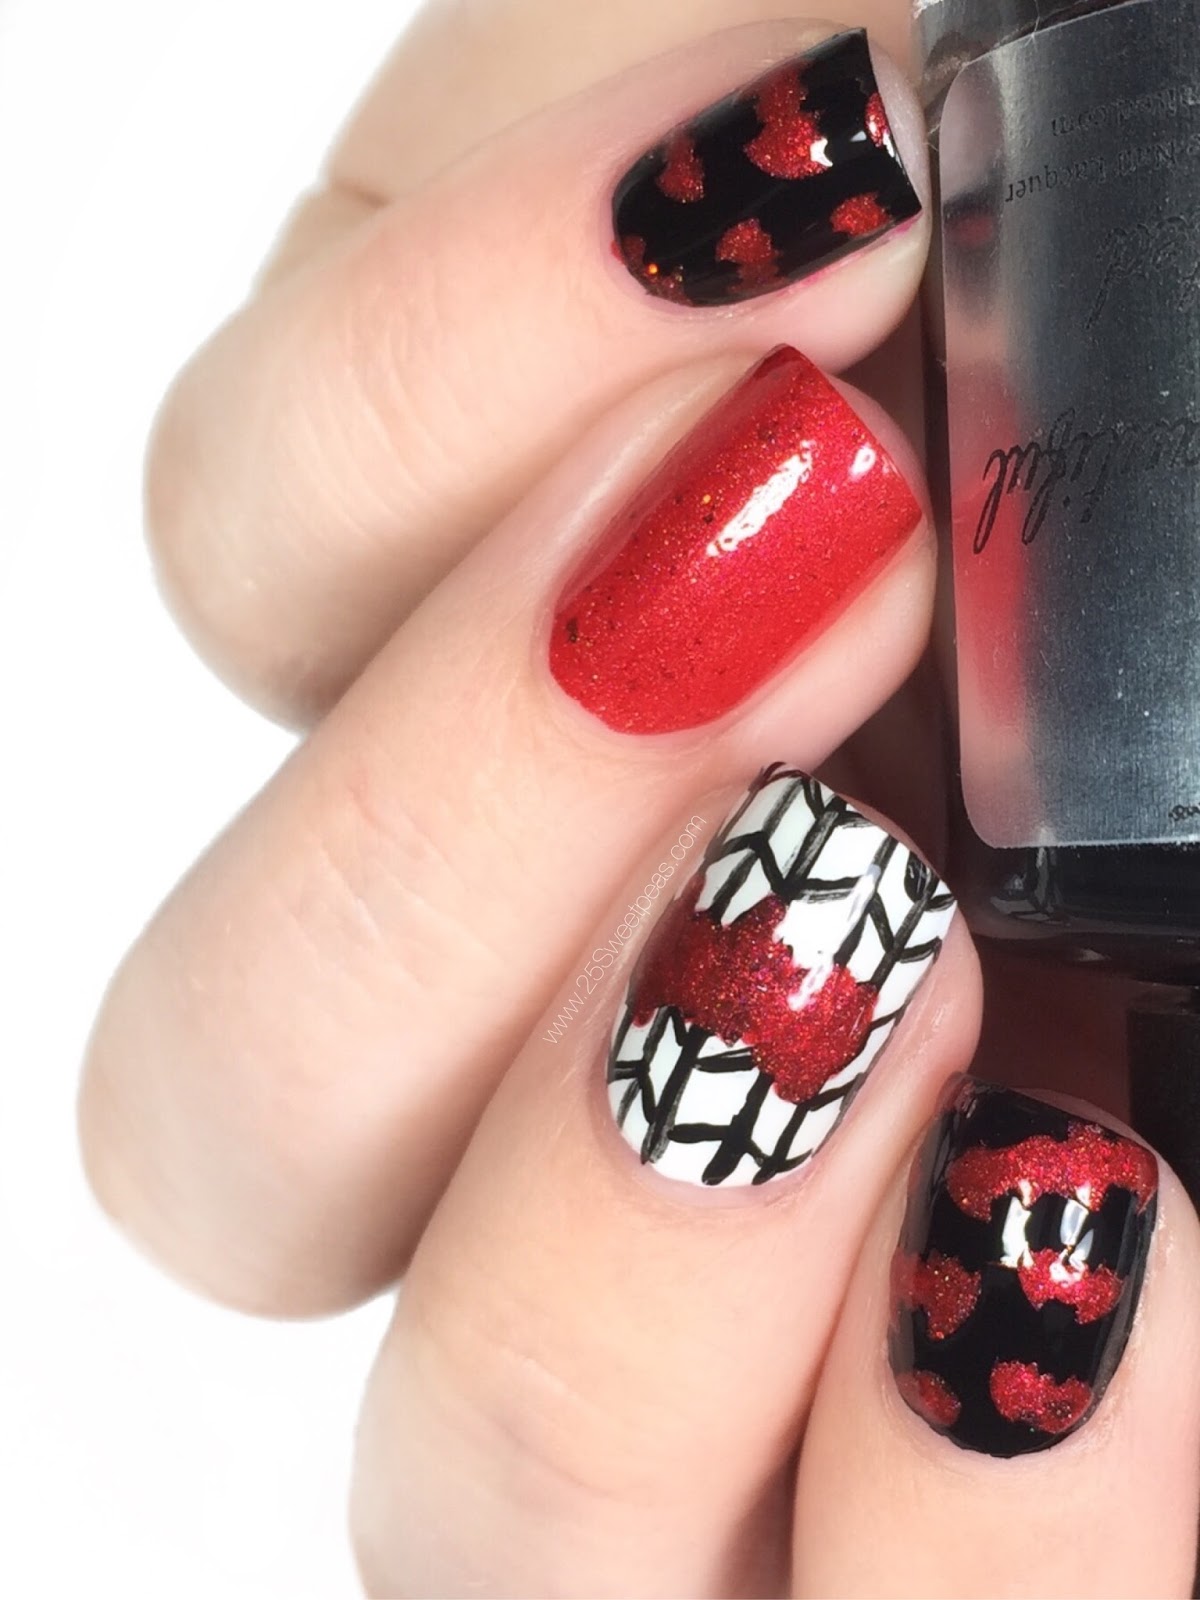
If you prefer a more classic and bold look, this black and white bat nail art design is perfect for you. Start by painting your nails with a black base coat. Then, using a white nail art pen, create two bat ears on the top corners of your nails. Next, use the same pen to draw curved lines from the ears to the bottom of your nail, creating the bat's wings. Add two small white dots for eyes and a small triangle for the nose. Finish off with a top coat to seal in the design. Featured keywords: Black and white, bat, nail art, design3. Black and White Bat Nail Art Design


3. Black and White Bat Nail Art Design


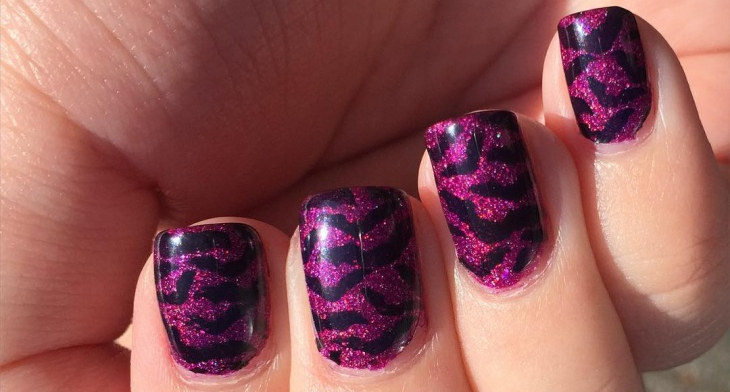
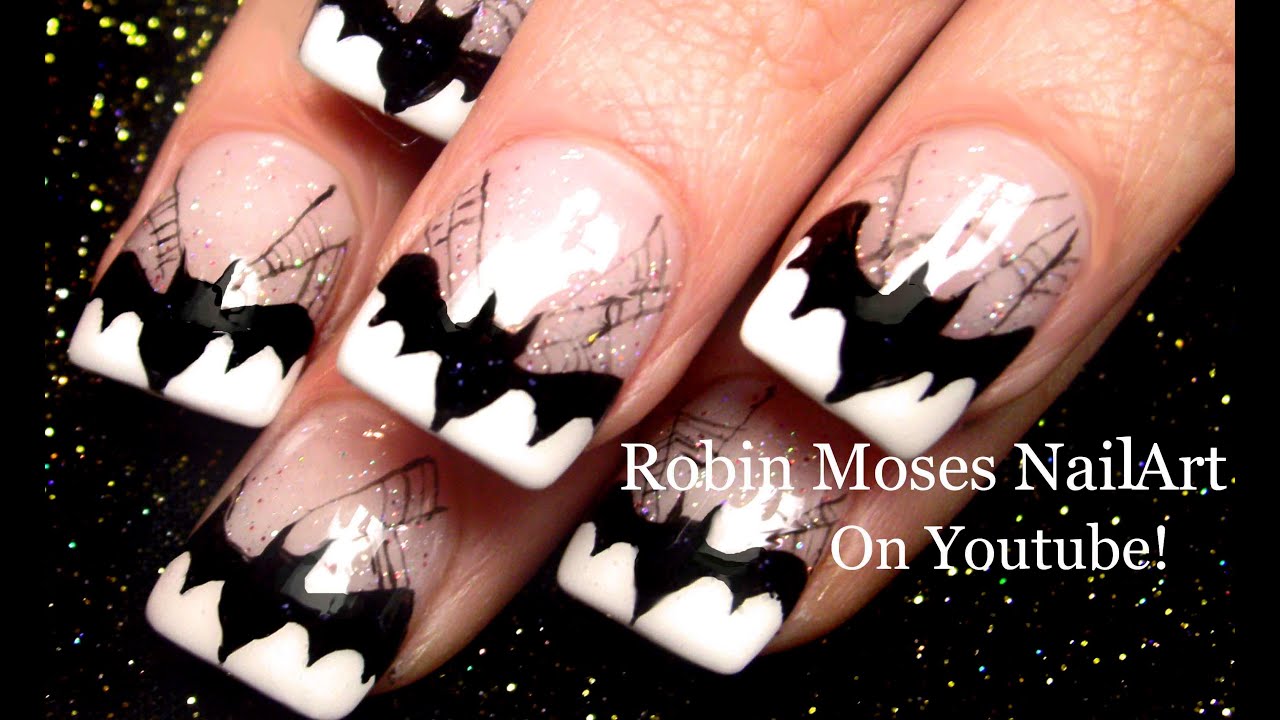
This next bat nail art design is perfect for those who want a more spooky and dramatic look. Start by painting your nails with a dark purple base coat. Then, using a white nail art pen, create two bat ears on the top corners of your nails. Next, use the same pen to draw curved lines from the ears to the bottom of your nail, creating the bat's wings. Add two red dots for eyes and a red triangle for the nose. For an extra spooky touch, add some black rhinestones or glitter to the wings. Finish off with a top coat for a glossy finish. Featured keywords: Spooky, bat, nail art, design4. Spooky Bat Nail Art Design


4. Spooky Bat Nail Art Design

If you love a bit of sparkle, this glitter bat nail art design is perfect for you. Start by painting your nails with a black base coat. Then, using a thin nail art brush, create two bat ears on the top corners of your nails with silver glitter nail polish. Next, use the same brush to draw curved lines from the ears to the bottom of your nail, creating the bat's wings. Add two small silver dots for eyes and a small triangle for the nose. Finish off with a top coat to seal in the glitter and add some shine to your nails. Featured keywords: Glitter, bat, nail art, design5. Glitter Bat Nail Art Design


5. Glitter Bat Nail Art Design
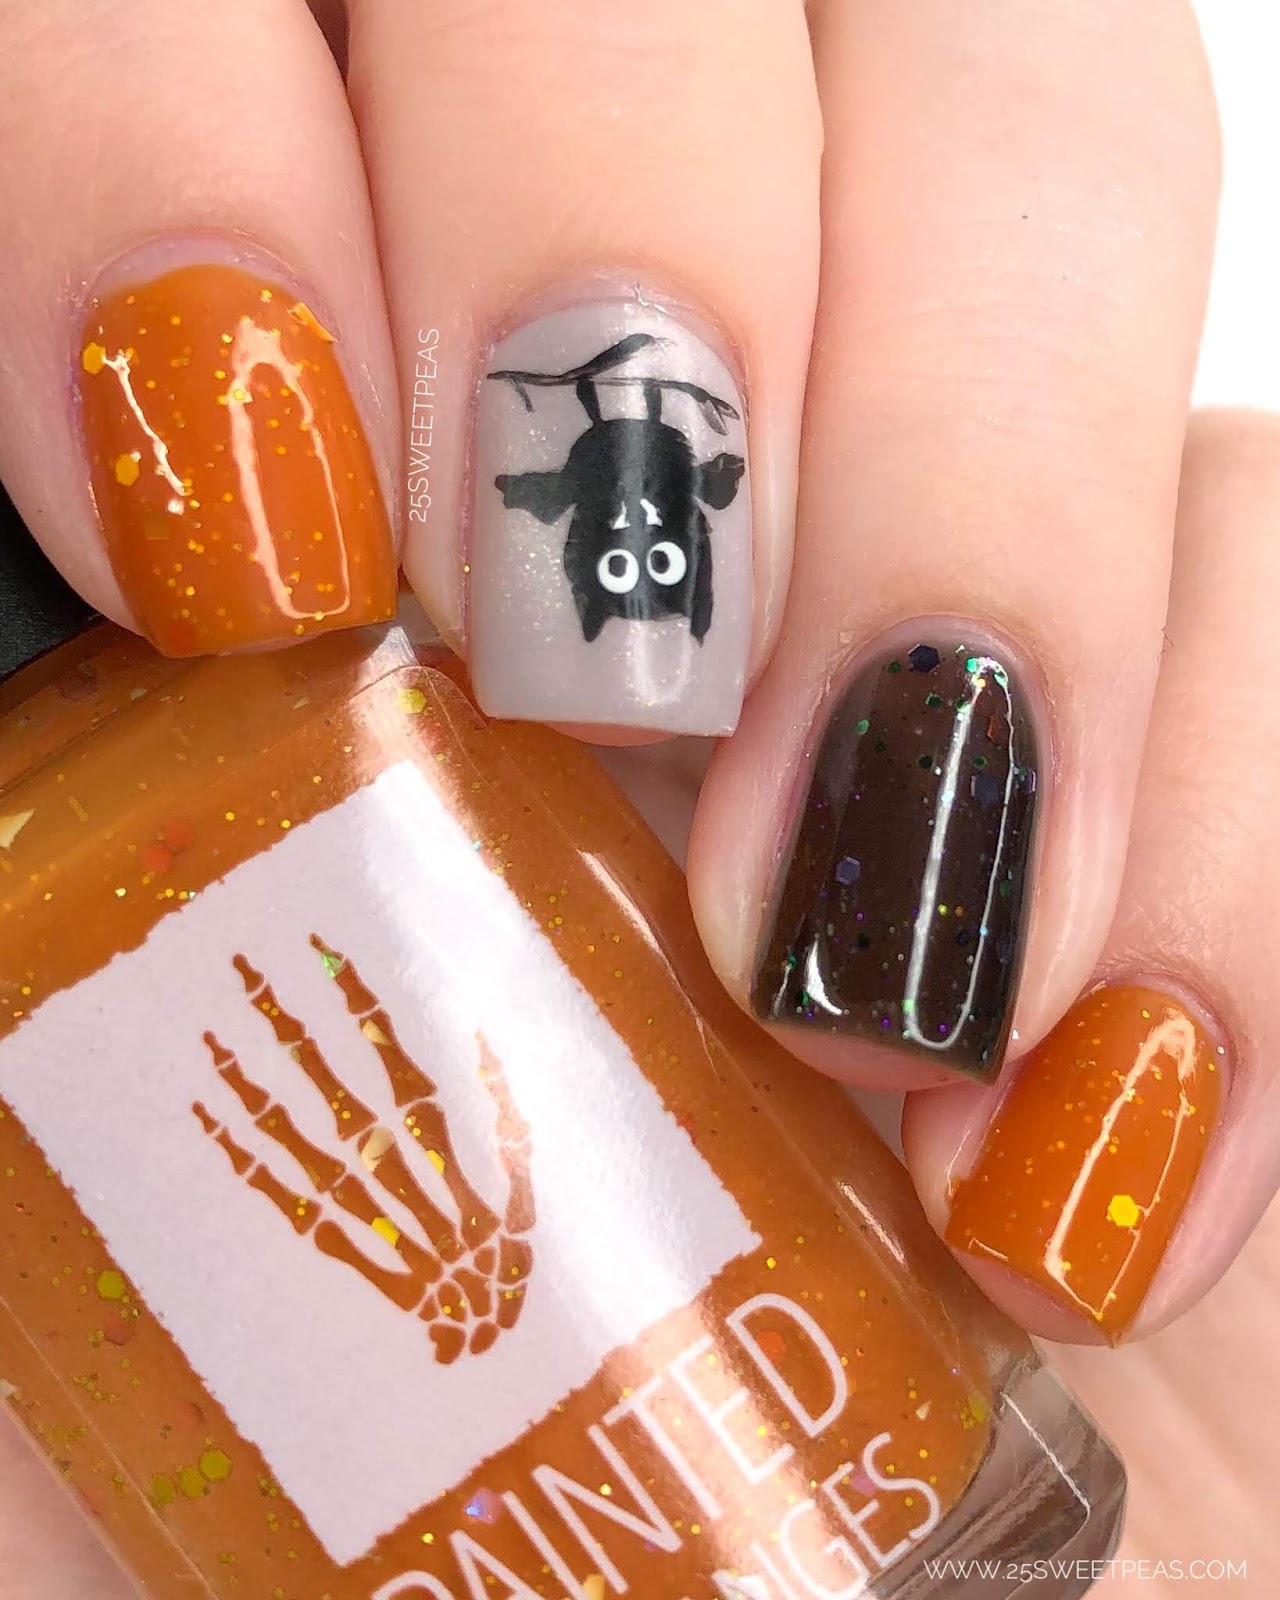
If you want a simple and easy bat nail art design, this one is perfect for you. Start by painting your nails with a light grey base coat. Then, using a black nail art pen, create two bat ears on the top corners of your nails. Next, use the same pen to draw curved lines from the ears to the bottom of your nail, creating the bat's wings. Add two small black dots for eyes and a small triangle for the nose. Finish off with a top coat for a glossy finish. Featured keywords: Simple, bat, nail art, design6. Simple Bat Nail Art Design

6. Simple Bat Nail Art Design
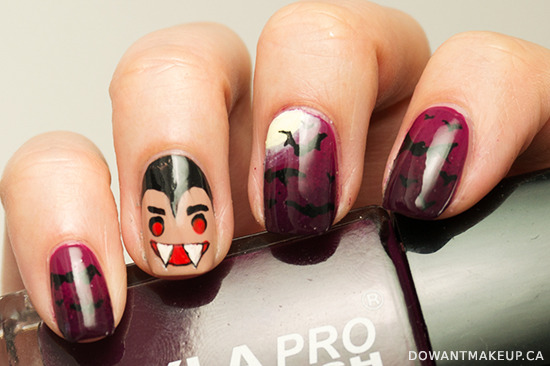
For a more dramatic and gothic look, try this vampire bat nail art design. Start by painting your nails with a black base coat. Then, using a red nail art pen, create two bat ears on the top corners of your nails. Next, use the same pen to draw curved lines from the ears to the bottom of your nail, creating the bat's wings. Add two red dots for eyes and a red triangle for the nose. Finish off with a top coat to seal in the design and add some shine to your nails. Featured keywords: Vampire, bat, nail art, design7. Vampire Bat Nail Art Design


7. Vampire Bat Nail Art Design

This next bat nail art design is perfect for those who want a fun and playful look. Start by painting your nails with a light blue base coat. Then, using a thin nail art brush, create two bat ears on the top corners of your nails with black nail polish. Next, use the same brush to draw curved lines from the ears to the bottom of your nail, creating the bat's wings. Add two small white dots for eyes and a small triangle for the nose. For an extra cute touch, add some cartoon-like details to the wings. Finish off with a top coat to seal in the design. Featured keywords: Cartoon, bat, nail art, design8. Cartoon Bat Nail Art Design


8. Cartoon Bat Nail Art Design
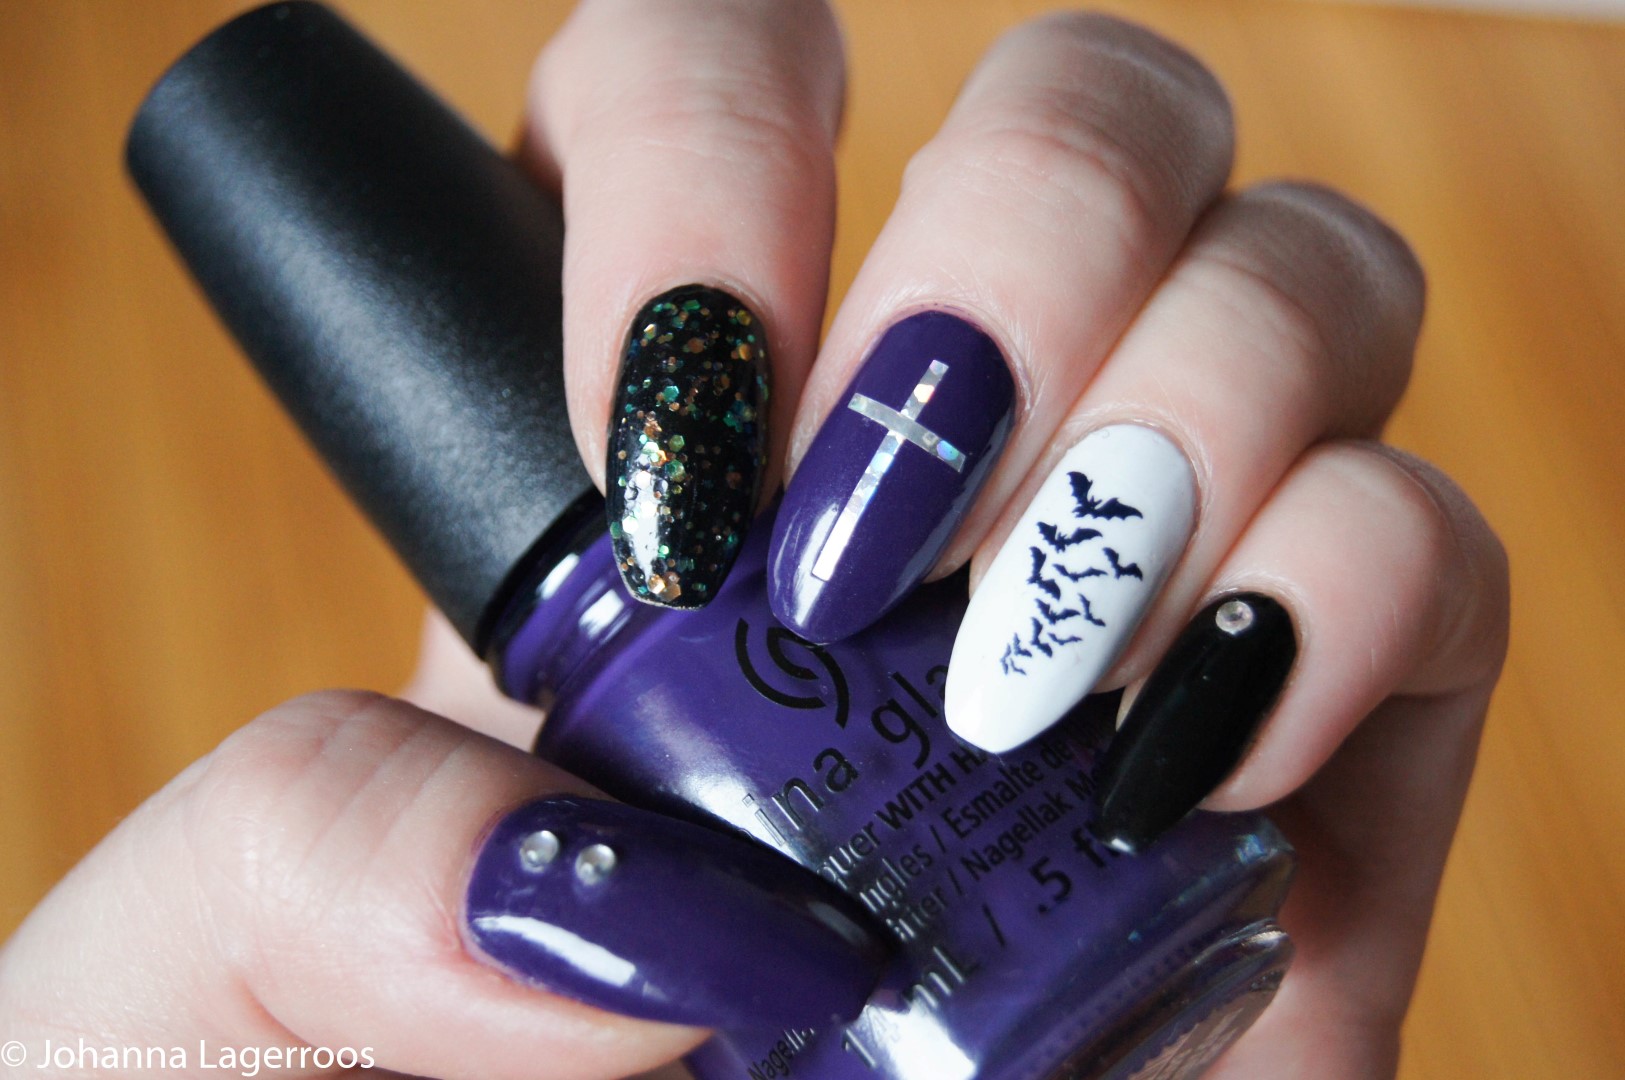
For a more edgy and gothic look, try this gothic bat nail art design. Start by painting your nails with a dark purple base coat. Then, using a black nail art pen, create two bat ears on the top corners of your nails. Next, use the same pen to draw curved lines from the ears to the bottom of your nail, creating the bat's wings. Add two small black dots for eyes and a small triangle for the nose. For an extra spooky touch, add some black rhinestones or studs to the wings. Finish off with a top coat for a glossy finish. Featured keywords: Gothic, bat, nail art, design9. Gothic Bat Nail Art Design
9. Gothic Bat Nail Art Design


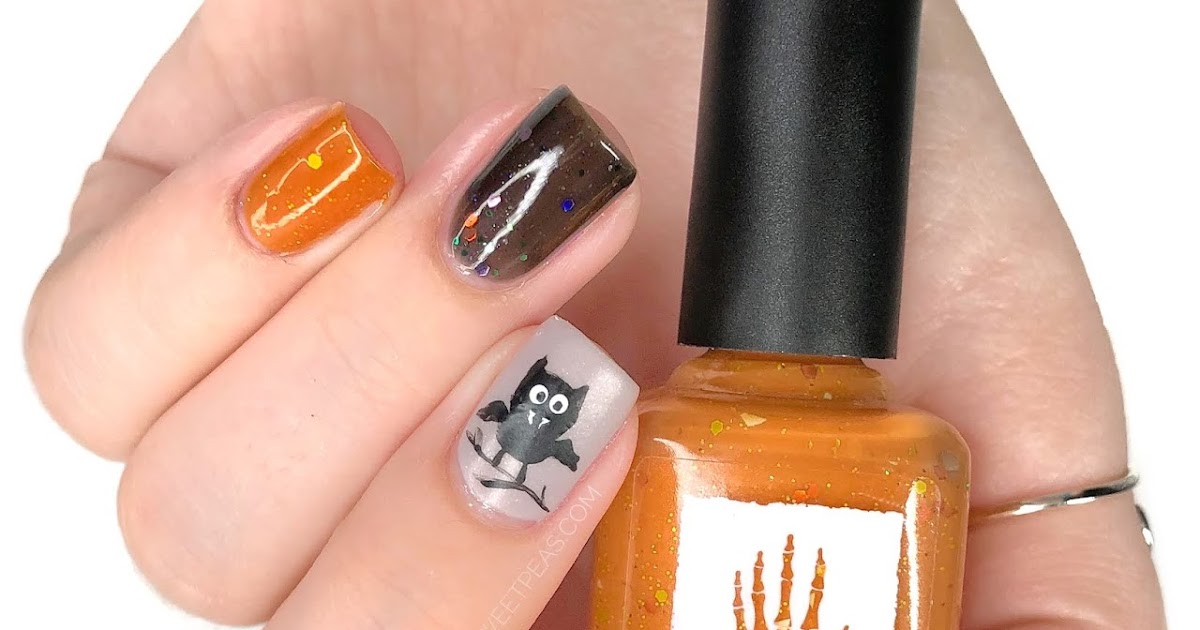
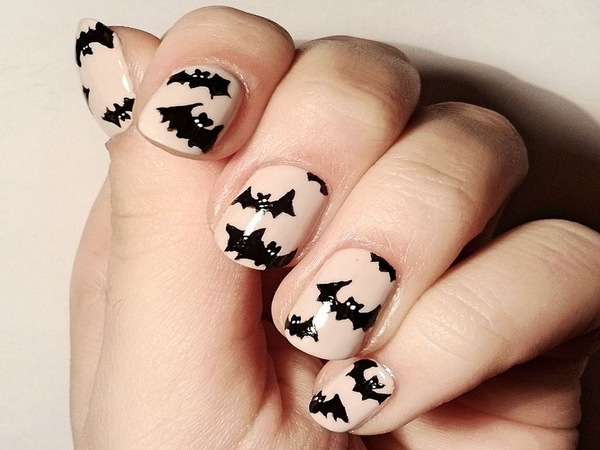
This last bat nail art design is perfect for those who want a more abstract and unique look. Start by painting your nails with a light grey base coat. Then, using a thin nail art brush, create abstract bat wings on each nail with black nail polish. You can also add some glitter or rhinestones to the wings for an extra touch of glam. Finish off with a top coat to seal in the design. Featured keywords: Bat wing, nail art, design10. Bat Wing Nail Art Design

10. Bat Wing Nail Art Design


Bat Nail Art Design: Show Off Your Spooky Side

Why Bat Nails are the Perfect Choice for Halloween
 Halloween is the time of year to embrace all things spooky and embrace your inner darkness. And what better way to do that than with a bat nail art design? These mystical creatures have long been associated with the holiday and are the perfect choice for adding a touch of creepy glamour to your nails.
Not only do bat nails fit perfectly with the Halloween theme, but they also offer a unique and eye-catching design. With their distinctive silhouette and ability to fly, bats make for an interesting and dynamic addition to any nail art.
Halloween is the time of year to embrace all things spooky and embrace your inner darkness. And what better way to do that than with a bat nail art design? These mystical creatures have long been associated with the holiday and are the perfect choice for adding a touch of creepy glamour to your nails.
Not only do bat nails fit perfectly with the Halloween theme, but they also offer a unique and eye-catching design. With their distinctive silhouette and ability to fly, bats make for an interesting and dynamic addition to any nail art.
How to Achieve the Perfect Bat Nail Art Design
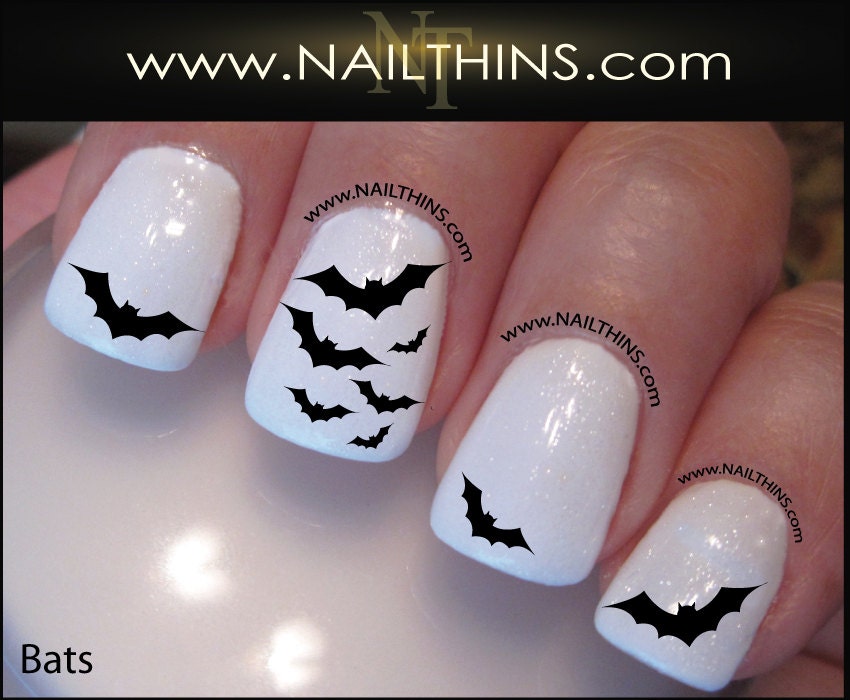
 Creating bat nail art may seem daunting, but with a few simple steps, you can easily achieve the perfect design. Start by painting your nails with a dark base color, such as black or deep purple, to create the perfect backdrop for your bats.
Next, using a thin nail art brush or a toothpick, create the outline of a bat on each nail. You can also use stencils or decals for a more precise design. Fill in the outline with a lighter color, such as white or silver, to make the bats stand out.
For an extra spooky touch, add some glitter or rhinestones to your bat nails. You can also experiment with different colors and patterns to create a unique and personalized design.
Creating bat nail art may seem daunting, but with a few simple steps, you can easily achieve the perfect design. Start by painting your nails with a dark base color, such as black or deep purple, to create the perfect backdrop for your bats.
Next, using a thin nail art brush or a toothpick, create the outline of a bat on each nail. You can also use stencils or decals for a more precise design. Fill in the outline with a lighter color, such as white or silver, to make the bats stand out.
For an extra spooky touch, add some glitter or rhinestones to your bat nails. You can also experiment with different colors and patterns to create a unique and personalized design.
Take Your Bat Nail Art to the Next Level
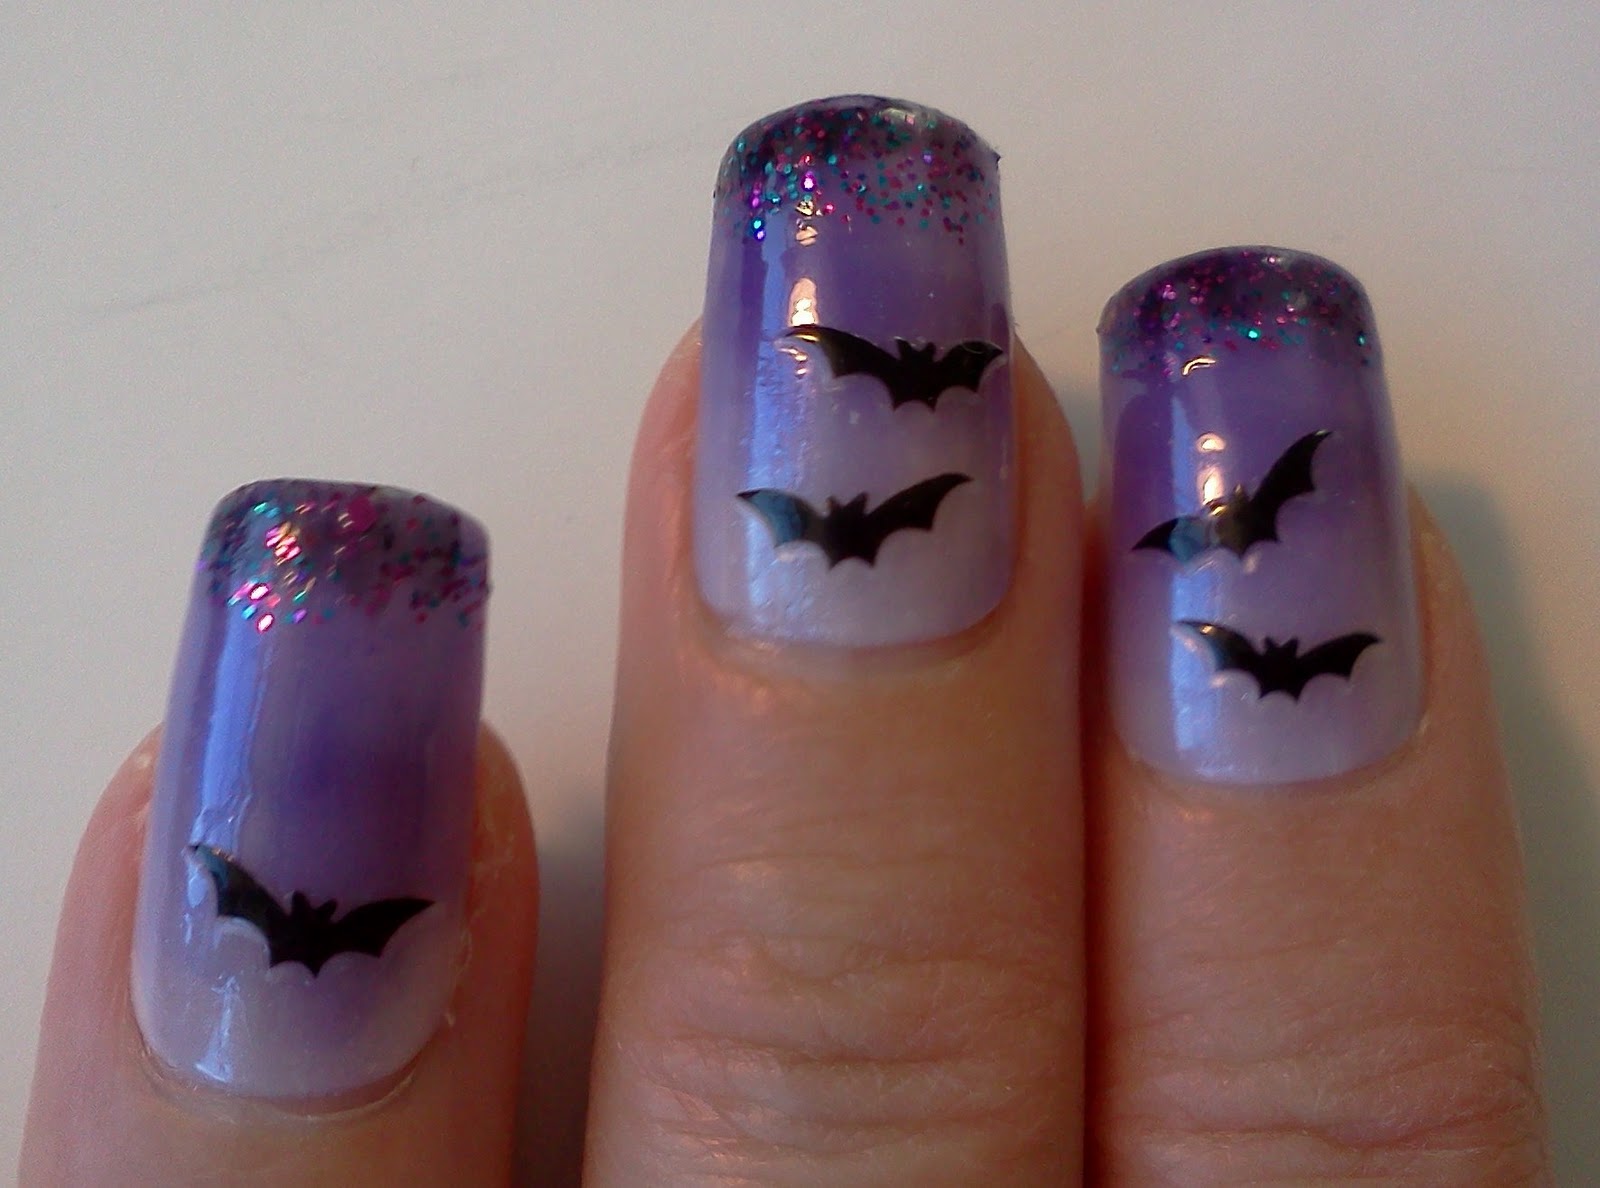
 If you want to take your bat nail art to the next level, consider incorporating some other Halloween elements into your design. For example, you can add spider webs, pumpkins, or even a full moon to create a spooky scene on your nails.
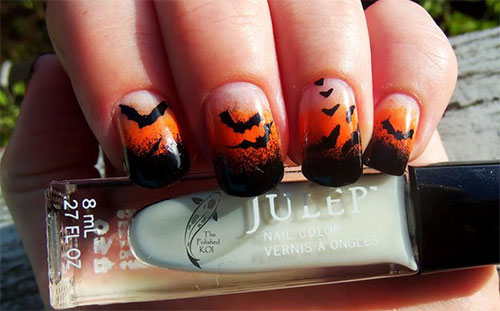
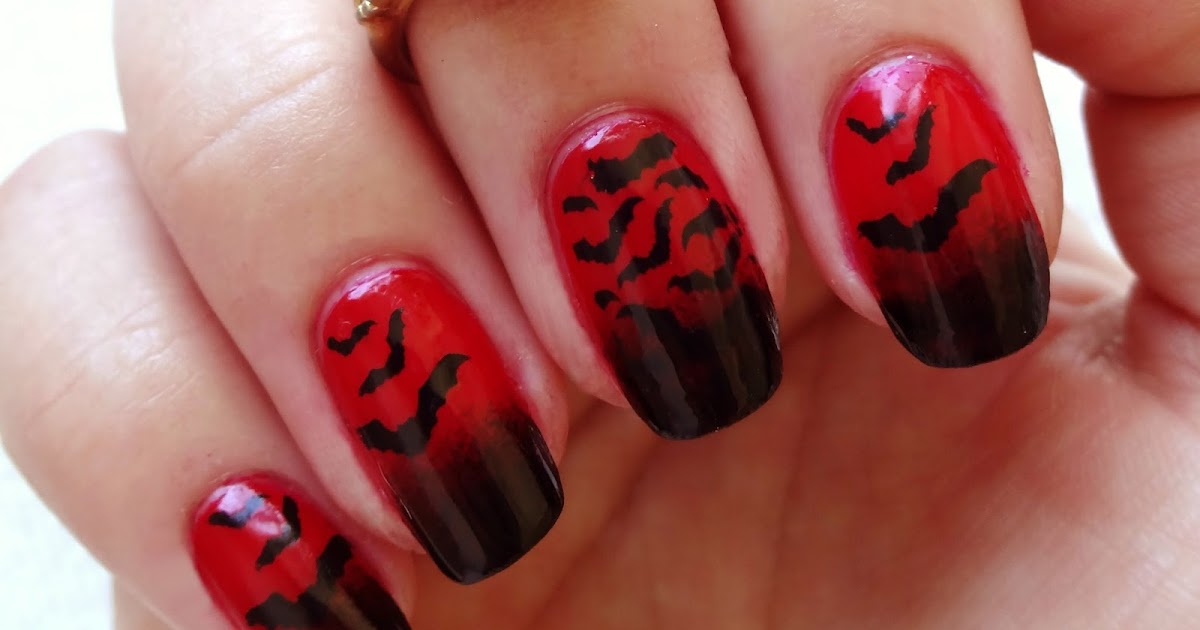
Another creative idea is to paint your nails with a gradient effect, with the bats flying across the different shades. This will add depth and dimension to your design, making it even more eye-catching.
If you want to take your bat nail art to the next level, consider incorporating some other Halloween elements into your design. For example, you can add spider webs, pumpkins, or even a full moon to create a spooky scene on your nails.
Another creative idea is to paint your nails with a gradient effect, with the bats flying across the different shades. This will add depth and dimension to your design, making it even more eye-catching.
Final Thoughts
 Bat nail art is a fun and unique way to show off your spooky side this Halloween. With a little creativity and some simple steps, you can easily achieve the perfect bat nail design. So why not give it a try and add some creepy charm to your nails this holiday season?


