Summer is the perfect time to show off your beach-worthy nails! With the sun shining and the sand between your toes, you want your nails to reflect the fun and relaxed vibe of the season. But don't worry, you don't have to be a nail art pro to achieve a stunning beach-inspired manicure. In this easy beach nail art tutorial, we'll show you how to create a simple yet eye-catching design that is perfect for beginners! To start, gather all the necessary materials. You will need a base coat, a light blue nail polish, a white nail polish, a sandy beige nail polish, a top coat, and a small makeup sponge. Don't worry about having the exact same colors, you can use any light blue, white, and beige shades that you have in your nail polish collection. First, apply a base coat to protect your nails and help the nail polish last longer. Then, apply two coats of the light blue nail polish on all your nails and let them dry completely. Next, take the white nail polish and create a small diagonal line on the tip of your nail, resembling the waves of the ocean. You can use a nail art brush or a toothpick to create this line. Don't worry about making it perfect, as the waves of the ocean are never the same! Now, take the sandy beige nail polish and apply it on the top half of your nail, blending it with the white line to create a gradient effect. You can use a small makeup sponge to blend the colors together. Repeat this step on all your nails. Once the polish is dry, apply a top coat to seal and protect your design. And voila, you have a simple yet stunning beach nail art design that is perfect for summer!1. Easy Beach Nail Art Tutorial | Summer Nail Design | Nail Art Tutorial for Beginners


1. Easy Beach Nail Art Tutorial


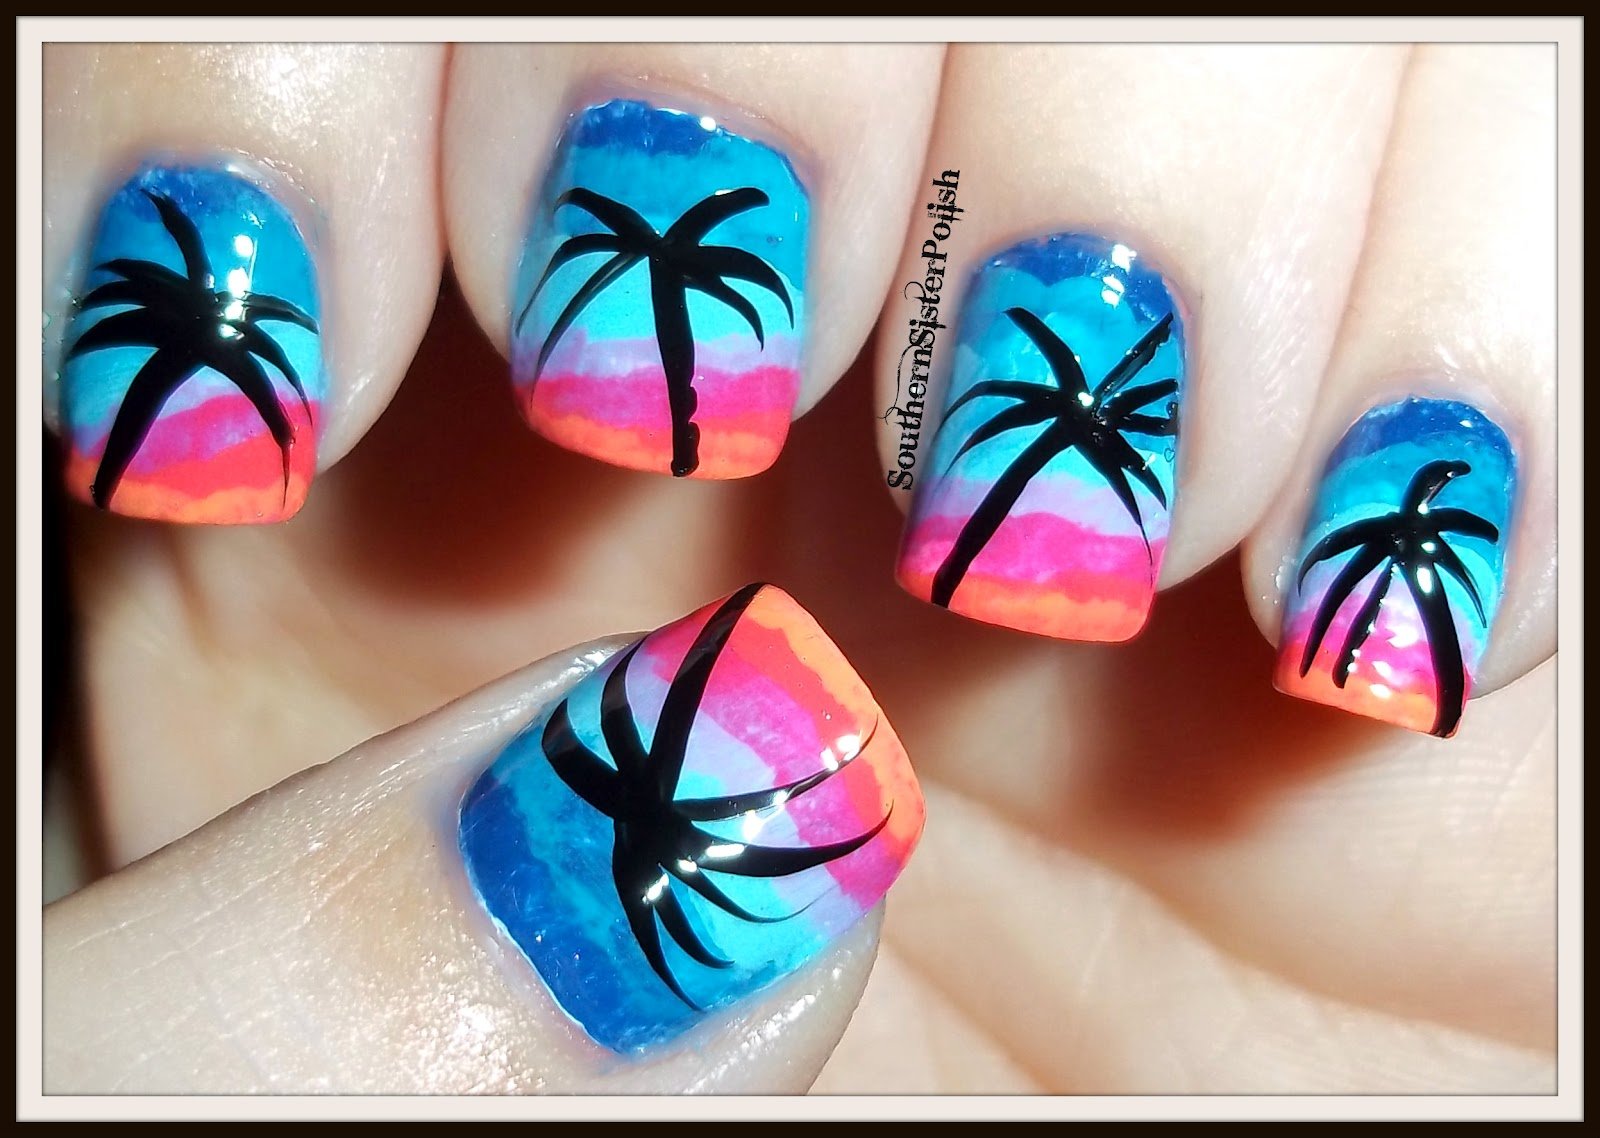
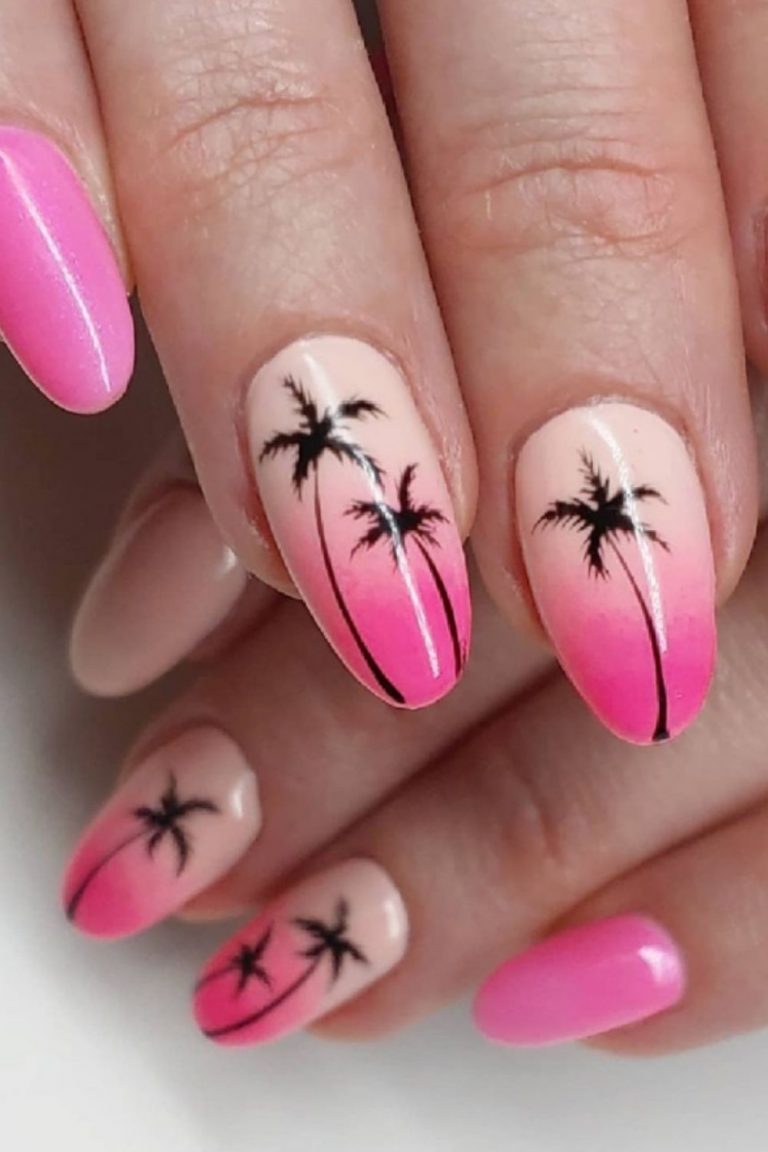
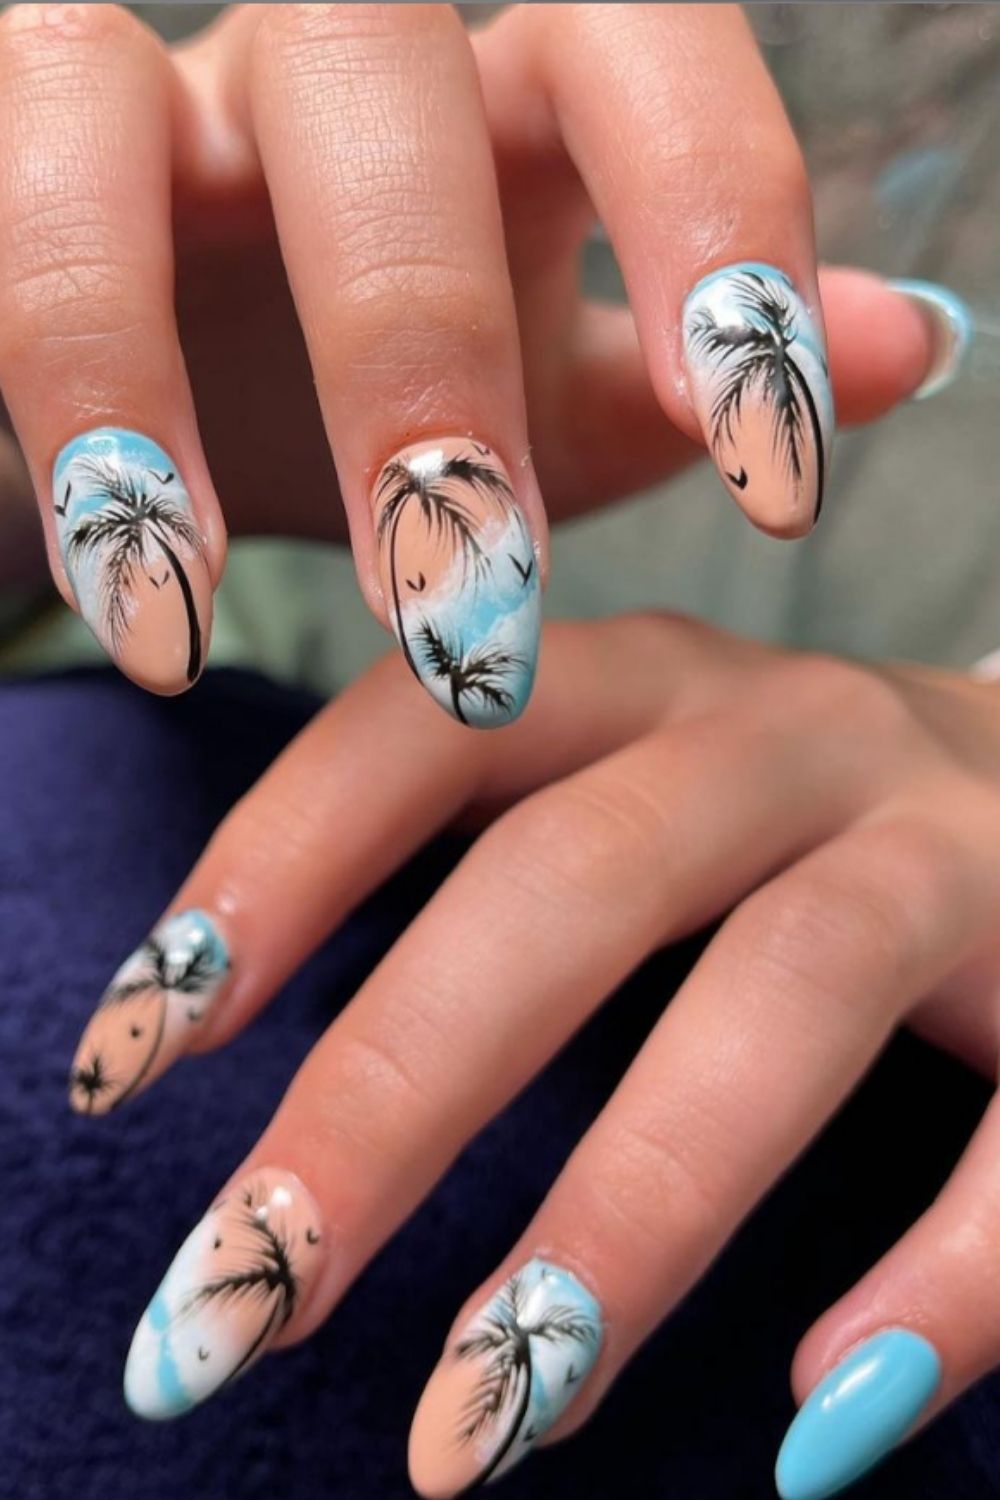
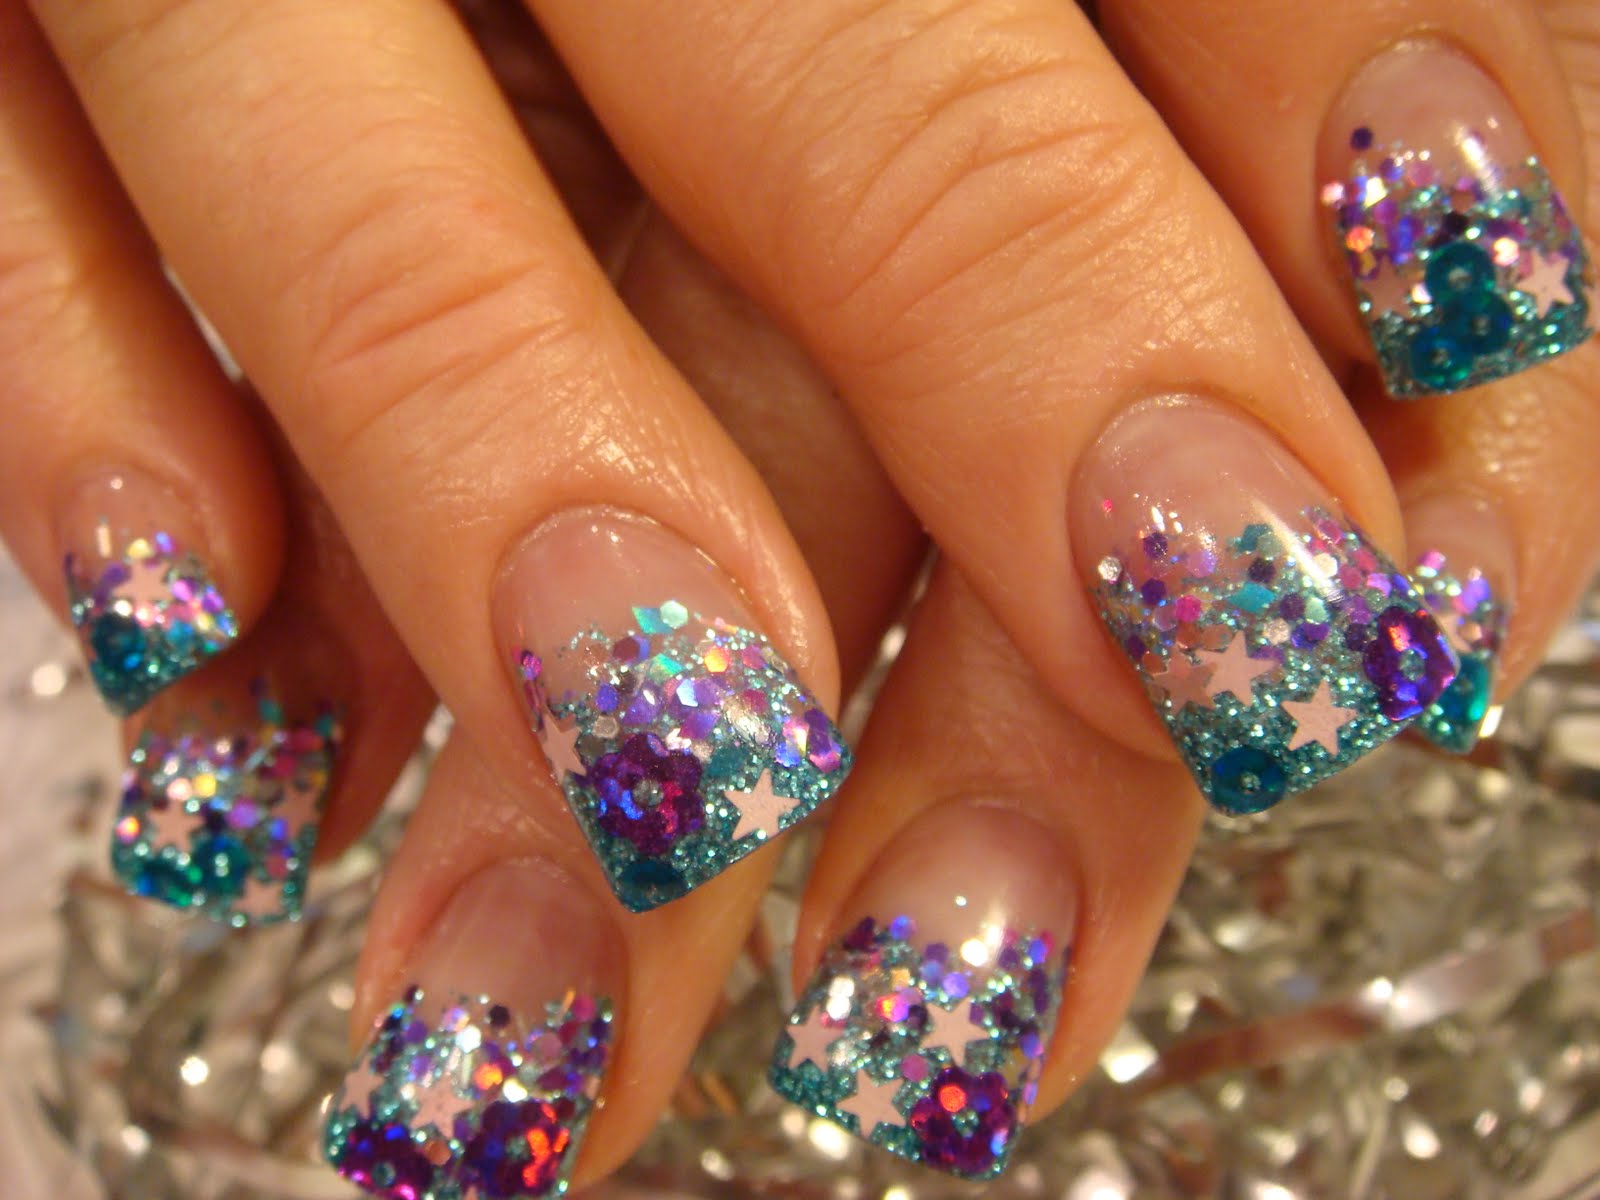
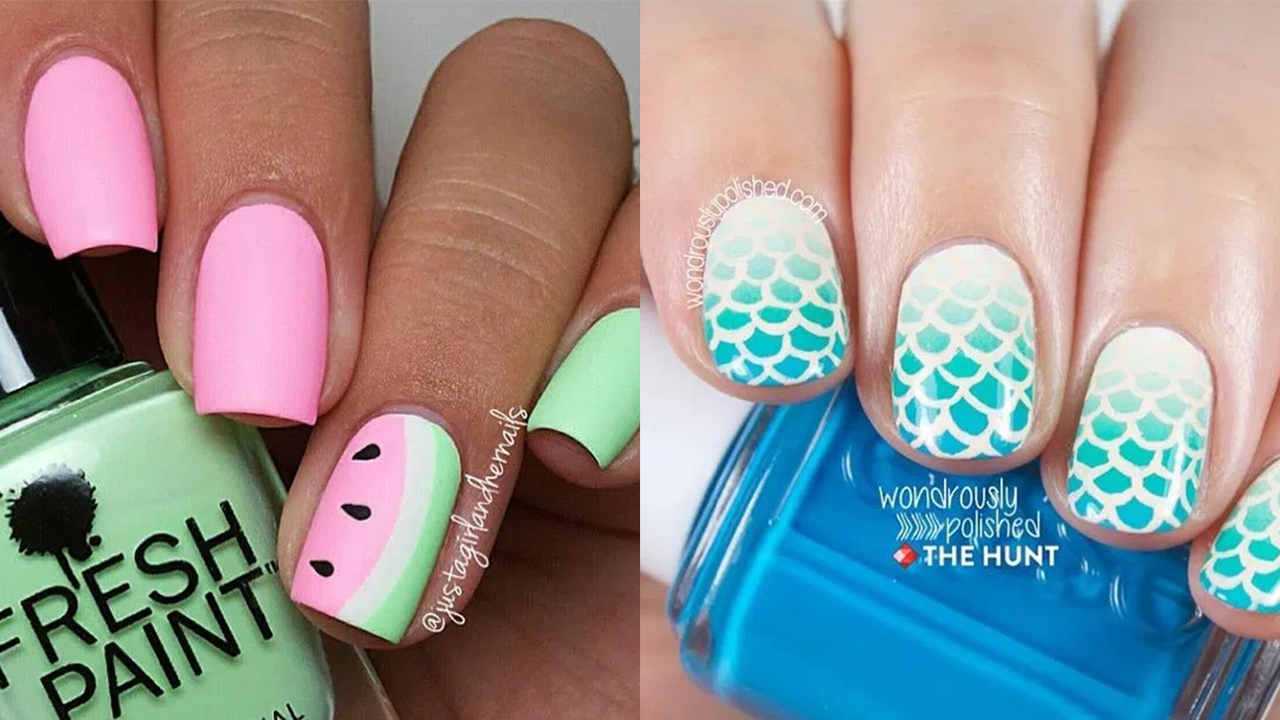
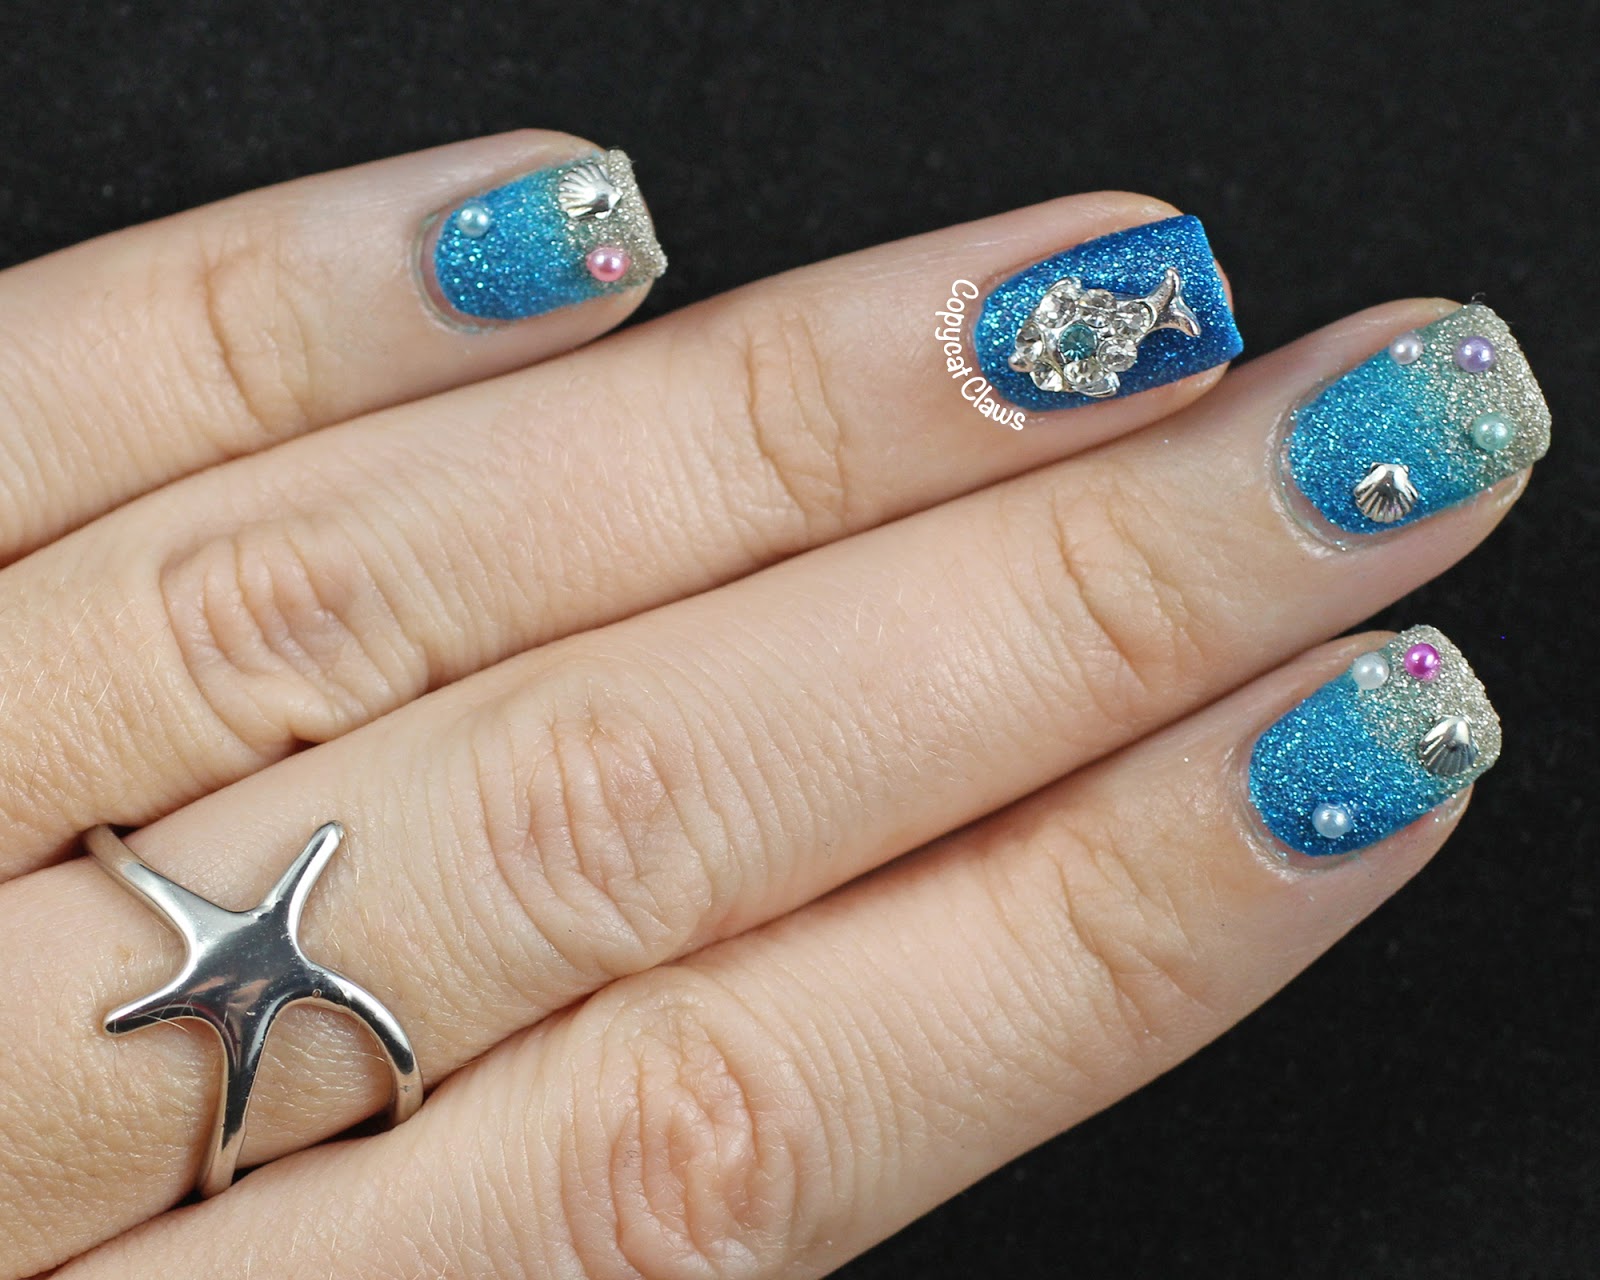
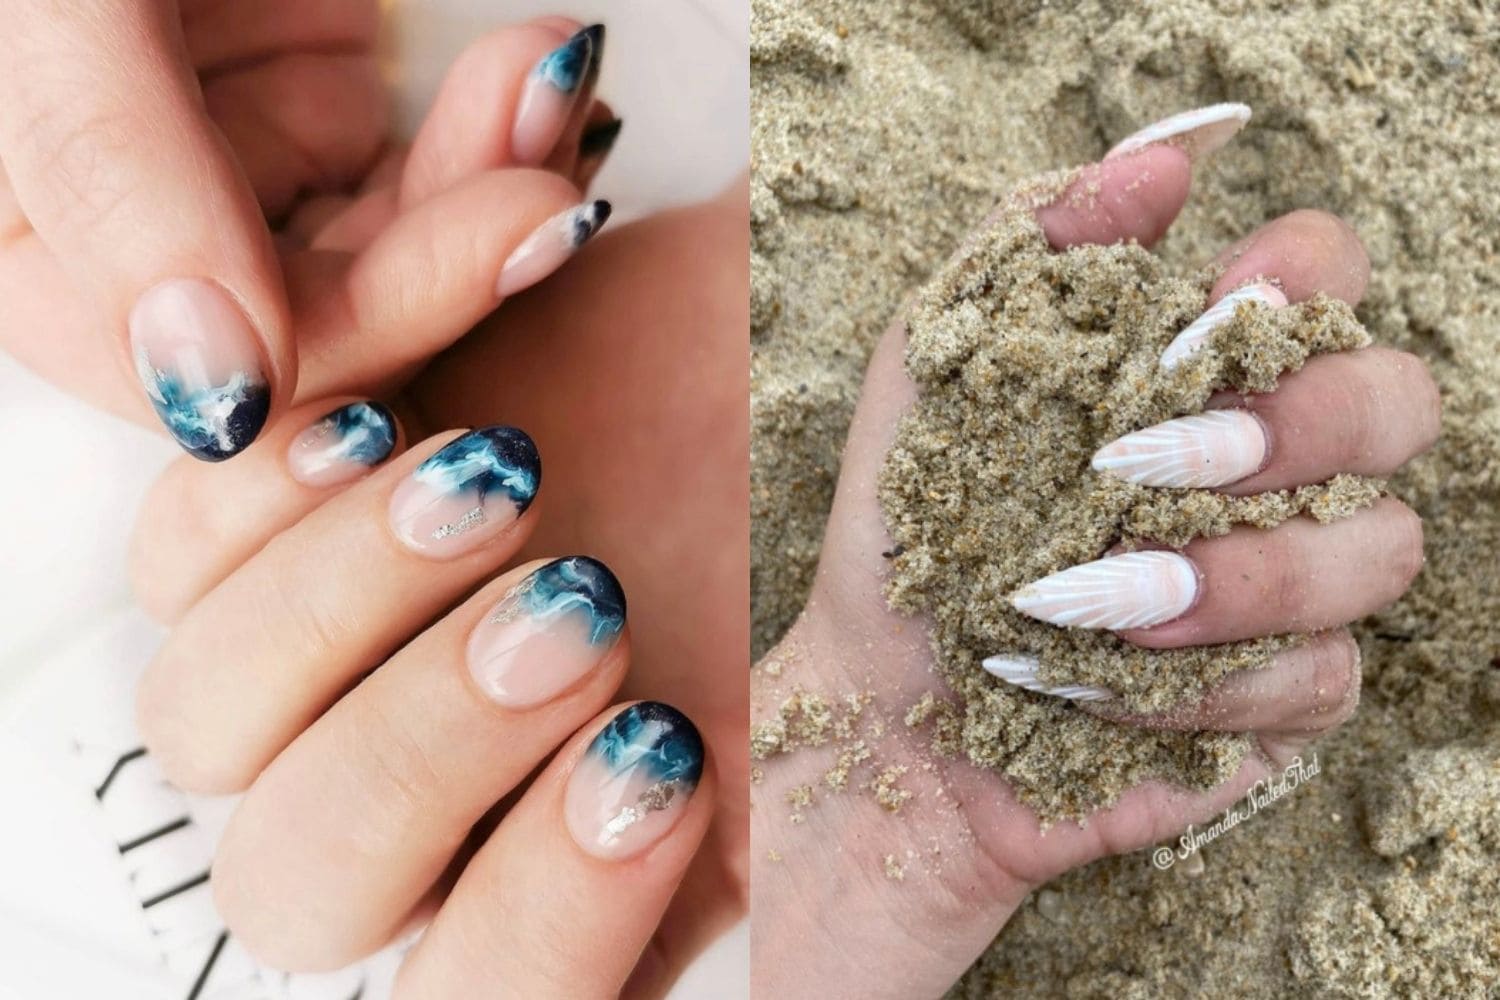
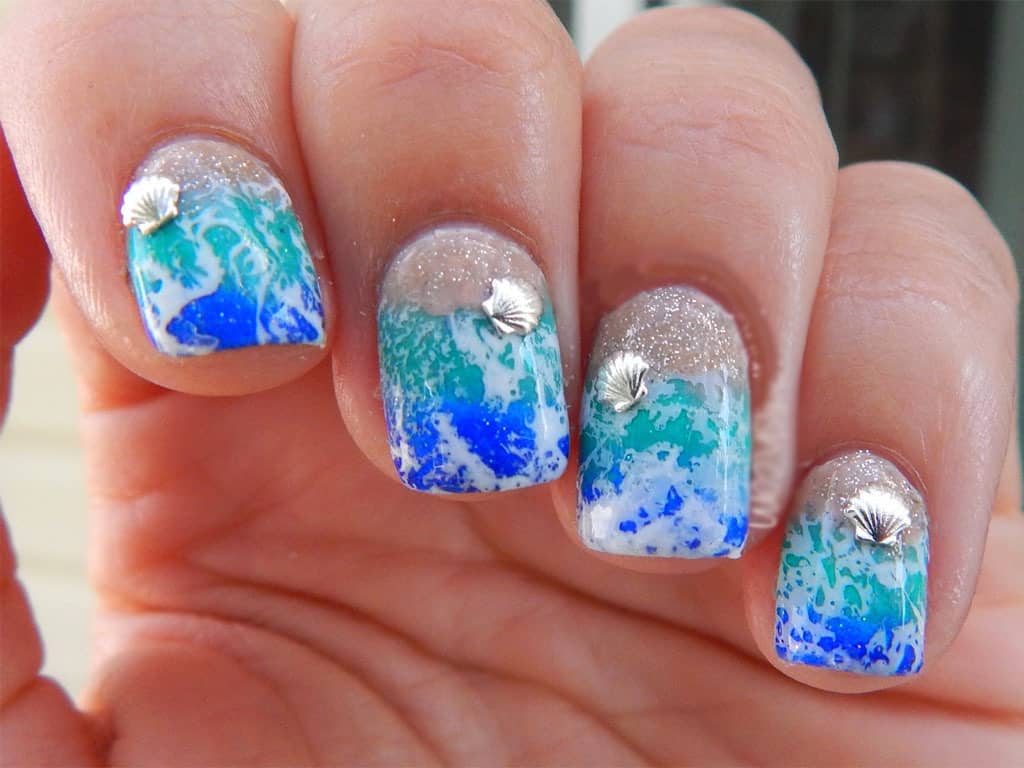
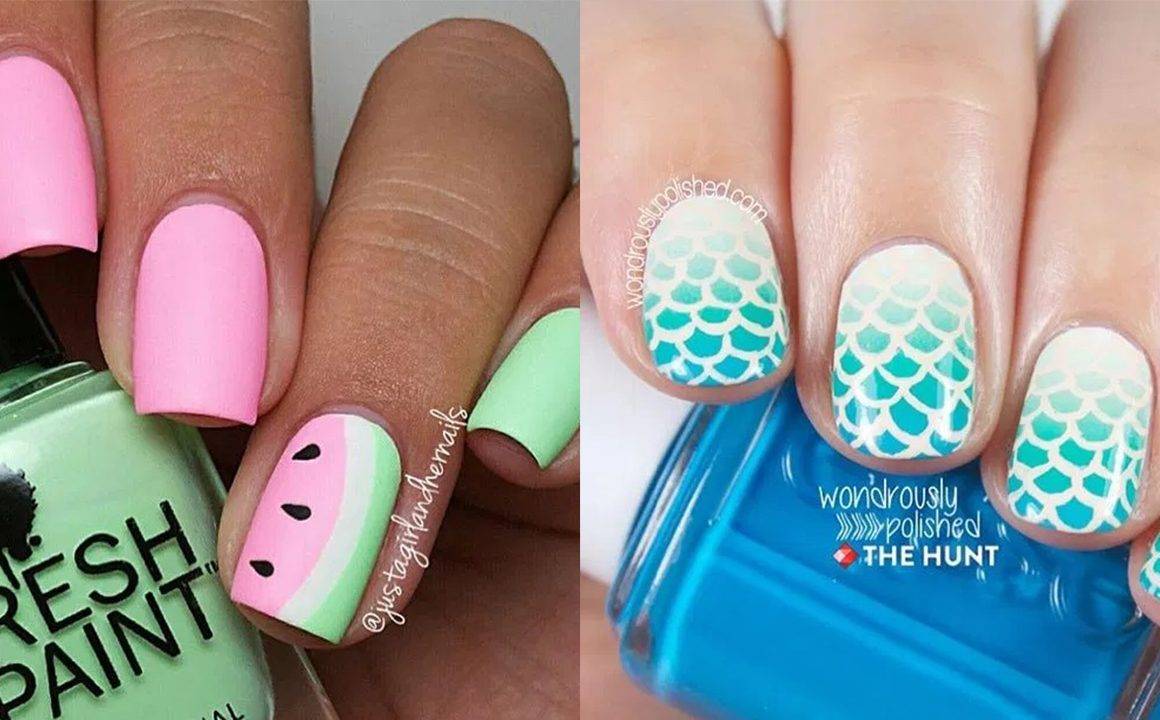
If you're feeling a little more adventurous and want to try different beach-inspired nail art designs, we've got you covered! Here are 10 gorgeous beach nail art ideas that will make you feel like you're on vacation every time you look at your nails. 1. Palm Tree Paradise: This design is perfect for those who love palm trees and want to bring a tropical vibe to their nails. Start by painting your nails with a light blue polish, then use a small brush to create palm trees with a green nail polish. Add a touch of white to create a sandy beach at the bottom of your nails. 2. Sunset Dreams: This nail art design is inspired by the beautiful sunsets at the beach. Paint your nails with a gradient of yellow, orange, and pink to create a sunset effect. Add a black palm tree silhouette on top for a dramatic touch. 3. Mermaid Magic: Bring out your inner mermaid with this stunning nail art design. Use a shimmery blue polish as a base and add glittery scales with a small brush and a purple polish. Finish it off with a seashell or starfish design on one or two nails. 4. Seashell Swirls: This design is perfect for those who love a more delicate and feminine look. Paint your nails with a light pink or nude polish and add swirls with a white polish to resemble seashells. Add some glitter for a sparkly touch. 5. Nautical Stripes: This classic nautical design is perfect for a day at the beach. Paint your nails with a light blue polish and add white stripes with a thin brush. You can also add a small anchor or a ship wheel on one nail for an extra nautical touch. 6. Beachy French Tips: Put a beachy twist on the classic French manicure by adding a light blue tip and a white wave design on top. This design is simple yet elegant and is perfect for any occasion. 7. Beach Ball Bliss: This fun and colorful design is perfect for those who want to add a pop of color to their nails. Use a variety of bright colors to create beach balls on each nail. You can also add a small umbrella or a flip flop design for a playful touch. 8. Sandy Toes: This design is perfect for those who love the feeling of sand between their toes. Use a light brown polish to create a sandy beach at the bottom of your nails. Add a few seashells or starfish designs for a cute and beachy look. 9. Ocean Waves: This design is perfect for those who love a more abstract and artistic look. Use a variety of blue shades to create ocean waves on each nail. Add a touch of white to create foam and add a small seagull or a boat design for a complete ocean scene. 10. Beachy French Ombre: This design combines the elegance of a French manicure with the fun and relaxed vibe of the beach. Use a light blue polish as a base and add a white ombre effect on the tips. You can also add a small seashell or a starfish design on one nail for a cute accent.2. 10 Beach Nail Art Designs for Summer | The Ultimate Guide!

Summer Nail Design


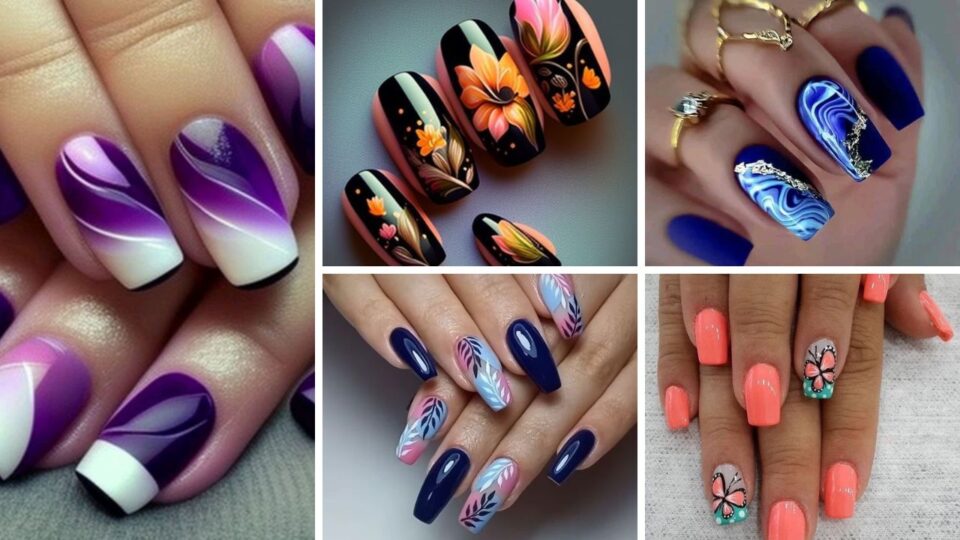

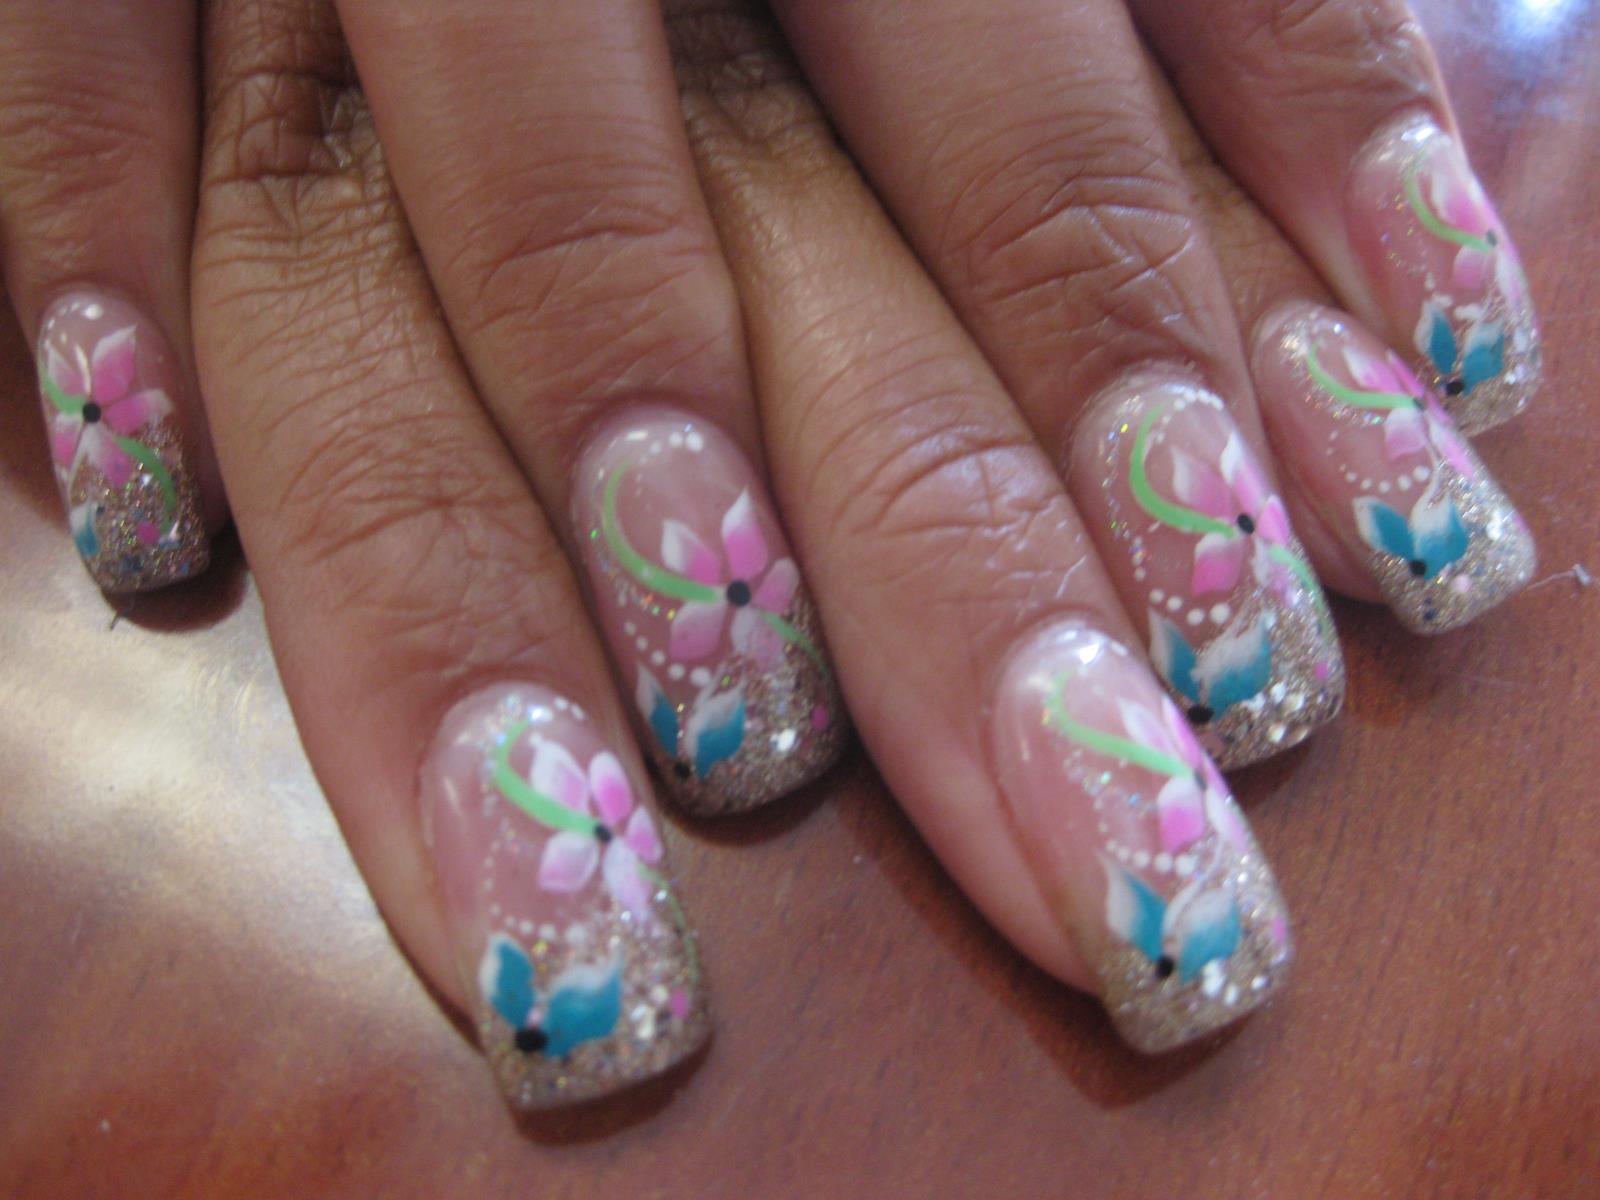
Looking for more easy and beginner-friendly beach nail art designs? We've got you covered with these 5 simple and fun designs that will make your nails stand out this summer! 1. Beachy Stripes: This design is perfect for those who love a clean and simple look. Paint your nails with a light blue polish and add thin white stripes with a nail art brush or a toothpick. You can also add small seashell or starfish designs on one or two nails for a cute accent. 2. Tropical Flowers: Bring a touch of the tropics to your nails with this beautiful floral design. Use a variety of bright colors to create tropical flowers on each nail. You can also add a small palm tree or a leaf design for a complete tropical look. 3. Ocean Breeze: This design is perfect for those who love a more abstract and artistic look. Use a light blue polish as a base and add swirls with a darker blue polish to create an ocean wave effect. Add a touch of white to create foam and small seagulls for a complete ocean scene. 4. Seaside Sunsets: This design is inspired by the beautiful sunsets at the beach. Paint your nails with a gradient of purple, pink, and orange to create a sunset effect. Add a black silhouette of a palm tree or a boat on top for a dramatic touch. 5. Under the Sea: Bring the ocean to your nails with this cute and playful design. Use a light blue polish as a base and add colorful fish, seahorse, and starfish designs on each nail. You can also add some glitter for a sparkly touch.3. 5 Easy Beach Nail Art Designs for Summer | Tutorial | Nailed It NZ


Nail Art ...


If you want to take your beach nail art game to the next level, here's a tutorial for an intermediate level design that will surely make a statement this summer. First, apply a base coat to protect your nails and help the nail polish last longer. Then, apply two coats of a light blue polish and let them dry completely. Next, take a small makeup sponge and apply a gradient of white, light blue, and sandy beige nail polish on the tip of your nails. This will create a cloudy and beachy effect. Once the polish is dry, take a thin brush and create a palm tree with a black nail polish on one or two nails. Add a few coconuts with a brown polish and a small brush. You can also add some seagulls with a white polish for a complete beach scene. Finally, add a touch of glitter on the tip of your nails to resemble the sparkling ocean. Apply a top coat to seal and protect your design, and you're ready to hit the beach with your stunning nails!4. Beach Nail Art Tutorial | Summer Nail Design | Nail Art Tutorial for Intermediate Level


2. 10 Beach Nail Art Designs for Summer

If you're short on time but still want to have cute and beach-worthy nails, these 3 easy designs are perfect for you! 1. Beachy Polka Dots: This design is simple yet fun and cute. Paint your nails with a light blue polish and add small white dots with a toothpick or a nail art brush. You can also add a small starfish or a seashell design on one nail for a cute accent. 2. Sandy Beaches: This design is perfect for those who love a more natural and neutral look. Apply a base coat and let it dry. Then, use a small makeup sponge to apply a sandy beige polish on the tip of your nails, creating a sandy beach effect. You can also add a small palm tree or a seashell design on one nail for a cute touch. 3. Ocean Waves: This design is perfect for those who love a more abstract and artistic look. Apply a base coat and let it dry. Then, use a small brush to create blue and white swirls on each nail, resembling ocean waves. Add a touch of glitter for a sparkly touch.5. 3 Easy Beach Nail Art Designs for Summer | Tutorial | Nailed It NZ


The Ultimate Guide!


If you're a nail art pro and want to challenge yourself with a more intricate design, this tutorial is for you. This advanced level beach nail art design is perfect for those who want to make a statement with their nails this summer. Start by applying a base coat to protect your nails. Then, apply a light blue polish as a base and let it dry completely. Next, take a small brush and create a palm tree with a black polish on one or two nails. Add a few coconuts with a brown polish and a small brush. You can also add some seagulls with a white polish for a complete beach scene. Now, use a thin brush to create a wave pattern with a darker blue polish on the remaining nails. Add a touch of white to create foam and small seashell or starfish designs for a complete ocean scene. Finally, add a touch of glitter on the tip of your nails to resemble the sparkling ocean. Apply a top coat to seal and protect your design, and you're ready to show off your advanced level beach nail art!6. Beach Nail Art Tutorial | Summer Nail Design | Nail Art Tutorial for Advanced Level

3. 5 Easy Beach Nail Art Designs for Summer


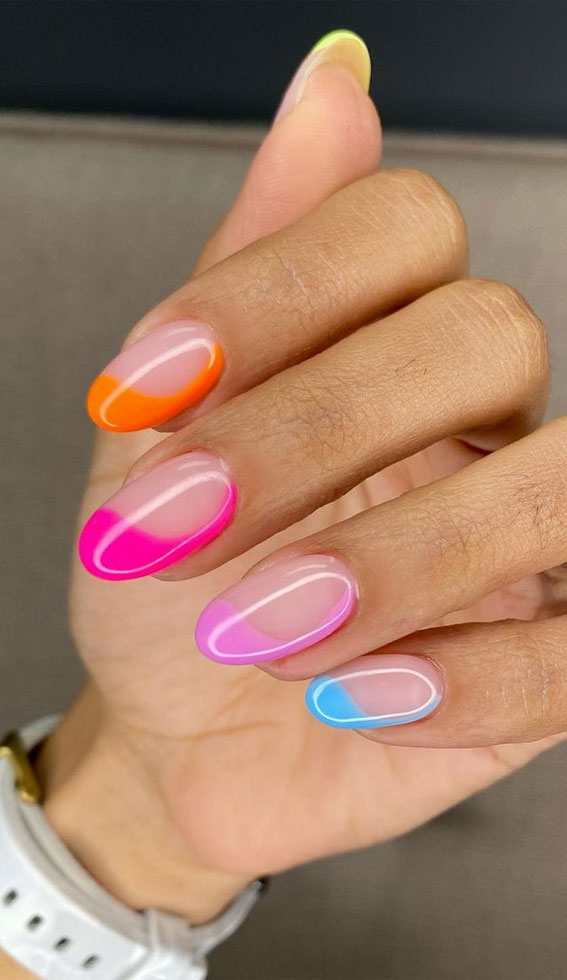
If you're still looking for more beach nail art ideas, here are 10 easy and fun designs that are perfect for summer! 1. Beachy Ombre: This design is perfect for those who love a simple and elegant look. Apply a light blue polish as a base and add a white ombre effect on the tips. You can also add a small seashell or a starfish design on one nail for a cute accent. 2. Tropical Paradise: This design is perfect for those who love a colorful and playful look. Use a variety of bright colors to create tropical flowers and leaves on each nail. You can also add a small palm tree or a bird design for a complete tropical paradise. 3. Ocean Waves French Tips: Put a beachy twist on the classic French manicure by adding a light blue tip and a wave design on top. This design is simple yet elegant and is perfect for any occasion. 4. Sandy Beaches French Tips: This design is inspired by the sandy beaches and is perfect for those who love a more natural and neutral look. Paint your nails with a light beige polish and add a sandy effect on the tips with a small makeup sponge. You can also add a small seashell or starfish design on one nail. 5. Under the Sea French Tips: This design is perfect for those who love a more abstract and artistic look. Use a variety of blue and green shades to create an ocean wave effect on the tips. Add a touch of white to create foam and small fish or seahorse designs for a complete under the sea look. 6. Seashell French Tips: This design is perfect for those who love a delicate and feminine look. Apply a base coat and let it dry. Then, use a small brush to create swirls with a white polish, resembling seashells. Add a touch of glitter for a sparkly touch. 7. Beachy Stripes French Tips: This design is perfect for those who love a clean and simple look. Apply a base coat and let it dry. Then, use a thin brush to create white stripes on the tips. You can also add a small anchor or a ship wheel on one nail for an extra nautical touch. 8. Ocean Breeze French Tips: This design is perfect for those who love a more abstract and artistic look. Apply a base coat and let it dry. Then, use a small brush to create blue and white swirls on the tips, resembling ocean waves. Add a touch of glitter for a sparkly touch. 9. Sandy Toes French Tips: This design is perfect for those who love the feeling of sand between their toes. Apply a base coat and let it dry. Then, use a small makeup sponge to apply a sandy beige polish on the tips, creating a sandy beach effect. You can also add a small starfish or a seashell design on one nail for a cute accent. 10. Beach Ball French Tips: This design is fun and playful, perfect for those who love a pop of color on their nails. Paint your nails with a light blue polish and add colorful dots on the tips to resemble beach balls. You can also add a small umbrella or a flip flop design for a cute accent.7. 10 Easy Beach Nail Art Designs for Summer | Tutorial | Nailed It NZ


Tutorial


If you want to take your beach nail art game to the next level, here's a tutorial for an advanced level design that will surely make a statement this summer.8. Beach Nail Art Tutorial | Summer Nail Design | Nail Art Tutorial for Advanced Level


Nailed It NZ


Create a Tropical Paradise on Your Nails with These Beach Nail Designs

Transform Your Nails into a Sandy Beach
 Looking for a way to bring the beach to your fingertips? Look no further than these beach nail design tutorials. With just a few simple steps, you can create a tropical paradise on your nails that will have you feeling like you're on vacation every day.
To start, gather
nail polish colors
in shades of blue, green, and white, as well as a sandy beige color. You'll also need a small makeup sponge, a thin paintbrush, and a top coat.
Looking for a way to bring the beach to your fingertips? Look no further than these beach nail design tutorials. With just a few simple steps, you can create a tropical paradise on your nails that will have you feeling like you're on vacation every day.
To start, gather
nail polish colors
in shades of blue, green, and white, as well as a sandy beige color. You'll also need a small makeup sponge, a thin paintbrush, and a top coat.
Step 1: Paint a Base Coat
 Begin by applying a base coat to all of your nails. This will help protect your nails and create a smooth surface for the rest of the design.
Step 2: Create a Gradient Background
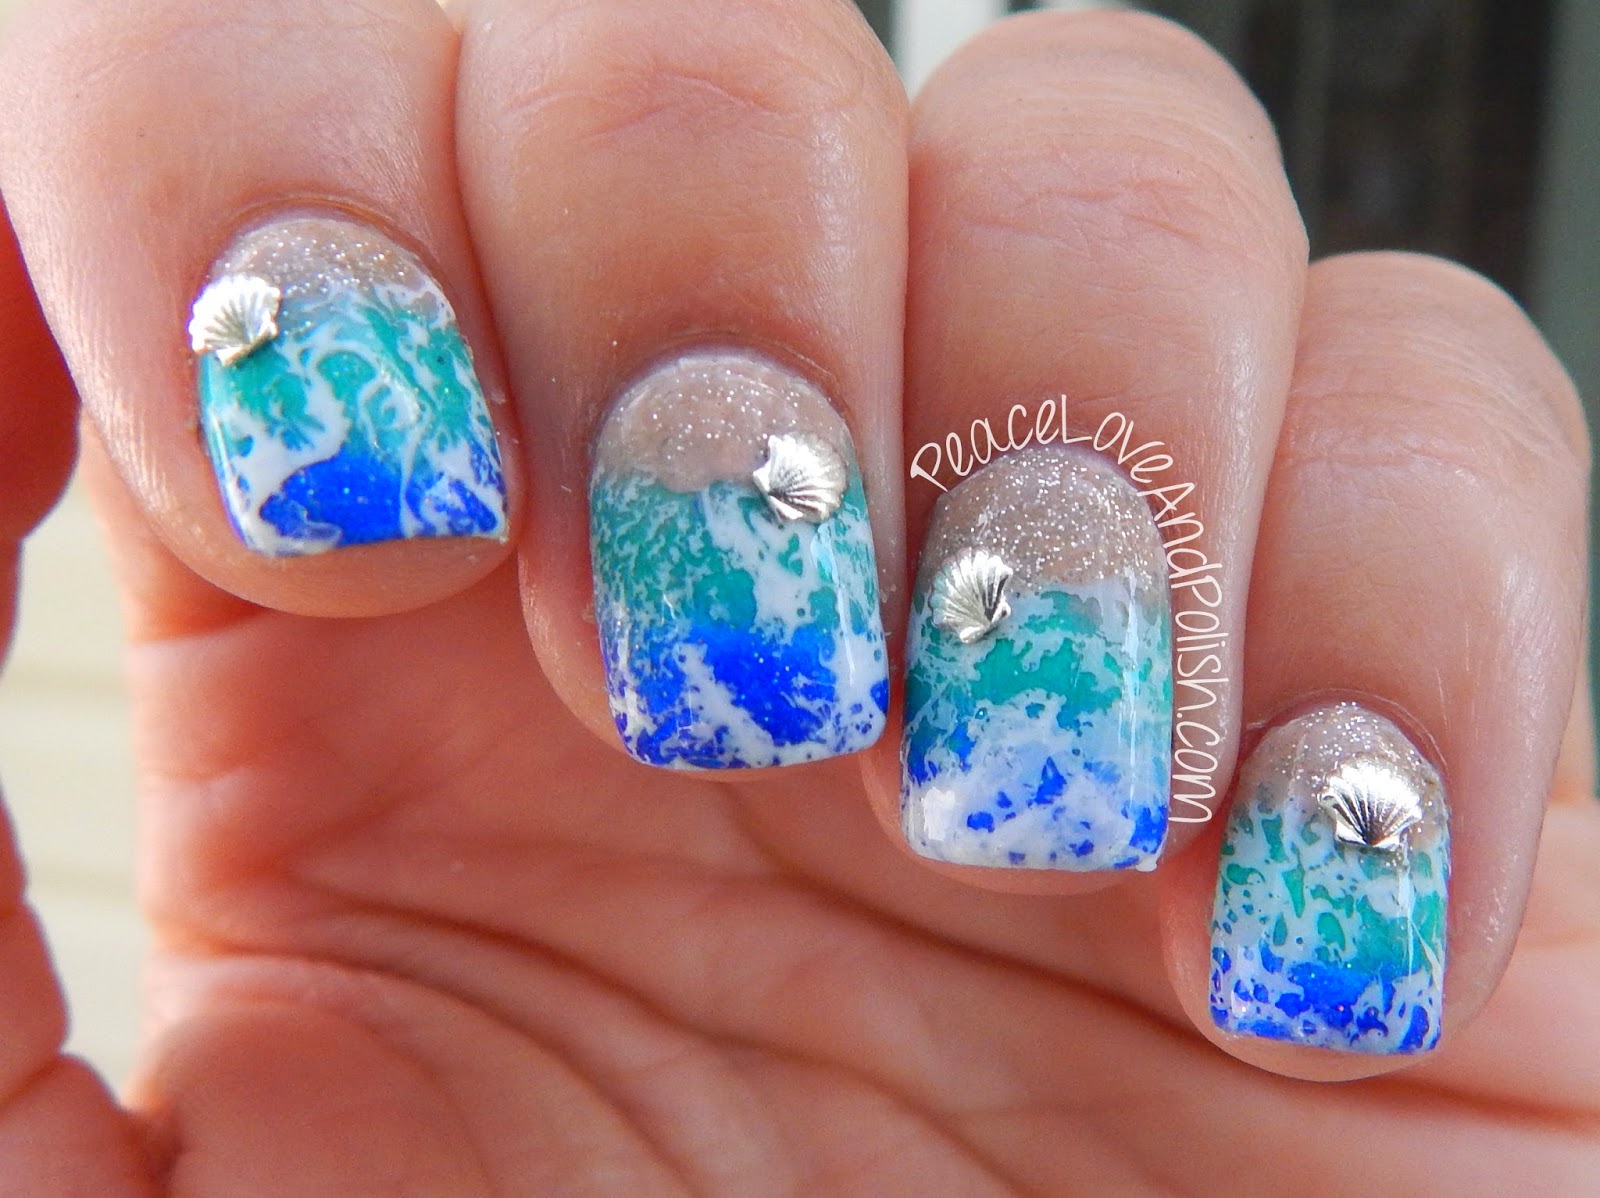
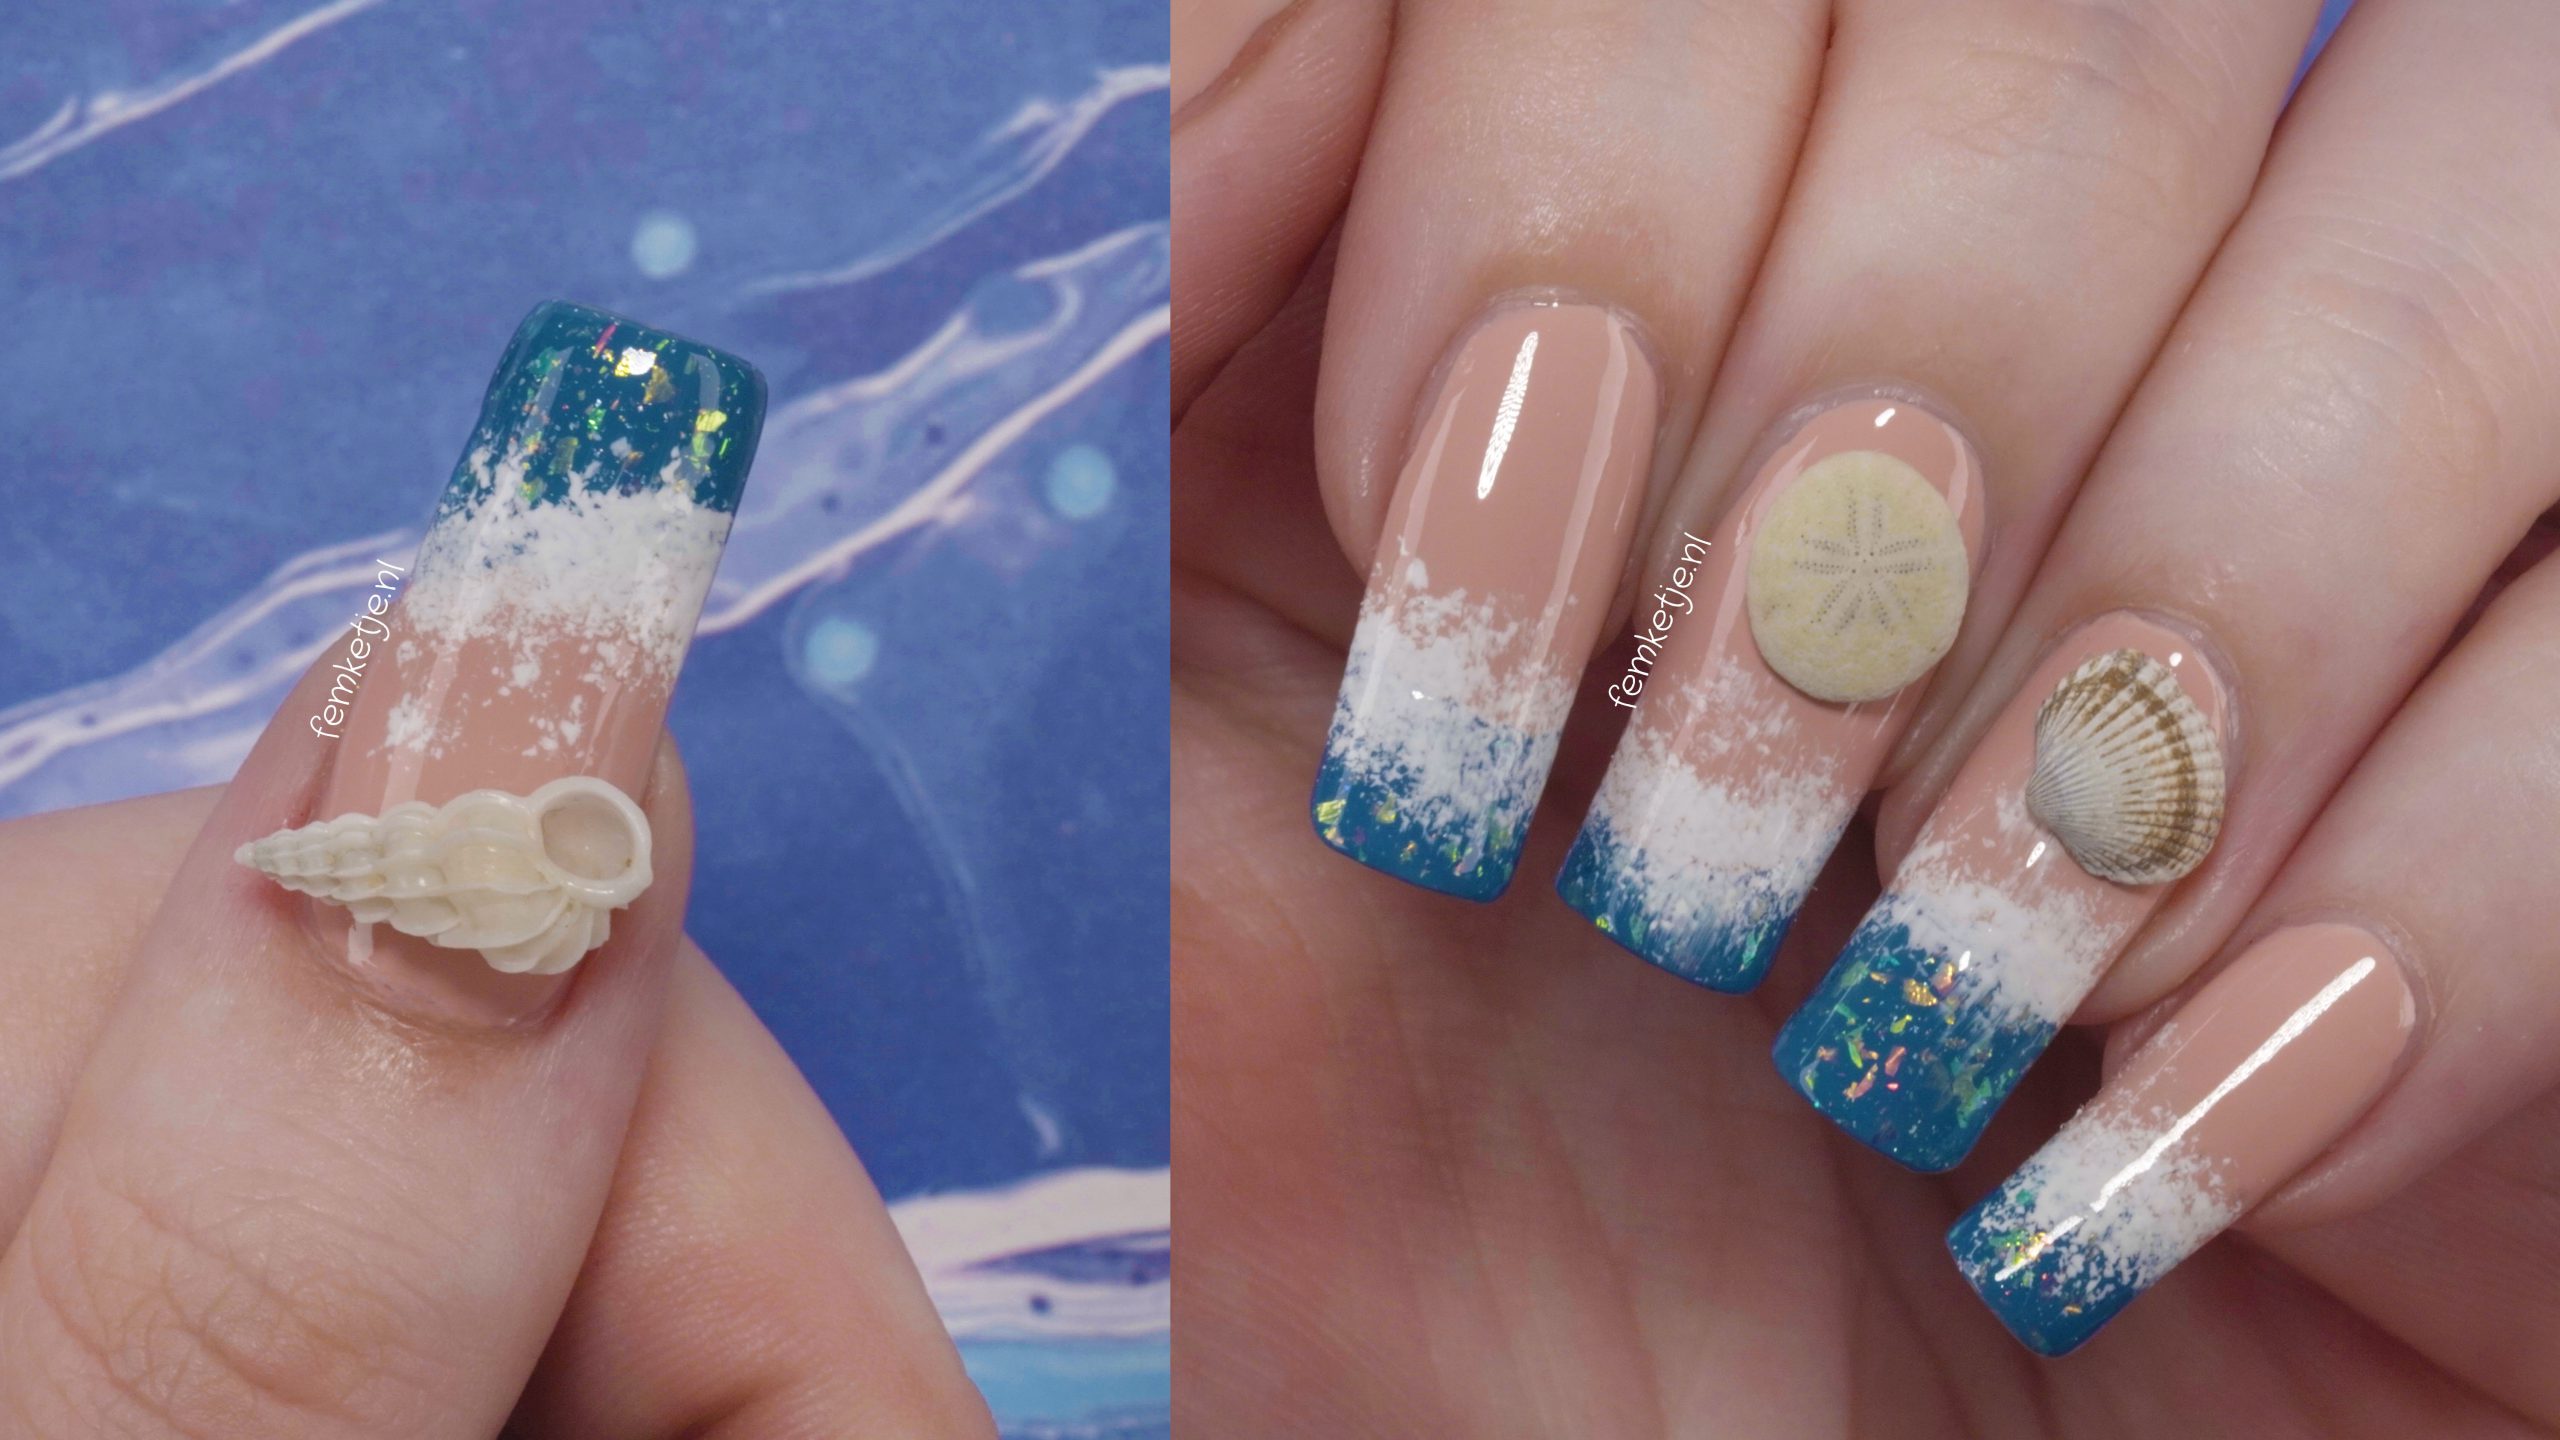
 Using the blue, green, and white nail polish, paint horizontal stripes onto the makeup sponge. Dab the sponge onto your nails to create a gradient background, with the blue at the top and the white at the bottom. This will create the illusion of an ocean meeting the sand.
Step 3: Add Some Texture
 Using the sandy beige nail polish, create texture on your nails by dabbing the sponge onto your nails in a random pattern. This will give the appearance of sand on your beach-themed nails.
Step 4: Add Some Details
 Using the thin paintbrush, add some
palm trees
to your nails by painting vertical lines in the green polish and adding small dots of green for the leaves. You can also add a few seagulls in the sky using white polish.
Using the thin paintbrush, add some
palm trees
to your nails by painting vertical lines in the green polish and adding small dots of green for the leaves. You can also add a few seagulls in the sky using white polish.
Step 5: Seal it with a Top Coat
 Once your design is complete, seal it with a top coat to protect the design and add shine to your nails. And there you have it, a sandy beach on your nails that will transport you to a tropical destination.
With these beach nail design tutorials, you can easily create a tropical paradise on your nails. So go ahead and try out these designs and bring a piece of the beach with you wherever you go.
Once your design is complete, seal it with a top coat to protect the design and add shine to your nails. And there you have it, a sandy beach on your nails that will transport you to a tropical destination.
With these beach nail design tutorials, you can easily create a tropical paradise on your nails. So go ahead and try out these designs and bring a piece of the beach with you wherever you go.


