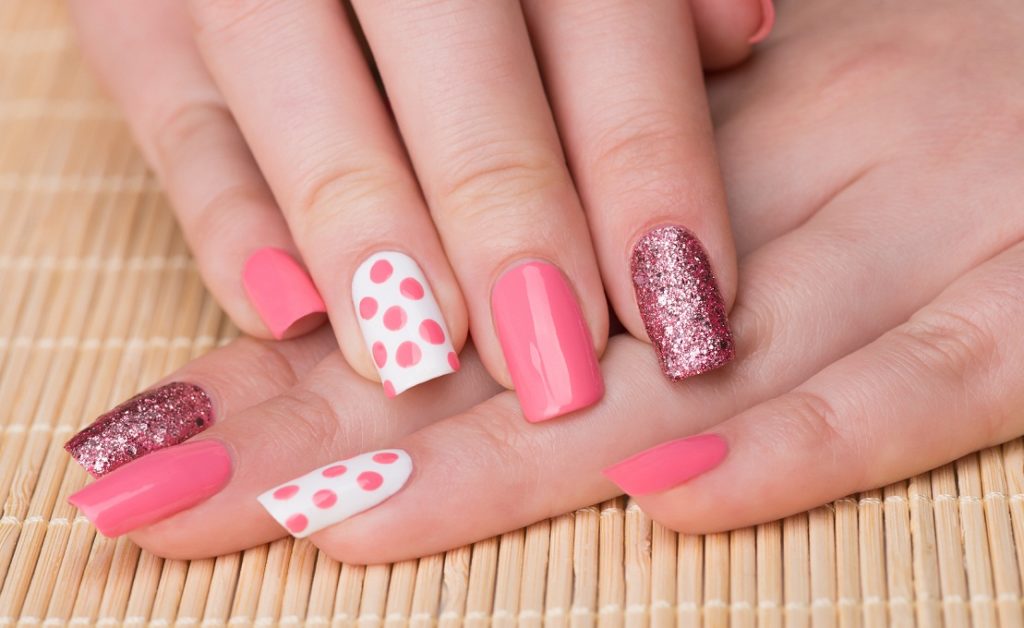
Are you tired of your plain and boring nails? Want to add some excitement and personality to your look? Look no further, because we have 10 simple and beautiful nail art designs that you can create at home! These easy DIY ideas are perfect for beginners and will have your nails looking like a work of art in no time. First up, let's start with a classic and timeless design – polka dots! All you need is a bobby pin or a toothpick and some contrasting nail polish colors. Dip the end of the bobby pin or toothpick into the nail polish and dot it onto your nails in any pattern you desire. Voila, you have a fun and playful design that will surely make a statement. If you're a fan of florals, you'll love this next nail art tutorial. Using a thin brush, create delicate flower designs on your nails using different colors. This is a great way to add a touch of femininity and elegance to your look. For a chic and sophisticated look, try out a marble nail art design at home. All you need is a base color and a few drops of a contrasting color. Spread the drops onto your nails using a toothpick and swirl them around to create a marble effect. Finish off with a top coat for a glossy finish. Another trendy and stylish nail art design to try at home is ombre nails. This is a gradual blending of one color into another, creating a beautiful gradient effect. You can achieve this by using a makeup sponge to dab on different shades of nail polish onto your nails. Experiment with different color combinations to find your perfect ombre look. If you have short nails, don't worry, there are still plenty of cute and easy nail art designs that you can try. One idea is to create a half-moon design at the base of your nails using tape and your choice of nail polish. This is a simple yet eye-catching design that is perfect for those with shorter nails.1. Easy DIY Nail Art Ideas for Beginners


1. Easy DIY Nail Art Ideas for Beginners


:max_bytes(150000):strip_icc()/072922-beauty-nail-art-lead-2000-21de3481261e48a995c855269f9846ad.jpg)
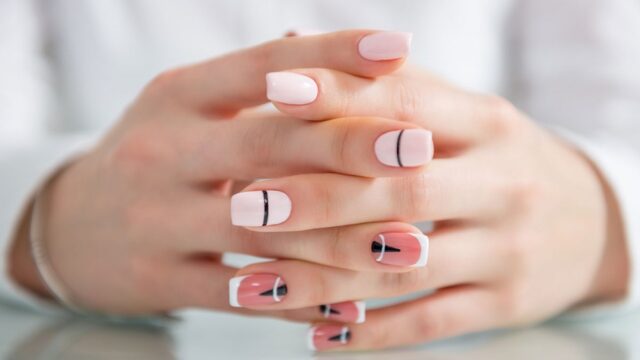
Creating a French manicure at home is easier than you think. All you need is some tape and two contrasting nail polish colors. Use the tape to create a straight line across the tip of your nail, and then paint the exposed area with a different color. Remove the tape, and you have a flawless French manicure. For a glamorous and sparkly look, try out a glitter nail art design. You can either use glitter nail polish or loose glitter and apply it to your nails using a top coat. You can go for a subtle shimmer or all-out glitter, depending on your preference. Watercolor nail art is a unique and creative way to express yourself through your nails. Start by painting your nails with a light base color and then use a thin brush to paint different colors on top, blending them together to create a watercolor effect. This is a fun and artistic design that will definitely turn heads. For those who love geometric designs, this next nail art tutorial is for you. Using tape, create different shapes on your nails and fill them in with different colors. You can create a variety of designs, from simple triangles to complex patterns. The possibilities are endless! Lastly, why not try out a negative space nail art design? This is where you leave some parts of your nails unpainted, creating a unique and edgy look. You can use tape or nail stencils to create different shapes and patterns on your nails, leaving some areas bare for a modern and minimalist design.2. 10 Simple Nail Art Designs You Can Do at Home

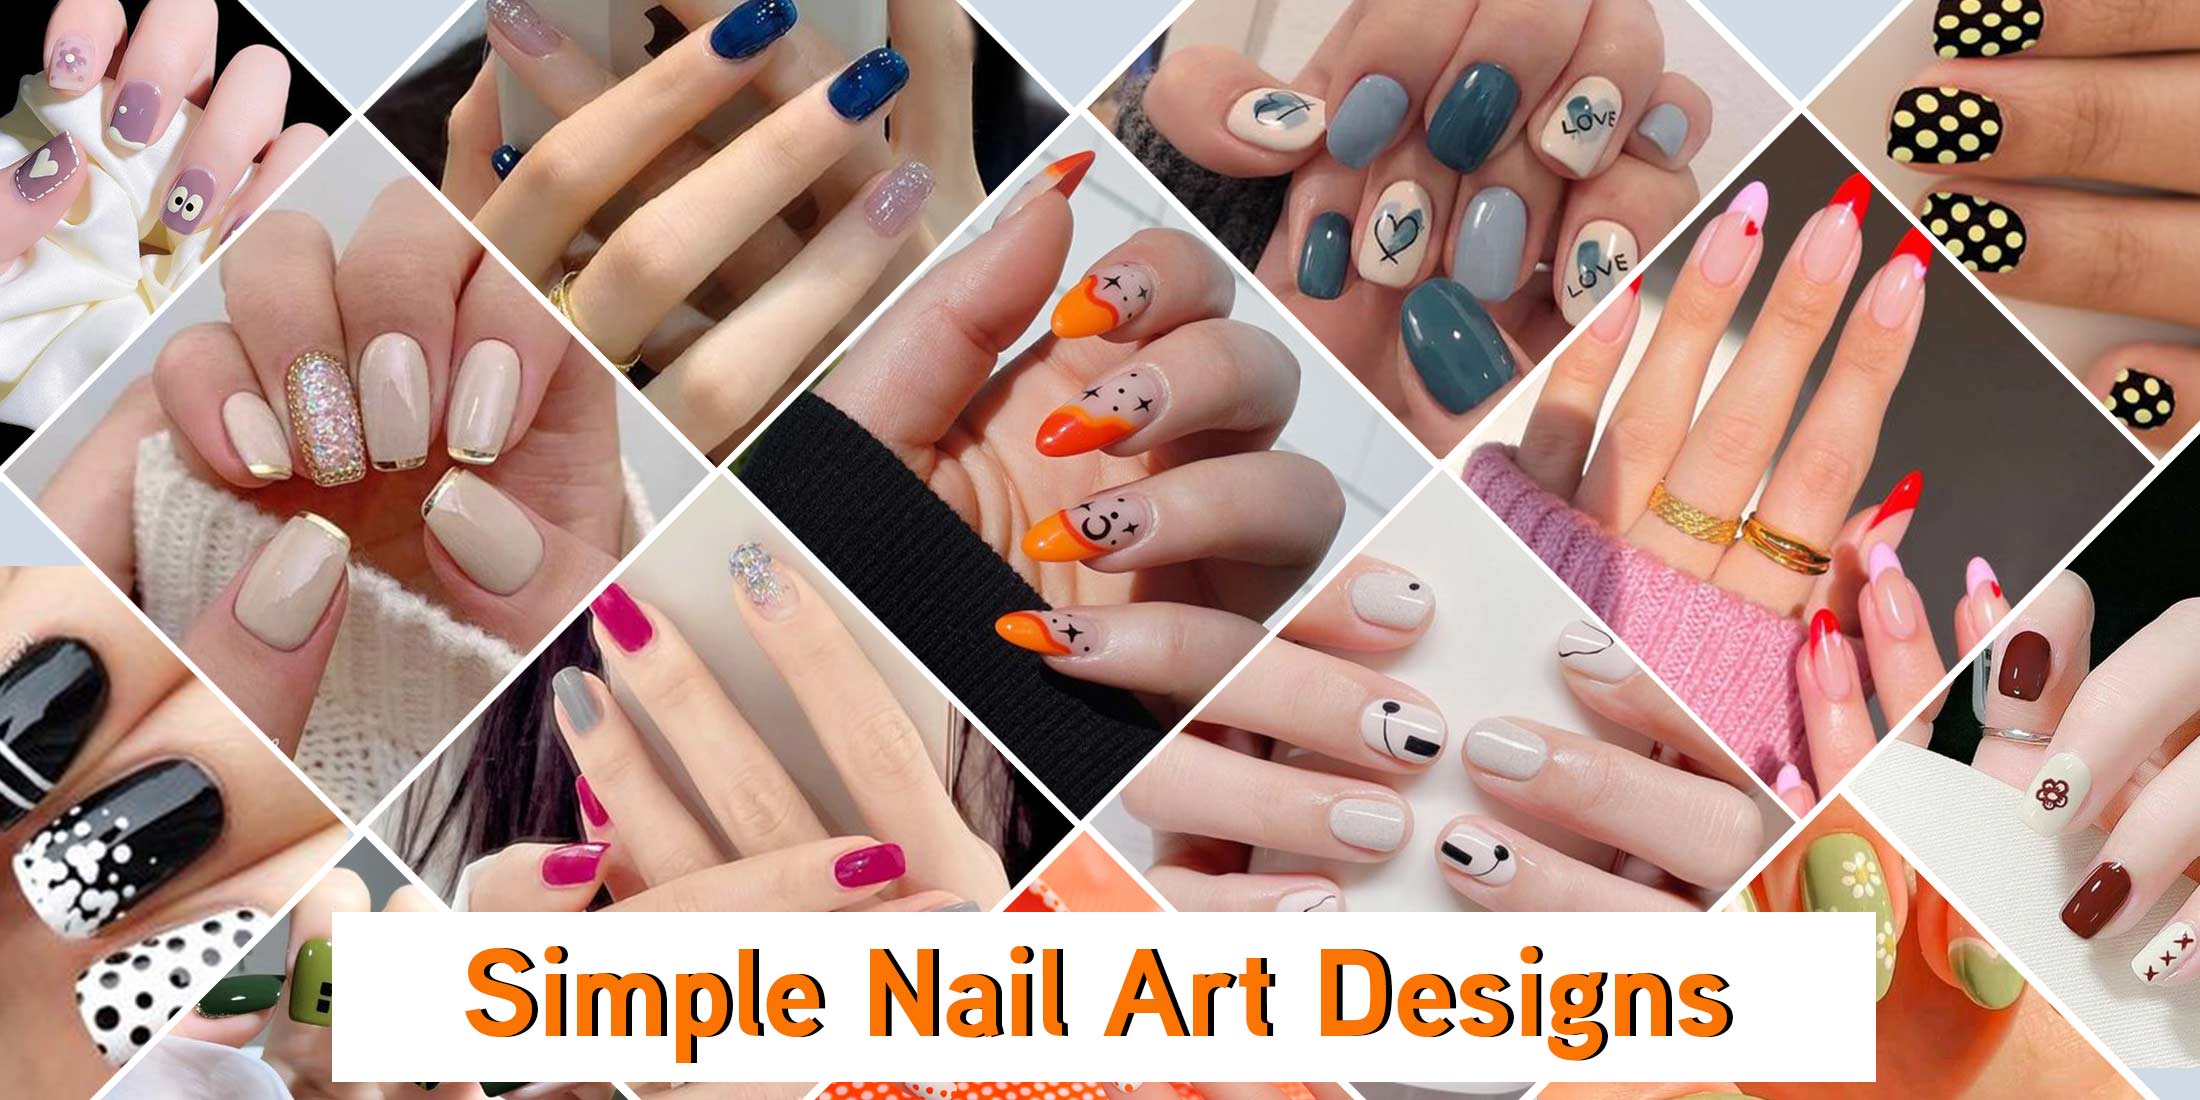
2. 10 Simple Nail Art Designs You Can Do at Home


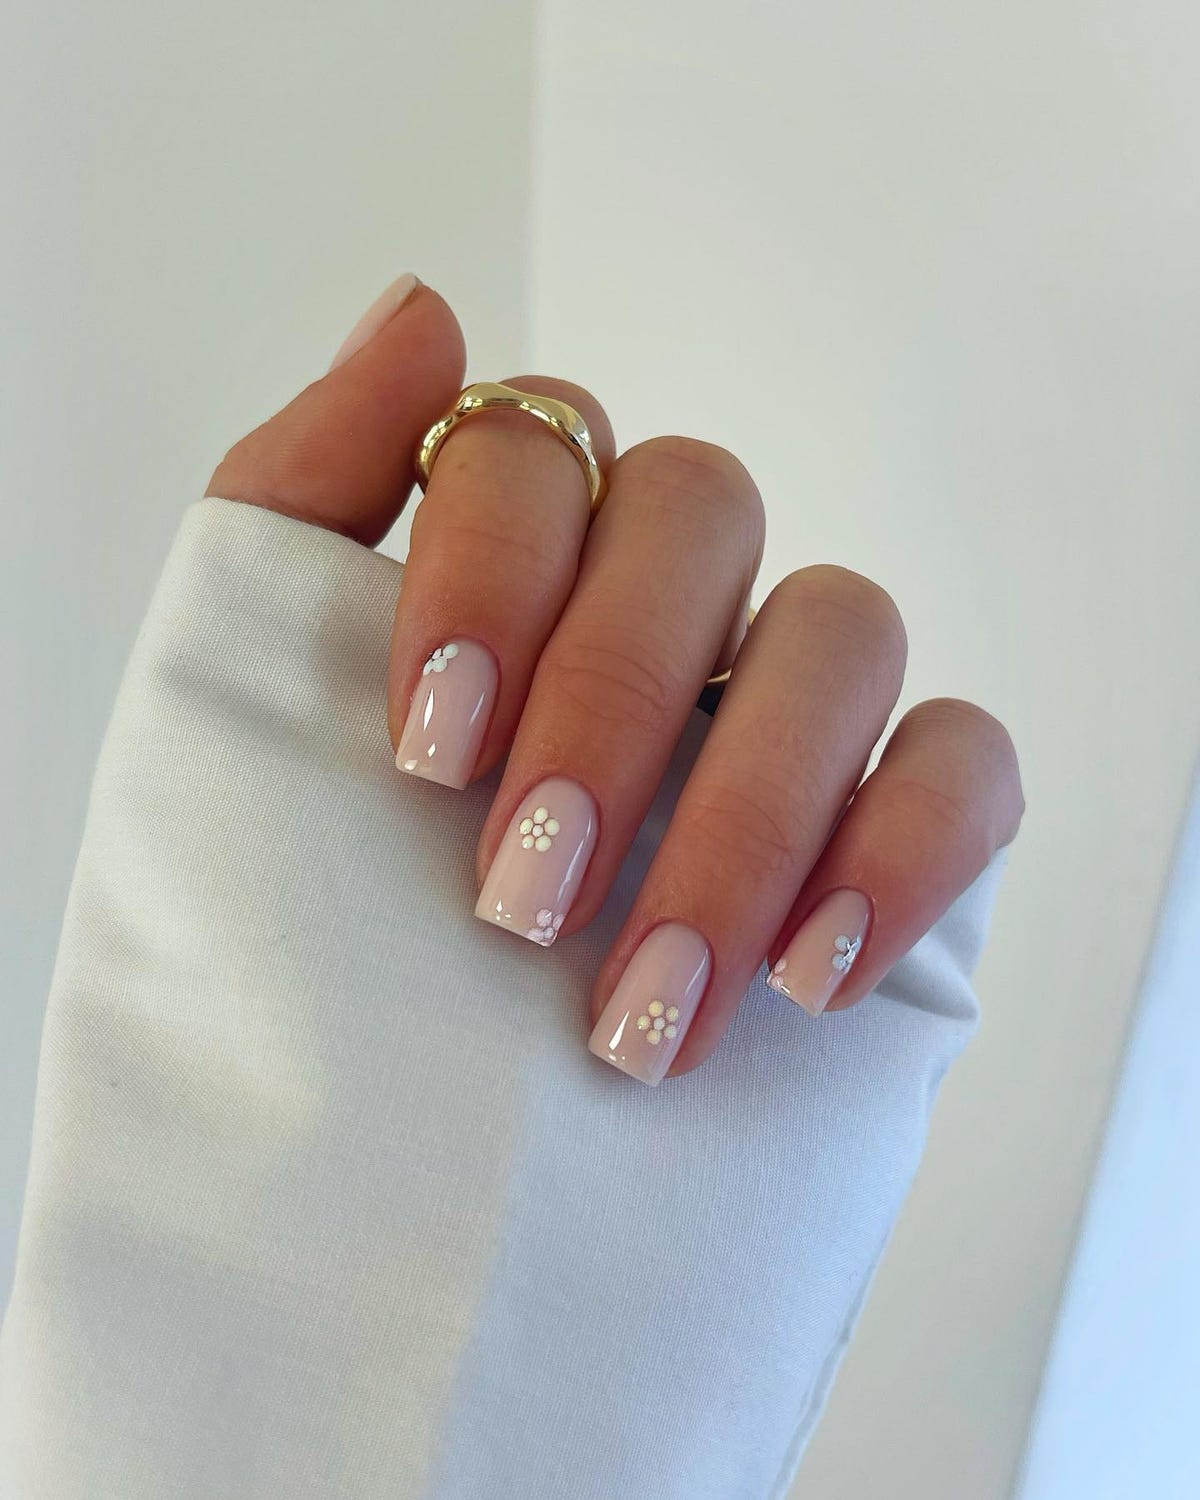
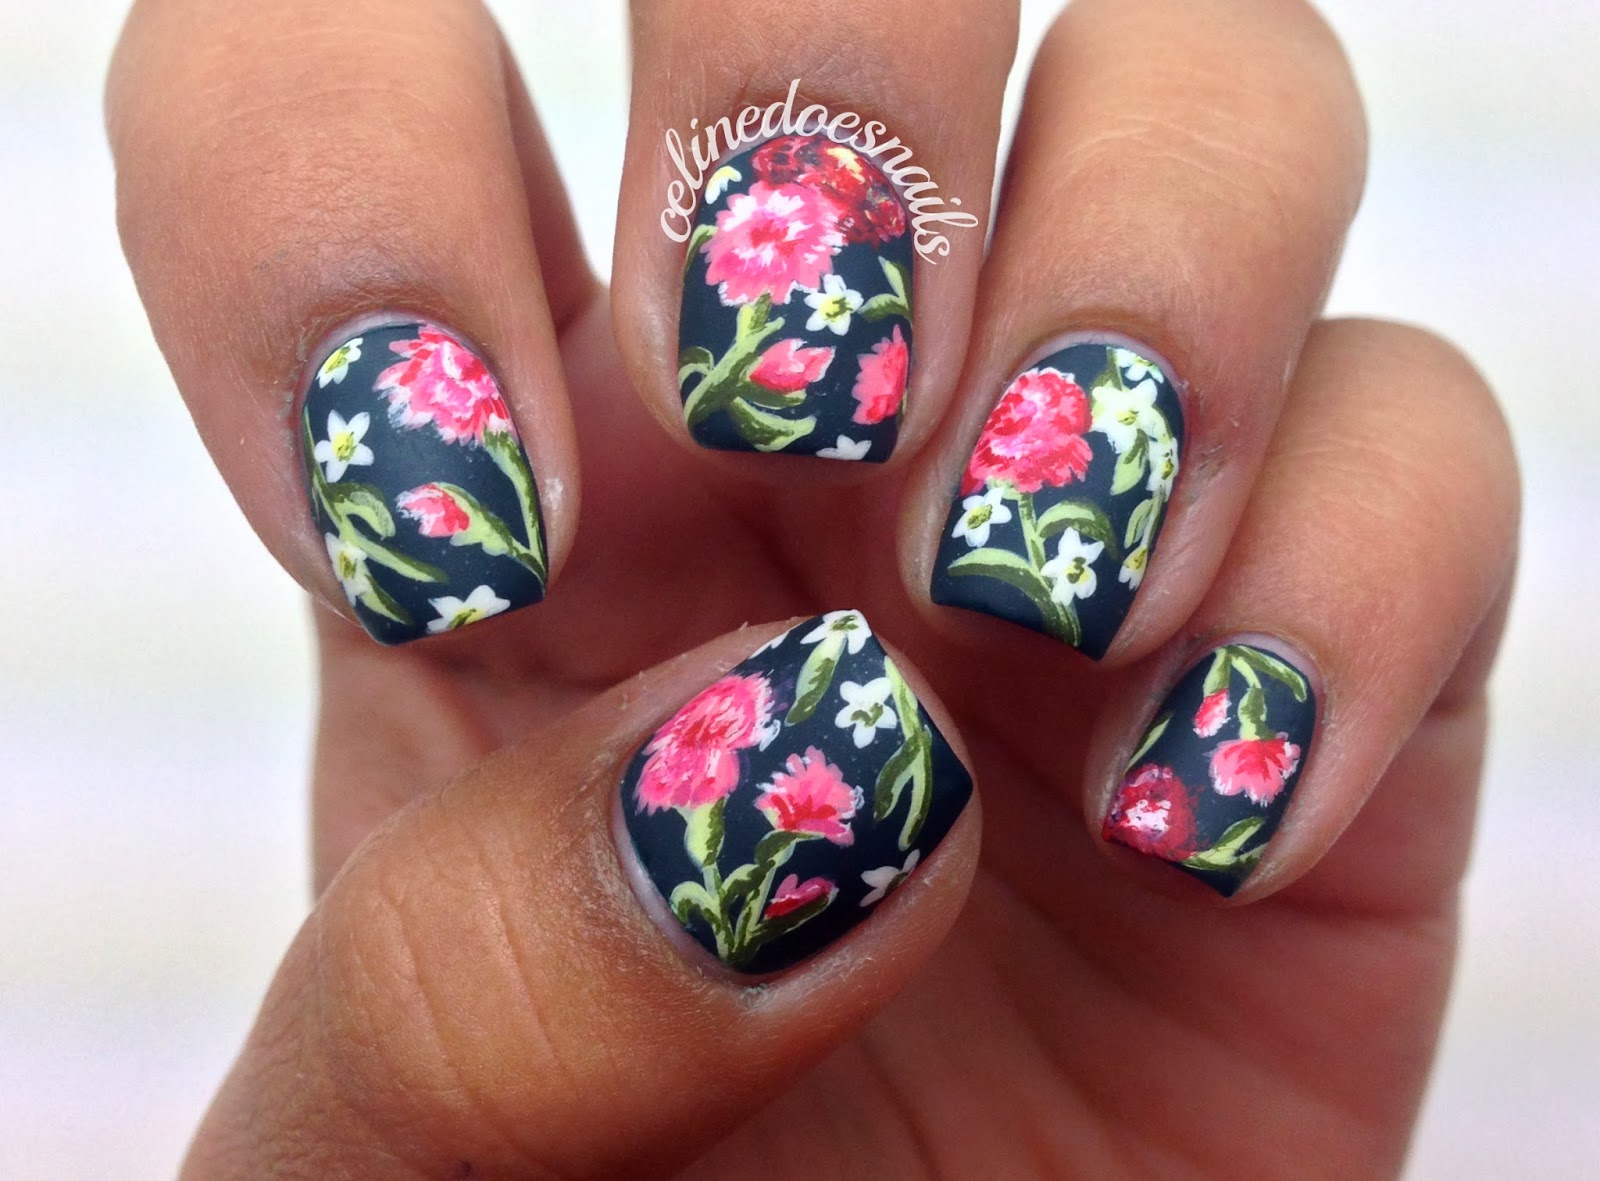
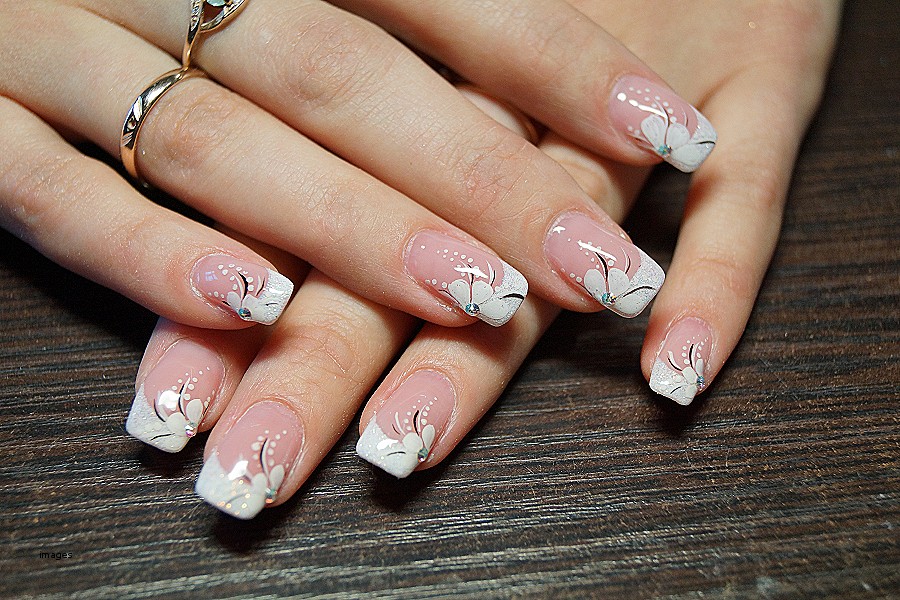
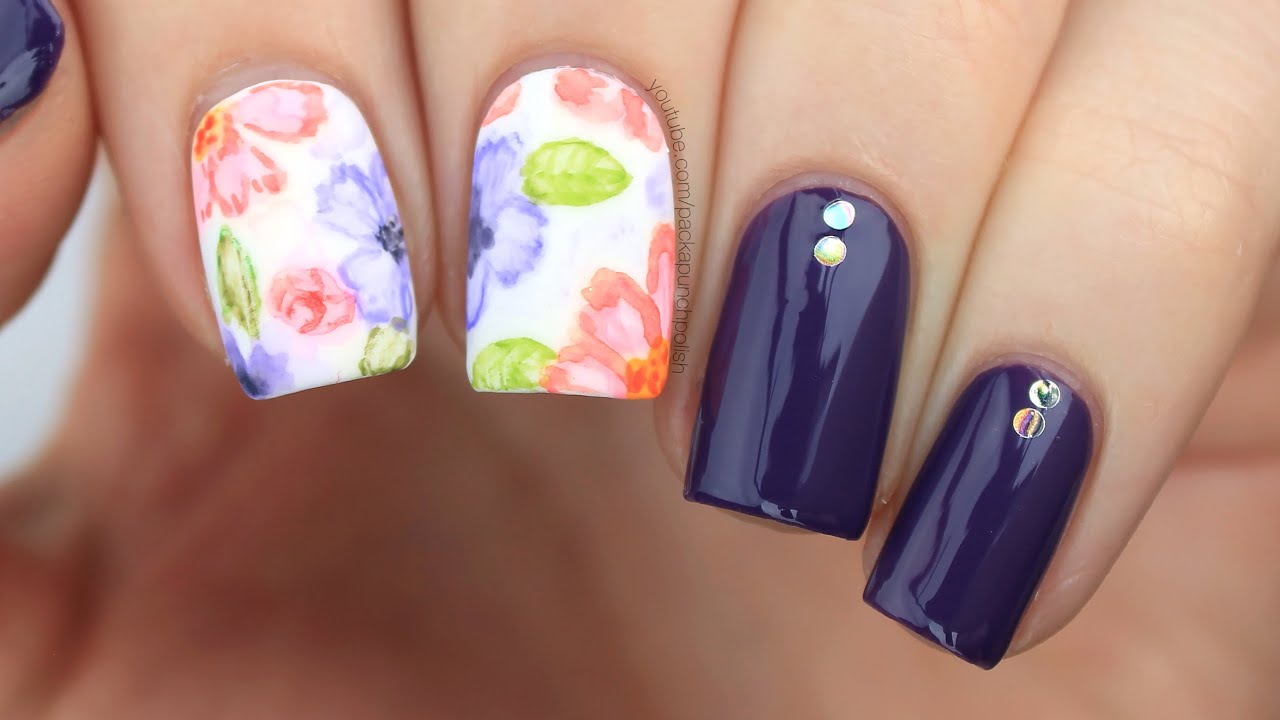
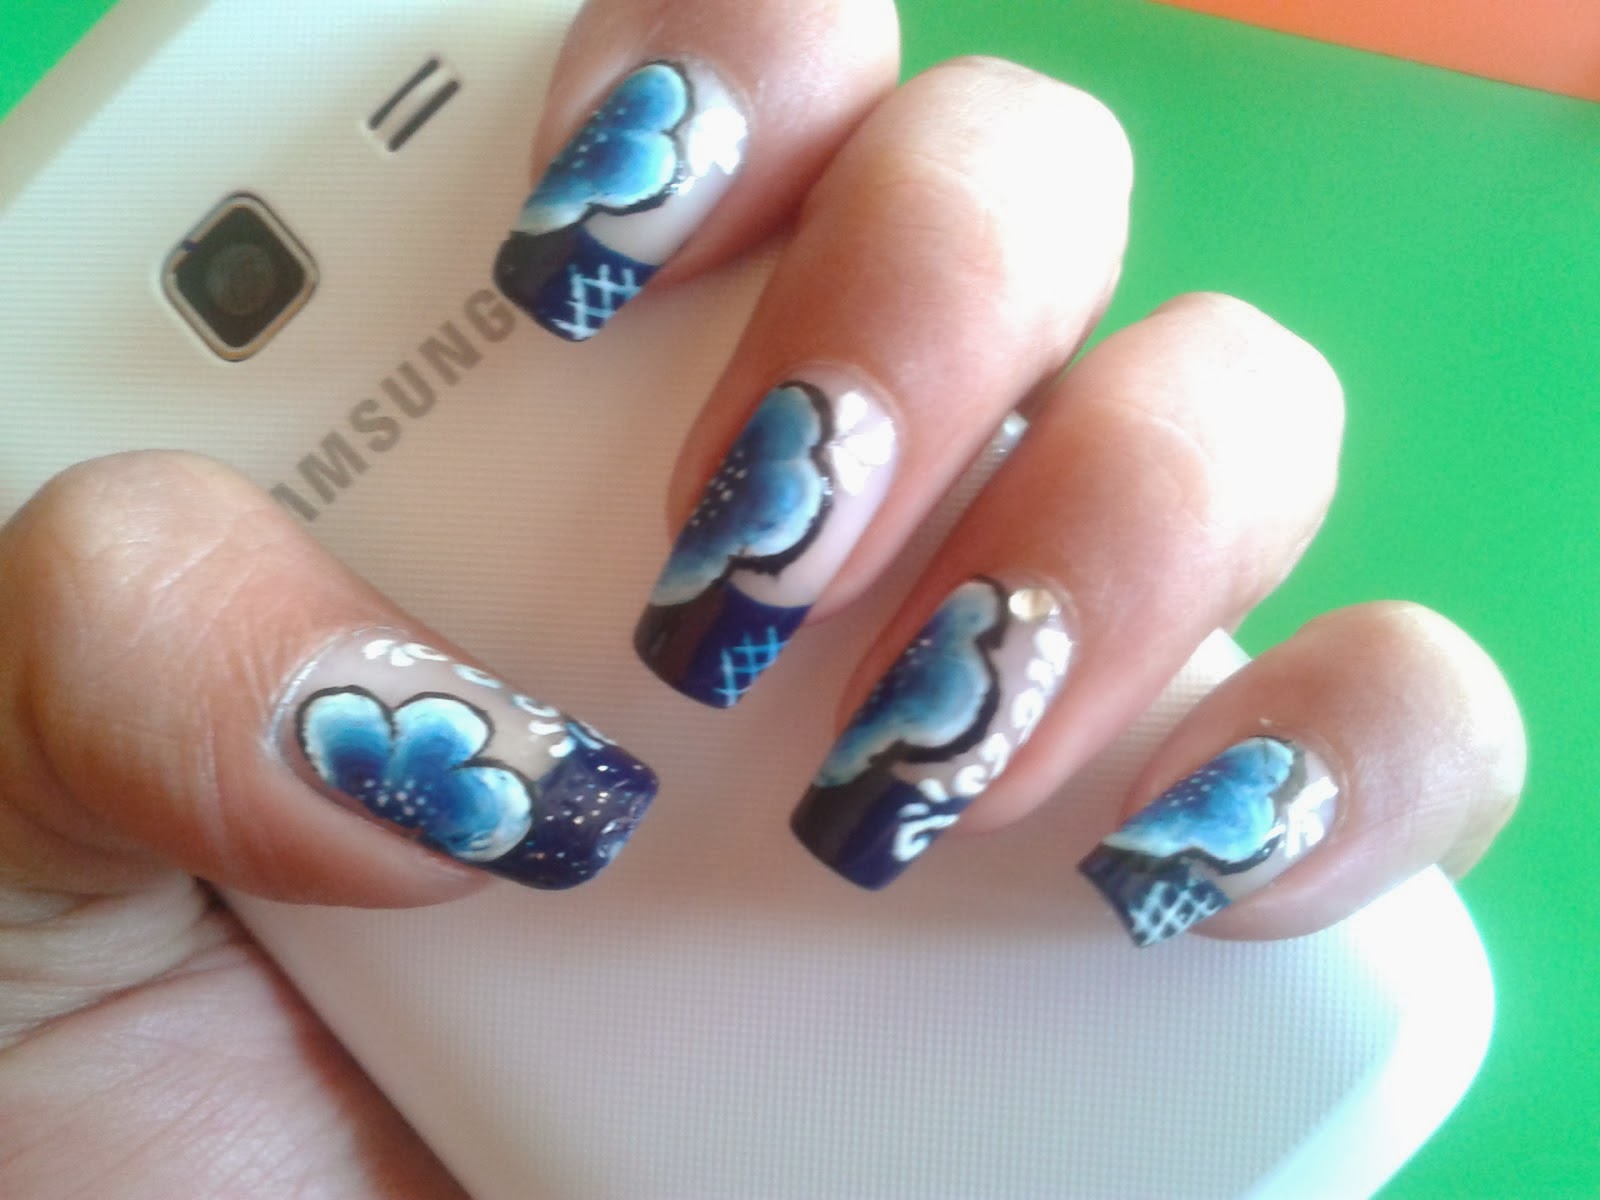
Floral nail art is a classic and feminine design that will never go out of style. It's also a great way to add some color to your look. Start by painting your nails with a light base color, and then using a thin brush, create different flower designs on top, using different colors for the petals. You can also add some leaves and other details for a more realistic look. If freehand painting is not your strong suit, you can also use nail stickers or decals to achieve a beautiful floral design. Simply stick them onto your nails and seal them with a top coat for a professional-looking manicure. Another way to incorporate florals into your nail art is by using dried flowers. Apply a base color and then place small dried flowers onto your nails, pressing them down gently. Seal them in with a top coat for a unique and delicate design that will have everyone asking where you got your nails done.3. Beautiful Floral Nail Art Tutorial for Home
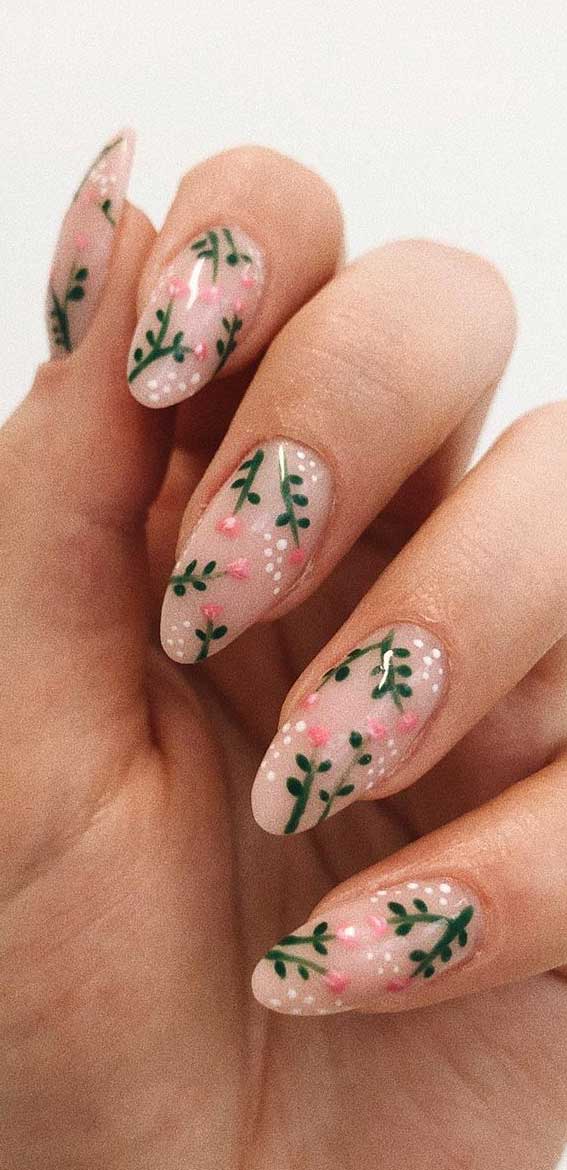

3. Beautiful Floral Nail Art Tutorial for Home


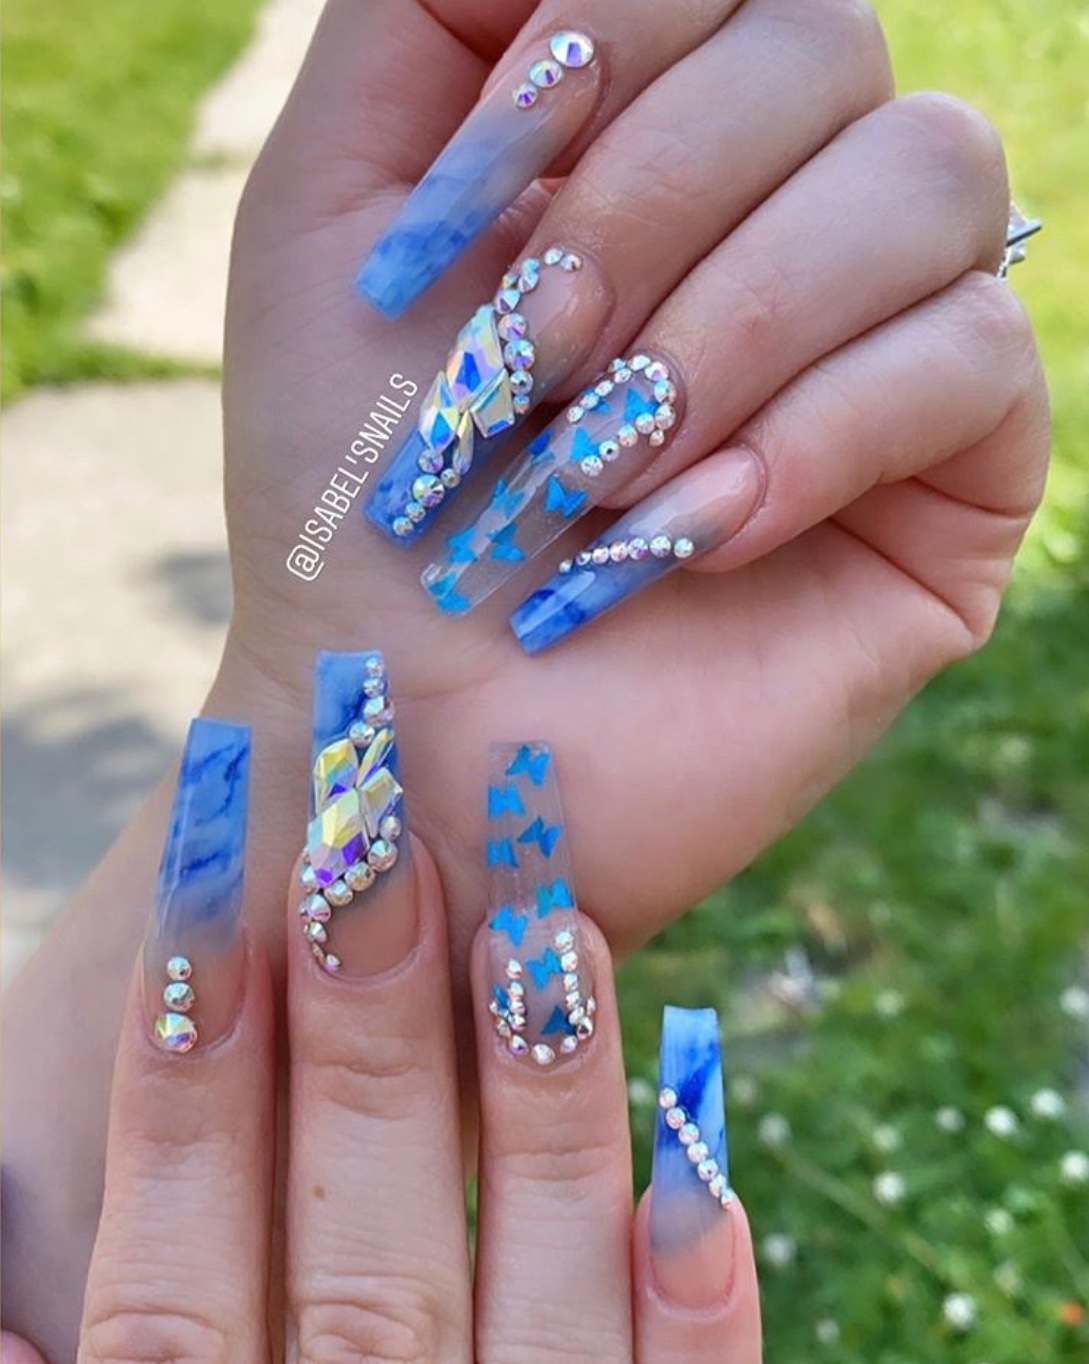
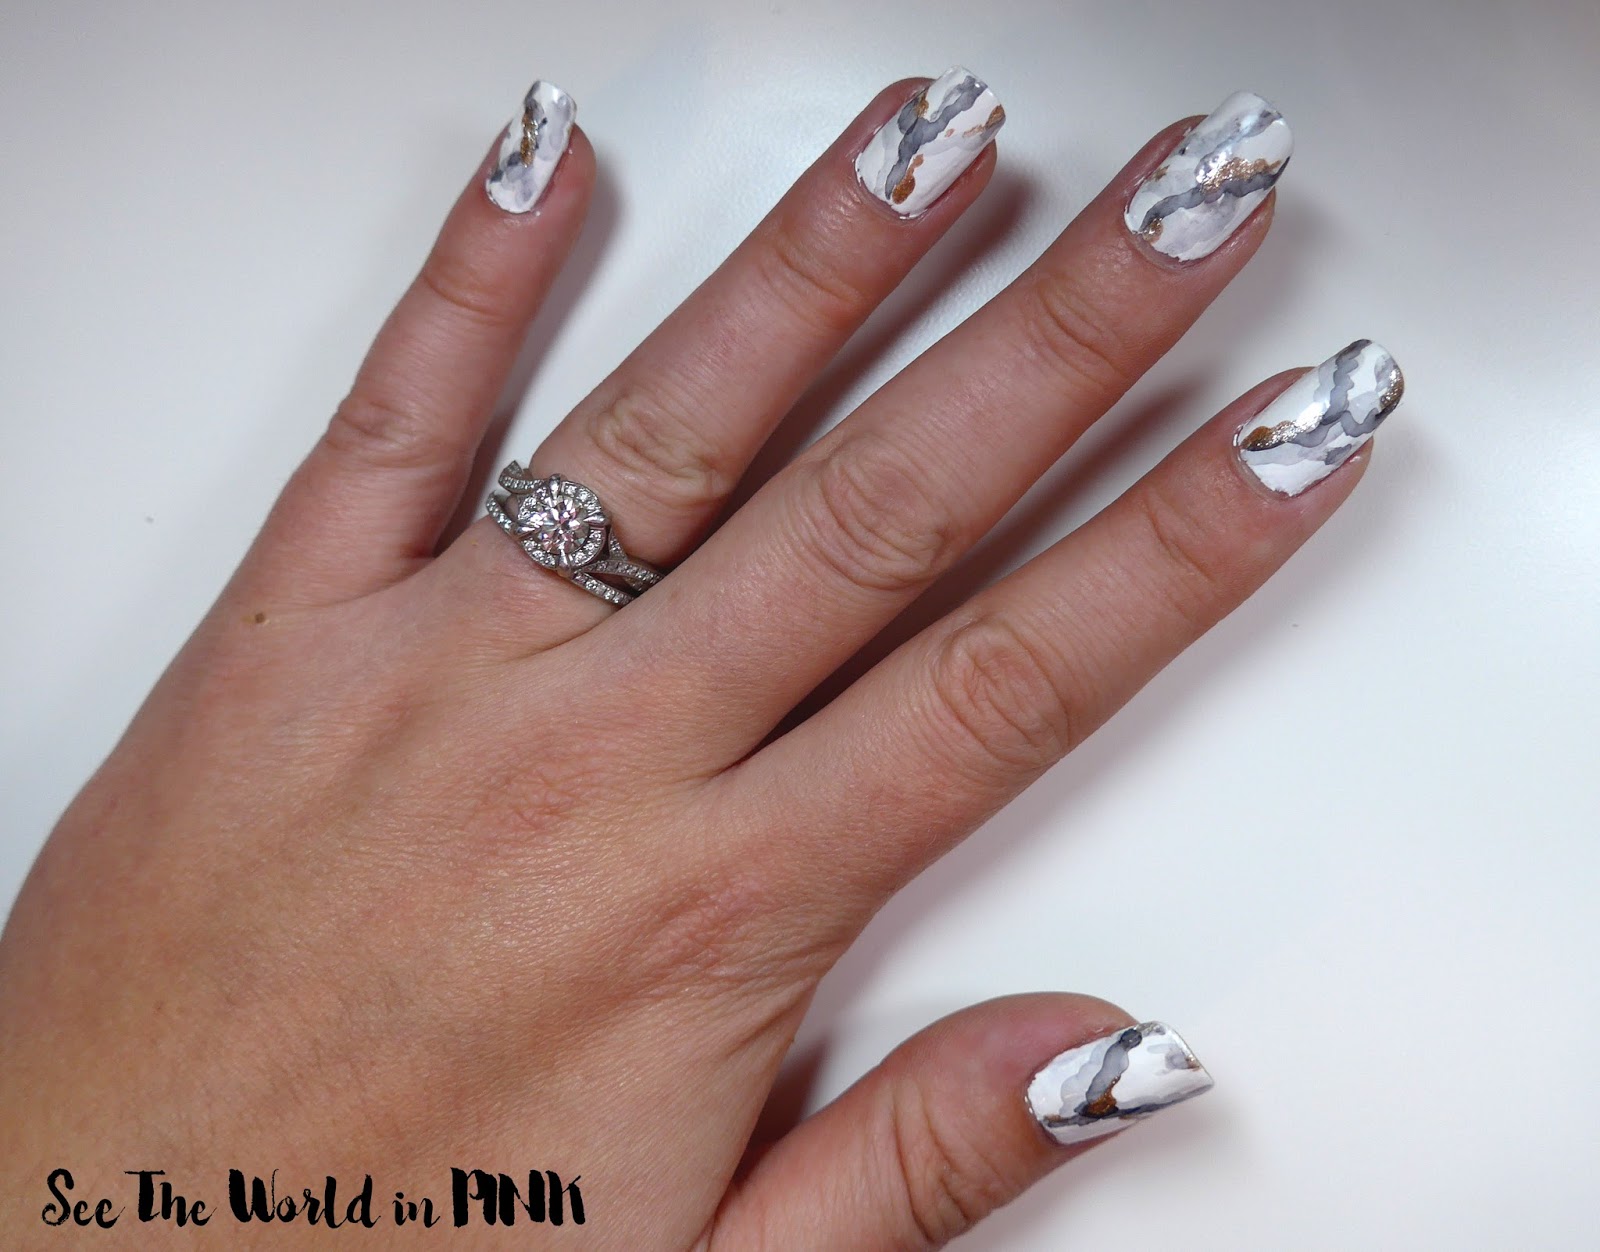
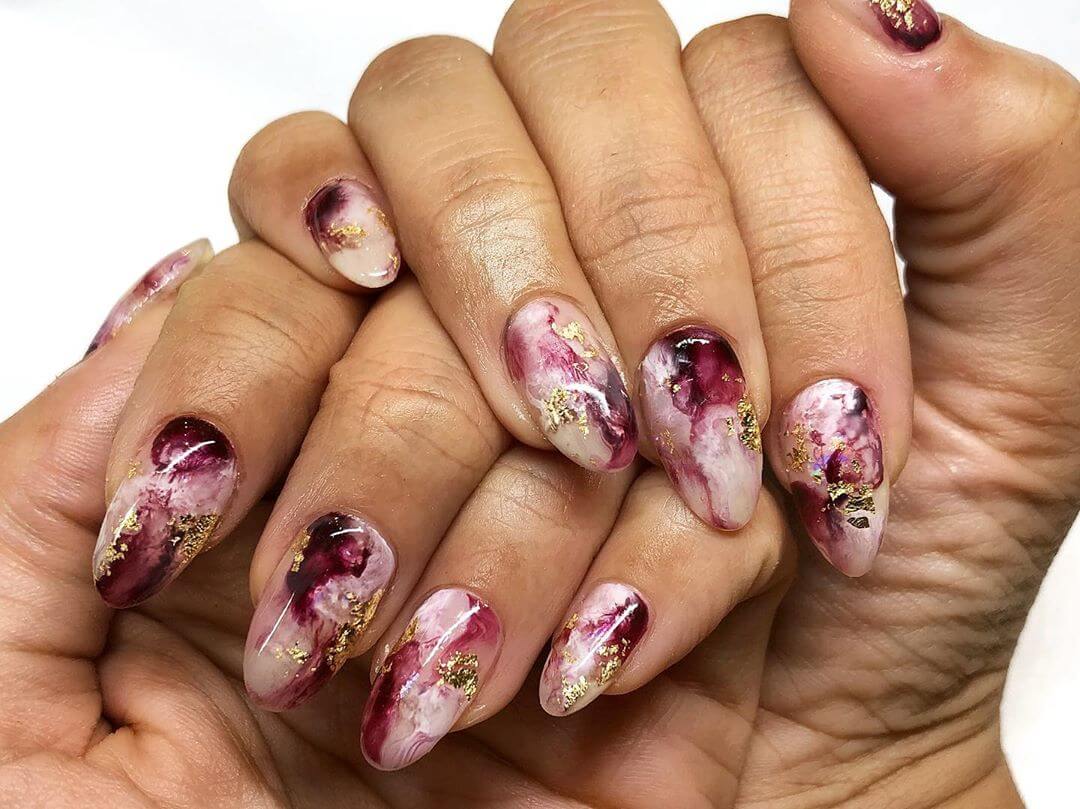
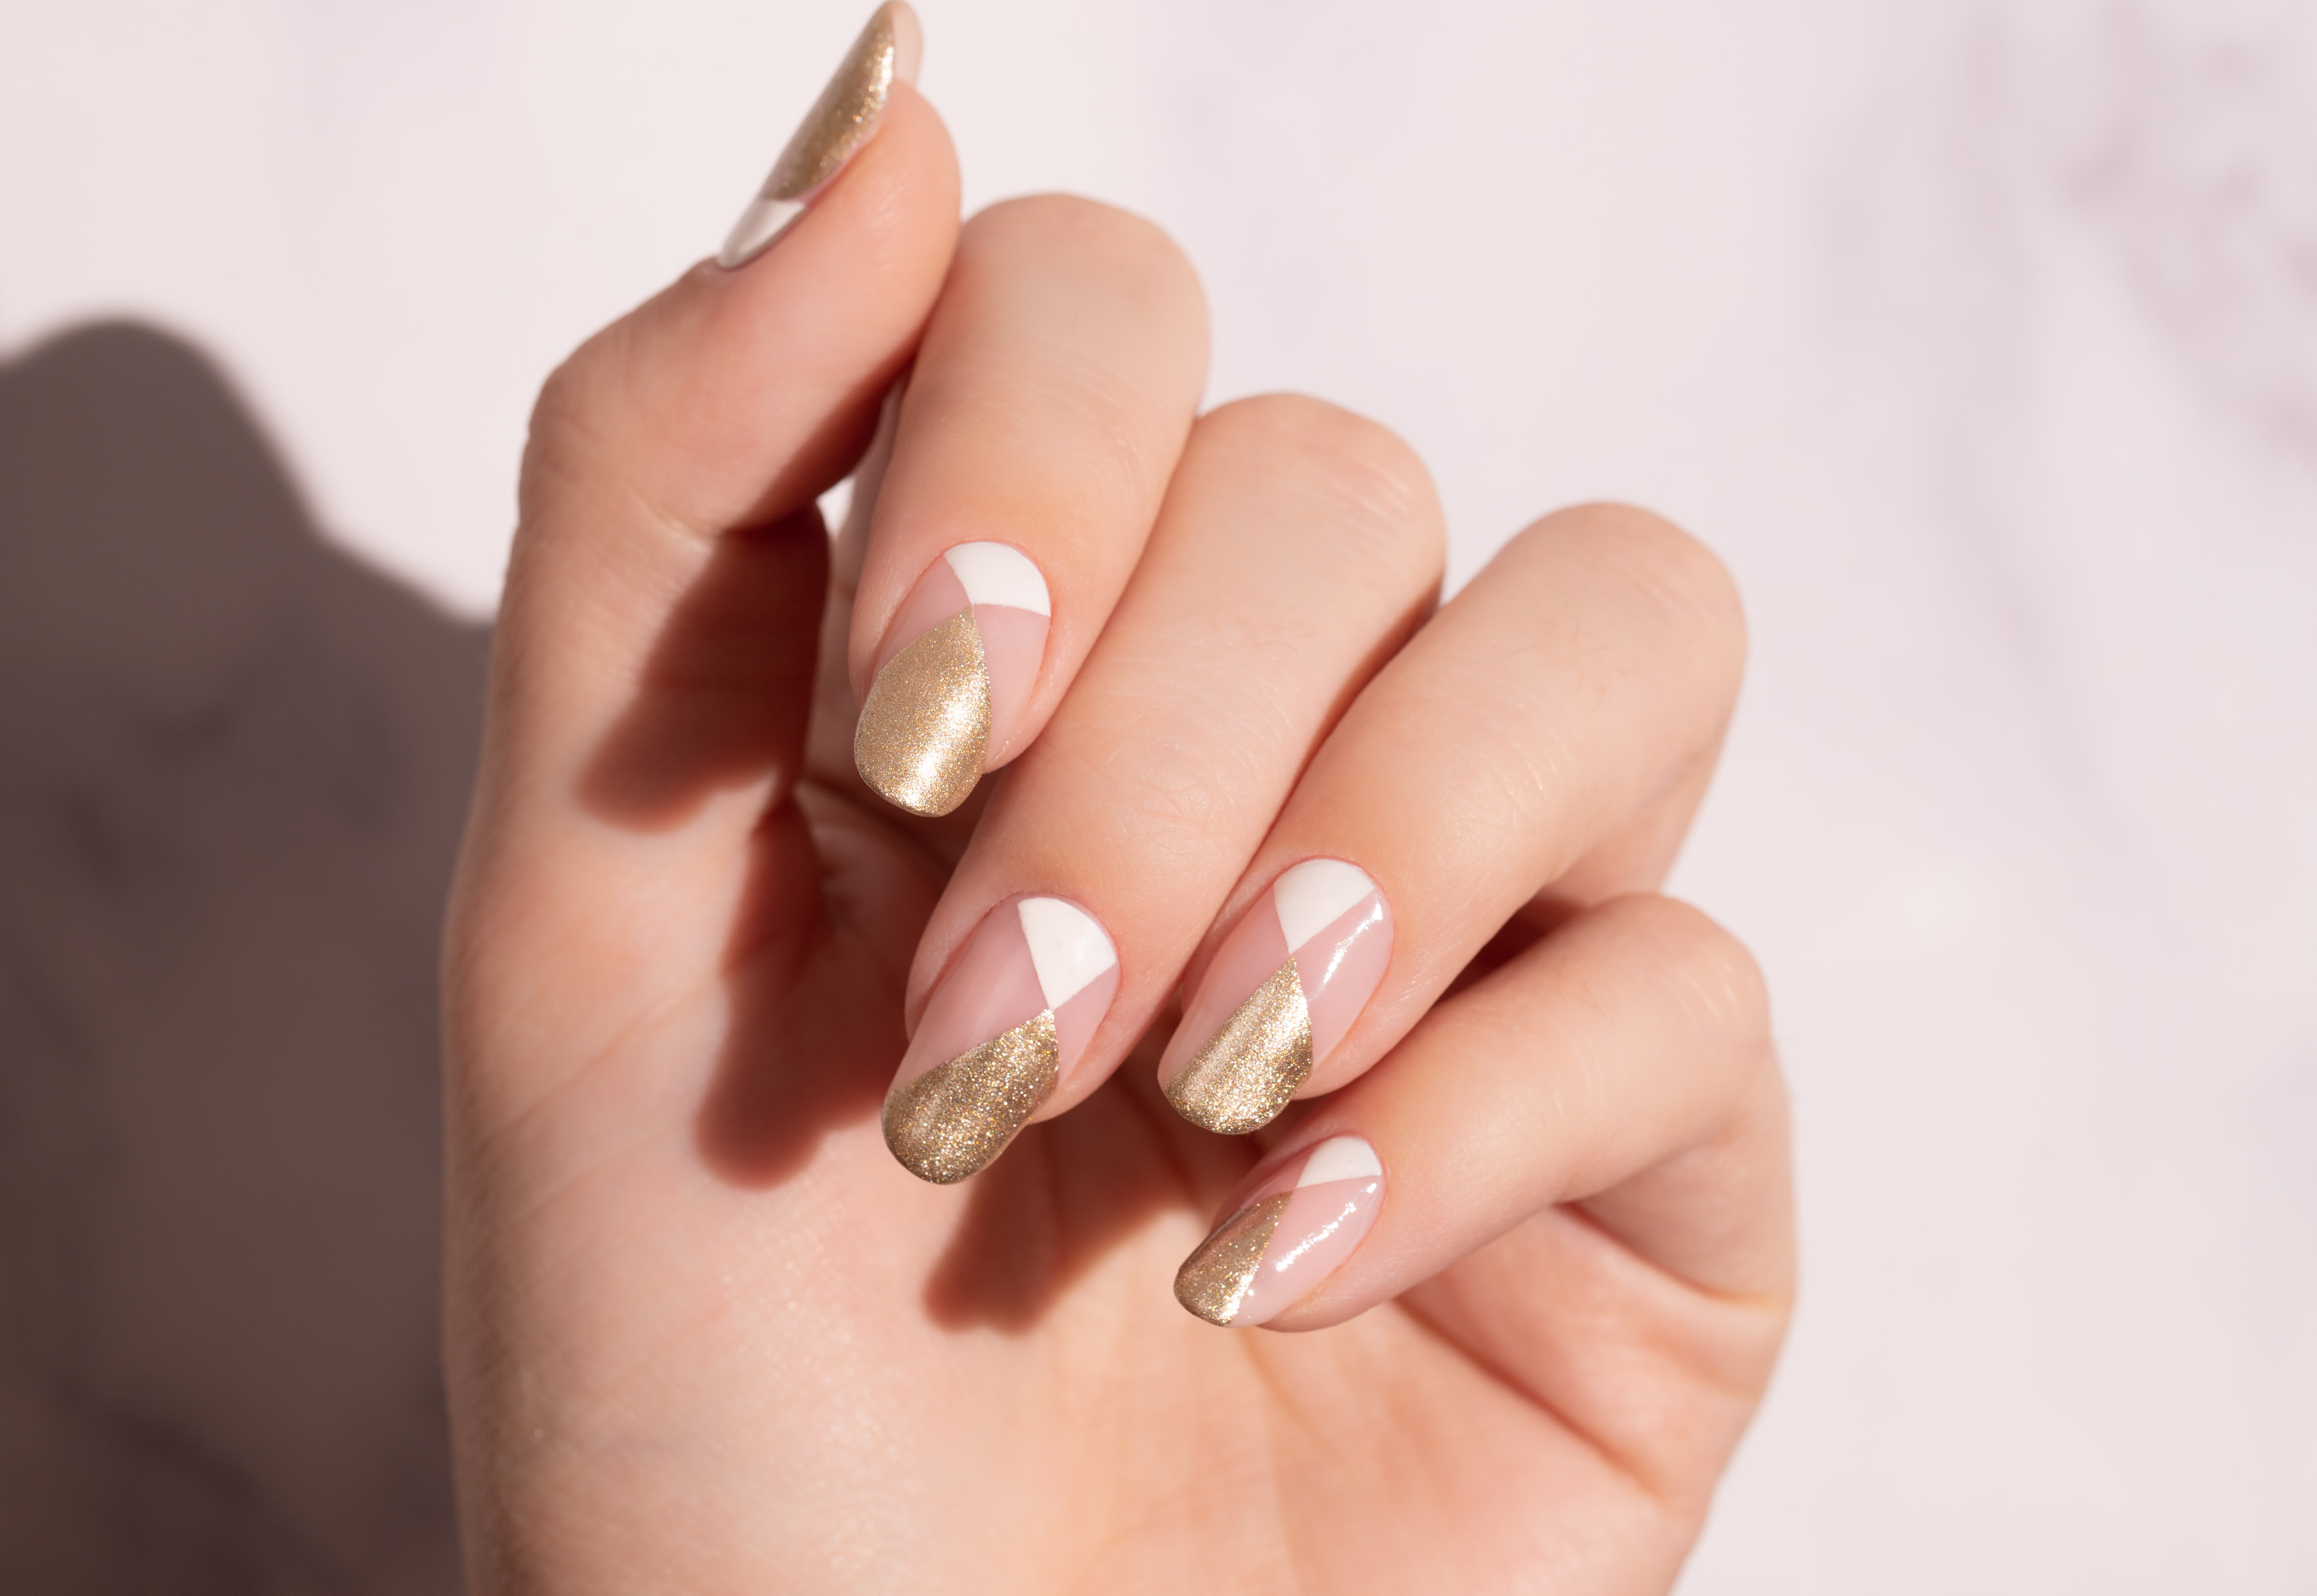
Marble nail art is a popular trend that has been seen on many celebrities and social media influencers. It may seem complicated to achieve, but with the right technique, you can create a stunning marble effect on your nails at home. Start by painting your nails with a light base color and letting it dry completely. Then, add a few drops of a contrasting color onto your nails and use a toothpick to swirl the colors together, creating a marble effect. You can also try using a plastic bag or cling wrap to achieve a similar look. Finish off with a top coat for a glossy finish. If you want to take your marble nail art to the next level, you can also add gold or silver foil to your design. Simply apply a layer of foil glue onto your nails and press small pieces of foil onto it. Seal it in with a top coat for a luxurious and eye-catching look.4. Stunning Marble Nail Art at Home

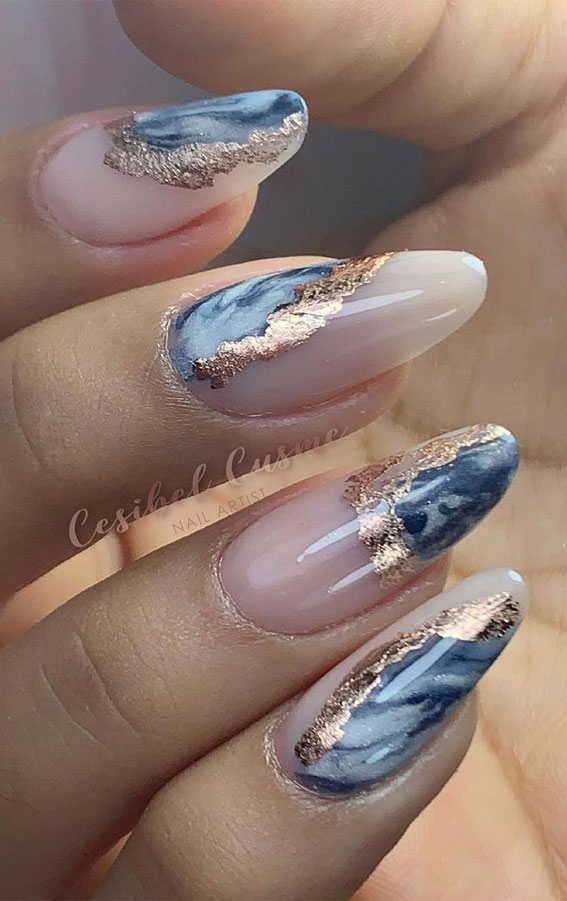

4. Stunning Marble Nail Art at Home


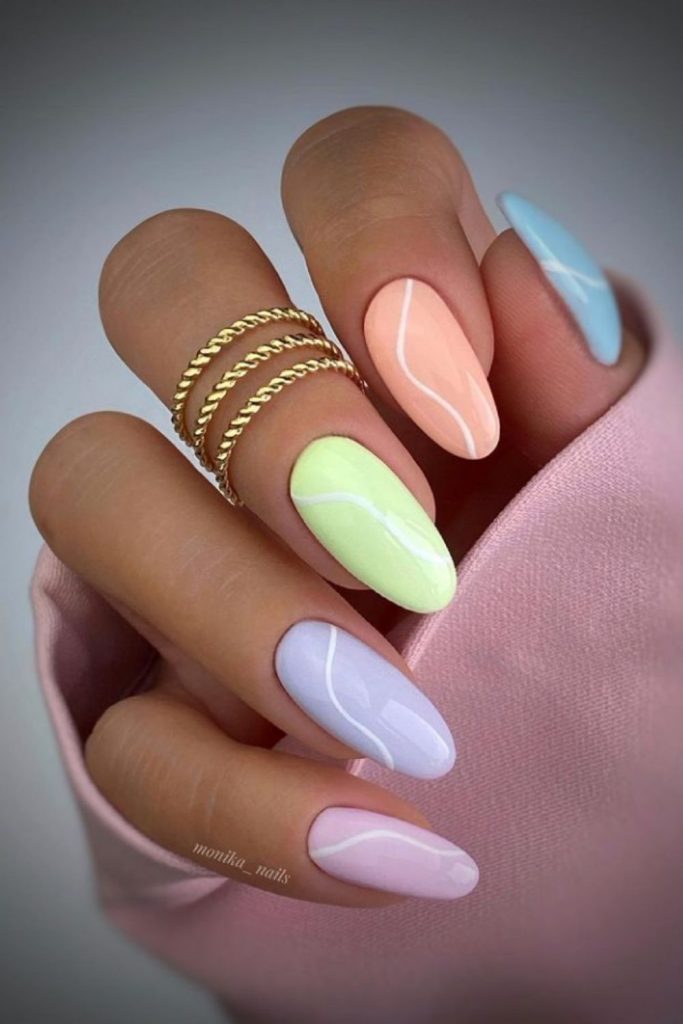
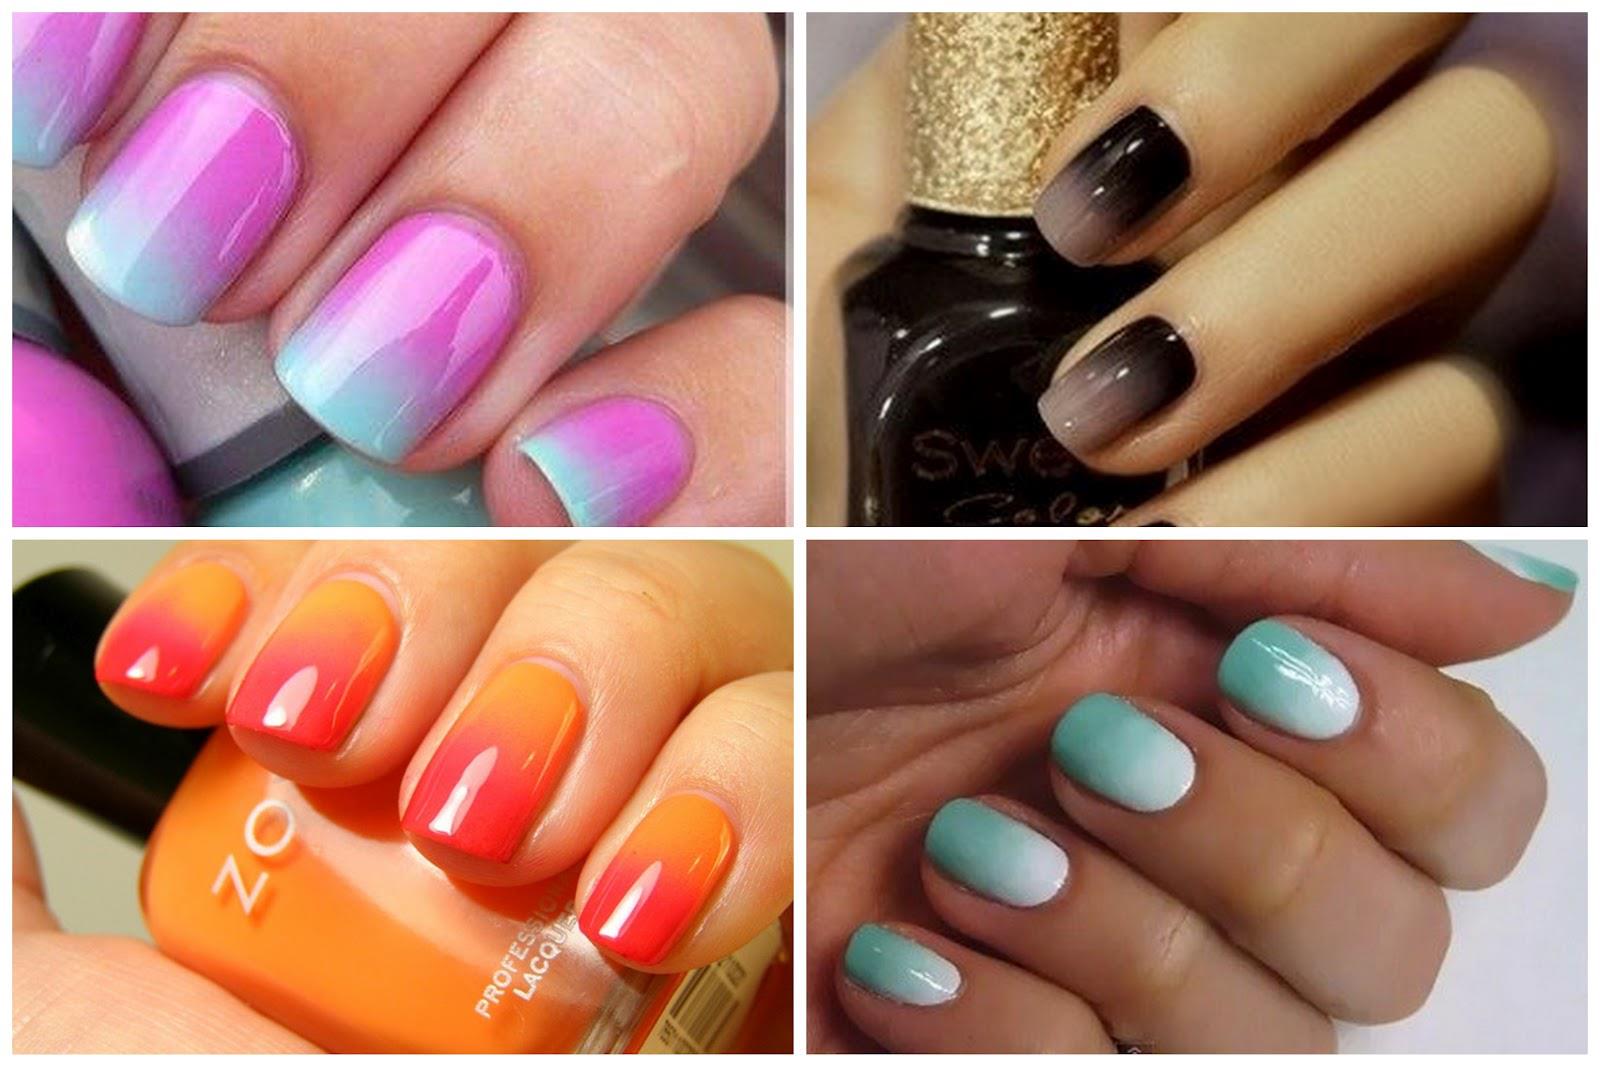
Ombre nails are a beautiful and versatile design that can be customized to your liking. Here's a step-by-step guide on how to create ombre nails at home: Step 1: Start by applying a base coat to protect your nails. Step 2: Paint your nails with a light base color and let it dry completely. Step 3: Take a makeup sponge and dab on different shades of nail polish onto it. Step 4: Gently press the sponge onto your nails, blending the colors together to create a gradient effect. Step 5: Repeat on all nails, adding more layers of color for a more intense ombre look. Step 6: Finish off with a top coat for a smooth and shiny finish.5. Step-by-Step Guide to Creating Ombre Nails at Home


5. Step-by-Step Guide to Creating Ombre Nails at Home


Short nails don't have to limit your nail art options. Here are some cute and easy designs that are perfect for shorter nails: For a minimalist look, try out a negative space design. Use tape or nail stencils to create different shapes and patterns on your nails, leaving some areas bare for a modern and chic look. Another idea is to create a half-moon design at the base of your nails using tape and your choice of nail polish. This is a simple yet eye-catching design that is perfect for those with shorter nails. If you want to add some texture to your nails, you can try out a caviar manicure. Apply a base color and then sprinkle small beads onto your still-wet nails. Press them down gently and seal them in with a top coat for a fun and playful look.6. Cute and Easy Nail Art Designs for Short Nails


6. Cute and Easy Nail Art Designs for Short Nails


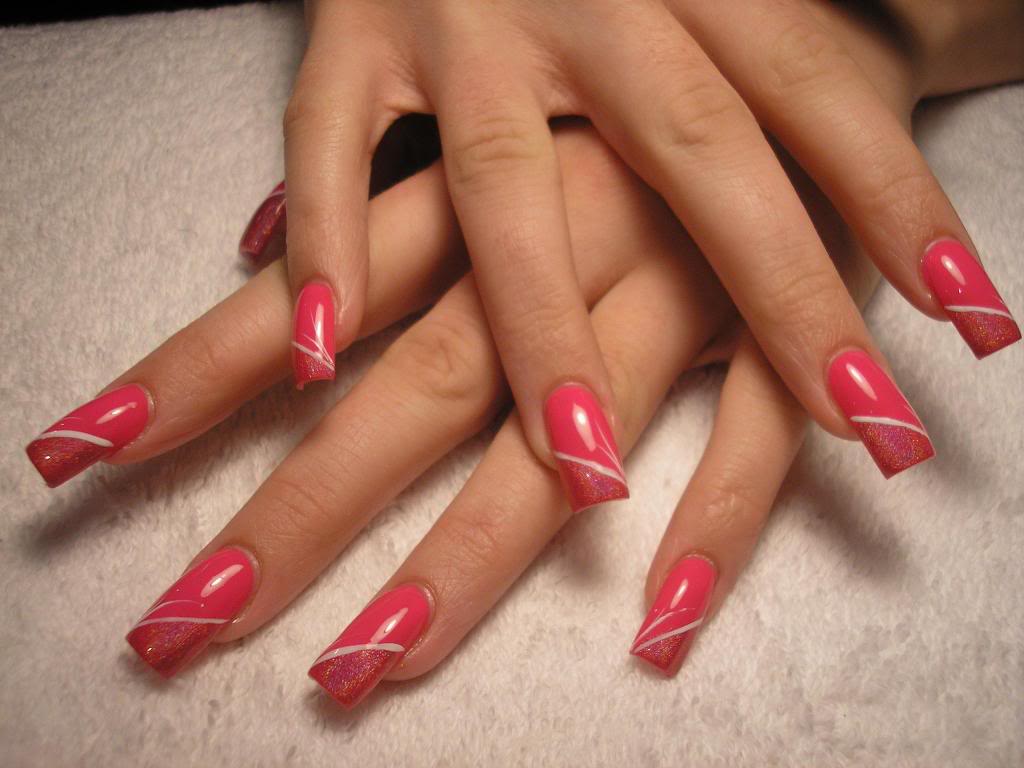
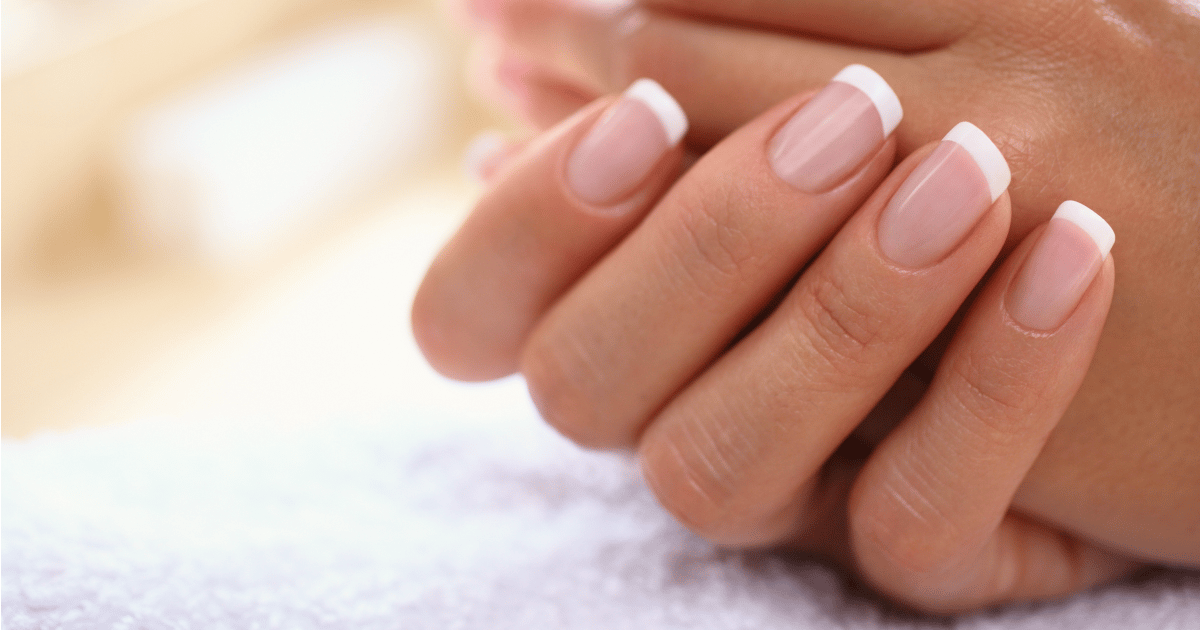
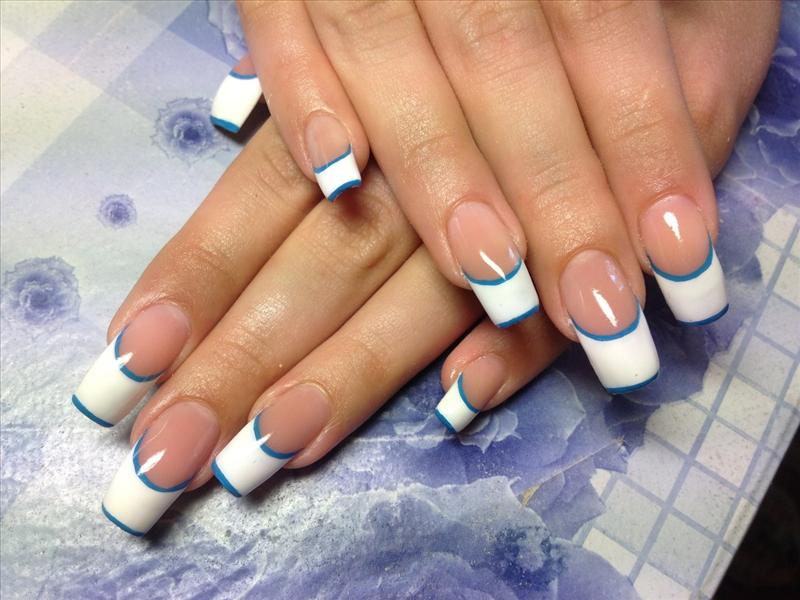
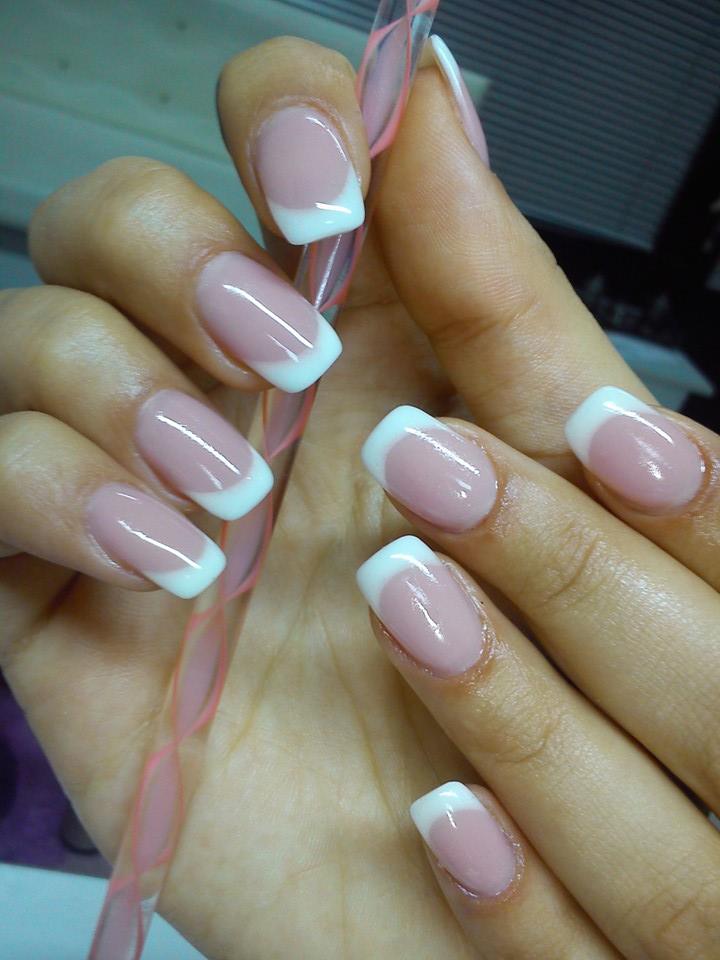
The French manicure is a classic and timeless design that can be achieved at home with these easy steps: Step 1: Start by applying a base coat to protect your nails. Step 2: Using tape, create a straight line across the tip of your nail. Step 3: Paint the exposed area with a different color, leaving a thin white line at the tip. Step 4: Remove the tape and clean up any mistakes using a small brush dipped in nail polish remover. Step 5: Finish off with a top coat for a flawless and glossy finish.7. How to Create a French Manicure at Home


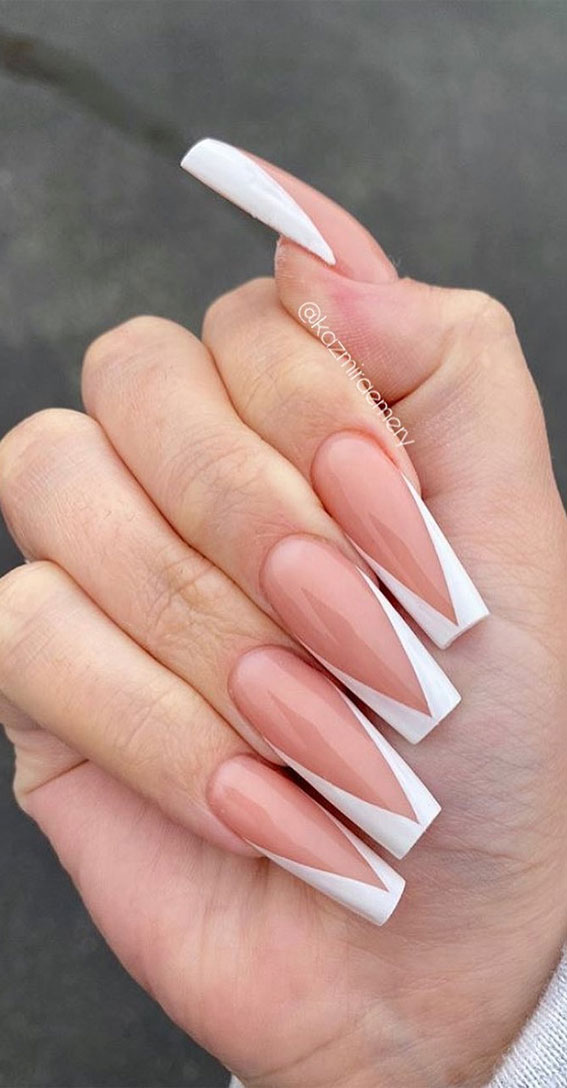
7. How to Create a French Manicure at Home


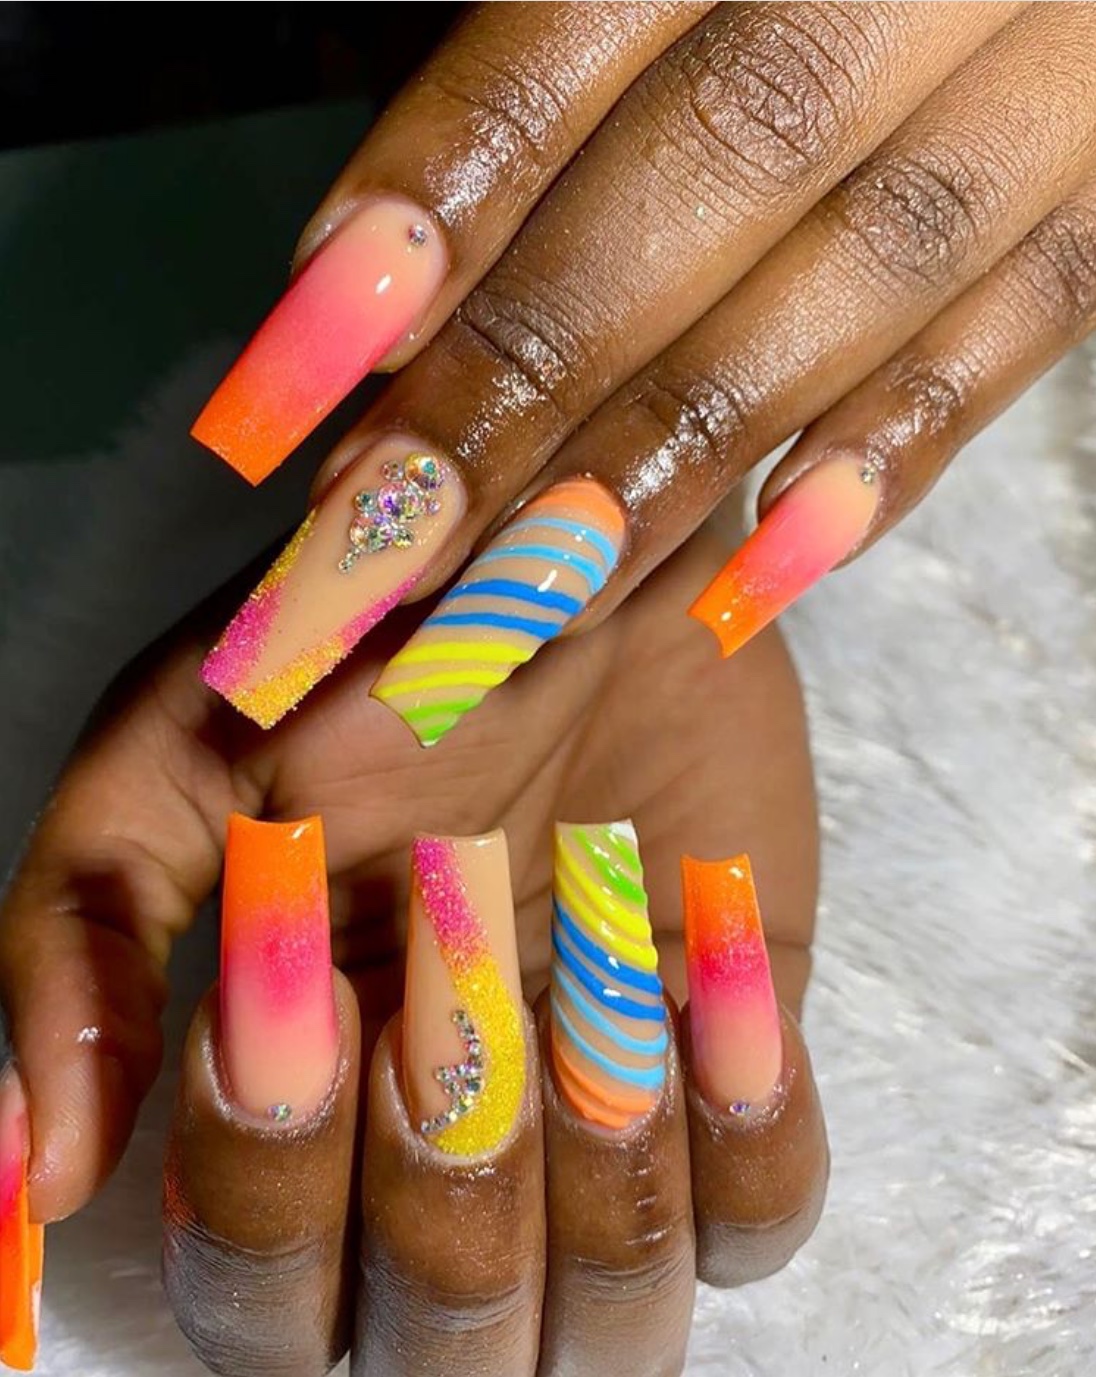
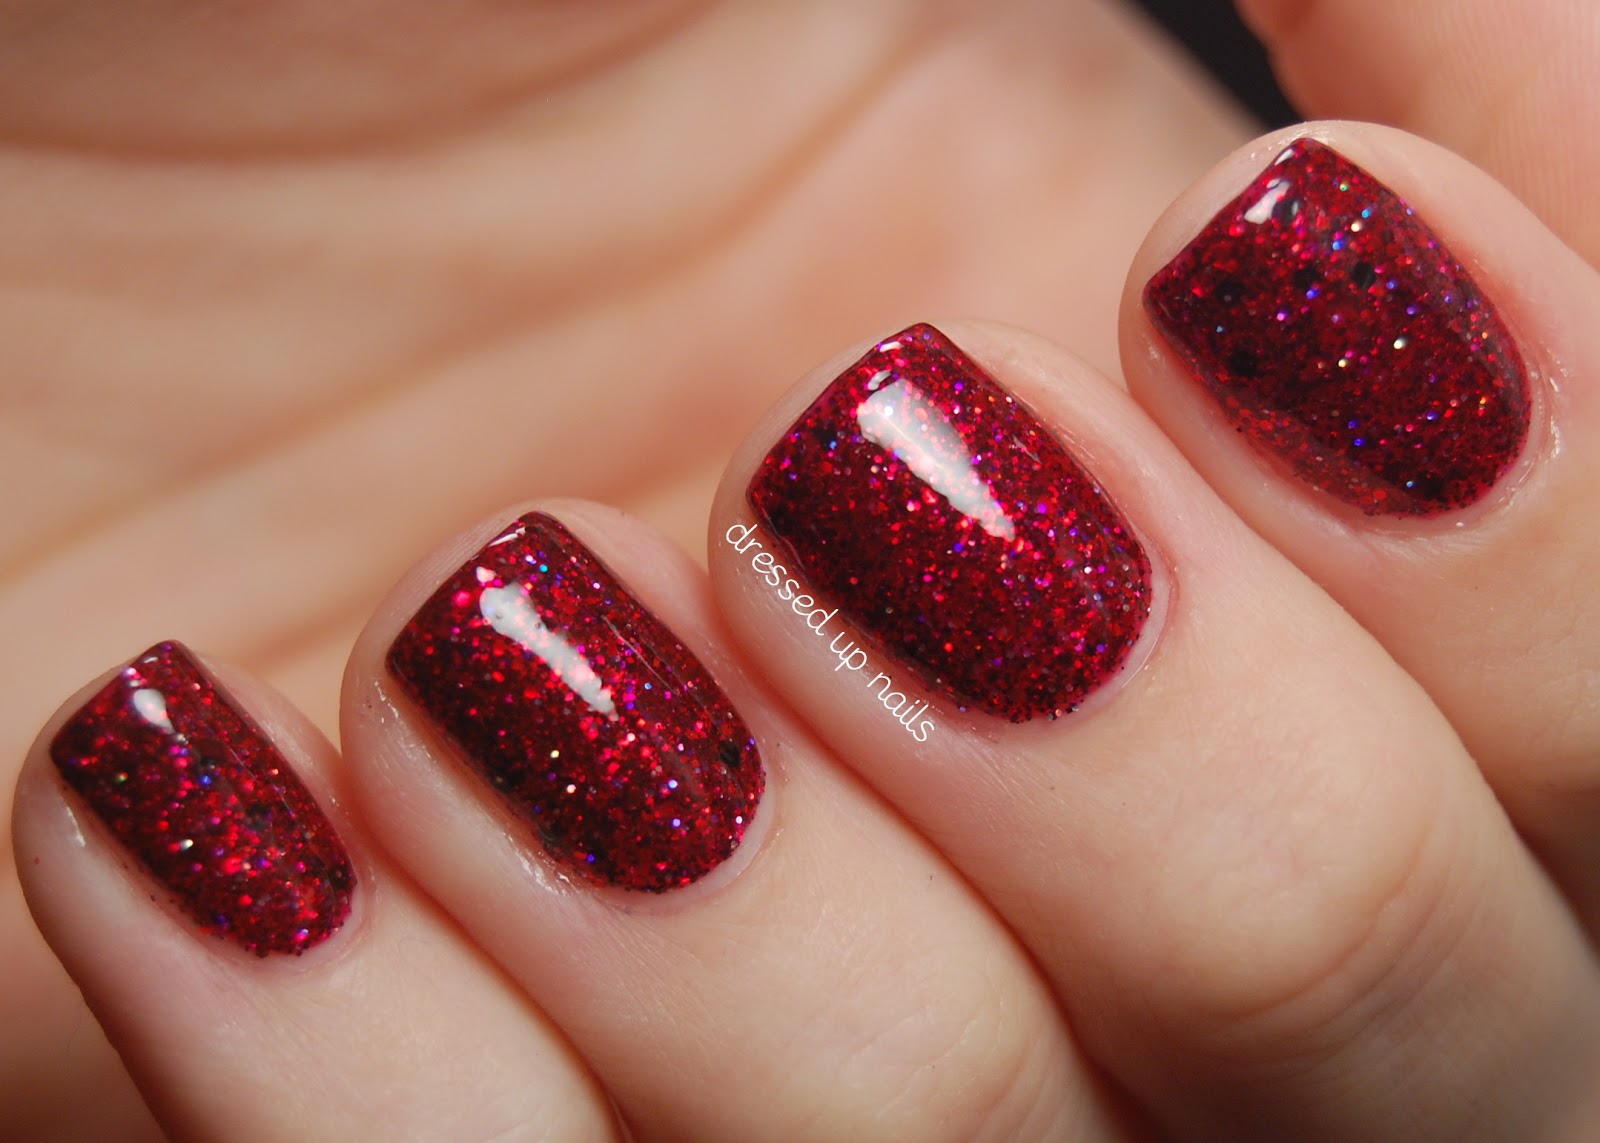
Glitter nail art is perfect for adding some sparkle and glam to your look. Here are some ideas to try at home: For a subtle shimmer, you can mix some glitter nail polish with a clear top coat and apply it to your nails. This will give you a subtle sparkle without being too overpowering. If you want to go all-out with glitter, you can use loose glitter and apply it onto your nails using a top coat. You can create a gradient effect by applying more glitter near the base of your nails and fading it out towards the tips. You can also try out a glitter ombre design by using a makeup sponge to dab on glitter polish onto your nails, creating a gradient effect. This is a fun and eye-catching look that is perfect for a night out.8. Beautiful Glitter Nail Art for a Glamorous Look

8. Beautiful Glitter Nail Art for a Glamorous Look


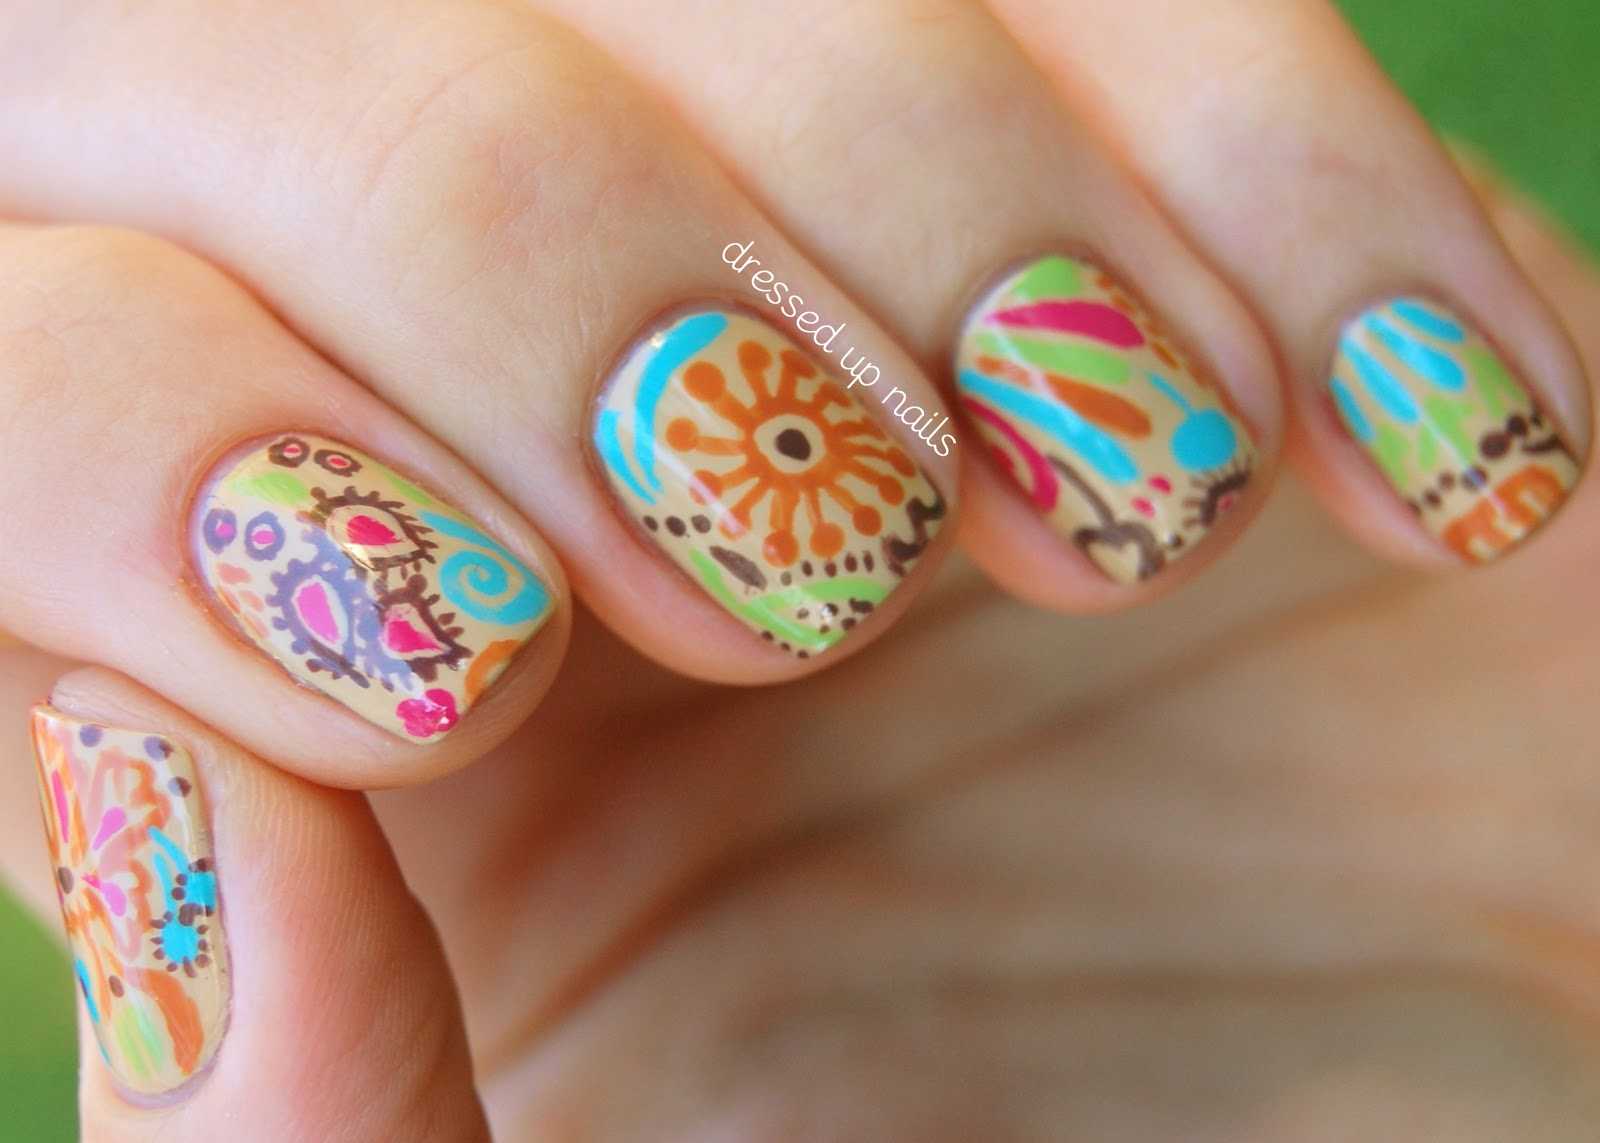
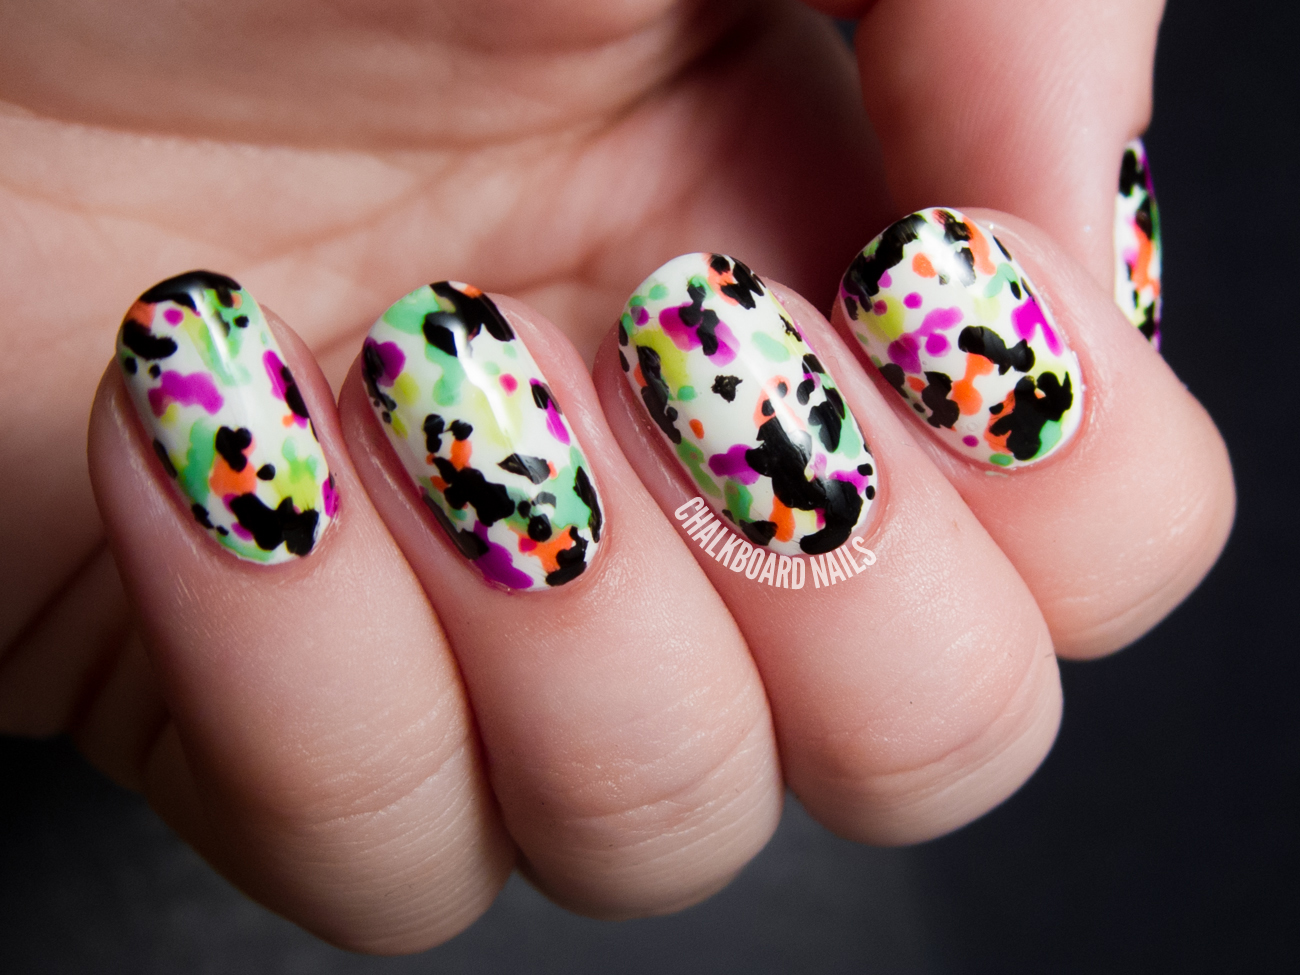
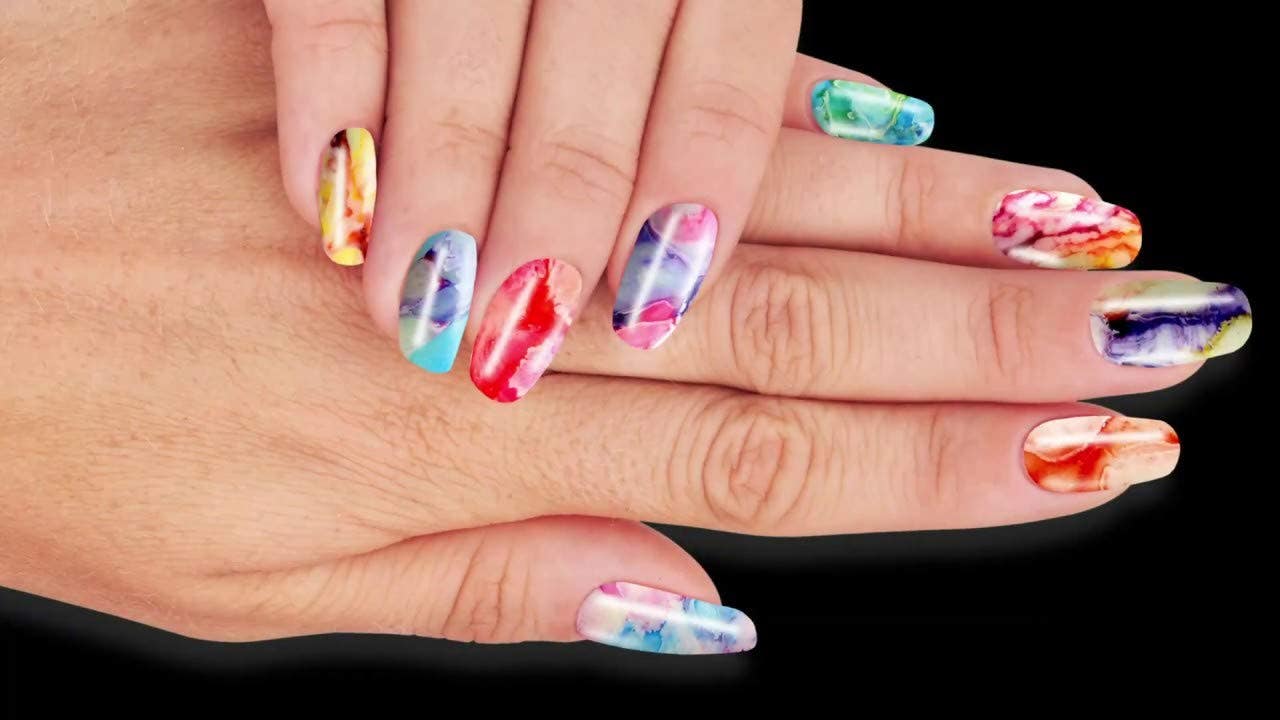
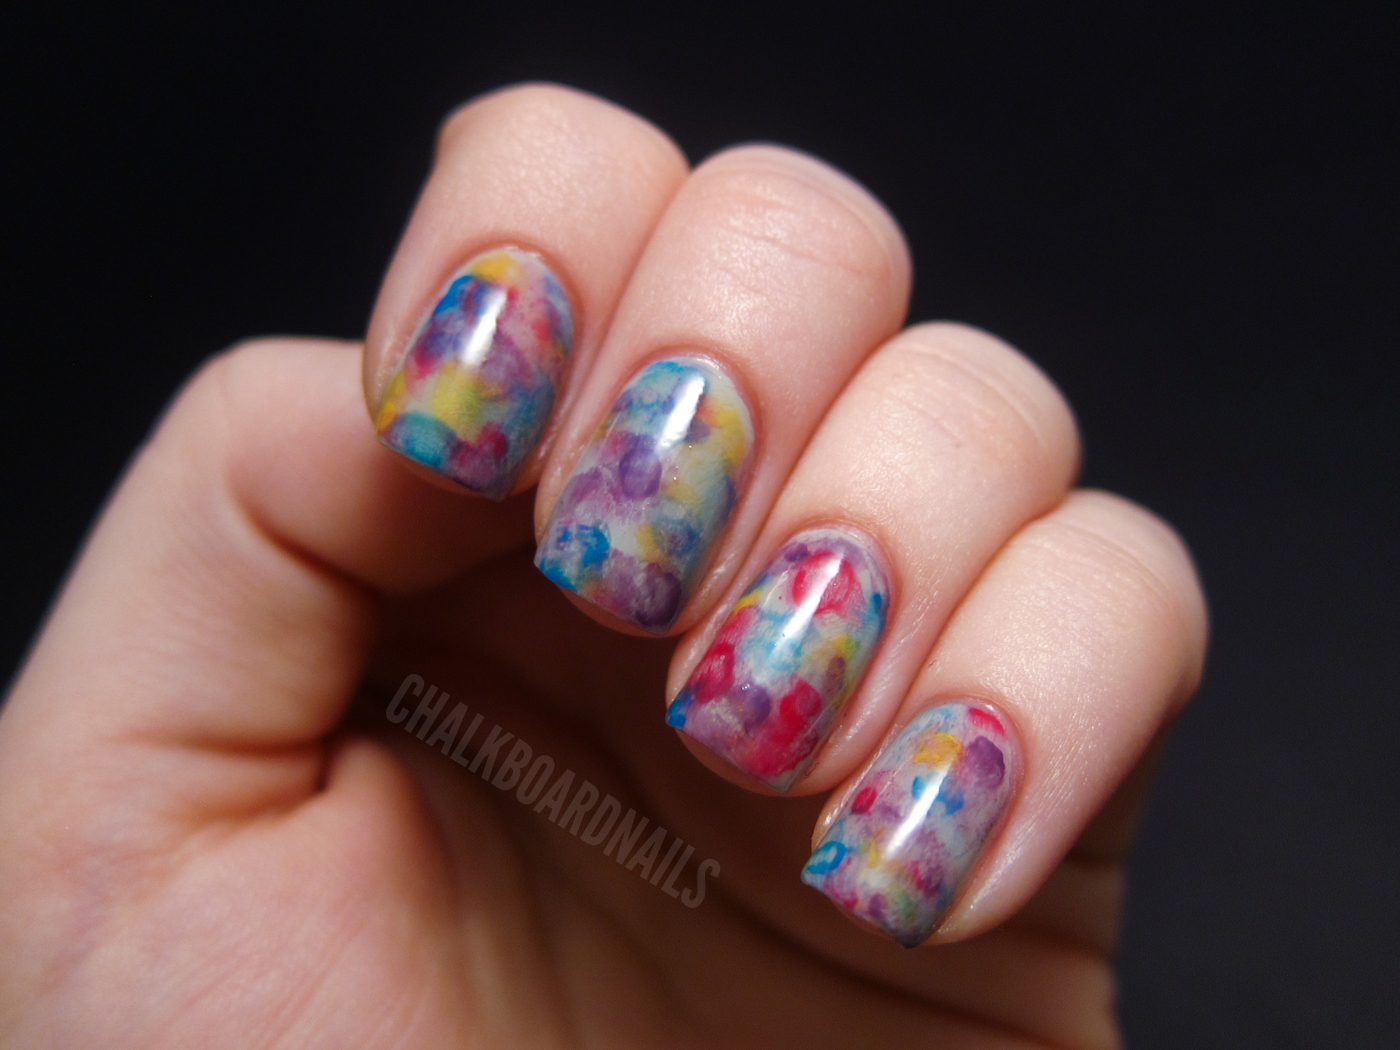
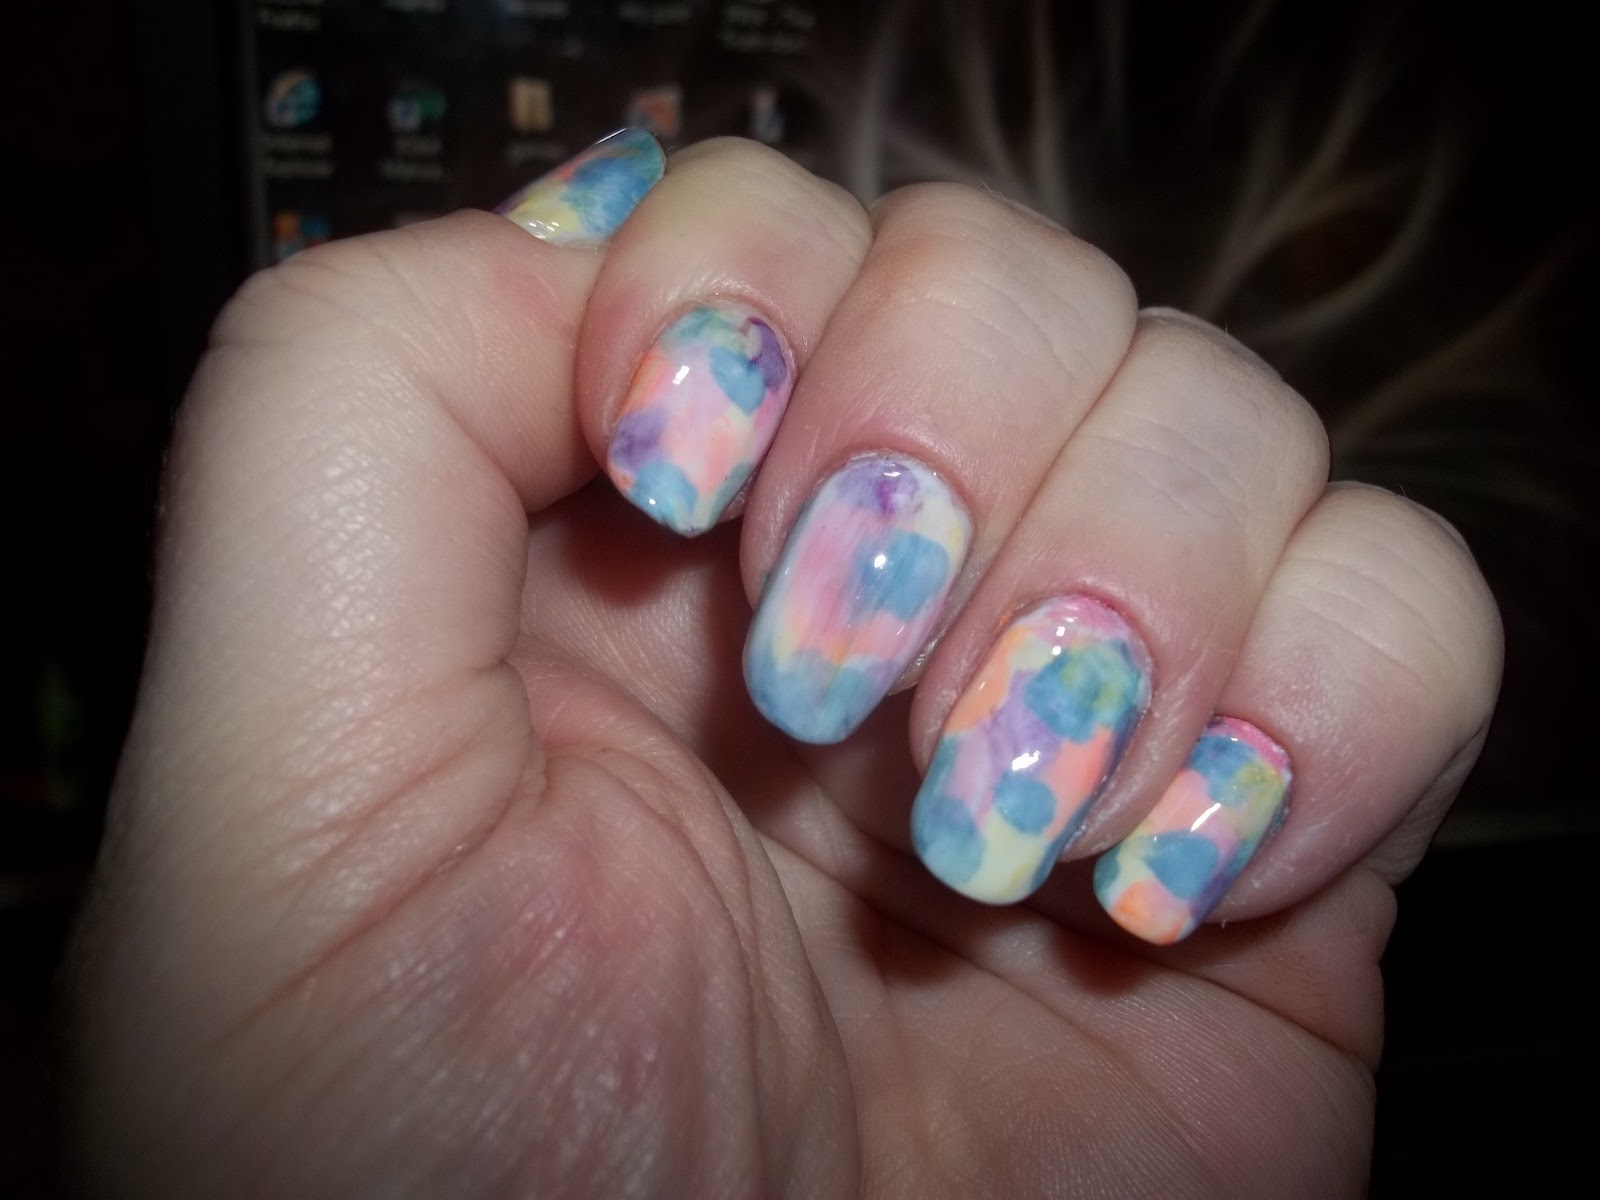
Watercolor nail art is a unique and creative way to express yourself through your nails. Here's how you can achieve this look at home: Step 1: Start by painting your nails with a light base color and letting it dry completely. Step 2: Using a thin brush, paint different colors on top of your base color, blending them together to create a watercolor effect. Step 3: You can also add some splatters of color by dipping a toothbrush into the nail polish and flicking it onto your nails. Step 4: Finish off with a top coat for a glossy finish.9. DIY Watercolor Nail Art Tutorial


9. DIY Watercolor Nail Art Tutorial


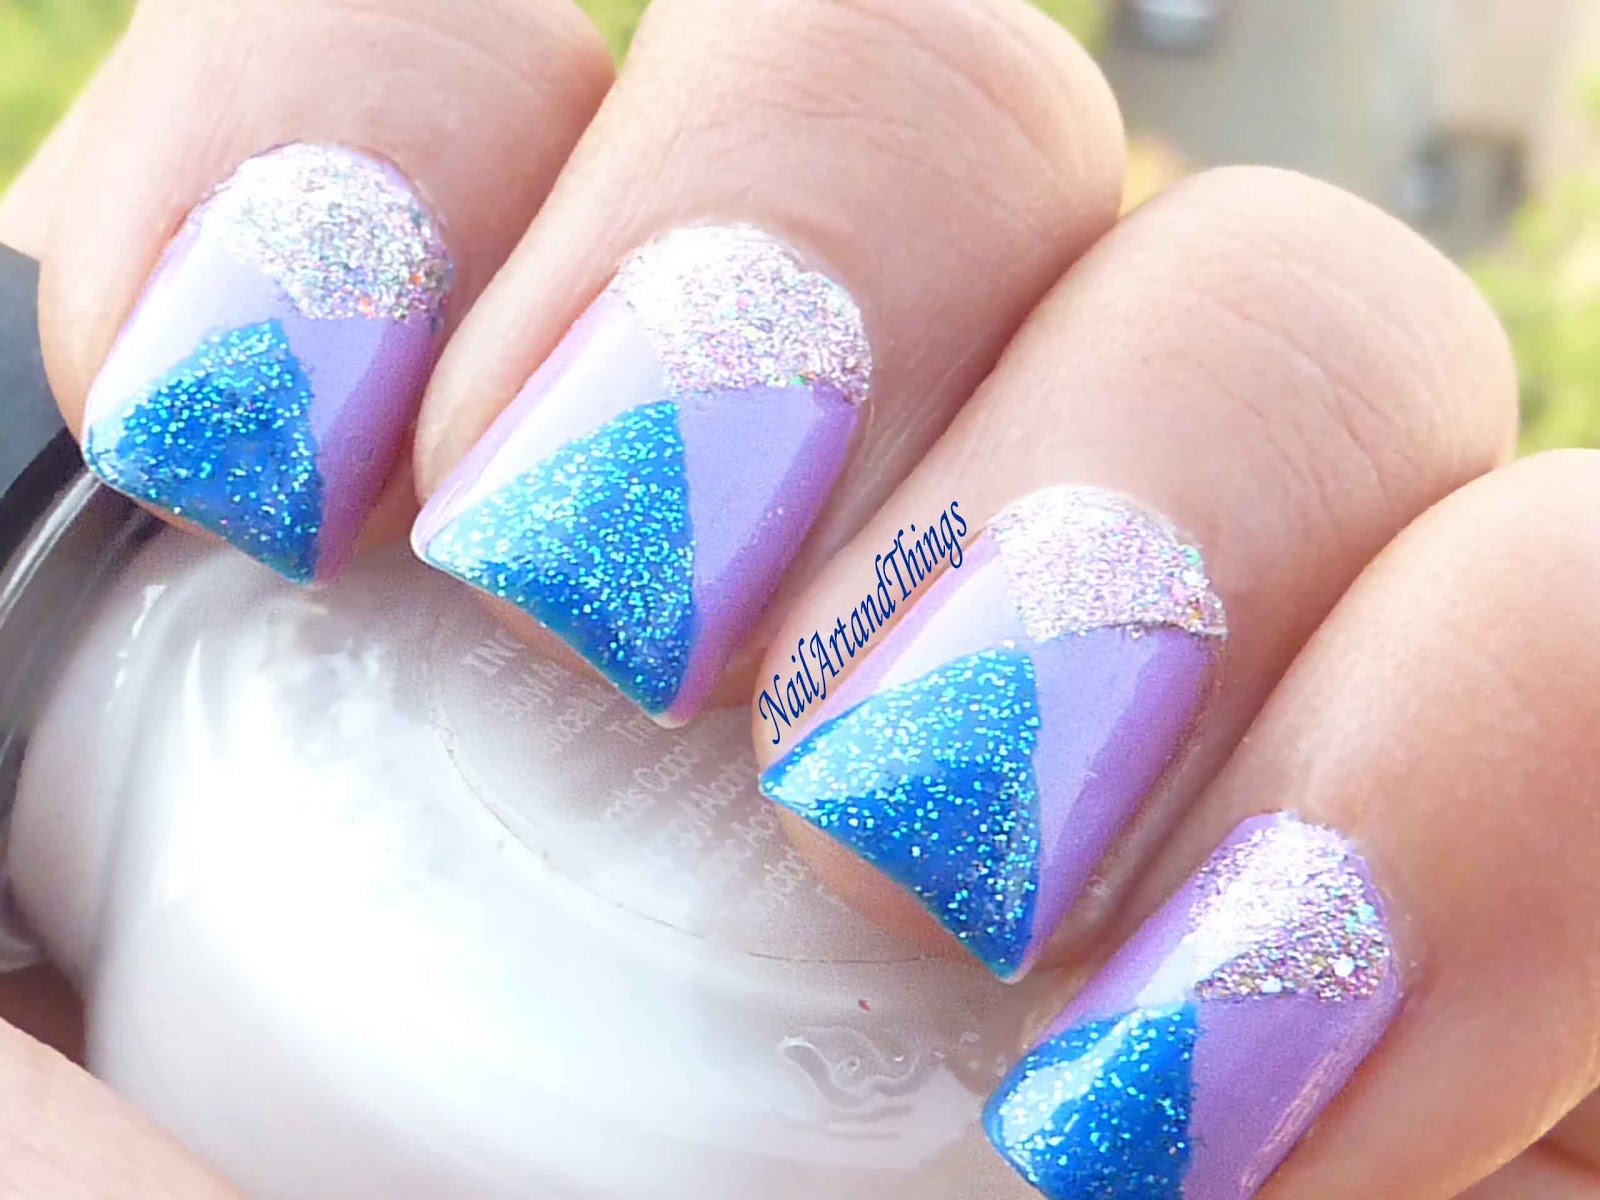
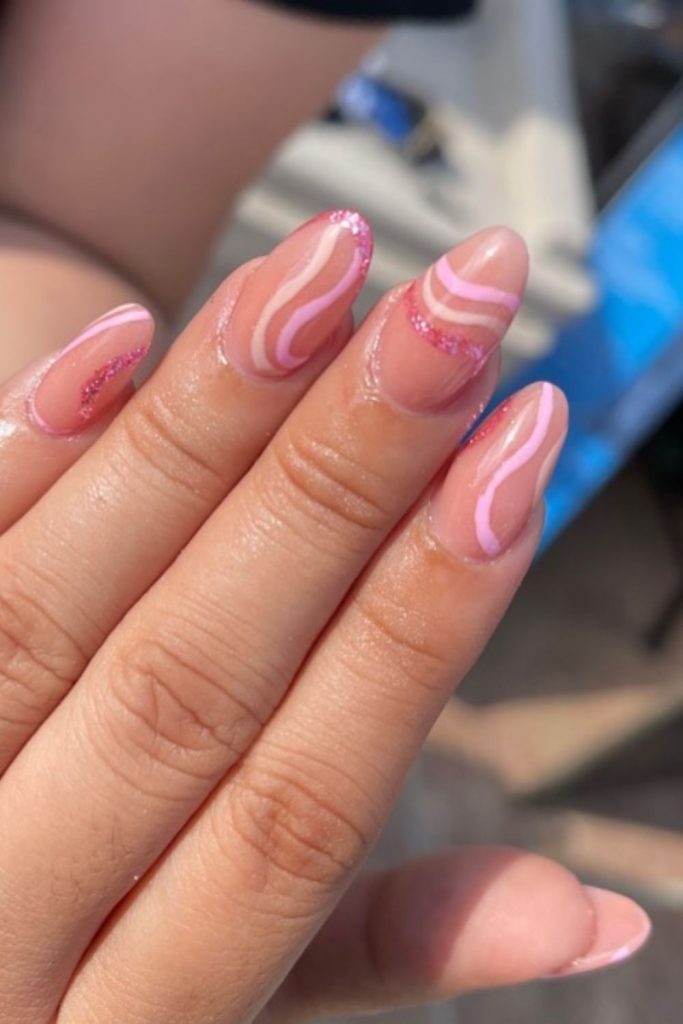
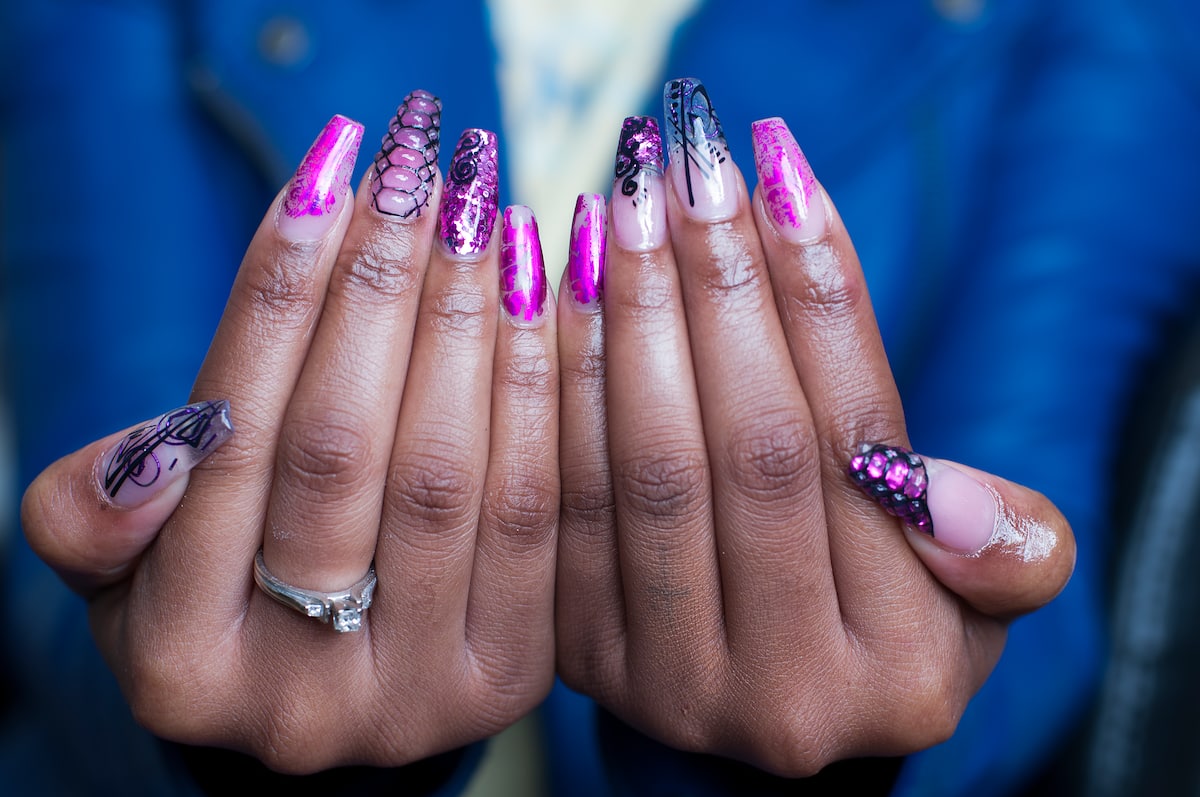
Geometric nail art is a fun and modern way to add some personality to your nails. Here are some ideas to try at home: Using tape, create different shapes on your nails and fill them in with different colors. You can create a variety of designs, from simple triangles to complex patterns. The possibilities are endless! An easy way to achieve a geometric design is by using nail stencils. Simply stick them onto your nails and paint over them with your choice of polish. Remove the stencil to reveal a perfectly geometric design. If you want to take it a step further, you can also add some 3D elements to your geometric nail art, such as studs or gems. This will add some texture and dimension to your nails, making them stand out even more. In conclusion, with these 10 beautiful nail art designs that you can do at home, you can say goodbye to boring nails and hello to stunning and creative designs that will make a statement. So grab your nail polish and get ready to unleash your inner artist! 10. Gorgeous Geometric Nail Art Designs to Try at Home

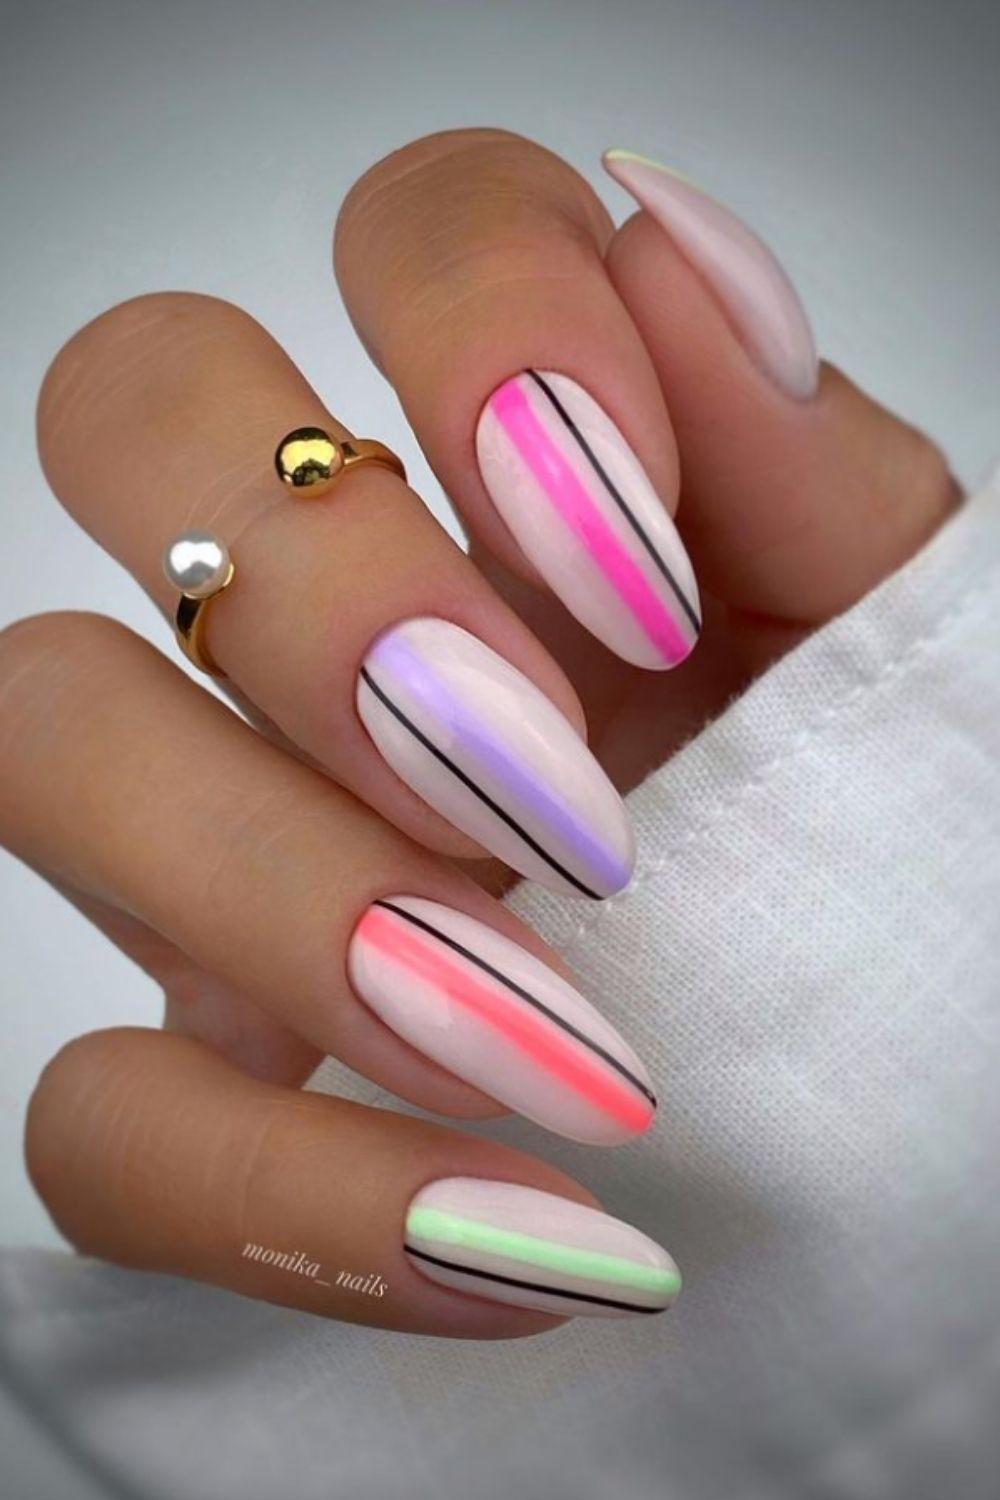

10. Gorgeous Geometric Nail Art Designs to Try at Home

Get Creative with Beautiful Nail Art Designs at Home

Transform Your Nails into Works of Art
 Are you tired of plain, boring nails? Want to add some pizzazz to your fingertips without spending a fortune at the salon? Look no further! With a little bit of creativity and some basic tools, you can create beautiful nail art designs right in the comfort of your own home.
Beautiful nail art design
allows you to express your personal style and show off your artistic side. From simple and elegant to bold and intricate, the possibilities are endless. And the best part? You don't need to be a professional nail technician to achieve stunning results.
Are you tired of plain, boring nails? Want to add some pizzazz to your fingertips without spending a fortune at the salon? Look no further! With a little bit of creativity and some basic tools, you can create beautiful nail art designs right in the comfort of your own home.
Beautiful nail art design
allows you to express your personal style and show off your artistic side. From simple and elegant to bold and intricate, the possibilities are endless. And the best part? You don't need to be a professional nail technician to achieve stunning results.
Gather Your Tools and Supplies
 Before diving into creating your own nail art, it's important to have the right tools and supplies on hand. Here are some essentials you'll need:
-
Nail polish:
You can choose from a wide variety of colors and finishes, including glitter, metallic, and matte.
-
Base and top coats:
These are crucial for protecting your nails and making your design last longer.
-
Nail art brushes:
These come in various sizes and can be used for creating intricate designs.
-
Dotting tools:
These are perfect for creating polka dots or other round designs.
-
Tape or stencils:
These can be used to create crisp lines and geometric patterns.
-
Nail polish remover:
This will come in handy if you make any mistakes.
Before diving into creating your own nail art, it's important to have the right tools and supplies on hand. Here are some essentials you'll need:
-
Nail polish:
You can choose from a wide variety of colors and finishes, including glitter, metallic, and matte.
-
Base and top coats:
These are crucial for protecting your nails and making your design last longer.
-
Nail art brushes:
These come in various sizes and can be used for creating intricate designs.
-
Dotting tools:
These are perfect for creating polka dots or other round designs.
-
Tape or stencils:
These can be used to create crisp lines and geometric patterns.
-
Nail polish remover:
This will come in handy if you make any mistakes.
Let Your Imagination Run Wild
 Once you have all your supplies, it's time to get creative! Don't be afraid to experiment and try new techniques. Here are some ideas to get you started:
-
Gradient nails:
Use two or more colors to create a gradient effect on your nails.
-
Floral nails:
Use a small brush or dotting tool to create beautiful flowers on your nails.
-
Striped nails:
Use tape or stencils to create clean and crisp stripes on your nails.
-
Marble nails:
Use a water marble technique to create a unique and abstract design.
-
French tips:
Give the classic French manicure a twist by using different colors or adding a design at the tips.
-
Abstract designs:
Let your creativity run wild and create your own unique abstract nail art.
Once you have all your supplies, it's time to get creative! Don't be afraid to experiment and try new techniques. Here are some ideas to get you started:
-
Gradient nails:
Use two or more colors to create a gradient effect on your nails.
-
Floral nails:
Use a small brush or dotting tool to create beautiful flowers on your nails.
-
Striped nails:
Use tape or stencils to create clean and crisp stripes on your nails.
-
Marble nails:
Use a water marble technique to create a unique and abstract design.
-
French tips:
Give the classic French manicure a twist by using different colors or adding a design at the tips.
-
Abstract designs:
Let your creativity run wild and create your own unique abstract nail art.
Practice Makes Perfect
 As with any skill, practice makes perfect. Don't be discouraged if your first few attempts don't turn out exactly as you envisioned. Keep experimenting and trying new techniques until you find what works best for you. And don't forget to have fun with it!
In conclusion,
beautiful nail art design at home
is a fun and affordable way to add some flair to your nails. With the right tools and a little bit of practice, you can achieve stunning results and show off your own personal style. So go ahead, get creative, and transform your nails into works of art!
As with any skill, practice makes perfect. Don't be discouraged if your first few attempts don't turn out exactly as you envisioned. Keep experimenting and trying new techniques until you find what works best for you. And don't forget to have fun with it!
In conclusion,
beautiful nail art design at home
is a fun and affordable way to add some flair to your nails. With the right tools and a little bit of practice, you can achieve stunning results and show off your own personal style. So go ahead, get creative, and transform your nails into works of art!


