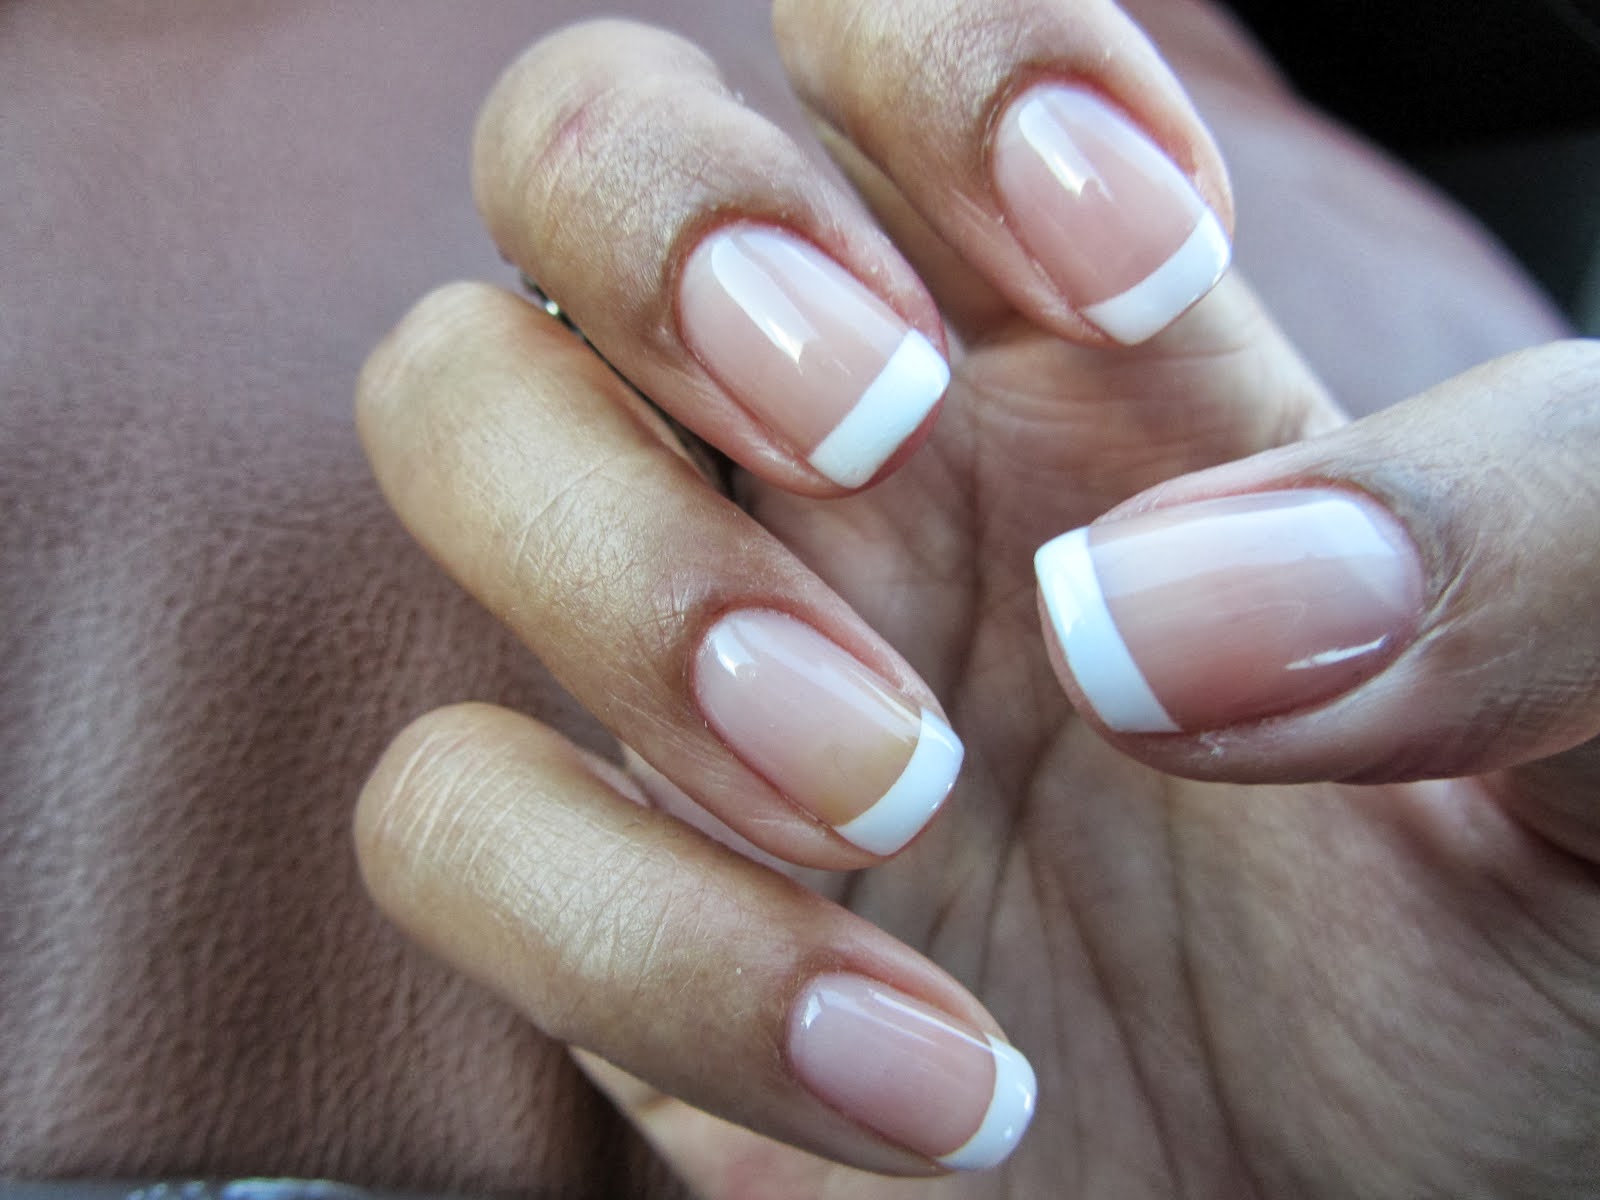
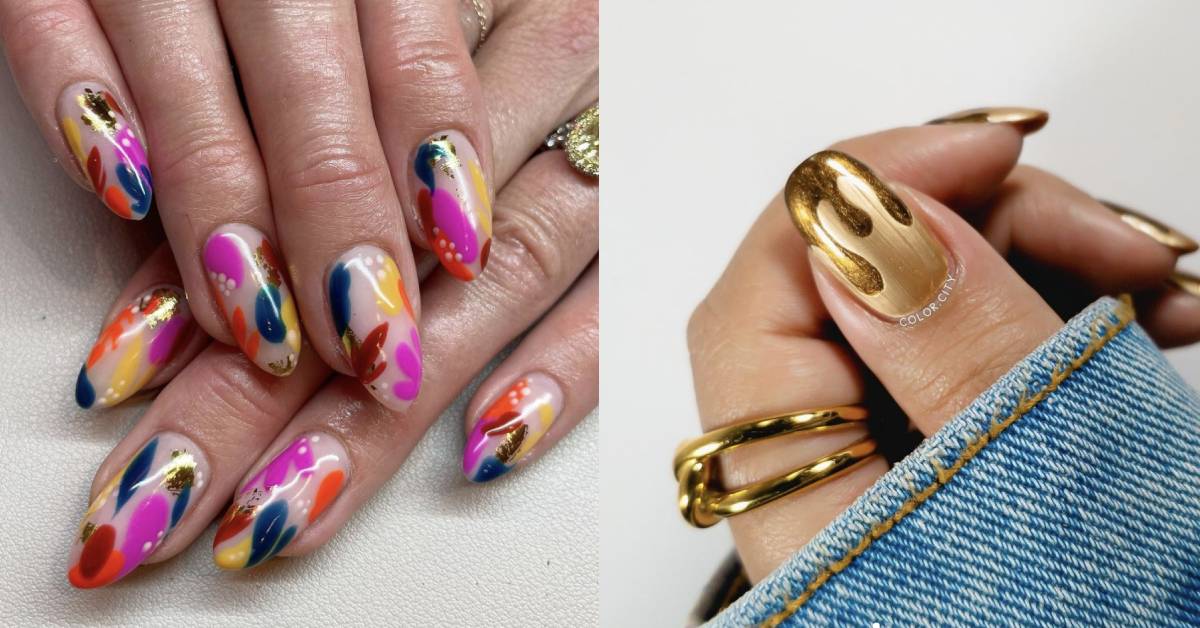
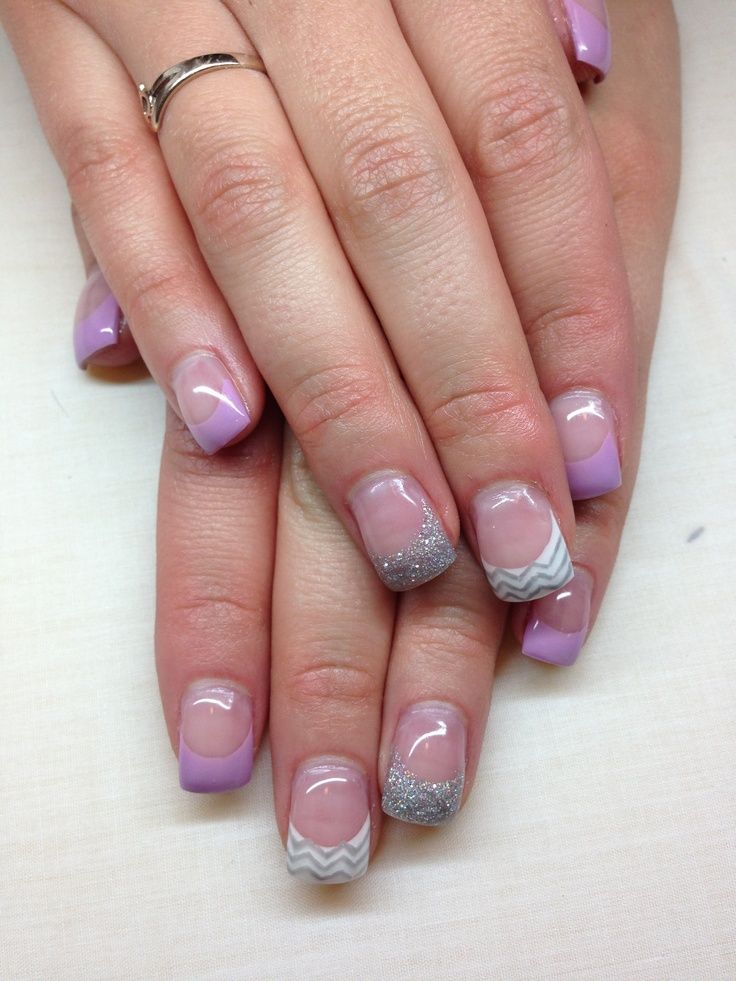
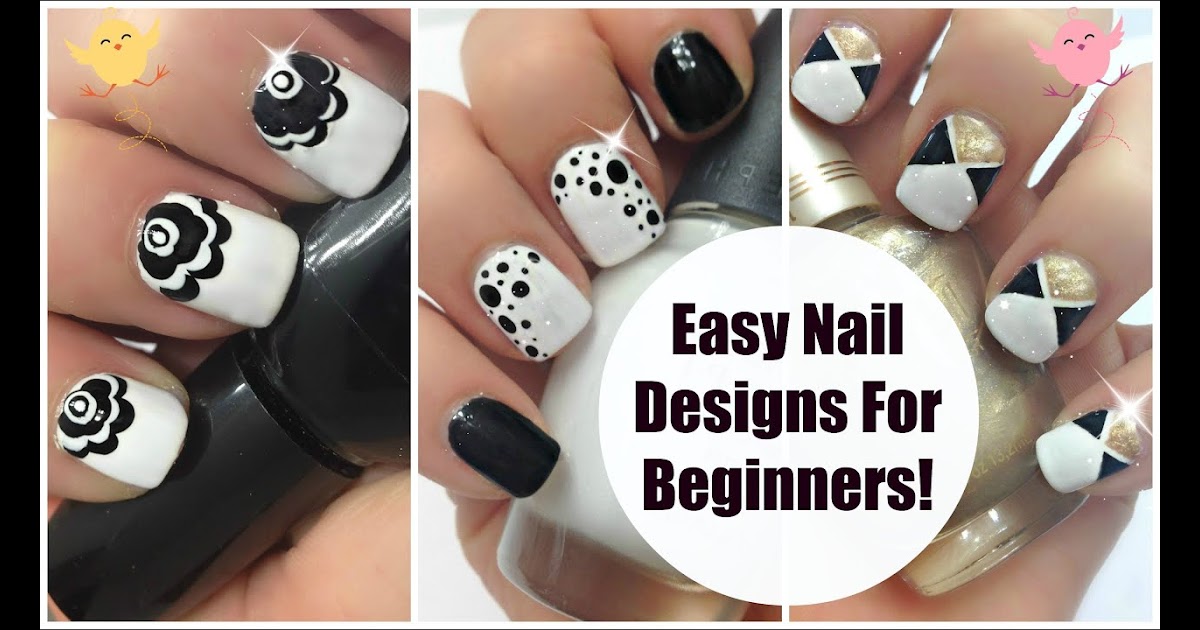
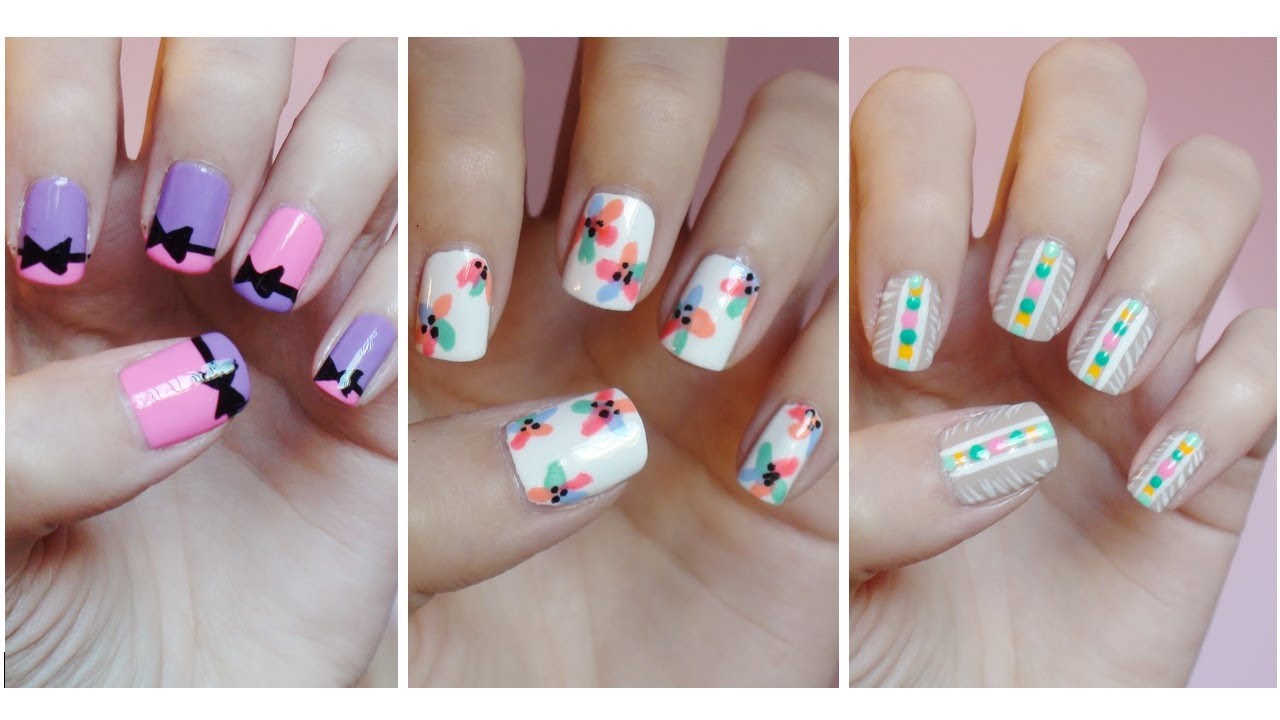
If you're new to the world of gel nails, it can be overwhelming to start experimenting with different designs. But don't worry, there are plenty of easy gel nail designs that are perfect for beginners. These designs will help you get comfortable with the gel application process while still achieving a stylish and professional look. One simple design for beginners is a classic French manicure. This design only requires two colors - a nude or pink shade for the base and a white shade for the tips. You can use gel polishes or regular polishes and top it off with a no-wipe top coat for a long-lasting finish. Another easy gel nail design is the ombre or gradient effect. You can achieve this look by blending two or more colors together using a makeup sponge. This design works well with pastel shades or bold colors like neon pink and bright teal. TIP: Start with a white base coat to make the colors stand out more.1. Easy Gel Nail Designs for Beginners


1. Easy Gel Nail Designs for Beginners


:max_bytes(150000):strip_icc()/072922-beauty-nail-art-lead-2000-21de3481261e48a995c855269f9846ad.jpg)

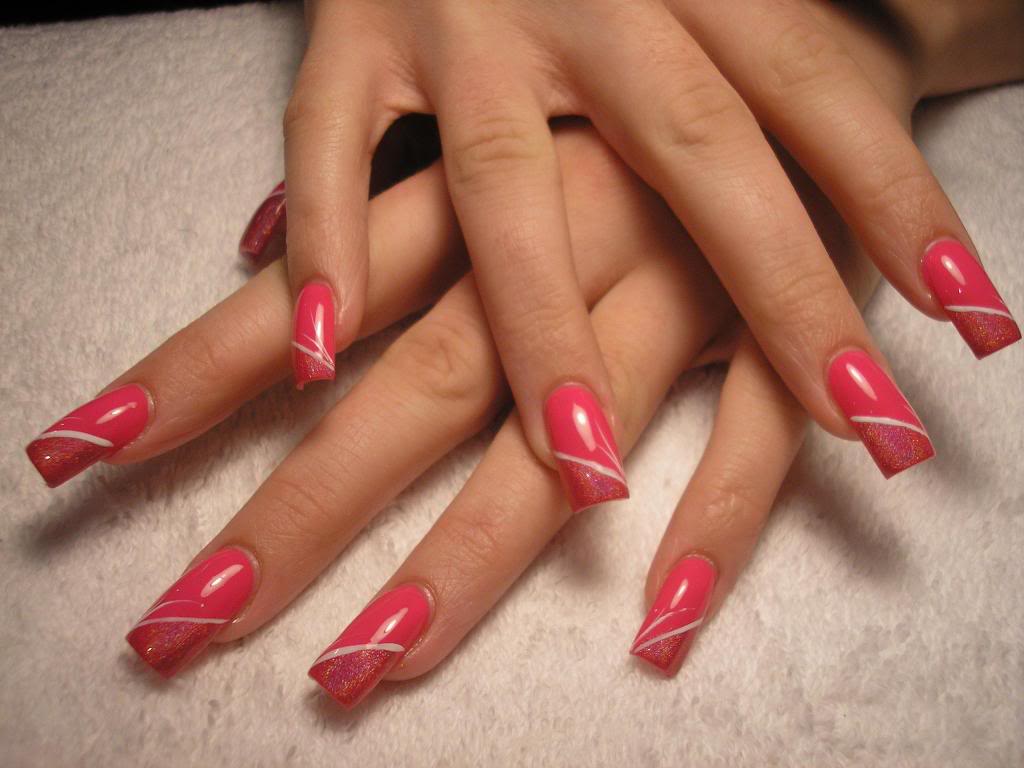
If you want to take your gel nail game up a notch, try incorporating some simple nail art into your designs. One beginner-friendly idea is to add some striping tape to your nails. This tape is easy to apply and creates crisp lines for a clean and modern look. Another simple nail art idea is to use stencils to create geometric shapes on your nails. You can find a variety of stencils online or create your own using tape or paper. This design is perfect for those who want a little more flair without the hassle of freehand painting. TIP: Use a matte top coat over your nail art to add dimension and make it stand out.2. Simple Gel Nail Art Ideas for Beginners


2. Simple Gel Nail Art Ideas for Beginners


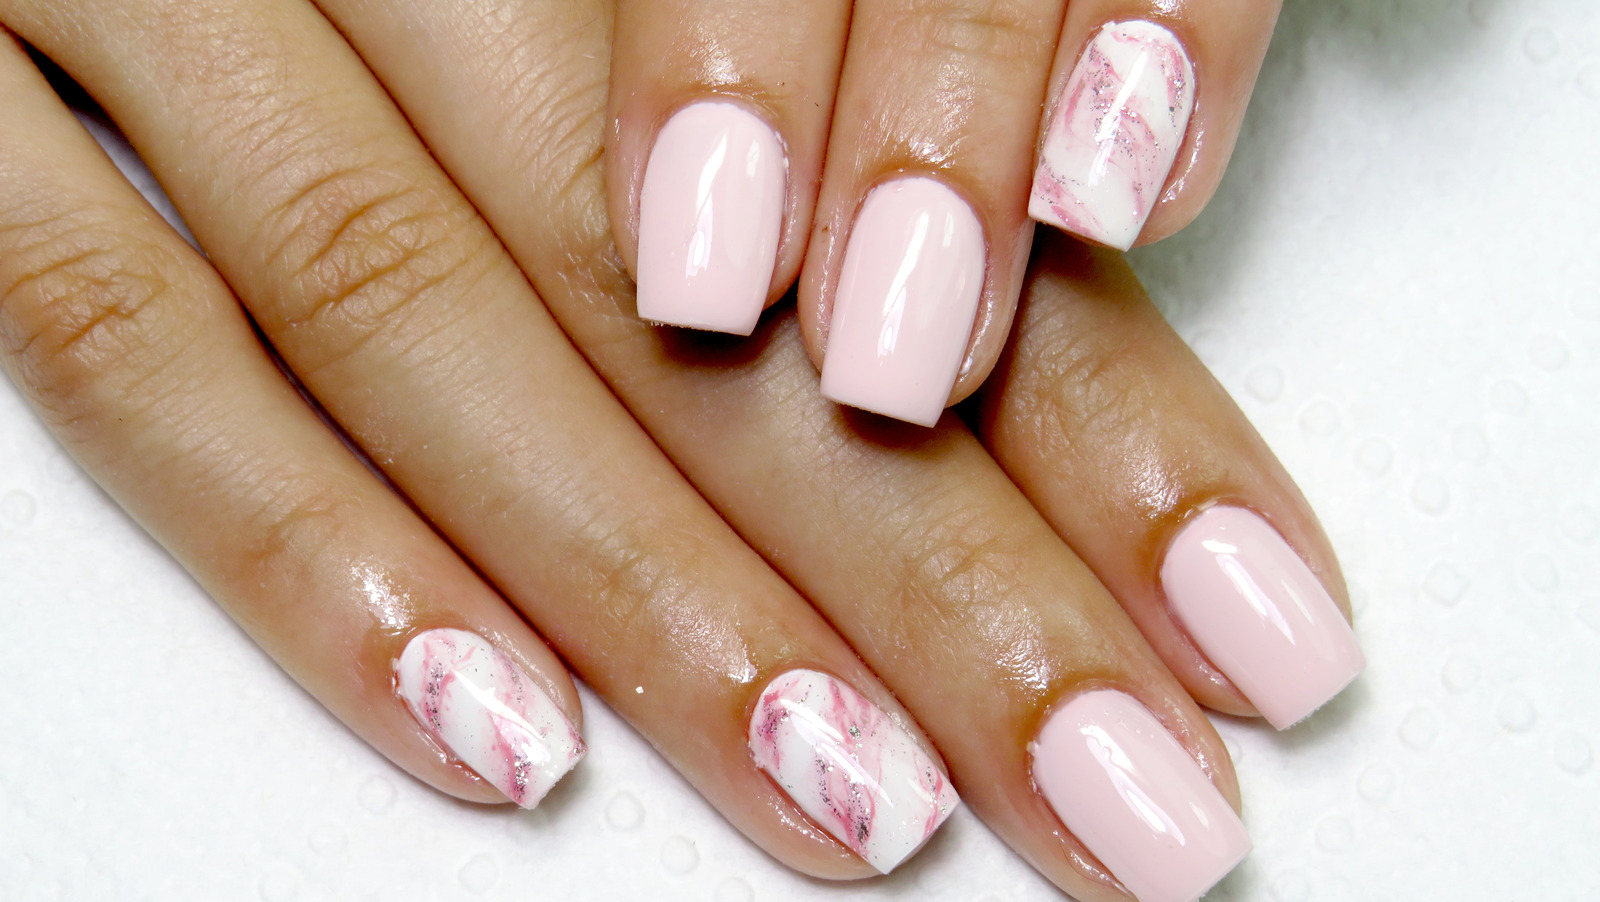
For beginners who want to try something unique, there are plenty of gel nail designs that are easy to recreate. One option is a marbled effect using gel polish. This can be achieved by swirling different colors together on the nail or using a water marble technique. Another beginner-friendly design is a glitter gradient. This involves applying a glitter polish on the tips of your nails and then gradually fading it out towards the base. You can also add other embellishments like gems or pearls for an extra touch of sparkle. TIP: Use a fine-tip brush to create precise lines and designs.3. Beginner-Friendly Gel Nail Designs


3. Beginner-Friendly Gel Nail Designs


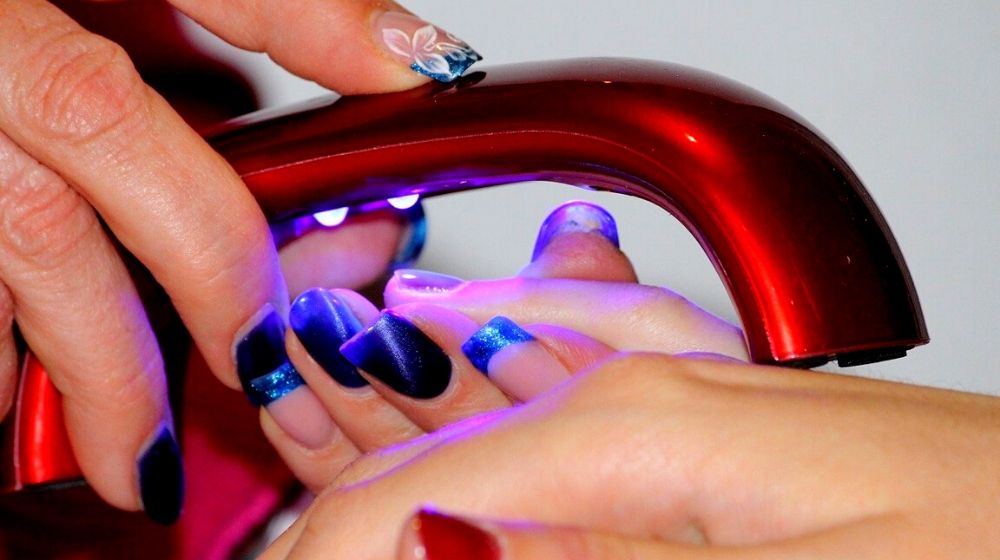
To make the process of creating gel nail designs easier for beginners, here is a step-by-step guide for a simple yet stylish design: Step 1: Start with a base coat to protect your natural nails. Step 2: Apply two coats of your chosen gel polish color and cure each layer under a UV or LED lamp. Step 3: Using a thin brush, create a V-shape at the base of your nail with a different color of gel polish. Step 4: Cure the V-shape under the lamp. Step 5: Using the same thin brush, create small dots along the V-shape with a third color. Step 6: Cure the dots under the lamp. Step 7: Finish with a no-wipe top coat for a glossy and long-lasting finish.4. Gel Nail Designs for Beginners Step by Step


4. Gel Nail Designs for Beginners Step by Step


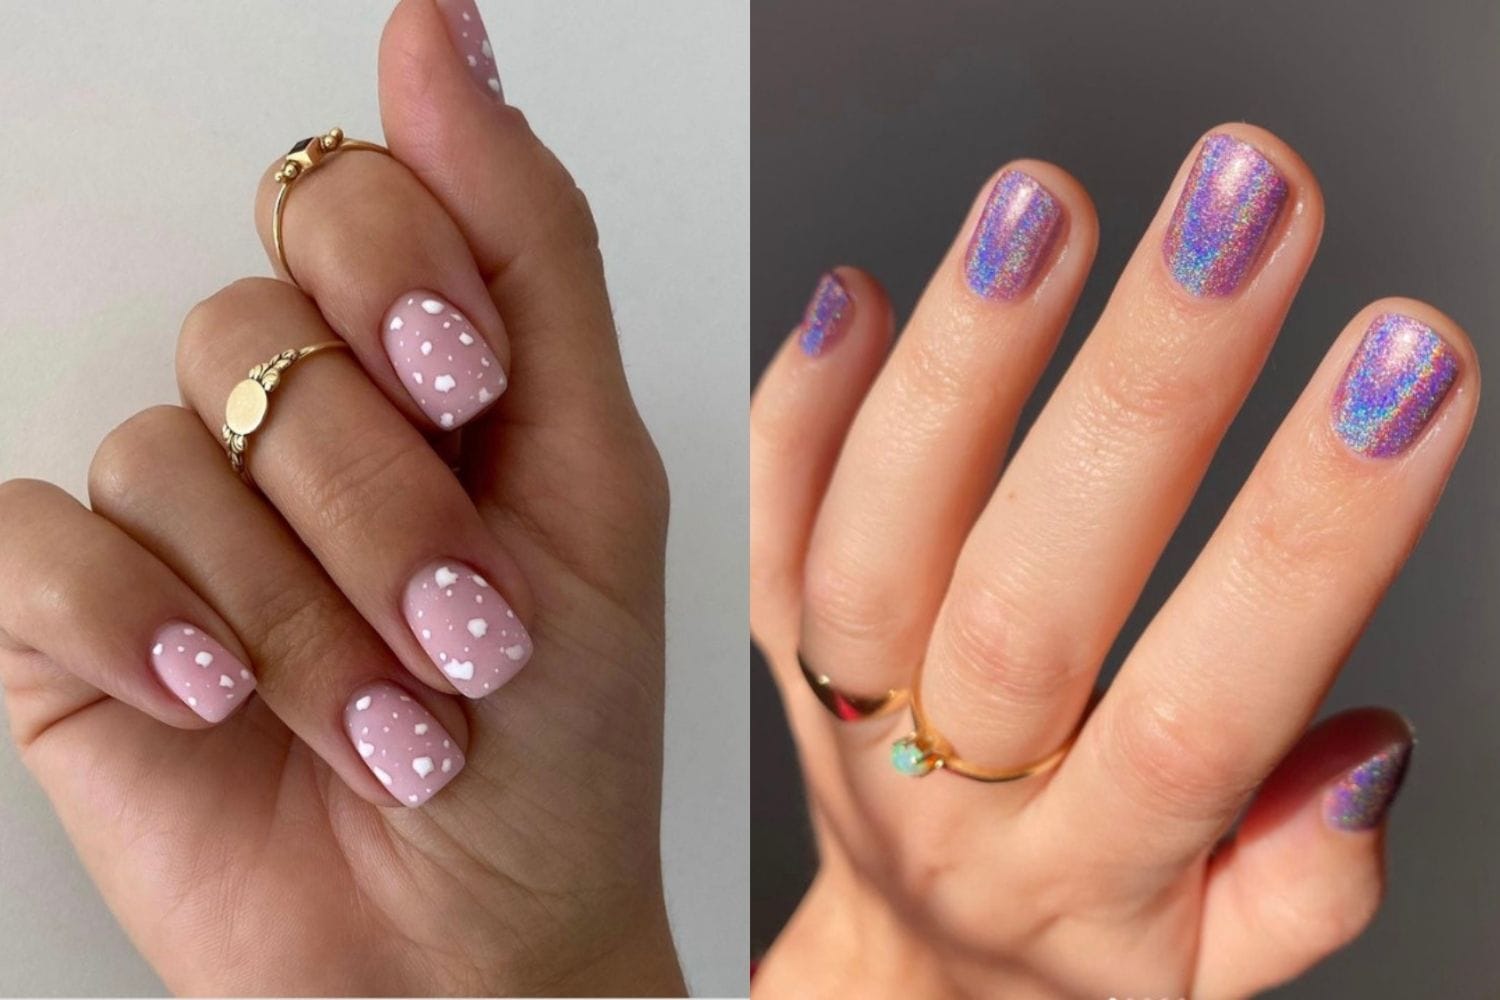
If you want to add a cute and playful touch to your gel nails, there are plenty of designs to choose from. One option is to create animal print nails using gel polish. You can use a dotting tool to create the spots or stripes and add a pop of color with a contrasting shade. Another cute design is cartoon character nails. This could be as simple as painting a character's face on one nail or creating a full design featuring multiple characters. You can also use nail stickers to achieve this look with ease. TIP: Use matte gel polish to create a textured look for your animal print or cartoon character designs.5. Cute Gel Nail Designs for Beginners


5. Cute Gel Nail Designs for Beginners

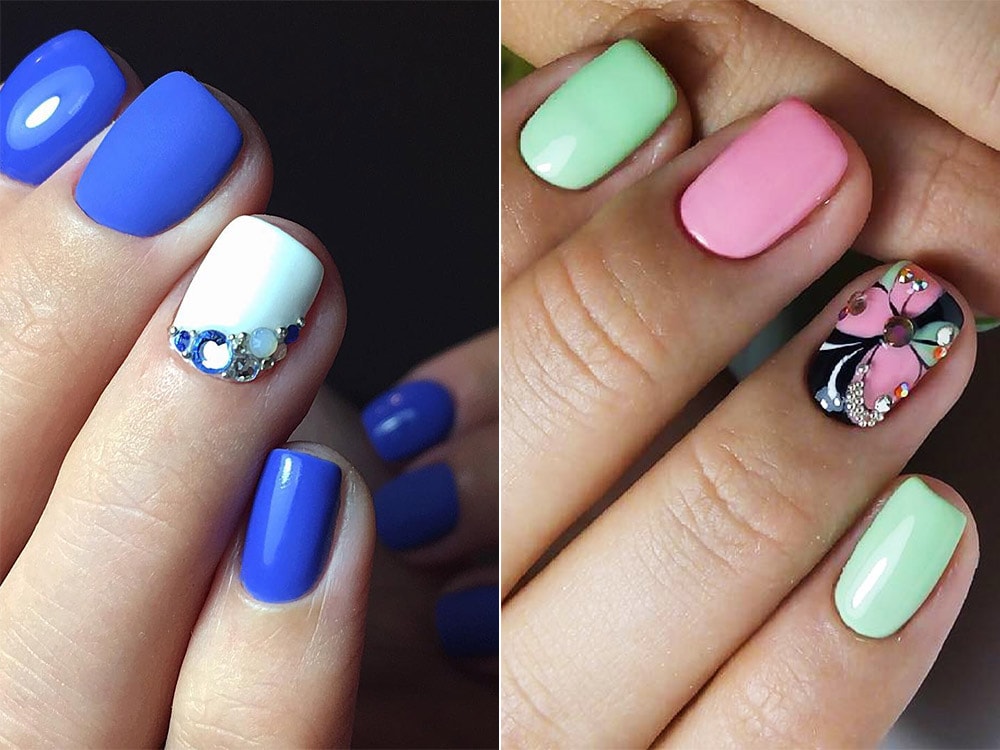
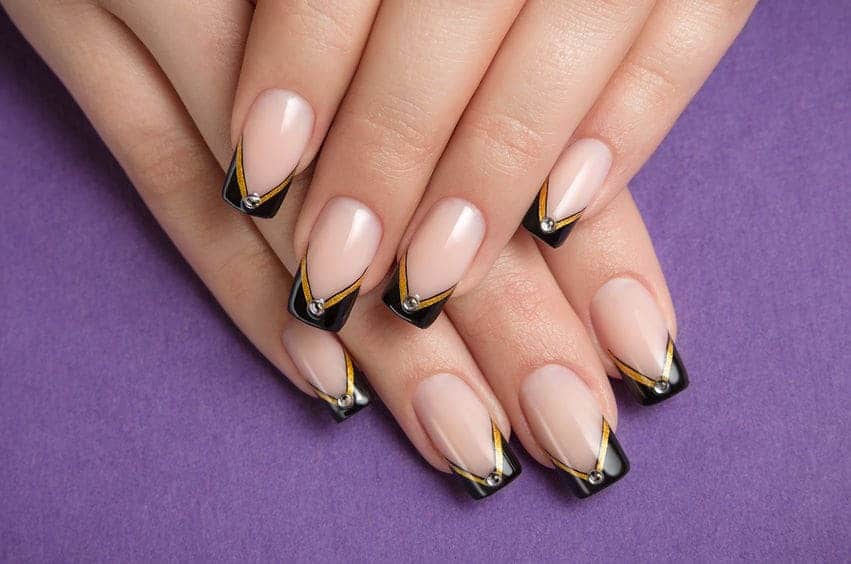
Rhinestones are a popular choice for adding a touch of glamour to gel nail designs. For beginners, it's best to start with a simple design using a few rhinestones. You can place them on the base of your nail or along the cuticle for a subtle yet eye-catching look. Another idea is to create a rhinestone accent nail. This involves placing rhinestones in a pattern or design on one or two nails while keeping the rest of the nails simple with a solid color. TIP: Use a dotting tool to pick up and place the rhinestones for more precision.6. Beginner Gel Nail Designs with Rhinestones


6. Beginner Gel Nail Designs with Rhinestones


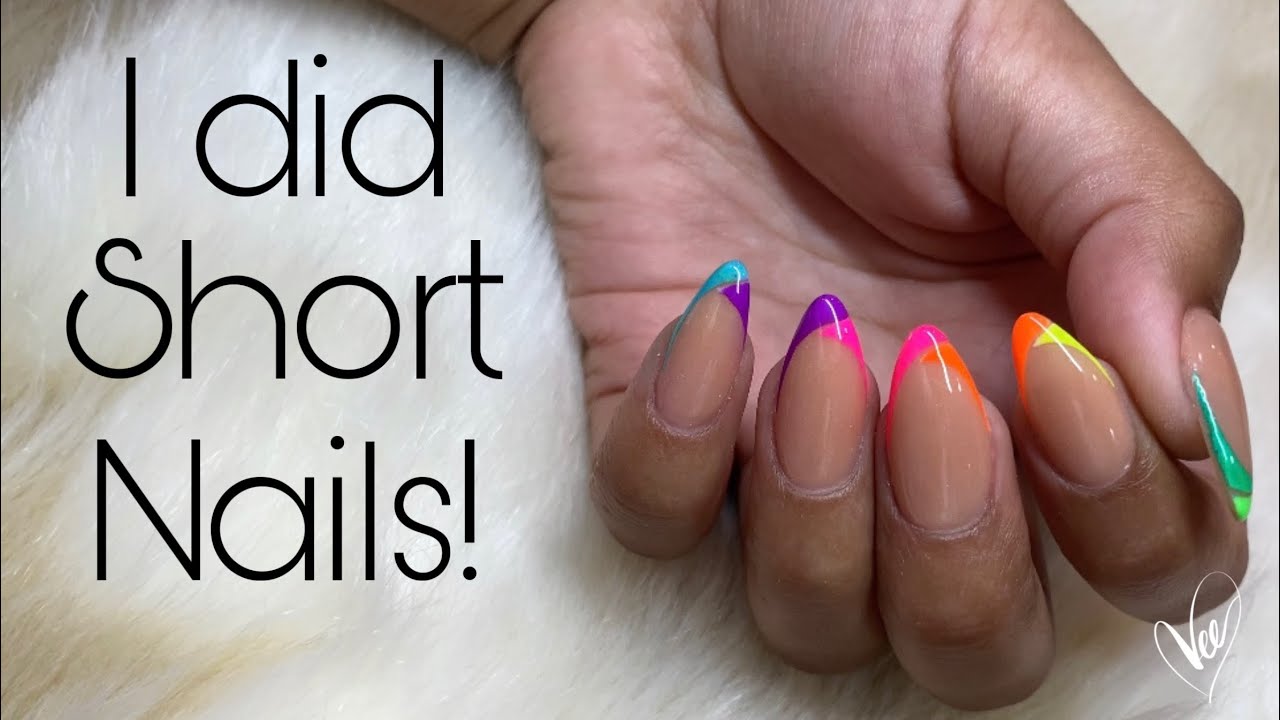
Don't let having short nails stop you from trying out different gel designs. There are plenty of options that will work for shorter nails. One idea is to create a negative space design. This involves leaving a portion of the natural nail exposed and creating a design around it using gel polish. Another option is to keep your nails simple with a single color and add a metallic accent on one or two nails. This will draw attention to the accent nails and make your manicure look more interesting. TIP: Use nail tape to create clean lines for your negative space design.7. Gel Nail Designs for Short Nails Beginners


7. Gel Nail Designs for Short Nails Beginners


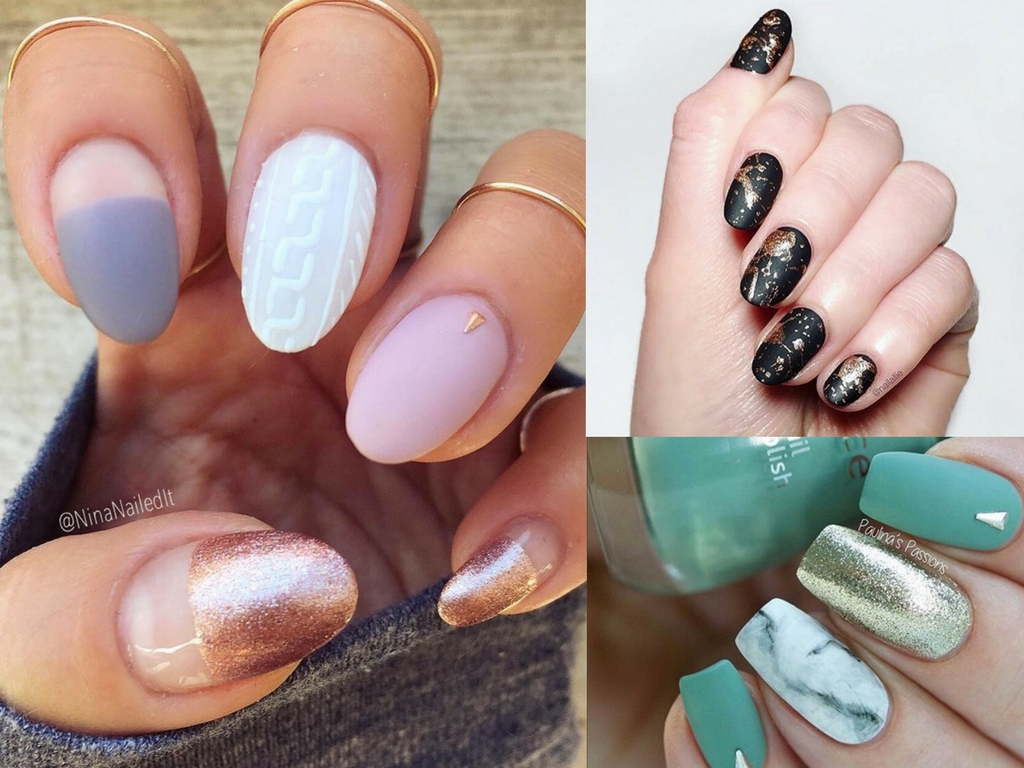
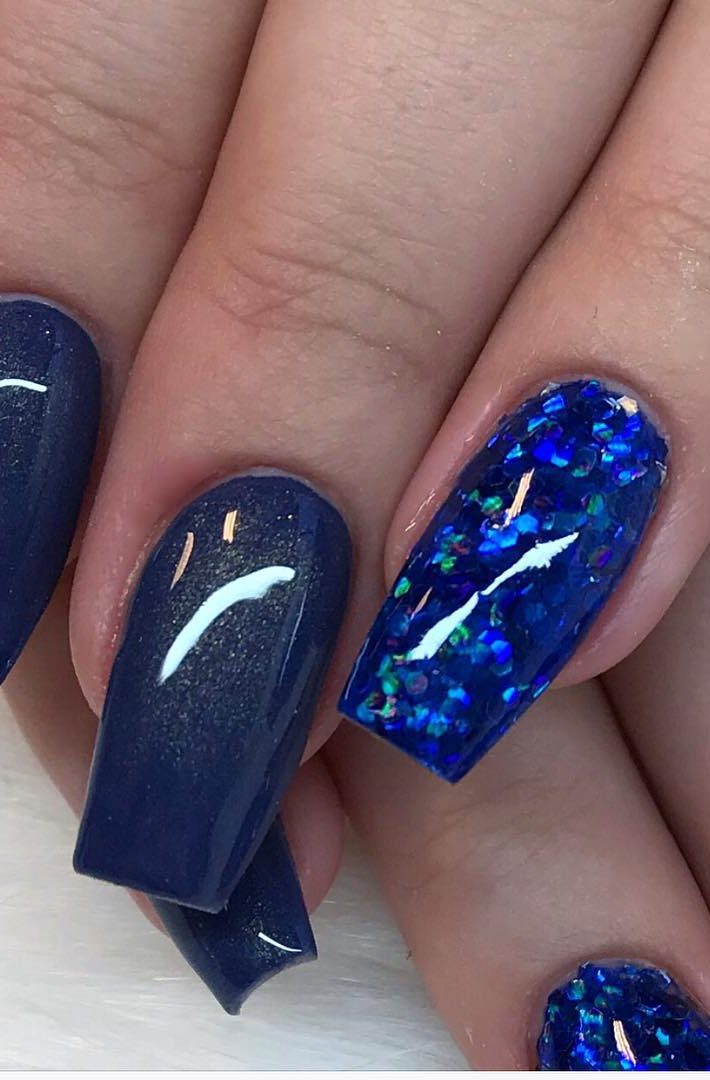
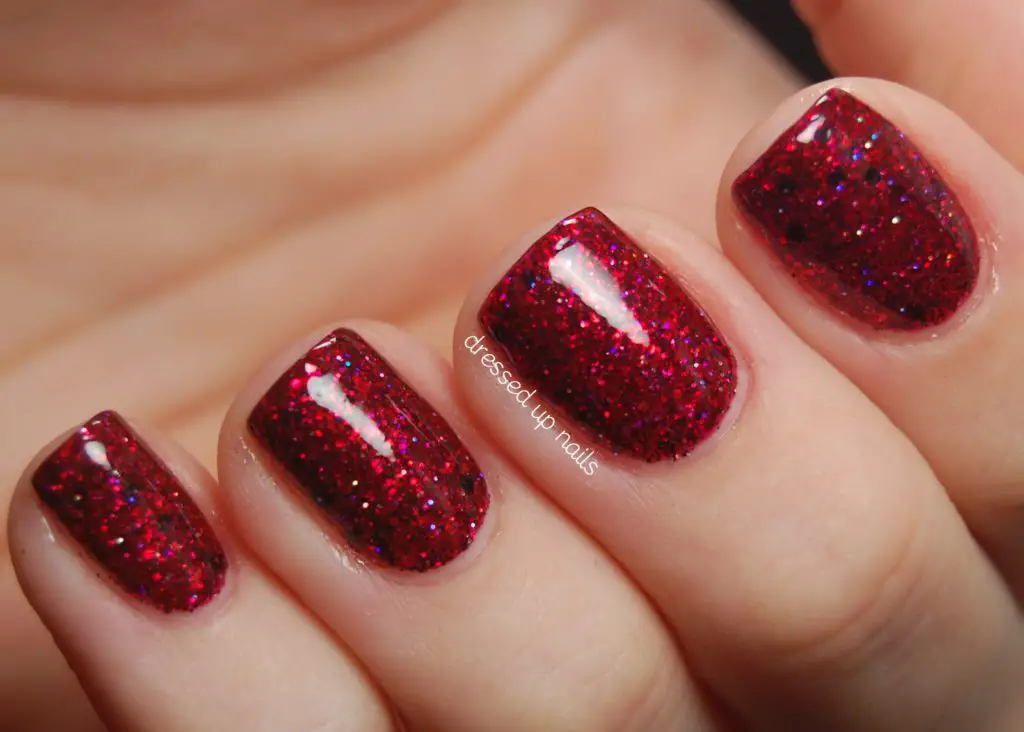
Glitter is a popular choice for adding some sparkle to gel nails. For beginners, it's best to start with a simple glitter accent nail. You can apply a solid color on all nails and add a glittery top coat on one or two nails for a subtle yet stylish look. Another idea is to create a glitter gradient using two or more glitter shades. This involves applying the glitter polish on the tips and gradually fading it towards the base. You can also use a makeup sponge to achieve this look. TIP: Use a peel-off base coat to make removing the glitter polish easier.8. Beginner Gel Nail Designs with Glitter


8. Beginner Gel Nail Designs with Glitter


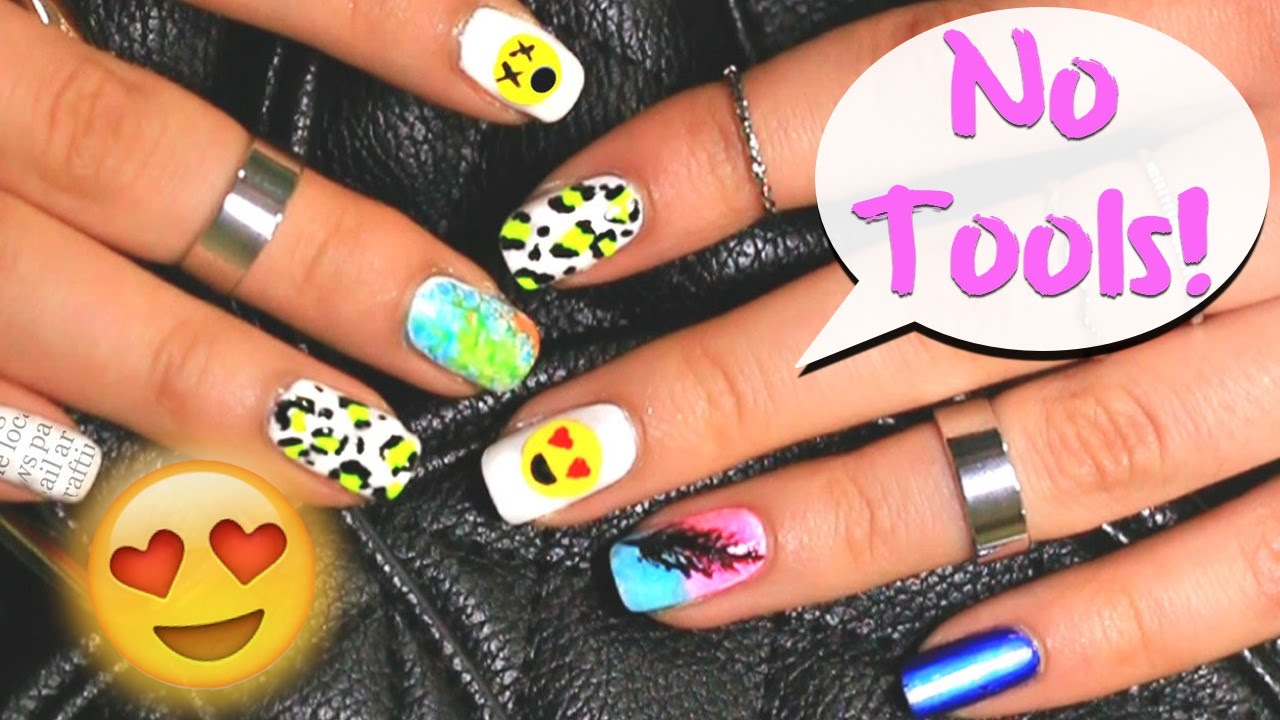
You don't need fancy tools to create beautiful gel nail designs. One idea for beginners is to use a toothpick to create simple designs like dots or stripes. You can also use the toothpick to swirl colors together for a marbled effect. Stamping plates are another tool-free option for creating intricate designs on your nails. All you need is a stamping plate, stamping polish, and a credit card or old gift card to transfer the design onto your nails. TIP: Use a white base coat for stamping to make the colors stand out more.9. Gel Nail Designs for Beginners without Tools


9. Gel Nail Designs for Beginners without Tools
Stamping is a great way to create intricate and detailed designs on your gel nails. For beginners, it's best to start with a simple design using a single color. You can use a lace or floral stamping plate for a feminine and delicate look. Another idea is to use a negative space stamping technique. This involves leaving a portion of the nail exposed and stamping a design on the exposed area using a different color. This will create a unique and eye-catching look. TIP: Use a clear jelly stamper to easily place the stamp onto your nails.10. Beginner Gel Nail Designs with Stamping


10. Beginner Gel Nail Designs with Stamping
Creating a Unique and Eye-Catching Gel Nail Design

Choosing the Right Nail Polish
 When it comes to creating a beginner gel nail design, the first and most important step is to choose the right nail polish. Gel nail polishes come in a variety of colors, textures, and finishes, making it easier to find the perfect one for your desired design.
Bold and bright colors are a popular choice for gel nail designs, such as neon pinks, purples, and greens
. You can also
experiment with different finishes like glitter, metallic, or matte
to add some extra dimension and interest to your design.
When it comes to creating a beginner gel nail design, the first and most important step is to choose the right nail polish. Gel nail polishes come in a variety of colors, textures, and finishes, making it easier to find the perfect one for your desired design.
Bold and bright colors are a popular choice for gel nail designs, such as neon pinks, purples, and greens
. You can also
experiment with different finishes like glitter, metallic, or matte
to add some extra dimension and interest to your design.
Prepping Your Nails
 Before applying any nail polish, it is essential to properly prep your nails to ensure the longevity of your gel nail design. Start by
trimming and shaping your nails
to your desired length and shape. Then,
push back your cuticles
using a cuticle pusher or a wooden stick. This step is crucial as it helps create a clean and smooth base for your nail polish application. You can also
buff your nails
gently to remove any ridges or bumps, giving you a smoother canvas to work on.
Before applying any nail polish, it is essential to properly prep your nails to ensure the longevity of your gel nail design. Start by
trimming and shaping your nails
to your desired length and shape. Then,
push back your cuticles
using a cuticle pusher or a wooden stick. This step is crucial as it helps create a clean and smooth base for your nail polish application. You can also
buff your nails
gently to remove any ridges or bumps, giving you a smoother canvas to work on.
Applying the Gel Nail Polish
 Once your nails are prepped, it's time to apply the gel nail polish. Before starting, make sure to
clean your nails with a lint-free wipe and rubbing alcohol
. This helps remove any oils or residue, ensuring a better adhesion of the nail polish.
Apply a base coat
to your nails and
cure it under a UV or LED lamp
for the recommended time. Then, apply your chosen gel nail polish in thin, even coats,
curing each coat under the lamp
.
Repeat this process until you achieve your desired opacity
. Finish off with a
top coat
and
cure it once again under the lamp
.
Once your nails are prepped, it's time to apply the gel nail polish. Before starting, make sure to
clean your nails with a lint-free wipe and rubbing alcohol
. This helps remove any oils or residue, ensuring a better adhesion of the nail polish.
Apply a base coat
to your nails and
cure it under a UV or LED lamp
for the recommended time. Then, apply your chosen gel nail polish in thin, even coats,
curing each coat under the lamp
.
Repeat this process until you achieve your desired opacity
. Finish off with a
top coat
and
cure it once again under the lamp
.
Adding Some Personal Touches
 To make your gel nail design truly unique and eye-catching, you can add some personal touches.
Using nail art tools or toothpicks
, you can create intricate designs like
stripes, dots, or flowers
. You can also
add some rhinestones, beads, or glitter
for some extra sparkle and glam. Get creative and let your imagination run wild with different designs and techniques.
To make your gel nail design truly unique and eye-catching, you can add some personal touches.
Using nail art tools or toothpicks
, you can create intricate designs like
stripes, dots, or flowers
. You can also
add some rhinestones, beads, or glitter
for some extra sparkle and glam. Get creative and let your imagination run wild with different designs and techniques.
Final Thoughts
 With the right tools, techniques, and a little bit of practice, you can create a beautiful and professional-looking gel nail design.
Remember to always use high-quality gel nail polish and follow the recommended curing times
to ensure the longevity of your design. So go ahead and experiment with different colors, finishes, and designs, and have fun creating your unique and eye-catching gel nail designs!
With the right tools, techniques, and a little bit of practice, you can create a beautiful and professional-looking gel nail design.
Remember to always use high-quality gel nail polish and follow the recommended curing times
to ensure the longevity of your design. So go ahead and experiment with different colors, finishes, and designs, and have fun creating your unique and eye-catching gel nail designs!


