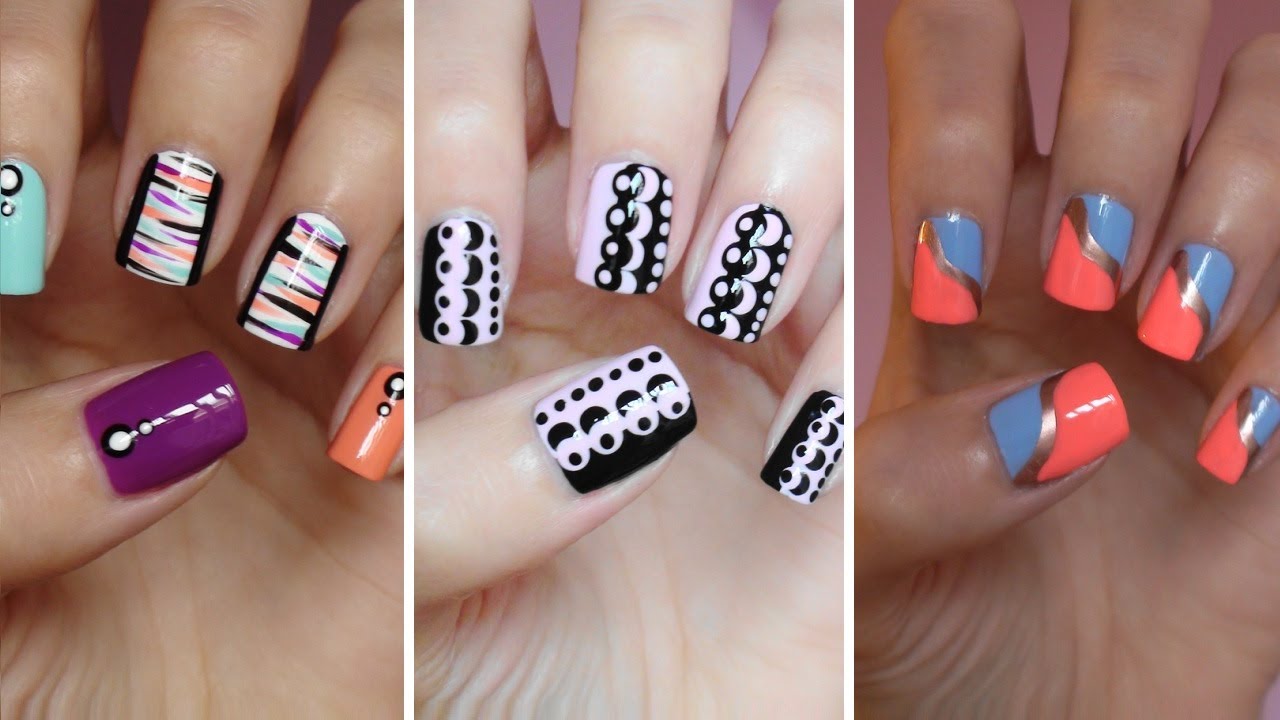
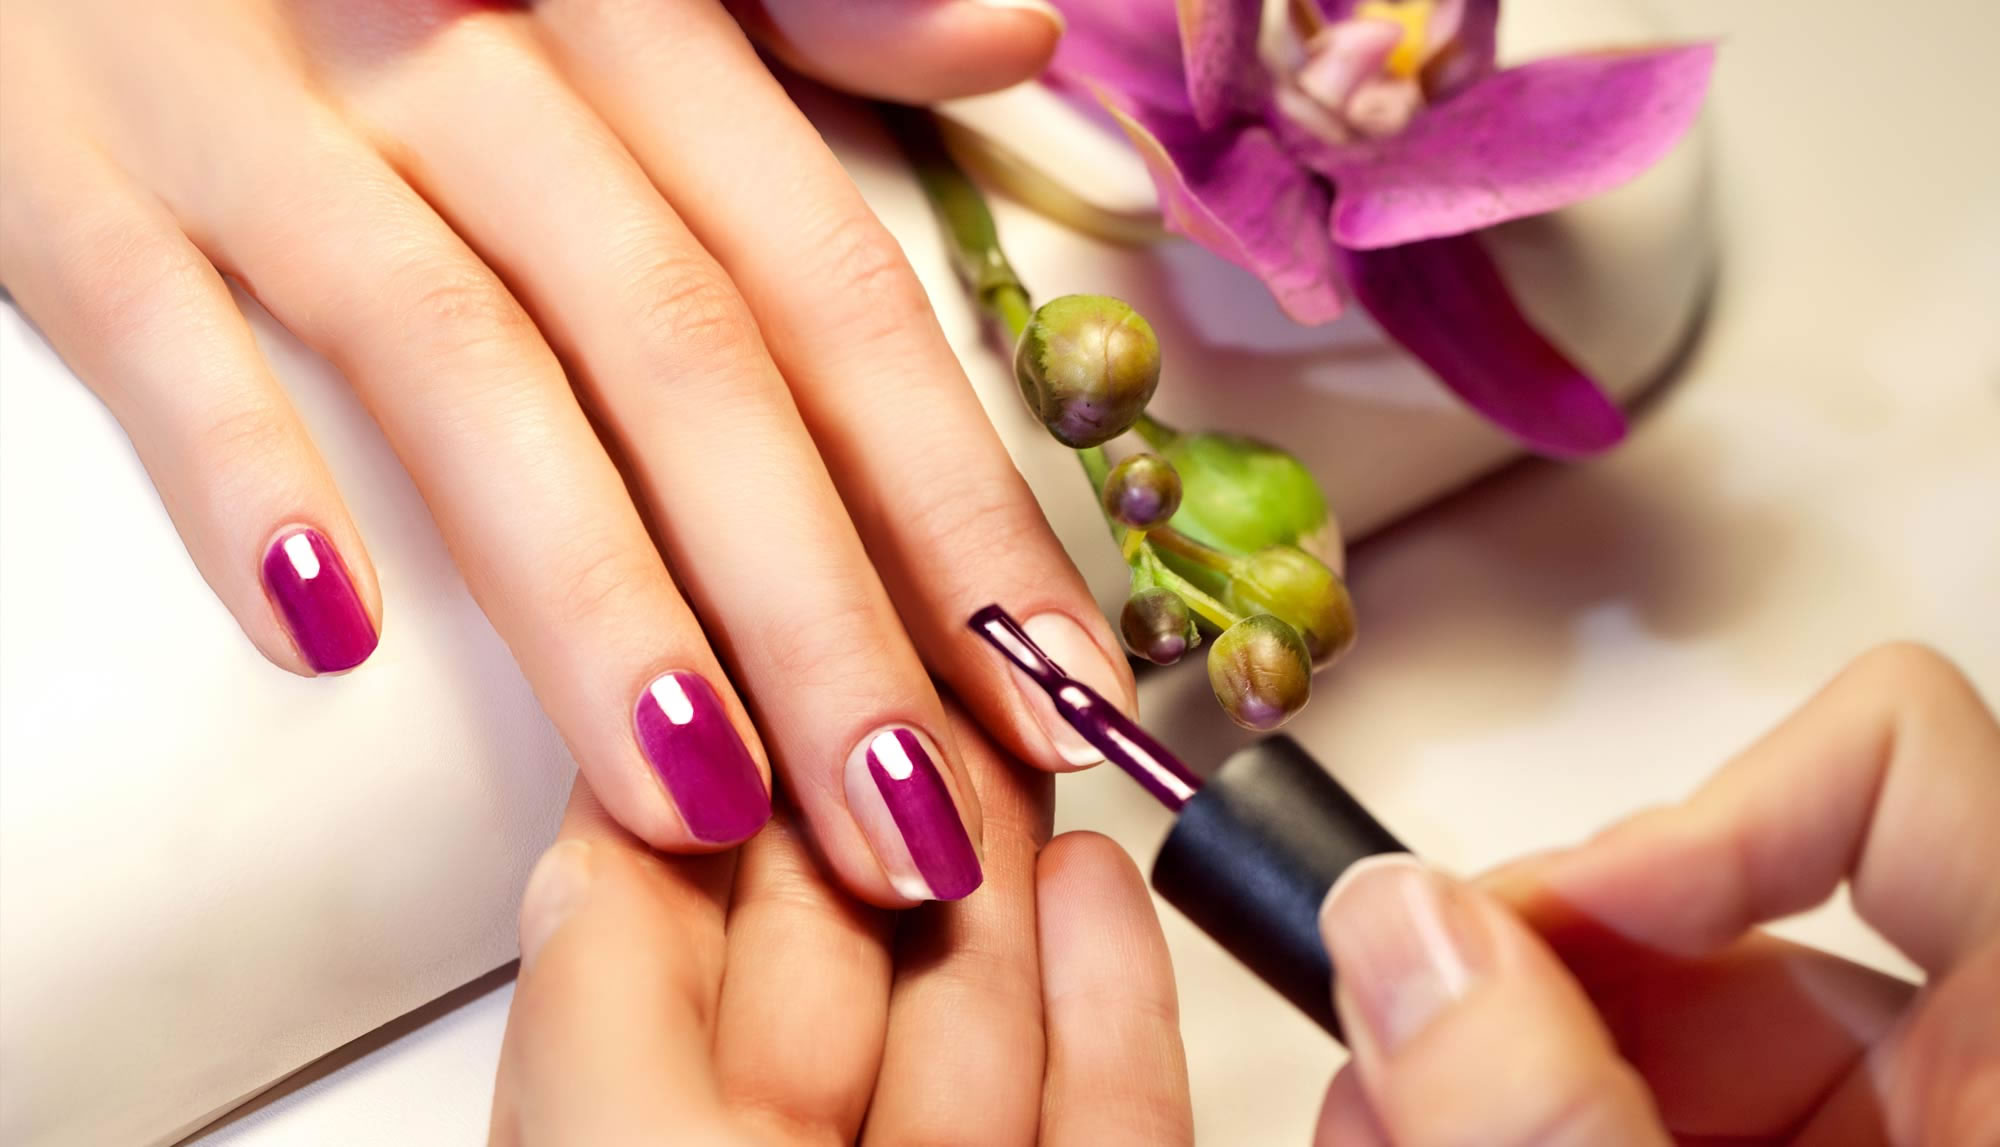
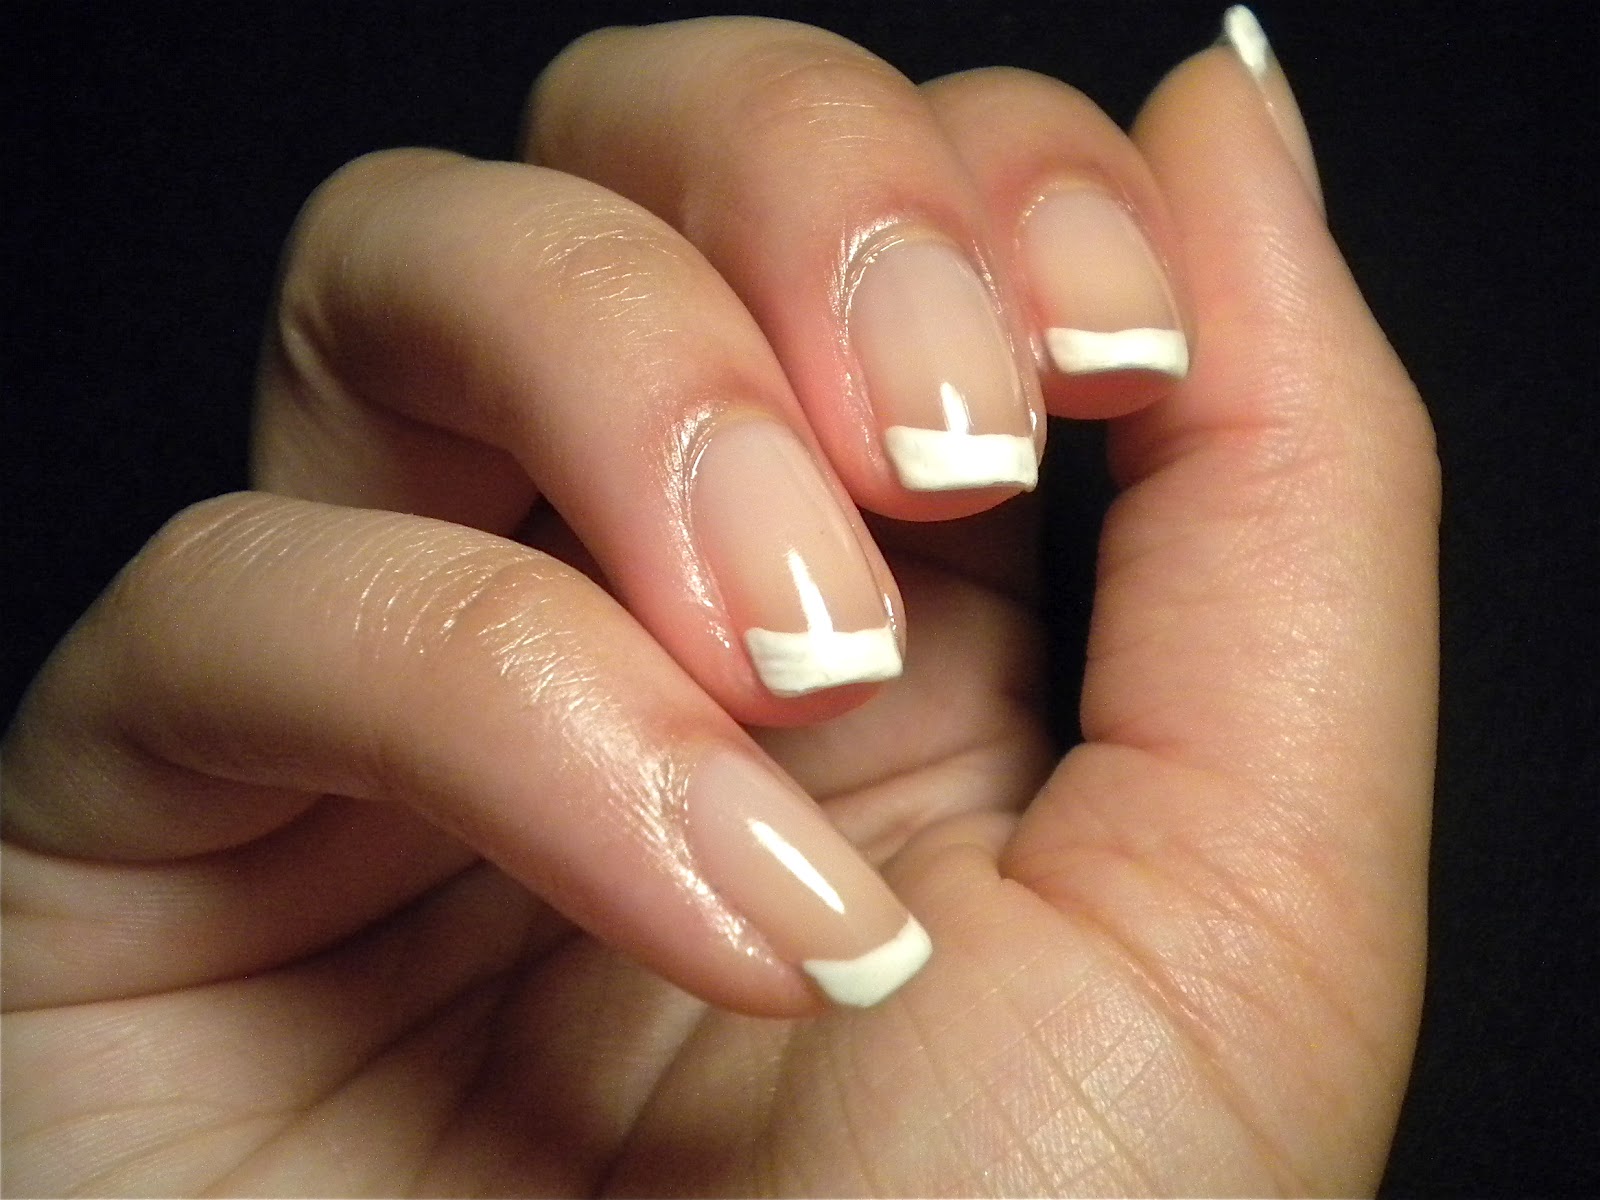
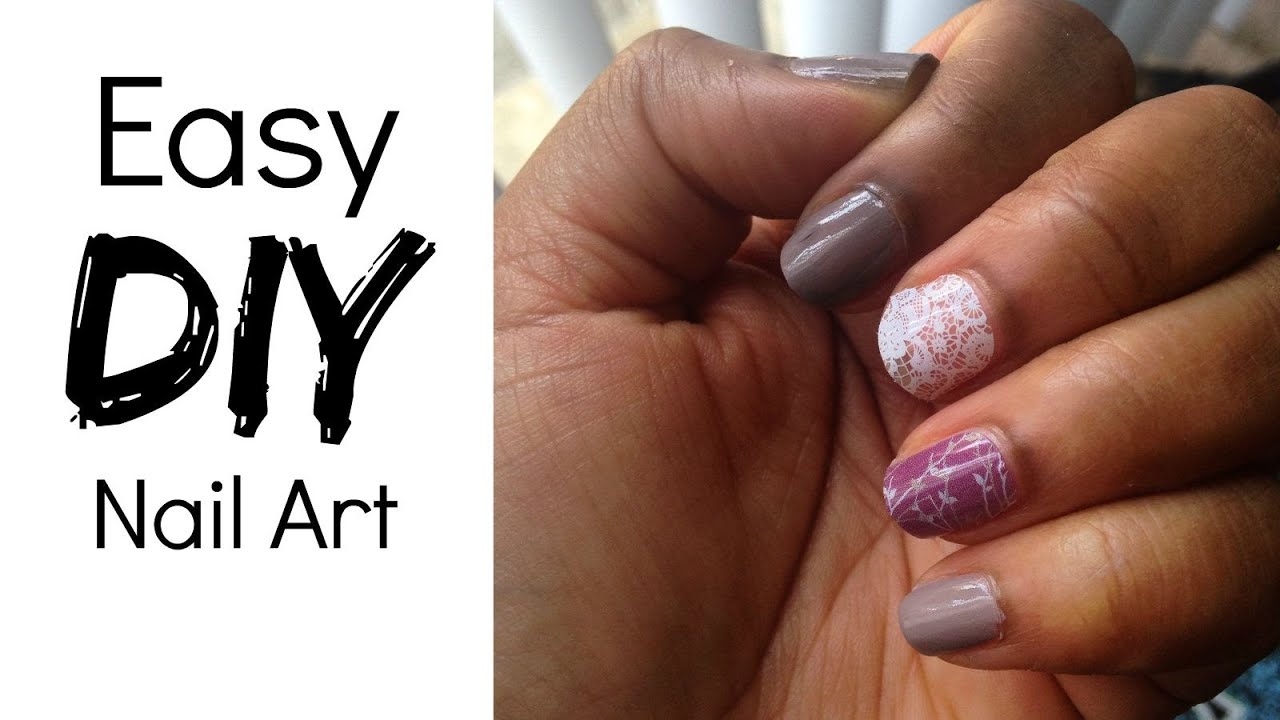
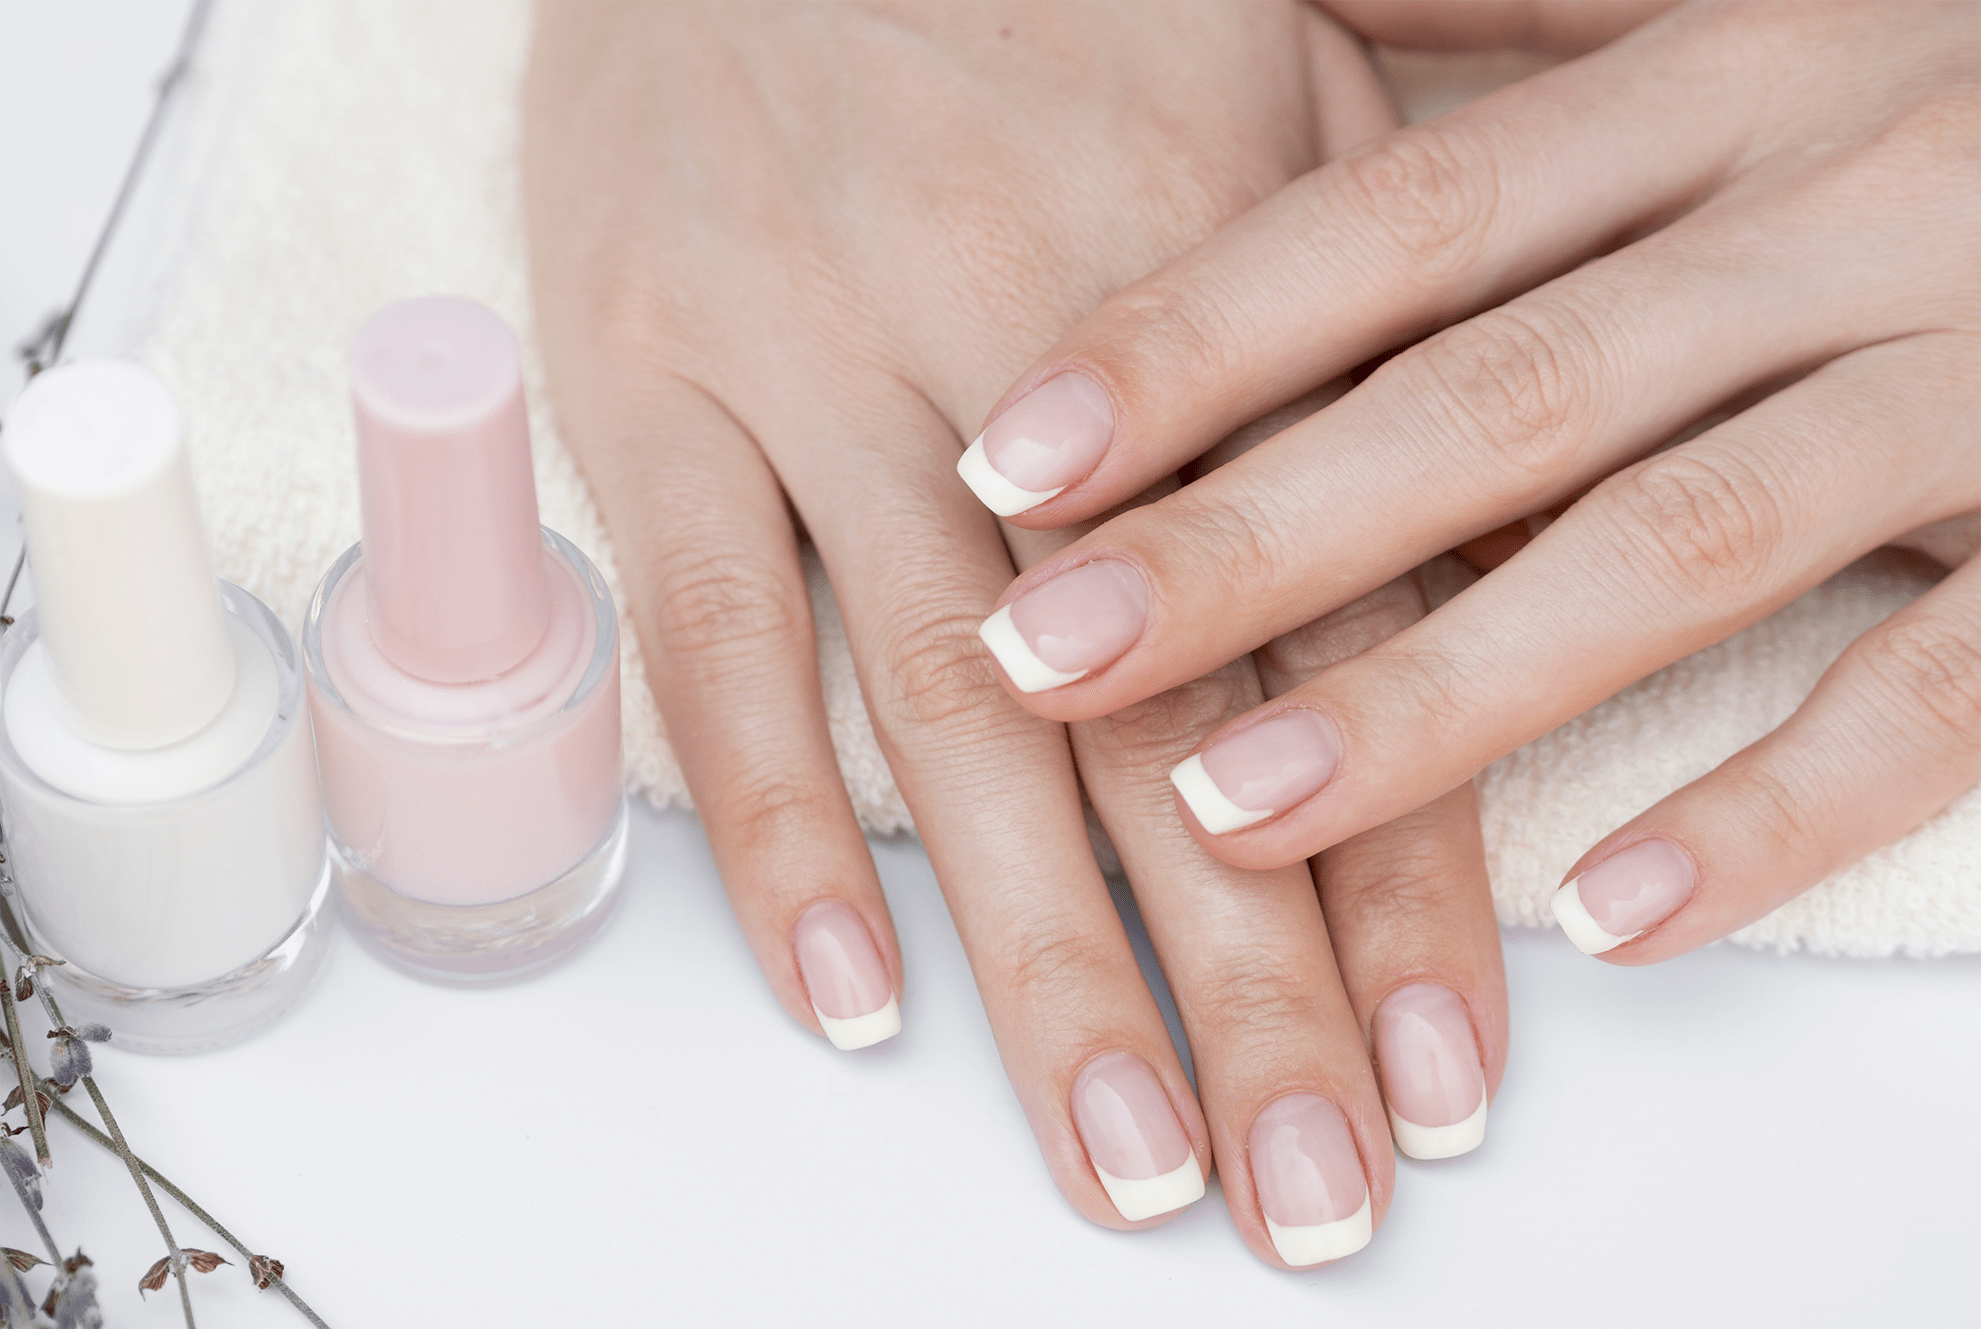
If you're someone who loves to have beautifully manicured nails but doesn't want to spend a fortune at the salon, then you're in luck! With these easy DIY nail designs, you can achieve salon-worthy nails right at home. Not only will you save money, but you'll also have the satisfaction of creating your own unique nail art. So, grab your favorite nail polish and let's get started! Main Keywords: DIY nail designs, easy, at home, salon-worthy, save money, unique nail art First, gather all the necessary tools and supplies. You'll need a base coat, top coat, nail polish in your desired colors, a dotting tool or toothpick, and some tape or stickers for creating clean lines. You can also add gems, glitter, or other embellishments for an extra touch of glam. Main Keywords: tools and supplies, base coat, top coat, nail polish, dotting tool, tape, stickers, clean lines, gems, glitter, embellishments, glam One of the easiest DIY nail designs to try at home is the classic French manicure. Start by applying a base coat to protect your nails. Then, use a sheer pink or beige polish for the tips of your nails. You can either freehand the tips or use tape as a guide. Finish with a top coat for a glossy finish. Main Keywords: French manicure, base coat, protect, sheer pink, beige, tips, freehand, tape, guide, top coat, glossy finish If you're feeling a little more adventurous, try a simple geometric design. Paint your nails with a base color, then use tape to create shapes on your nails. Once the tape is in place, paint over it with a different color. Remove the tape while the polish is still wet for clean lines. You can also play around with different shapes and colors for a unique look. Main Keywords: geometric design, base color, tape, shapes, different color, wet, clean lines, unique look1. Easy DIY Nail Designs to Do at Home


1. Easy DIY Nail Designs to Do at Home


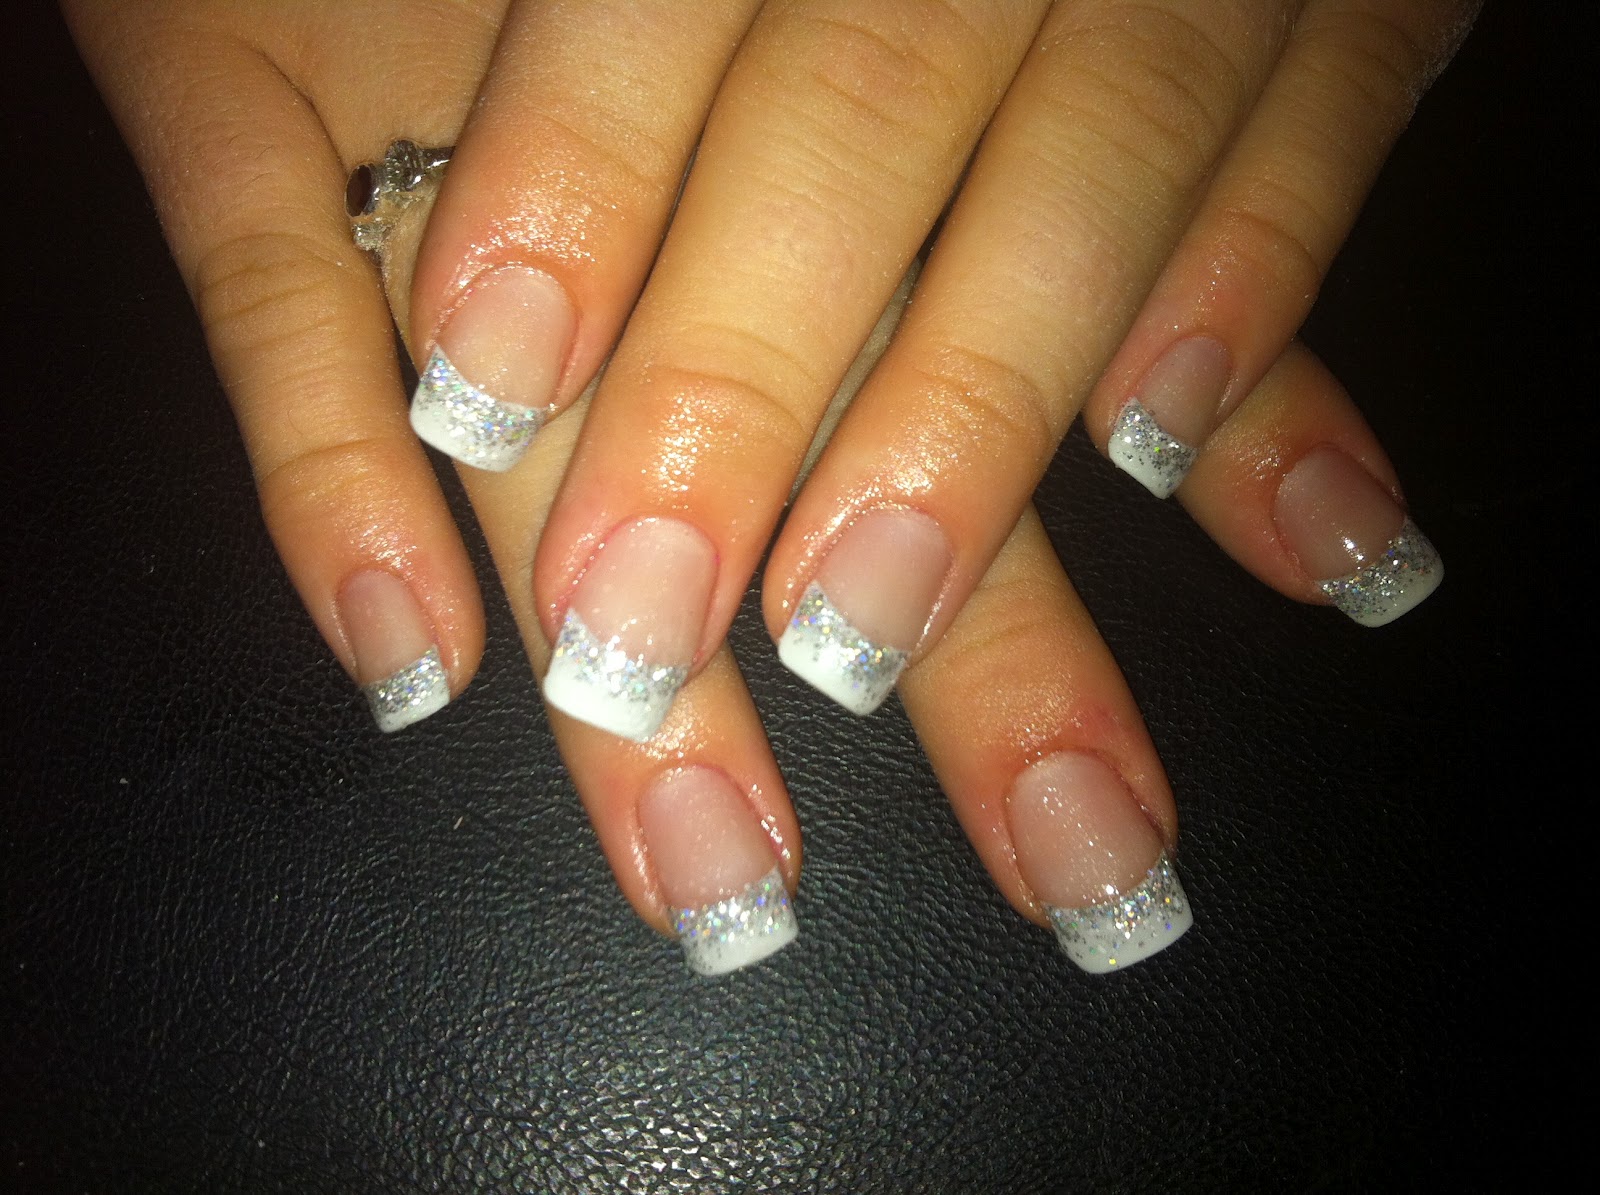.JPG)


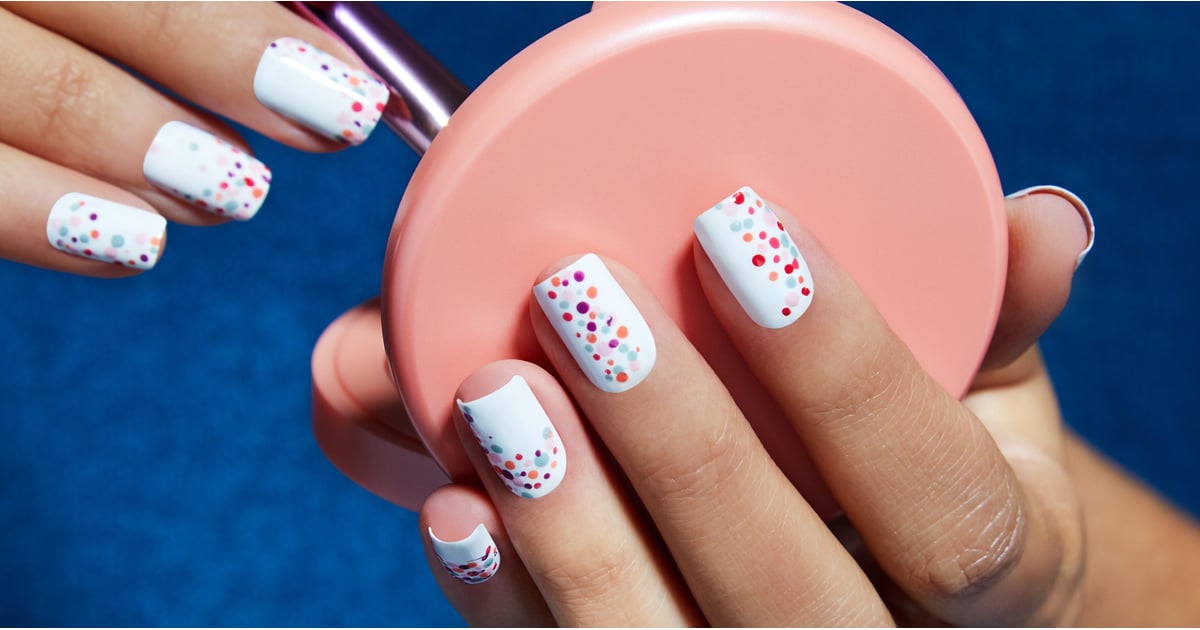
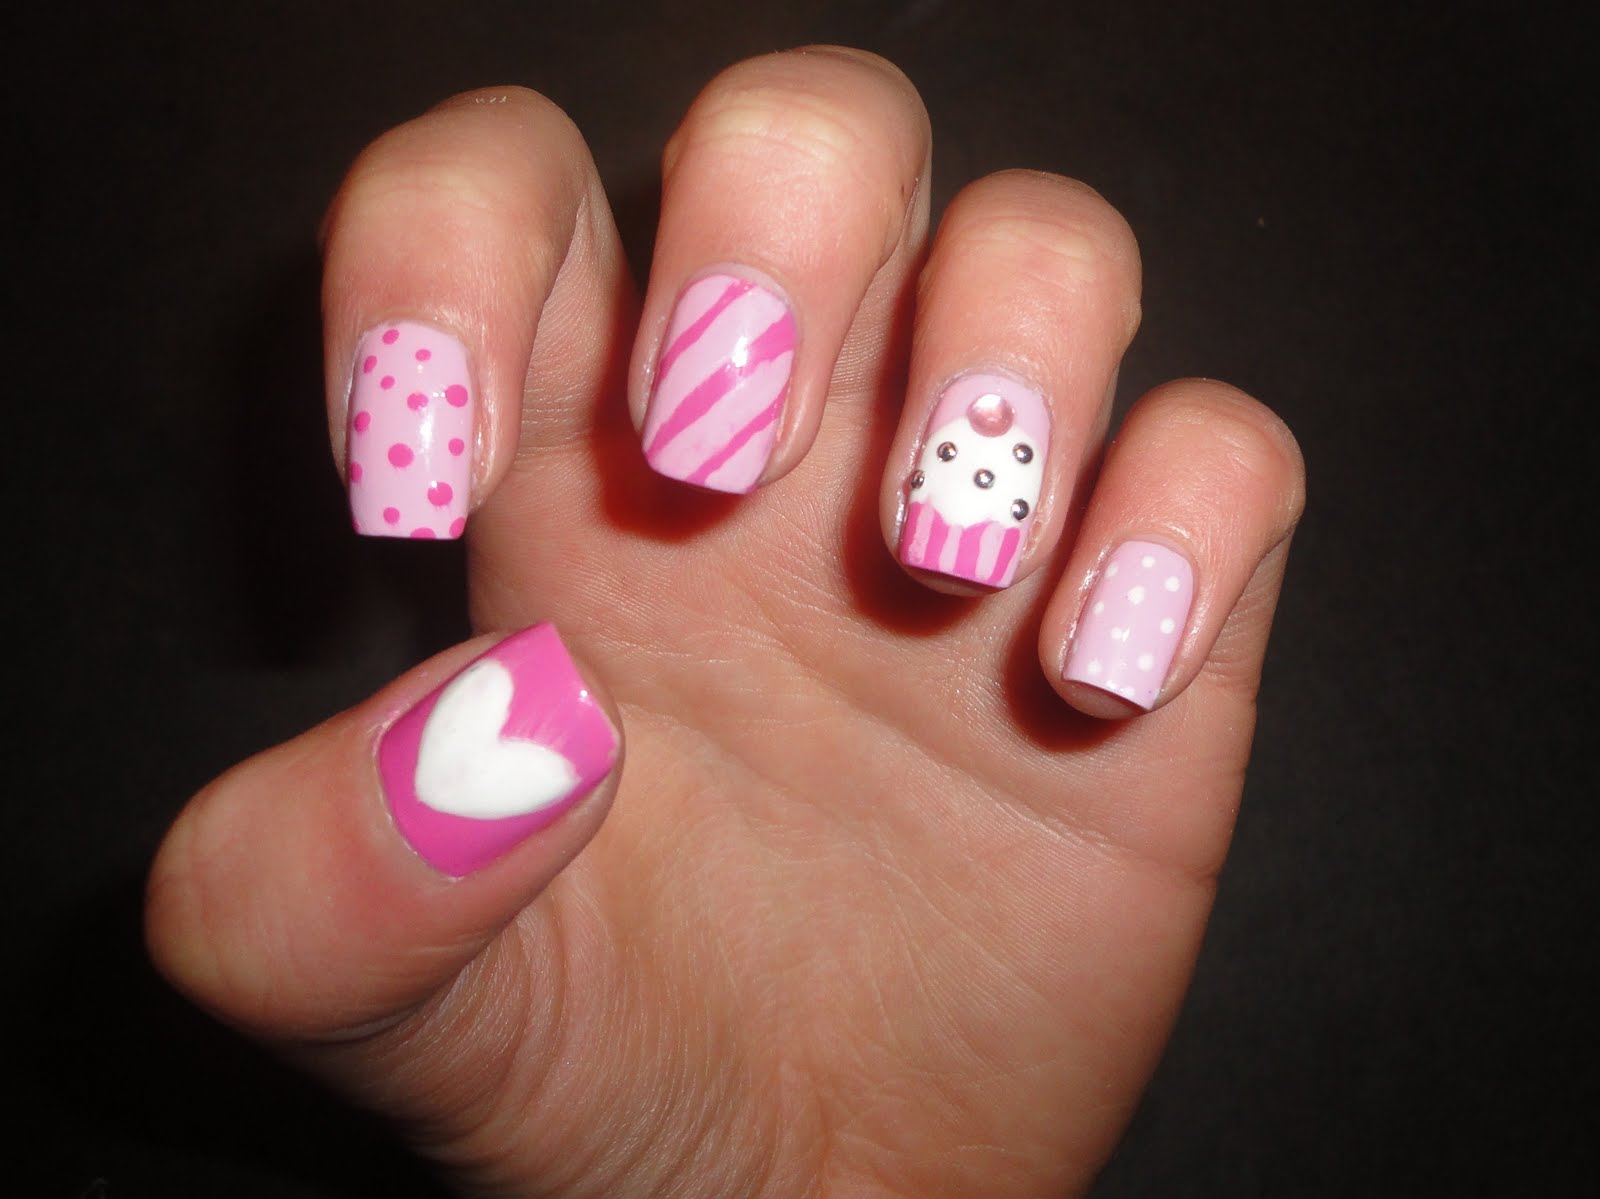
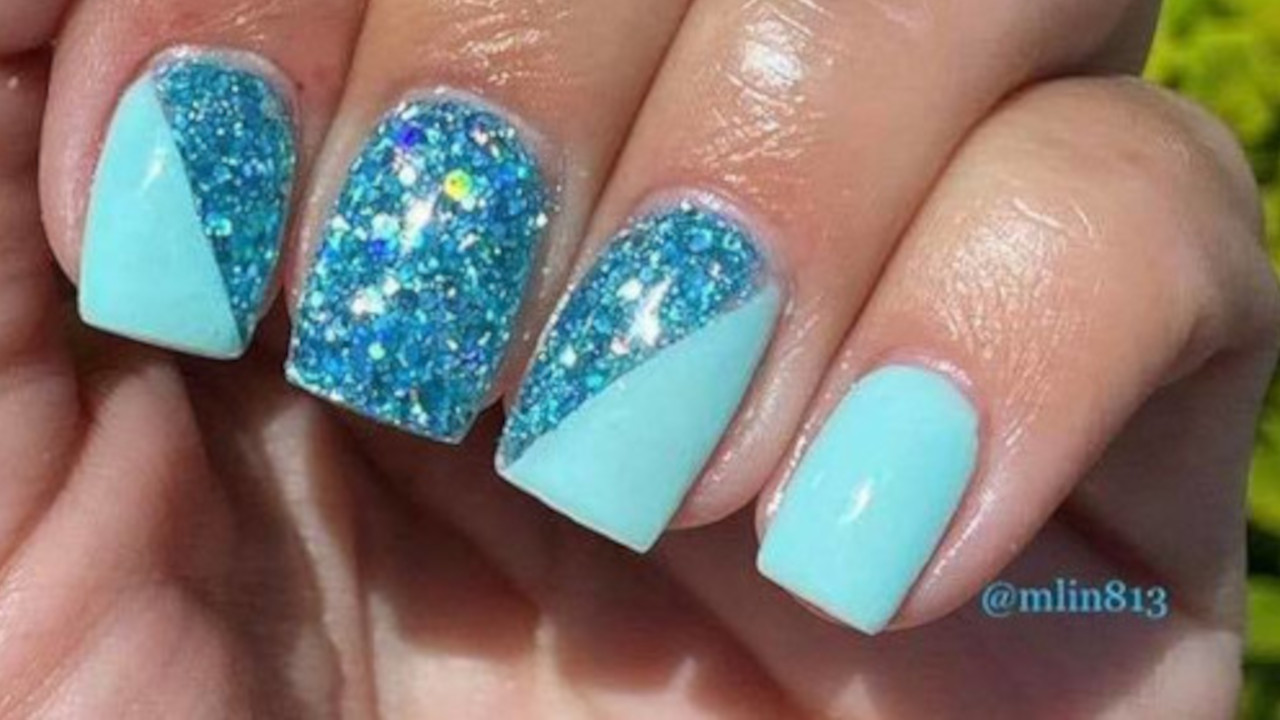
Are you new to the world of nail art? Don't worry, these simple nail art ideas are perfect for beginners. They require minimal tools and are easy to recreate, making them ideal for those just starting in the nail art game. Main Keywords: nail art, beginners, minimal tools, easy, recreate, ideal, starting, game One popular and easy nail art idea is the polka dot design. After applying a base coat, use a dotting tool or toothpick to create dots on your nails. You can use different colors and sizes to create a fun and playful look. Finish with a top coat for a smooth and shiny finish. Main Keywords: polka dot design, base coat, dotting tool, toothpick, dots, different colors, sizes, fun, playful, top coat, smooth, shiny finish If you want to add a little sparkle to your nails, try a glitter accent nail. After painting your nails with a base color, use a glitter polish on one or two nails for a pop of glam. You can also use a glitter gradient technique by starting with a heavy coat of glitter at the tips and gradually fading it out towards the base of the nail. Main Keywords: sparkle, glitter accent nail, base color, glitter polish, pop of glam, glitter gradient, heavy coat, tips, gradually fading, base of the nail Another simple yet chic nail art idea is the half-moon design. Start with a base coat, then place a hole reinforcer (found at office supply stores) at the base of your nail. Paint the exposed half of your nail with your desired color, then remove the reinforcer to reveal a perfect half-moon. Finish with a top coat for a polished look. Main Keywords: half-moon design, base coat, hole reinforcer, exposed half, desired color, remove, perfect, polished look2. Simple Nail Art Ideas for Beginners


2. Simple Nail Art Ideas for Beginners


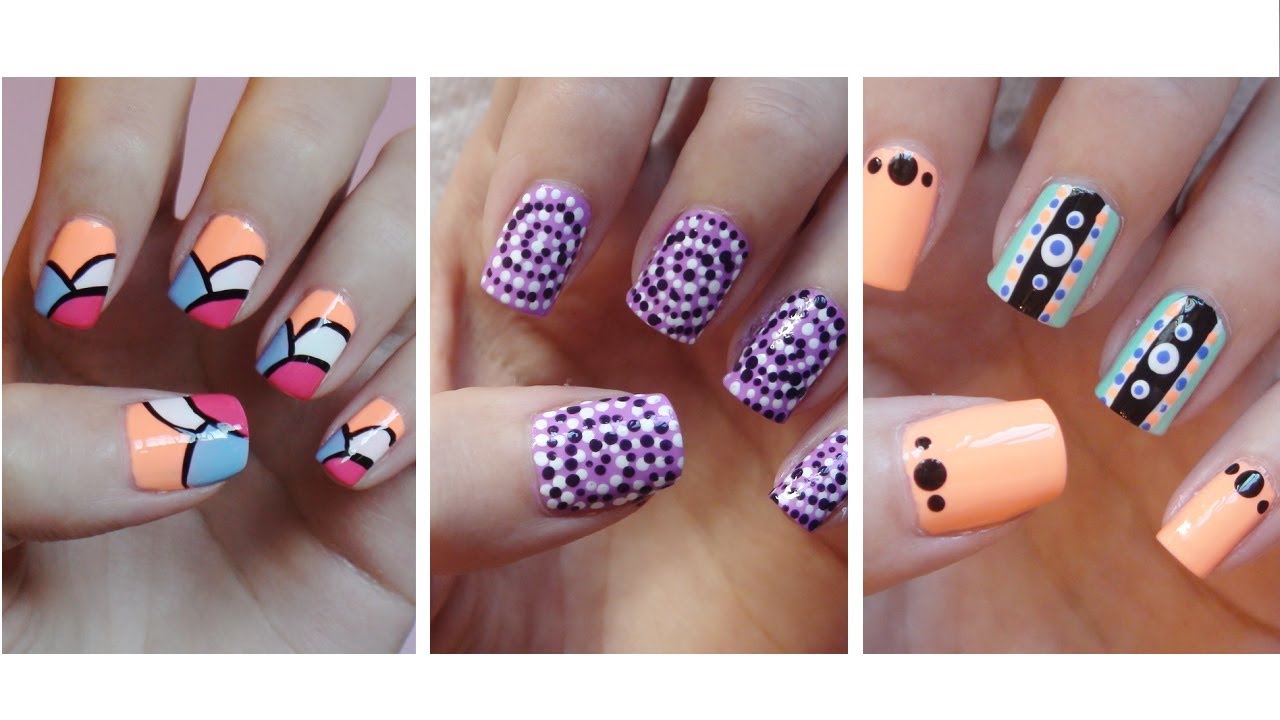
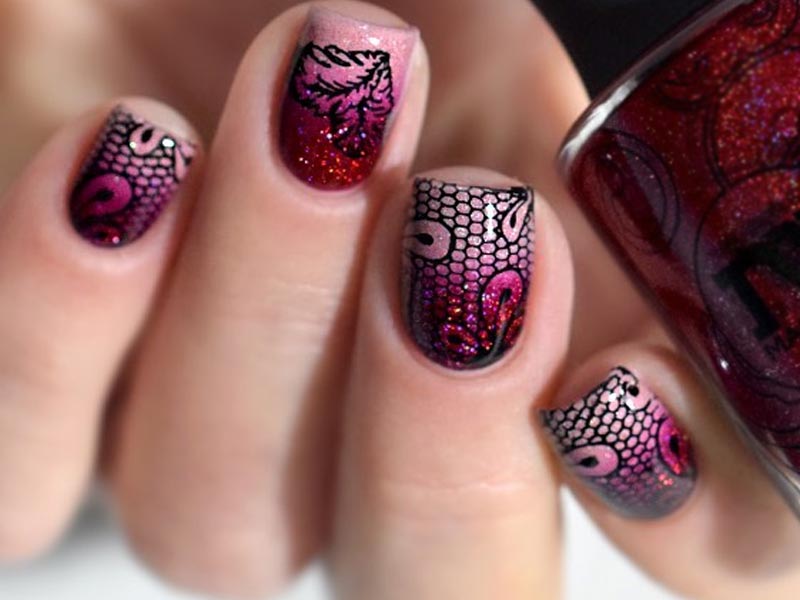
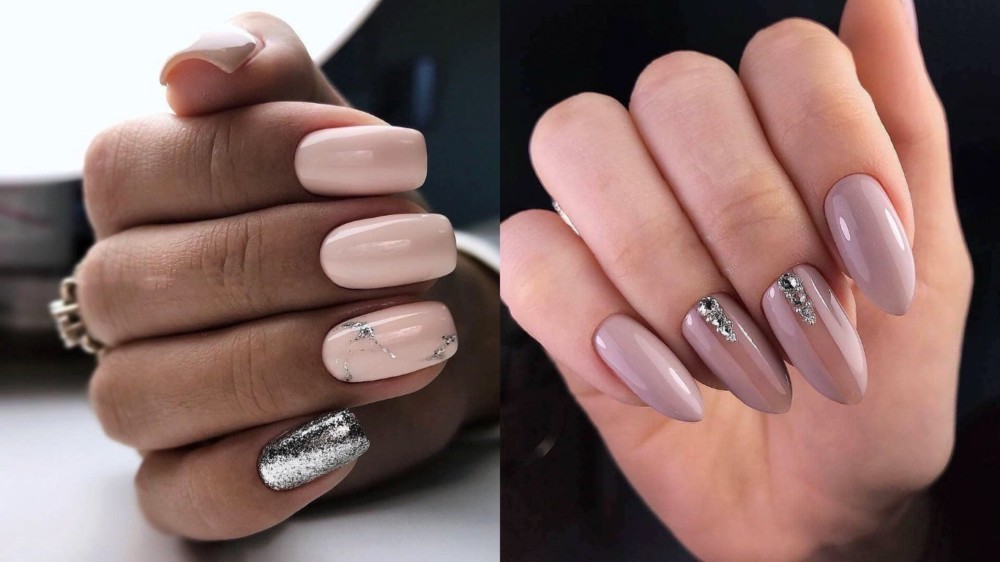
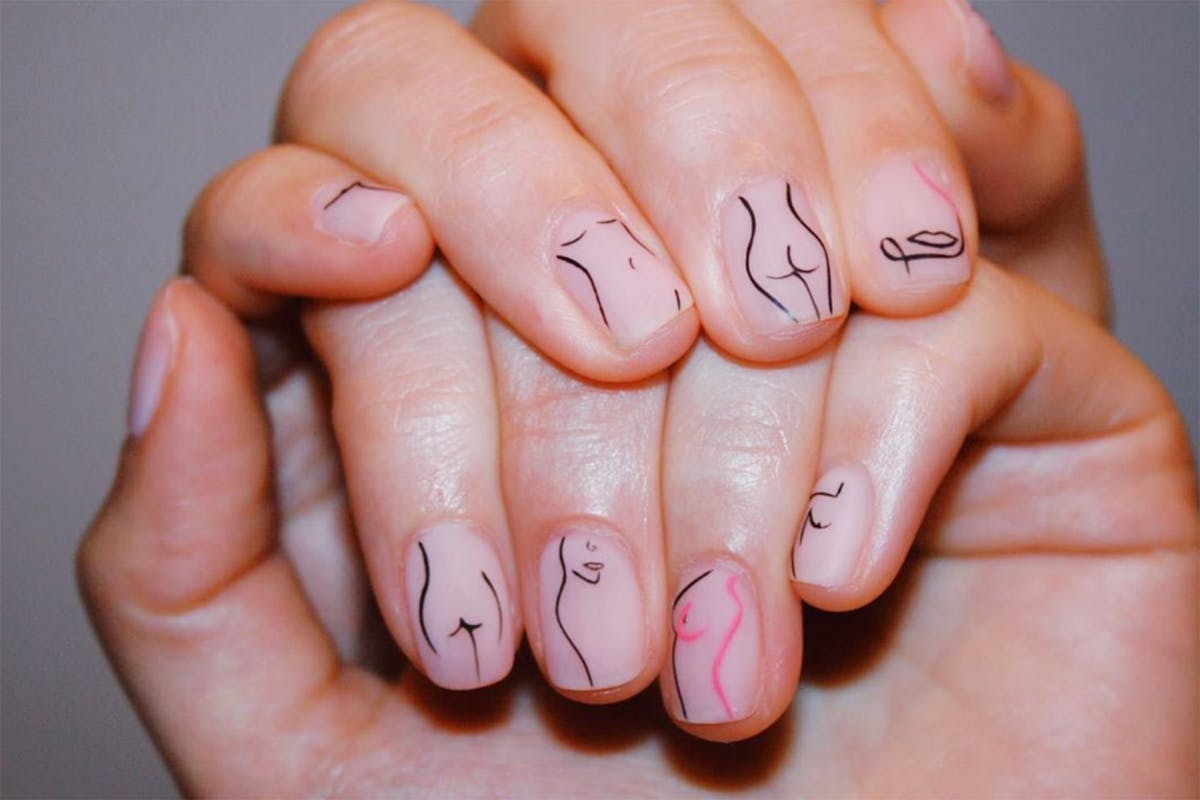
If you're looking for the best nail designs for at-home manicures, you've come to the right place. These nail designs are not only stunning but also easy to achieve in the comfort of your own home. Main Keywords: best nail designs, at-home manicures, stunning, comfortable, own home The ombre nail design is a popular choice for at-home manicures. It involves blending two or more colors to create a gradient effect. You can use a sponge or a makeup brush to achieve this look. Start with a light base color, then lightly dab on a darker shade towards the tips of your nails. Finish with a top coat to seal in the design. Main Keywords: ombre nail design, popular choice, at-home manicures, blending, gradient effect, sponge, makeup brush, light base color, darker shade, tips, top coat, seal For a more intricate design, try a floral nail art. You can use a toothpick or a small brush to create flowers, leaves, and other designs on your nails. You can also add gems or glitter for some extra sparkle. This design is perfect for springtime or any special occasion. Main Keywords: intricate design, floral nail art, toothpick, small brush, flowers, leaves, designs, gems, glitter, extra sparkle, springtime, special occasion If you want to keep it simple yet stylish, opt for a negative space nail design. This involves leaving parts of your nails unpainted to create negative space. You can also add a pop of color or design to the uncovered areas for a unique look. This design is perfect for those who prefer a minimalist approach to nail art. Main Keywords: simple, stylish, negative space nail design, unpainted, negative space, pop of color, design, uncovered areas, unique, minimalist, nail art3. Best Nail Designs for At-Home Manicures


3. Best Nail Designs for At-Home Manicures


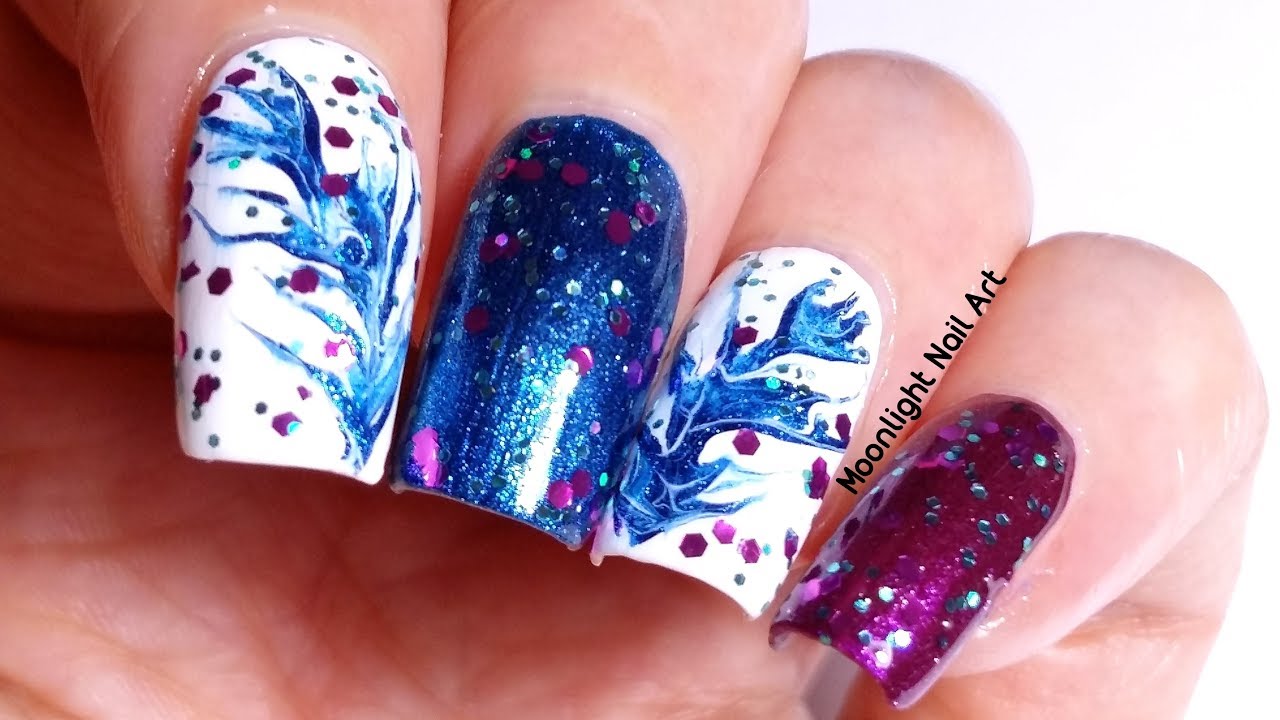
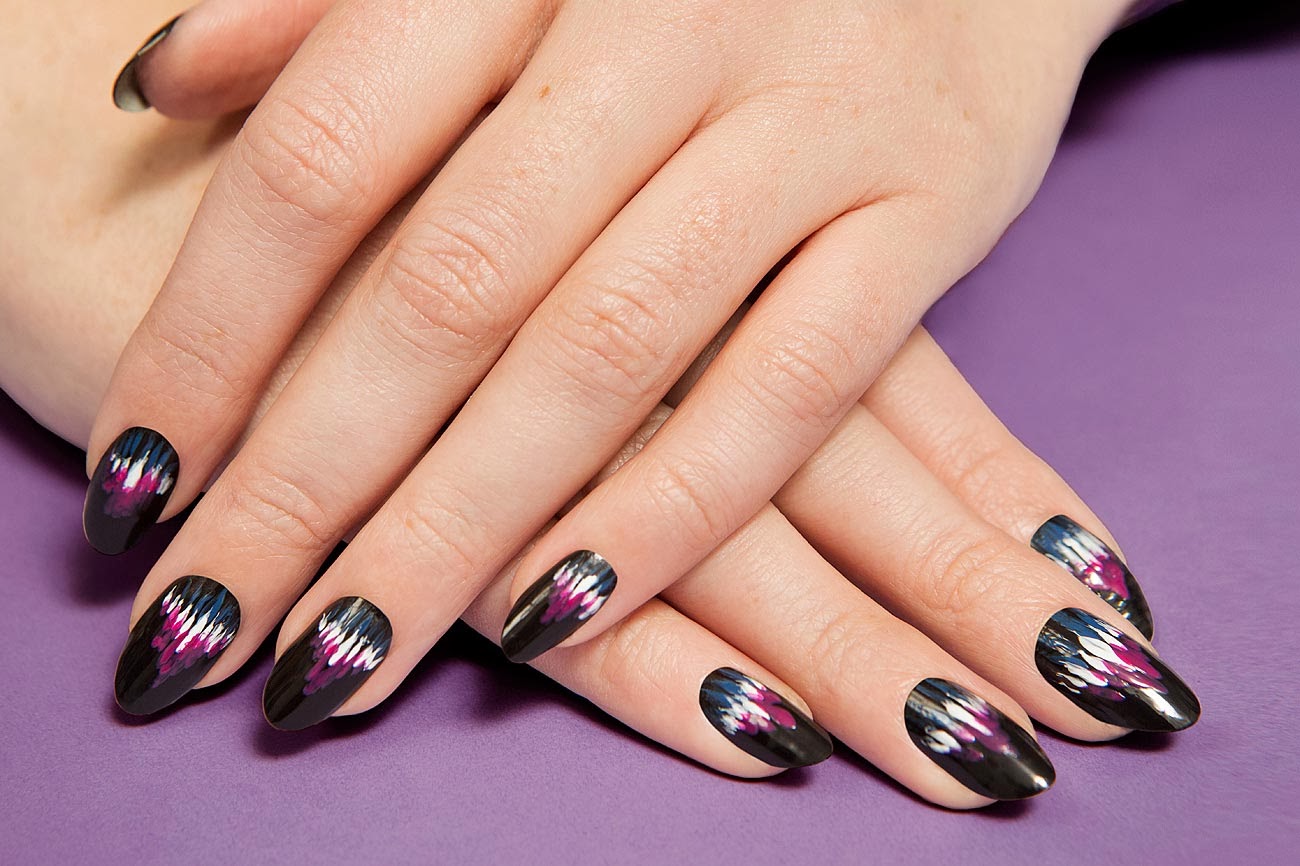
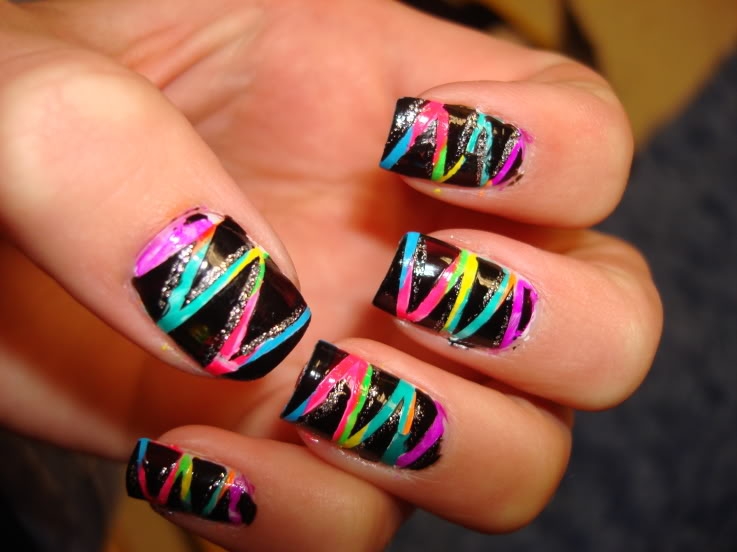
Who says nail art has to be serious? These fun and creative nail designs will bring some excitement to your at-home manicures. Get ready to let your imagination run wild and experiment with different designs and colors. Main Keywords: fun, creative, nail designs, at-home manicures, excitement, imagination, experiment, different designs, colors The splatter paint design is a messy yet fun nail art idea. Start with a base coat, then use a straw to blow nail polish onto your nails. You can use multiple colors and even mix them for a more abstract look. This design is perfect for those who love to make a statement with their nails. Main Keywords: splatter paint design, messy, fun, nail art idea, base coat, straw, blow, nail polish, multiple colors, mix, abstract look, statement For a playful and unique look, try a cartoon-inspired nail design. You can use nail polish or acrylic paint to create your favorite cartoon characters, symbols, or scenes on your nails. This design is perfect for those who want to show off their fun and quirky side. Main Keywords: playful, unique, cartoon-inspired nail design, nail polish, acrylic paint, cartoon characters, symbols, scenes, show off, fun, quirky side If you want to add a touch of nature to your nails, try a butterfly wing design. You can use nail wraps or hand-paint the wings for a more personalized look. This design is perfect for spring and summer and will have you feeling like a beautiful butterfly. Main Keywords: touch of nature, butterfly wing design, nail wraps, hand-paint, personalized look, spring, summer, beautiful butterfly4. Fun and Creative Nail Designs to Try at Home


4. Fun and Creative Nail Designs to Try at Home


Ready to become a nail art pro? This step-by-step guide will walk you through the process of creating your own beautiful nail designs at home. Follow these simple steps, and you'll be a nail art expert in no time! Main Keywords: step-by-step guide, own nail art, pro, beautiful nail designs, home, simple steps, expert Step 1: Prepare your nails by removing any old polish and filing them to your desired shape. Push back your cuticles and apply a base coat to protect your nails. Step 2: Choose your desired nail design and gather all the necessary tools and supplies. Step 3: Apply your base color and let it dry completely. Step 4: Use tape or stickers to create clean lines or geometric shapes on your nails. You can also use a dotting tool or toothpick to create dots or other designs. Step 5: Once the design is complete, remove any tape or stickers while the polish is still wet for clean lines. Step 6: Finish with a top coat for a glossy and long-lasting finish. Congratulations, you've just created your own stunning nail art! Main Keywords: Step 1, prepare, old polish, filing, shape, push back, cuticles, base coat, protect, Step 2, desired nail design, necessary tools, supplies, Step 3, base color, dry, Step 4, tape, stickers, clean lines, geometric shapes, dotting tool, toothpick, dots, designs, Step 5, complete, remove, wet, clean lines, Step 6, top coat, glossy, long-lasting, finish, Congratulations, created, stunning nail art5. Step-by-Step Guide to Doing Your Own Nail Art


5. Step-by-Step Guide to Doing Your Own Nail Art
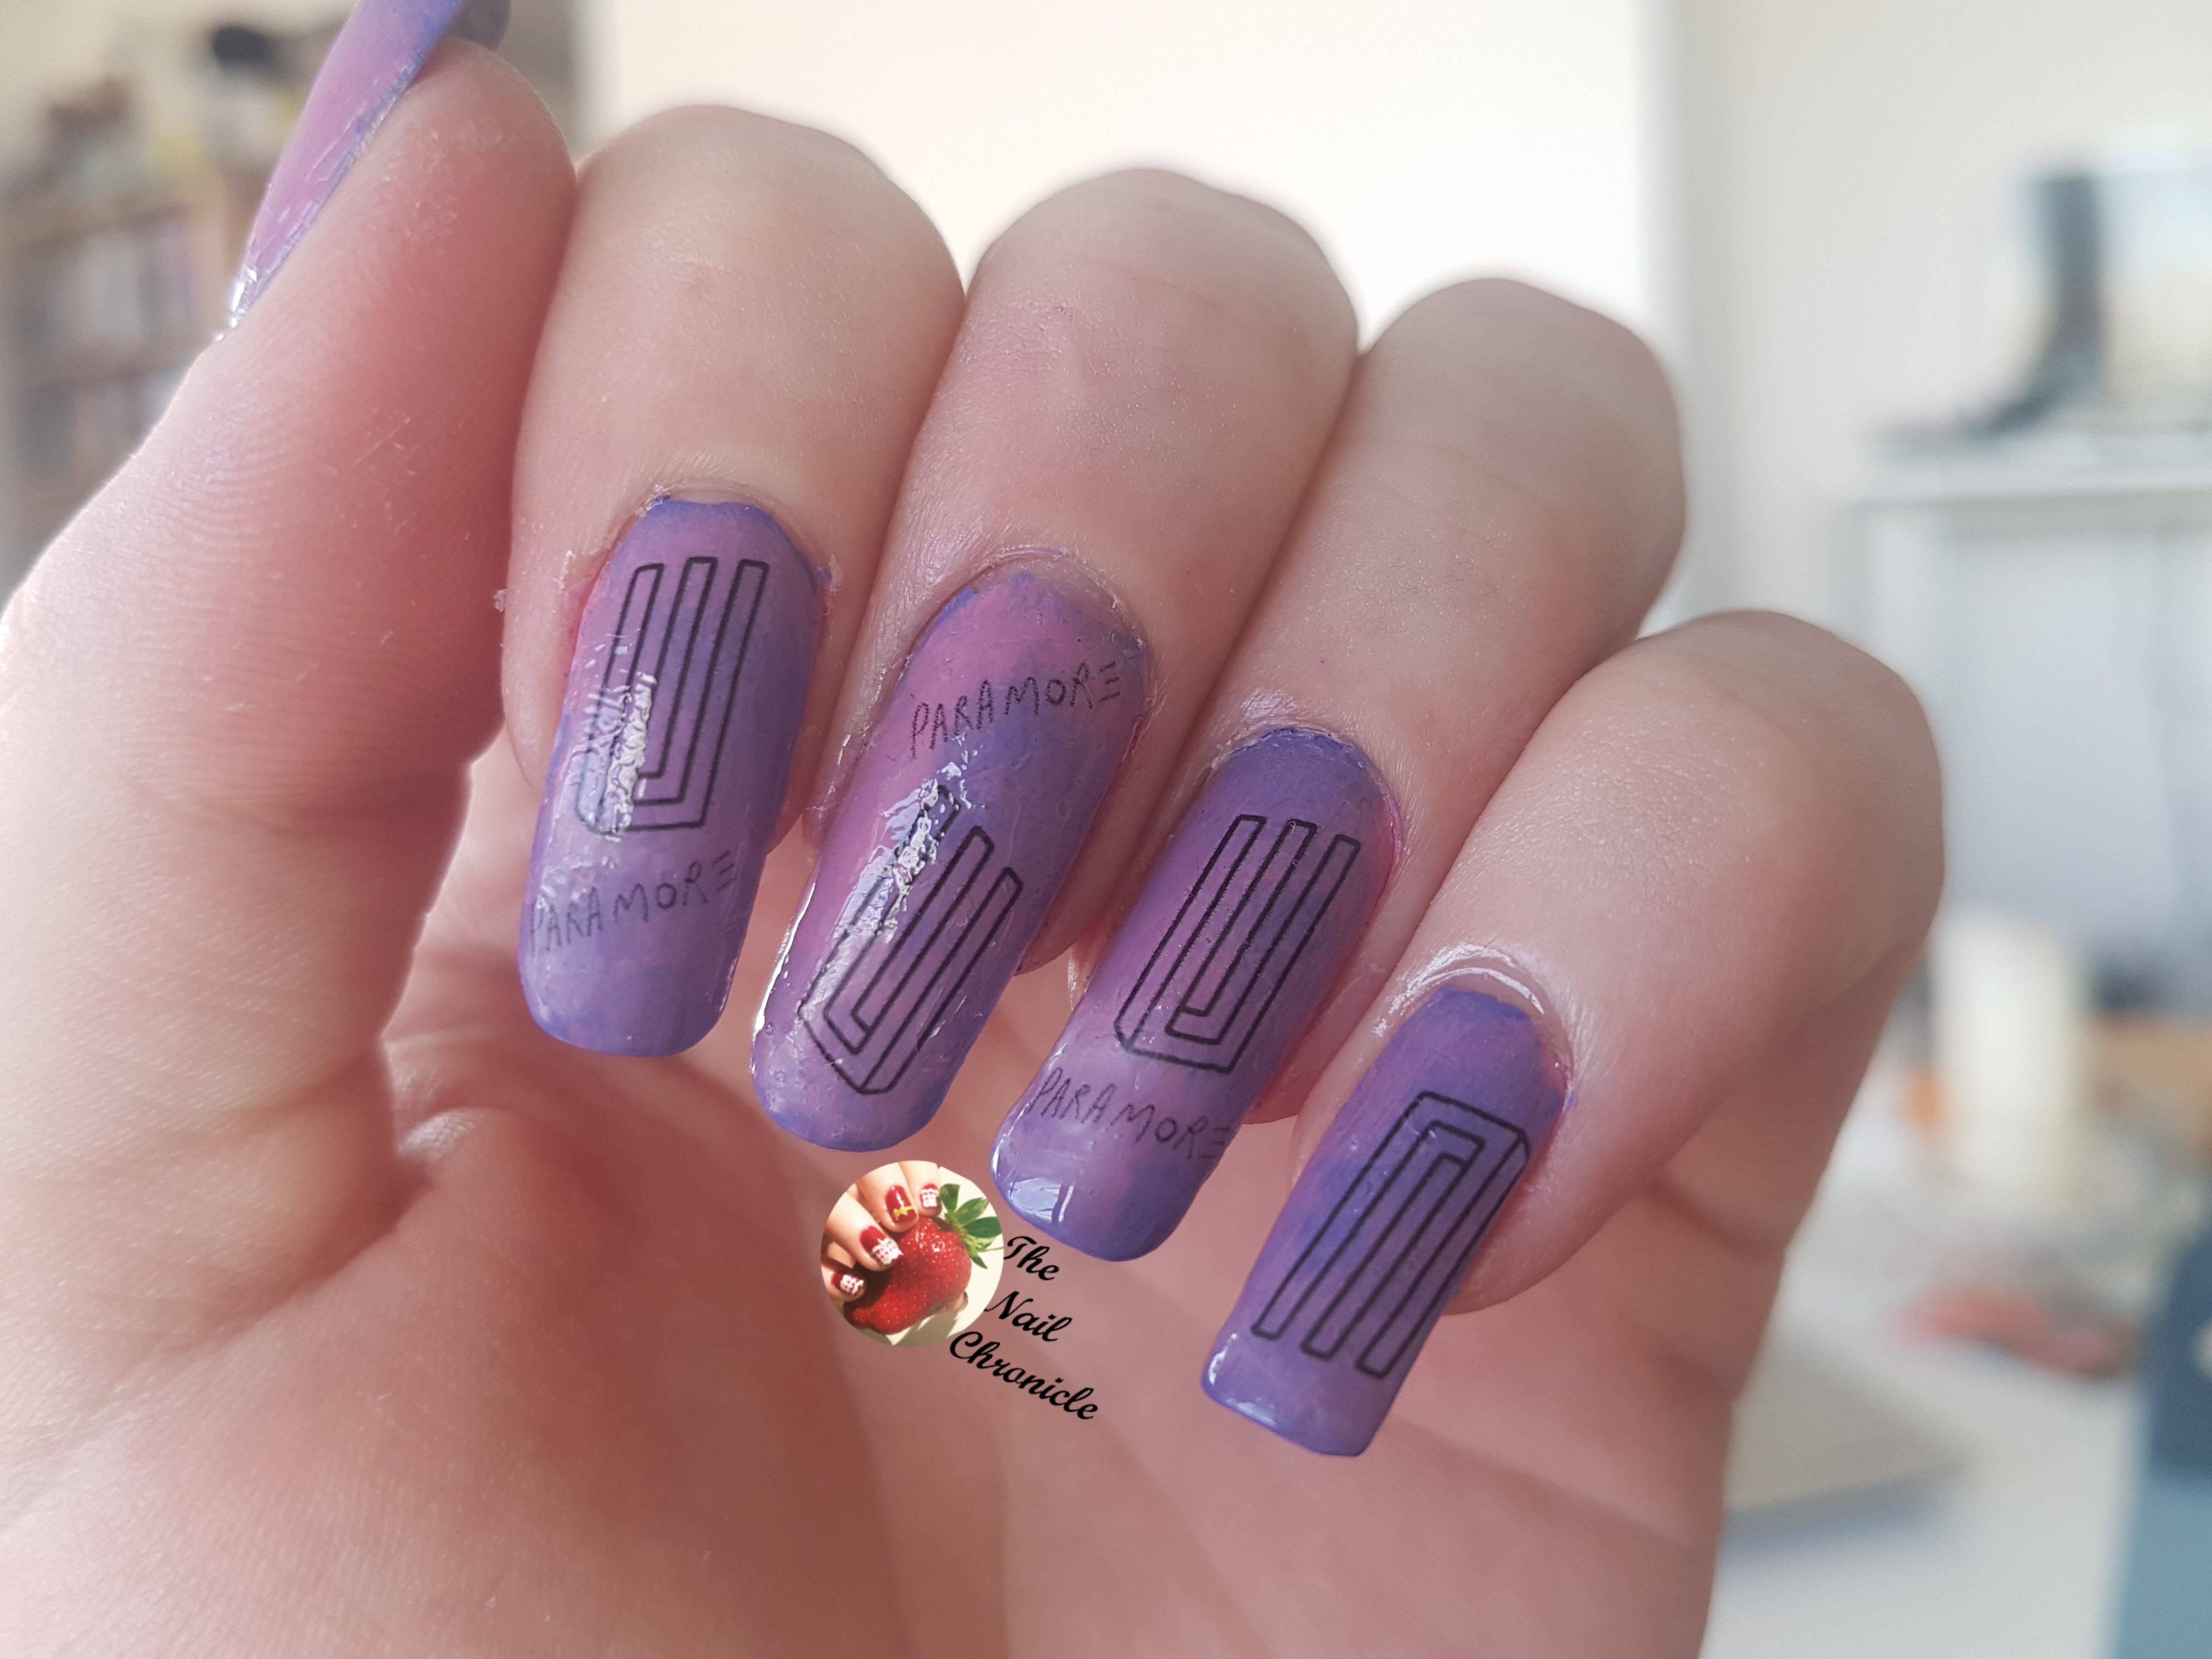


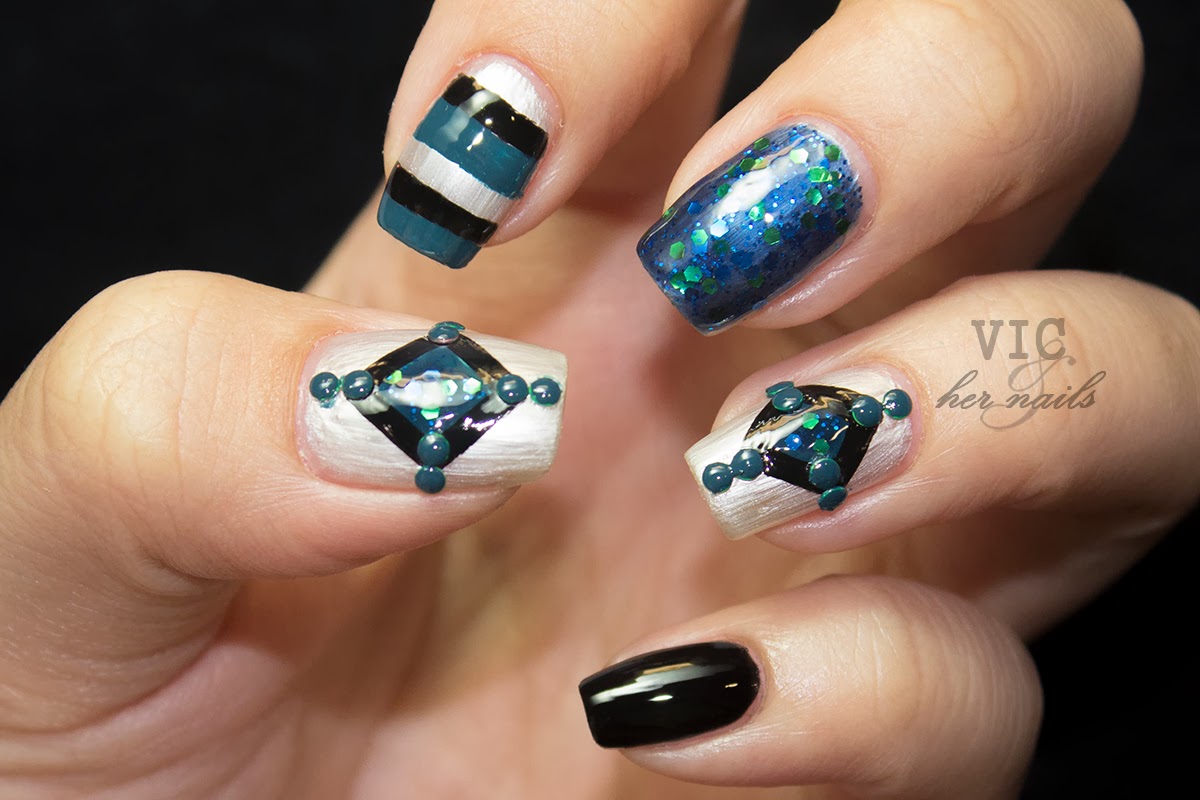
Want to stay on top of the latest nail design trends? We've got you covered. These are the top nail design trends that are taking over at-home manicures. Main Keywords: top, nail design trends, at-home manicures, stay on top, latest, taking over One of the hottest nail design trends right now is the negative space design. This involves leaving parts of your nails unpainted for a unique and minimalist look. You can also add a pop of color or design to the uncovered areas for a more eye-catching effect. Main Keywords: hottest, nail design trends, negative space design, leaving, unpainted, unique, minimalist look, pop of color, design, uncovered areas, eye-catching effect Another popular trend is the mismatched manicure. This involves using different colors and designs on each nail for a fun and eclectic look. You can also mix and match patterns, textures, and finishes for a truly unique manicure. Main Keywords: popular trend, mismatched manicure, different colors, designs, each nail, fun, eclectic, mix and match, patterns, textures, finishes, unique manicure If you want to add some bling to your nails, try the jeweled nail design. This trend involves adding gems, rhinestones, or other embellishments to your nails for a glamorous and eye-catching look. You can also mix and match different sizes and shapes for a more textured and dimensional effect. Main Keywords: bling, jeweled nail design, gems, rhinestones, embellishments, glamorous, eye-catching, mix and match, different sizes, shapes, textured, dimensional effect6. Top Nail Design Trends for At-Home Manicures
6. Top Nail Design Trends for At-Home Manicures


Who doesn't love the look and feel of a fresh salon manicure? With these tips, you can achieve salon-quality nails right at home. Main Keywords: achieve, salon-quality nails, home, tips First and foremost, make sure you have the right tools and supplies. This includes a good base coat and top coat, high-quality nail polish, and any other tools you may need for your desired nail design. Main Keywords: right tools, supplies, good base coat, top coat, high-quality nail polish, tools, desired nail design Next, take your time. Rushing through a manicure can lead to sloppy results. Take your time to properly prep your nails, apply the polish, and let it dry between coats. This will ensure a flawless finish. Main Keywords: take your time, rushing, sloppy results, properly prep, nails, apply, polish, dry, coats, flawless finish Don't forget to moisturize your hands and cuticles regularly. This will not only keep your hands soft and smooth but also promote healthy nail growth. You can also use cuticle oil to keep your cuticles hydrated and prevent them from becoming dry and cracked. Main Keywords: moisturize, hands, cuticles, regularly, soft, smooth, promote, healthy nail growth, cuticle oil, hydrated, prevent, dry, cracked7. How to Achieve Salon-Quality Nails at Home


7. How to Achieve Salon-Quality Nails at Home


If you're in need of some cute and easy nail designs for your next DIY manicure, look no further. These nail designs are perfect for beginners and can be done with minimal tools and supplies. Main Keywords: cute, easy nail designs, DIY manicures, need, next, beginners, minimal tools, supplies The half-moon design is a simple yet chic nail art idea that is perfect for DIY manicures. Start with a base coat, then place a hole reinforcer at the base of your nail. Paint the exposed half of your nail with your desired color, then remove the reinforcer to reveal a perfect half-moon. Finish with a top coat for a polished look. Main Keywords: half-moon design, simple, chic, nail art idea, base coat, hole reinforcer, exposed half, desired color, remove, perfect, polished look If you want to add a touch of glam to your nails, try a metallic accent nail. After painting your nails with a base color, use a metallic polish on one or two nails for a pop of shine. You can also use a metallic gradient technique by starting with a heavy coat of metallic polish at the tips and gradually fading it out towards the base of the nail. Main Keywords: touch of glam, metallic accent nail, base color, metallic polish, pop of shine, metallic gradient, heavy coat, tips, gradually fading, base of the nail8. Cute and Easy Nail Designs for DIY Manicures


8. Cute and Easy Nail Designs for DIY Manicures


The Best Nail Design to Do at Home
Why Do Your Own Nail Design at Home?
 As the world continues to adapt to the new normal of staying at home, many people have turned to DIY projects to keep themselves busy and entertained. One popular trend that has emerged is doing your own nail design at home. Not only is it a fun and creative activity, but it also saves time and money compared to going to a salon. Plus, with the right techniques and tools, you can achieve professional-looking nails in the comfort of your own home.
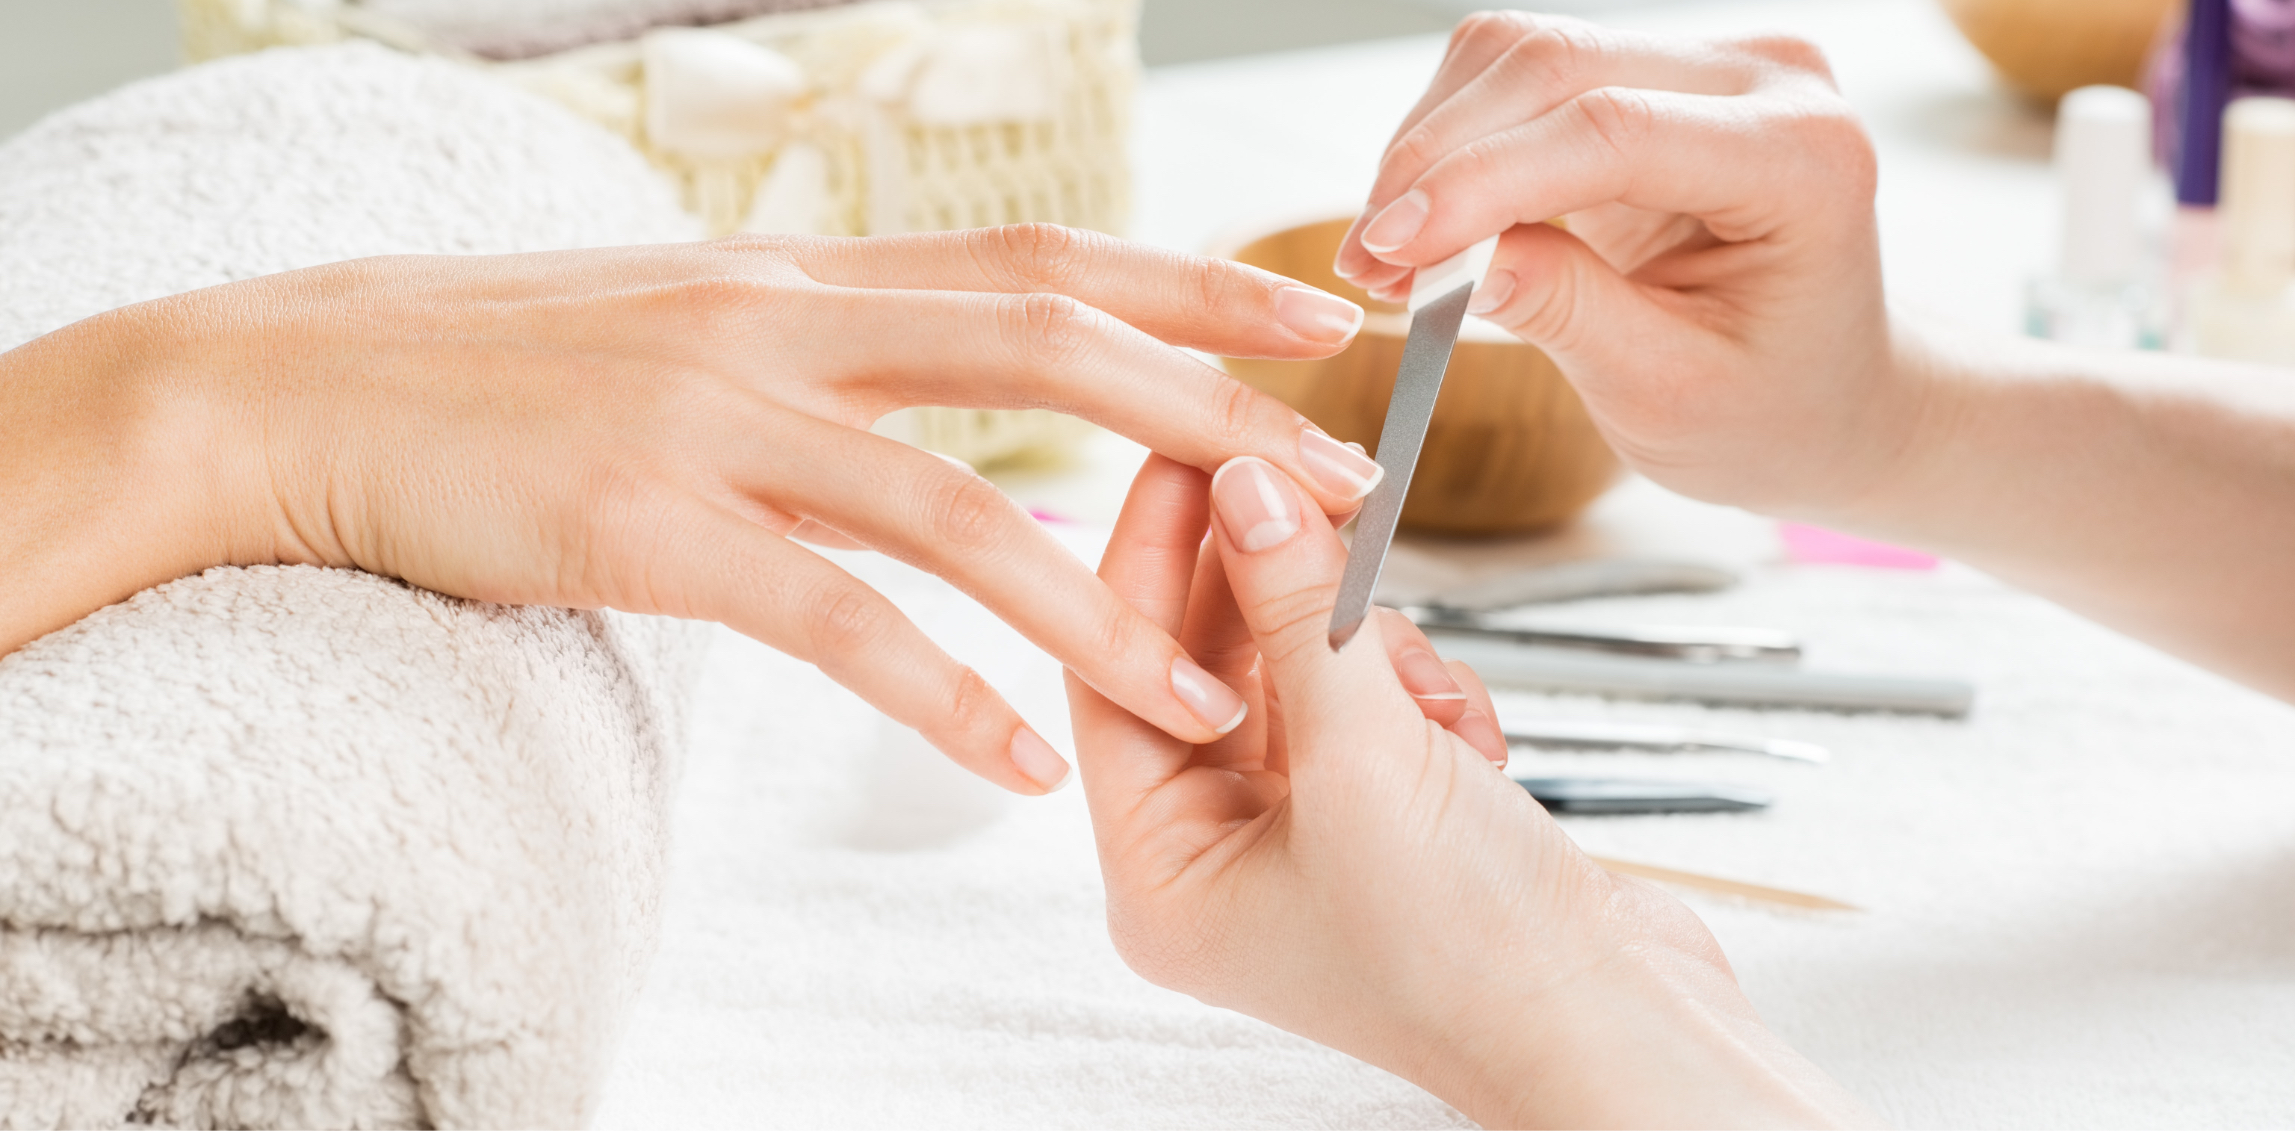
Essential Tools for At-Home Nail Design
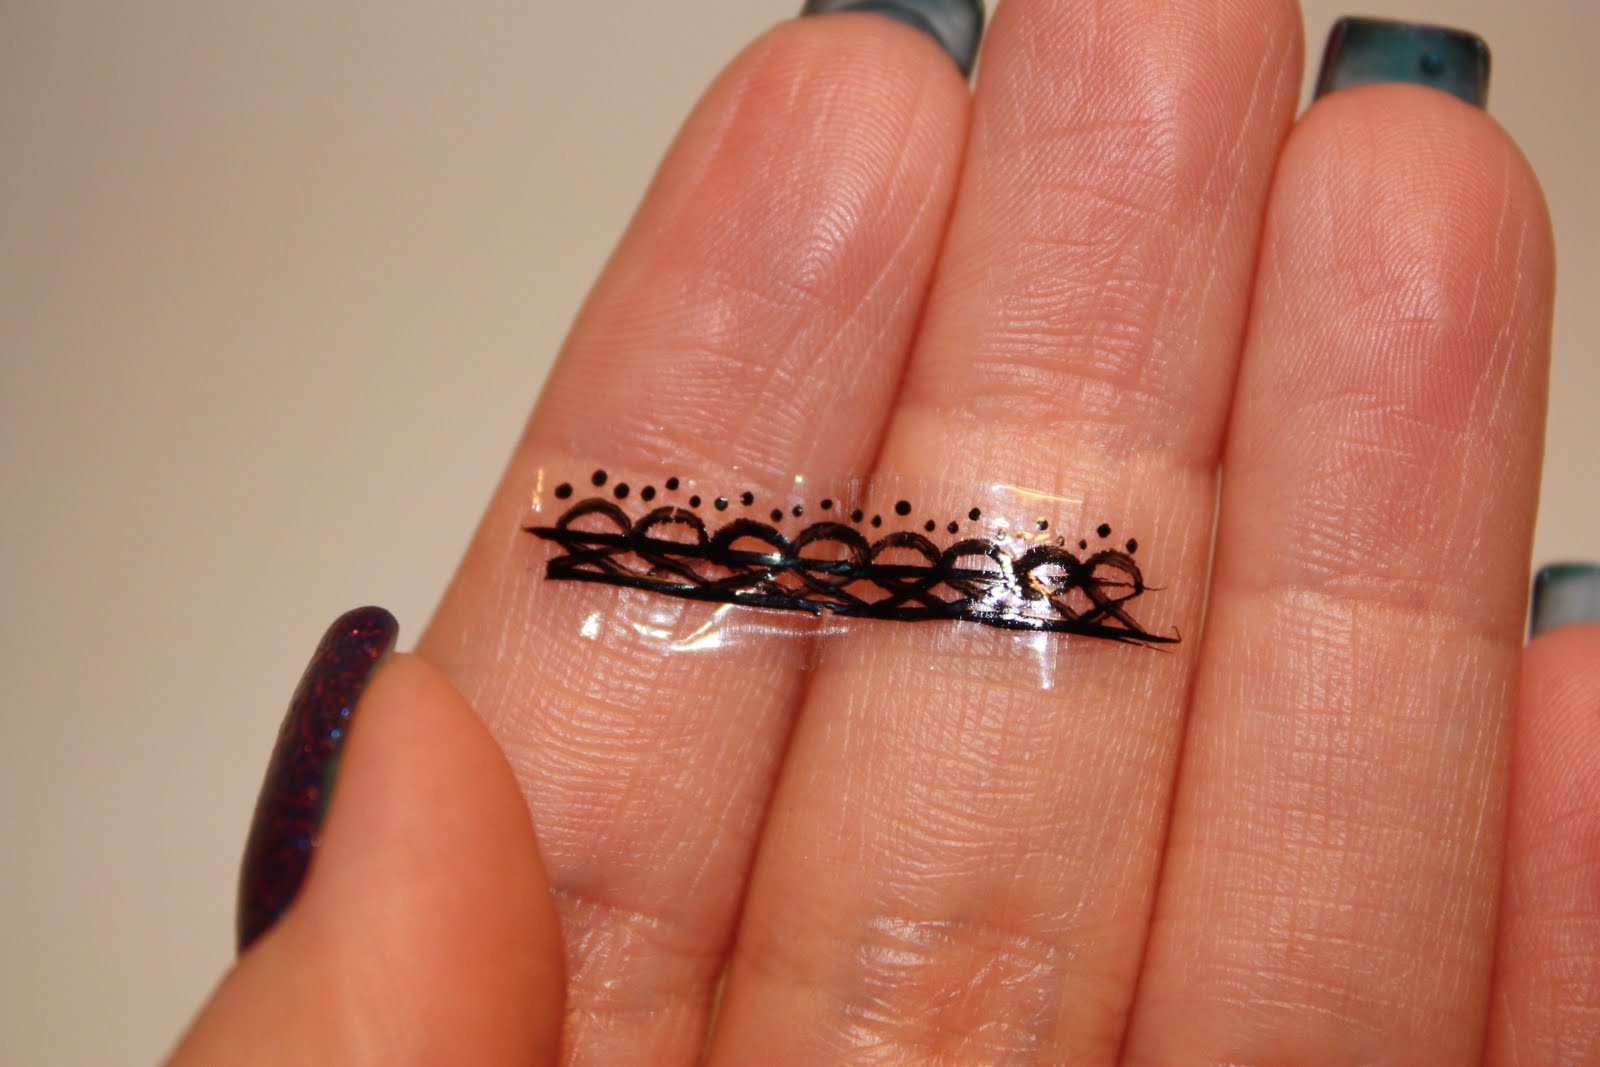
 Before diving into the different nail designs you can do at home, it's important to have the necessary tools on hand. These include a nail file, cuticle pusher, nail polish remover, base and top coat, and a variety of nail polish colors. You can also invest in additional tools such as nail art brushes, dotting tools, and striping tape for more intricate designs. Having these tools readily available will make the process of doing your own nail design much easier and more enjoyable.
Simple and Chic Nail Design Ideas
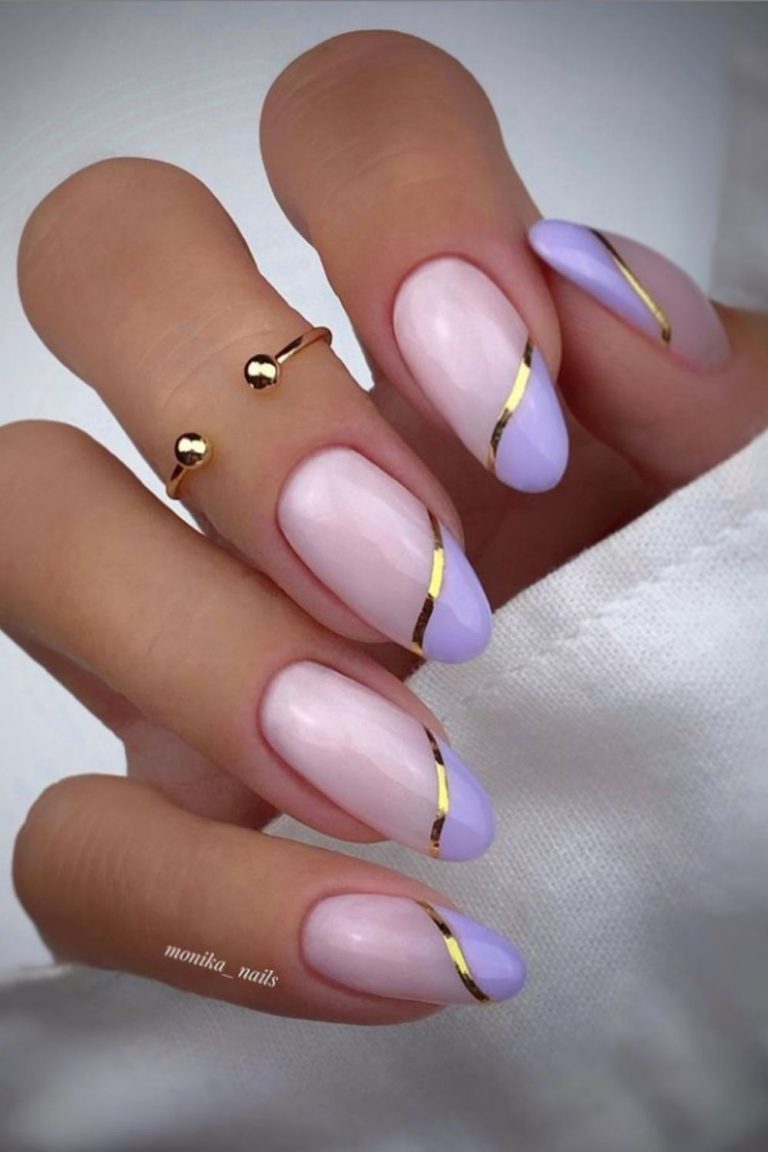
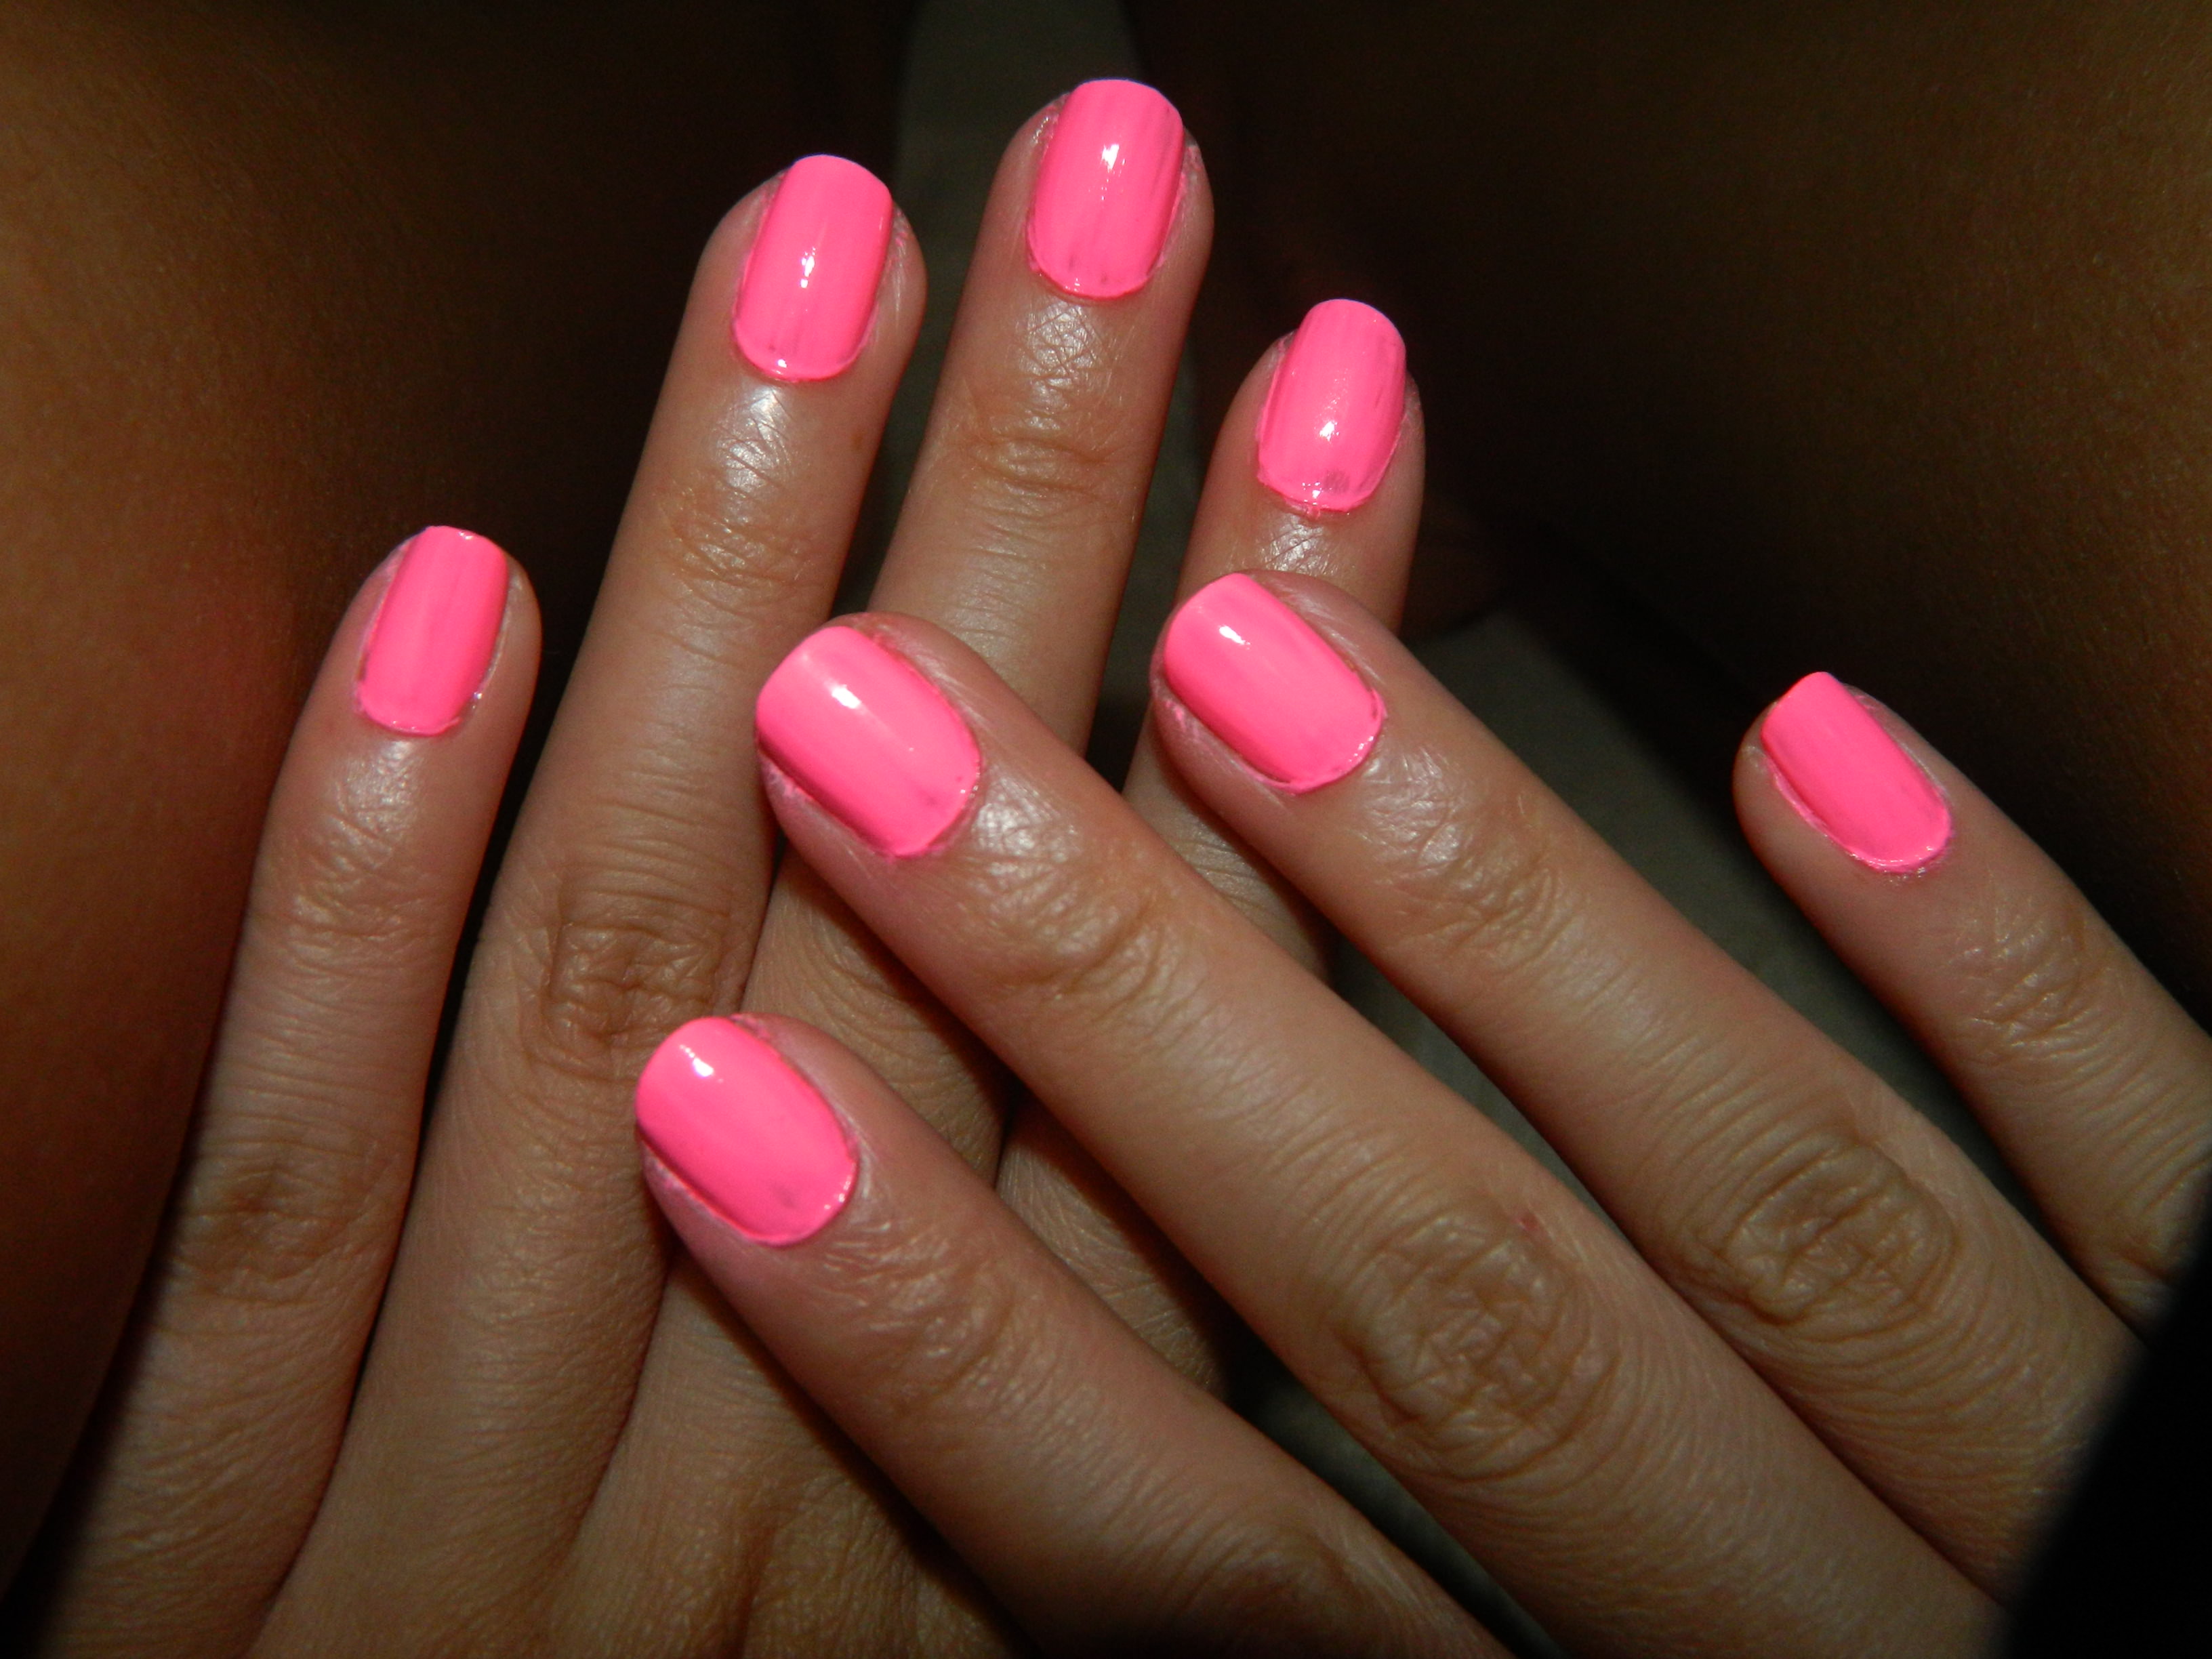 For those who are new to doing their own nails, starting with simple designs is a great way to build confidence and improve your skills. One popular design is the classic French manicure, which involves painting the tips of your nails white and the rest of the nail with a light pink or nude color. Another easy and elegant design is the ombre effect, achieved by painting each nail with a different shade of the same color, starting with the lightest shade at the base and gradually getting darker towards the tip.
Experiment with Fun and Creative Nail Designs
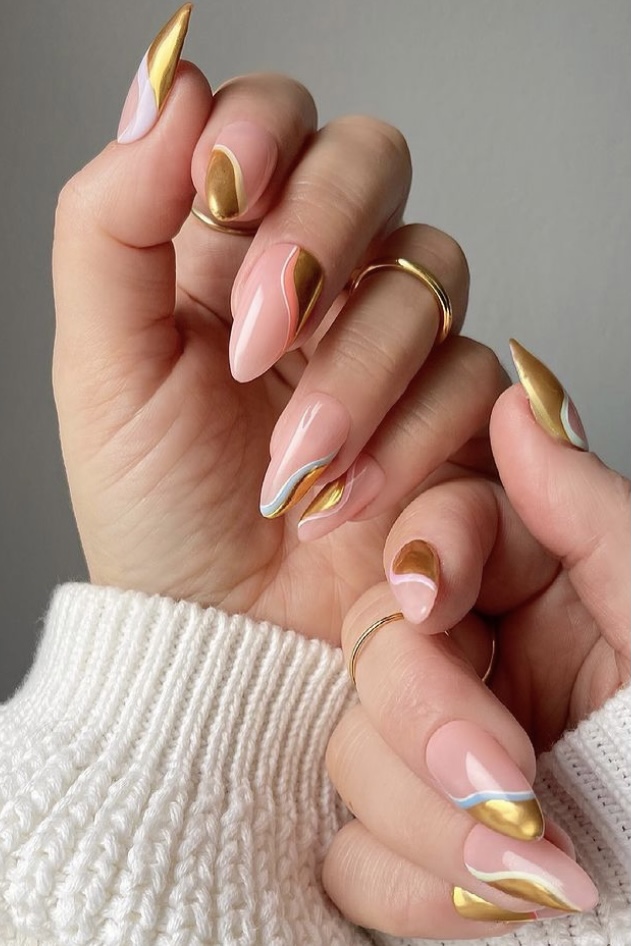
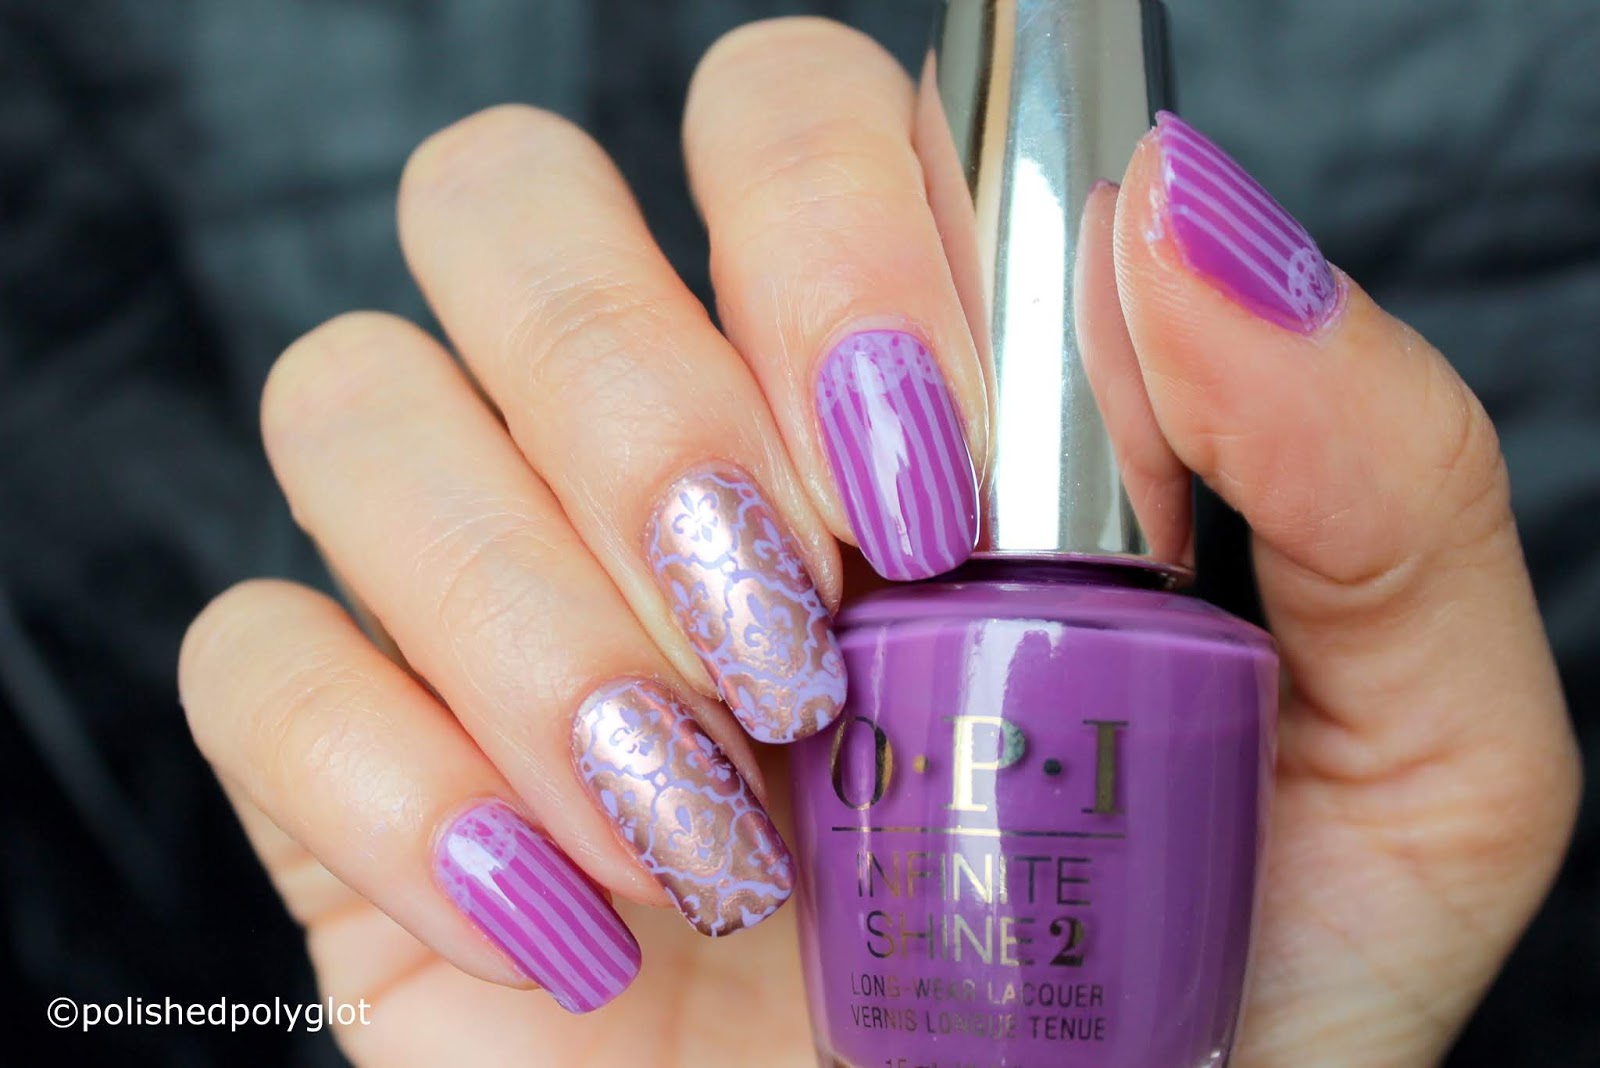
 Once you feel more confident in your nail design abilities, you can branch out and try more unique and creative designs. One popular trend is the negative space manicure, where part of the natural nail is left unpainted for a modern and edgy look. You can also play with different patterns and designs using nail art brushes, such as polka dots, stripes, or even tiny flowers. The possibilities are endless, so have fun and let your creativity shine!
In conclusion, doing your own nail design at home is not only a cost-effective option but also a fun and creative activity. With the right tools and techniques, you can achieve professional-looking nails without having to leave your house. So grab your favorite nail polish colors and start experimenting with different designs today!
Once you feel more confident in your nail design abilities, you can branch out and try more unique and creative designs. One popular trend is the negative space manicure, where part of the natural nail is left unpainted for a modern and edgy look. You can also play with different patterns and designs using nail art brushes, such as polka dots, stripes, or even tiny flowers. The possibilities are endless, so have fun and let your creativity shine!
In conclusion, doing your own nail design at home is not only a cost-effective option but also a fun and creative activity. With the right tools and techniques, you can achieve professional-looking nails without having to leave your house. So grab your favorite nail polish colors and start experimenting with different designs today!


