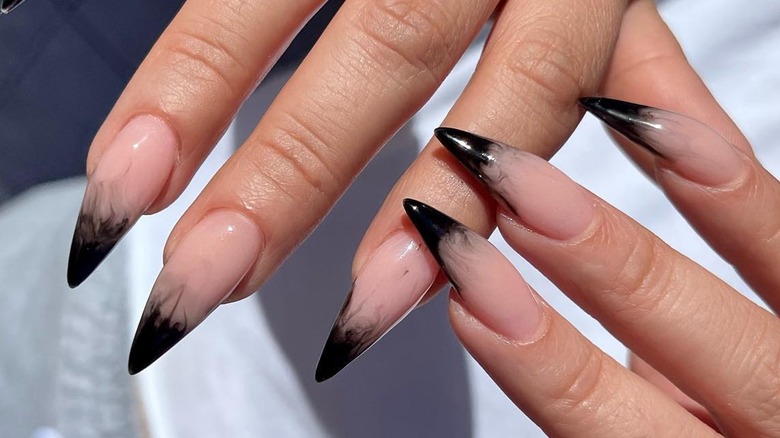
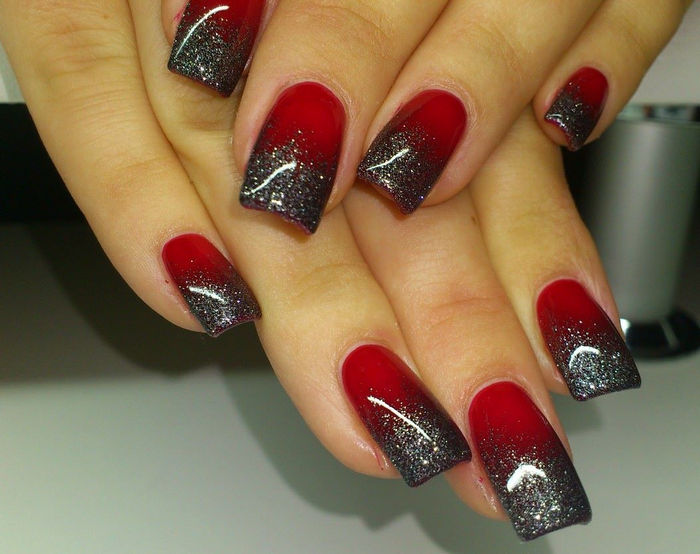
Black and silver is a classic color combination that never goes out of style. It's sophisticated, elegant, and perfect for any occasion. When it comes to nail art, this color duo is a popular choice for creating ombre designs. The key to achieving a stunning black and silver ombre nail art is to blend the colors seamlessly. Start by painting your nails with a black base color and let it dry completely. Then, using a makeup sponge, dab on the silver polish onto the tips of your nails, gradually fading it towards the middle. You can also add some glitter for an extra touch of glam. Finish off with a clear topcoat to seal in the design.1. Black and Silver Ombre Nail Art Design


1. Black and Silver Ombre Nail Art Design


If you want a more edgy and modern look, try a matte black ombre nail art design. The matte finish adds a unique texture to your nails and makes the ombre effect even more striking. To achieve this look, start by painting your nails with a black matte nail polish. Then, using a makeup sponge, dab on a shiny black polish on the tips of your nails, fading it towards the middle. Seal the design with a matte topcoat for a flawless finish.2. Matte Black Ombre Nail Art Design


2. Matte Black Ombre Nail Art Design


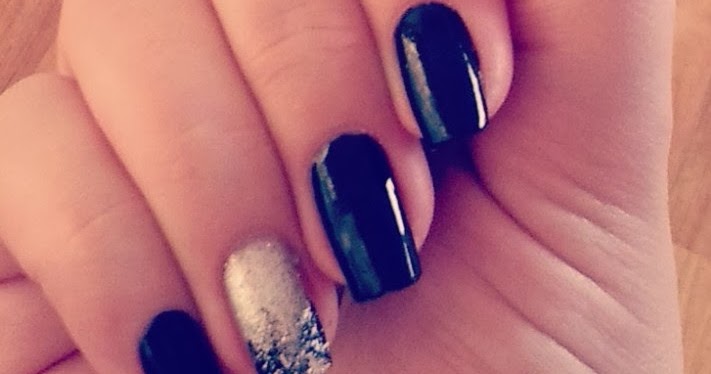
Black and gold is a luxurious color combination that exudes elegance and glamour. This ombre nail art design is perfect for special occasions or when you want to add a touch of sophistication to your look. To create this design, start by painting your nails with a black base color and let it dry completely. Then, using a makeup sponge, dab on a gold polish onto the tips of your nails, gradually fading it towards the middle. You can also add some gold glitter for a more dazzling effect. Finish off with a clear topcoat to seal in the design.3. Black and Gold Ombre Nail Art Design


3. Black and Gold Ombre Nail Art Design

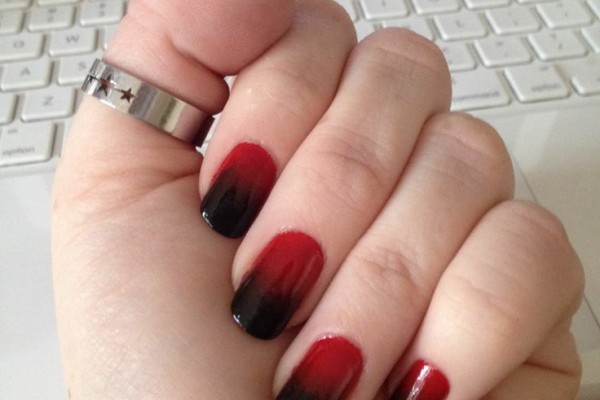
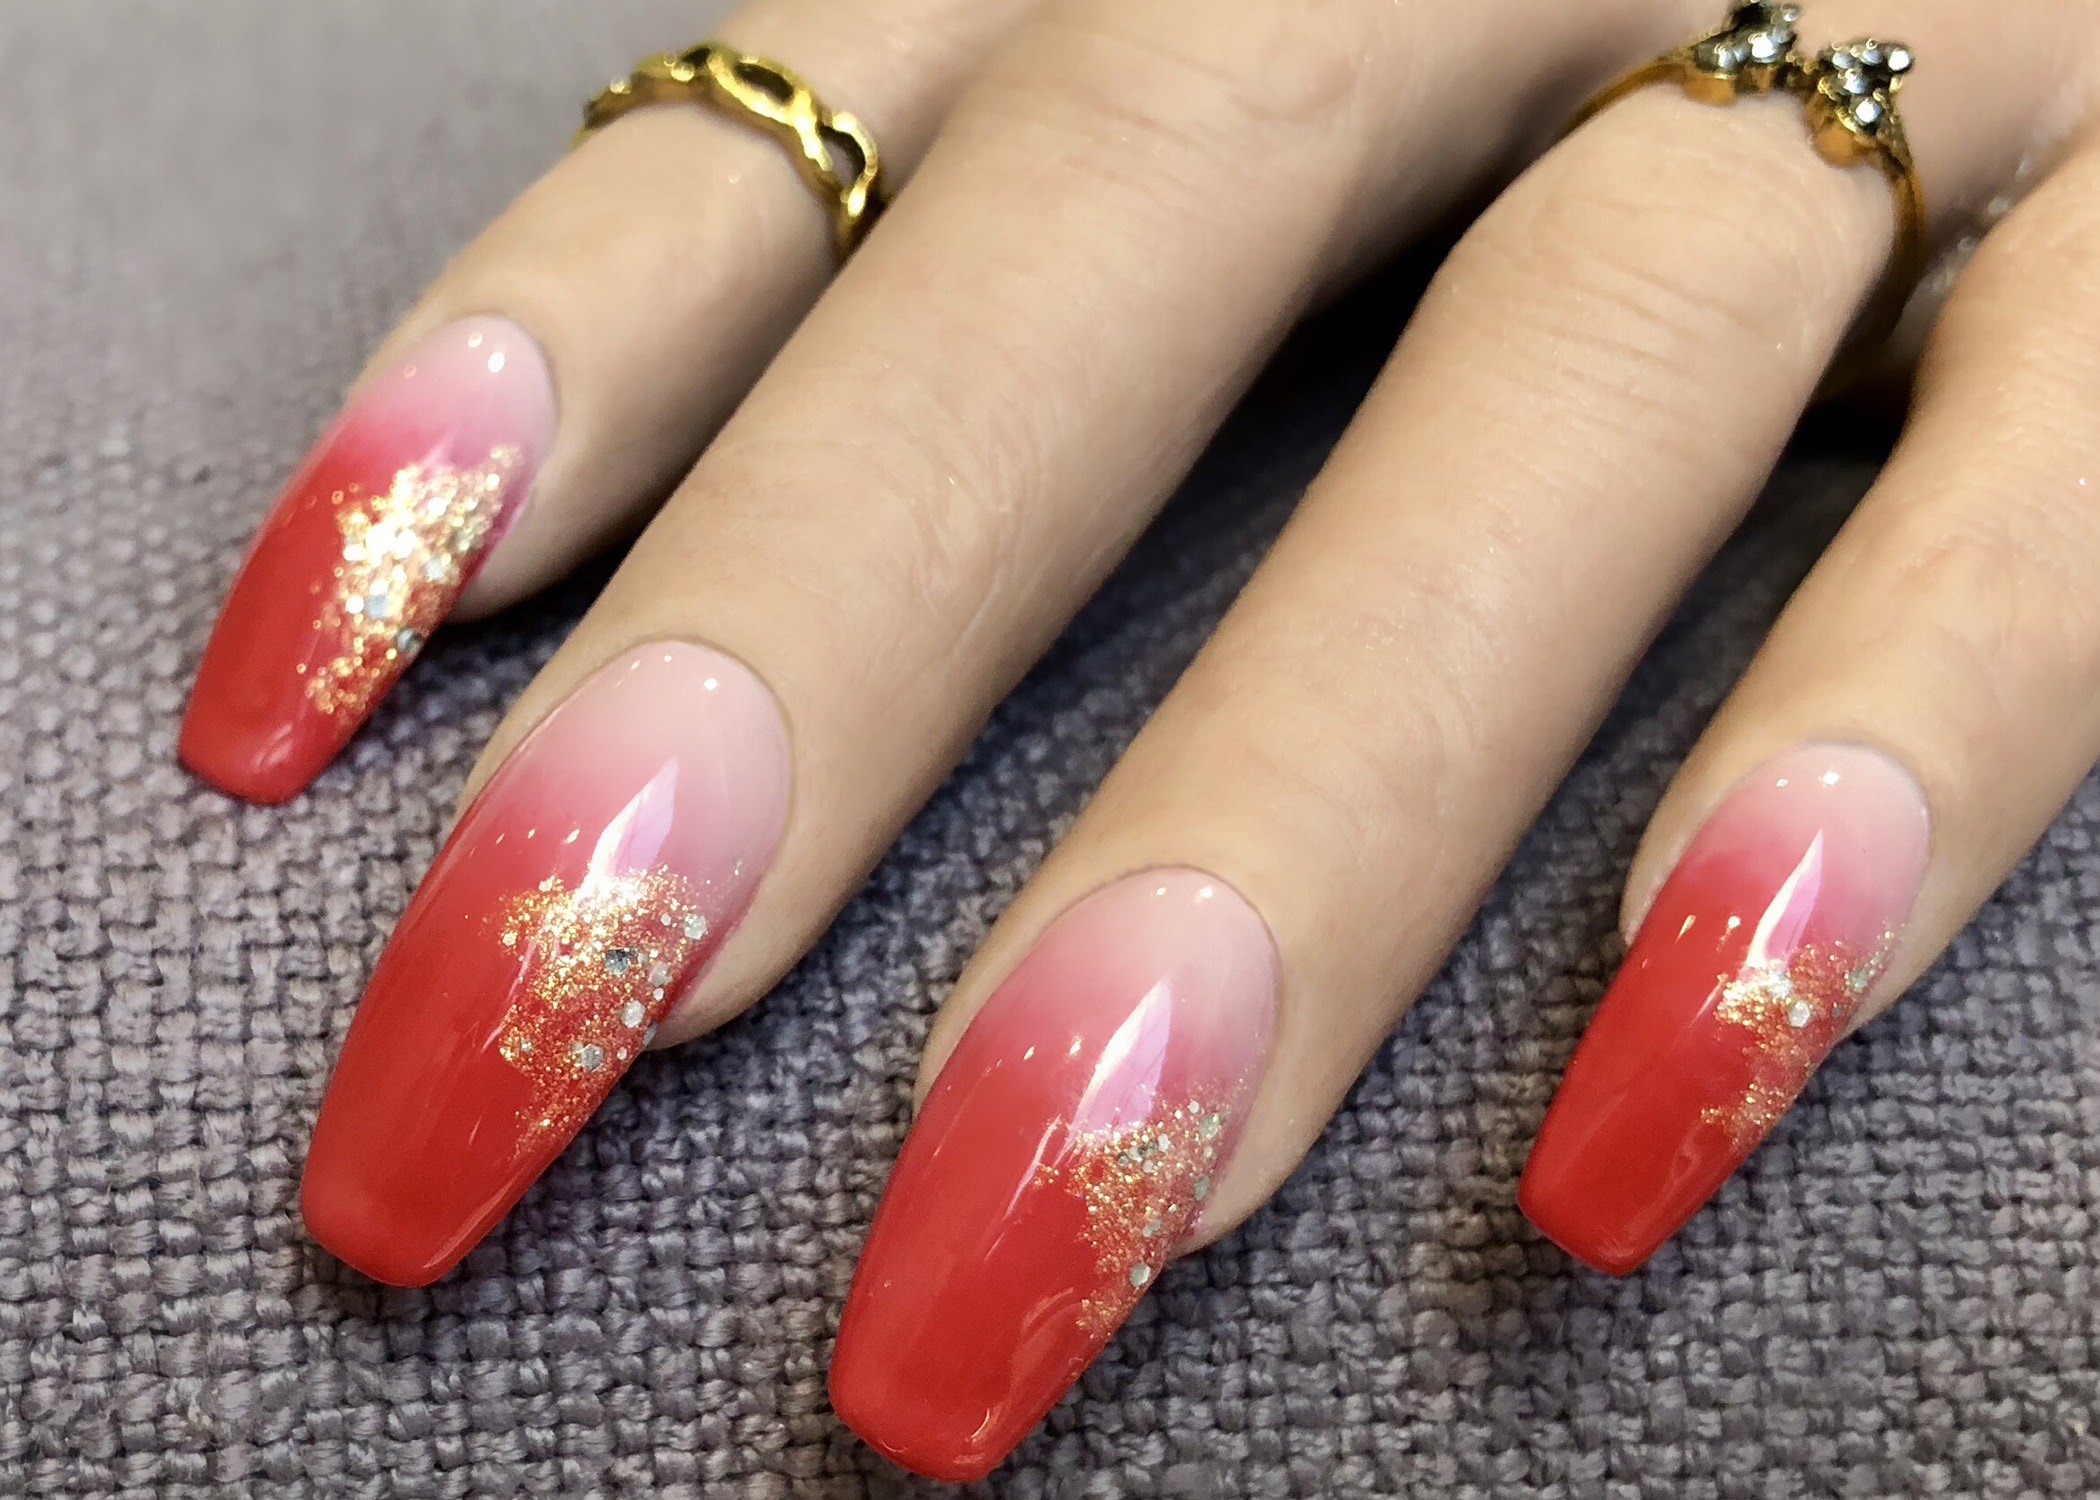
Black and red is a bold and dramatic color combination that never fails to make a statement. This ombre nail art design is perfect for those who love to add a pop of color to their look. To achieve this look, start by painting your nails with a black base color and let it dry completely. Then, using a makeup sponge, dab on a red polish onto the tips of your nails, gradually fading it towards the middle. You can also add some black glitter for an extra touch of glam. Finish off with a clear topcoat to seal in the design.4. Black and Red Ombre Nail Art Design

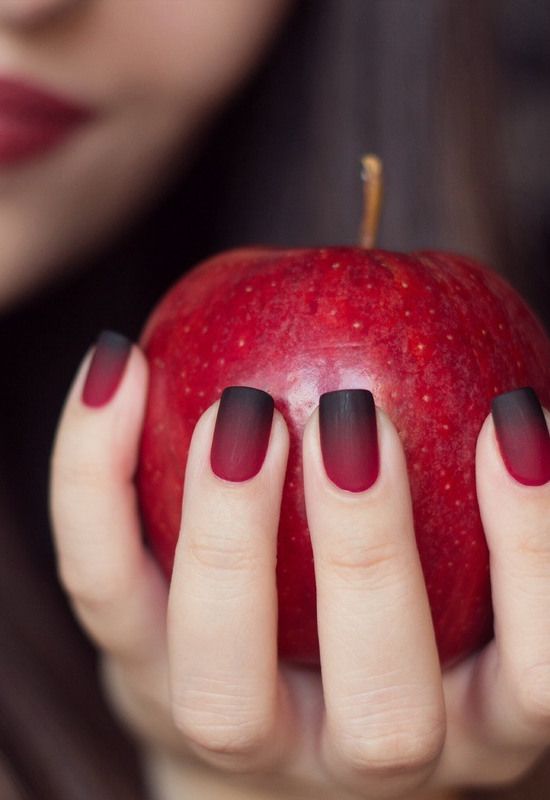

4. Black and Red Ombre Nail Art Design

The black and white color combination is a classic and timeless choice for any nail art design. It's simple yet chic, and the ombre effect adds a modern twist to the look. To create this design, start by painting your nails with a black base color and let it dry completely. Then, using a makeup sponge, dab on a white polish onto the tips of your nails, gradually fading it towards the middle. You can also add some black and white glitter for a fun and playful touch. Finish off with a clear topcoat to seal in the design.5. Black and White Ombre Nail Art Design

5. Black and White Ombre Nail Art Design
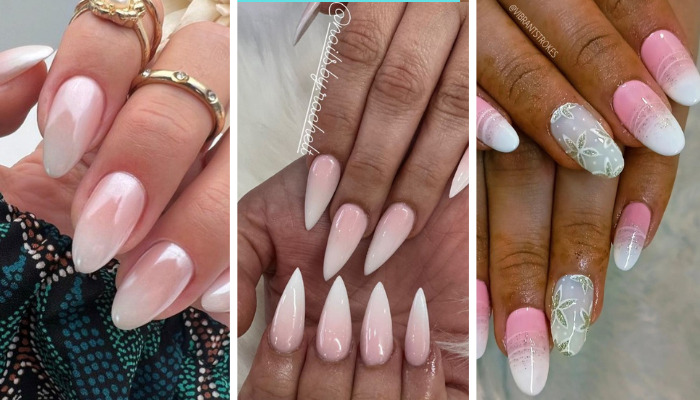
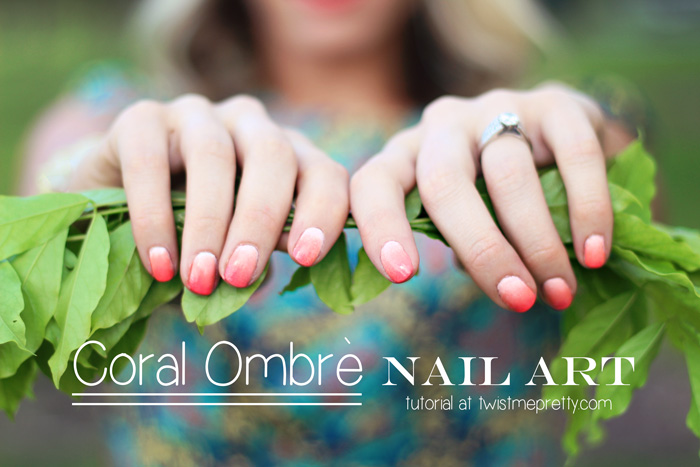
For a feminine and romantic look, try a black and pink ombre nail art design. This color combination is perfect for spring and summer and adds a pop of color to your nails. To achieve this look, start by painting your nails with a black base color and let it dry completely. Then, using a makeup sponge, dab on a pink polish onto the tips of your nails, gradually fading it towards the middle. You can also add some pink glitter for a more dazzling effect. Finish off with a clear topcoat to seal in the design.6. Black and Pink Ombre Nail Art Design

6. Black and Pink Ombre Nail Art Design


Black and purple is a bold and dramatic color combination that is perfect for making a statement. This ombre nail art design is perfect for those who love to experiment with different colors. To create this design, start by painting your nails with a black base color and let it dry completely. Then, using a makeup sponge, dab on a purple polish onto the tips of your nails, gradually fading it towards the middle. You can also add some black and purple glitter for an extra touch of glam. Finish off with a clear topcoat to seal in the design.7. Black and Purple Ombre Nail Art Design


7. Black and Purple Ombre Nail Art Design

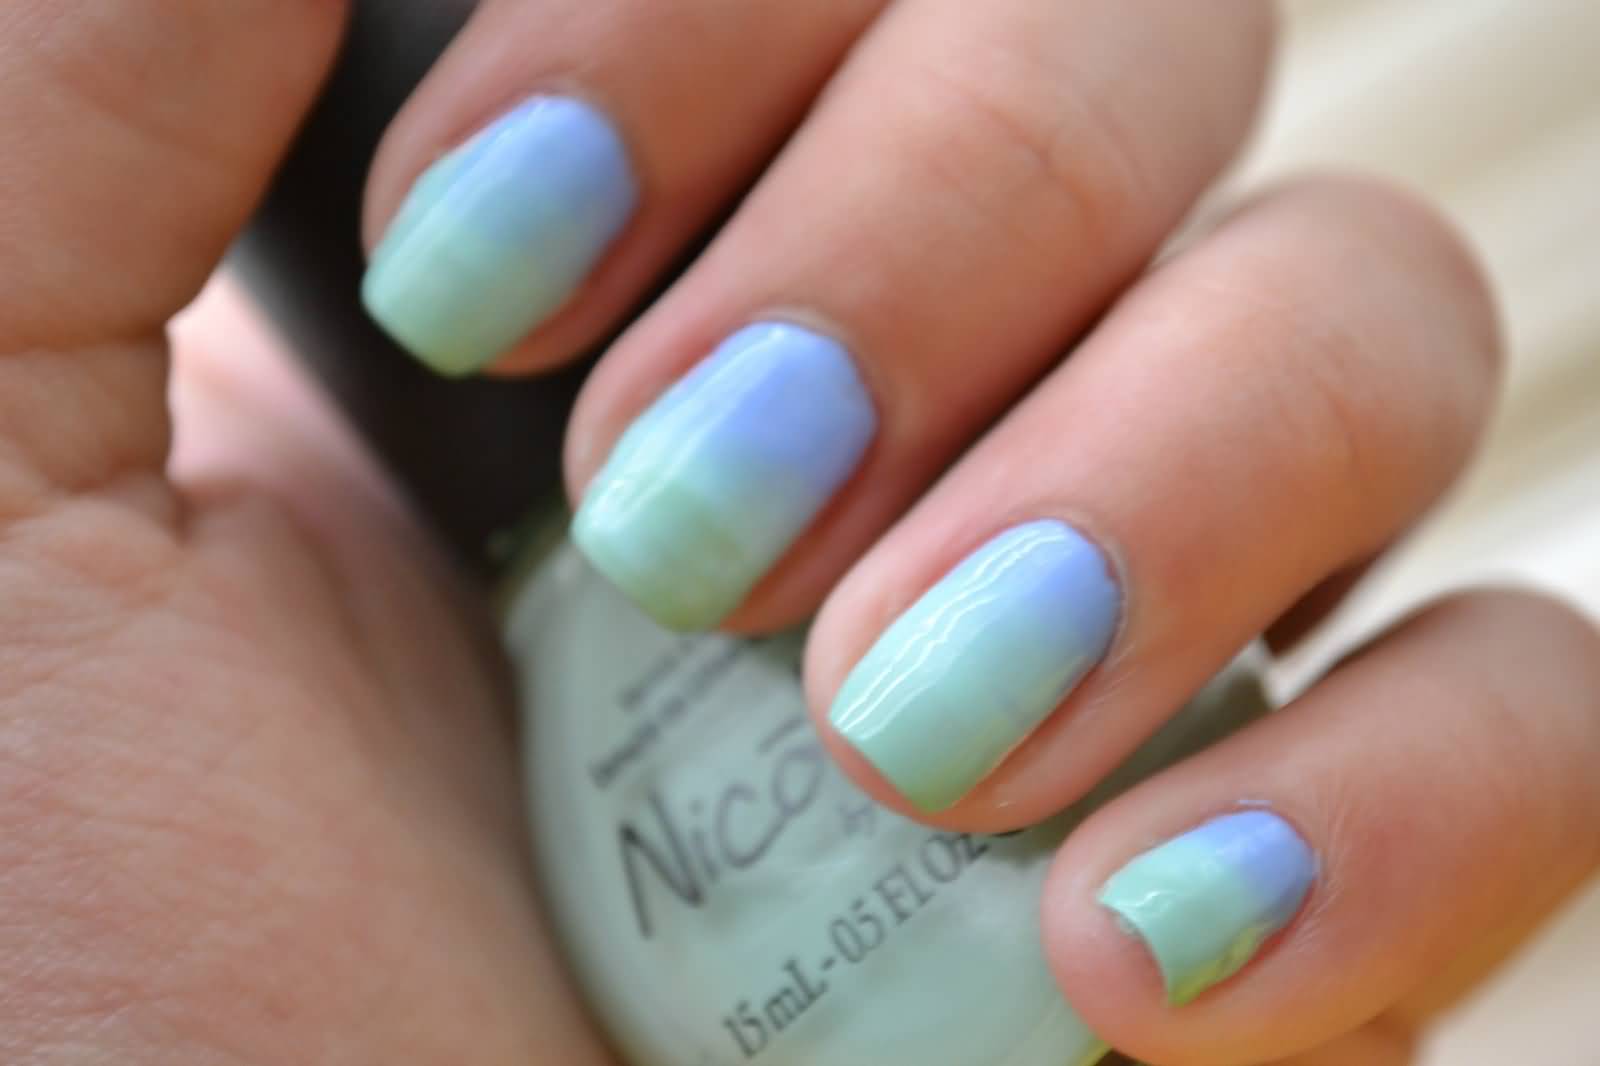
Black and blue is a unique and eye-catching color combination that is perfect for creating a striking ombre nail art design. This look is perfect for those who love to stand out from the crowd. To achieve this look, start by painting your nails with a black base color and let it dry completely. Then, using a makeup sponge, dab on a blue polish onto the tips of your nails, gradually fading it towards the middle. You can also add some black and blue glitter for a more dazzling effect. Finish off with a clear topcoat to seal in the design.8. Black and Blue Ombre Nail Art Design


8. Black and Blue Ombre Nail Art Design


Black and green is a unique and unconventional color combination that is perfect for creating a bold and daring ombre nail art design. This look is perfect for those who like to push the boundaries and try new things. To create this design, start by painting your nails with a black base color and let it dry completely. Then, using a makeup sponge, dab on a green polish onto the tips of your nails, gradually fading it towards the middle. You can also add some black and green glitter for an extra touch of glam. Finish off with a clear topcoat to seal in the design.9. Black and Green Ombre Nail Art Design

9. Black and Green Ombre Nail Art Design

Black and yellow is a fun and vibrant color combination that is perfect for creating a playful and eye-catching ombre nail art design. This look is perfect for summer or when you want to add a pop of color to your look. To achieve this look, start by painting your nails with a black base color and let it dry completely. Then, using a makeup sponge, dab on a yellow polish onto the tips of your nails, gradually fading it towards the middle. You can also add some black and yellow glitter for a more dazzling effect. Finish off with a clear topcoat to seal in the design.10. Black and Yellow Ombre Nail Art Design

10. Black and Yellow Ombre Nail Art Design
How to Achieve the Perfect Black Ombre Nail Art Design

Adding a Touch of Elegance to Your Nails
 When it comes to nail art, there are endless possibilities to express your creativity and style. One of the most popular trends in recent years is the black ombre nail art design. This unique and sophisticated look has taken the fashion industry by storm, and it's not hard to see why. The combination of dark and light shades adds depth and dimension to your nails, making them stand out in any crowd.
The Basics of Black Ombre Nail Art Design
 To achieve the perfect black ombre nail art design, you'll need a few essential tools. These include a base coat, top coat, black nail polish, and a lighter shade of your choice. You can experiment with different colors to find the perfect combination that suits your style. Some popular shades to pair with black include silver, gold, and burgundy. You'll also need a makeup sponge, a small brush, and acetone or nail polish remover for cleanup.
The Step-by-Step Process
 Step 1: Start by prepping your nails with a base coat to protect them and ensure your nail polish lasts longer.
Step 2: Apply a coat of black nail polish to the entire nail. Make sure to let it dry completely before moving on to the next step.
Step 3: Take your lighter shade of choice and paint it onto a makeup sponge. Use a dabbing motion to create a fading effect on the sponge.
Step 4: Gently press the sponge onto the tip of your nail, starting at the free edge and moving towards the middle of the nail. You can repeat this step until you achieve your desired level of ombre.
Step 5: Using a small brush dipped in acetone or nail polish remover, clean up any excess polish from around your nails.
Step 6: Once your nails are completely dry, finish off with a top coat to seal in your design and add some shine.
Step 1: Start by prepping your nails with a base coat to protect them and ensure your nail polish lasts longer.
Step 2: Apply a coat of black nail polish to the entire nail. Make sure to let it dry completely before moving on to the next step.
Step 3: Take your lighter shade of choice and paint it onto a makeup sponge. Use a dabbing motion to create a fading effect on the sponge.
Step 4: Gently press the sponge onto the tip of your nail, starting at the free edge and moving towards the middle of the nail. You can repeat this step until you achieve your desired level of ombre.
Step 5: Using a small brush dipped in acetone or nail polish remover, clean up any excess polish from around your nails.
Step 6: Once your nails are completely dry, finish off with a top coat to seal in your design and add some shine.
Tips and Tricks for the Perfect Black Ombre Nail Art Design
 - For a more dramatic look, you can add additional coats of black nail polish to create a darker base.
- If you're new to ombre nail art, start with a lighter shade to make the blending process easier.
- Don't be afraid to experiment with different color combinations to find your perfect match.
- To make your design last longer, seal the tips of your nails with the top coat to prevent chipping.
- For a more dramatic look, you can add additional coats of black nail polish to create a darker base.
- If you're new to ombre nail art, start with a lighter shade to make the blending process easier.
- Don't be afraid to experiment with different color combinations to find your perfect match.
- To make your design last longer, seal the tips of your nails with the top coat to prevent chipping.
Final Thoughts
 The black ombre nail art design is a versatile and elegant way to elevate your nail game. With the right tools and techniques, you can achieve this trendy look in no time. So go ahead, get creative, and let your nails make a bold statement with this stunning nail art design.


