Learn how to create a chic and stylish bow tie nail design with our easy-to-follow tutorial. This nail art is perfect for any occasion and can add a touch of sophistication to your look. With just a few simple steps, you can achieve this elegant and trendy nail art design. Bow tie nail art has been gaining popularity in the beauty world, and for good reason. It's a fun and creative way to add a unique touch to your nails. In this tutorial, we'll show you how to create the perfect bow tie design using a few basic nail polish colors and some simple tools.1. Bow Tie Nail Art Tutorial


1. Bow Tie Nail Art Tutorial


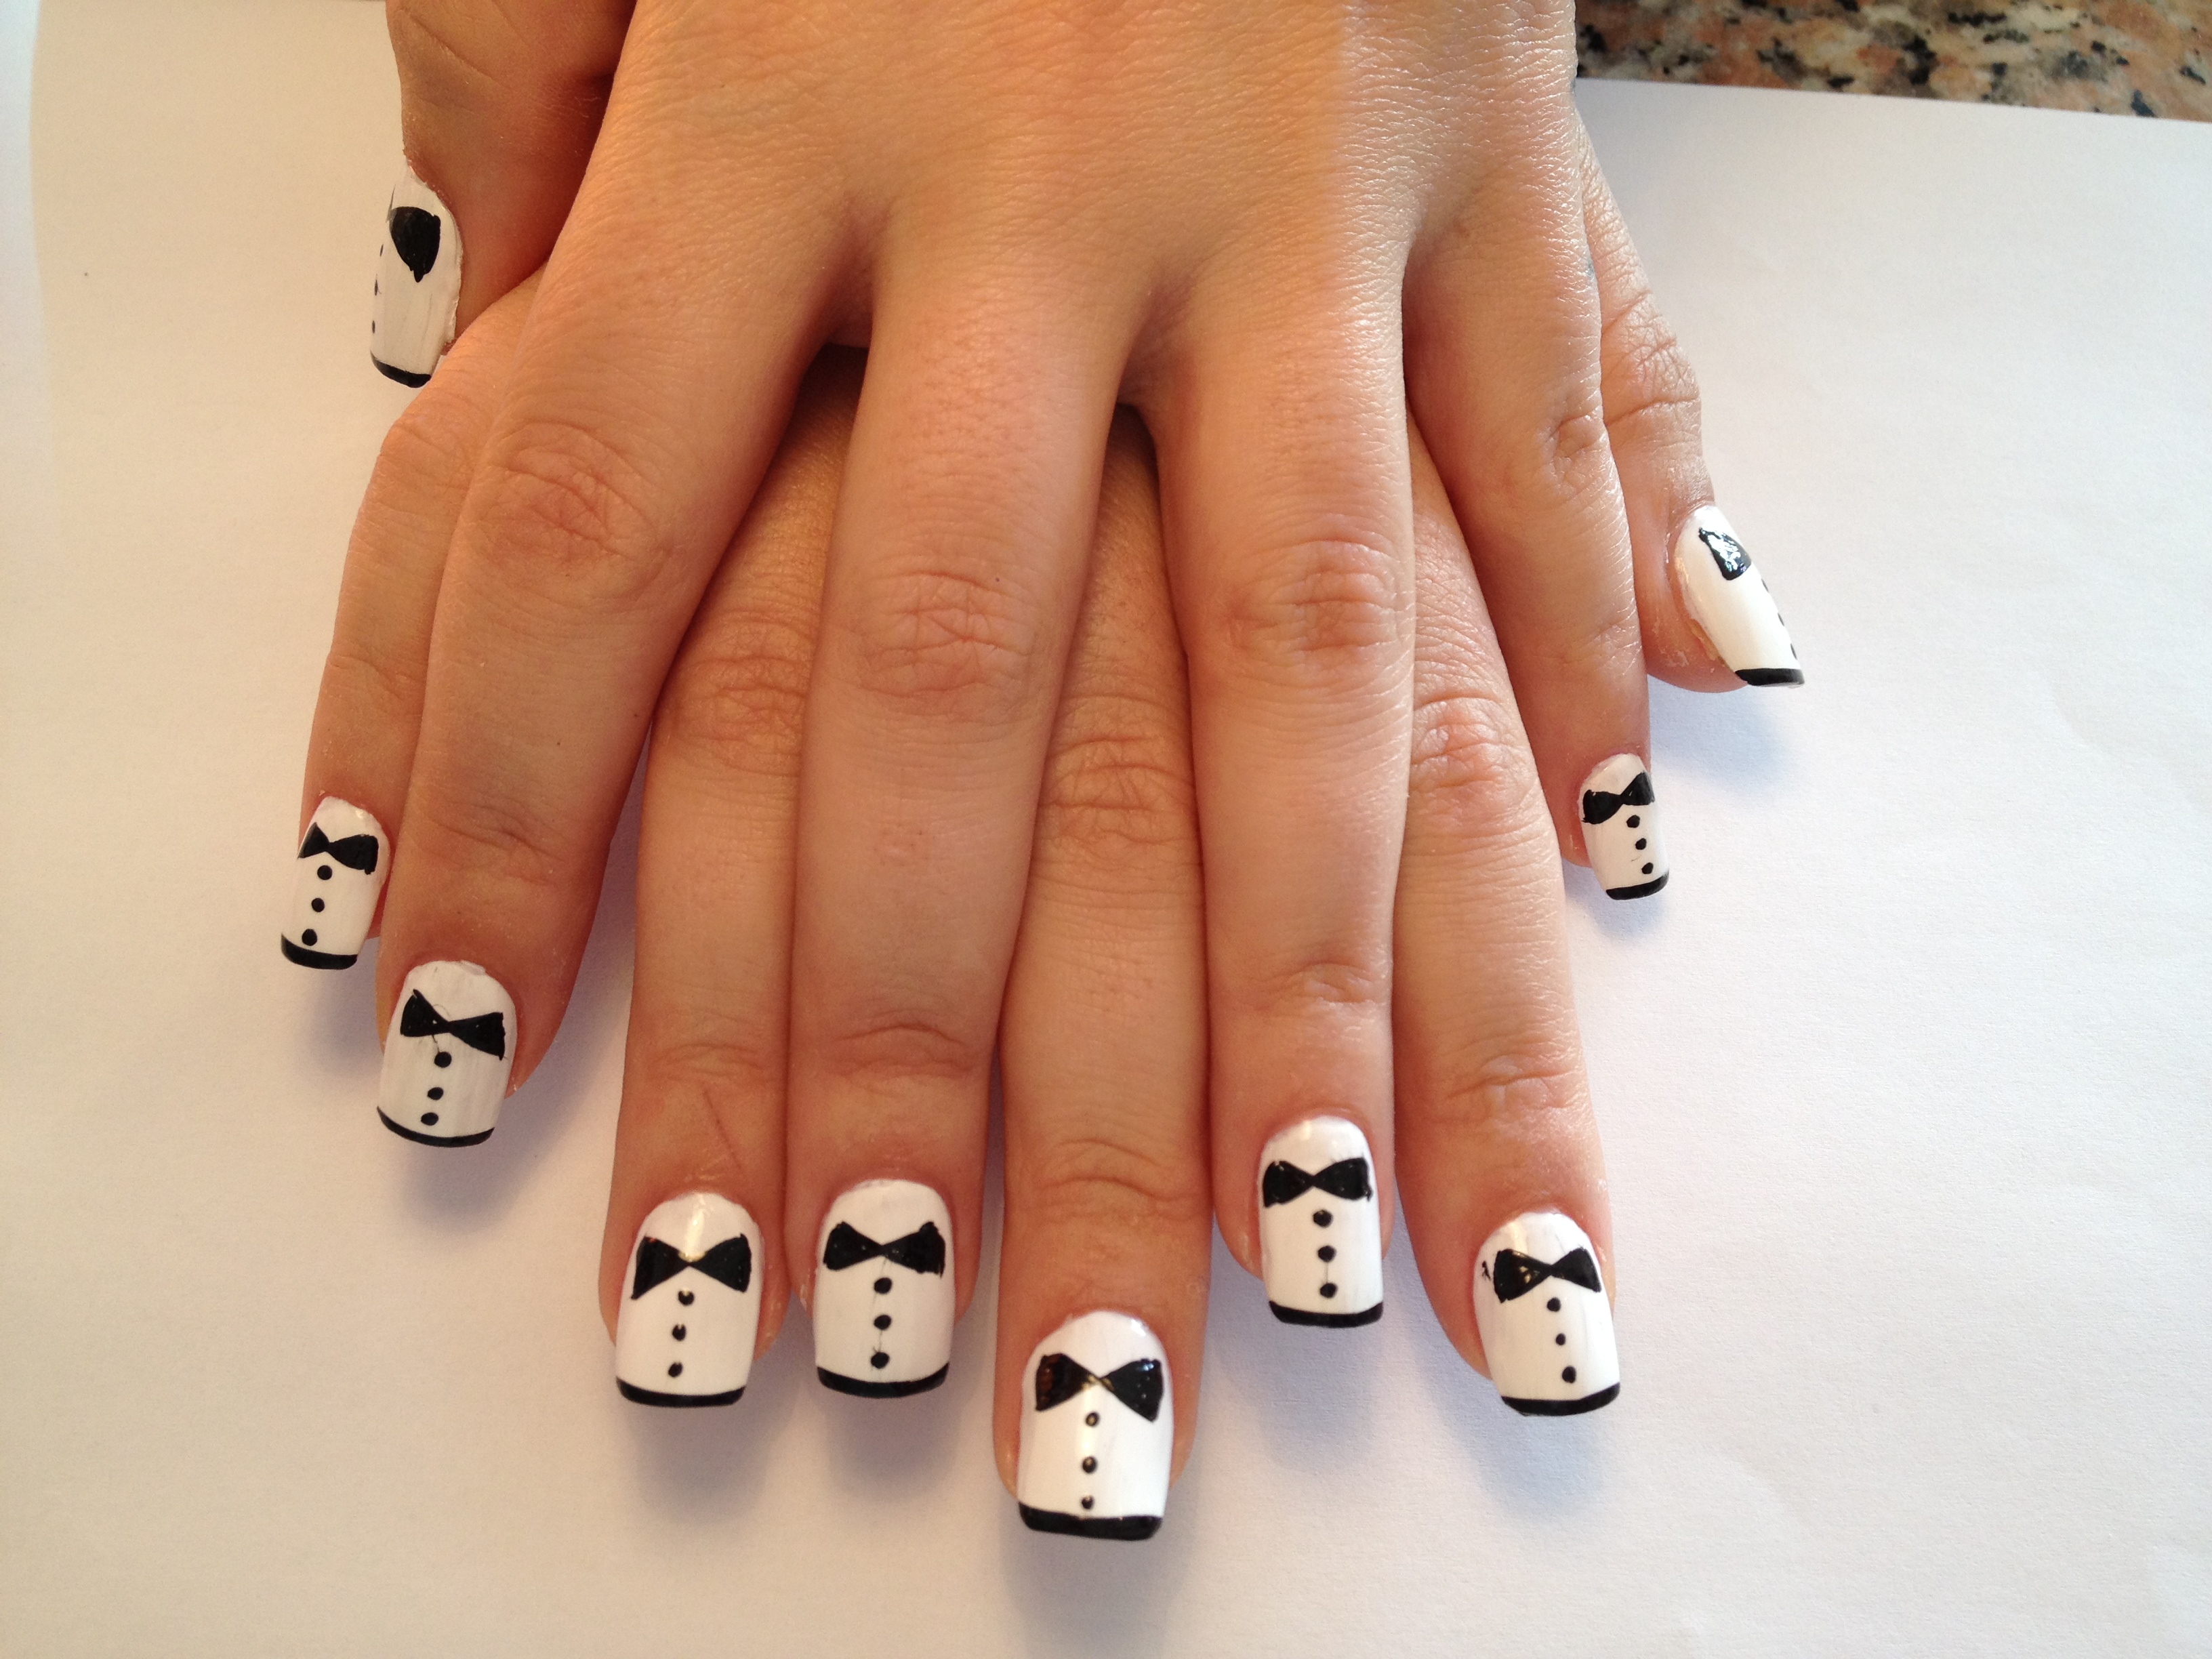


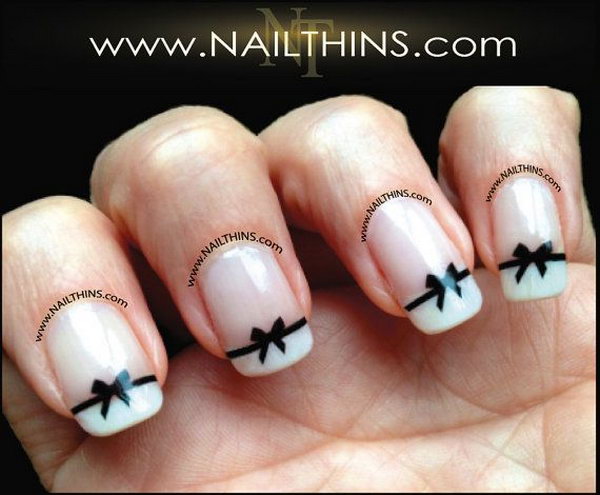
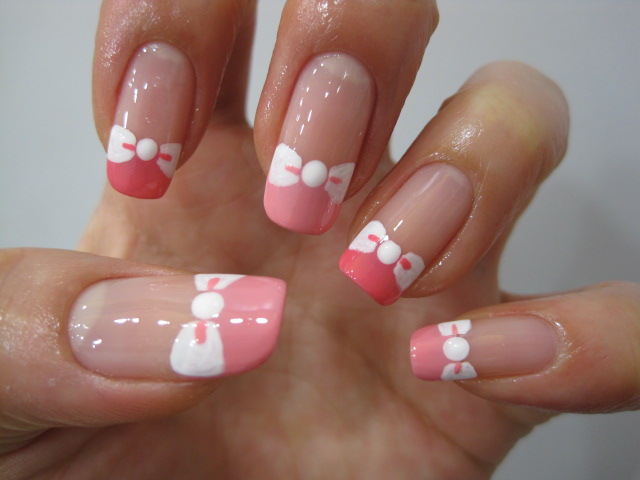
If you're new to nail art, don't worry, this easy bow tie nail design is perfect for beginners. All you need is a steady hand and a few minutes to spare, and you can achieve a stunning look that will make your nails stand out. Start by painting your nails with a light, neutral color as the base. Once it has dried, use a thin brush to draw two diagonal lines on each nail, starting from the top left corner and ending at the bottom right corner. These lines will create the shape of the bow tie. Next, use a darker color to fill in the space between the two lines, leaving a small gap in the middle. This will create the illusion of a bow tie. Finish off with a top coat to seal in your design and add some shine.2. Easy Bow Tie Nail Design


2. Easy Bow Tie Nail Design


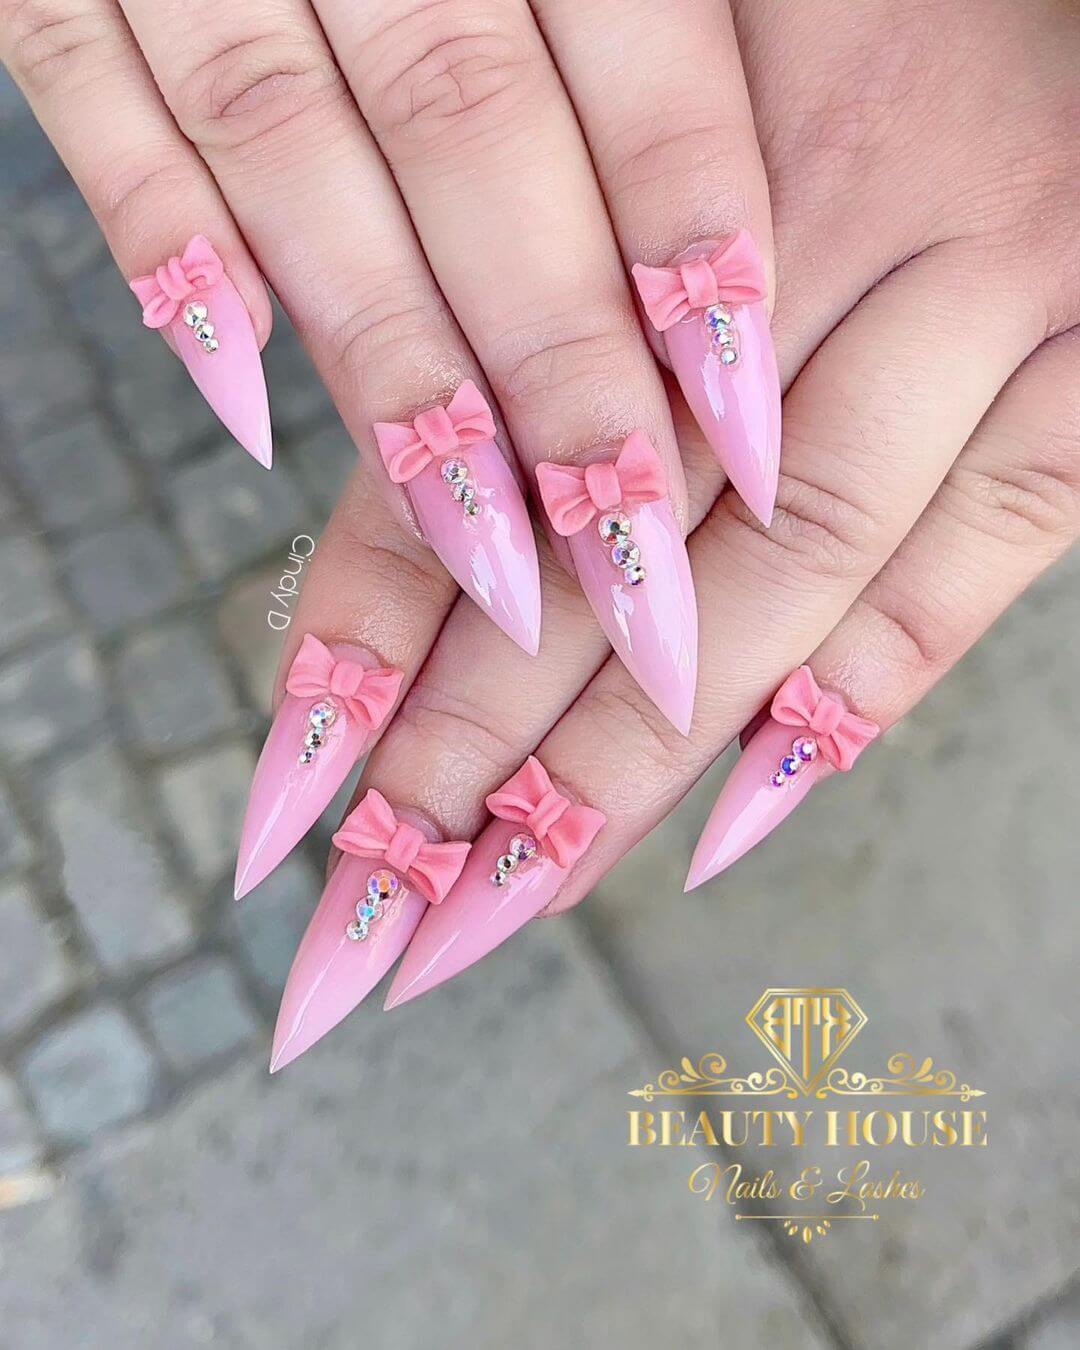
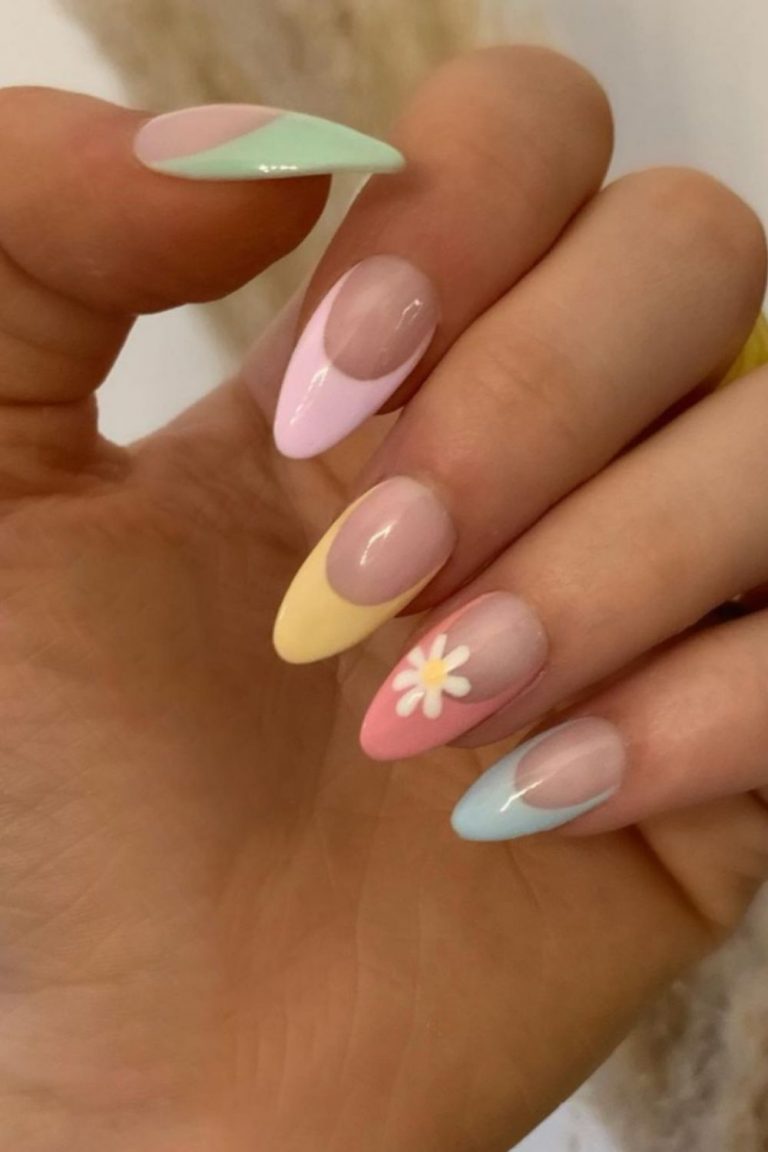
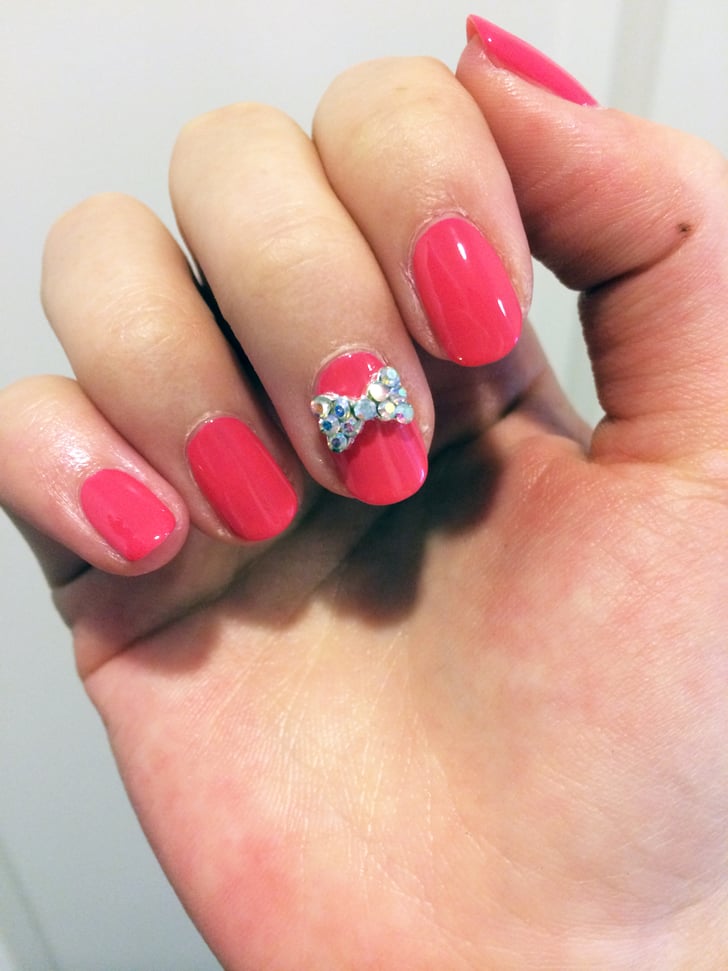
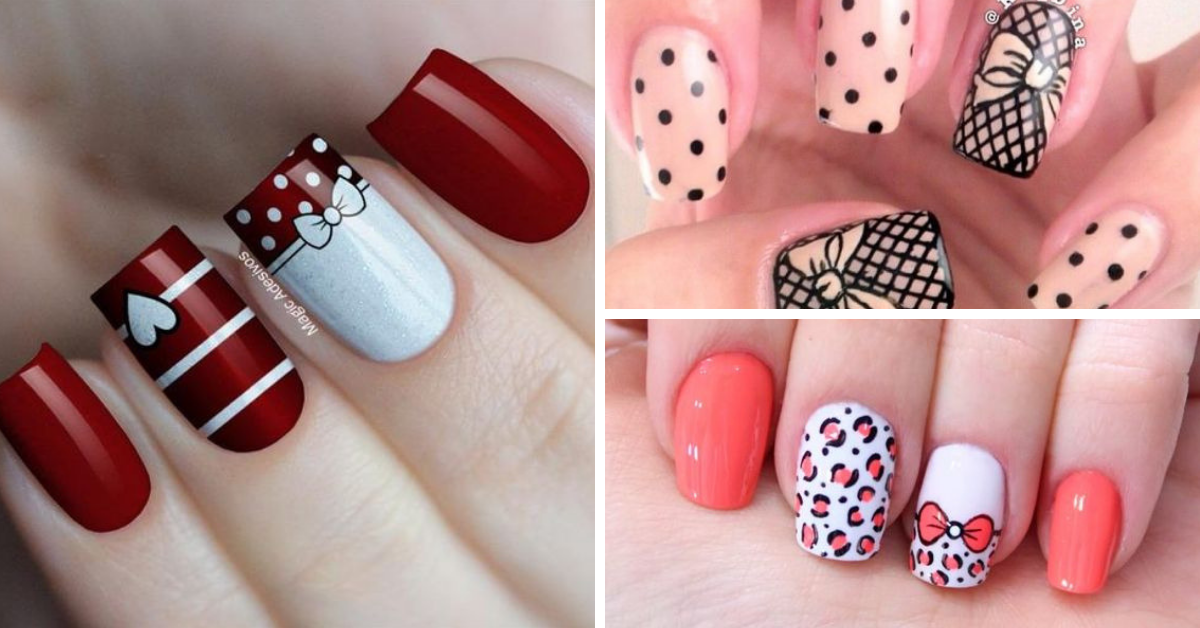
Looking for some cute bow tie nail art ideas? Look no further! There are endless possibilities when it comes to creating unique and adorable bow tie designs on your nails. For a playful and fun look, try using pastel colors or adding some polka dots to your bow ties. You can also experiment with different sizes and shapes to create a variety of bow tie designs. Another cute idea is to paint the bow ties on just one or two nails as an accent, while keeping the rest of your nails a solid color. This will make your design pop and add a touch of whimsy to your nails.3. Cute Bow Tie Nail Art Ideas


3. Cute Bow Tie Nail Art Ideas


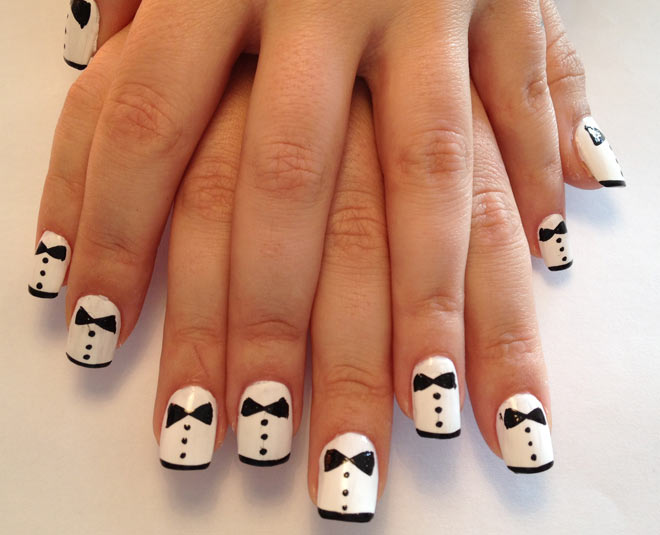
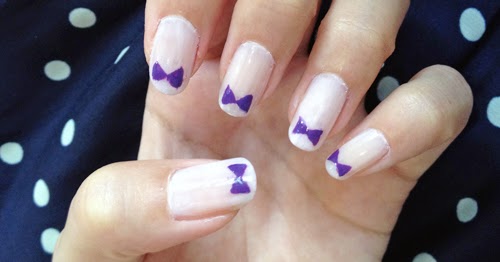
If you prefer a more detailed step-by-step bow tie nail design, we've got you covered. Follow these simple steps to create a perfectly polished look. Start by painting your nails with a light color as the base. Once it has dried, use a thin brush to draw two small triangles on each nail, starting from the middle of the nail and extending towards the edges. These triangles will create the shape of the bow ties. Next, use a darker color to fill in the space between the triangles, leaving a small gap in the middle. This will create the bow tie's knot. Finally, add two small dots on either side of the knot to complete the look. Finish off with a top coat to seal in your design and add some shine.4. Step-by-Step Bow Tie Nail Design


4. Step-by-Step Bow Tie Nail Design

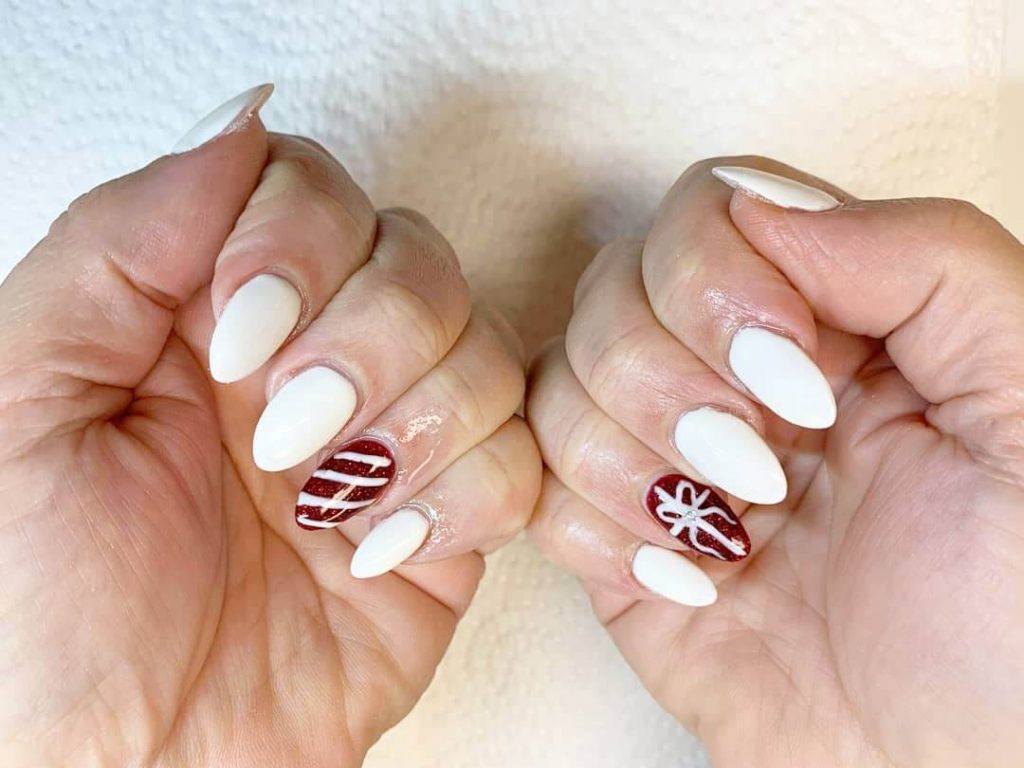
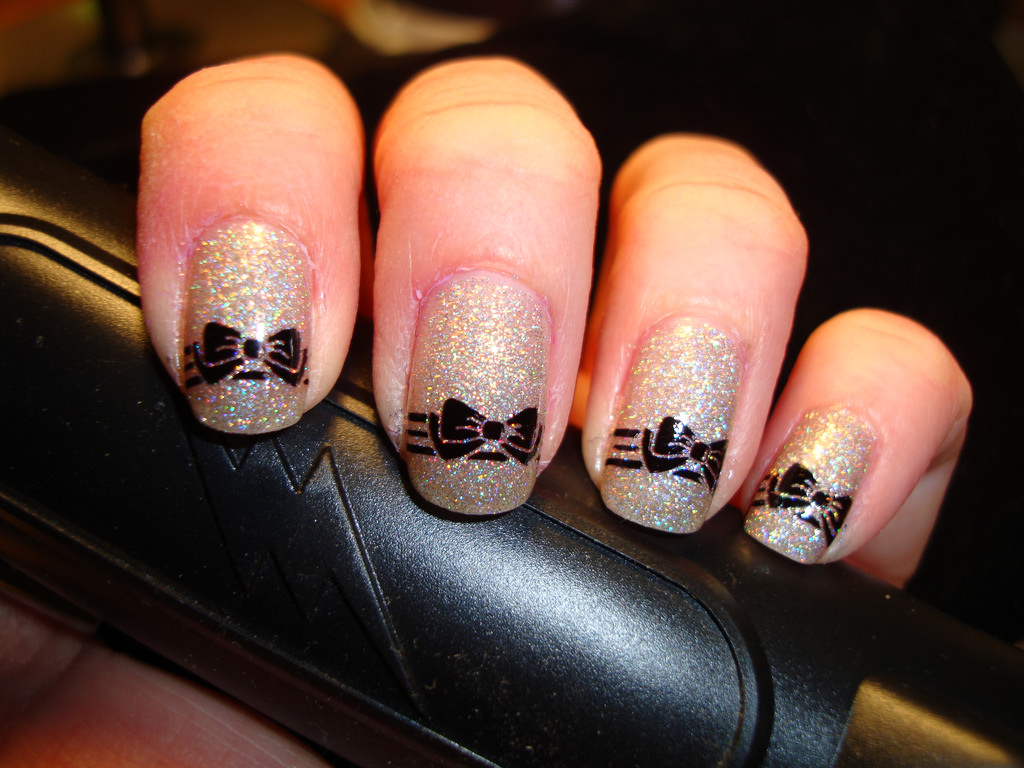
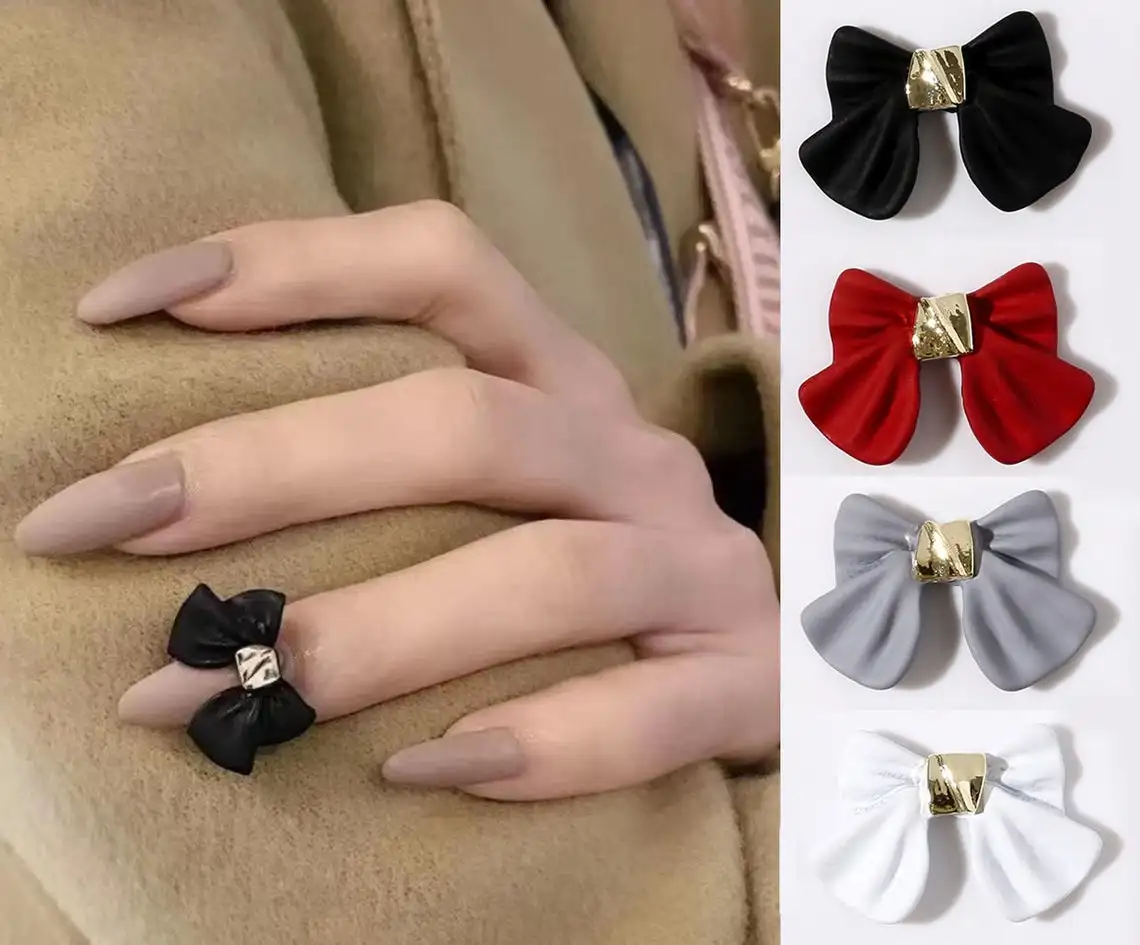
If you're looking for a more sophisticated and elegant bow tie nail art design, this one is for you. It's perfect for a special occasion or a night out where you want to add a touch of glamour to your look. Start by painting your nails with a dark, rich color as the base. Once it has dried, use a thin brush to draw two diagonal lines on each nail, starting from the top left corner and ending at the bottom right corner. These lines will create the shape of the bow tie. Next, use a metallic or glittery nail polish to fill in the space between the two lines, leaving a small gap in the middle. This will create a stunning and eye-catching bow tie design. Finish off with a top coat to seal in your design and add some shine.5. Elegant Bow Tie Nail Art


5. Elegant Bow Tie Nail Art
If you're feeling creative and want to try a DIY bow tie nail design, this is the perfect opportunity. You can use any colors and tools you have on hand to create a unique and personalized look. Start by painting your nails with a light color as the base. Once it has dried, use a toothpick or a small brush to create two small triangles on each nail, starting from the middle and extending towards the edges. These triangles will create the shape of the bow ties. Next, use a different color to fill in the space between the triangles, leaving a small gap in the middle. You can also add some small dots or stripes for added detail. Finish off with a top coat to seal in your design and add some shine.6. DIY Bow Tie Nail Design

6. DIY Bow Tie Nail Design

.jpg)


Don't have long nails? No problem! You can still rock a bow tie nail art design on your short nails. The key is to keep the design simple and avoid overcrowding your nails. Start by painting your nails with a light color as the base. Once it has dried, use a thin brush to draw two small triangles on each nail, starting from the middle and extending towards the edges. These triangles will create the shape of the bow ties. Next, use a different color to fill in the space between the triangles, leaving a small gap in the middle. If you have very short nails, you can also create tiny bows using just a few dots and lines. Finish off with a top coat to seal in your design and add some shine.7. Bow Tie Nail Art for Short Nails
7. Bow Tie Nail Art for Short Nails


Want to add some festive cheer to your nails? Try a festive bow tie nail design for your next holiday party or celebration. You can use traditional holiday colors or get creative with different color combinations. Start by painting your nails with a festive color as the base. Once it has dried, use a thin brush to draw two small triangles on each nail, starting from the middle and extending towards the edges. These triangles will create the shape of the bow ties. Next, use a different color to fill in the space between the triangles, leaving a small gap in the middle. You can also add some holiday-inspired designs such as snowflakes, Christmas trees, or candy canes. Finish off with a top coat to seal in your design and add some shine.8. Festive Bow Tie Nail Design

8. Festive Bow Tie Nail Design
If you're new to nail art, you may be intimidated by some of the more intricate designs. But don't worry, this bow tie nail art for beginners is simple and easy to recreate. Start by painting your nails with a light color as the base. Once it has dried, use a toothpick or a small brush to create two small triangles on each nail, starting from the middle and extending towards the edges. These triangles will create the shape of the bow ties. Next, use a different color to fill in the space between the triangles, leaving a small gap in the middle. You can also add some small dots or stripes for added detail. Finish off with a top coat to seal in your design and add some shine.9. Bow Tie Nail Art for Beginners

9. Bow Tie Nail Art for Beginners

For those who love to make a statement with their nails, a bold bow tie nail design is the way to go. This design is all about playing with colors and shapes to create a standout look. Start by painting your nails with a dark, rich color as the base. Once it has dried, use a thin brush to draw two diagonal lines on each nail, starting from the top left corner and ending at the bottom right corner. These lines will create the shape of the bow tie. Next, use a bright or contrasting color to fill in the space between the two lines, leaving a small gap in the middle. You can also add some glitter or rhinestones for added sparkle. Finish off with a top coat to seal in your design and add some shine. With these top 10 bow tie nail art designs, you can add a touch of elegance, fun, or festivity to your nails. Whether you're a beginner or a nail art pro, these designs are easy to recreate and can elevate your manicure game. So go ahead and try out some of these stunning bow tie nail art ideas for your next manicure!10. Bold Bow Tie Nail Design

10. Bold Bow Tie Nail Design

Step up Your Nail Game with Bow Tie Nail Art Design

Revamp Your Nails with a Classy and Chic Design
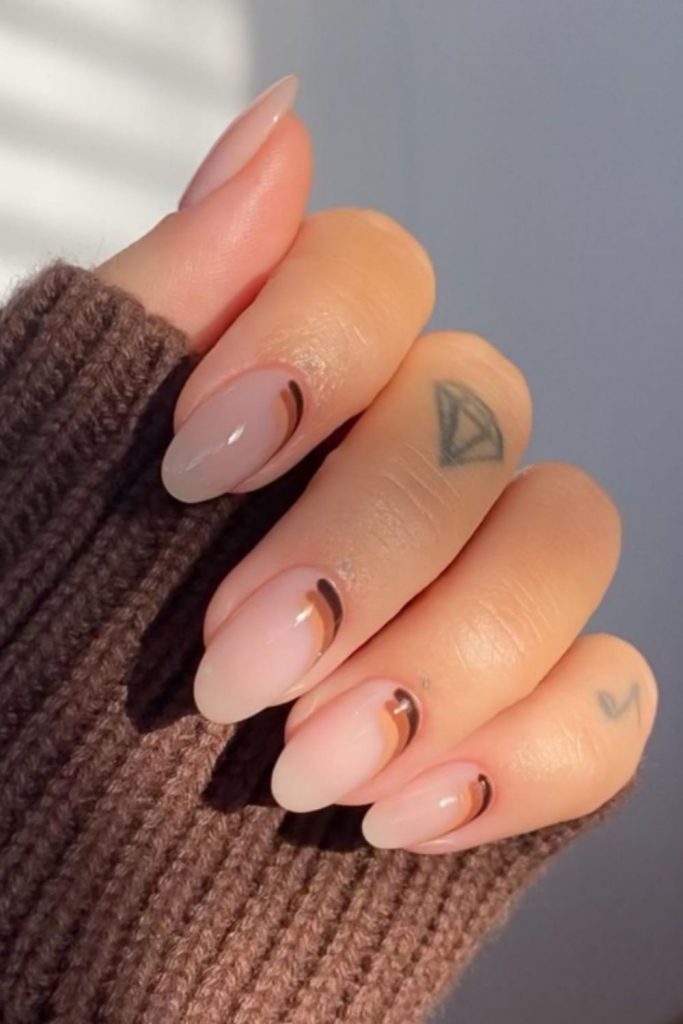
 If you're tired of the same old nail designs and want to add a touch of elegance and sophistication to your nails, then bow tie nail art is the perfect choice for you. This unique and stylish design is a great way to make a statement and stand out from the crowd. With its clean lines and simple yet eye-catching design, bow tie nail art is perfect for any occasion, whether it's a formal event or a casual hangout with friends.
Unleash Your Creativity with Different Color Combinations
 One of the best things about bow tie nail art is that it allows you to be creative and experiment with different colors and patterns. You can choose to keep it simple with a classic black and white design or add a pop of color with bright and bold shades. You can also mix and match different shades and patterns to create a unique and personalized look that reflects your personal style.
Featured keyword: Bow tie nail art
is all about keeping things classy and chic, so make sure to stick to a color palette that complements your outfit and overall look. You can also add some glitter or rhinestones for a touch of glamour and sparkle.
One of the best things about bow tie nail art is that it allows you to be creative and experiment with different colors and patterns. You can choose to keep it simple with a classic black and white design or add a pop of color with bright and bold shades. You can also mix and match different shades and patterns to create a unique and personalized look that reflects your personal style.
Featured keyword: Bow tie nail art
is all about keeping things classy and chic, so make sure to stick to a color palette that complements your outfit and overall look. You can also add some glitter or rhinestones for a touch of glamour and sparkle.
Easy to Achieve with the Right Tools and Techniques
 You might think that achieving a bow tie nail art design would require professional skills, but the truth is, anyone can do it with the right tools and techniques. All you need is a steady hand, some patience, and the right nail polish colors. You can use
related main keyword: nail art brushes
to create clean and precise lines, or opt for
related main keyword: nail art stickers
for a more effortless and quick design.
You might think that achieving a bow tie nail art design would require professional skills, but the truth is, anyone can do it with the right tools and techniques. All you need is a steady hand, some patience, and the right nail polish colors. You can use
related main keyword: nail art brushes
to create clean and precise lines, or opt for
related main keyword: nail art stickers
for a more effortless and quick design.
Perfect for Any Occasion
 Whether you're attending a wedding, a job interview, or a night out with friends, bow tie nail art is the perfect way to add a touch of elegance and charm to your overall look. It's a versatile design that can be dressed up or down, depending on the occasion. Plus, it's suitable for all ages and can be worn by anyone who wants to add a little extra flair to their nails.
In conclusion, bow tie nail art is a perfect choice for those who want to elevate their nail game and make a statement with their manicure. With its classic and chic design, endless color combinations, and easy-to-achieve techniques, it's no wonder why this style is gaining popularity among nail art enthusiasts. So why not give it a try and see how this
featured keyword: trendy
design can transform your nails into a fashion statement.
Whether you're attending a wedding, a job interview, or a night out with friends, bow tie nail art is the perfect way to add a touch of elegance and charm to your overall look. It's a versatile design that can be dressed up or down, depending on the occasion. Plus, it's suitable for all ages and can be worn by anyone who wants to add a little extra flair to their nails.
In conclusion, bow tie nail art is a perfect choice for those who want to elevate their nail game and make a statement with their manicure. With its classic and chic design, endless color combinations, and easy-to-achieve techniques, it's no wonder why this style is gaining popularity among nail art enthusiasts. So why not give it a try and see how this
featured keyword: trendy
design can transform your nails into a fashion statement.


