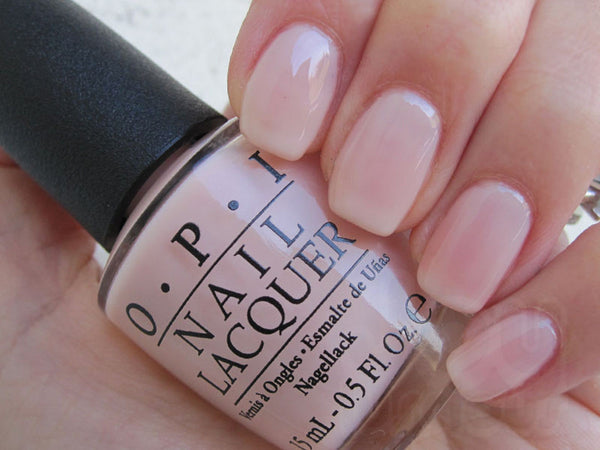
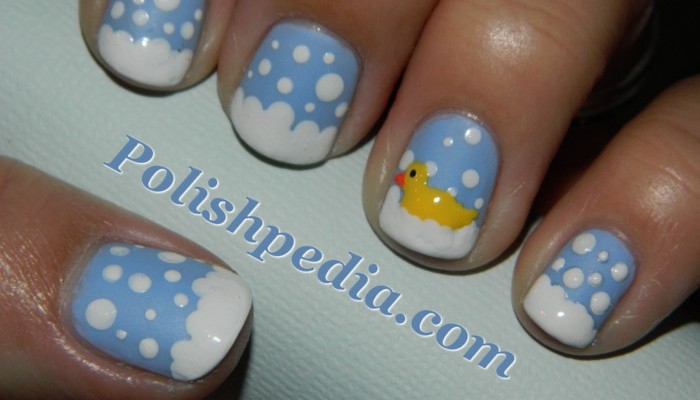
Creating a bubble bath themed nail design is a fun and easy way to add a playful touch to your manicure. Whether you're a nail art pro or just starting out, this step-by-step tutorial will guide you through the process of achieving the perfect bubble bath nail design. To begin, gather all the necessary materials: a base coat, a light pink or nude nail polish, a white nail polish, a dotting tool or toothpick, a top coat, and a bowl of warm water. Start by applying a base coat to protect your nails and ensure your design lasts longer. Next, paint your nails with a light pink or nude polish, this will serve as the base color for your bubble bath design. Once the base color is dry, take your white nail polish and create small dots on your nails using the dotting tool or toothpick. These dots will represent the bubbles in your bubble bath. You can create different sized bubbles by varying the pressure on the dotting tool or using a smaller or larger toothpick. After all the bubbles are in place, dip your fingers in the bowl of warm water for a few seconds. This will give your nails a wet and bubbly effect, just like a real bubble bath. Once your nails are dry, finish off with a top coat to seal in your design and add shine. And there you have it, a cute and playful bubble bath nail design that's perfect for any occasion.1. Bubble Bath Nail Art Tutorial


1. Bubble Bath Nail Art Tutorial


There are endless possibilities when it comes to creating a bubble bath nail design. Here are some fun and creative ideas to inspire your next manicure: Bubble Bath French Tips: Give your classic French tip a twist by adding small white bubbles to the tips of your nails. Bubble Bath Accent Nails: Choose one or two nails to be the focal point of your design by creating a full bubble bath scene on them, complete with rubber duckies, bubbles, and a bath tub. Gradient Bubble Bath Nails: Use different shades of pink and white to create a gradient effect on your nails, with the lightest color at the tip to represent the bubbles. Playful Bubble Bath Nails: Add a touch of fun to your design by incorporating quirky elements like rubber duckies, bath toys, or even a mini bath tub charm. Minimalist Bubble Bath Nails: For a more subtle look, create a simple bubble bath design using only white dots on a nude or pastel base color.2. Bubble Bath Nail Design Ideas


2. Bubble Bath Nail Design Ideas
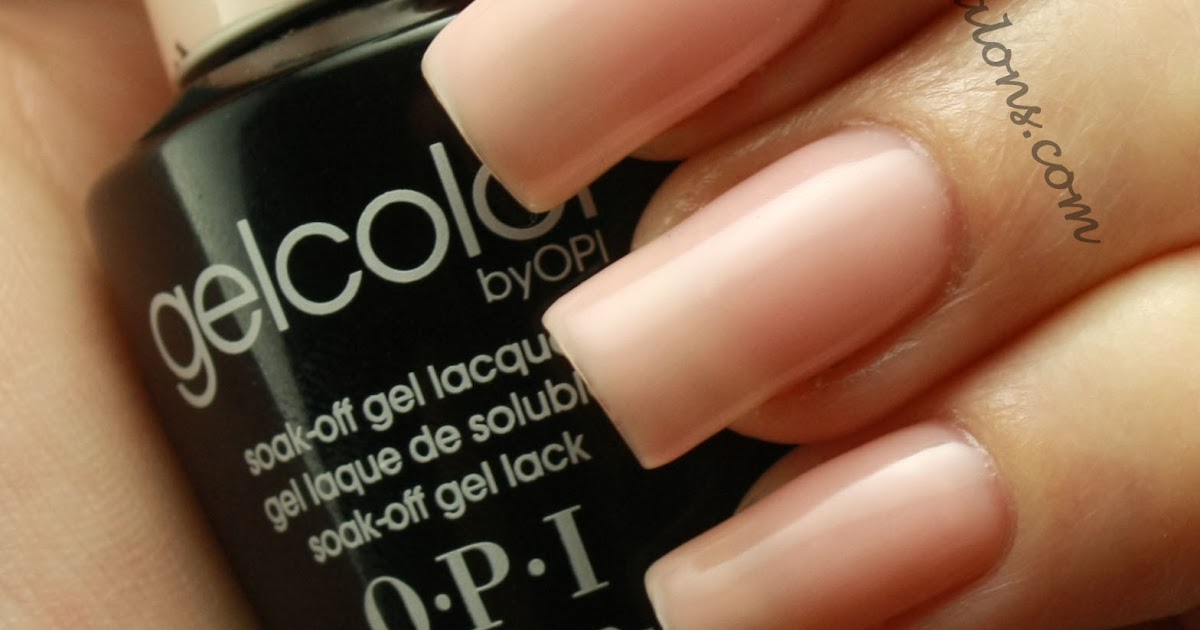

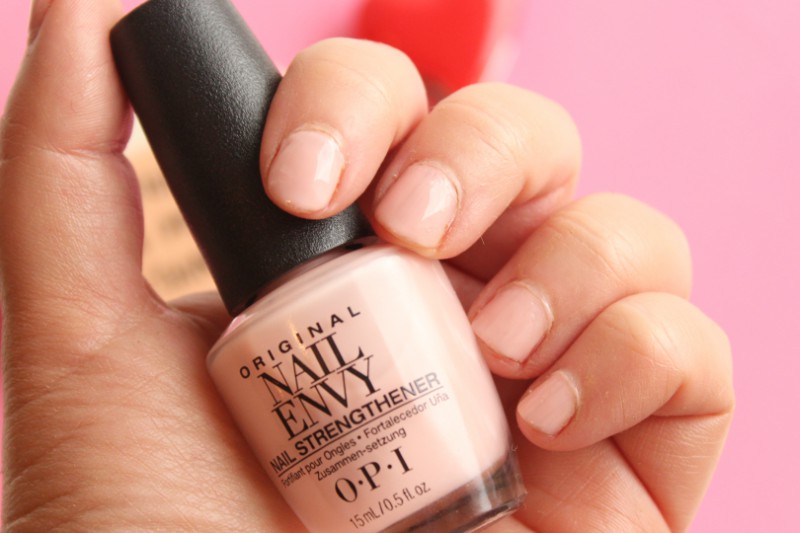
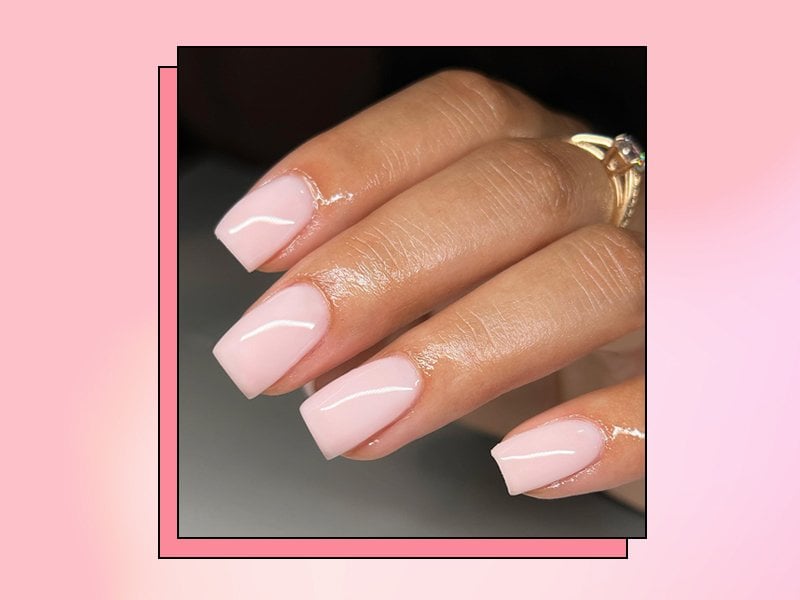
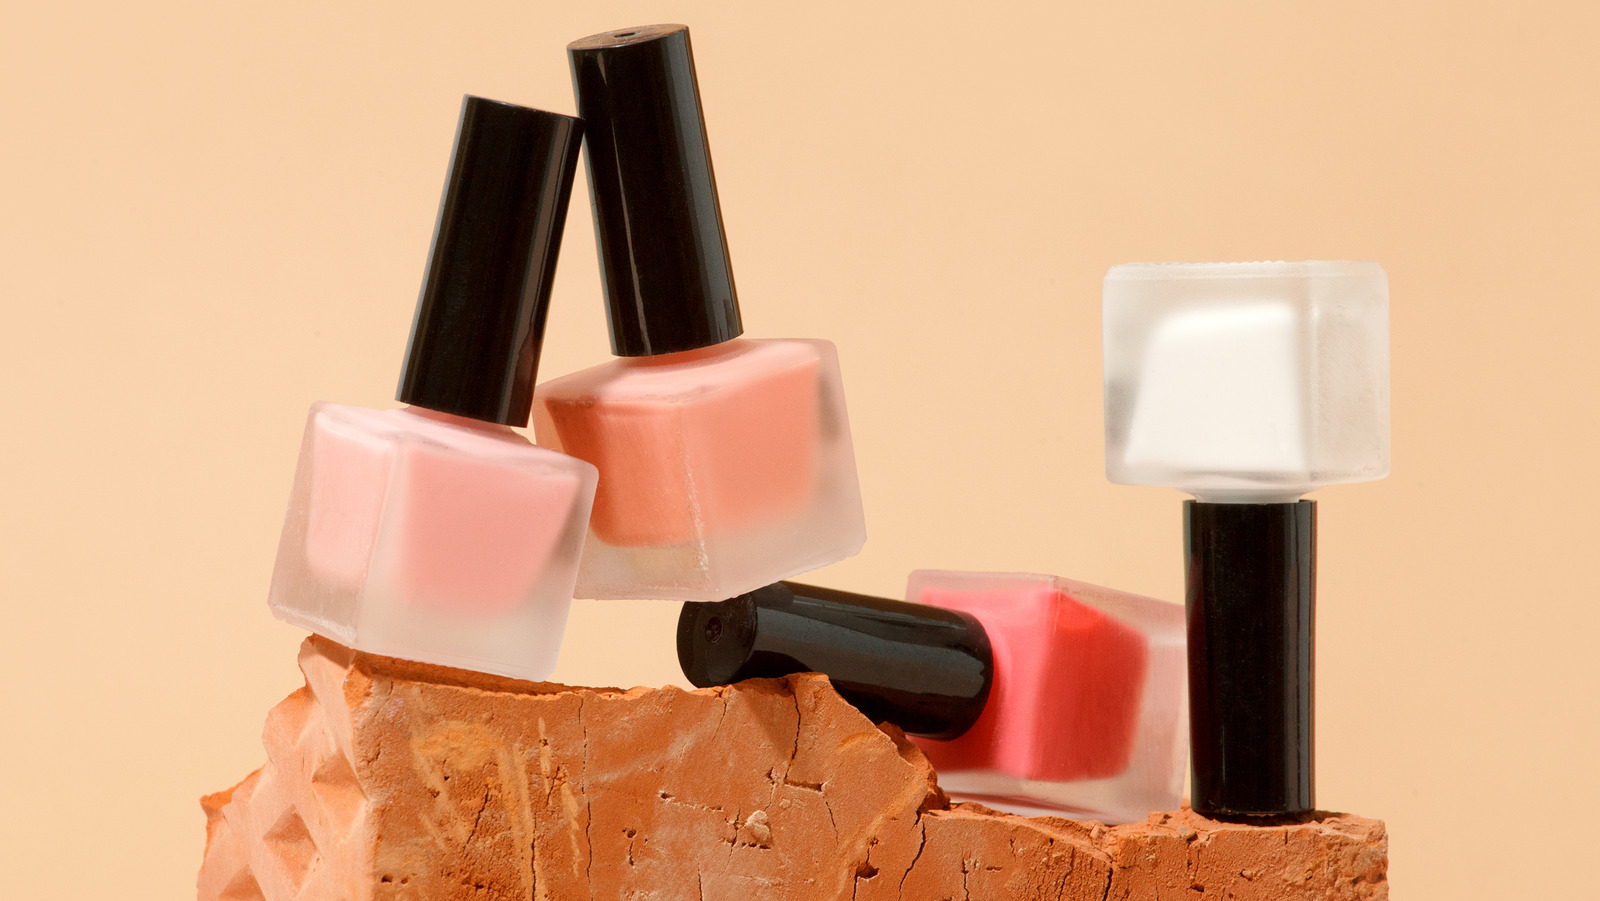
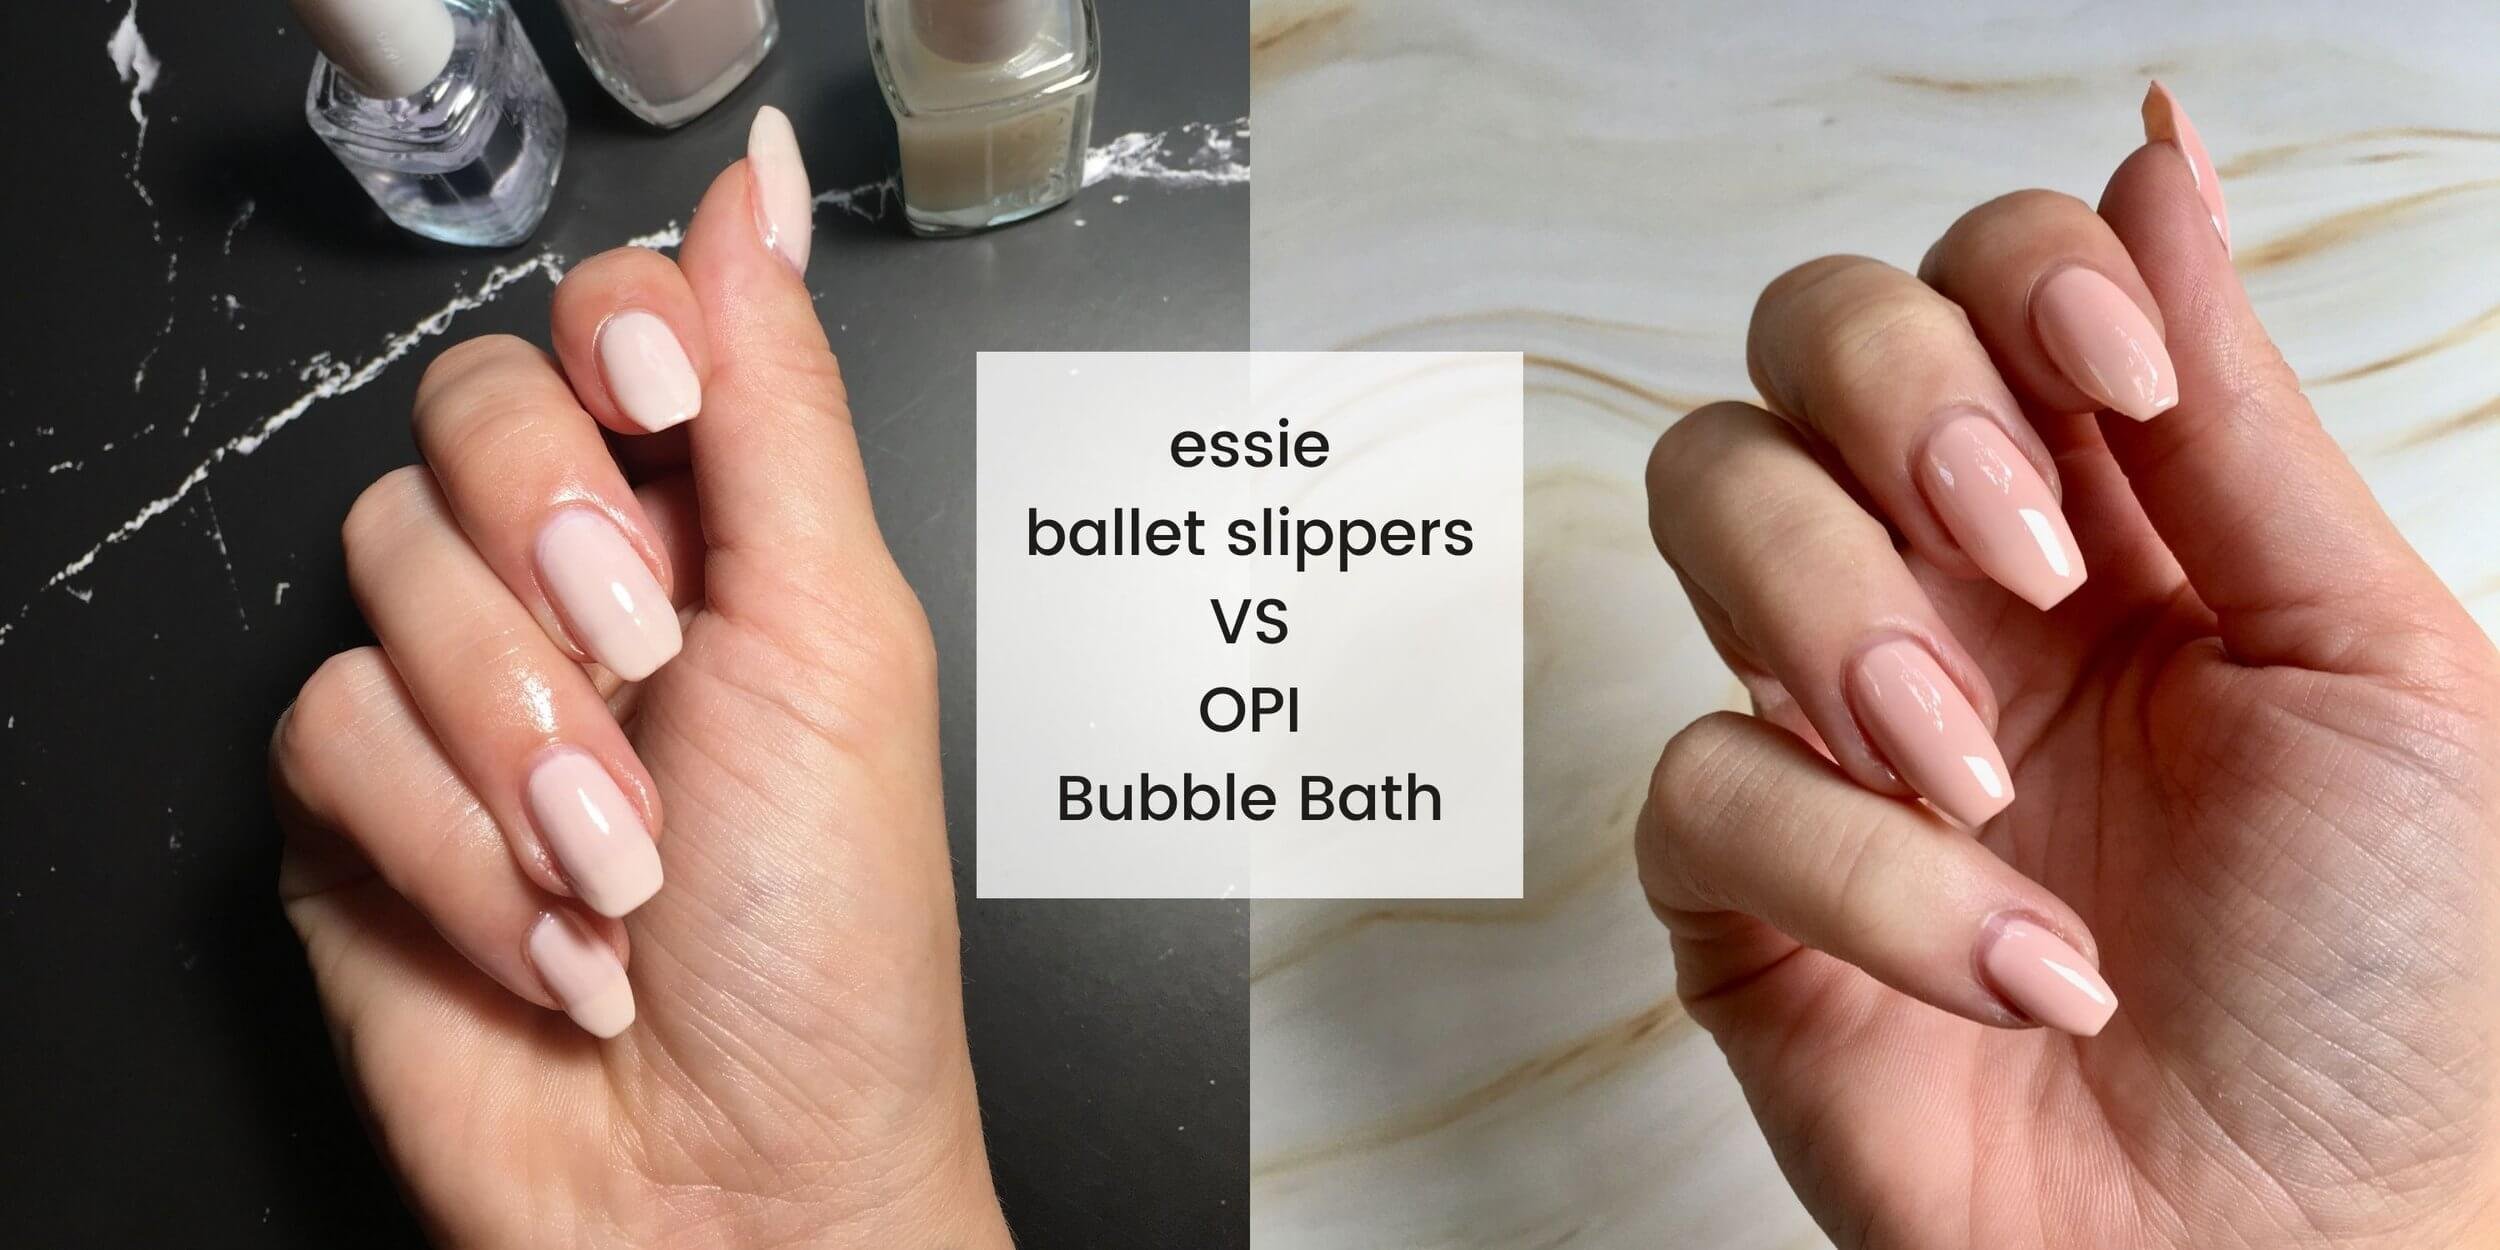
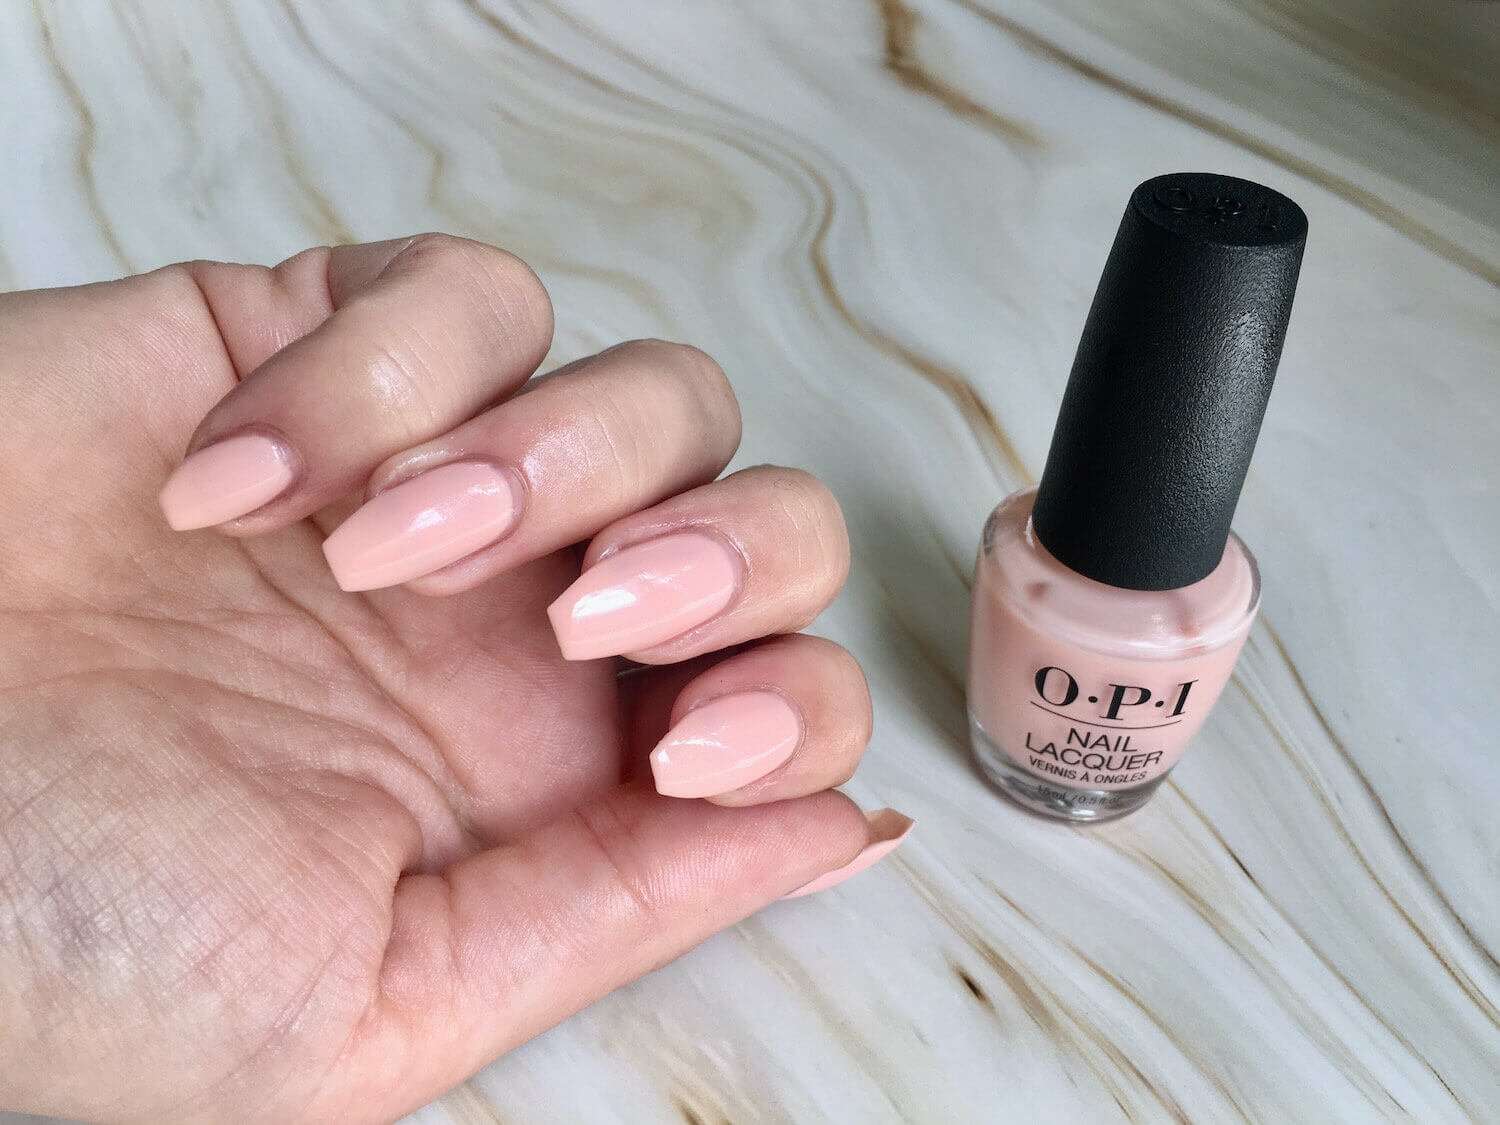
When it comes to choosing the perfect nail polish for your bubble bath design, there are a few options to consider: Pastel Shades: Soft pastel colors like light pink, lavender, or mint green are perfect for creating a delicate and dreamy bubble bath design. Nude Shades: If you prefer a more subtle look, opt for a nude or light beige shade as your base color. This will give your nails a clean and minimalist look, while the white bubbles add a playful touch. Glitter: For a more glamorous bubble bath design, add a touch of sparkle with a glittery top coat or by using a glitter polish for the bubbles. Gel Polish: Gel polish is a great option for achieving a long-lasting bubble bath design. You can choose from a variety of colors and finishes and the gel formula will ensure your design stays intact for weeks.3. Bubble Bath Nail Polish Designs


3. Bubble Bath Nail Polish Designs
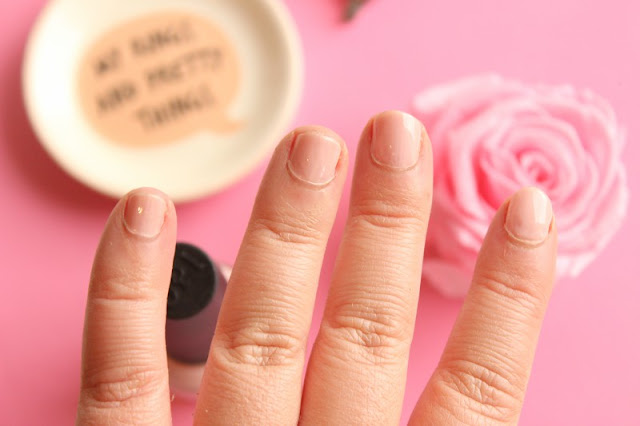
Short nails can still rock a bubble bath design, here's how: Single Bubble Accent: Create a single bubble on one or two nails, using a white dot on a pastel or nude base color. This will add a subtle touch of cuteness to your short nails. Half Moon Bubble Bath Nails: Use the half moon technique to create a bubble bath design on your short nails. Paint the bottom half of your nails with a pastel or nude color and add white bubbles on the top half. Bubble Bath French Tips: Short nails look great with a French tip design. Use a light pink or nude polish for the base and add small white bubbles to the tips for a cute twist on the classic French tip.4. Bubble Bath Nail Art Designs for Short Nails

4. Bubble Bath Nail Art Designs for Short Nails


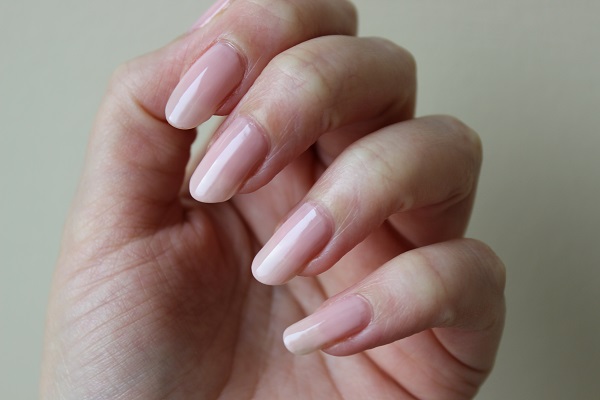
Long nails are perfect for creating intricate and detailed bubble bath designs. Here are some ideas to try: Bubble Bath Scene: Use all your nails to create a full bubble bath scene, complete with a rubber ducky, bubbles, and a bath tub. This design is perfect for special occasions or if you want to make a statement with your nails. Bubble Bath Ombre: Create an ombre effect by using different shades of pink and white on each nail, with the lightest color at the base. This will give your nails a gradient bubble bath effect. Bubble Bath Nail Charms: Add some dimension to your bubble bath design by using nail charms like rubber duckies, bath tubs, or bath sponges. These can easily be applied with nail glue or top coat.5. Bubble Bath Nail Design for Long Nails
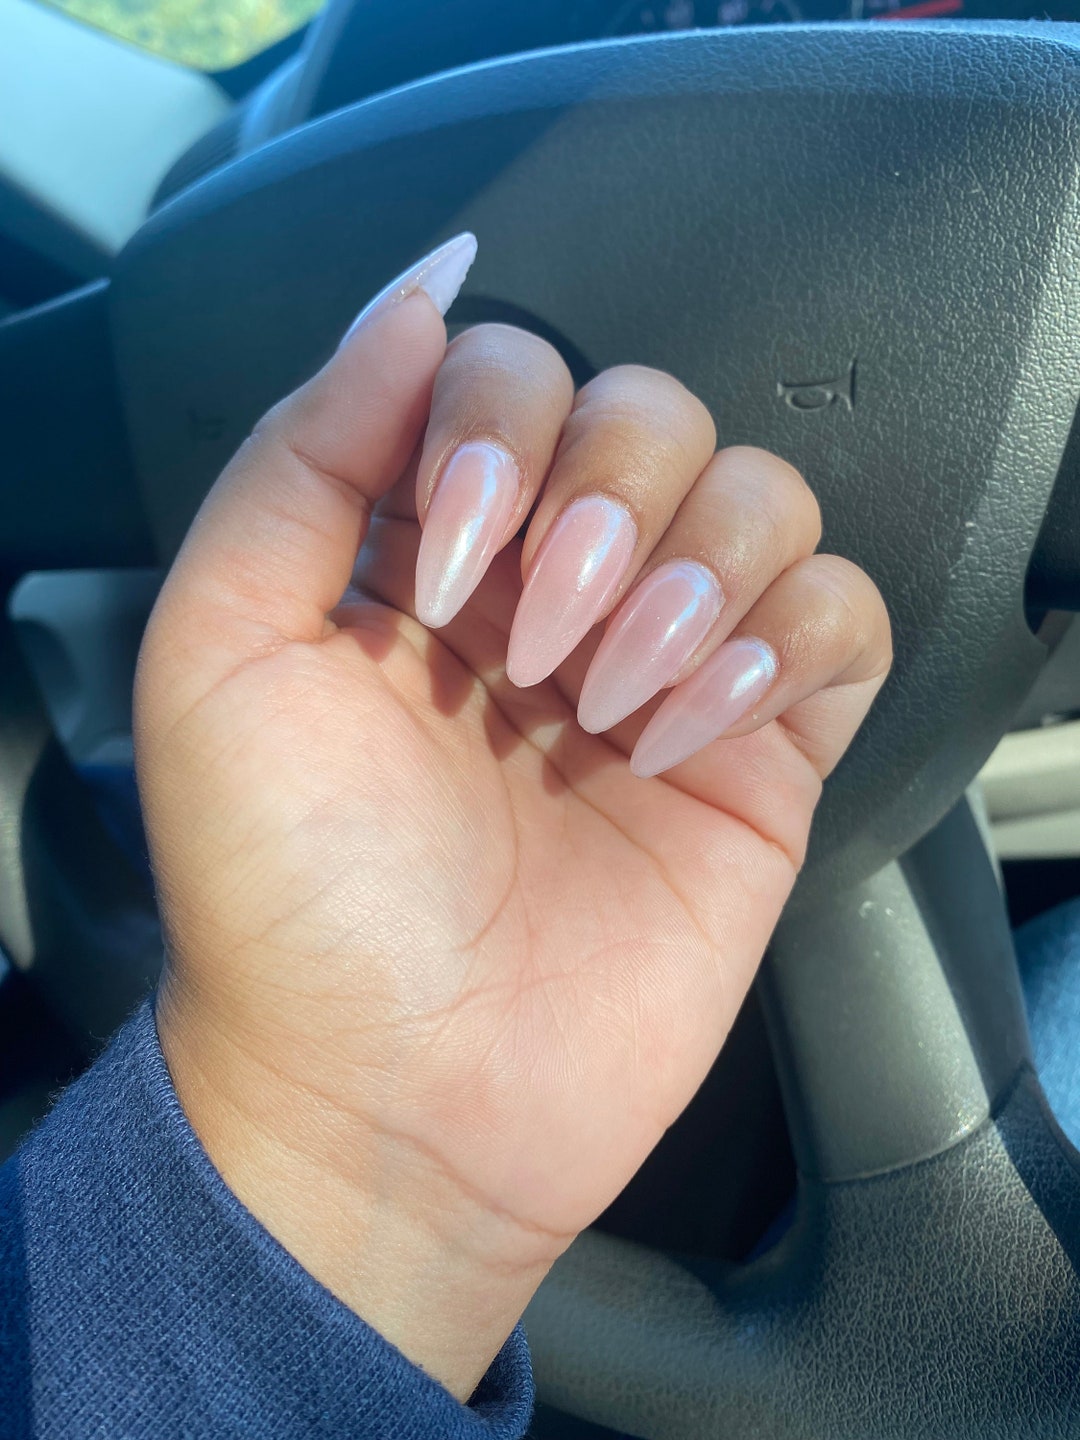


5. Bubble Bath Nail Design for Long Nails
/images/bc3f1f9b/bfe9/4ca7/9f59/93a7318bf798.jpg)

If you're new to nail art, don't worry, a bubble bath design is perfect for beginners. Here are some tips to keep in mind: Start with a base color: Use a light pink or nude polish as your base color. This will make it easier to create the white bubbles on top. Use a dotting tool or toothpick: These tools are perfect for creating small and precise dots. You can also use the end of a bobby pin or a ballpoint pen if you don't have a dotting tool. Practice on paper first: If you're feeling unsure about creating the bubbles on your nails, practice on a piece of paper first to get the hang of it.6. Bubble Bath Nail Design for Beginners

6. Bubble Bath Nail Design for Beginners

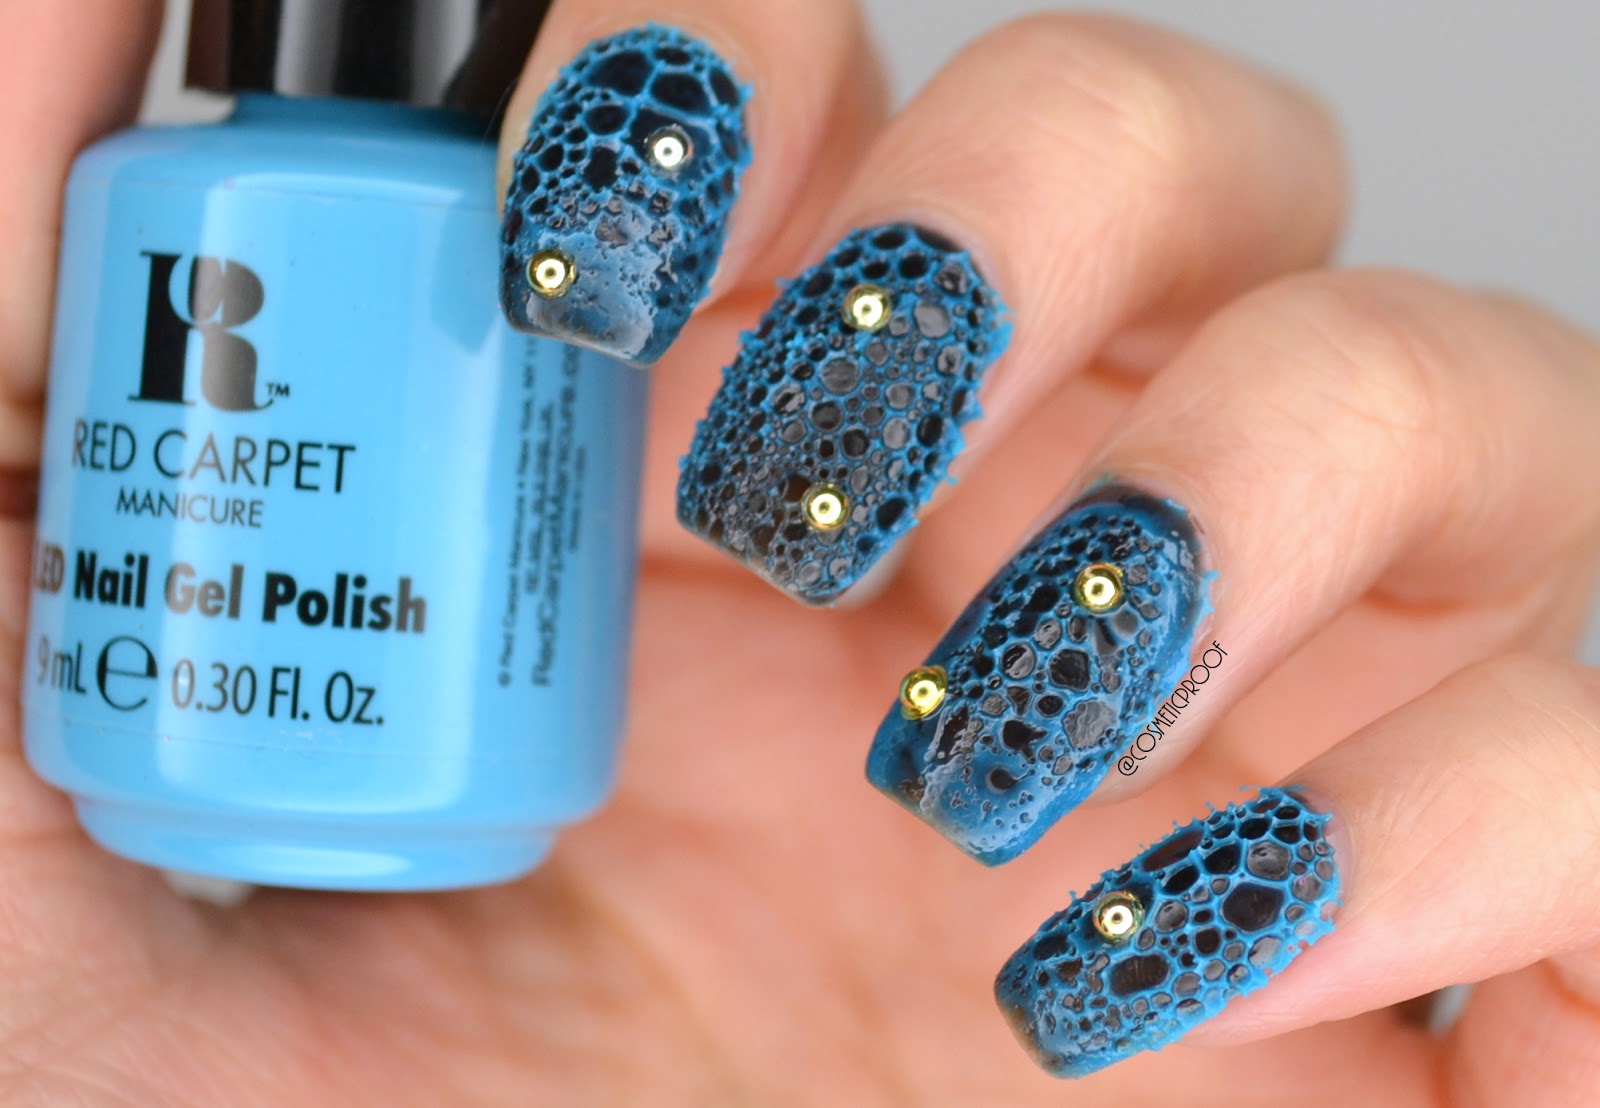
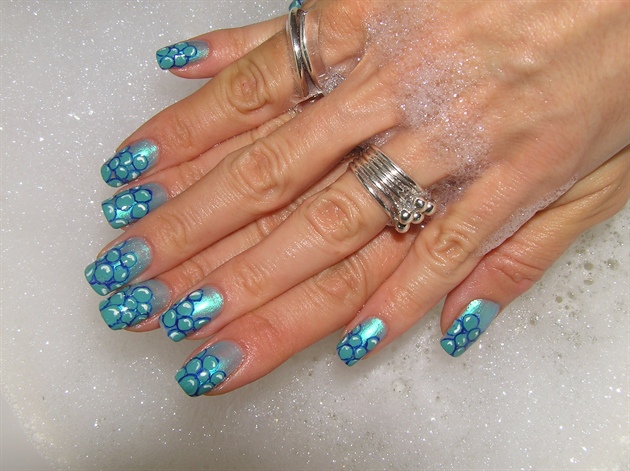
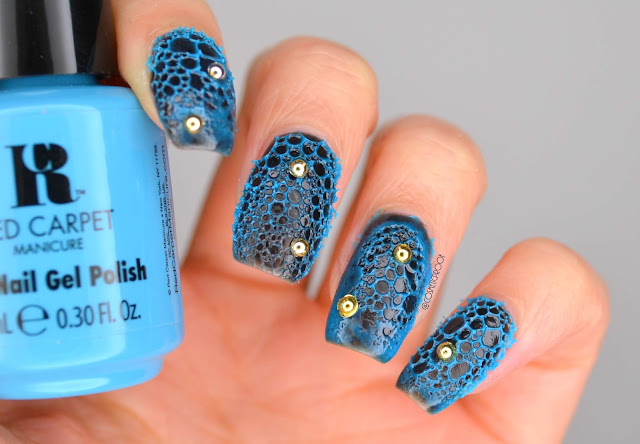
A bubble bath nail design is perfect for the summer season. Here are some ways to incorporate the summertime vibe into your design: Bright Colors: Use bright and vibrant colors like hot pink, coral, or turquoise for a fun and playful bubble bath design. Beach Theme: Add some beach elements like palm trees, seashells, or starfish to your bubble bath design to give it a summer beachy feel. Water Marble Effect: For a unique twist on the bubble bath design, try a water marble effect using different shades of blue and white for a cool and refreshing look.7. Bubble Bath Nail Design for Summer


7. Bubble Bath Nail Design for Summer
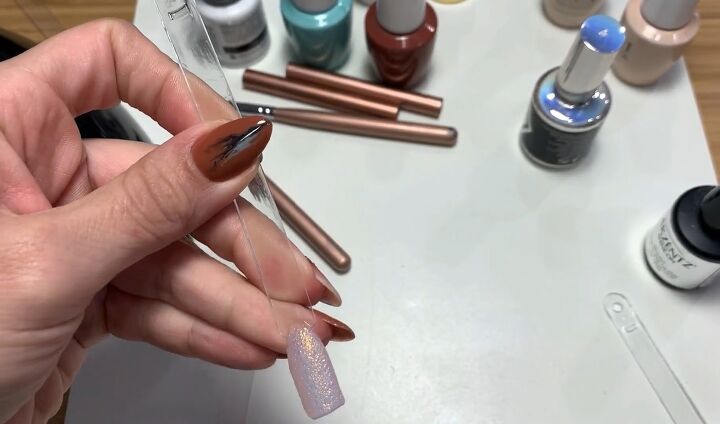
As the season changes, so does our nail color palette. Here are some ideas for a bubble bath design that's perfect for fall: Fall Colors: Use warm and rich colors like burgundy, mustard yellow, or olive green for your bubble bath design to match the autumn season. Autumn Leaves: Incorporate the beauty of fall leaves into your design by painting them on top of your bubble bath scene, or by using nail stickers or stamps. Matte Finish: Give your bubble bath design a cozy and muted look by using a matte top coat instead of a shiny one.8. Bubble Bath Nail Design for Fall

8. Bubble Bath Nail Design for Fall
A bubble bath design can also be perfect for the winter season. Here's how to make it season-appropriate: Winter Colors: Use dark and cool tones like navy blue, deep purple, or emerald green for your bubble bath design to match the winter season. Snowy Bubbles: Create a wintery scene on your nails by adding snowflakes or snow-covered trees to your bubble bath design. Glittery Snow: Add a touch of sparkle to your winter bubble bath design by using a glitter top coat or by adding glitter to the white bubbles on your nails.9. Bubble Bath Nail Design for Winter


9. Bubble Bath Nail Design for Winter

Spring is all about fresh and bright colors, and a bubble bath design is a perfect way to incorporate that into your manicure. Here are some ideas: Pastel Colors: Use soft and delicate pastel shades like baby blue, light purple, or pale yellow for a pretty and feminine spring bubble bath design. Floral Accents: Add some floral elements to your design by painting small flowers on top of your bubbles, or by using floral nail stickers or stamps. Butterflies and Bees: Celebrate the return of warmer weather by incorporating butterflies and bees into your bubble bath design for a whimsical and cute look.10. Bubble Bath Nail Design for Spring

10. Bubble Bath Nail Design for Spring
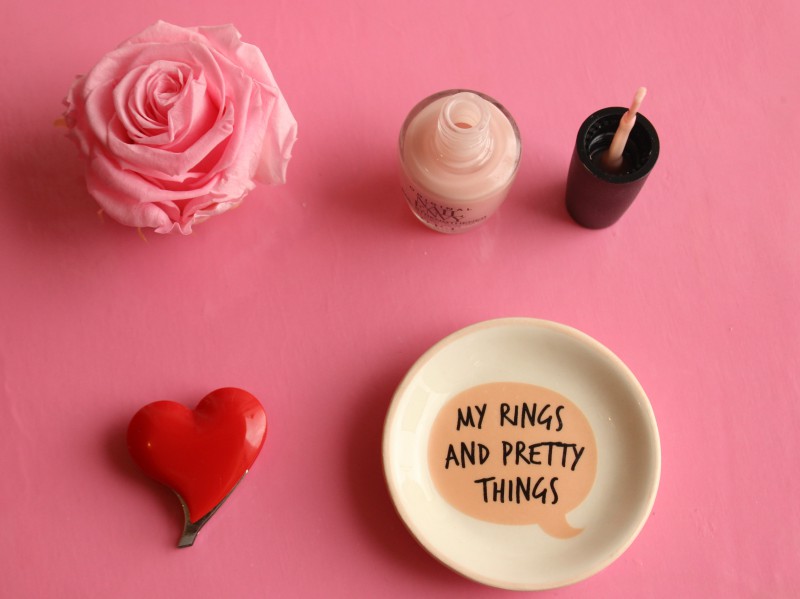
Creating a Relaxing Atmosphere with Bubble Bath Nail Design

The Importance of Designing a Welcoming Home
 As the saying goes, home is where the heart is. Our homes are our personal havens where we can unwind and escape the chaos of the outside world. With the current pandemic, our homes have become even more important as they serve as our offices, schools, and everything in between. This is why it is crucial to create a welcoming and relaxing atmosphere in our homes. One way to achieve this is through bubble bath nail design.
What is Bubble Bath Nail Design?
 Bubble bath nail design is a popular trend that involves using soft, pastel shades to create a bubbly, relaxing effect on your nails. This design is inspired by the soothing and calming experience of taking a bubble bath. It is a perfect way to add a touch of tranquility and elegance to your overall look.
How to Achieve the Perfect Bubble Bath Nail Design
 To create the perfect bubble bath nail design, you will need a few essential tools such as a base coat, top coat, and a variety of soft pastel nail polishes. Start by applying a base coat to protect your nails and ensure your design lasts longer. Then, choose your desired pastel shades and use a small brush to create random bubble-like shapes on your nails. You can also add a touch of sparkle by using a glitter polish. Finish off with a top coat to seal in your design and give it a glossy finish.
The Benefits of Bubble Bath Nail Design
 Aside from the obvious aesthetic appeal, bubble bath nail design also has several other benefits. The pastel shades used in this design have a calming and relaxing effect on the mind and body. This makes it the perfect design for those looking to de-stress and unwind after a long day. Furthermore, the soft and subtle colors make it a versatile design that can be worn for any occasion.
Final Thoughts
 In conclusion, bubble bath nail design is a beautiful and creative way to add a touch of relaxation to your everyday look. With the right tools and techniques, you can achieve a stunning and soothing design that will leave you feeling calm and rejuvenated. So why not give it a try and transform your nails into a mini spa experience? Your mind and body will thank you for it.


