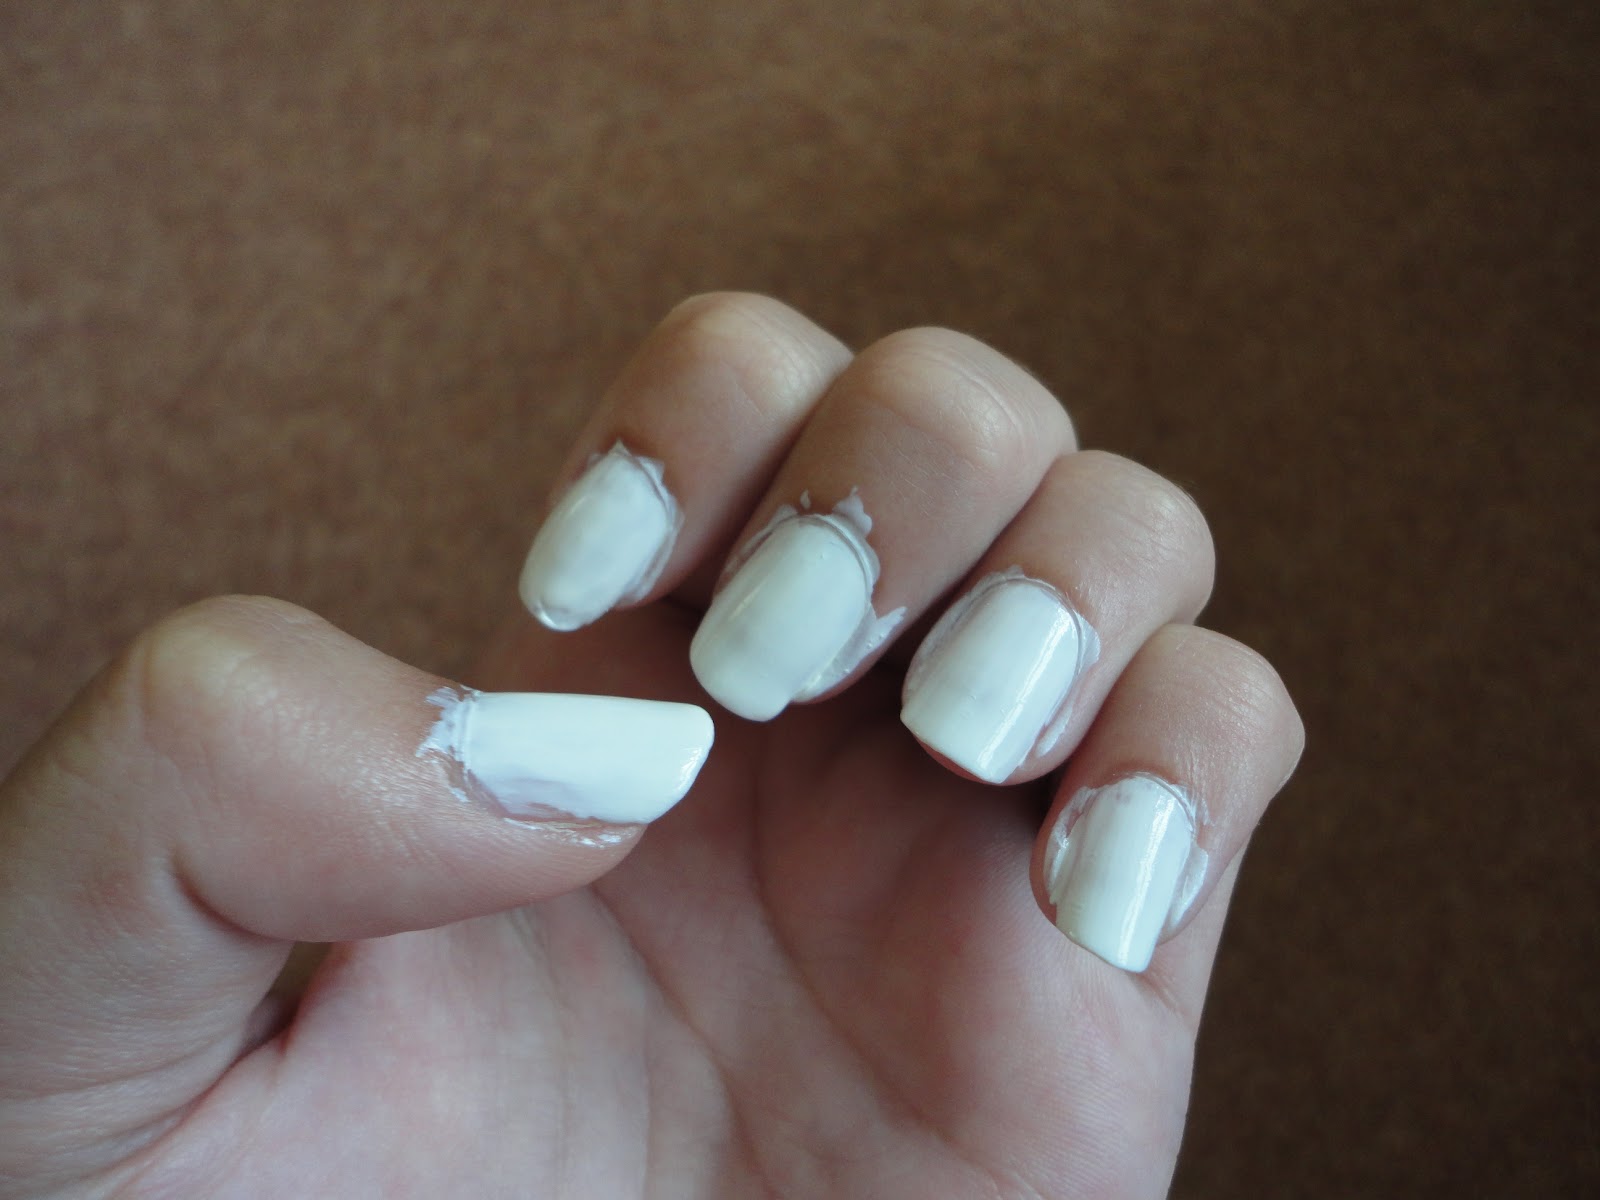
Looking to add a buzz-worthy touch to your manicure? Look no further than bumble bee nail art! This fun and playful design is perfect for spring and summer, and is sure to make a statement. Whether you're a nail art pro or a beginner, this tutorial will guide you through creating your own bumble bee nails in no time. To start, you'll need a black nail polish, a yellow nail polish, a dotting tool or toothpick, and a top coat. Begin by painting your nails with a base coat to protect them and ensure that your manicure lasts longer. Once your base coat is dry, apply two coats of your chosen yellow polish to your nails. This will serve as the base color for the bumble bee design. For a more dramatic effect, you can also opt for a yellow and black ombre design. Next, using your black nail polish, create a thin line across the tip of your nail to represent the bee's body. You can use a striping brush or a toothpick to achieve a precise line. Then, add two small curved lines on either side of the body to create the bee's wings. Once the black polish has dried, it's time to add the bee's stripes. Using your dotting tool or toothpick, create small dots along the bee's body using black nail polish. You can add as many or as few stripes as you'd like, depending on your preference. Finally, add a small white dot on the top of the bee's body for the head. You can use a toothpick or a smaller dotting tool for this step. Once your design is complete, seal it in with a layer of top coat to protect your hard work and give it a glossy finish. There you have it, your very own bumble bee nail art! You can create variations of this design by changing the base color or adding more bees to different nails. Have fun and get creative with it!1. Bumble Bee Nail Art Tutorial


1. Bumble Bee Nail Art Tutorial


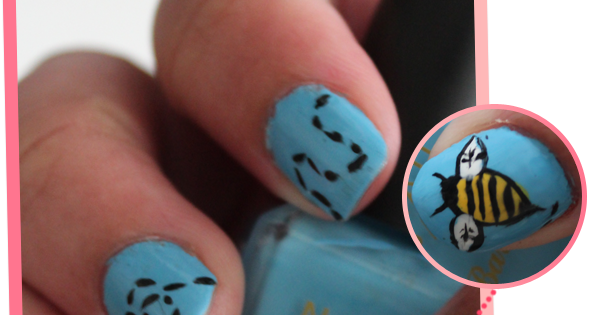


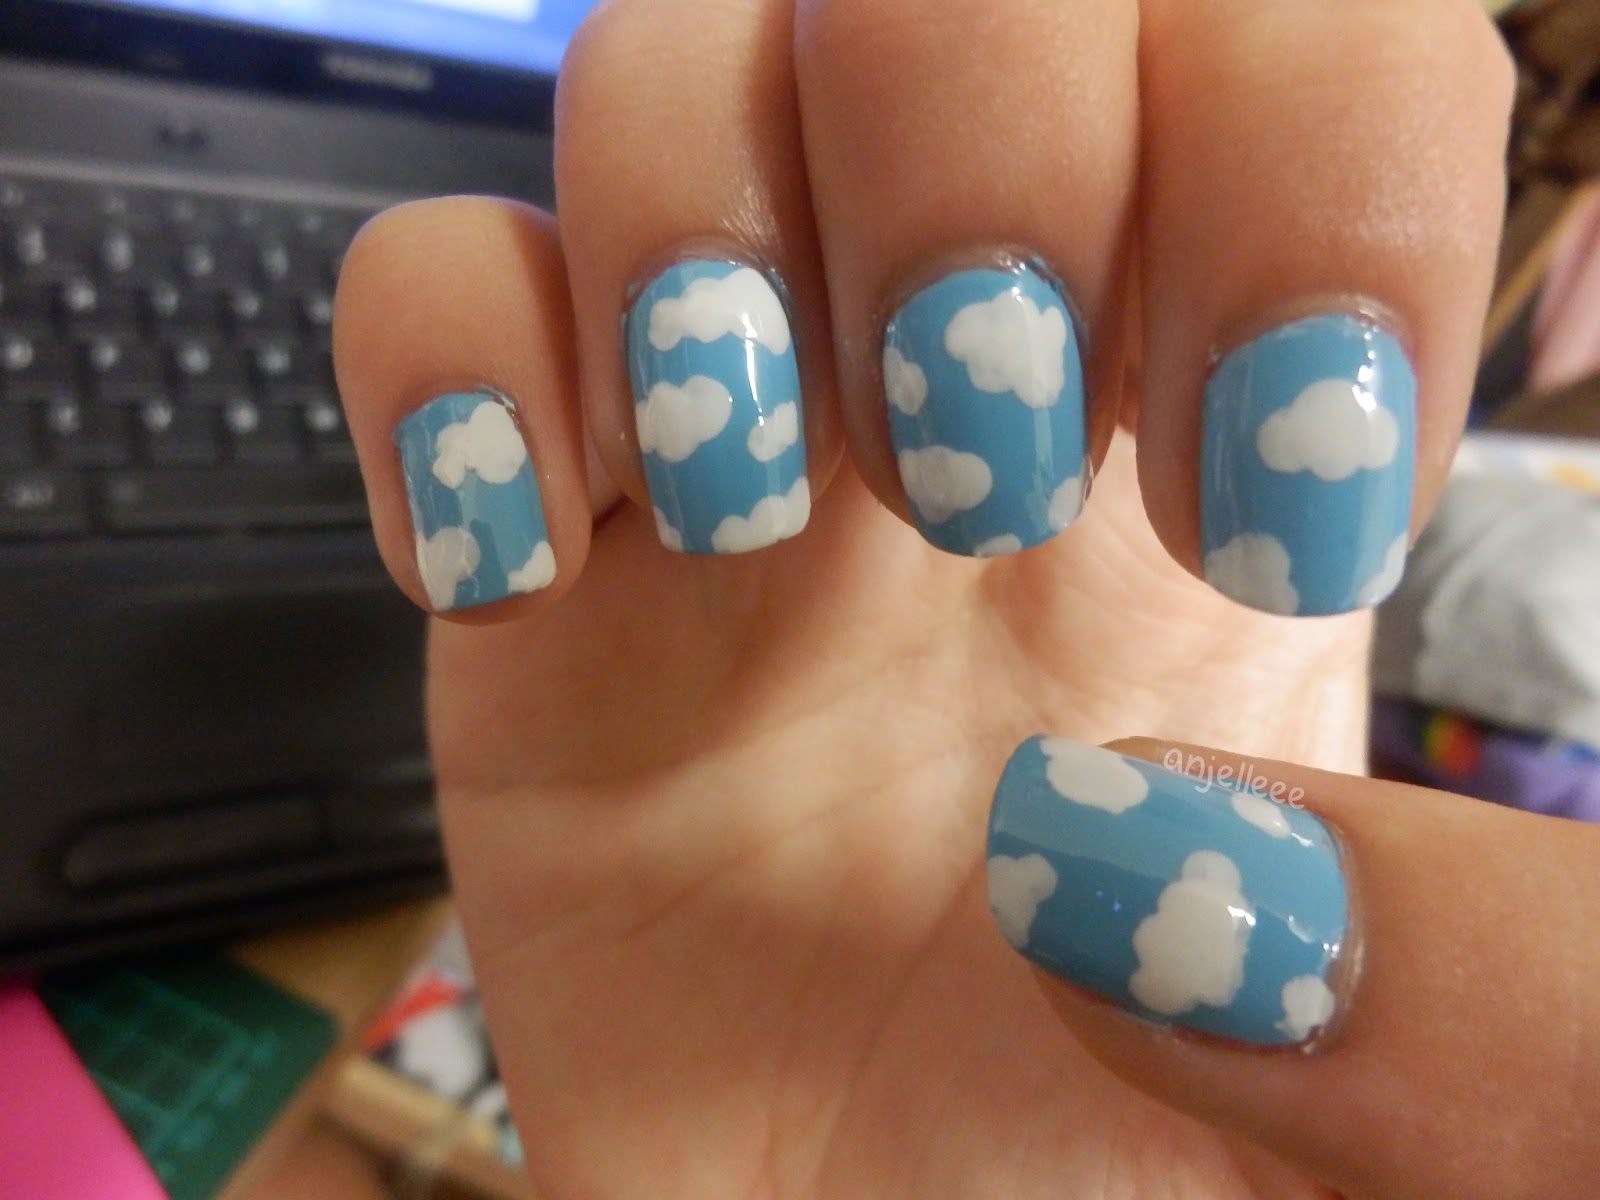
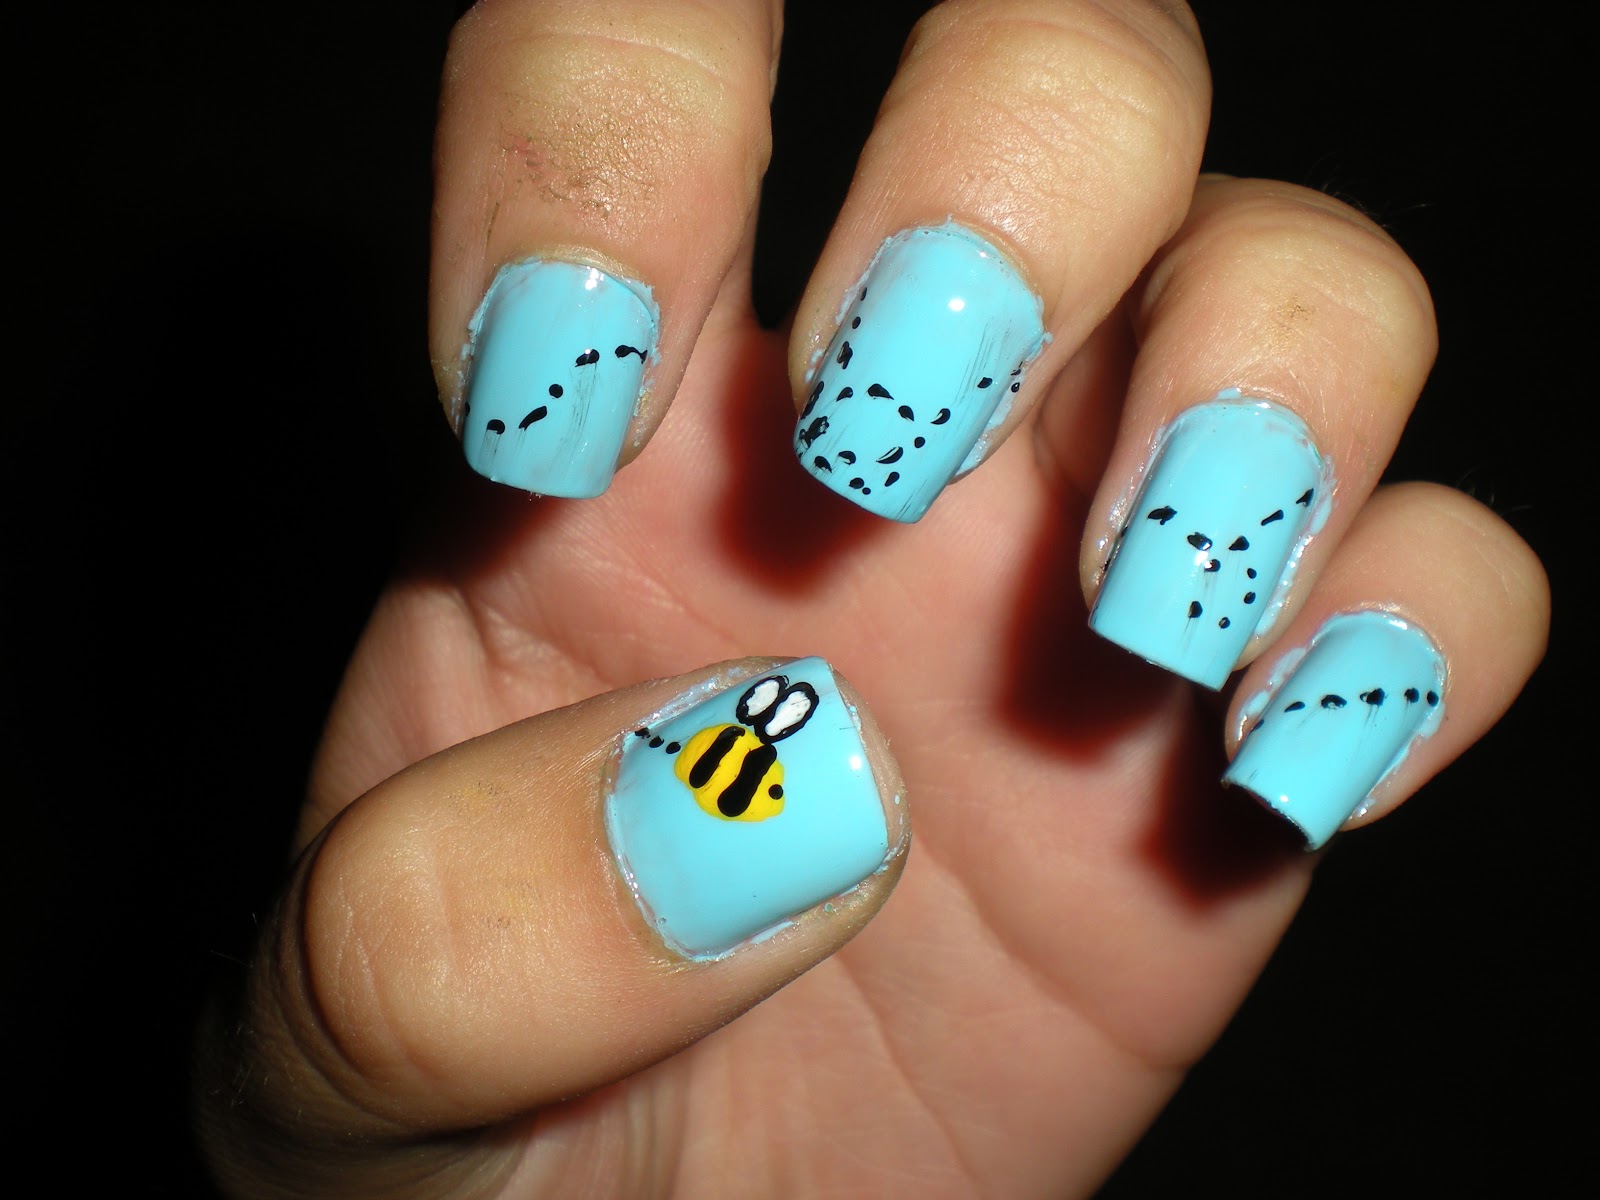
If you're looking for some inspiration for your bumble bee nail design, we've got you covered. There are endless possibilities when it comes to incorporating these adorable insects into your manicure. Here are some ideas to get you started: - Create a mix and match design with some nails featuring the bumble bee design and others with a honeycomb pattern. - Use a matte top coat to add a unique twist to your bumble bee nails. - Add a pop of glitter or gold accents to your bumble bee design for some extra sparkle. - Create a 3D effect by using small nail gems or beads for the bee's eyes. - Instead of a yellow base, try a light blue or purple for a colorful and fun look. There are so many ways to make your bumble bee nails stand out and reflect your personal style. Don't be afraid to experiment and have fun with it!2. Bumble Bee Nail Design Ideas


2. Bumble Bee Nail Design Ideas
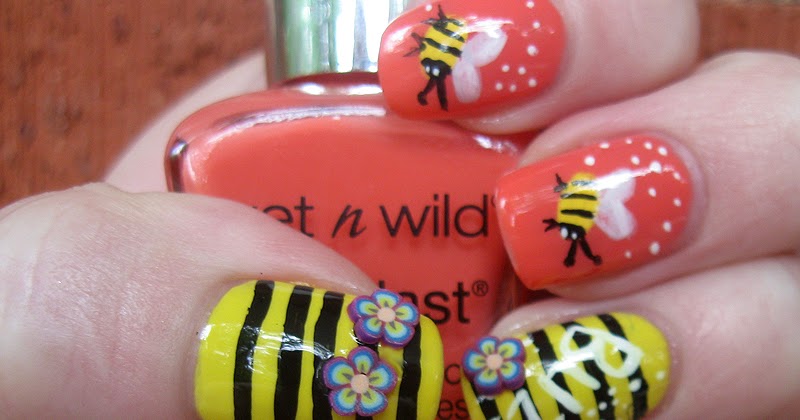

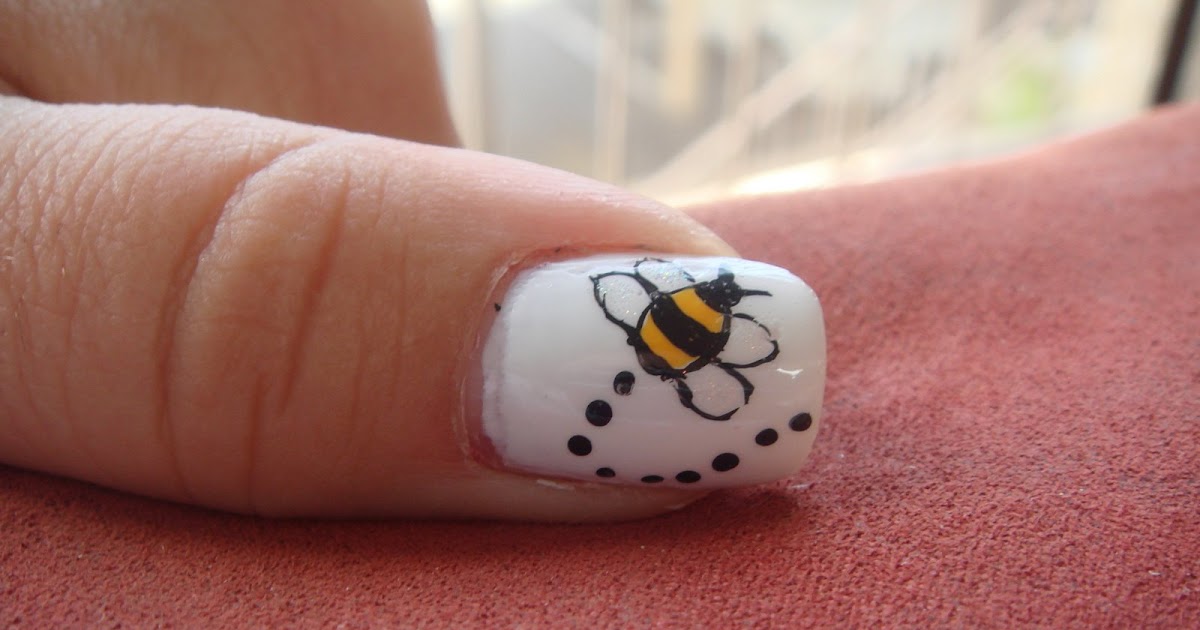
Bumble bee nail designs are inherently cute, but there are certain techniques and elements you can add to make them even more adorable. Here are some ideas for cute bumble bee nails: - Use a pastel yellow polish for a softer and more delicate look. - Add a tiny flower or a heart accent to the bee's head for a feminine touch. - Create a cartoon-like bee by adding a smile and rosy cheeks to the bee's face. - Use a gradient effect for the bee's body, with a lighter yellow at the top and a darker yellow at the bottom. - Stamp on a small bee image onto one of your nails for a fun and quirky detail. - Create a honeycomb pattern on the accent nail and add a tiny bee crawling on top of it. With these cute bumble bee nail designs, your manicure will be the talk of the town. You'll be buzzing with joy every time you catch a glimpse of your nails!3. Cute Bumble Bee Nail Designs


3. Cute Bumble Bee Nail Designs
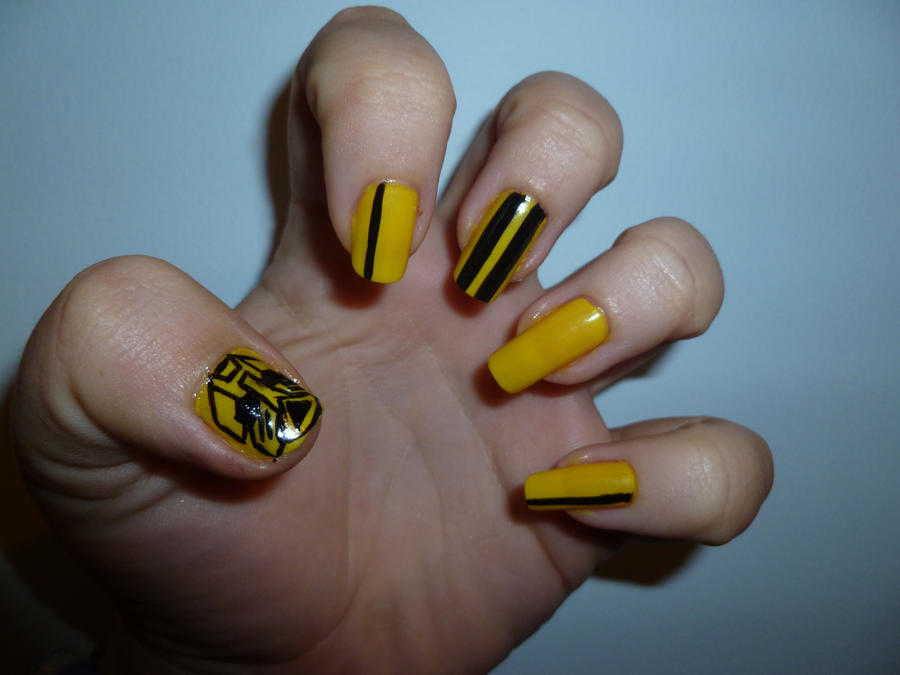

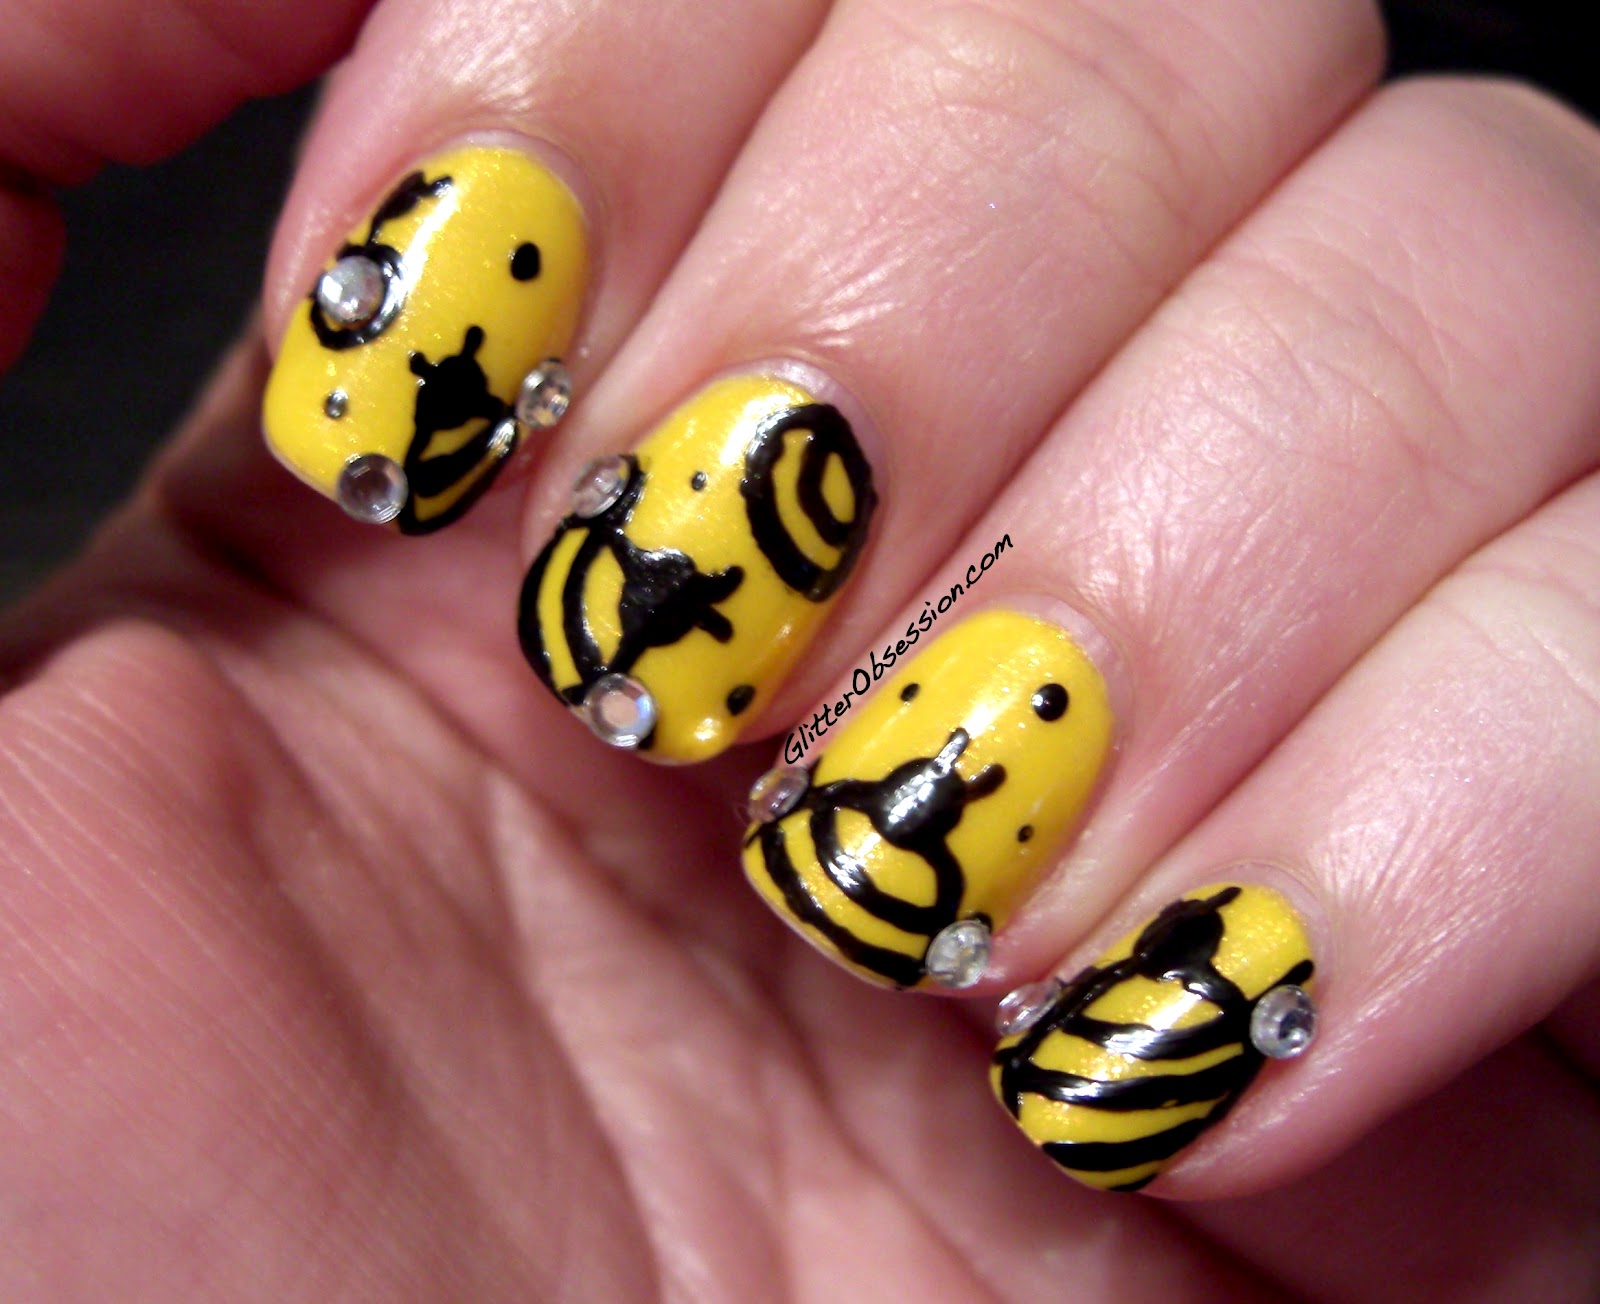
When you think of bumble bees, the first colors that come to mind are yellow and black. So why not stick to the classic color combination for your bumble bee nails? This design is simple, yet eye-catching, and is perfect for those who prefer a more minimalist approach to nail art. For this design, you'll need a yellow and black nail polish, a dotting tool or toothpick, and a top coat. Start by painting all of your nails with the yellow polish, except for the ring fingers. These will serve as your accent nails and will be painted with the black polish. Once the base color is dry, take your dotting tool or toothpick and create small black dots along the side of the nail, starting from the tip and moving towards the cuticle. This will create the bee's body. Then, using the same tool, add two small curved lines on either side of the body to create the wings. Next, paint your ring fingers with the black polish. Once it's dry, use the yellow polish to create a thin line across the tip of the nail for the bee's body. Then, add the bee's stripes and head using the dotting tool or toothpick. Finish off with a layer of top coat to seal in your design and give it a glossy finish. These yellow and black bumble bee nails are perfect for any occasion and will surely make a statement.4. Yellow and Black Bumble Bee Nails


4. Yellow and Black Bumble Bee Nails

If freehand nail art isn't your strong suit, you can still achieve a stunning bumble bee design with the help of nail stamping. Nail stamping is a technique where you use a special plate with pre-designed images and transfer them onto your nails with a stamping tool. For bumble bee nails, look for a stamping plate with bee images or honeycomb patterns. You'll also need a stamper, a scraper, and a black and yellow stamping polish. Begin by painting your nails with a base color. Once it's dry, apply a layer of the stamping polish onto the bee image on the plate. Use the scraper to remove any excess polish, then use the stamper to pick up the image and transfer it onto your nail. Repeat this step for all of your nails, alternating between bee images and honeycomb patterns. Once you're finished, seal in your design with a top coat. With nail stamping, you can achieve precise and intricate designs with ease, making your bumble bee nails look like they were done by a professional.5. Bumble Bee Nail Stamping


5. Bumble Bee Nail Stamping


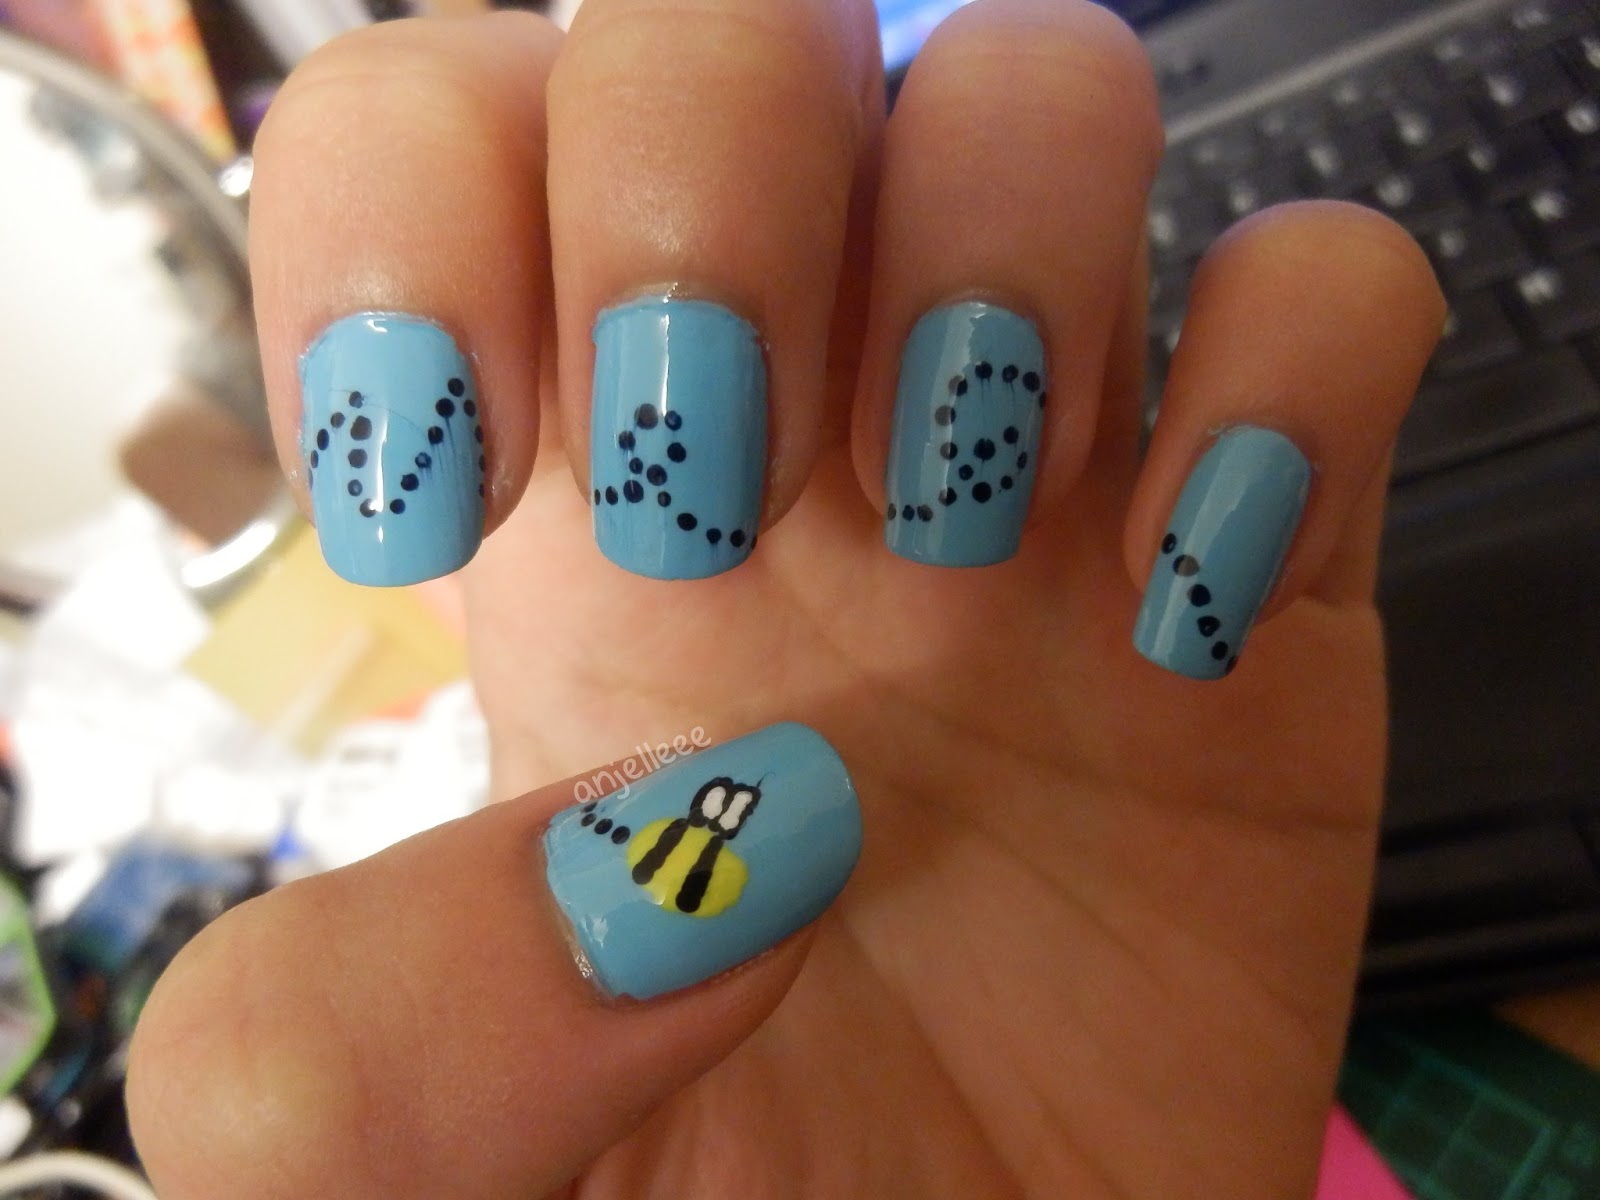
For a more subtle take on bumble bee nails, try incorporating them as an accent nail. This means choosing one or two nails to feature the bumble bee design, while the rest of your nails have a different design or a solid color. For example, you can have a black and white polka dot design on your nails, with the bumble bee design on your ring finger. Or, you can have a gradient effect on your nails, with the bumble bee design on your thumb and pinky finger. This allows you to have a fun and playful touch to your manicure without it being too overpowering.6. Bumble Bee Accent Nail Designs


6. Bumble Bee Accent Nail Designs

Short nails don't have to limit your nail art options. In fact, bumble bee nail art can look just as adorable on shorter nails as it does on longer ones. Here are some tips for creating bumble bee nails on short nails: - Keep the design simple and minimalistic. Too many details can make your nails look too busy and cluttered. - Use smaller dots for the bee's body and wings to fit on the smaller nail surface. - Opt for a diagonal or vertical stripe design instead of a horizontal one to elongate the nails. - Use a lighter yellow polish for the base color to make your nails appear longer. With these tips, you can achieve the perfect bumble bee nail design for your shorter nails.7. Bumble Bee Nail Art for Short Nails

7. Bumble Bee Nail Art for Short Nails


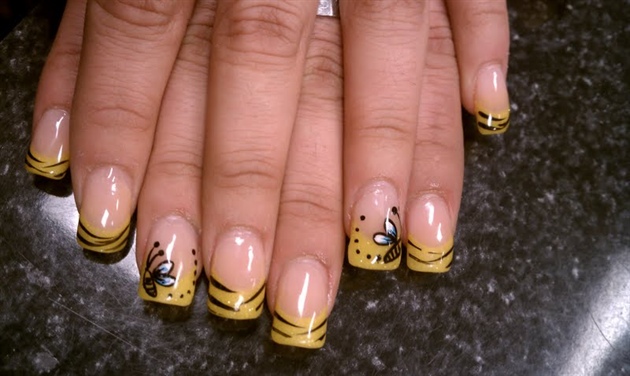
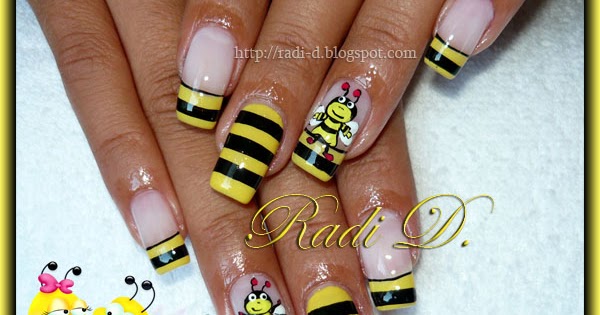
A French manicure is a classic and timeless nail design that can be easily adapted to incorporate bumble bees. Instead of the traditional white tips, use a black polish for the tips and add the bee's body and wings using a dotting tool or toothpick. For a twist on this classic look, you can also paint your tips with a gradient from yellow to black, representing the bee's colors. Then, add the bee's stripes and head using the same techniques as before. This is a fun and chic way to incorporate bumble bees into your nail design.8. Bumble Bee French Tip Nails

8. Bumble Bee French Tip Nails


If you're looking for an easy and quick way to achieve bumble bee nails, try using nail decals. Nail decals are small images that can be transferred onto your nails and are available in a variety of designs, including bumble bees. All you need to do is paint your nails with a base color, let it dry, and then apply the decal onto your nail. You can use a small amount of water to help the decal adhere to your nail. Once it's dry, seal it in with a top coat. This is a great option for those who don't have a steady hand for nail art or are short on time.9. Bumble Bee Nail Decals


9. Bumble Bee Nail Decals


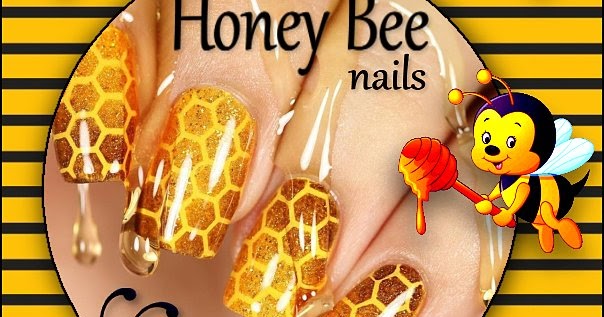
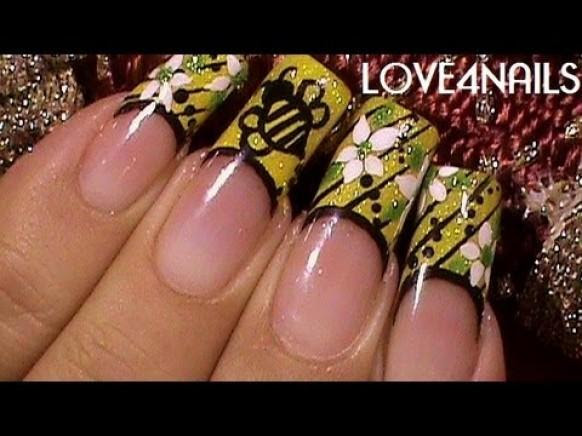
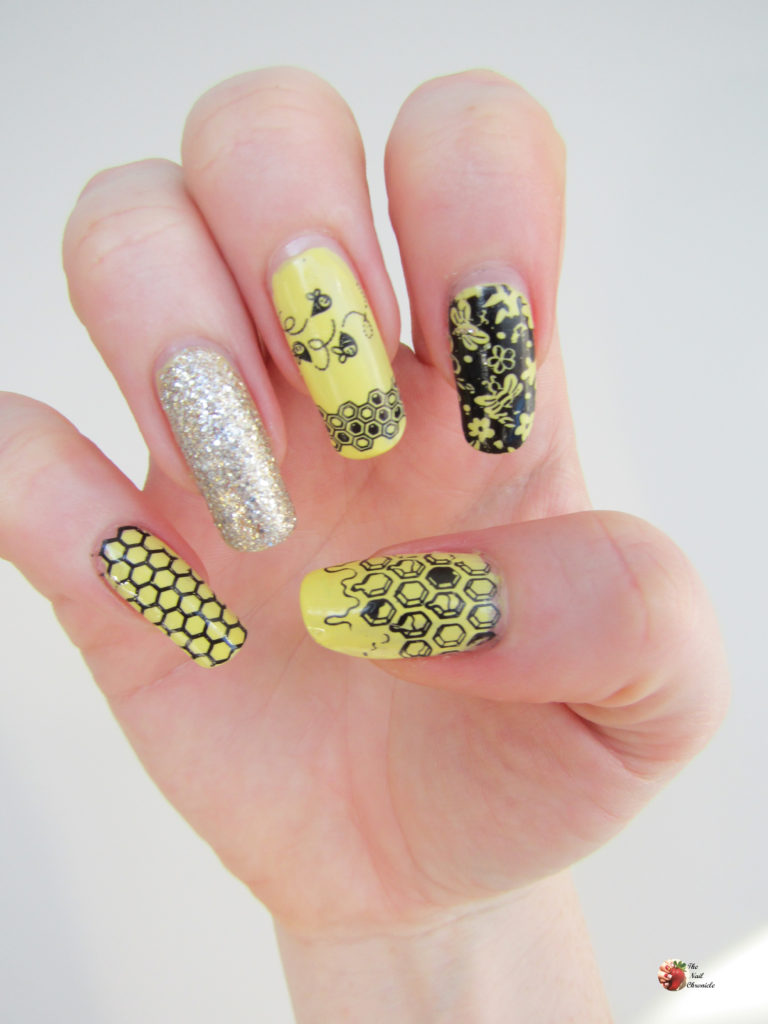
A honeycomb pattern is the perfect accompaniment to bumble bee nails. It adds a touch of texture and interest to your design. To achieve this look, start by painting your nails with a base color. Next, use a small nail art brush or a toothpick to create the honeycomb pattern on your nails using a black polish. You can also use a stamping plate with a honeycomb pattern for a quicker and more precise result. Once the pattern is dry, add the bumble bee design on top using the techniques mentioned above. This combination of the honeycomb pattern and bumble bees will surely make your nails stand out. With these 10 bumble bee nail designs, you'll be ready to show off your buzzing manicure to the world. Remember to have fun with your nails and experiment with different techniques and designs. With a little practice, you'll be creating the perfect bumble bee nails in no time. Happy buzzing!10. Bumble Bee Nail Design with Honeycomb Pattern
10. Bumble Bee Nail Design with Honeycomb Pattern

The Buzz on Bumble Bee Nail Design

A Unique and Playful Addition to Your Nail Art Collection
 When it comes to nail art, there are endless possibilities and designs to choose from. One design that has been gaining popularity in recent years is the bumble bee nail design. This playful and unique design incorporates the iconic black and yellow stripes of a bumble bee, making it a fun and eye-catching addition to any manicure.
Bumble bee nail design
is not just limited to one specific style or pattern. There are many different variations and ways to incorporate this design into your nails. Some opt for a simple and subtle approach by adding a single bee accent nail, while others go all out with a full set of buzzing bees on each nail. No matter how you choose to rock this design, it is sure to make a statement.
When it comes to nail art, there are endless possibilities and designs to choose from. One design that has been gaining popularity in recent years is the bumble bee nail design. This playful and unique design incorporates the iconic black and yellow stripes of a bumble bee, making it a fun and eye-catching addition to any manicure.
Bumble bee nail design
is not just limited to one specific style or pattern. There are many different variations and ways to incorporate this design into your nails. Some opt for a simple and subtle approach by adding a single bee accent nail, while others go all out with a full set of buzzing bees on each nail. No matter how you choose to rock this design, it is sure to make a statement.
The Symbolism Behind the Bumble Bee
 Aside from its cute and playful appearance, the bumble bee also holds symbolic meaning in many cultures. In ancient Egyptian mythology, bees were seen as a symbol of royalty and power, while in Greek mythology they were associated with fertility and love. In modern times, the bumble bee has become a symbol of hard work and determination, as they are known for their industrious nature and role in pollination.
Bumble bee nail design
can be seen as a way to incorporate these positive and powerful symbols onto your nails. Every time you look down at your buzzing bees, you may feel a sense of motivation and strength.
Aside from its cute and playful appearance, the bumble bee also holds symbolic meaning in many cultures. In ancient Egyptian mythology, bees were seen as a symbol of royalty and power, while in Greek mythology they were associated with fertility and love. In modern times, the bumble bee has become a symbol of hard work and determination, as they are known for their industrious nature and role in pollination.
Bumble bee nail design
can be seen as a way to incorporate these positive and powerful symbols onto your nails. Every time you look down at your buzzing bees, you may feel a sense of motivation and strength.
Creating Your Own Bumble Bee Nail Design
 If you're interested in trying out this fun and unique nail design, there are a few different ways to achieve it. For a simple and easy approach, you can use nail stickers or decals that feature bumble bees. These can be found at most beauty supply stores or online.
For a more advanced option
, you can create your own design using nail polish or acrylic paint. Start by painting your nails with a yellow base color and then use a thin brush to create black stripes. You can also add in details like wings or a cute little face for added flair. Don't worry if your bees aren't perfect, the charm of this design lies in its imperfection.
If you're interested in trying out this fun and unique nail design, there are a few different ways to achieve it. For a simple and easy approach, you can use nail stickers or decals that feature bumble bees. These can be found at most beauty supply stores or online.
For a more advanced option
, you can create your own design using nail polish or acrylic paint. Start by painting your nails with a yellow base color and then use a thin brush to create black stripes. You can also add in details like wings or a cute little face for added flair. Don't worry if your bees aren't perfect, the charm of this design lies in its imperfection.
Final Thoughts
 Incorporating
bumble bee nail design
into your nail art collection is a fun and creative way to add some personality to your manicure. Whether you opt for a subtle accent nail or a full set of buzzing bees, this design is sure to turn heads and bring a smile to your face. So why not give it a try and let your nails be as busy as a bumble bee?
Incorporating
bumble bee nail design
into your nail art collection is a fun and creative way to add some personality to your manicure. Whether you opt for a subtle accent nail or a full set of buzzing bees, this design is sure to turn heads and bring a smile to your face. So why not give it a try and let your nails be as busy as a bumble bee?


