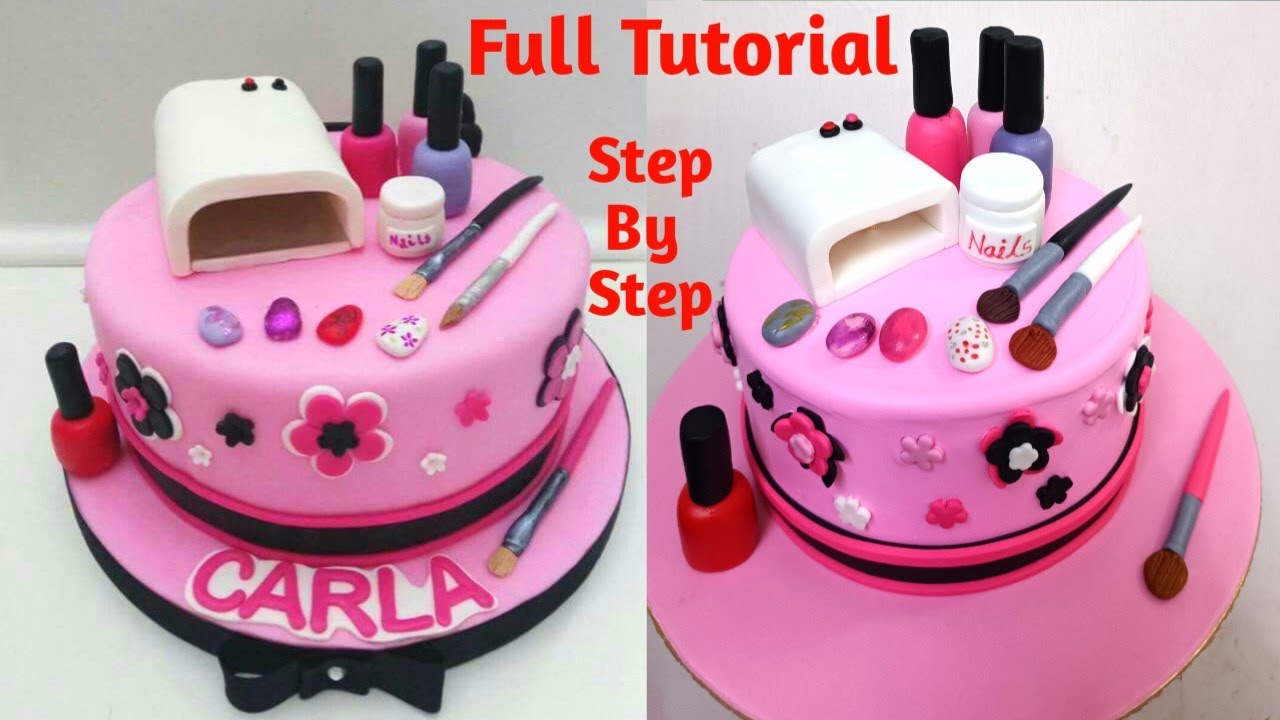
Creating a stunning cake-inspired nail design doesn't have to be complicated or time-consuming. With the right tools and a little bit of creativity, you can easily achieve a gorgeous cake nail art look. Here's a step-by-step tutorial on how to create a simple yet eye-catching cake design on your nails. First, start by applying a base coat to your nails to protect them and ensure your manicure lasts longer. Then, take a light pink nail polish and paint all your nails with it. This will serve as the base color for your cake design. Next, using a thin brush and a white nail polish, draw a thin line across the top of your nails to create the "icing" of the cake. You can make it as thick or thin as you like, depending on the size of your nails and the look you want to achieve. Now, it's time to add some sprinkle details to your cake. Using a dotting tool or a toothpick, dip it into different colored nail polishes and create small dots on the "icing." This will give the illusion of sprinkles on top of the cake. Lastly, add a cherry on top of your cake by using a red nail polish and a dotting tool. Simply create a small dot at the center of your nails to represent the cherry. And voila, you now have a cute and easy cake nail art design!1. "Easy Cake Nail Art Design Tutorial"


1. "Easy Cake Nail Art Design Tutorial"


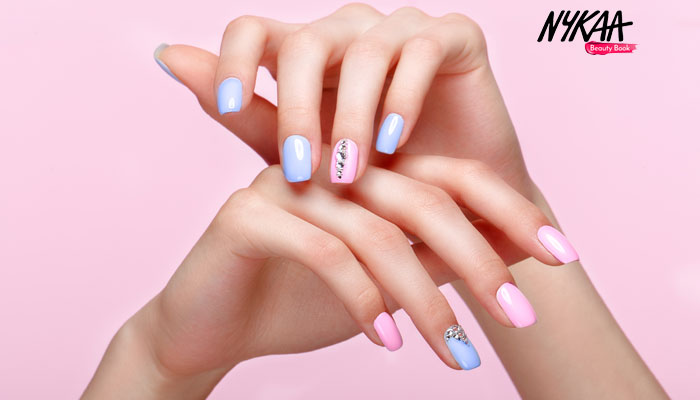
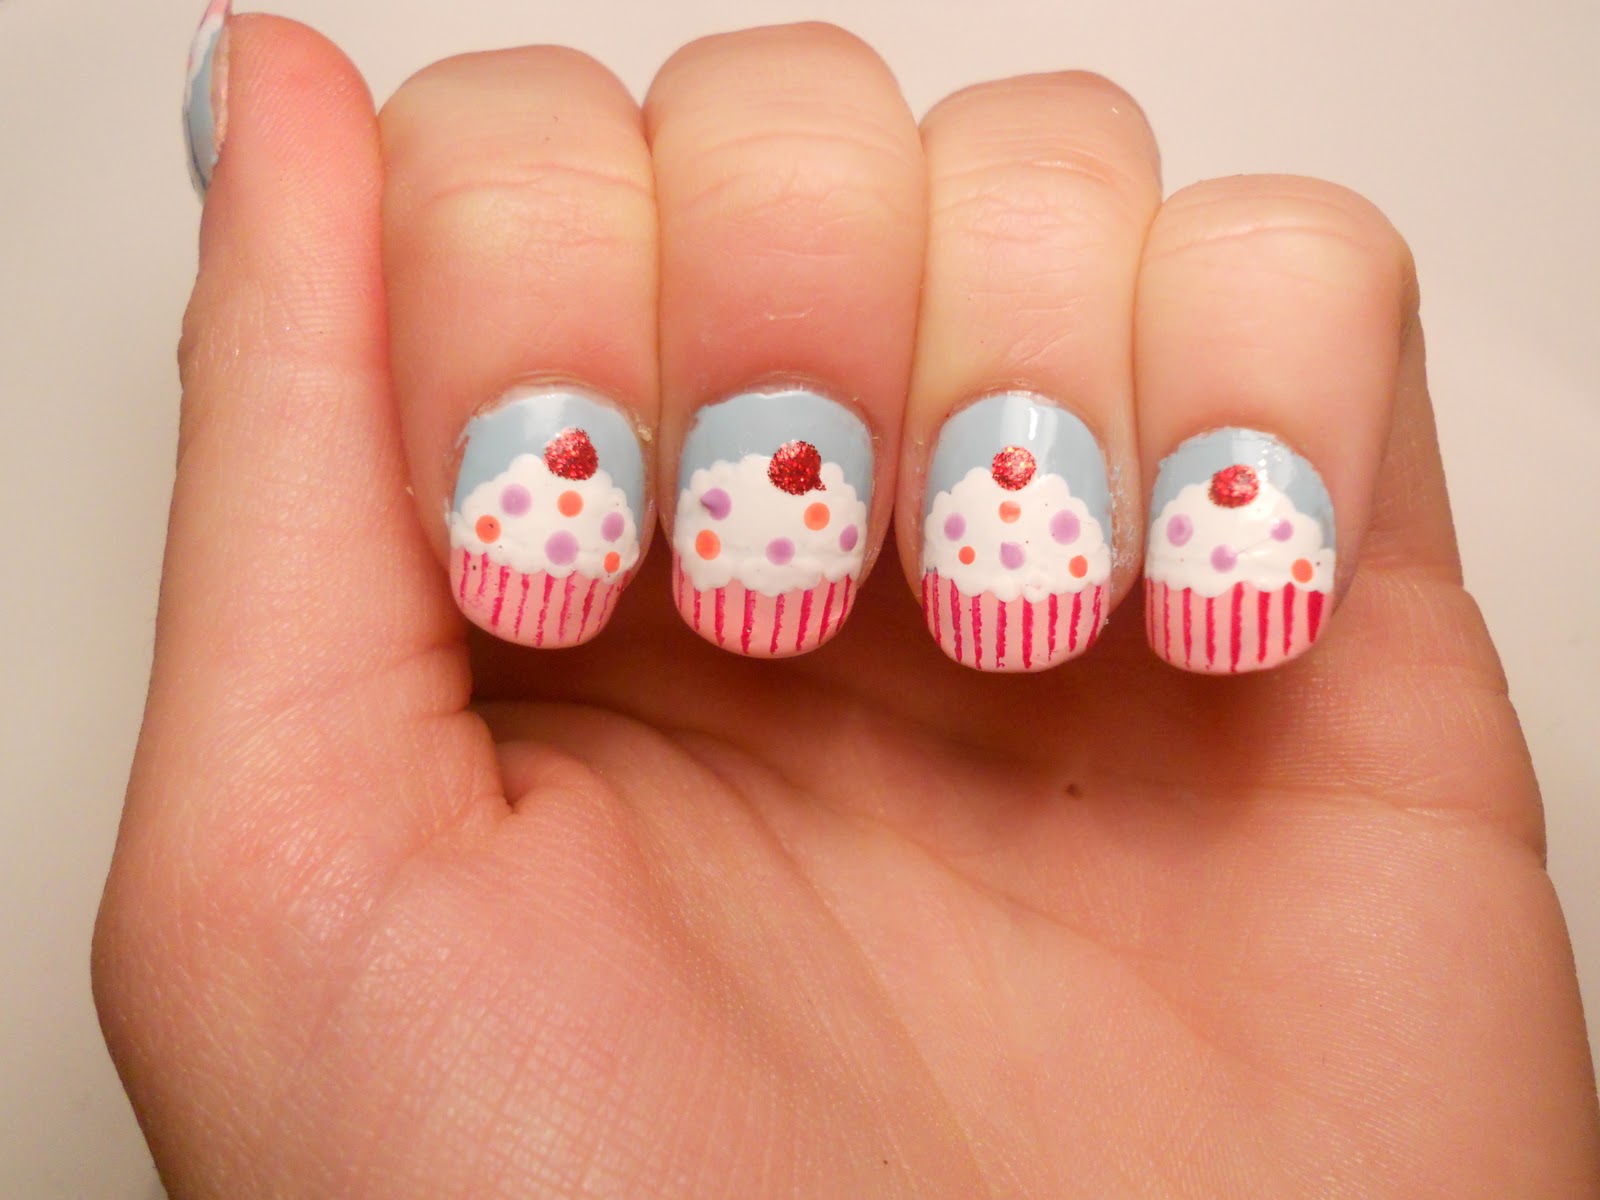
If you're looking for more cute and simple cake nail art ideas, here are a few to inspire you. One idea is to create a three-tiered cake design on your nails. Start by painting your nails with a light blue nail polish for the base color. Then, using a white nail polish, create three horizontal lines across your nails, each one slightly smaller than the one below it. This will give the illusion of a three-tiered cake. Add some colorful dots or swirls on top of each layer to represent the cake's decorations. Another cute idea is to create a cupcake nail design. Start by painting your nails with a light pink nail polish for the base color. Then, using a white nail polish, create a half-circle at the top of your nails to represent the frosting of a cupcake. Add some colorful sprinkles using a dotting tool or toothpick. You can also add a small heart or star on top of the frosting for an extra touch. For those who prefer a simpler design, you can opt for a single cake slice on one or two nails. Start by painting your nails with a light yellow nail polish for the base color. Then, using a thin brush and a white nail polish, create a triangular shape at the top of your nails to represent the cake slice. Add some colorful dots or lines on top to represent the cake's decorations.2. "Cute and Simple Cake Nail Art Ideas"


2. "Cute and Simple Cake Nail Art Ideas"


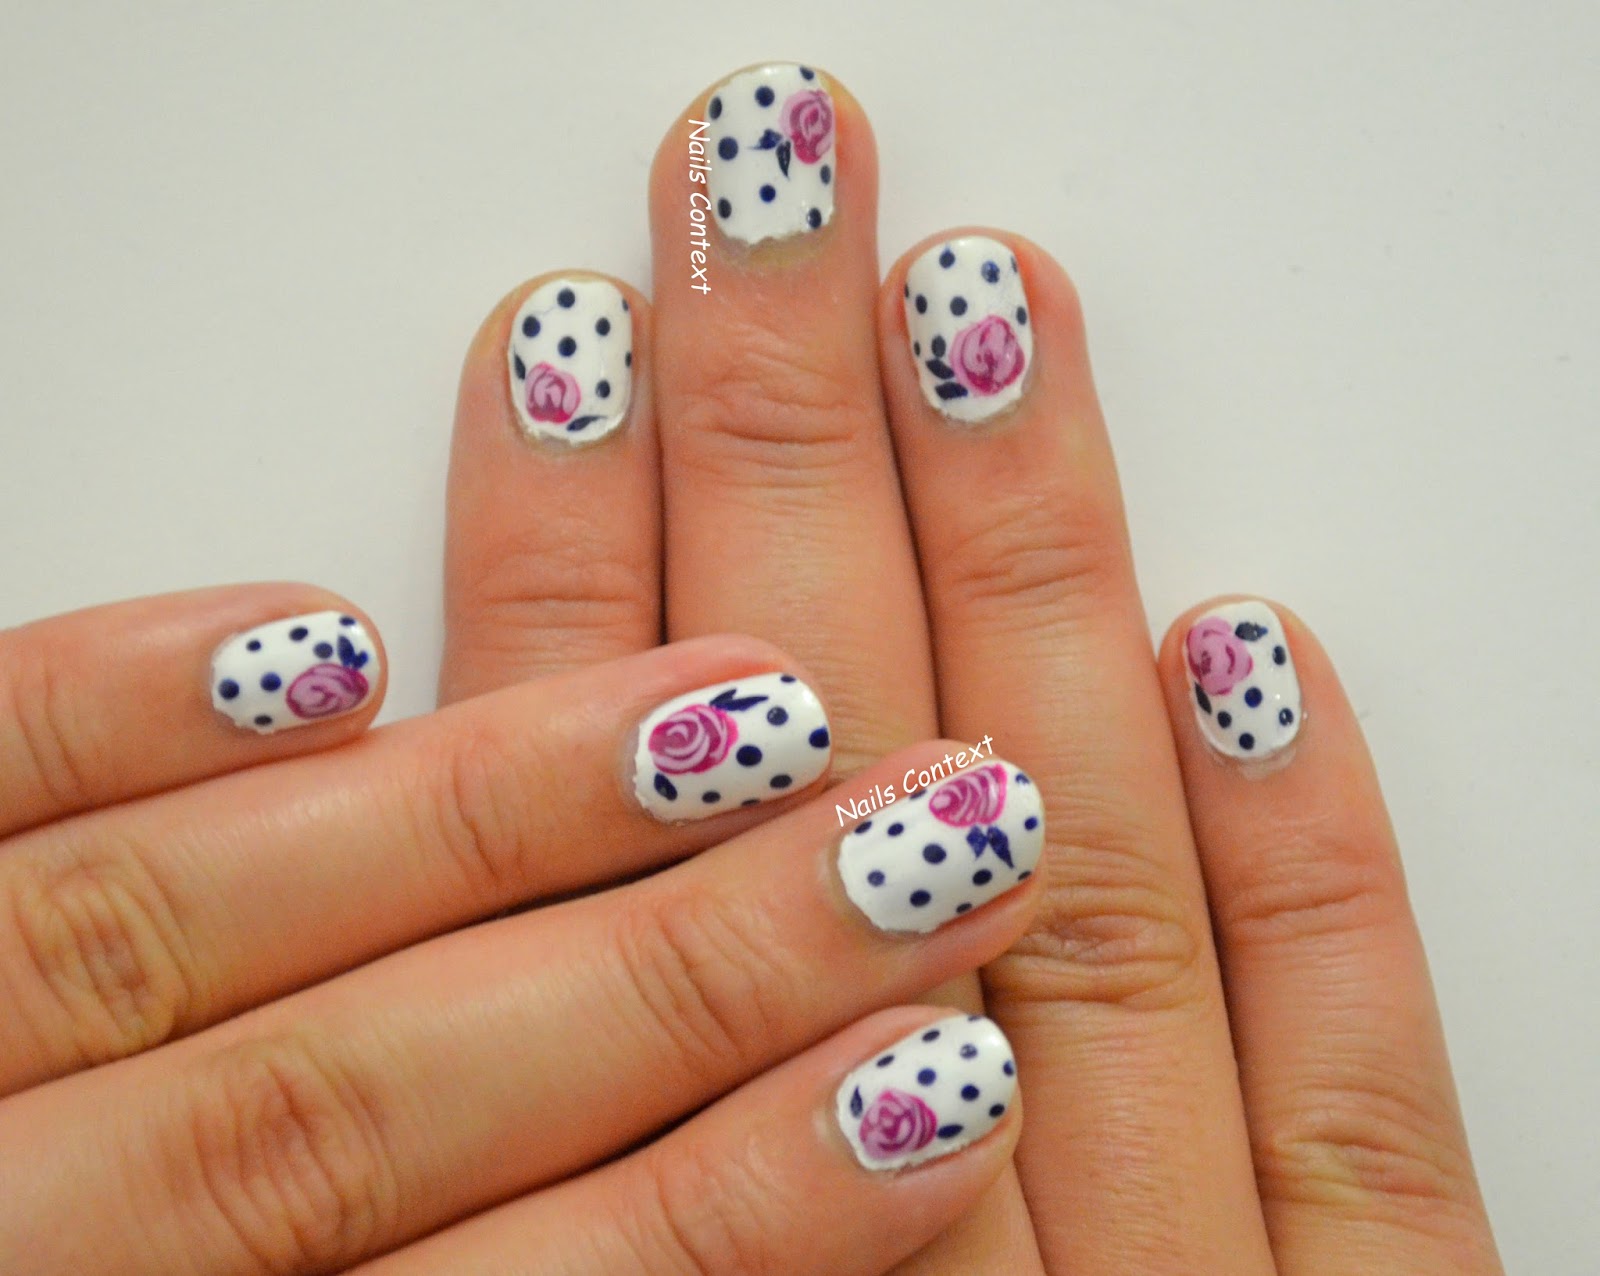
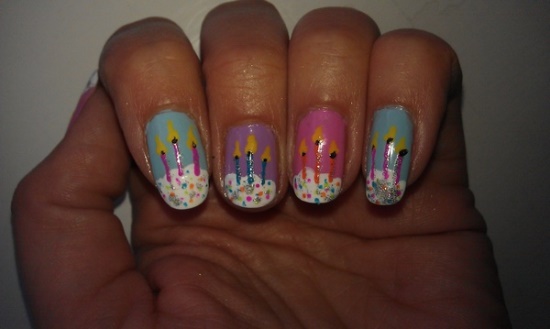
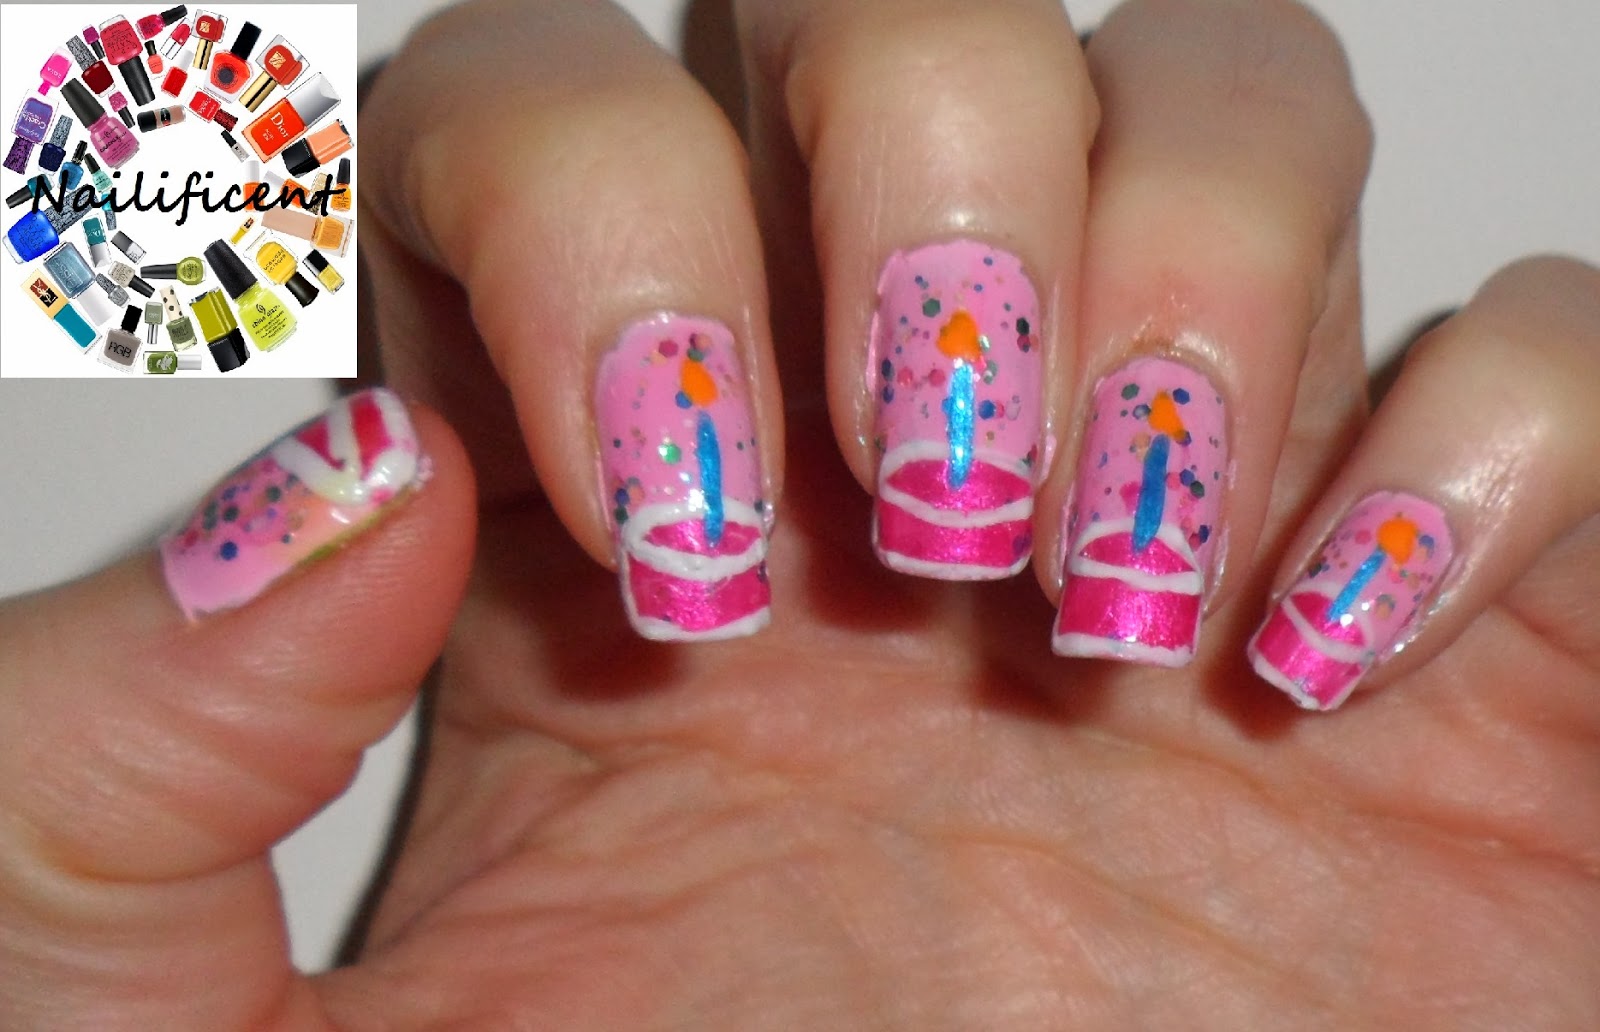
If you're new to nail art and want to try out some cake-inspired designs, here are a few ideas that are perfect for beginners. One simple design is to create a polka dot cake on your nails. Start by painting your nails with a light pink nail polish for the base color. Then, using a dotting tool or toothpick, create small dots all over your nails using different colored nail polishes. This will give the illusion of a fun and colorful cake. Another easy design is to create a cake and candle nail art. Start by painting your nails with a light blue nail polish for the base color. Then, using a white nail polish and a thin brush, create a rectangular shape at the top of your nails to represent the cake. Add some colorful dots on top to represent the cake's decorations. Lastly, using a black nail polish, create a small line at the top of the cake to represent a candle. You can add as many candles as you like, depending on how many nails you want to decorate. For a more whimsical design, you can create a unicorn cake nail art. Start by painting your nails with a light purple nail polish for the base color. Then, using a thin brush and a white nail polish, create a triangular shape at the top of your nails to represent the cake. Add some colorful dots or swirls on top to represent the cake's decorations. Lastly, using a dotting tool or toothpick, create a small unicorn horn and ears at the top of the cake. This design is perfect for those who love all things magical and cute.3. "Cake Inspired Nail Designs for Beginners"


3. "Cake Inspired Nail Designs for Beginners"

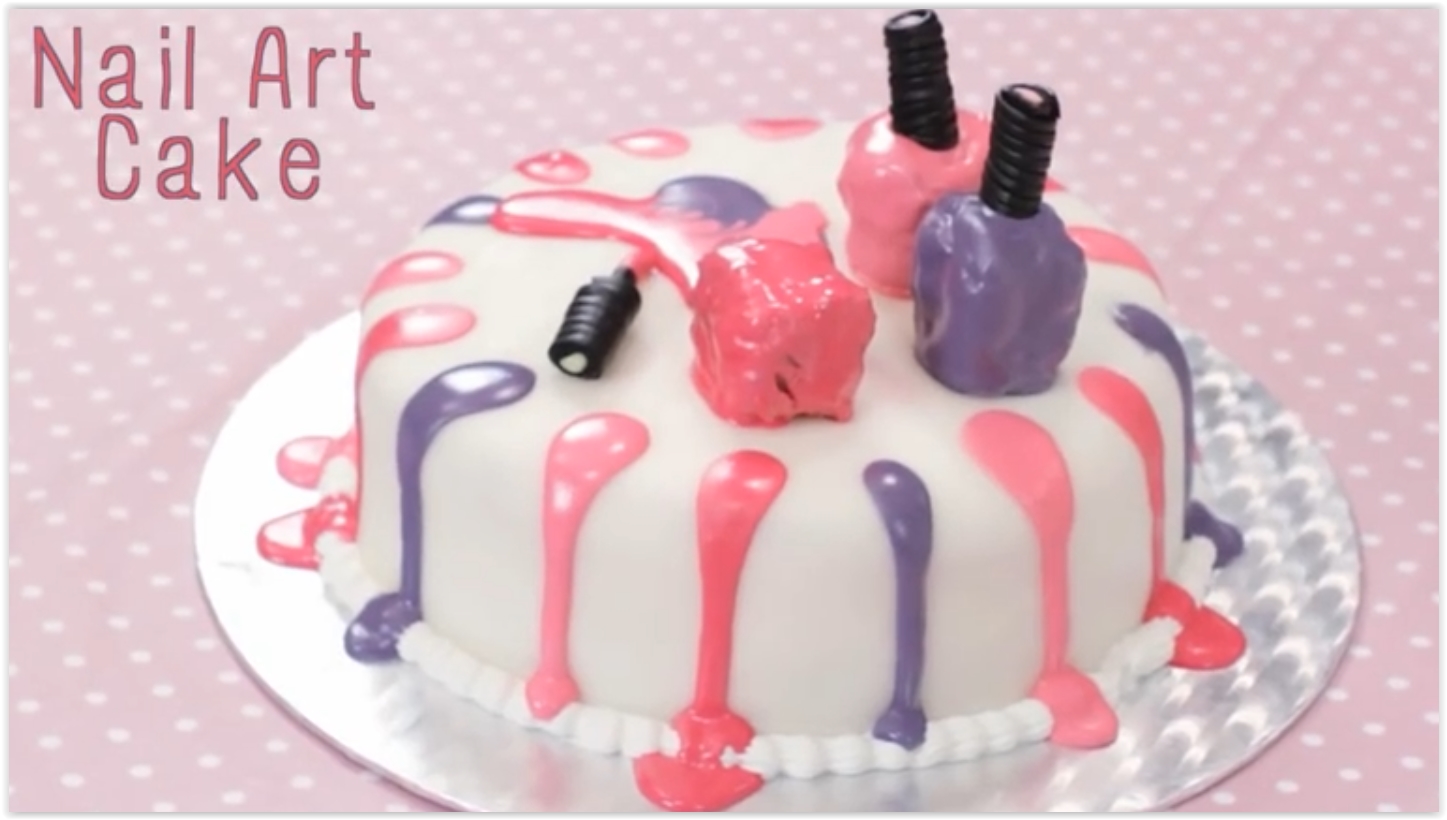
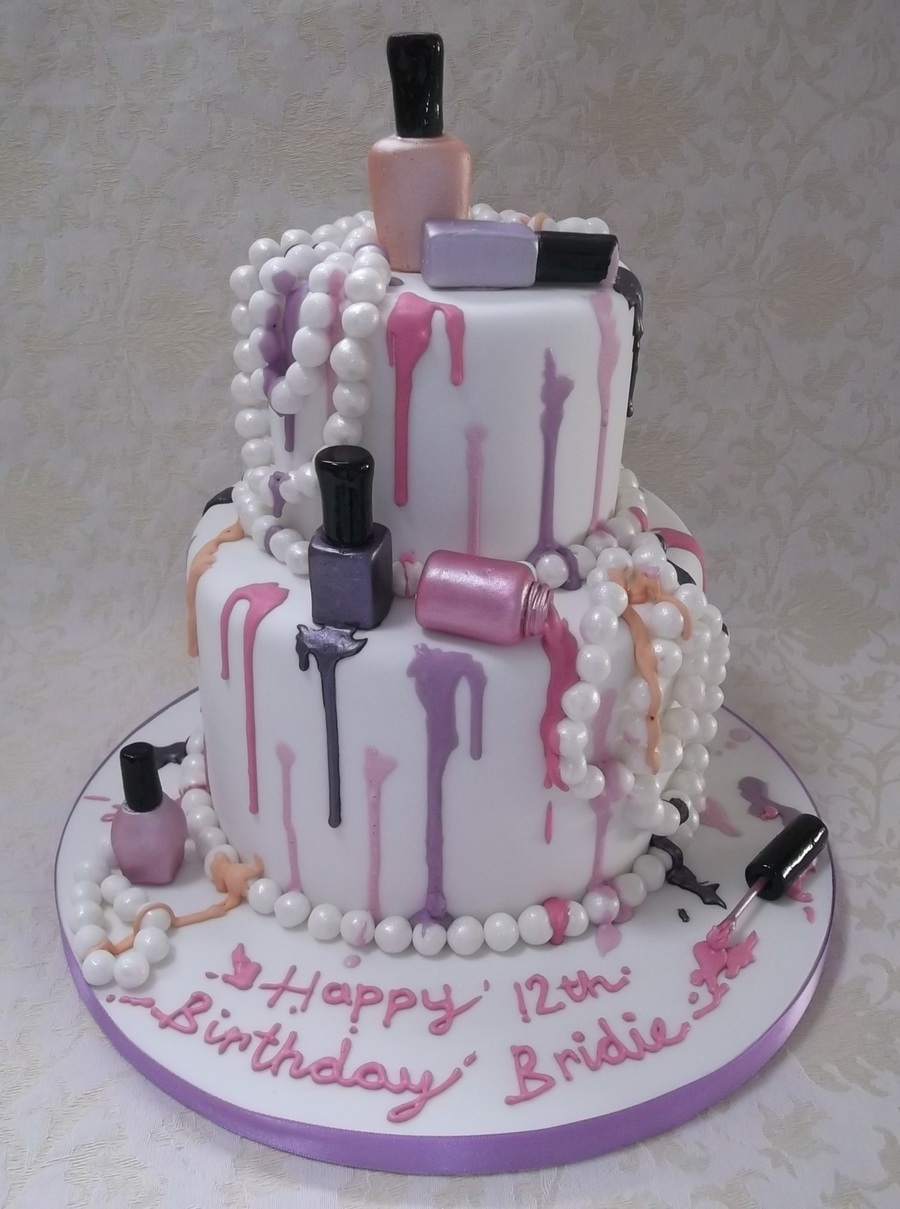
If you want your cake nail art to look even more realistic, why not add some actual cake elements to your design? One idea is to use tiny cake slices or sprinkles as nail embellishments. You can find these at your local craft store or online. Simply apply a clear top coat to your nails and while they're still wet, place the cake slices or sprinkles on top. This will give the illusion of having real cake pieces on your nails. Another delicious design is to create a dripping cake nail art. Start by painting your nails with a light pink nail polish for the base color. Then, using a thin brush and a white nail polish, create a dripping effect at the top of your nails. Add some colorful sprinkles or dots on top of the "dripping icing" to give the cake more dimension. This design is perfect for those who love a more abstract and edgy look. You can also try creating a chocolate cake nail art. Start by painting your nails with a light brown nail polish for the base color. Then, using a dotting tool or toothpick, create small dots using a darker brown nail polish to represent the chocolate chips. You can also add a thin line of white nail polish to create the "icing" on top of the cake. This design is perfect for chocolate lovers.4. "Delicious Cake Nail Art Designs to Try"


4. "Delicious Cake Nail Art Designs to Try"


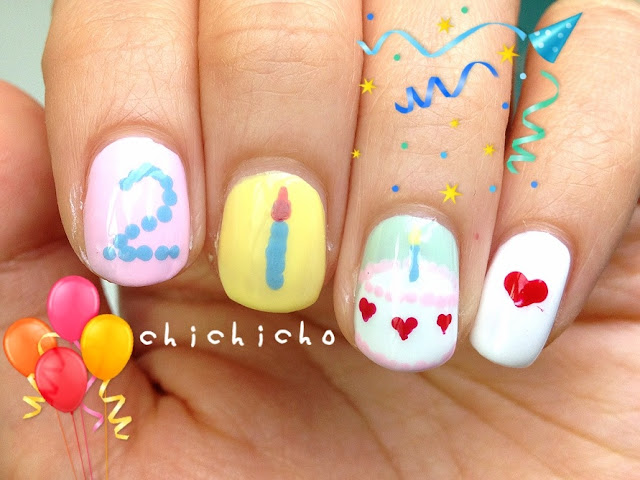
For special occasions such as birthdays, weddings, or baby showers, you can create a festive cake nail art to match the theme. For a birthday, you can create a cake with the number of candles representing the person's age. For a wedding, you can create a white cake with a small bride and groom figurine on top. And for a baby shower, you can create a pastel-colored cake with a small baby bottle or rattle on top. If you want to take your festive cake nail art to the next level, you can add some glitter or rhinestones for some extra sparkle. You can also use stencils or stickers to create intricate designs such as lace or floral patterns on your cake nails. The possibilities are endless when it comes to creating a festive cake nail art.5. "Festive Cake Nail Art for Special Occasions"
5. "Festive Cake Nail Art for Special Occasions"

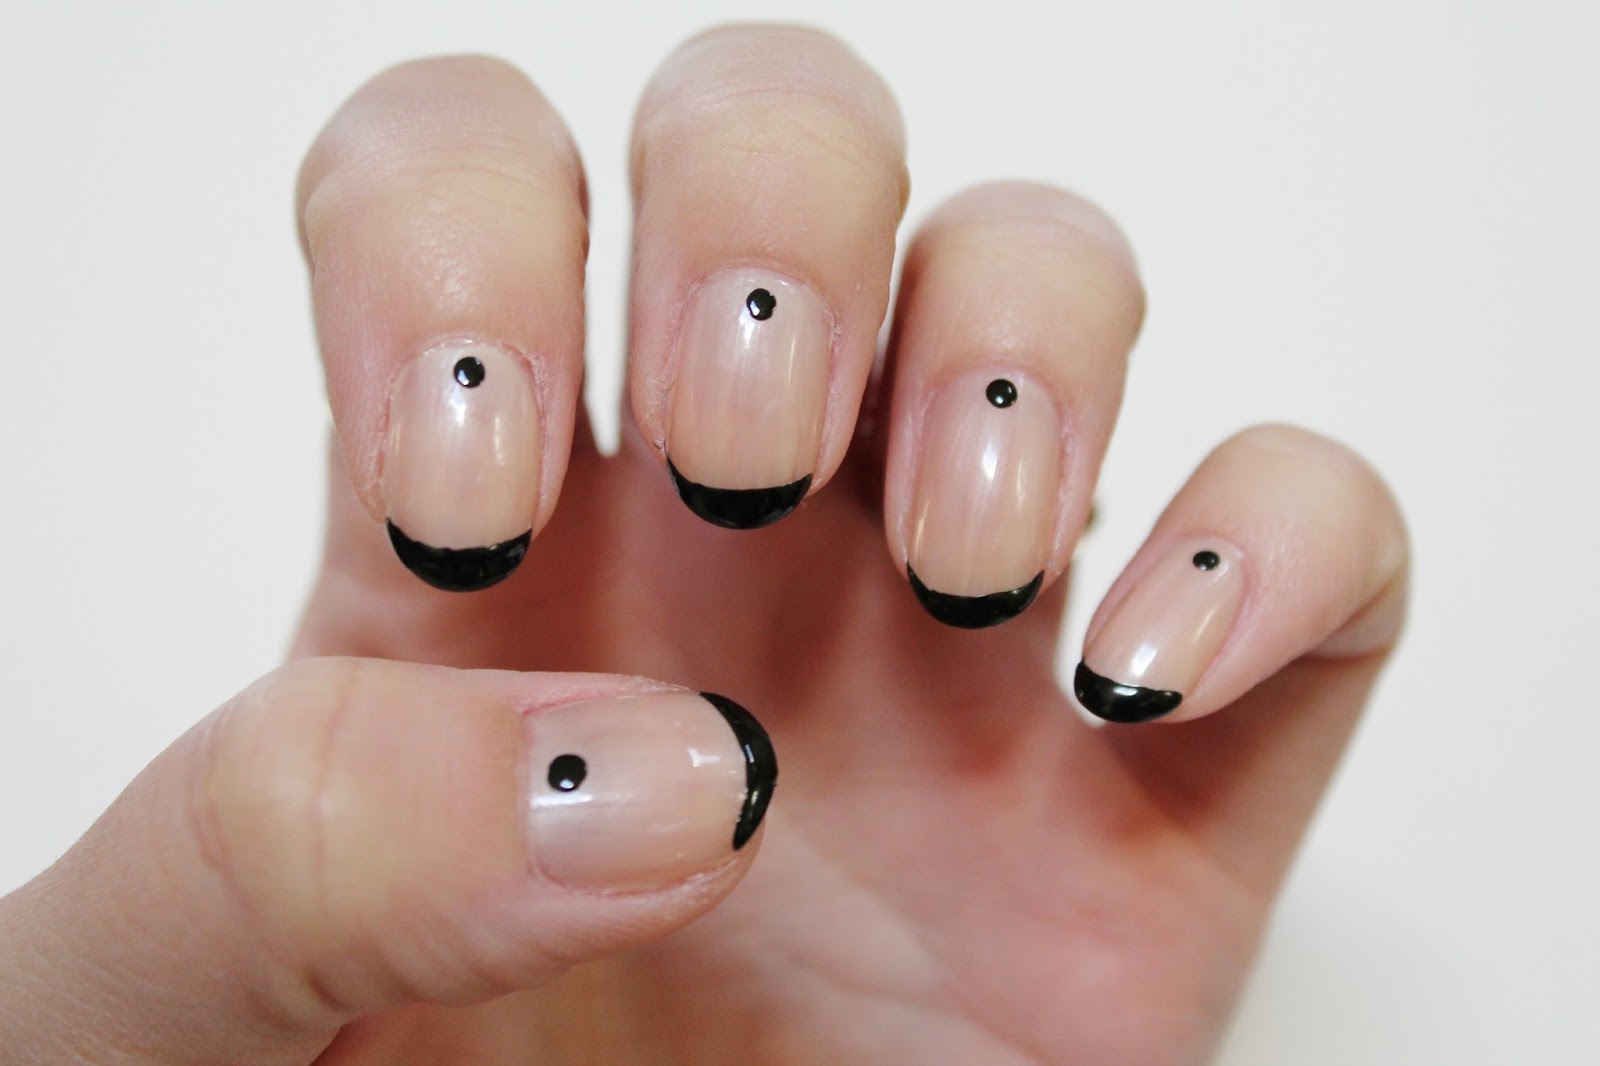
Cake nail art doesn't always have to be cute and colorful. You can also create elegant and sophisticated designs for formal events. One idea is to create a black and white cake design. Start by painting your nails with a black nail polish for the base color. Then, using a thin brush and a white nail polish, create a square at the top of your nails to represent the cake. Add some small white dots on top to represent the cake's decorations. This design is perfect for a formal dinner or a black-tie event. You can also create a lace-inspired cake nail design. Start by painting your nails with a light pink nail polish for the base color. Then, using a white nail polish and a lace stencil, create a lace design on top of your nails. Add some small pearls or rhinestones on top of the lace for a touch of elegance. This design is perfect for a wedding or a fancy cocktail party. Lastly, you can create a French-inspired cake nail art. Start by painting your nails with a light blue nail polish for the base color. Then, using a thin brush and a white nail polish, create a "Fleur de Lis" design at the top of your nails. Add some small dots or lines on top to represent the cake's decorations. This design is perfect for those who love a classic and sophisticated look.6. "Elegant Cake Nail Designs for Formal Events"

6. "Elegant Cake Nail Designs for Formal Events"


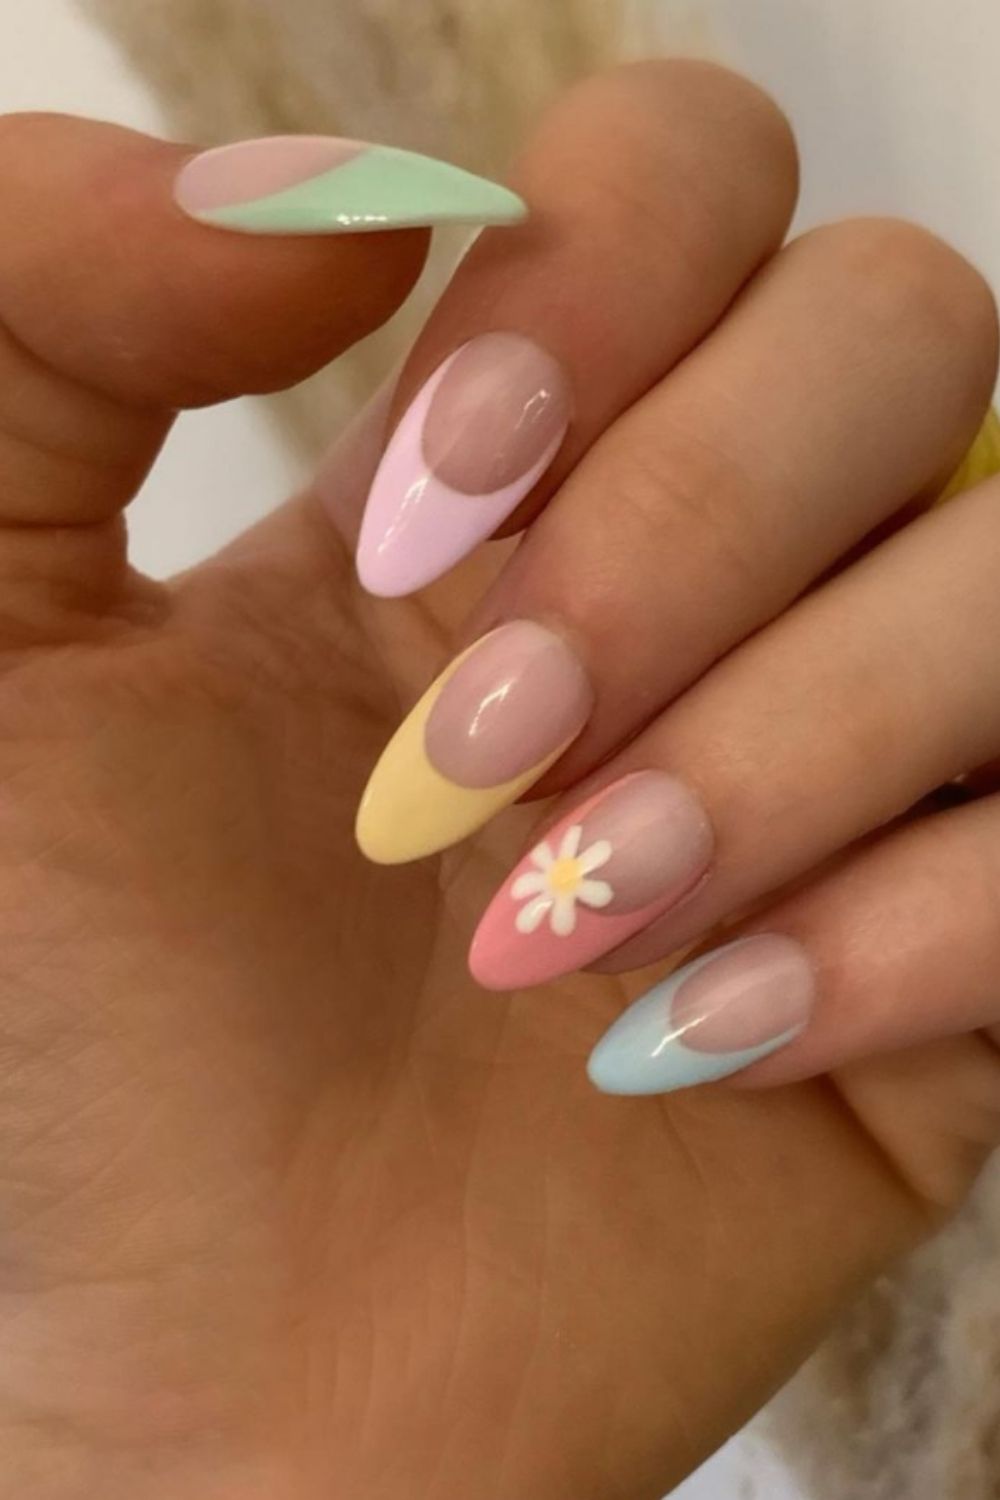
Summer is the perfect time to experiment with bright and colorful nail designs, and cake nail art is no exception. One idea is to create a rainbow cake nail art. Start by painting your nails with a white nail polish for the base color. Then, using a thin brush and different colored nail polishes, create a thin horizontal line across your nails, each line a different color. This will give the illusion of a colorful rainbow cake. You can also create a tropical-inspired cake nail art. Start by painting your nails with a light blue or green nail polish for the base color. Then, using a thin brush and a white nail polish, create a palm tree or pineapple design at the top of your nails. Add some colorful dots or lines on top to represent the cake's decorations. This design is perfect for a beach vacation or a pool party. Lastly, you can create a watermelon cake nail art. Start by painting your nails with a light pink nail polish for the base color. Then, using a thin brush and a green nail polish, create a "V" shape at the top of your nails to represent the watermelon. Add some small black dots on top to represent the seeds. This design is perfect for a picnic or a summer BBQ.7. "Colorful Cake Nail Art for Summer"
7. "Colorful Cake Nail Art for Summer"

If you want to add a touch of whimsy to your nails, consider creating a playful and fun cake nail art. One idea is to create a cartoon-inspired cake design. Start by painting your nails with a light blue nail polish for the base color. Then, using a white nail polish and a thin brush, create a square at the top of your nails to represent the cake. Add some colorful dots or stripes on top to represent the cake's decorations. You can also add a small cartoon character or face on top of the cake for an extra touch. You can also create a donut-inspired cake nail art. Start by painting your nails with a light pink nail polish for the base color. Then, using a thin brush and a white nail polish, create a round shape at the top of your nails to represent the donut. Add some colorful sprinkles using a dotting tool or toothpick. You can also add a small bite mark on one side of the donut for a more realistic look. For a more unique design, you can create a "melted" ice cream cake nail art. Start by painting your nails with a light yellow or pink nail polish for the base color. Then, using a thin brush and a white nail polish, create a dripping effect at the top of your nails. Add some colorful dots or lines on top to represent the cake's decorations. This design is perfect for those who love a quirky and playful look.8. "Whimsical Cake Nail Designs for a Playful Look"


8. "Whimsical Cake Nail Designs for a Playful Look"


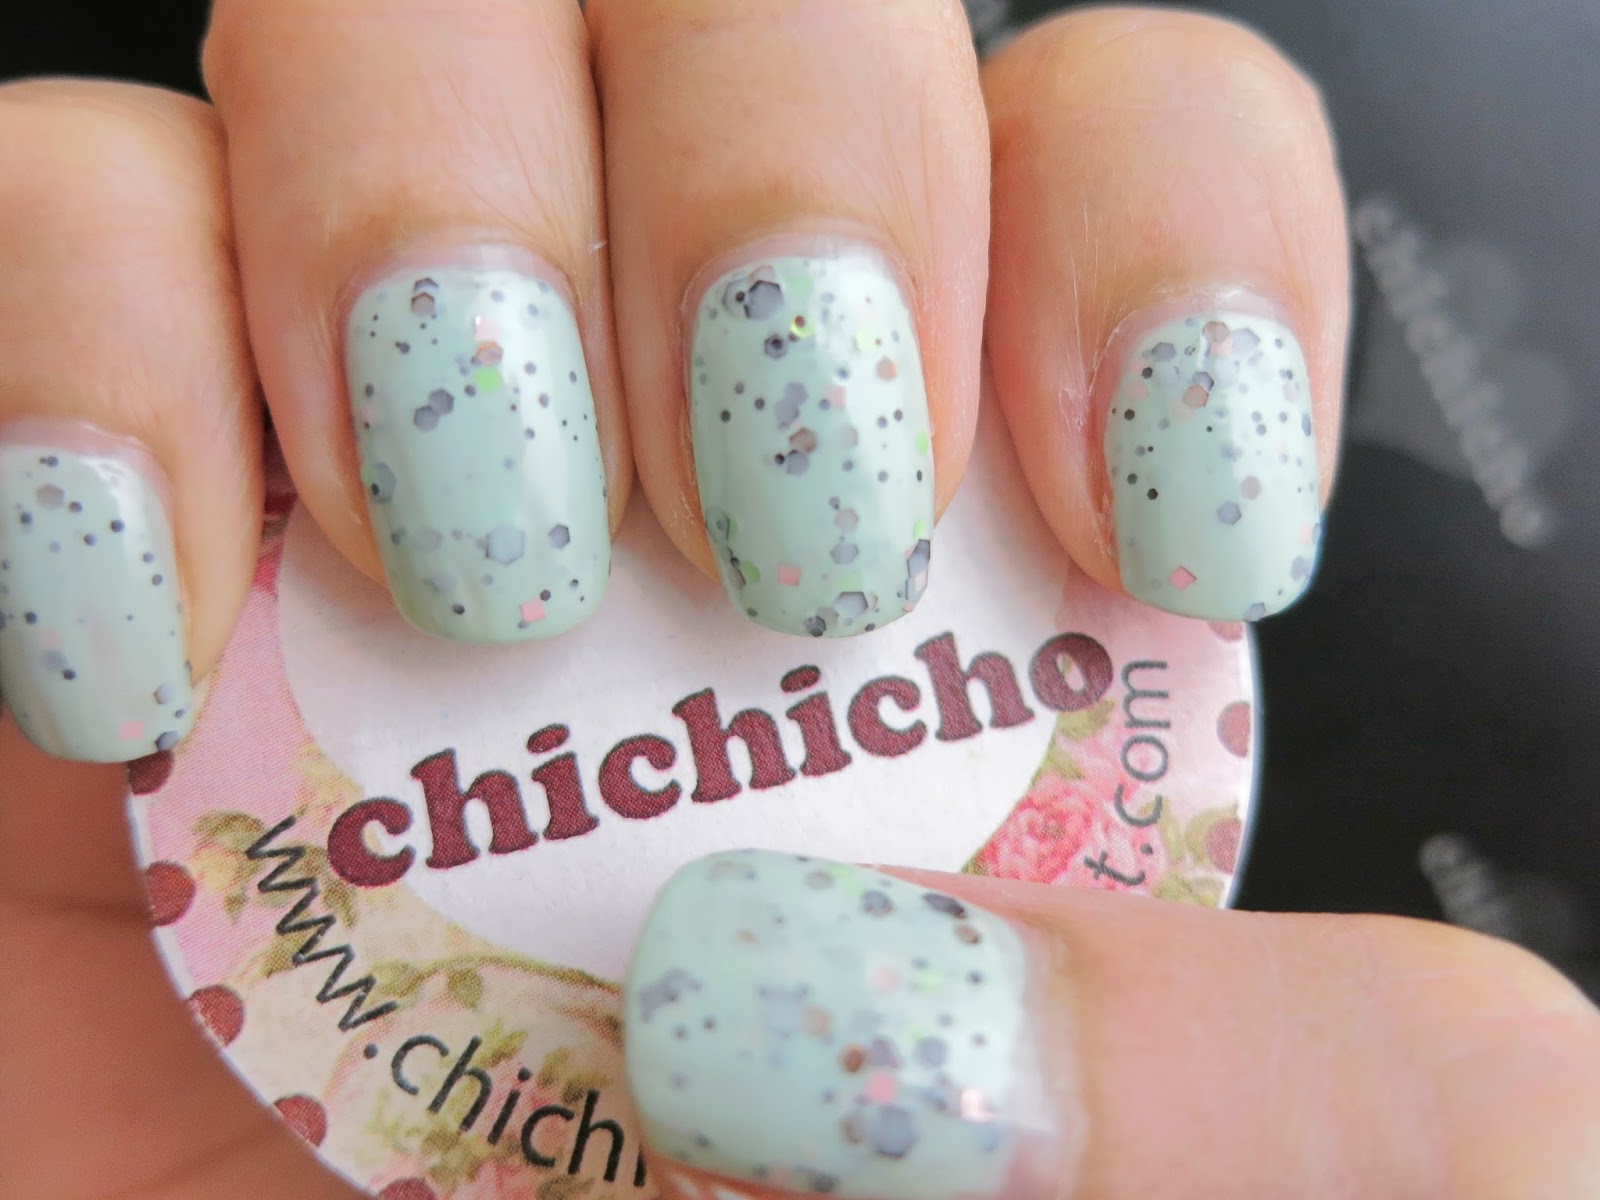
If you're a foodie and love all things sweet, why not incorporate some edible elements into your cake nail art? One idea is to use actual cake crumbs or sprinkles as nail embellishments. You can also use edible glitter to add some sparkle to your nails. Just make sure to apply a clear top coat to seal the edible elements in place. Another fun idea is to create a cookie cake nail art. Start by painting your nails with a light brown nail polish for the base color. Then, using a dotting tool or toothpick, create small dots using different colored nail polishes to represent the chocolate chips. You can also add a thin line of white nail polish to create the "icing" on top of the cookie. This design is perfect for those with a sweet tooth. Lastly, you can create a "cake pop" nail art. Start by painting your nails with a light pink nail polish for the base color. Then, using a dotting tool or toothpick, create a small circle at the top of your nails to represent a cake pop. Add some colorful sprinkles or dots on top to represent the cake's decorations. This design is perfect for those who love cute and fun nail designs.9. "Edible Cake Nail Art for Foodie Nail Lovers"


9. "Edible Cake Nail Art for Foodie Nail Lovers"

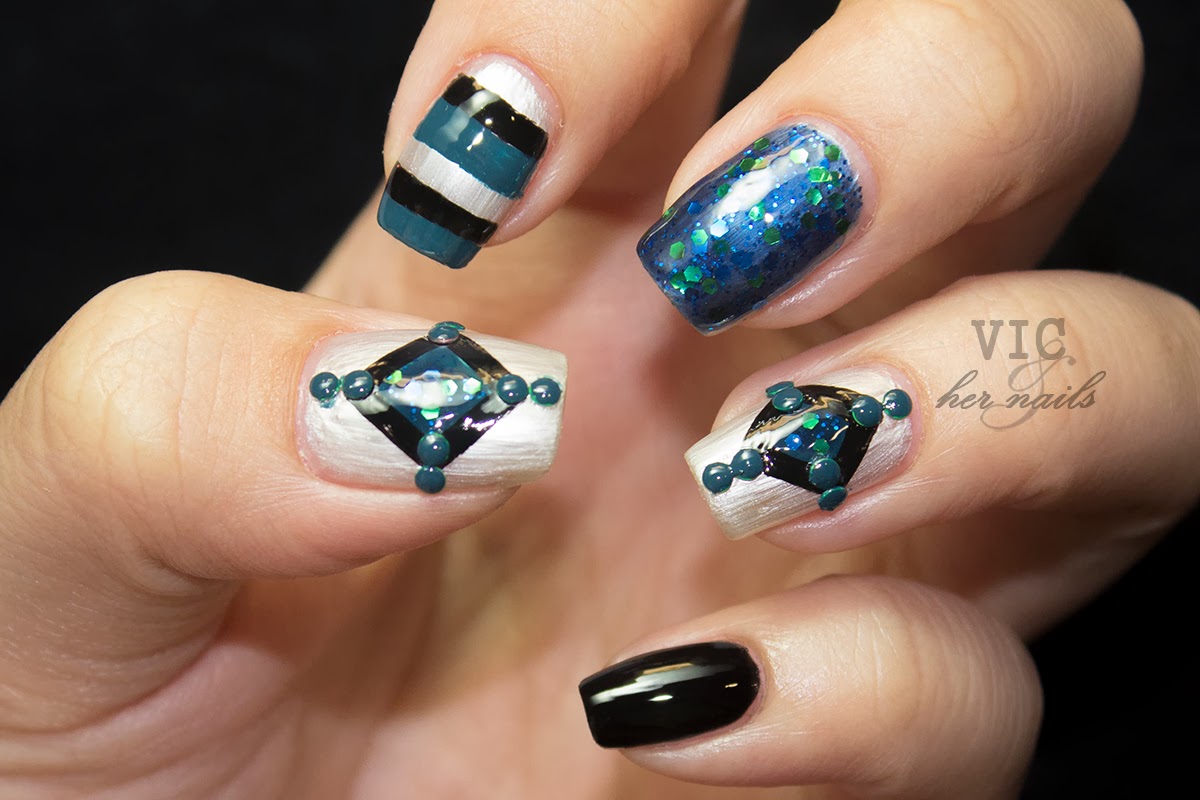
If you want to stand out with your nails, why not try some creative and unique cake nail art designs? One idea is to create a "floating" cake nail art. Start by painting your nails with a light blue or purple nail polish for the base color. Then, using a thin brush and a white nail polish, create a rectangular shape at the center of your nails. Add some colorful dots or lines on top to represent the cake's decorations. This design is perfect for those who love an abstract and modern look. You can also create a "cut-out" cake nail art. Start by painting your nails with a light pink nail polish for the base color. Then, using a thin brush and a white nail polish, create a rectangular shape at the center of your nails. Add some colorful dots or lines on top to represent the cake's decorations. Then, using a black nail polish, create a small triangle at the top of the rectangle to represent a slice of cake that has been cut out. This design is perfect for those who want a more edgy and unique look. Lastly, you can create a 3D cake nail art. Start by painting your nails with a light purple or pink nail polish for the base color. Then, using a thin brush and a white nail polish, create a round shape at the center of your nails. Add some colorful dots or lines on top to represent the cake's decorations. Then, using a gel or acrylic nail powder, create a 3D effect on the cake, making it look like it's popping out of your nails. This design is perfect for those who love to experiment with different nail techniques.10. "Creative Cake Nail Art Designs for Unique Nails"

10. "Creative Cake Nail Art Designs for Unique Nails"


Cake Nail Art Design: A Deliciously Fun Way to Express Yourself

The Beauty of Cake-Inspired Nail Designs
 Cake nail art has been becoming increasingly popular over the years, and for good reason. Not only does it look adorable and delicious, but it also allows you to express your creativity and personality through your nails. With endless possibilities and designs to choose from, cake nail art is the perfect way to add a touch of fun and sweetness to your overall look.
How to Create Your Own Cake Nail Art
 Creating your own cake nail art may seem intimidating, but it can be a fun and easy process. To start, gather all of the necessary materials such as a base coat, nail polish in various colors, a thin brush, and a top coat. Then, follow these simple steps:
- Start with a base coat to protect your nails and allow the polish to last longer.
- Choose a light-colored polish and apply it to your nails as the base color.
- Using a thin brush, create small dots in various colors to mimic sprinkles on a cake.
- Next, use the brush to draw small lines to represent the layers of a cake.
- Finish off with a top coat to seal in your design and add a glossy finish.
Ways to Incorporate Cake Nail Art into Your Everyday Look
 One of the best things about cake nail art is its versatility. You can create a simple and subtle design with just a few dots and lines, or you can go all out and create a detailed and intricate cake masterpiece on your nails. You can also switch up the colors and designs to match different occasions or moods. For example, a pastel-colored cake design would be perfect for spring, while a chocolate cake design would be great for fall. The options are endless, and you can have a different cake nail art design for every day of the week!
Final Thoughts
 Incorporating cake nail art into your beauty routine is a fun and unique way to express yourself. Whether you're a lover of all things sweet or just looking for a fun and creative nail design, cake nail art is the perfect choice. So go ahead and indulge in this deliciously fun trend and show off your personality through your nails!


