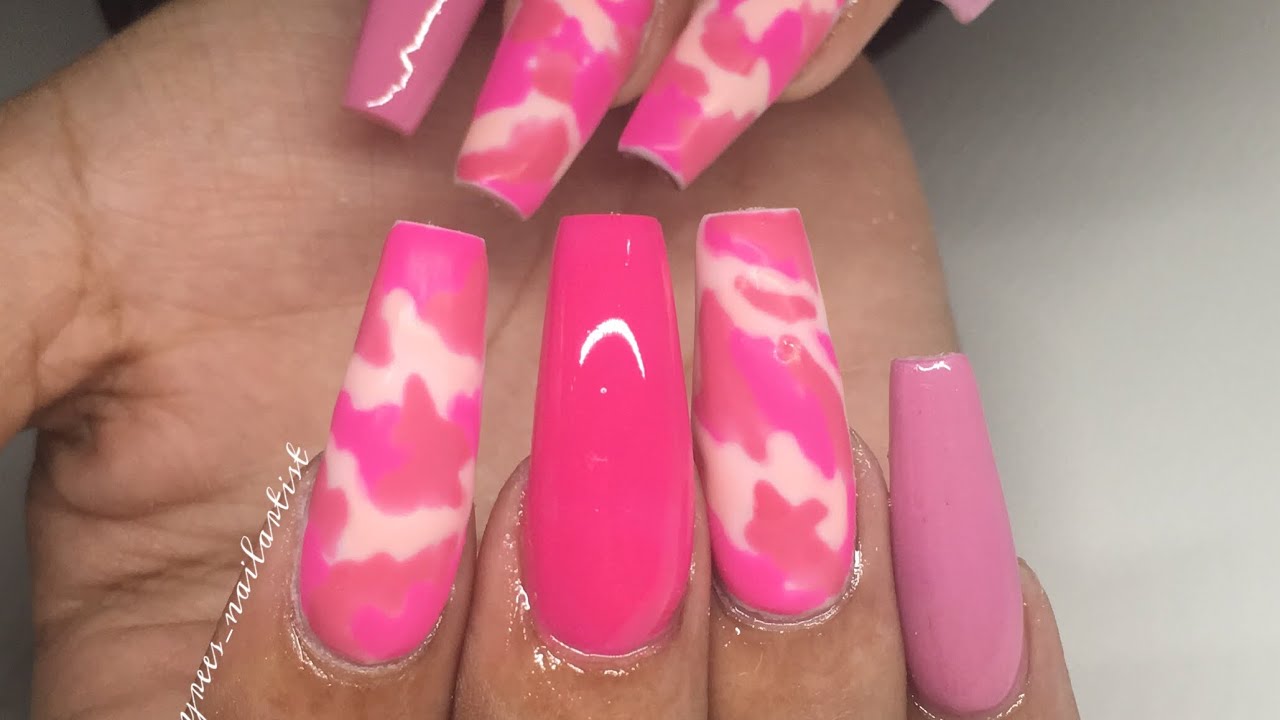
Are you ready to take your nail game to the next level with some fierce and trendy camo nail designs? Look no further because we have the ultimate tutorial for you! With just a few simple steps, you can achieve a variety of camo nail designs that will make your nails stand out from the crowd. So grab your nail polish and let's get started!1. Camo Nail Design Tutorial


1. Camo Nail Design Tutorial


Creating a camo nail design may seem intimidating at first, but with our step by step guide, you'll be a pro in no time. The first step is to gather all the necessary supplies. You'll need a base color, at least three different colored nail polishes, toothpicks or a thin brush, and a topcoat. Once you have everything ready, follow these simple steps to achieve the perfect camo nails.2. Step by Step Camo Nail Art


2. Step by Step Camo Nail Art


If you're new to the world of nail art, don't worry! There's an easy way to achieve a camo nail design without any fancy tools or techniques. All you need is a makeup sponge. Start by painting your nails with a base color, and let it dry completely. Then, dab a few drops of different colored nail polishes onto the sponge and lightly press it onto your nails. This will create a marbled camo effect that's quick and easy.3. Easy Camo Nail Design

3. Easy Camo Nail Design


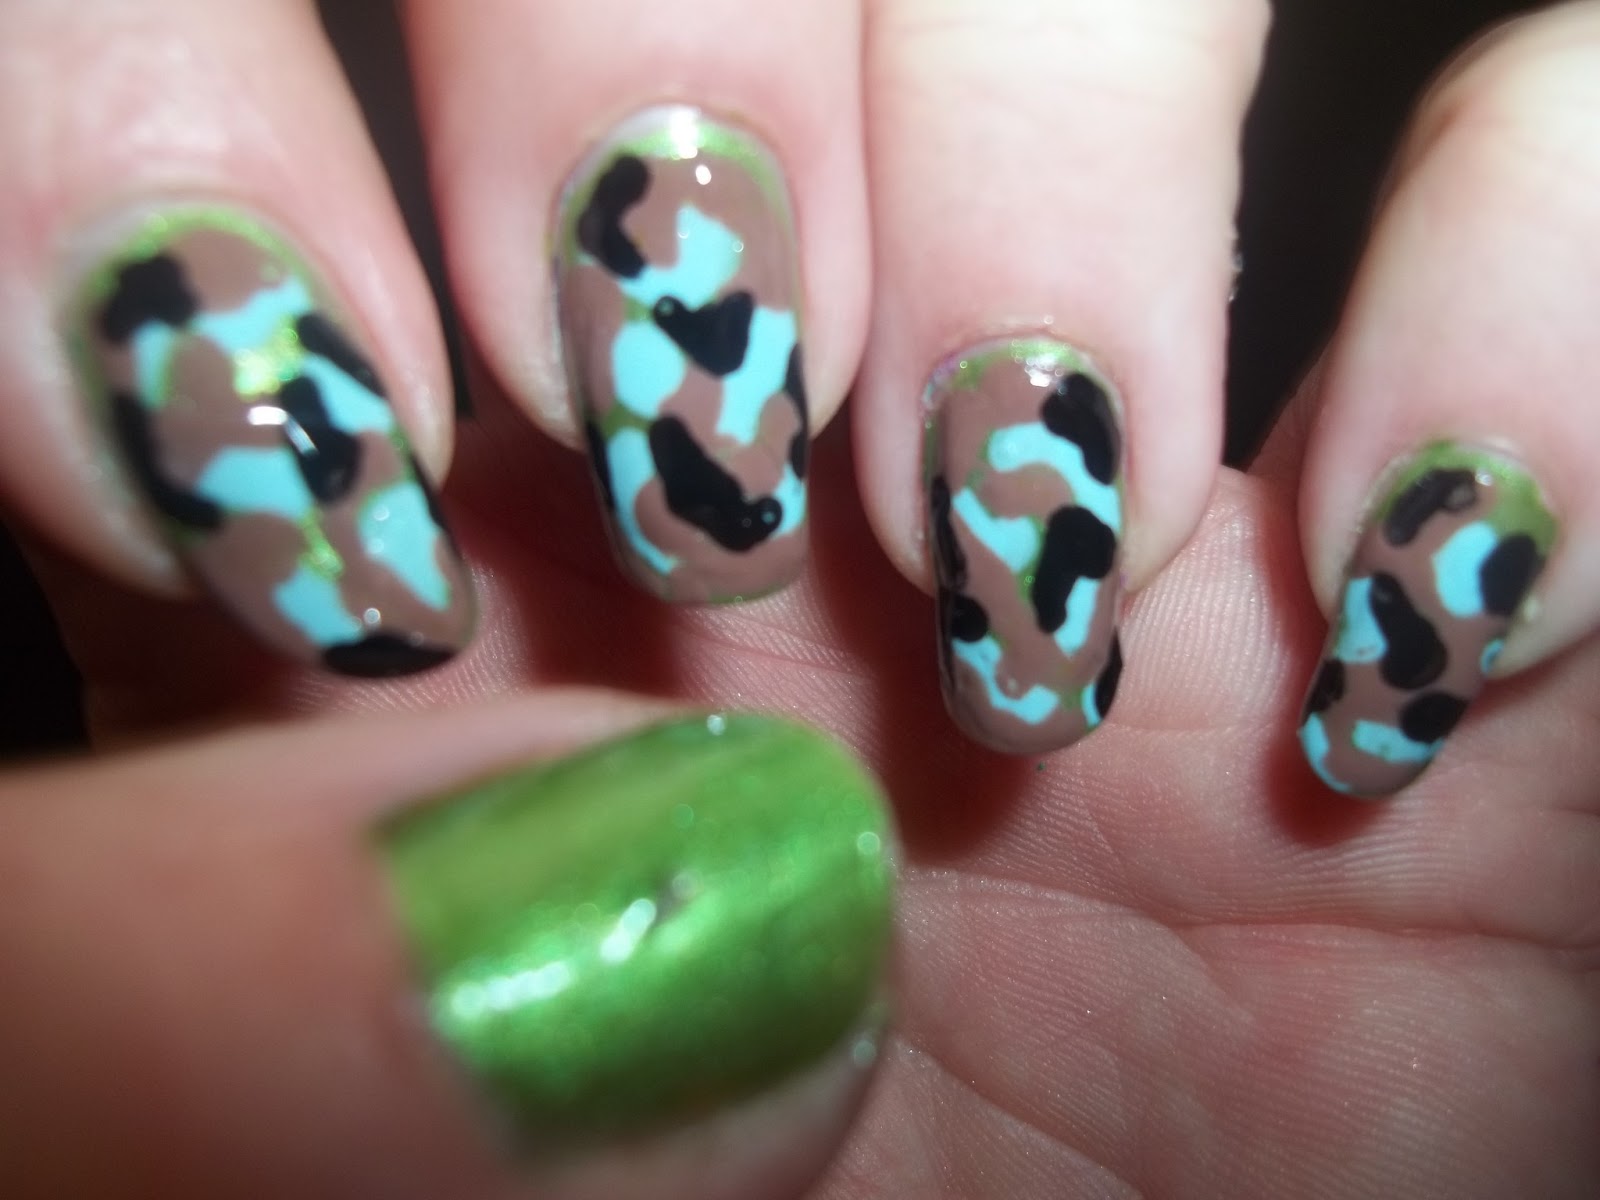
If you're feeling creative and want to try something new, why not DIY your own camo nails? You can use any color combination you like and create a unique camo design. You can also experiment with different techniques, such as using a toothpick to create small dots or lines for a more detailed camo look. Don't be afraid to get creative and make your camo nails one of a kind!4. DIY Camo Nails


4. DIY Camo Nails


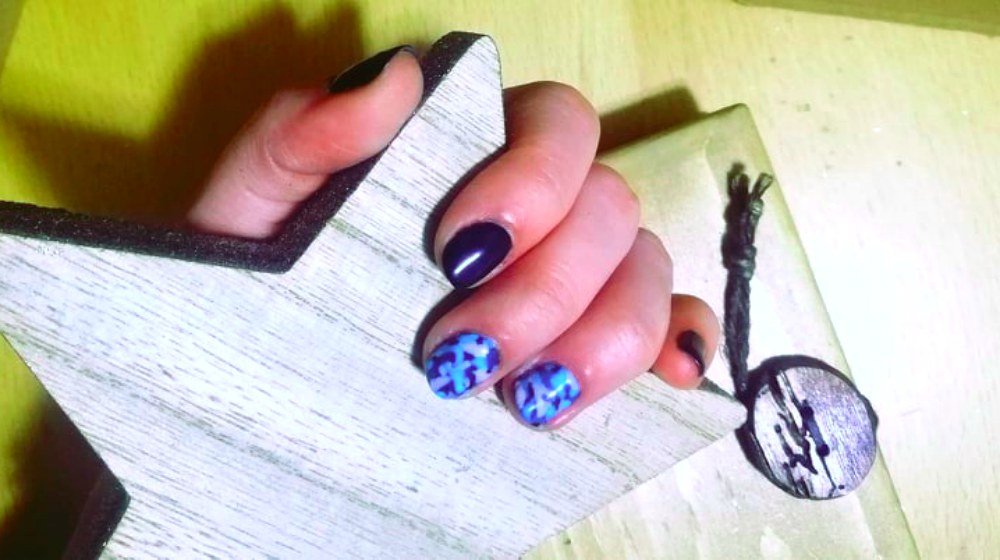
If you're new to nail art, you may be wondering if you have the skills to create a camo nail design. The good news is, you don't need to be a pro to achieve a stunning camo look. Start with a simple base color and use a toothpick or thin brush to create small dots or lines in different colors. This will give you a basic camo design that's easy to do and perfect for beginners.5. Camo Nail Design for Beginners


5. Camo Nail Design for Beginners

If you want to take your camo nail design to the next level, there are a few techniques you can try. One popular technique is using a sponge to create a gradient effect. Start by painting your nails with a light base color, and then use a darker color on the tips of your nails. Use the sponge to lightly blend the two colors together. You can also add small dots or lines with a toothpick for a more intricate design.6. How to Create Camo Nails


6. How to Create Camo Nails

The sponge technique is a popular method for creating a camo nail design because it gives a soft and blended effect. Start by painting your nails with a light base color and let it dry. Then, use a makeup sponge to dab on different colored polishes onto your nails. You can overlap the colors to create a marbled effect, or use the sponge to blend them together. Finish off with a topcoat for a smooth and polished look.7. Camo Nail Design with Sponge Technique


7. Camo Nail Design with Sponge Technique


If you want a more precise and detailed camo nail design, you can try stamping. This technique uses a special stamping plate with a camo pattern that you can transfer onto your nails. Start by painting your nails with a base color and let it dry. Then, use a stamping polish to transfer the camo pattern onto your nails. Finish with a topcoat for a flawless and professional-looking camo design.8. Camo Nail Design with Stamping


8. Camo Nail Design with Stamping
Nail vinyls are a great tool to create intricate designs, such as camo nails. These are small adhesive stencils that you can place on your nails and paint over to create a clean and precise design. Start by painting your nails with a base color and let it dry. Then, place the nail vinyls on your nails in a camo pattern and paint over them with a different color. Once you remove the vinyls, you'll be left with a perfect camo design.9. Camo Nail Design with Nail Vinyls


9. Camo Nail Design with Nail Vinyls


The water marble technique is another fun way to create a camo nail design. Start by filling a cup with room temperature water and drop a few drops of different colored nail polishes onto the surface. Use a toothpick to create swirls and patterns, and then dip your nails into the water. The nail polish will transfer onto your nails, creating a unique and colorful camo design. Clean up the excess polish around your nails, and finish with a topcoat. With these 10 camo nail design tutorials, you'll be able to achieve a variety of styles and techniques that will make your nails pop. Don't be afraid to experiment and try different color combinations and tools. With a little practice, you'll be able to create stunning camo nails that will turn heads and make a bold fashion statement.10. Camo Nail Design with Water Marble Technique

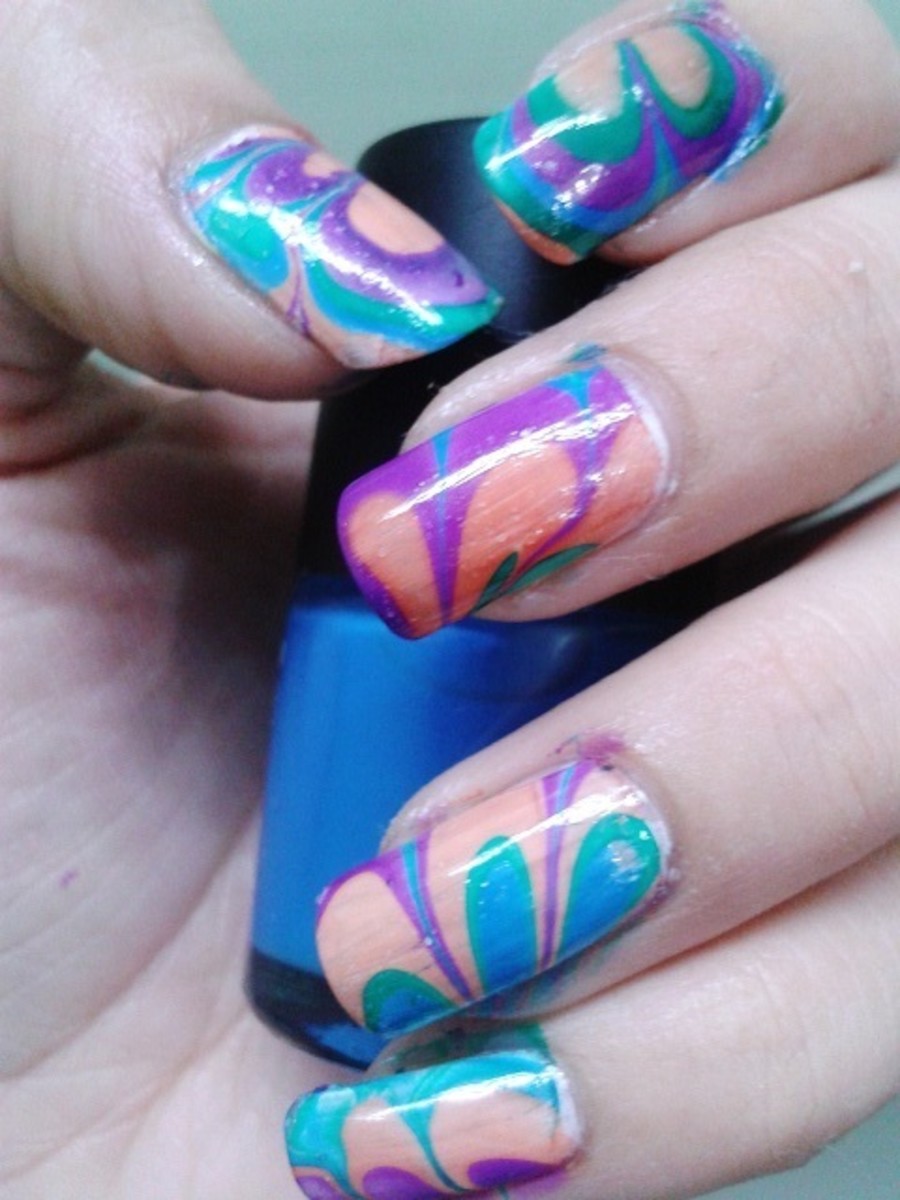

10. Camo Nail Design with Water Marble Technique


Step-by-Step Guide to Creating a Camo Nail Design

Introduction to Camo Nail Design
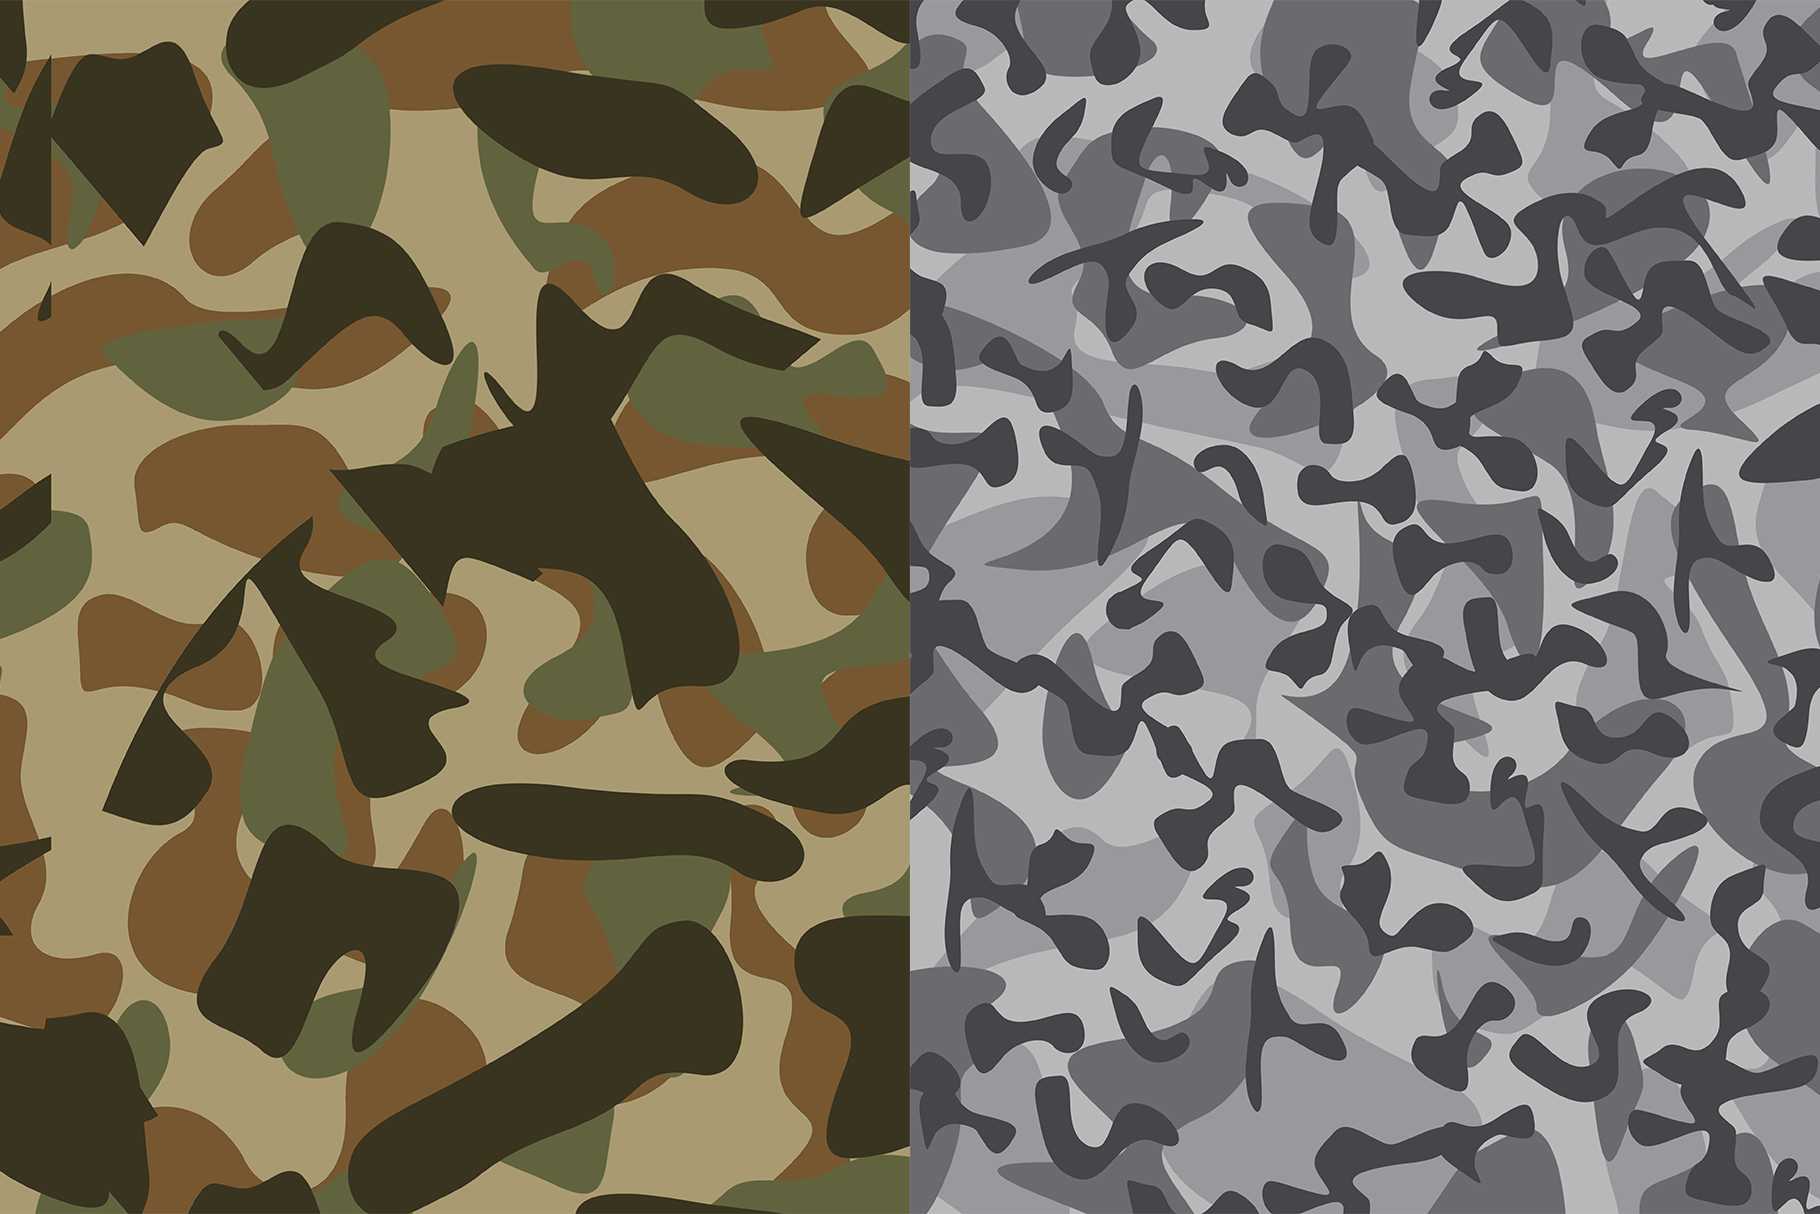
 Camo nail design has become a popular trend in the world of nail art. This bold and edgy design is inspired by camouflage patterns used in military uniforms. It's a fun and creative way to add some personality to your nails, and it's surprisingly easy to do at home. In this article, we'll walk you through the steps of creating your own camo nail design.
Gather Your Supplies
 Before you get started, make sure you have all the necessary supplies for creating a camo nail design. You will need a base coat, top coat,
nail polish
in three different shades, a thin nail art brush, and a
nail polish remover
pen for any mistakes.
Before you get started, make sure you have all the necessary supplies for creating a camo nail design. You will need a base coat, top coat,
nail polish
in three different shades, a thin nail art brush, and a
nail polish remover
pen for any mistakes.
Step 1: Apply a Base Coat
 Start by applying a clear base coat to your nails. This will protect your nails from staining and help your
nail polish
last longer.
Start by applying a clear base coat to your nails. This will protect your nails from staining and help your
nail polish
last longer.
Step 2: Paint Your Nails in the Lightest Shade
 Once your base coat is dry, paint all of your nails in the lightest shade of
nail polish
. This will serve as the base for your camo design.
Once your base coat is dry, paint all of your nails in the lightest shade of
nail polish
. This will serve as the base for your camo design.
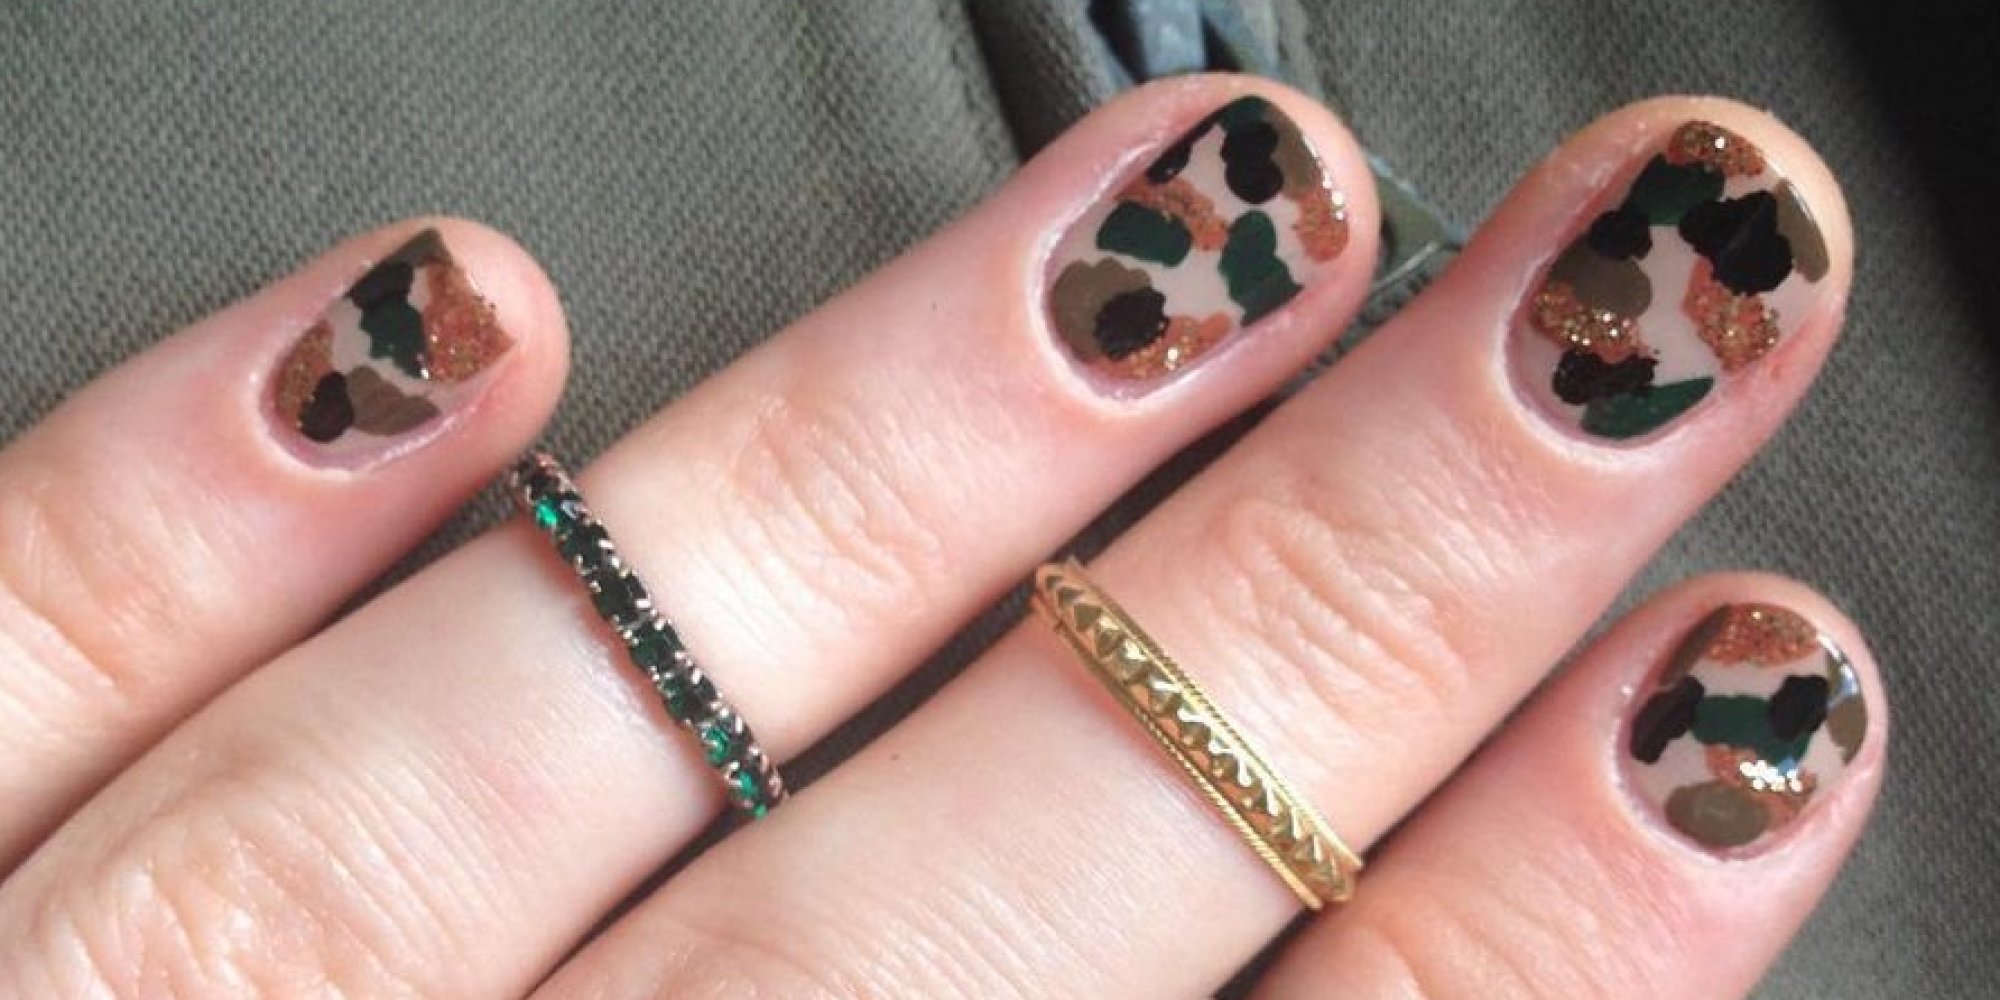
Step 3: Create Random Spots
 Using your thin nail art brush, create random spots on your nails using the second shade of
nail polish
. These spots should be irregular in shape and size, just like a camouflage pattern.
Using your thin nail art brush, create random spots on your nails using the second shade of
nail polish
. These spots should be irregular in shape and size, just like a camouflage pattern.
Step 4: Add the Third Shade
 Next, use the third shade of
nail polish
to add more spots on top of the first two shades. This will create depth and dimension to your camo design.
Next, use the third shade of
nail polish
to add more spots on top of the first two shades. This will create depth and dimension to your camo design.
Step 5: Blend the Colors
 Using your nail art brush, gently blend the colors together to create a seamless camo pattern on your nails. You can also use a small sponge to dab the colors together for a more natural look.
Step 6: Clean Up Any Mistakes
 If you accidentally get
nail polish
on your skin, use a
nail polish remover
pen to clean it up. This will give your camo design a clean and polished finish.
If you accidentally get
nail polish
on your skin, use a
nail polish remover
pen to clean it up. This will give your camo design a clean and polished finish.
Step 7: Apply a Top Coat
 Once your design is complete, apply a clear top coat to seal and protect your
nail polish
design. This will also give your nails a glossy finish.
Once your design is complete, apply a clear top coat to seal and protect your
nail polish
design. This will also give your nails a glossy finish.
Final Thoughts
 Camo nail design is a fun and creative way to add some personality to your nails. With these easy steps, you can create your own unique camo design at home. So grab your supplies and get ready to rock this bold and edgy trend on your nails!


