Are you ready to add a touch of spring to your nails? Look no further than these stunning cherry blossom nail designs. Follow our step by step tutorial to create your own beautiful and delicate cherry blossom nails.Cherry Blossom Nail Design Tutorial


Cherry Blossom Nail Design Tutorial


If you're new to nail art, don't worry! These cherry blossom designs are surprisingly easy to recreate. All you need is a few simple tools and nail polish colors to bring this springtime look to life.Easy Cherry Blossom Nail Art


Easy Cherry Blossom Nail Art

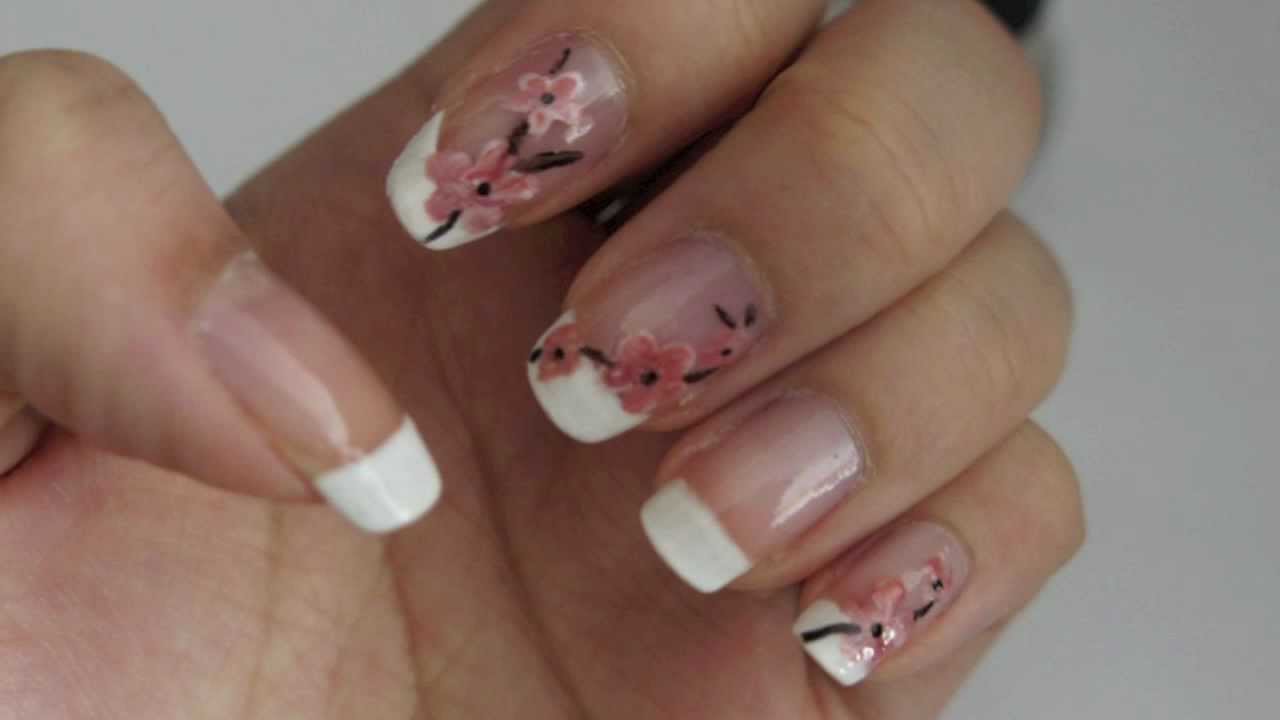
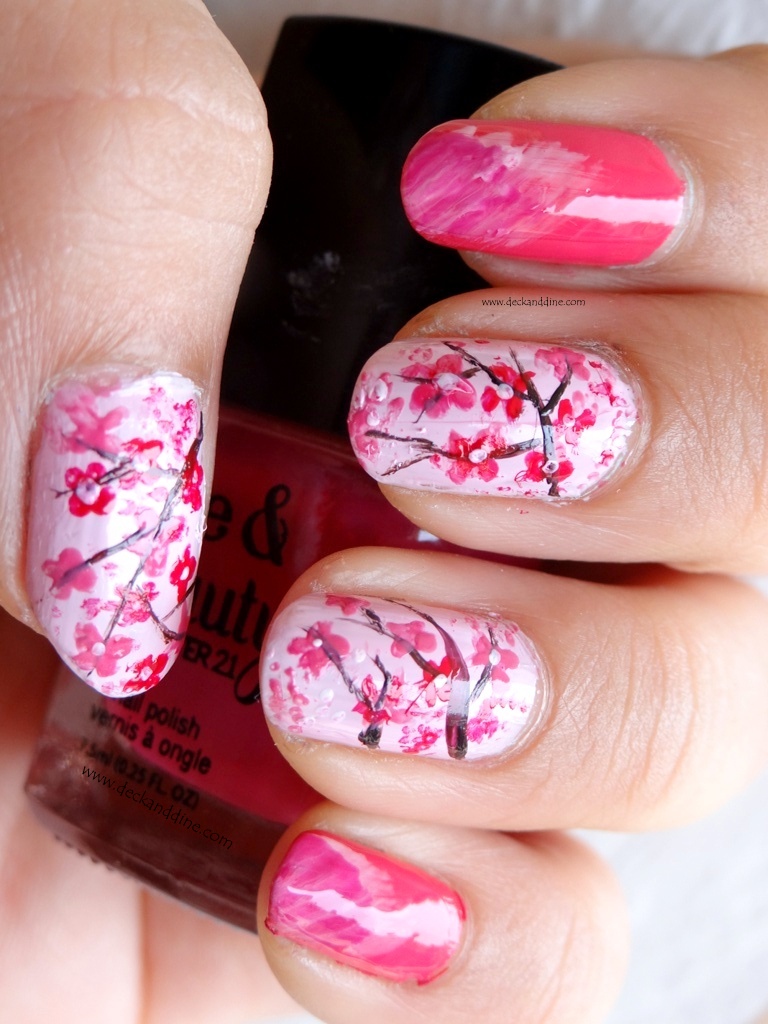
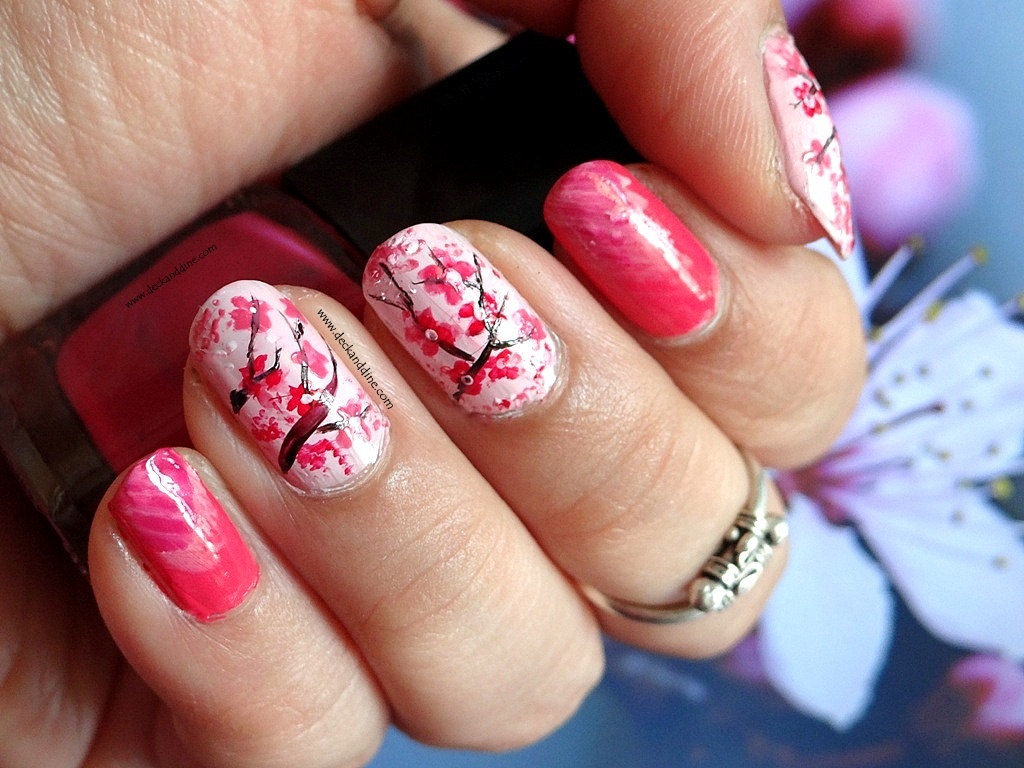
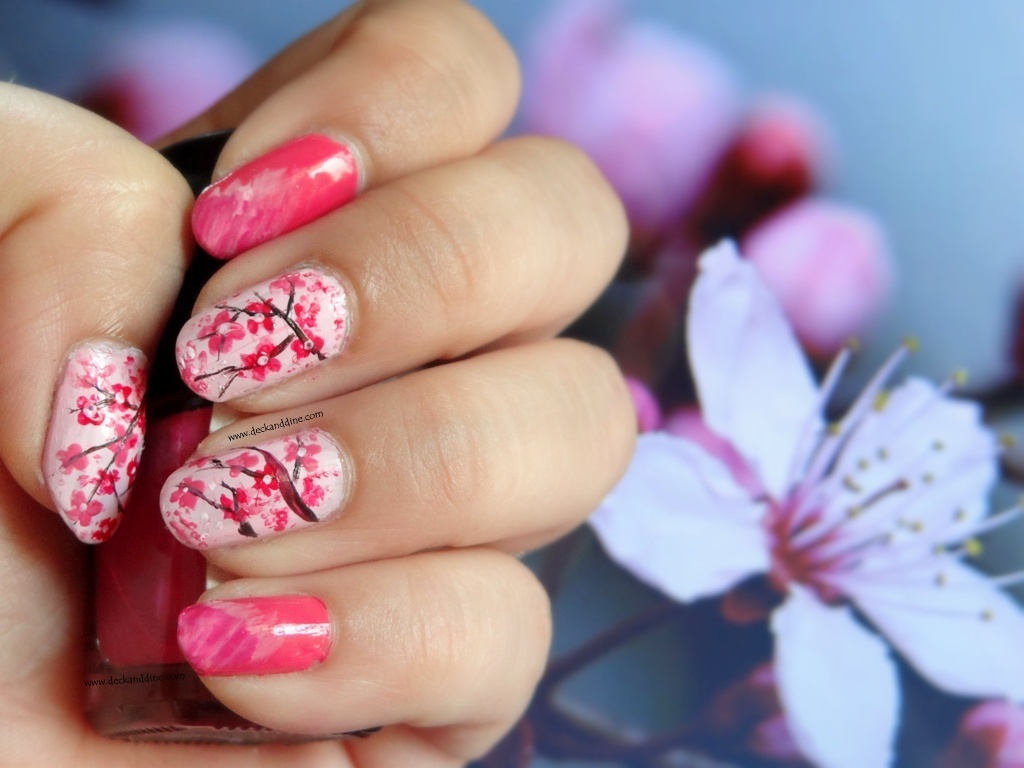
Let's get started! First, gather your supplies. You will need a base coat, pink, white, and black nail polish, a thin brush or toothpick, and a top coat. Begin by applying a base coat to protect your nails. Next, paint your nails with a pink nail polish of your choice. This will serve as the base color for your cherry blossom design. Using a thin brush or toothpick, create small petals on your nails with the white nail polish. You can also use a dotting tool for a more defined petal shape. Make sure to leave some space between the petals to create a realistic look. Once the white petals have dried, add small black dots in the center of each petal. This will give the appearance of the cherry blossom's stamen. For the final touch, add a top coat to seal in your design and give your nails a glossy finish. Voila! You now have beautiful cherry blossom nails.Step by Step Cherry Blossom Nails


Step by Step Cherry Blossom Nails

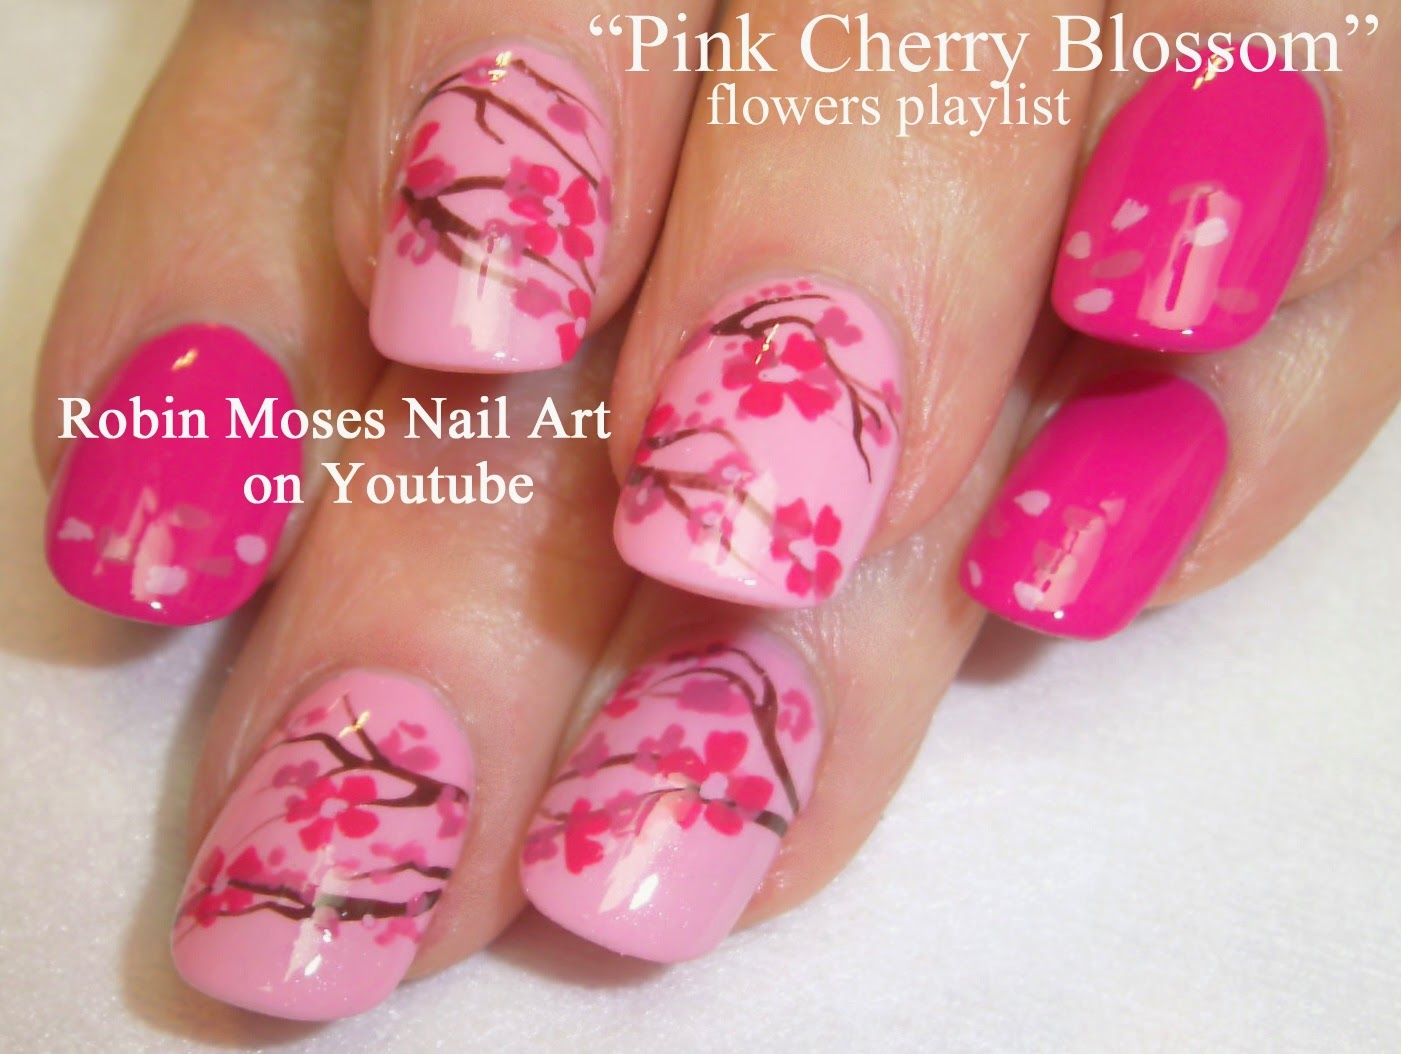
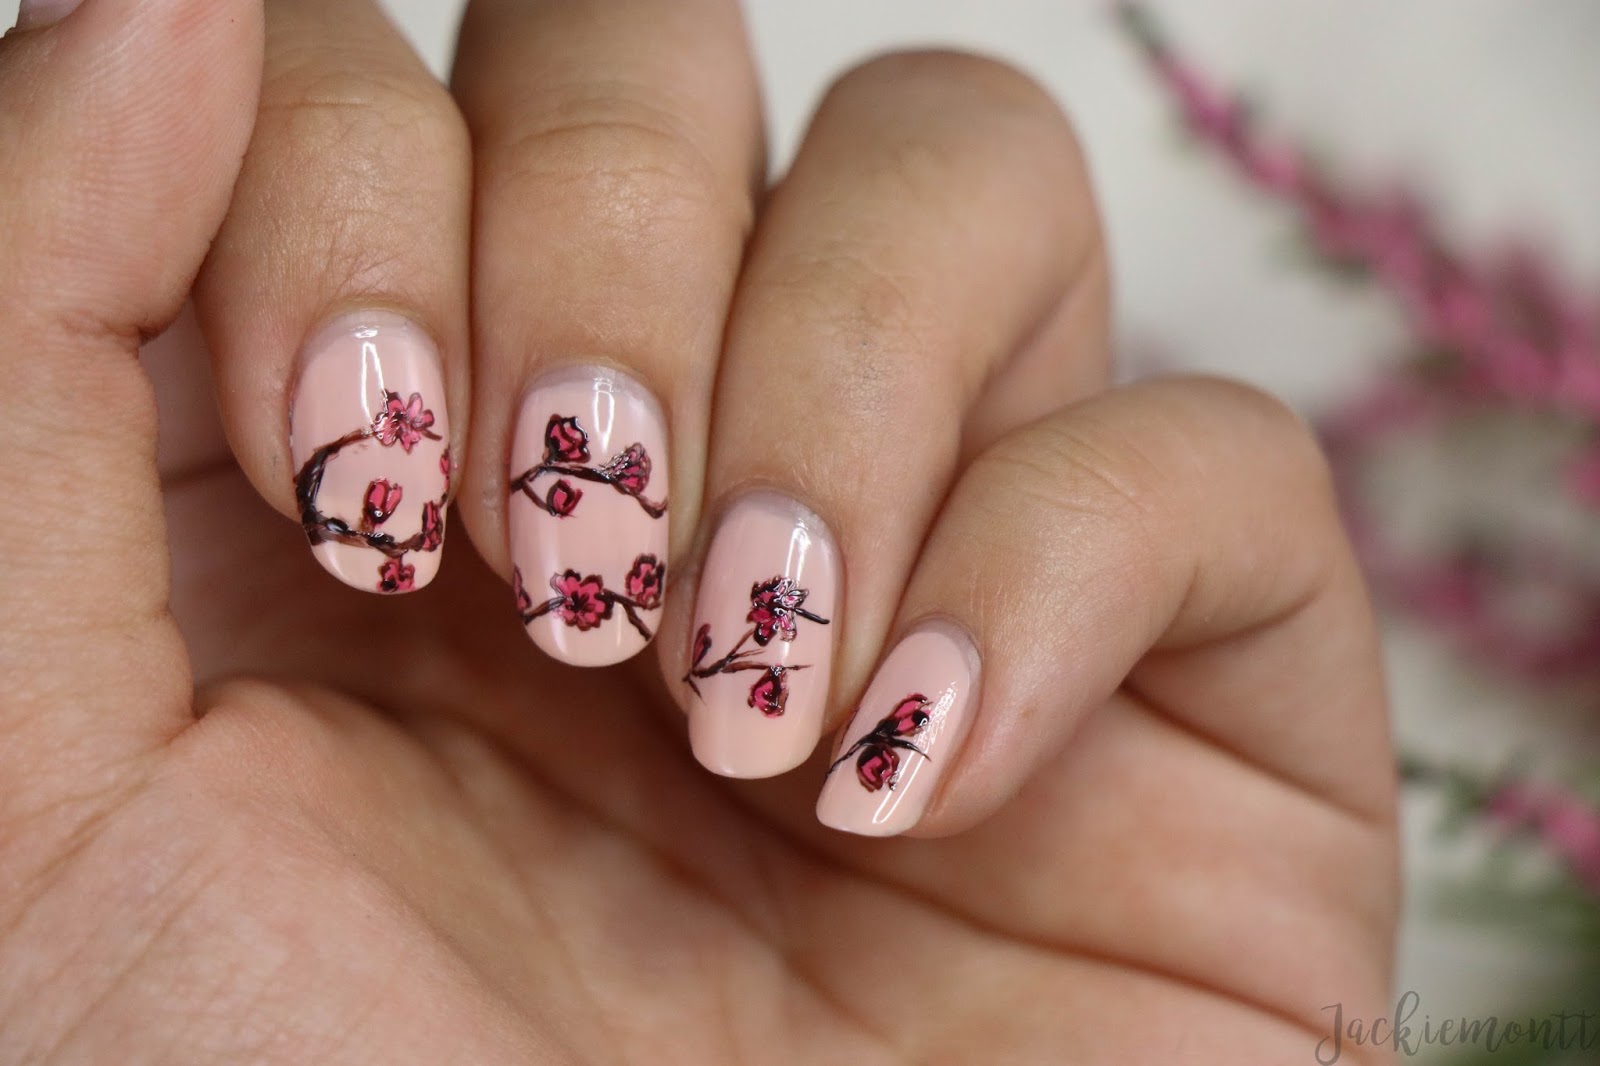
If you're new to nail art, this cherry blossom design is perfect for you. The simple steps and minimal tools make it easy for beginners to achieve a stunning look. Plus, the delicate and feminine design is sure to impress.Cherry Blossom Nail Art for Beginners

Cherry Blossom Nail Art for Beginners

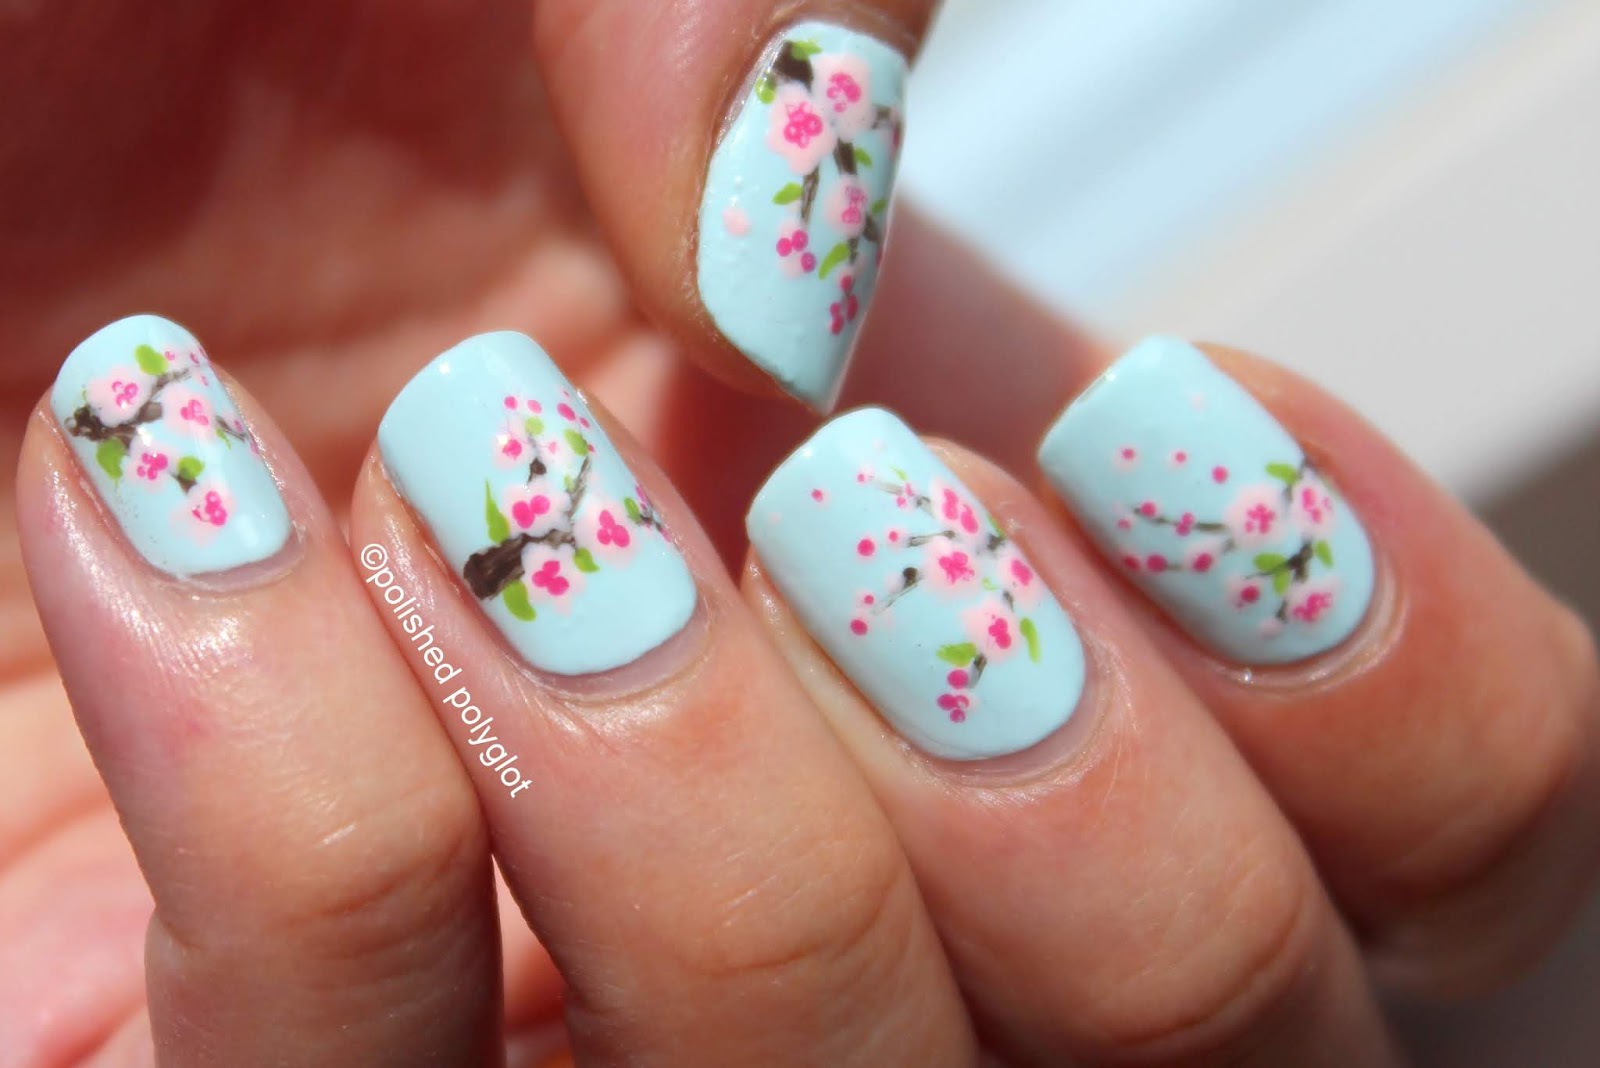
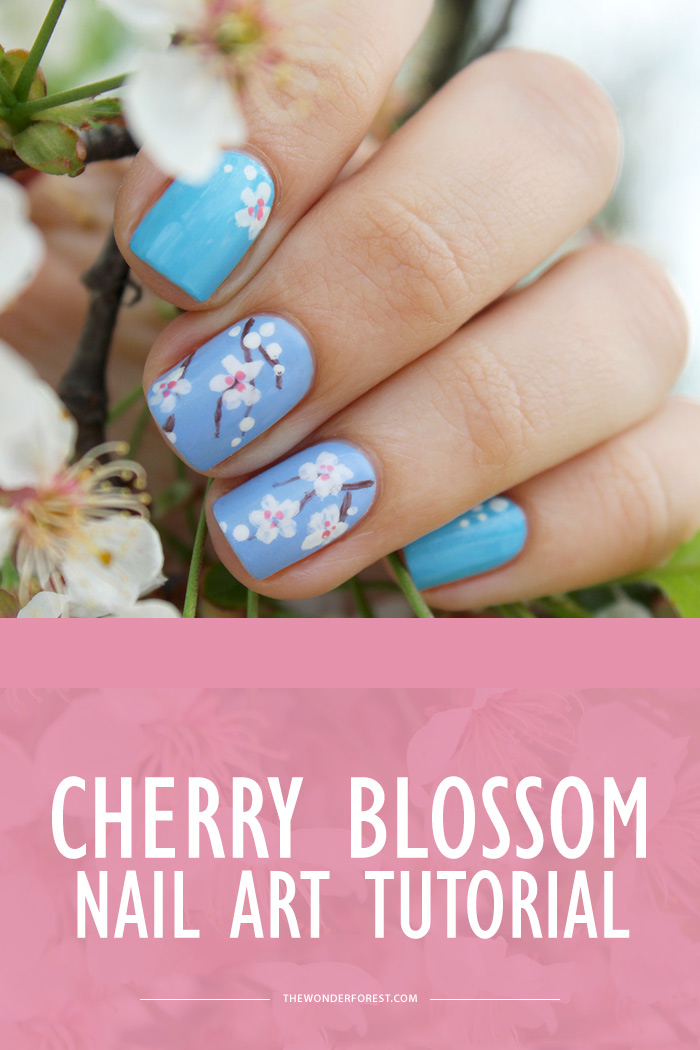
Why spend money at a nail salon when you can create your own cherry blossom nails at home? This DIY tutorial will save you time and money, and you'll have fun creating your own unique design. For this design, you can switch up the colors to your liking. Consider using a light blue or lavender as the base color for a different twist on the classic cherry blossom look.DIY Cherry Blossom Nails


DIY Cherry Blossom Nails
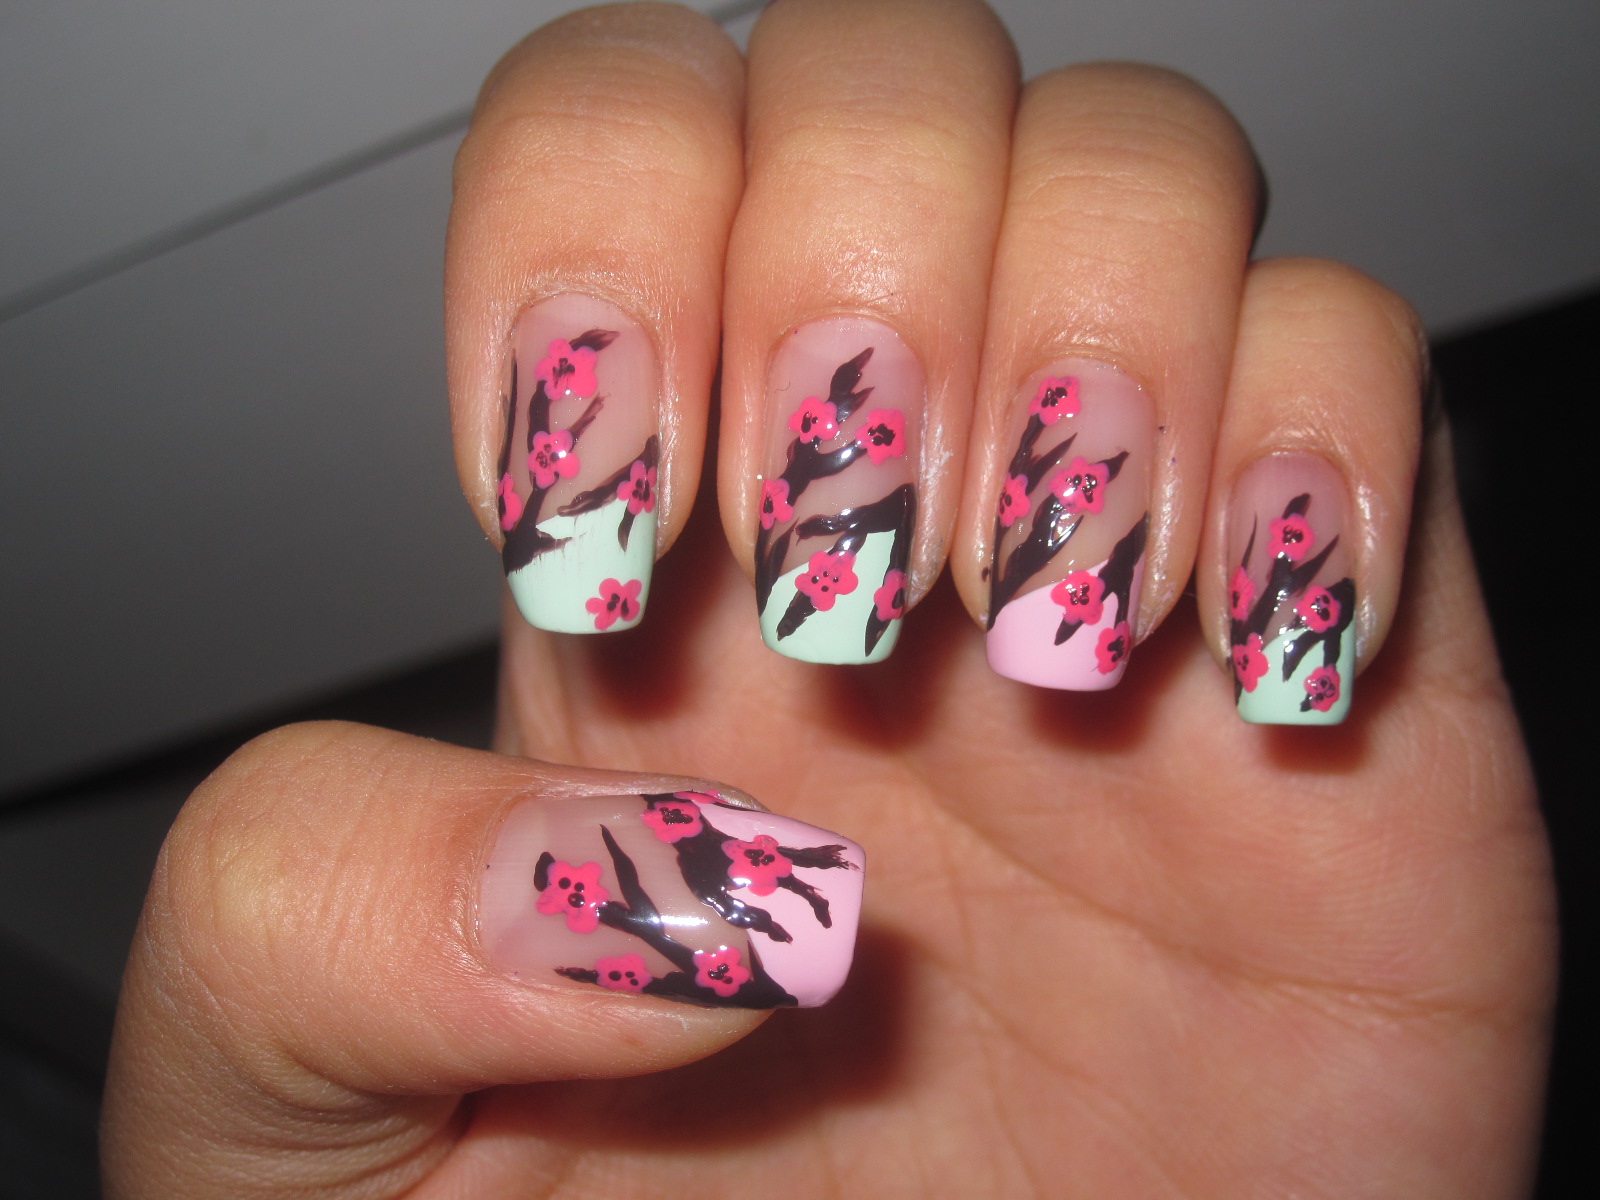
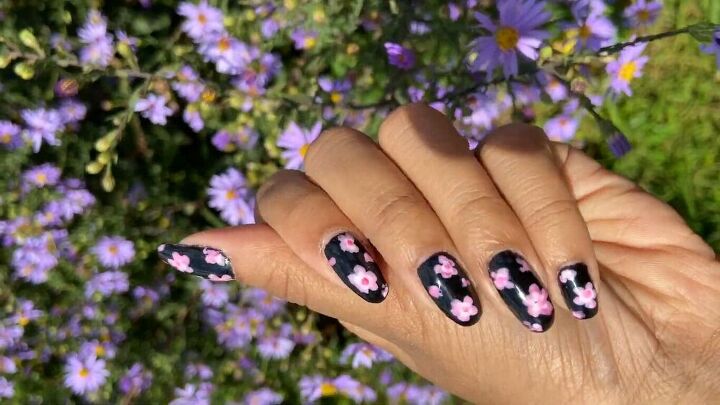
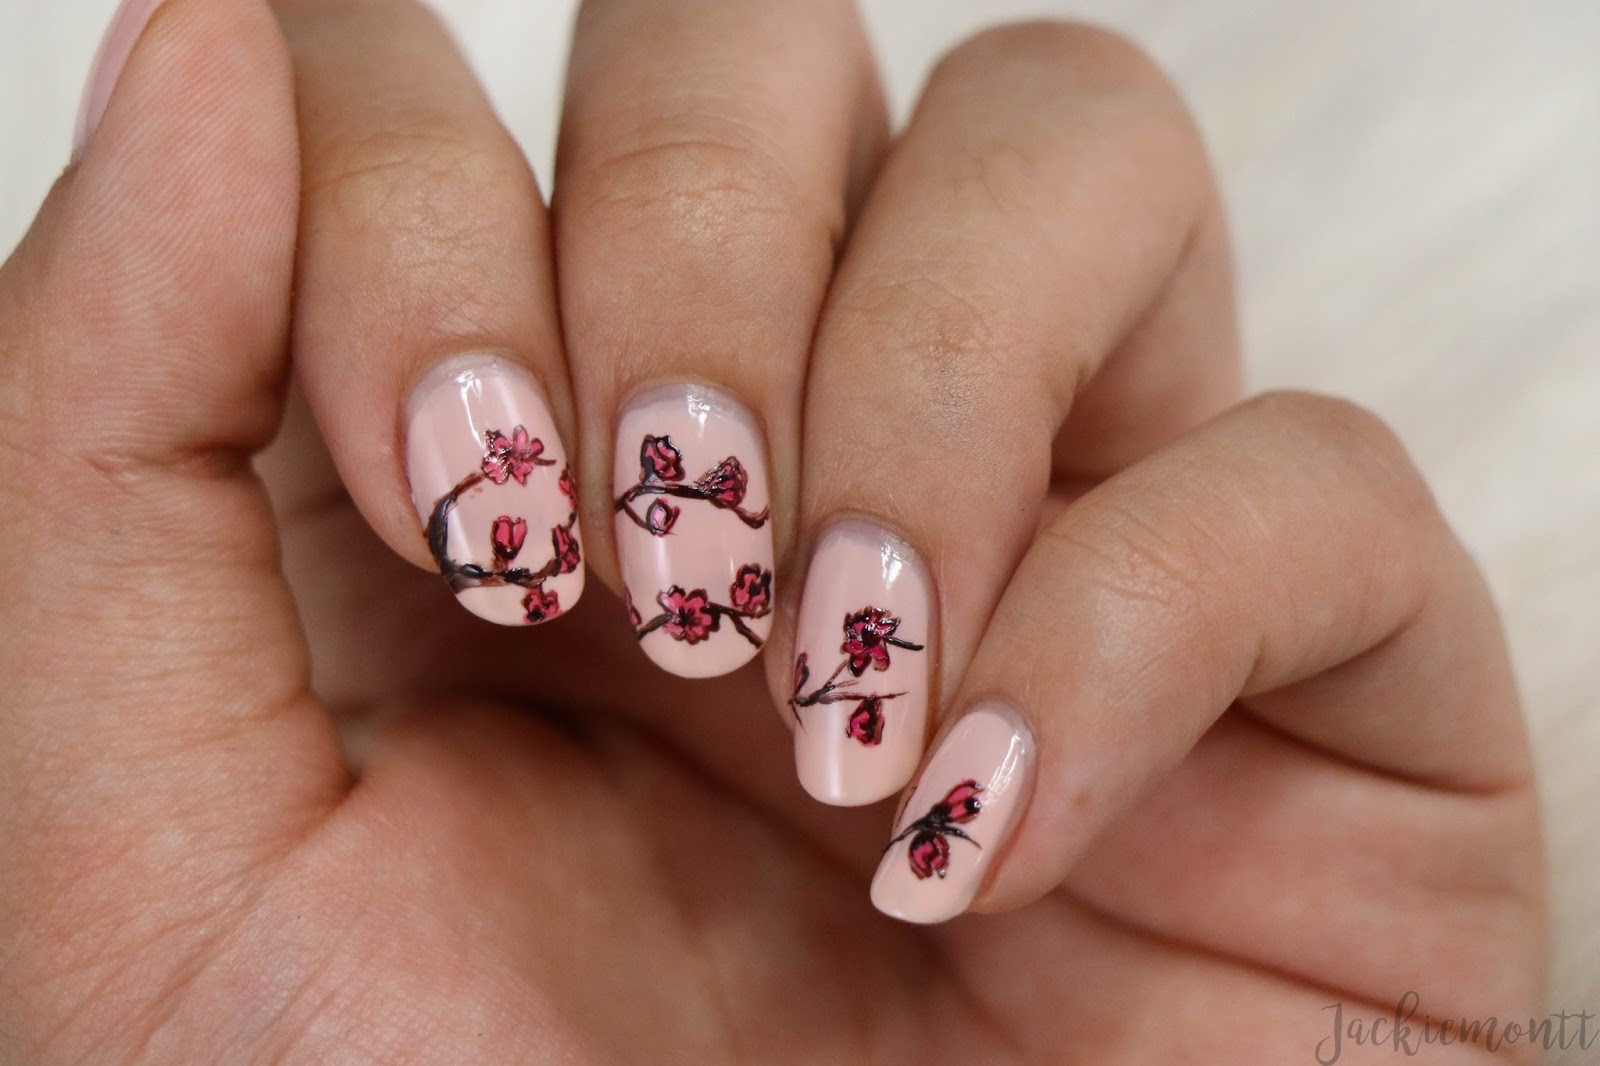
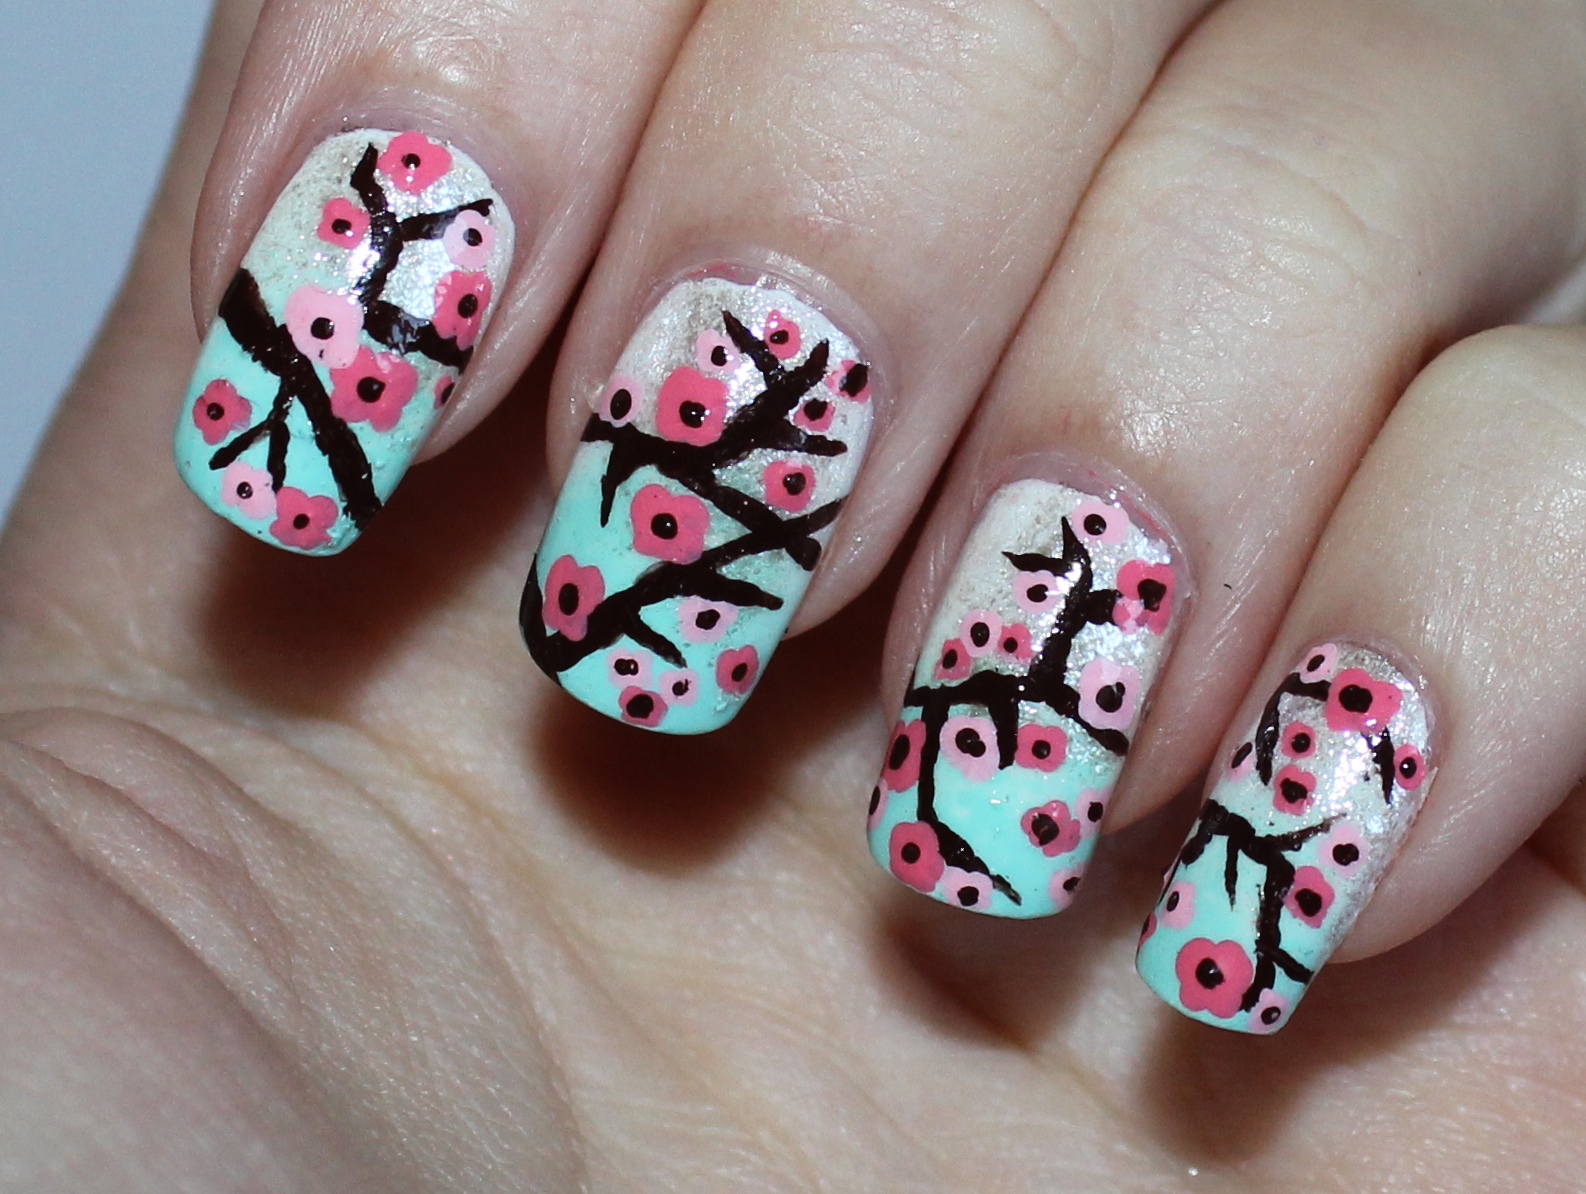
There are endless possibilities when it comes to creating cherry blossom nail designs. You can play with different colors, shapes, and patterns to create your own unique look. Here are a few ideas to get you started: - Use a light green as the base color to represent the leaves of the cherry blossom tree - Create a gradient effect by blending different shades of pink and white - Add glitter or rhinestones for a more glamorous look Get creative and have fun with your cherry blossom design!Cherry Blossom Nail Design Ideas

Cherry Blossom Nail Design Ideas
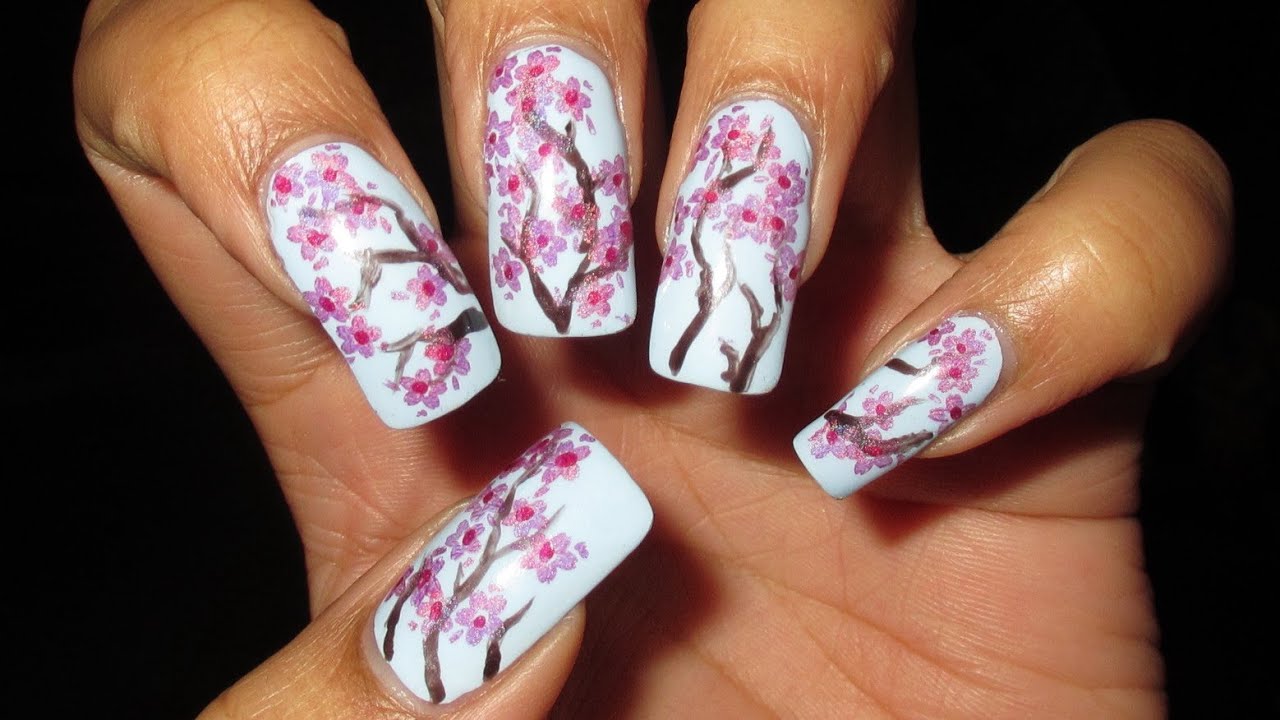
If you prefer visual instructions, follow along with our cherry blossom nail art tutorial video. You'll see each step in action, making it easier to recreate the design on your own nails. Don't be afraid to pause and rewatch certain steps if needed. Practice makes perfect, and soon you'll be a pro at creating cherry blossom nails.Cherry Blossom Nail Art Tutorial

Cherry Blossom Nail Art Tutorial
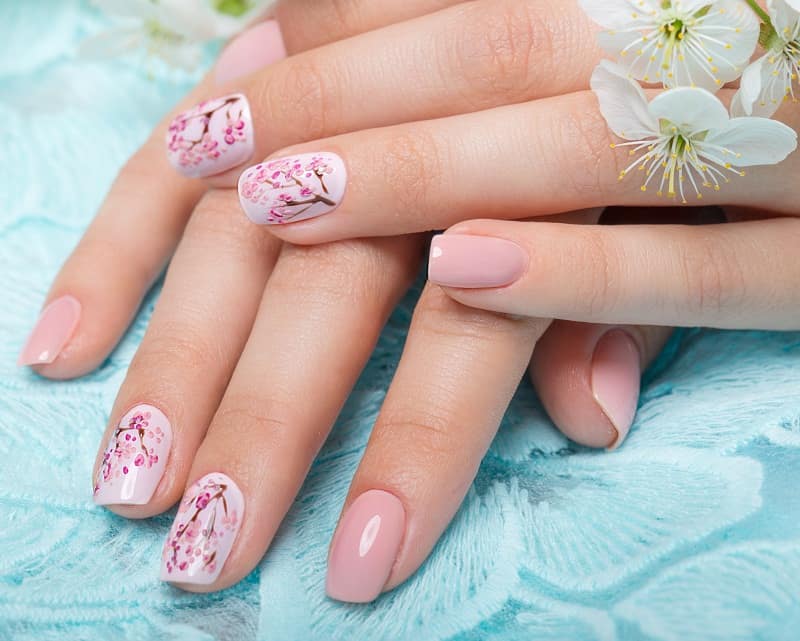
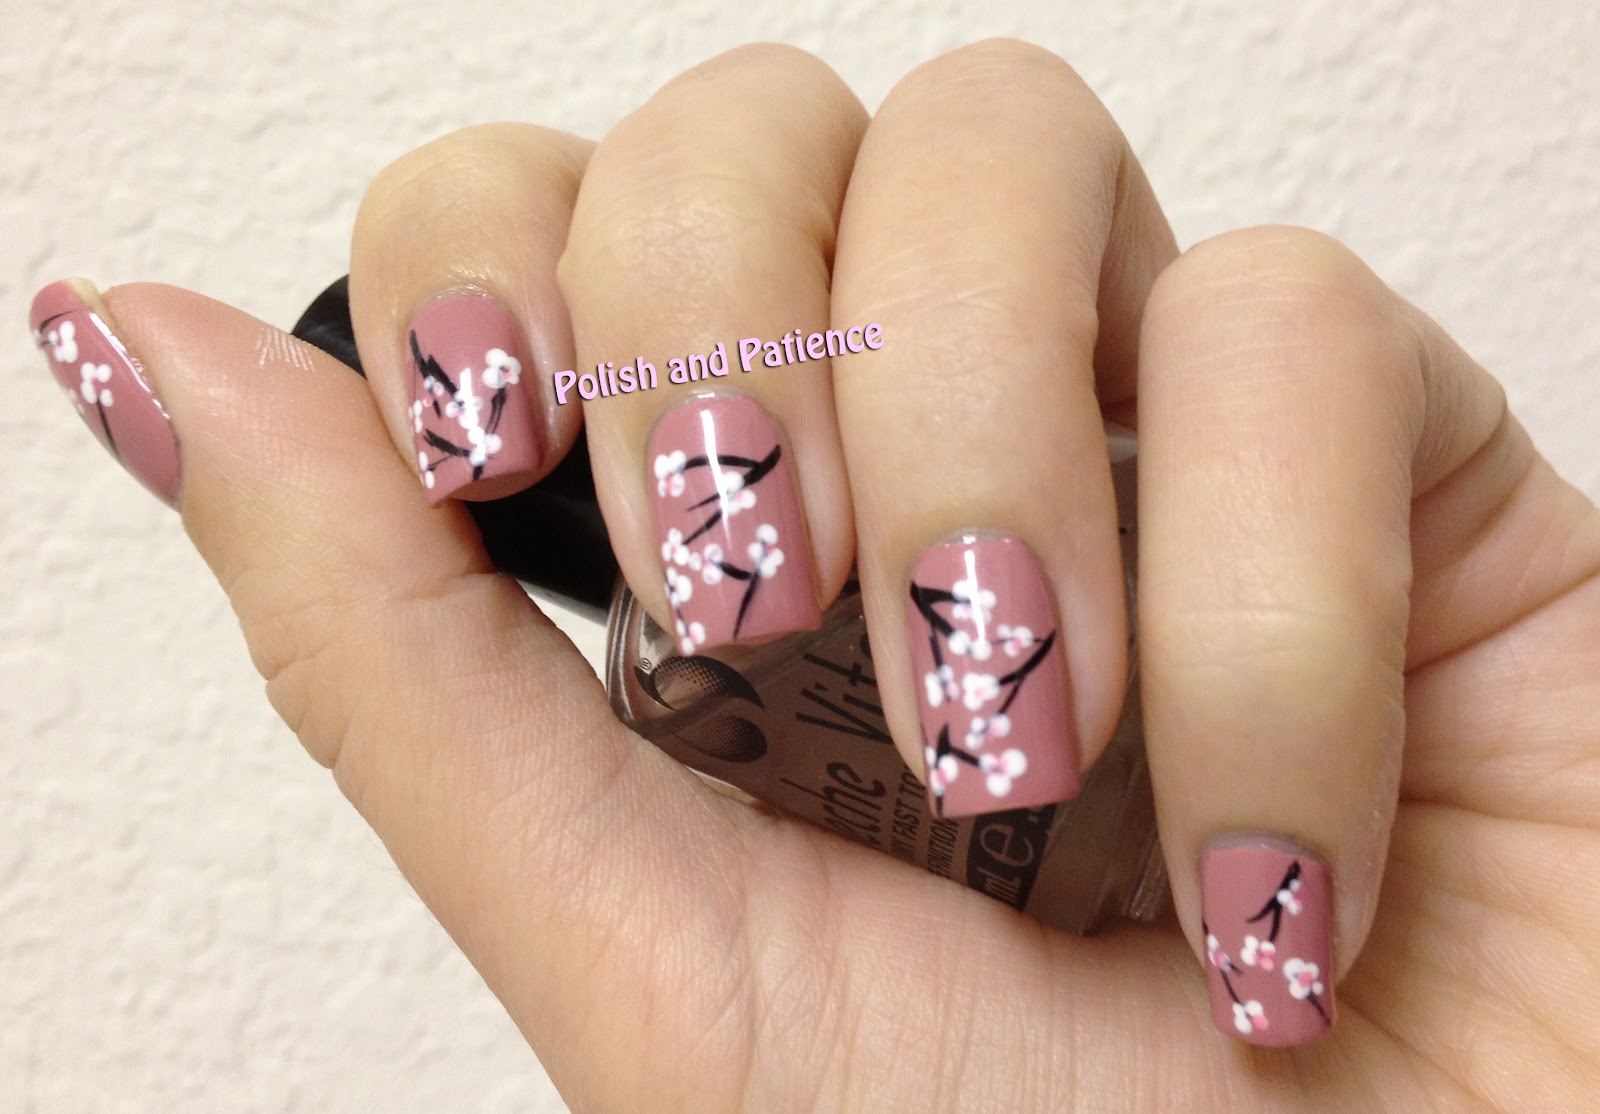
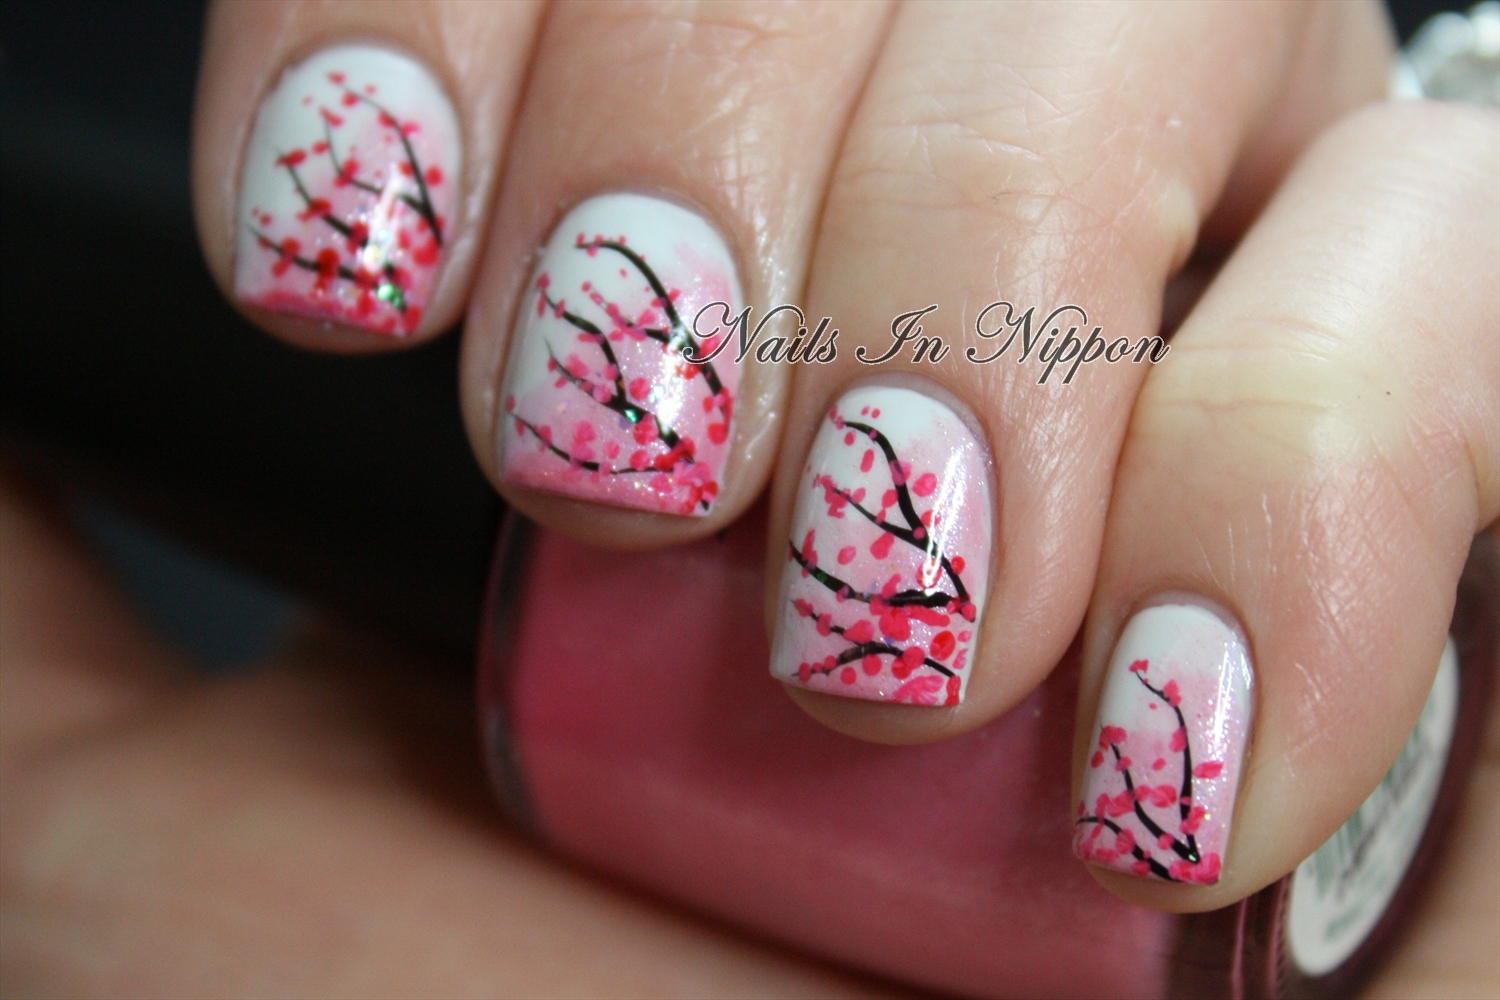
Sometimes less is more, and that's certainly the case with these simple cherry blossom nails. This design features minimalistic white petals on a nude or light pink base. It's perfect for those who prefer a more subtle look. To add a pop of color, consider using a bold pink or red for the stamen in the center of the petals. This will add a touch of personality to your design.Simple Cherry Blossom Nails
Simple Cherry Blossom Nails
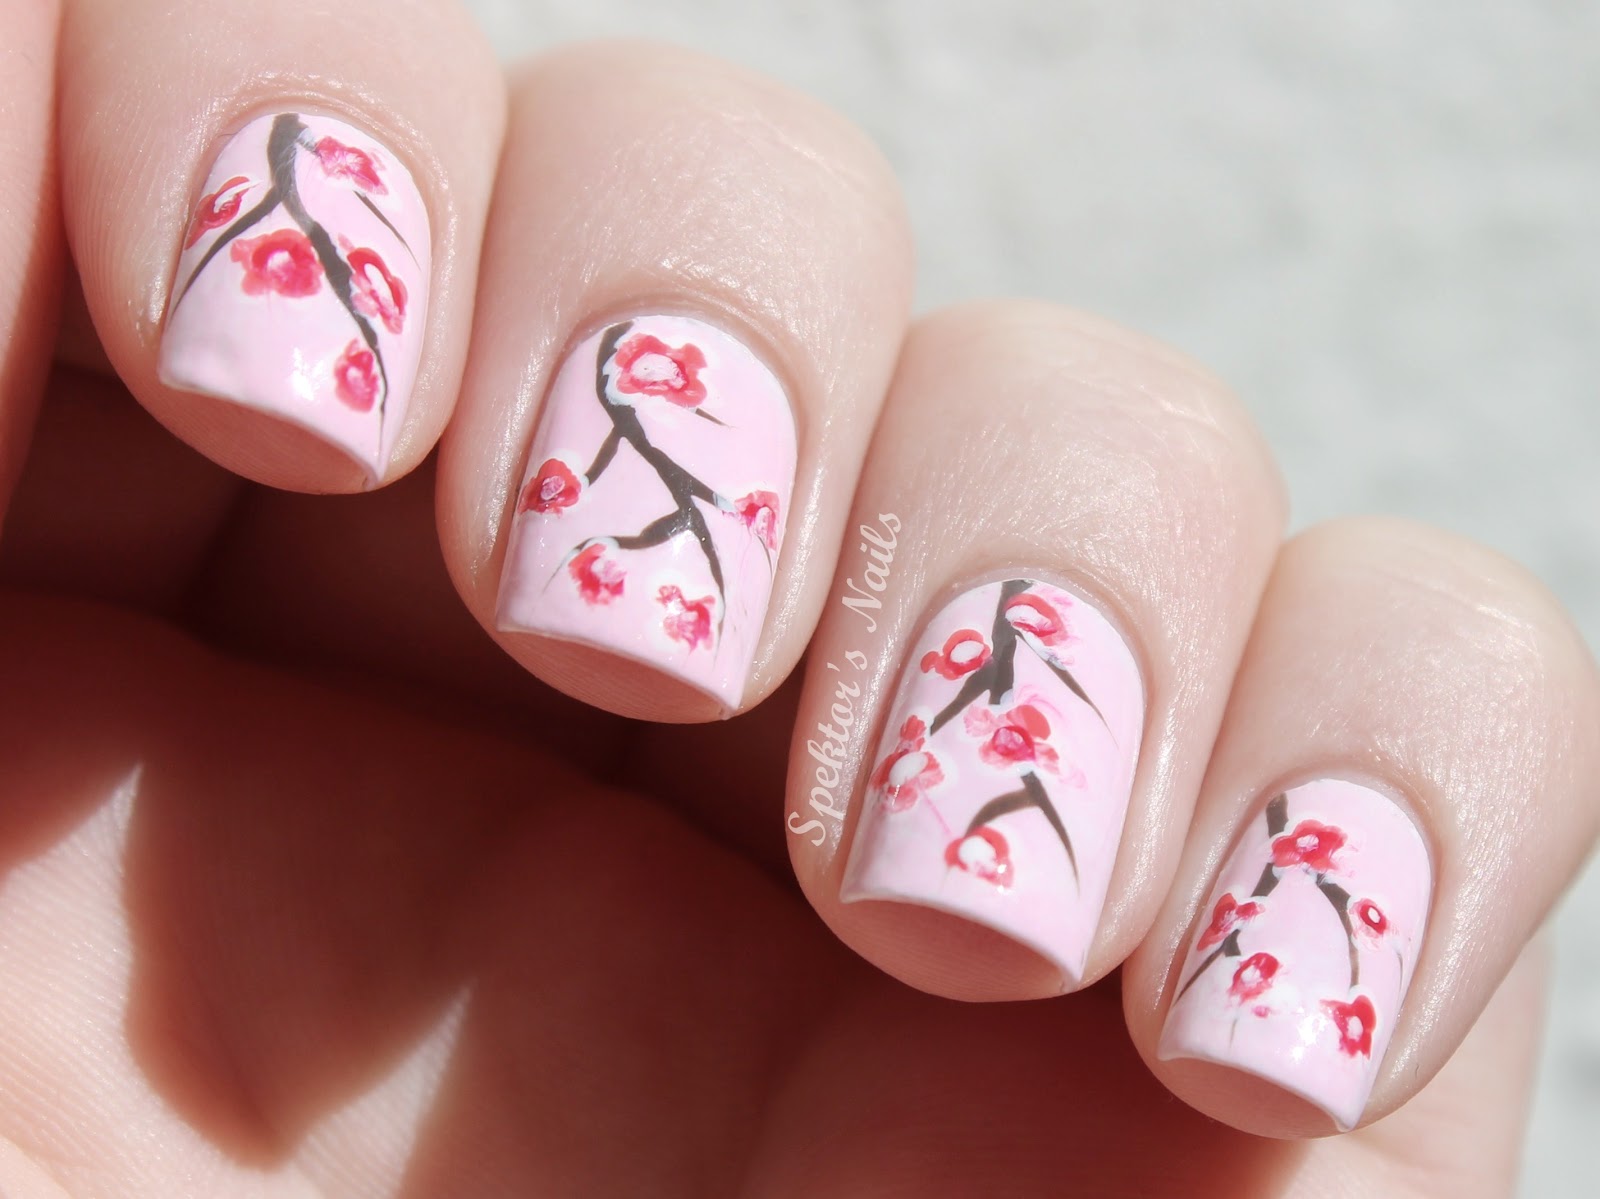
Short nails? No problem! You can still rock a gorgeous cherry blossom design on your nails. In fact, the smaller canvas may even make the design look more delicate and dainty. Instead of creating multiple petals, opt for a single petal on each nail. You can also use a light nude or pink as the base color to make the design stand out on shorter nails.Cherry Blossom Nail Design for Short Nails


Cherry Blossom Nail Design for Short Nails

Don't have a thin brush or dotting tool? No worries! You can achieve the same look with a simple toothpick. Dip the toothpick into the nail polish and use it to create the petals and stamen on your nails. This method may require a bit more patience and precision, but it's a great alternative if you don't have the right tools on hand. Now that you have 10 different cherry blossom nail designs to choose from, you can bring a touch of spring to your nails all year round. Which design will you try first?Cherry Blossom Nail Design with Toothpick

Cherry Blossom Nail Design with Toothpick
Adding Dimension to Your Cherry Blossom Nail Designs

Get Creative with Texture and Embellishments
 Adding depth and dimension to your cherry blossom nail designs can take them from basic to beautiful. A great way to add dimension is by incorporating texture into your design. Try using a
matte top coat
over your base color to create a smooth, flat surface for your design to stand out against. You can also use
3D nail art
such as
pearls, studs, or rhinestones
to add a pop of texture to your design. These embellishments can be strategically placed to mimic the look of cherry blossoms on a tree branch.
Adding depth and dimension to your cherry blossom nail designs can take them from basic to beautiful. A great way to add dimension is by incorporating texture into your design. Try using a
matte top coat
over your base color to create a smooth, flat surface for your design to stand out against. You can also use
3D nail art
such as
pearls, studs, or rhinestones
to add a pop of texture to your design. These embellishments can be strategically placed to mimic the look of cherry blossoms on a tree branch.
Play with Different Nail Shapes
 Another way to add dimension to your cherry blossom nail designs is by playing with different nail shapes. The traditional
square or round
nail shape can be transformed into a more unique and eye-catching design by opting for
almond, stiletto, or coffin
shaped nails. These shapes can enhance the look of your cherry blossom design and add a touch of elegance.
Another way to add dimension to your cherry blossom nail designs is by playing with different nail shapes. The traditional
square or round
nail shape can be transformed into a more unique and eye-catching design by opting for
almond, stiletto, or coffin
shaped nails. These shapes can enhance the look of your cherry blossom design and add a touch of elegance.
Experiment with Color Combinations
 While pink and white may be the traditional colors for cherry blossom nails, don't be afraid to experiment with different color combinations. Adding pops of
green
for leaves or
purple
for a sunset background can add a unique twist to your design. You can also try using
ombre
or
gradient
techniques to create a more dynamic and dimensional look.
While pink and white may be the traditional colors for cherry blossom nails, don't be afraid to experiment with different color combinations. Adding pops of
green
for leaves or
purple
for a sunset background can add a unique twist to your design. You can also try using
ombre
or
gradient
techniques to create a more dynamic and dimensional look.
Using Different Tools for Details
 To really make your cherry blossom design stand out, try using different tools for adding details. A
dotting tool
can be used to create the small dots of color that mimic the look of cherry blossom flowers. You can also use a
thin nail art brush
to paint delicate branches or add tiny buds to your design. These tools can help add depth and intricacy to your design.
To really make your cherry blossom design stand out, try using different tools for adding details. A
dotting tool
can be used to create the small dots of color that mimic the look of cherry blossom flowers. You can also use a
thin nail art brush
to paint delicate branches or add tiny buds to your design. These tools can help add depth and intricacy to your design.
Final Touches and Maintenance
 After completing your cherry blossom nail design, it's important to add some final touches to ensure its longevity. A
top coat
can help seal in your design and add shine to your nails. To keep your design looking fresh, be sure to
moisturize
your hands and nails regularly, and avoid activities that may cause chipping or damage to your design.
With these tips, you can take your cherry blossom nail designs to the next level and create a stunning and dimensional look that is sure to turn heads. So, grab your nail polish and tools, and get ready to create a beautiful cherry blossom design that will have everyone asking for your secrets.
After completing your cherry blossom nail design, it's important to add some final touches to ensure its longevity. A
top coat
can help seal in your design and add shine to your nails. To keep your design looking fresh, be sure to
moisturize
your hands and nails regularly, and avoid activities that may cause chipping or damage to your design.
With these tips, you can take your cherry blossom nail designs to the next level and create a stunning and dimensional look that is sure to turn heads. So, grab your nail polish and tools, and get ready to create a beautiful cherry blossom design that will have everyone asking for your secrets.


