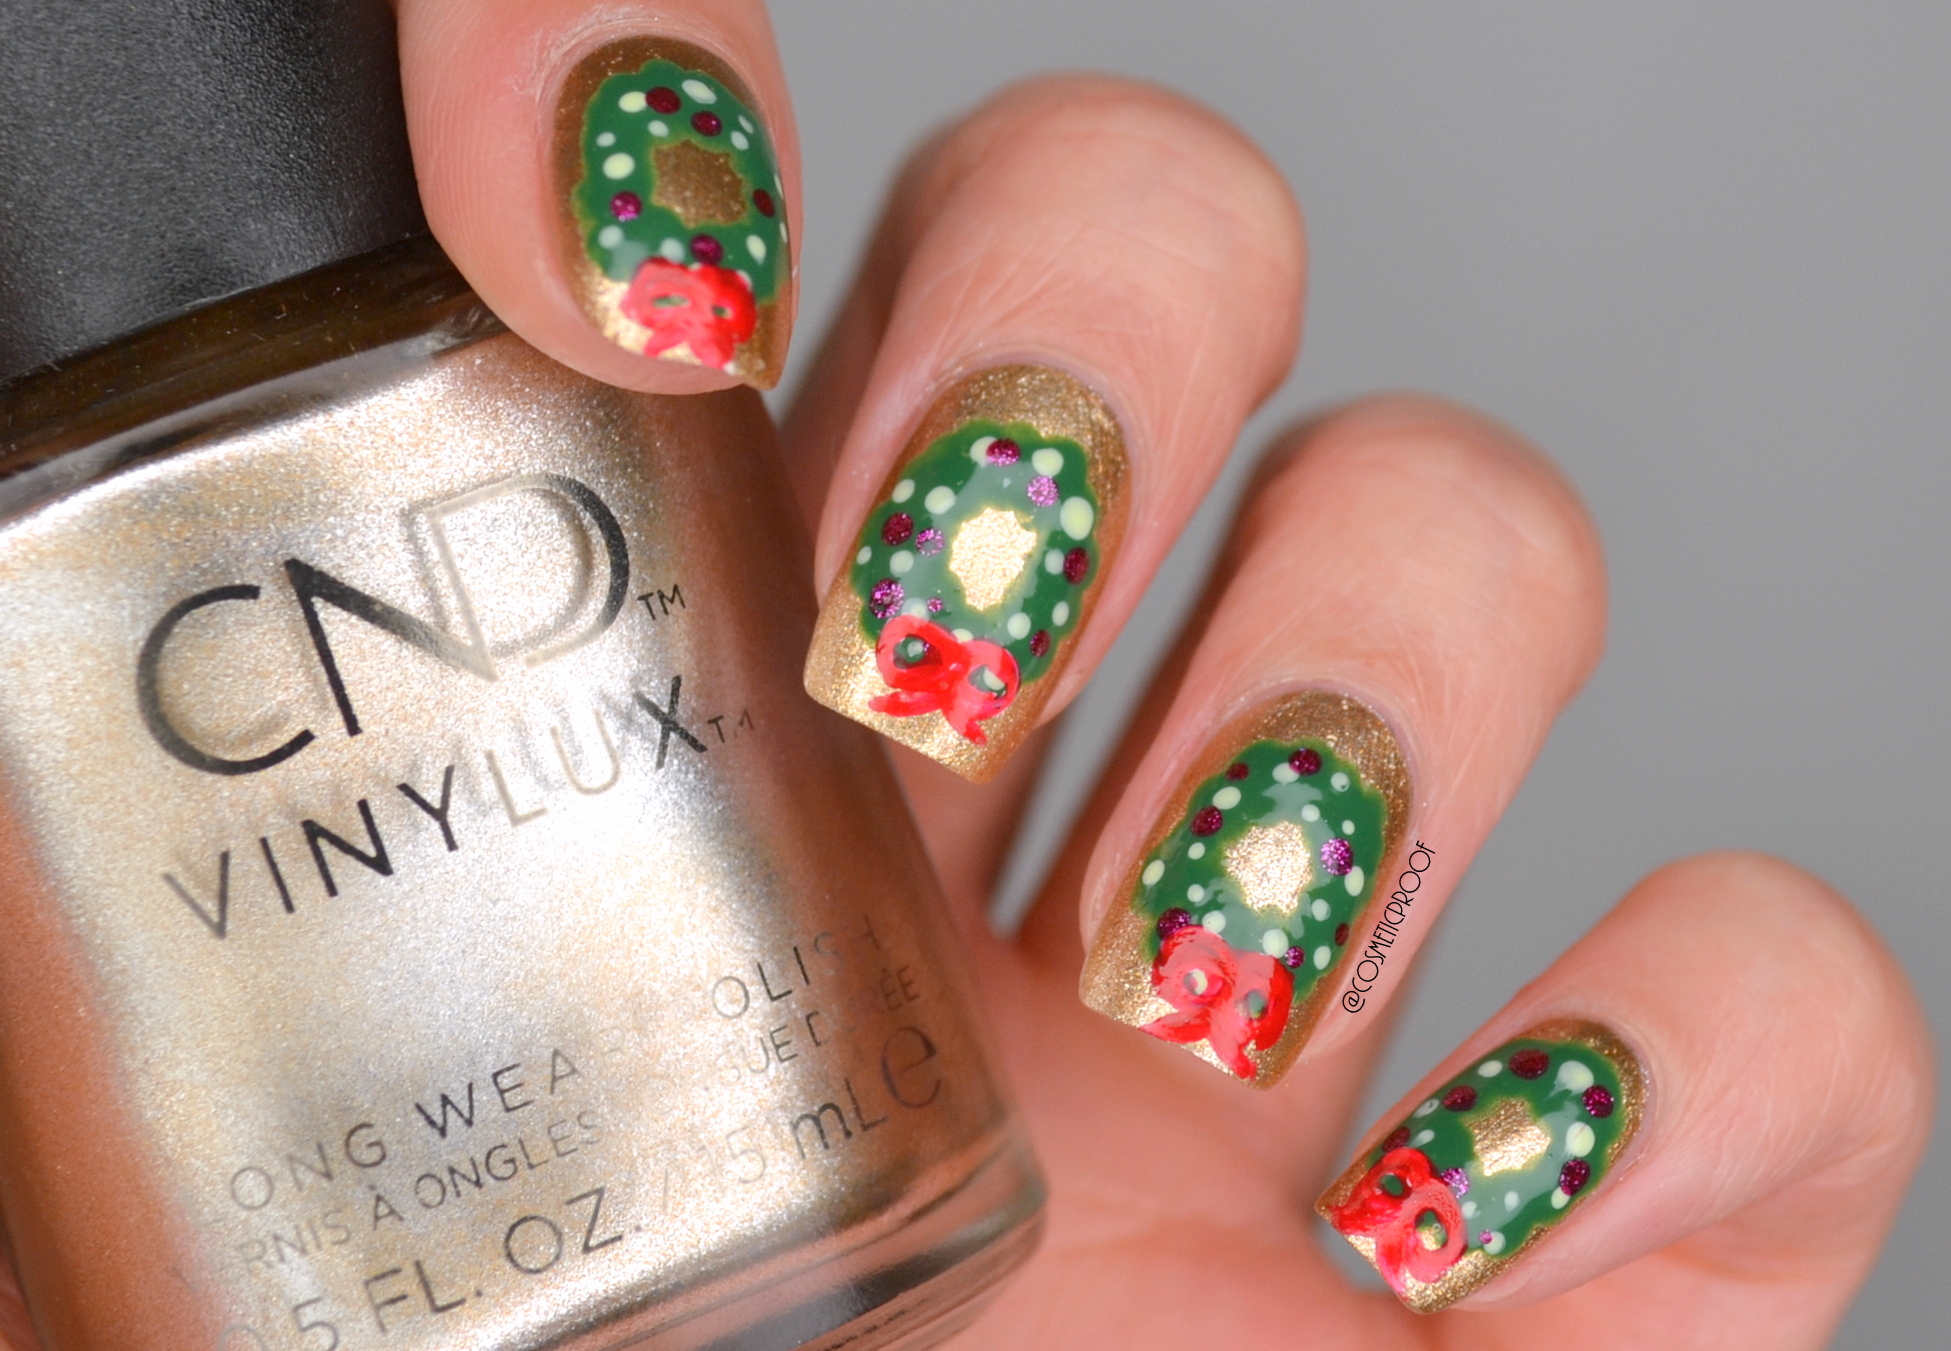
Get ready to impress at all your holiday parties with this step-by-step tutorial for a stunning Christmas chevron nail design. This design is perfect for anyone looking to add a touch of festive cheer to their nails. So grab your nail polish and let's get started! To begin, you will need a base coat, a white nail polish, and two shades of green nail polish. You can choose any shades you like, but for a classic Christmas look, try a dark green and a bright green. Start by applying a base coat to protect your nails and help the polish last longer. Once the base coat is dry, apply two coats of the white nail polish to all your nails. This will create the perfect canvas for your chevron design. Next, take your dark green polish and use the brush to create a diagonal line across your nail, starting from the bottom corner and ending at the top corner. Then, on the opposite side of your nail, create another diagonal line in the same direction, so that the two lines meet at the tip of your nail. This will form the first V shape of your chevron design. Repeat this process on all your nails, making sure to vary the placement of the V shapes for a more natural look. You can also use the bright green polish to create some of the V shapes for a more dynamic design. Once you have all your V shapes in place, take a small brush or toothpick and dip it in the white polish. Use this to create small dots along the edges of the V shapes, to give them a snowflake-like appearance. Finally, finish off with a top coat to seal in your design and add some shine. And there you have it, a beautiful and festive Christmas chevron nail design that is sure to turn heads!1. Christmas Chevron Nail Design Tutorial


1. Christmas Chevron Nail Design Tutorial

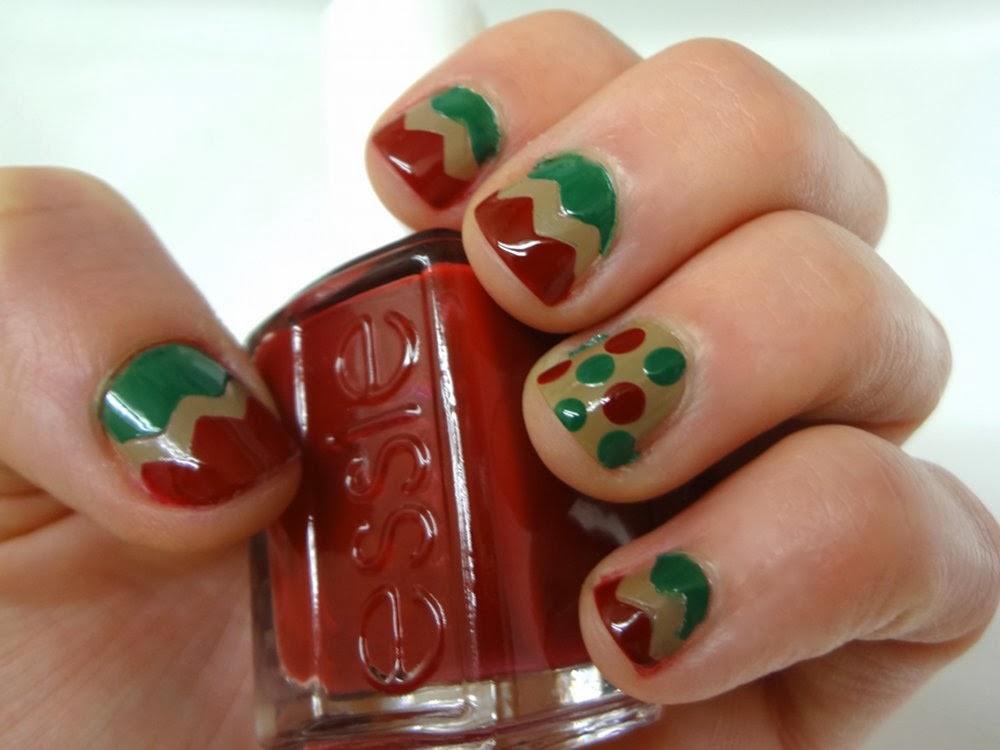
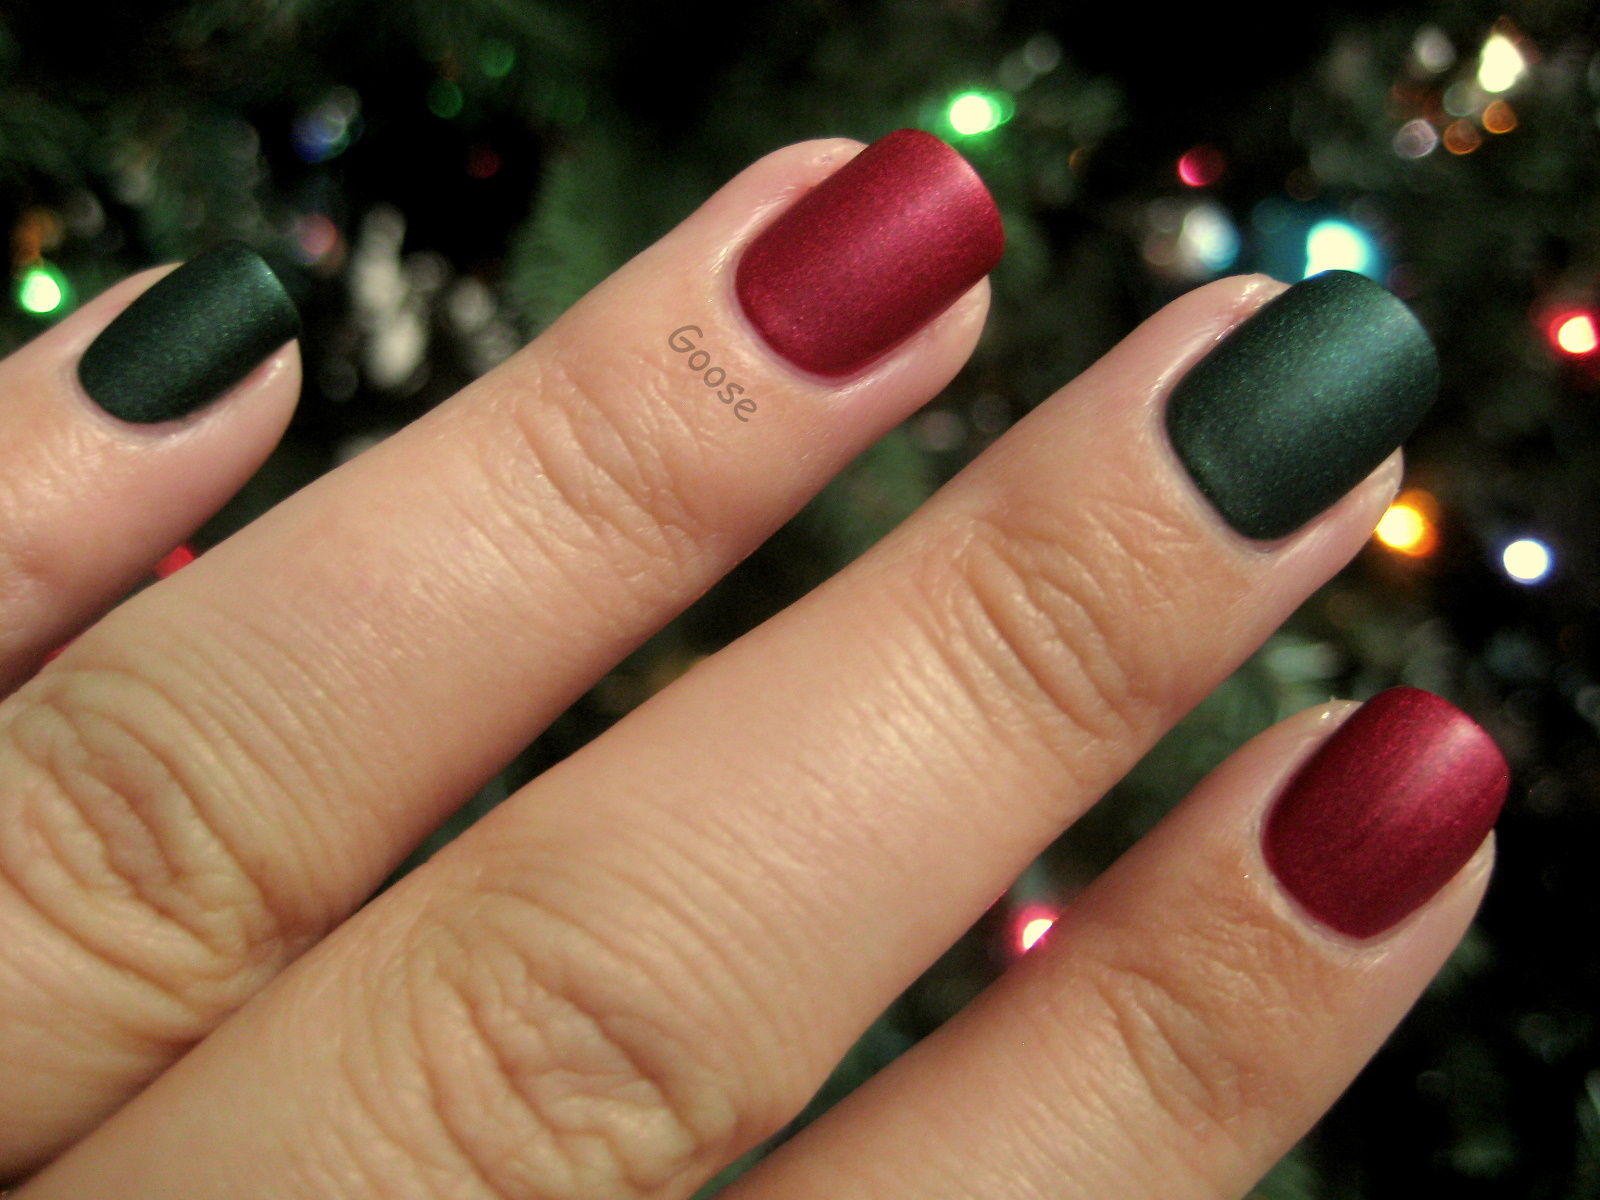
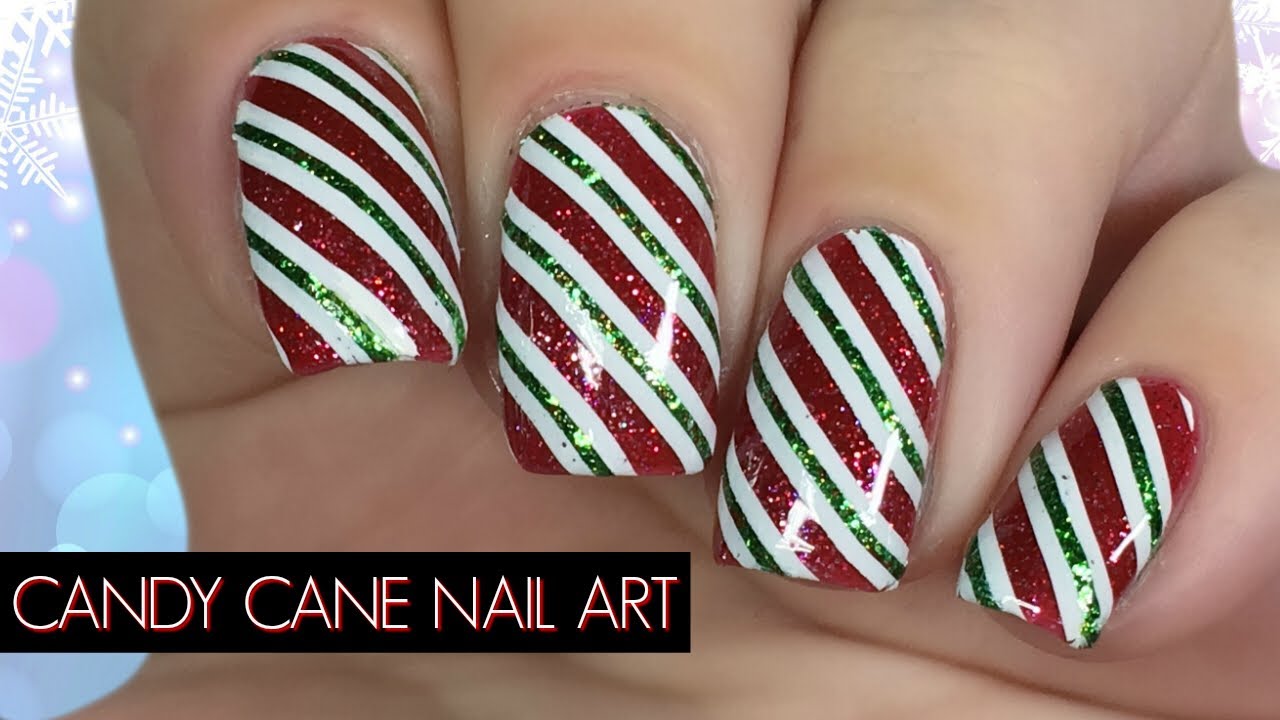
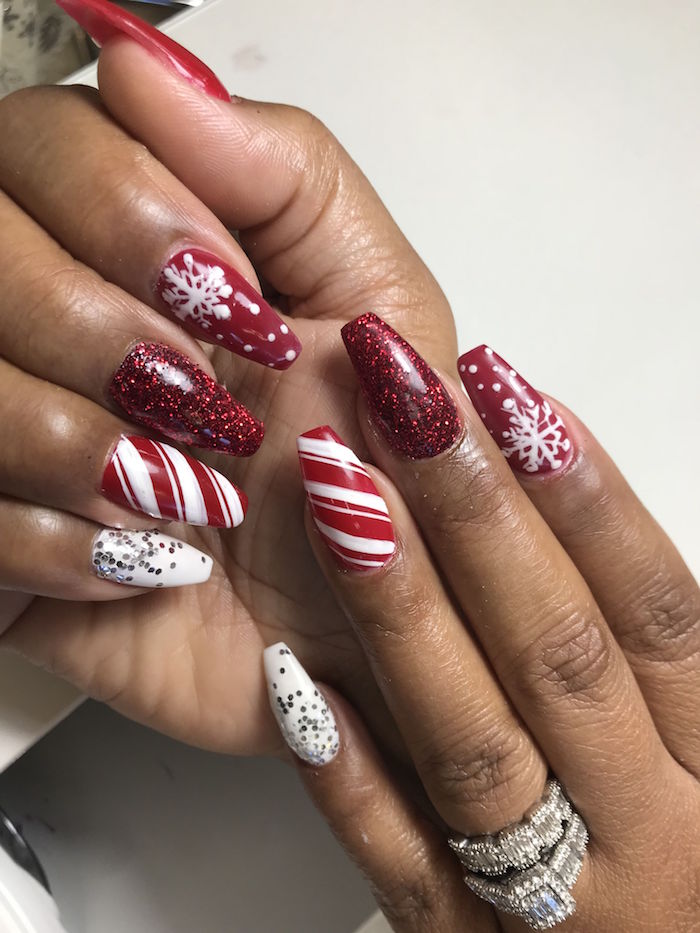
If you're looking for a more traditional holiday look, then these red and green chevron nails are perfect for you. This design is simple yet eye-catching, making it ideal for anyone who wants to add a touch of Christmas spirit to their nails. To achieve this look, you will need a base coat, a red nail polish, a dark green nail polish, and a white nail polish. Start by applying a base coat to protect your nails and help the polish last longer. Next, apply two coats of the red nail polish to all your nails. Once the red polish is completely dry, take the dark green polish and create a diagonal line across your nail, starting from the bottom corner and ending at the top corner. Then, on the opposite side of your nail, create another diagonal line in the same direction, so that the two lines meet at the tip of your nail. This will form the first V shape of your chevron design. Repeat this process on all your nails, making sure to vary the placement of the V shapes for a more natural look. Then, using the white polish, create small dots along the edges of the V shapes to give them a snowflake-like appearance. You can also add some extra dots around the edges of your nails for a more festive touch. Finish off with a top coat to seal in your design and add some shine. These red and green chevron nails are sure to be a hit at any holiday party or family gathering!2. Festive Holiday Chevron Nails


2. Festive Holiday Chevron Nails


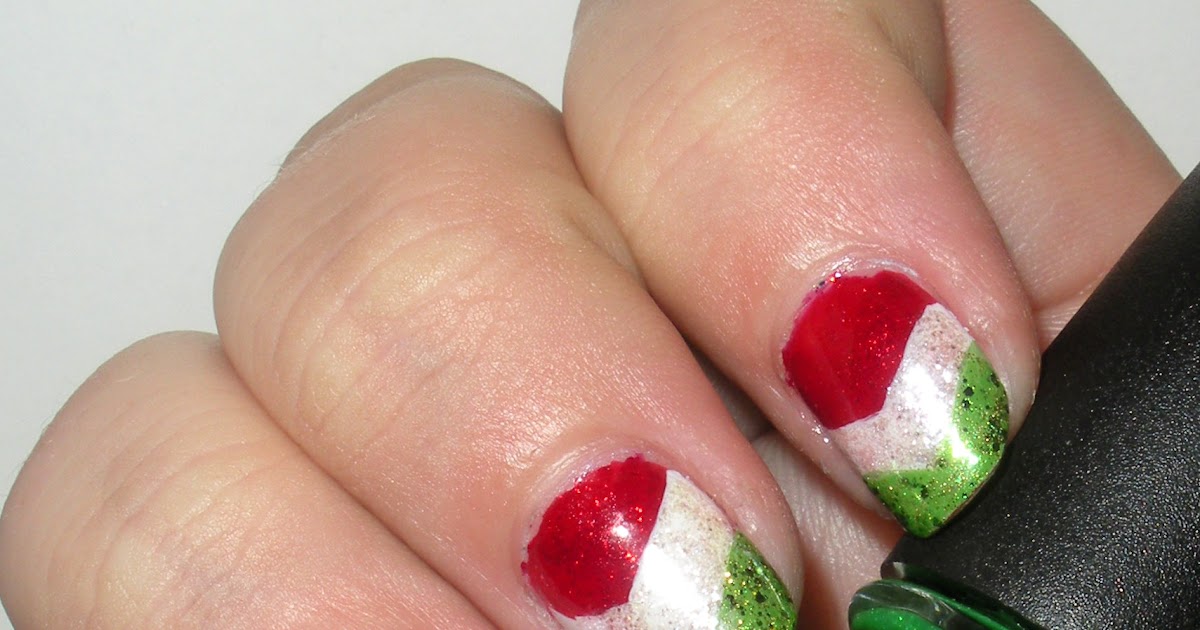
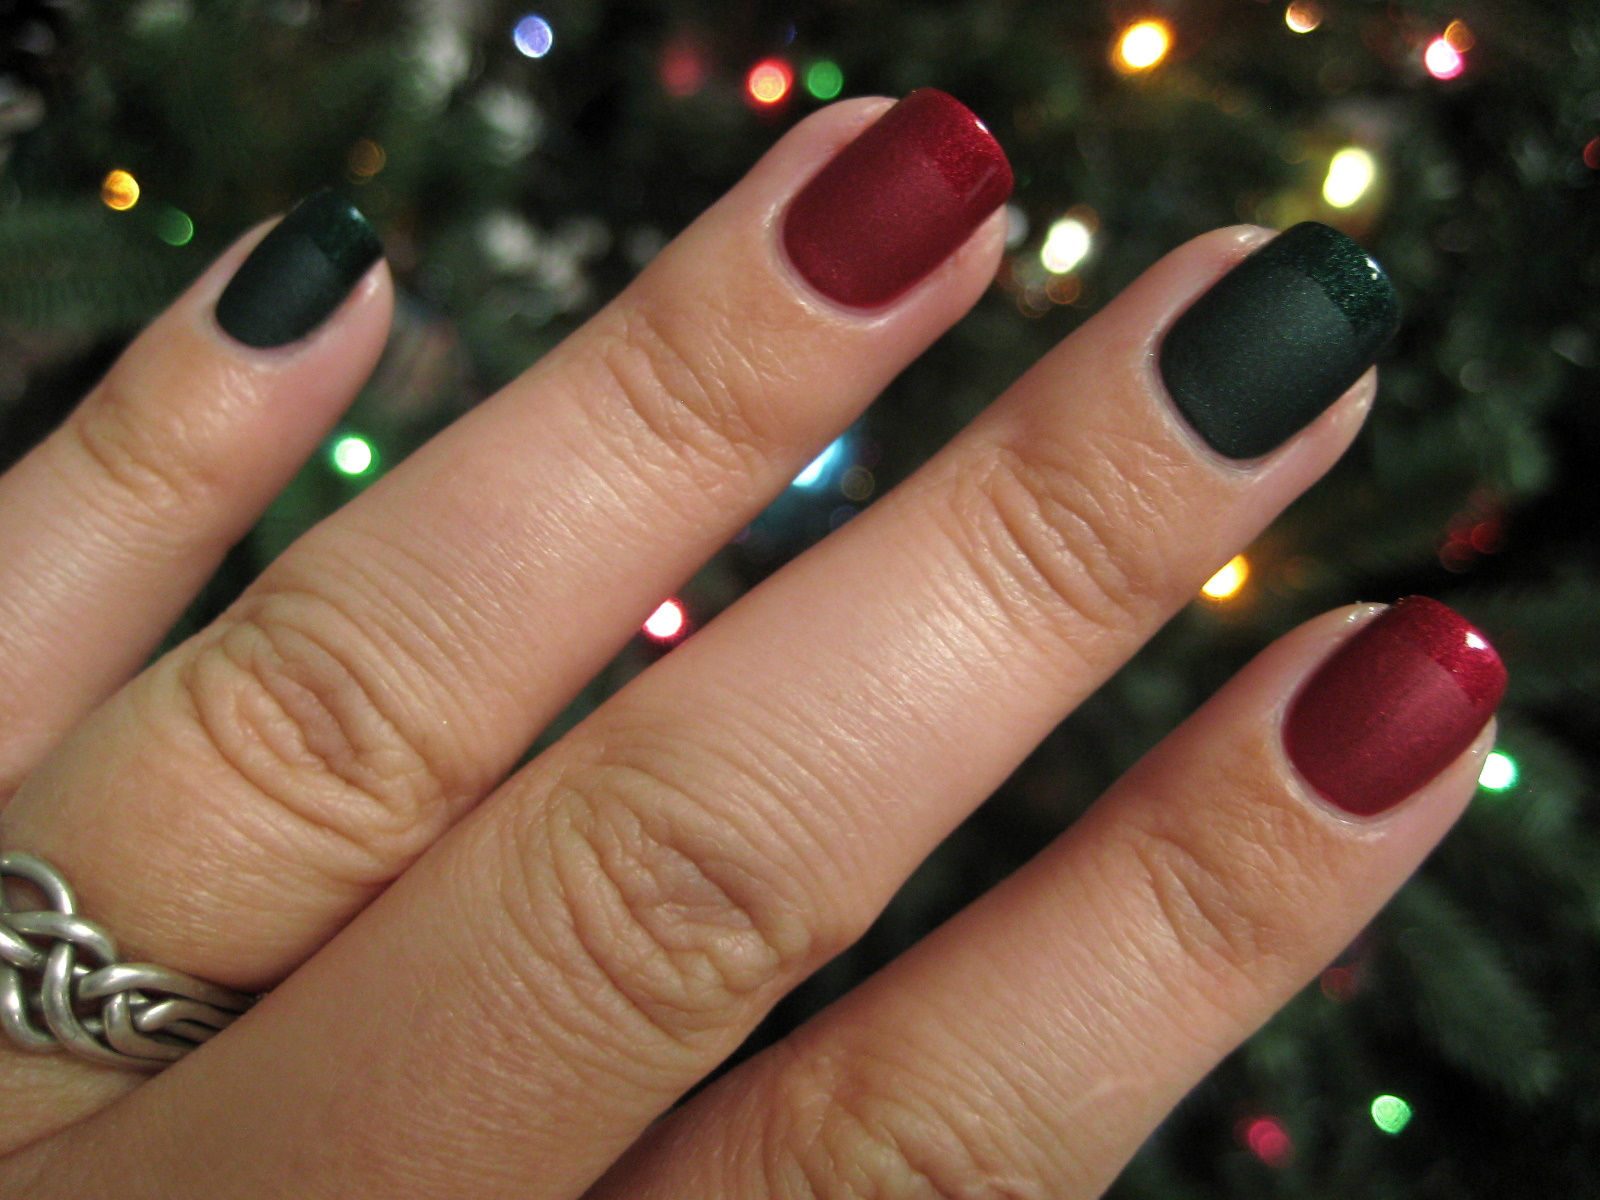
For a more modern take on the classic Christmas colors, try this red and green chevron design with a twist. This design incorporates negative space, giving it a unique and trendy look that is perfect for the holiday season. To create this design, you will need a base coat, a red nail polish, a dark green nail polish, and a white nail polish. Start by applying a base coat to protect your nails and help the polish last longer. Next, apply two coats of the red nail polish to all your nails. Once the red polish is dry, use the dark green polish to create a diagonal line across your nail, starting from the bottom corner and ending at the top corner. Then, on the opposite side of your nail, create another diagonal line in the same direction, so that the two lines meet at the tip of your nail. This will form the first V shape of your chevron design. Repeat this process on all your nails, making sure to leave some negative space between each V shape. You can also vary the placement of the V shapes for a more dynamic look. Next, take the white polish and use it to create a diagonal line across your nail, starting from the top corner and ending at the bottom corner. Then, on the opposite side of your nail, create another diagonal line in the same direction, so that the two lines meet at the tip of your nail. This will form the second V shape of your chevron design. Repeat this process on all your nails, making sure to mirror the placement of the white V shapes with the green V shapes. Finish off with a top coat to seal in your design and add some shine. This unique and modern take on the classic Christmas colors is sure to impress.3. Red and Green Chevron Christmas Nails

3. Red and Green Chevron Christmas Nails


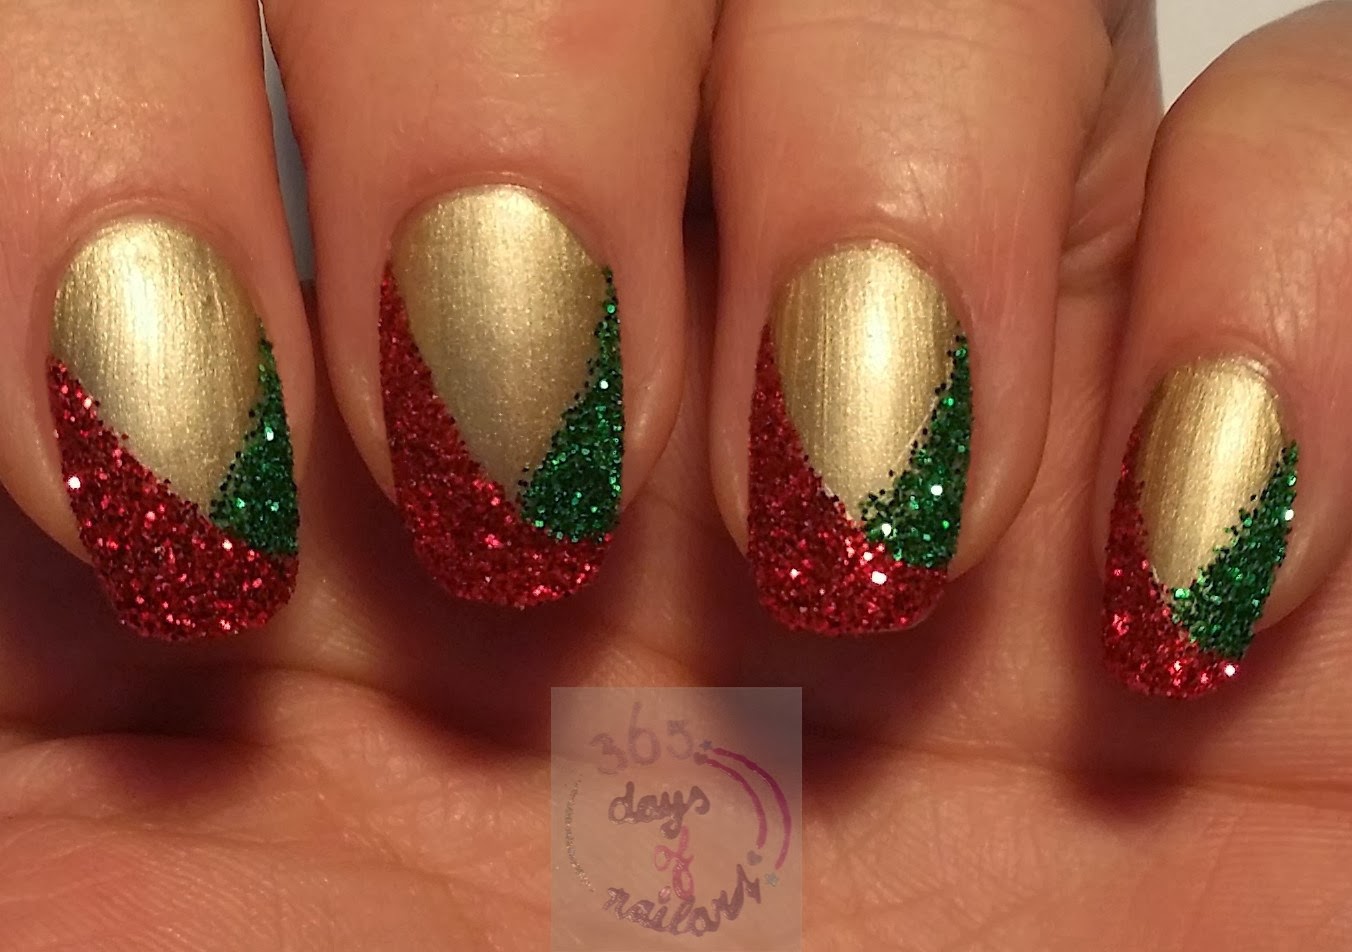
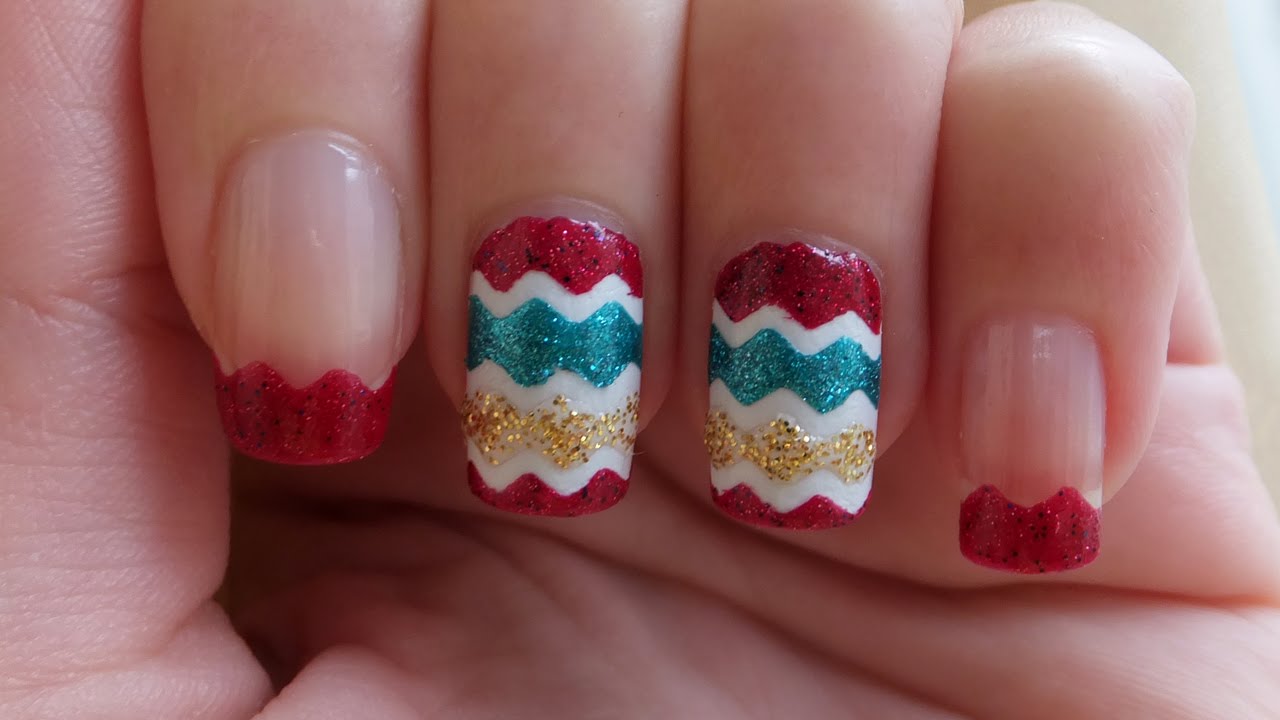
Add some sparkle to your holiday season with this glittery chevron nail design. This design is perfect for anyone who loves a little extra glitz and glamour during the festive season. To achieve this look, you will need a base coat, a red nail polish, a gold nail polish, and a silver nail polish. Start by applying a base coat to protect your nails and help the polish last longer. Next, apply two coats of the red nail polish to all your nails. Once the red polish is dry, use the gold polish to create a diagonal line across your nail, starting from the bottom corner and ending at the top corner. Then, on the opposite side of your nail, create another diagonal line in the same direction, so that the two lines meet at the tip of your nail. This will form the first V shape of your chevron design. Repeat this process on all your nails, making sure to vary the placement of the V shapes for a more dynamic look. Then, using the silver polish, create small dots along the edges of the V shapes to add some extra sparkle. Finish off with a top coat to seal in your design and add some shine. These glittery chevron nails are sure to make you stand out at any holiday gathering.4. Glittery Chevron Christmas Nail Art


4. Glittery Chevron Christmas Nail Art


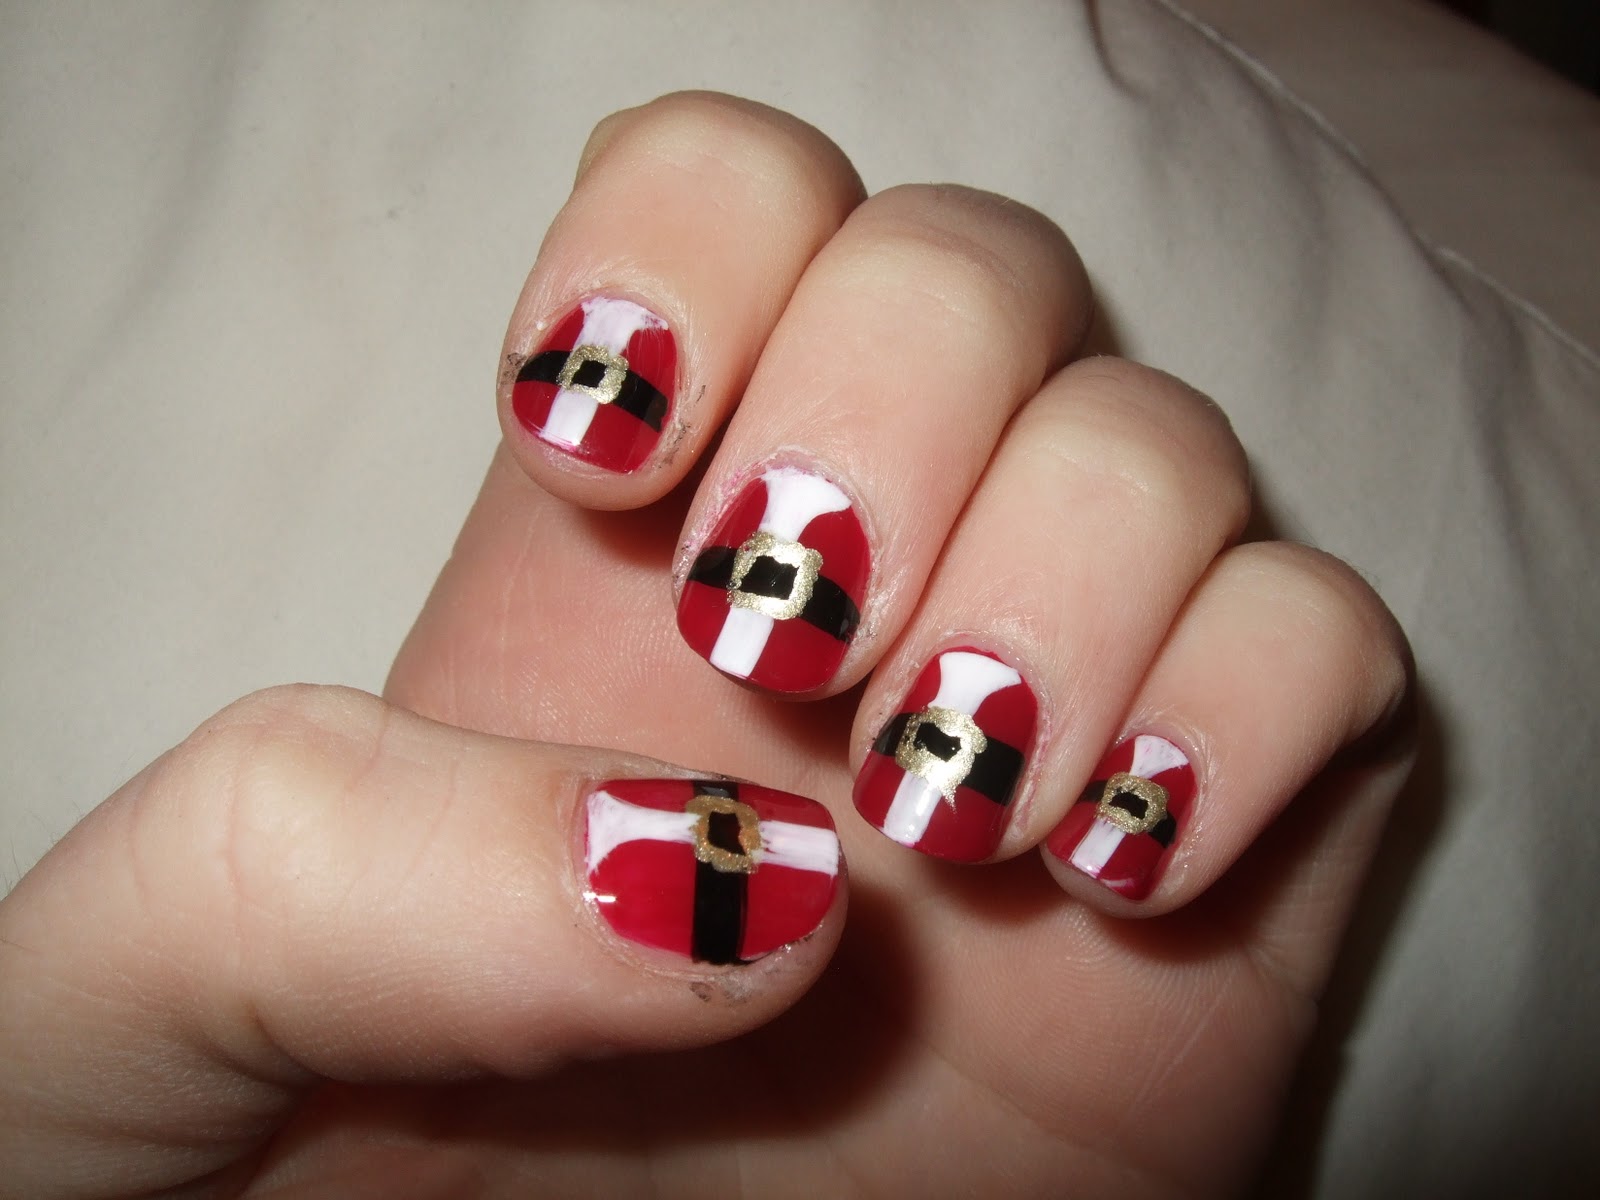
If you're short on time but still want to rock a festive nail design, then this easy DIY Christmas chevron nail art is perfect for you. All you need is some tape, a red nail polish, a green nail polish, and a white nail polish. To begin, start by applying a base coat to protect your nails and help the polish last longer. Once the base coat is dry, take a piece of tape and cut it into thin strips. Place the strips on your nails in a chevron pattern, leaving some space between each strip. Next, paint over the tape with your red nail polish. Once the polish is dry, carefully remove the tape to reveal the white space in between. Then, using the green polish, create small dots along the edges of the red chevron shape to give it a snowflake-like appearance. Repeat this process on all your nails and finish off with a top coat to seal in your design. This easy DIY Christmas chevron nail art is perfect for anyone looking for a quick and simple holiday nail look.5. Easy DIY Christmas Chevron Nails

5. Easy DIY Christmas Chevron Nails


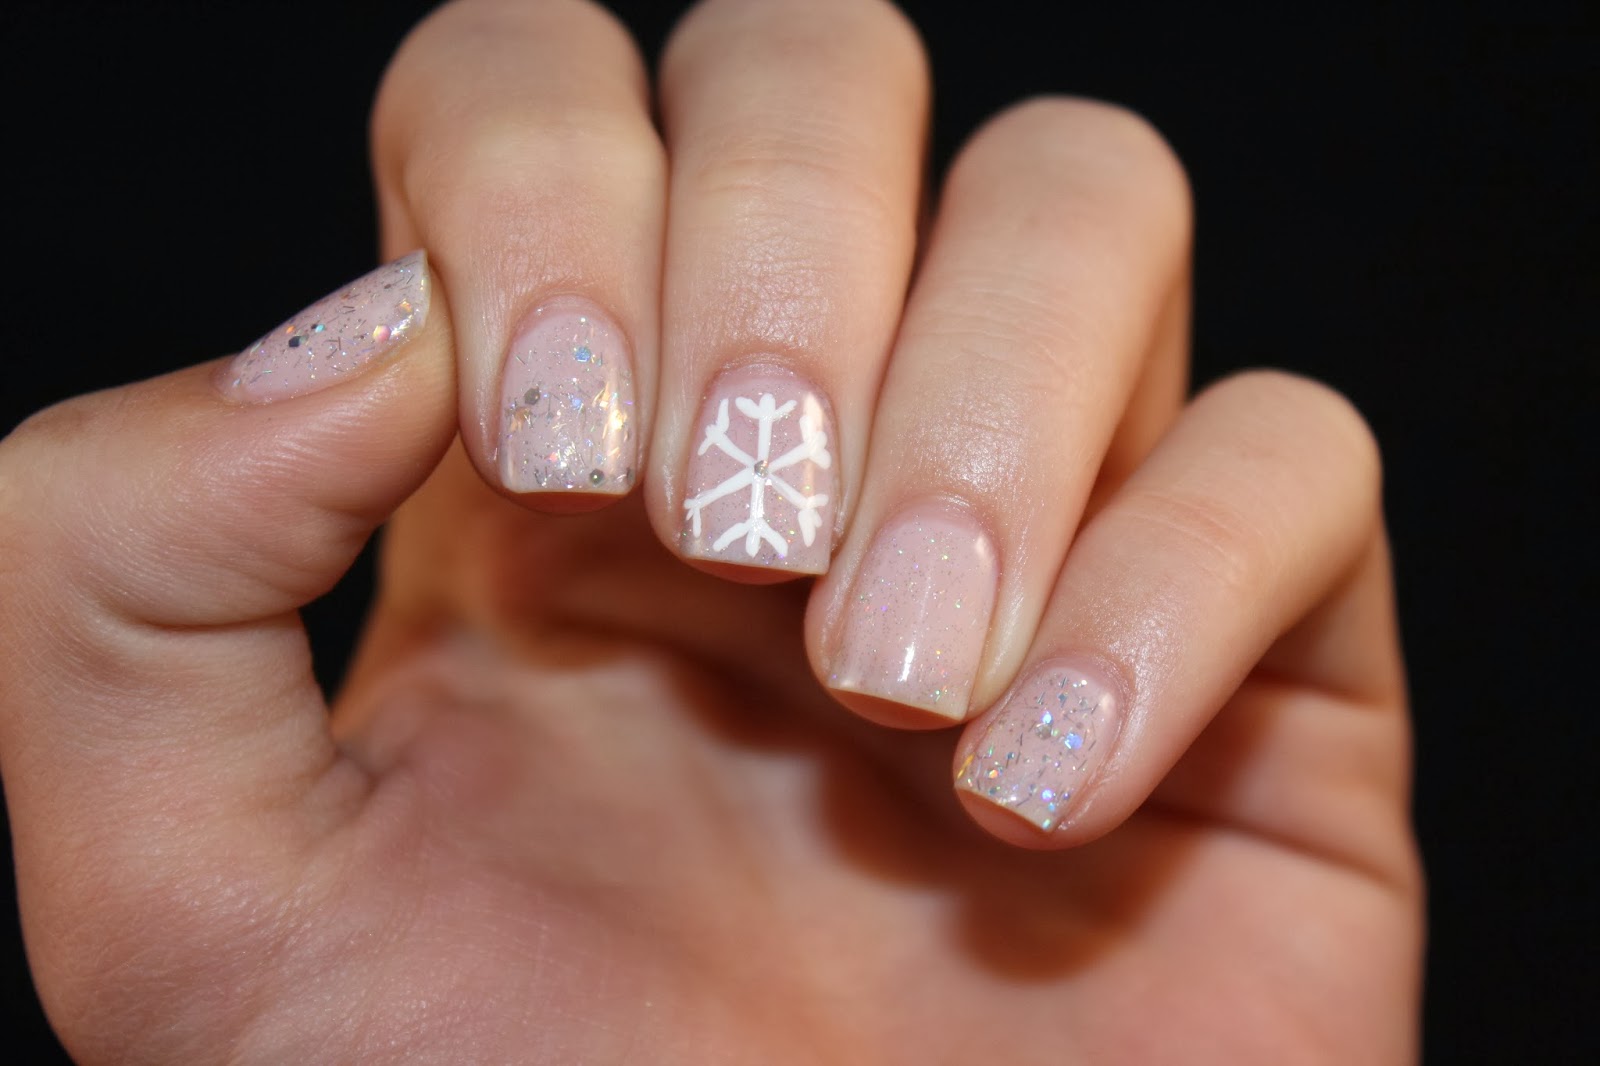
Embrace the winter wonderland with these snowflake chevron Christmas nails. This design is perfect for anyone who loves a touch of sparkle and wants to add some festive flair to their nails. To achieve this look, you will need a base coat, a white nail polish, a blue nail polish, and a silver glitter nail polish. Start by applying a base coat to protect your nails and help the polish last longer. Next, apply two coats of the white nail polish to all your nails. Once the white polish is dry, use the blue polish to create a diagonal line across your nail, starting from the bottom corner and ending at the top corner. Then, on the opposite side of your nail, create another diagonal line in the same direction, so that the two lines meet at the tip of your nail. This will form the first V shape of your chevron design. Repeat this process on all your nails, making sure to vary the placement of the V shapes for a more dynamic look. Then, using the silver glitter polish, create small dots along the edges of the V shapes to add some extra sparkle. Finish off with a top coat to seal in your design and add some shine. These snowflake chevron Christmas nails are perfect for anyone dreaming of a white Christmas.6. Snowflake Chevron Christmas Nails


6. Snowflake Chevron Christmas Nails
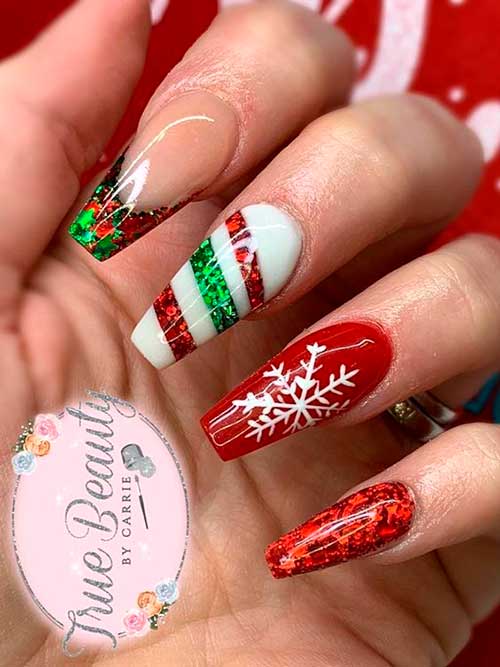
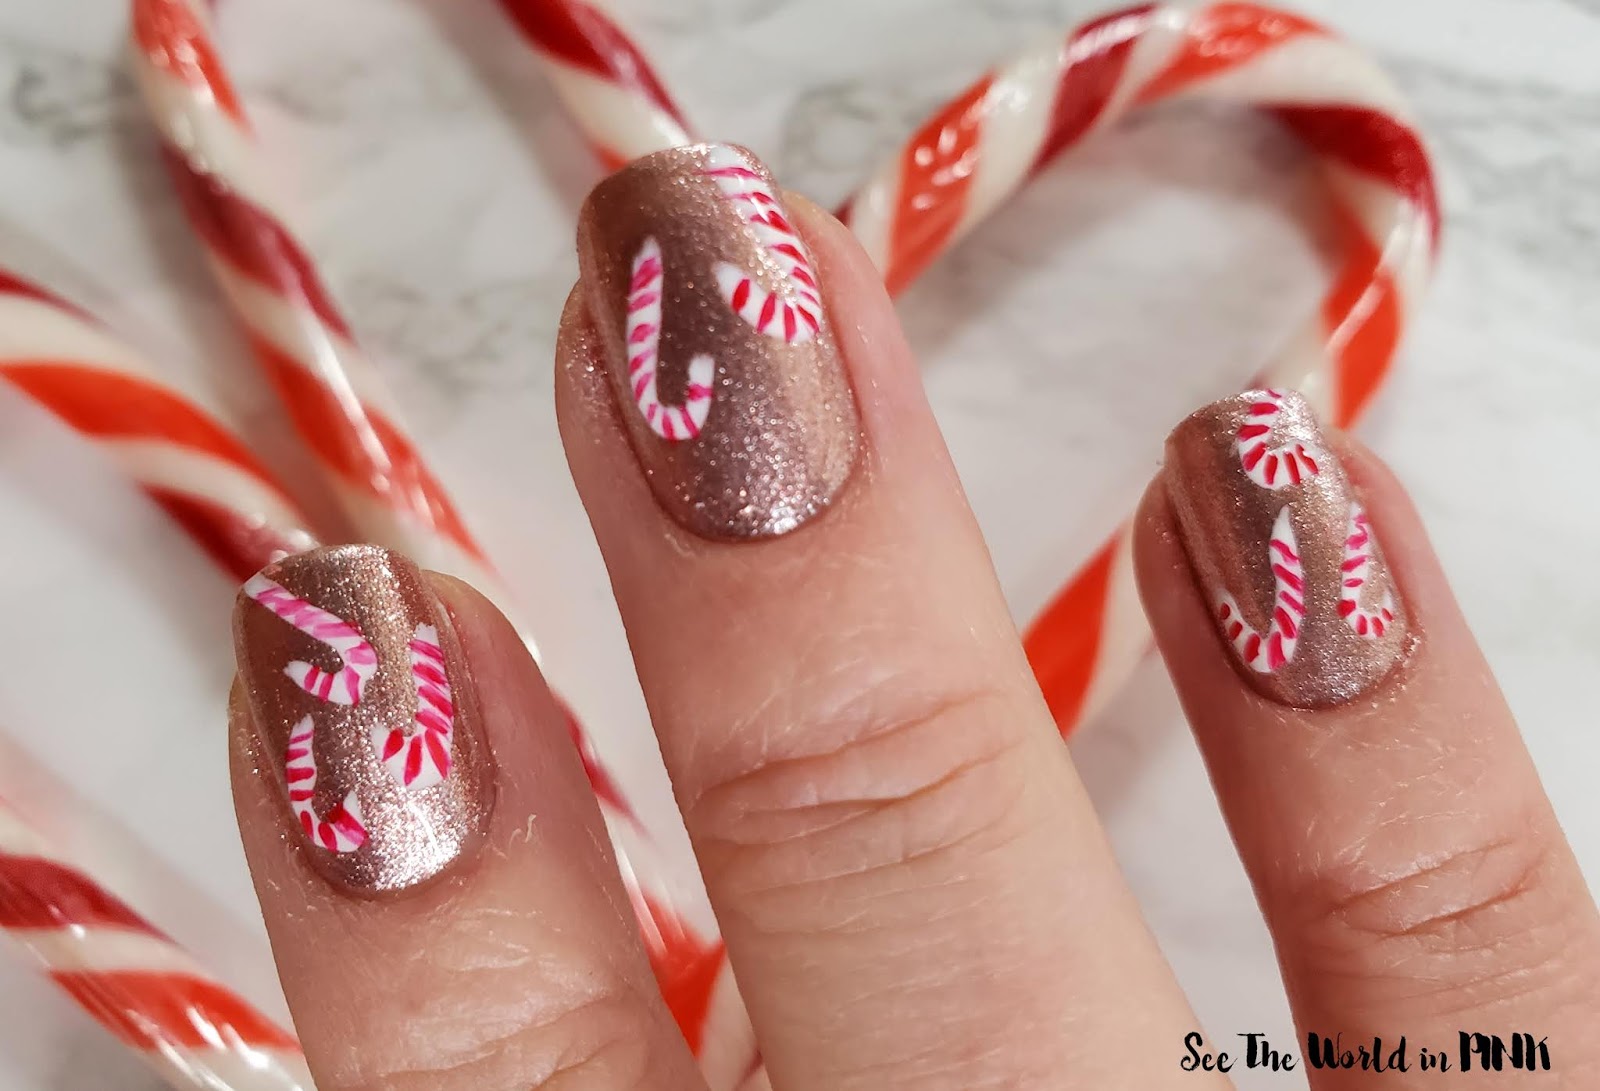
Get into the holiday spirit with these candy cane chevron nails. This design is fun, festive, and perfect for anyone with a sweet tooth. To achieve this look, you will need a base coat, a red nail polish, a white nail polish, and a green nail polish. Start by applying a base coat to protect your nails and help the polish last longer. Next, apply two coats of the red nail polish to all your nails. Once the red polish is dry, use the white polish to create a diagonal line across your nail, starting from the bottom corner and ending at the top corner. Then, on the opposite side of your nail, create another diagonal line in the same direction, so that the two lines meet at the tip of your nail. This will form the first V shape of your chevron design. Repeat this process on all your nails, making sure to vary the placement of the V shapes for a more dynamic look. Then, using the green polish, create small dots along the edges of the V shapes to give them a candy cane-like appearance. Finish off with a top coat to seal in your design and add some shine. These candy cane chevron Christmas nails are sure to satisfy your sweet tooth.7. Candy Cane Chevron Christmas Nails


7. Candy Cane Chevron Christmas Nails
For a more elegant and sophisticated holiday nail look, try these gold and silver chevron nails. This design is perfect for anyone who loves a touch of glamour and wants to add some sparkle to their holiday season. To achieve this look, you will need a base coat, a gold nail polish, a silver nail polish, and a black nail polish. Start by applying a base coat to protect your nails and help the polish last longer. Next, apply two coats of the gold nail polish to all your nails. Once the gold polish is dry, use the silver polish to create a diagonal line across your nail, starting from the bottom corner and ending at the top corner. Then, on the opposite side of your nail, create another diagonal line in the same direction, so that the two lines meet at the tip of your nail. This will form the first V shape of your chevron design. Repeat this process on all your nails, making sure to vary the placement of the V shapes for a more dynamic look. Then, using the black polish, create small dots along the edges of the V shapes to give them a snowflake-like appearance. Finish off with a top coat to seal in your design and add some shine. These gold and silver chevron Christmas nails are perfect for any holiday party or special occasion.8. Gold and Silver Chevron Christmas Nails


8. Gold and Silver Chevron Christmas Nails


Bring some Christmas magic to your nails with these adorable reindeer chevron nails. This design is perfect for anyone who loves a cute and playful holiday look. To achieve this look, you will need a base coat, a dark brown nail polish, a light brown nail polish, a red nail polish, and a black nail polish. Start by applying a base coat to protect your nails and help the polish last longer. Next, apply two coats of the dark brown nail polish to all your nails. Once the dark brown polish is dry, use the light brown polish to create a diagonal line across your nail, starting from the bottom corner and ending at the top corner. Then, on the opposite side of your nail, create another diagonal line in the same direction, so that the two lines meet at the tip of your nail. This will form the first V shape of your chevron design. Repeat this process on all your nails, making sure to vary the placement of the V shapes for a more dynamic look. Then, using the red polish, create small dots along the edges of the V shapes to give them a reindeer-like appearance. Finally, use the black polish to create small antlers on the top of each V shape. Finish off with a top coat to seal in your design and add some shine. These reindeer chevron Christmas nails are sure to make you smile every time you look at them.9. Reindeer Chevron Christmas Nails

9. Reindeer Chevron Christmas Nails


Combine two classic Christmas patterns with these plaid and chevron nails. This design is perfect for anyone who loves a more traditional holiday look with a modern twist. To achieve this look, you will need a base coat, a dark red nail polish, a white nail polish, and a black nail polish. Start by applying a base coat to protect your nails and help the polish last longer. Next, apply two coats of the dark red nail polish to all your nails. Once the dark red polish is dry, use the white polish to create a diagonal line across your nail, starting from the bottom corner and ending at the top corner. Then, on the opposite side of your nail, create another diagonal line in the same direction, so that the two lines meet at the tip of your nail. This will form the first V shape of your chevron design. Repeat this process on all your nails, making sure to vary the placement of the V shapes for a more dynamic look. Then, using the black polish, create small dots along the edges of the V shapes to give them a plaid-like appearance. Finish off with a top coat to seal in your design and add some shine. These plaid and chevron Christmas nails are perfect for anyone who loves a classic holiday look with a modern twist.10. Plaid and Chevron Christmas Nails

10. Plaid and Chevron Christmas Nails
Add Some Festive Cheer to Your Nails with a Christmas Chevron Design
 If you're looking to add some holiday spirit to your nails this Christmas season, then a
Christmas chevron nail design
is the perfect choice. This trendy and eye-catching design is a fun and festive way to show off your holiday spirit.
If you're looking to add some holiday spirit to your nails this Christmas season, then a
Christmas chevron nail design
is the perfect choice. This trendy and eye-catching design is a fun and festive way to show off your holiday spirit.
What is a Chevron Design?
 Before we dive into the specifics of a
Christmas chevron nail design
, let's first understand what a chevron design is. A chevron design is a zigzag pattern that consists of repeated V-shaped lines. This design has been a popular choice in fashion and home decor for many years and has now made its way into the world of nails.
Before we dive into the specifics of a
Christmas chevron nail design
, let's first understand what a chevron design is. A chevron design is a zigzag pattern that consists of repeated V-shaped lines. This design has been a popular choice in fashion and home decor for many years and has now made its way into the world of nails.
How to Achieve the Perfect Christmas Chevron Design
 To create a
Christmas chevron nail design
, you will need a few essential tools such as nail polish, nail tape, and a topcoat. Start by painting your nails with a base color of your choice. For a traditional Christmas look, go for a classic red, green, or white color. Once the base color is dry, use the nail tape to create a chevron pattern on your nails. You can also use a small paintbrush to create the lines if you don't have nail tape. Next, paint over the tape with a contrasting color to create the zigzag pattern. You can also add some glitter or other holiday-themed designs to make your nails stand out even more. Lastly, finish off with a topcoat to seal in your design and give it a glossy finish.
To create a
Christmas chevron nail design
, you will need a few essential tools such as nail polish, nail tape, and a topcoat. Start by painting your nails with a base color of your choice. For a traditional Christmas look, go for a classic red, green, or white color. Once the base color is dry, use the nail tape to create a chevron pattern on your nails. You can also use a small paintbrush to create the lines if you don't have nail tape. Next, paint over the tape with a contrasting color to create the zigzag pattern. You can also add some glitter or other holiday-themed designs to make your nails stand out even more. Lastly, finish off with a topcoat to seal in your design and give it a glossy finish.
Why Choose a Chevron Design for Your Christmas Nails?
 The
Christmas chevron nail design
is a versatile and trendy choice that allows for endless color and design combinations. You can opt for traditional Christmas colors or mix it up with metallic shades for a more modern look. It's also a great way to add some holiday spirit to your nails without going for the traditional Christmas-themed designs such as snowflakes or Santa hats. Plus, the chevron pattern is perfect for those who love a bit of symmetry and organization in their designs.
In conclusion, a
Christmas chevron nail design
is a fun and festive way to add some holiday cheer to your nails. With its versatility and endless design options, this trend is here to stay. So, grab your nail polish and get creative with a chevron design this Christmas season.
The
Christmas chevron nail design
is a versatile and trendy choice that allows for endless color and design combinations. You can opt for traditional Christmas colors or mix it up with metallic shades for a more modern look. It's also a great way to add some holiday spirit to your nails without going for the traditional Christmas-themed designs such as snowflakes or Santa hats. Plus, the chevron pattern is perfect for those who love a bit of symmetry and organization in their designs.
In conclusion, a
Christmas chevron nail design
is a fun and festive way to add some holiday cheer to your nails. With its versatility and endless design options, this trend is here to stay. So, grab your nail polish and get creative with a chevron design this Christmas season.


