Chrome nails are all the rage right now and it's easy to see why. The shiny, mirror-like finish adds a touch of glamour and sophistication to any manicure. But creating the perfect chrome nail design can be a bit intimidating, especially if you're new to the trend. Don't worry, we've got you covered with this step-by-step chrome nail design tutorial. First things first, you'll need a few supplies to get started. Make sure you have a base coat, a chrome powder or polish, a top coat, and a sponge applicator. You can also use regular nail polish for this tutorial, but the end result won't be as shiny and metallic. Start by applying a thin layer of your base coat and letting it dry completely. This will help the chrome powder adhere to your nails and make the manicure last longer. Next, apply two coats of your chosen nail polish color and let it dry completely. Pro tip: choose a light or neutral color for your base so that the chrome effect stands out more. Now comes the fun part – applying the chrome powder. Take your sponge applicator and dip it into the powder. Gently rub the powder onto your nails in a back and forth motion. Make sure to cover the entire nail for an even and smooth finish. Once you're happy with the amount of powder on your nails, take a clean brush or a lint-free cloth and gently buff your nails. This will remove any excess powder and give your nails a high shine finish. Finally, seal in your manicure with a top coat. This will not only protect your nails but also enhance the chrome effect. Let it dry completely and you're done! With a little bit of practice, you'll be able to create stunning chrome nail designs in no time. Experiment with different colors and techniques to find your perfect look.1. How to Create a Chrome Nail Design Tutorial


1. How to Create a Chrome Nail Design Tutorial


If you're new to the world of chrome nail designs, don't worry! This step-by-step tutorial will guide you through the process and help you achieve a flawless chrome manicure. Before you start, make sure you have all the necessary supplies. You'll need a base coat, a chrome powder or polish, a top coat, and a sponge applicator. You can also use regular nail polish for this tutorial, but keep in mind that the end result won't be as shiny and metallic. Start by applying a thin layer of your base coat and letting it dry completely. This will help the chrome powder adhere to your nails and make the manicure last longer. Next, apply two coats of your chosen nail polish color and let it dry completely. Pro tip: choose a light or neutral color for your base so that the chrome effect stands out more. Take your sponge applicator and dip it into the chrome powder. Gently rub the powder onto your nails in a back and forth motion, making sure to cover the entire nail. Repeat this step for all your nails. Once you're happy with the amount of powder on your nails, take a clean brush or a lint-free cloth and gently buff your nails. This will remove any excess powder and give your nails a high shine finish. Lastly, seal in your manicure with a top coat. This will protect your nails and enhance the chrome effect. Let it dry completely and voila, you have a stunning chrome nail design! Remember, practice makes perfect. Don't be discouraged if your first attempt doesn't turn out exactly as you envisioned. Keep trying and you'll soon become a pro at creating beautiful chrome manicures.2. Step-by-Step Chrome Nail Design Tutorial


2. Step-by-Step Chrome Nail Design Tutorial


Are you new to the world of chrome nails and feeling a little intimidated? Don't worry, this easy chrome nail design tutorial is perfect for beginners. First, gather all the necessary supplies – a base coat, a chrome powder or polish, a top coat, and a sponge applicator. Pro tip: make sure your nails are clean and free of any old polish before starting. Begin by applying a thin layer of your base coat and letting it dry completely. This is an important step as it helps the chrome powder adhere to your nails and makes the manicure last longer. Next, apply two coats of your chosen nail polish color and let it dry completely. It's best to choose a light or neutral color for your base so that the chrome effect stands out more. Now comes the fun part – applying the chrome powder. Take your sponge applicator and dip it into the powder. Gently rub the powder onto your nails in a back and forth motion, making sure to cover the entire nail. Repeat this step for all your nails. Once you're happy with the amount of powder on your nails, take a clean brush or a lint-free cloth and gently buff your nails. This will remove any excess powder and give your nails a high shine finish. To finish off your manicure, apply a top coat and let it dry completely. And there you have it, an easy chrome nail design that looks like it was done by a professional! Don't be afraid to experiment with different colors and techniques to find your perfect chrome nail design. With a little bit of practice, you'll be creating stunning manicures in no time.3. Easy Chrome Nail Design Tutorial for Beginners


3. Easy Chrome Nail Design Tutorial for Beginners


Do you love the look of chrome nails but don't want to spend a fortune at the salon? This DIY chrome nail design tutorial is perfect for you. Before you start, make sure you have all the necessary supplies – a base coat, a chrome powder or polish, a top coat, and a sponge applicator. You can also use regular nail polish for this tutorial, but the end result won't be as shiny and metallic. Start by applying a thin layer of your base coat and letting it dry completely. This will help the chrome powder adhere to your nails and make the manicure last longer. Next, apply two coats of your chosen nail polish color and let it dry completely. Pro tip: choose a light or neutral color for your base so that the chrome effect stands out more. Now comes the fun part – applying the chrome powder. Take your sponge applicator and dip it into the powder. Gently rub the powder onto your nails in a back and forth motion, making sure to cover the entire nail. Repeat this step for all your nails. Once you're happy with the amount of powder on your nails, take a clean brush or a lint-free cloth and gently buff your nails. This will remove any excess powder and give your nails a high shine finish. Finish off your manicure by applying a top coat and letting it dry completely. And there you have it, a DIY chrome nail design that looks like it was done by a professional. With a little bit of patience and practice, you'll be able to create gorgeous chrome nails at home whenever you want.4. DIY Chrome Nail Design Tutorial

4. DIY Chrome Nail Design Tutorial

Think you need expensive chrome polish to achieve the perfect metallic nails? Think again. This chrome nail design tutorial will show you how to create the look using regular nail polish. Before you start, make sure you have all the necessary supplies – a base coat, a chrome powder or polish, a top coat, and a sponge applicator. You'll also need two nail polish colors – a light or neutral color for the base and a metallic or shimmery color for the chrome effect. Begin by applying a thin layer of your base coat and letting it dry completely. This will help the chrome powder adhere to your nails and make the manicure last longer. Next, apply two coats of your chosen base color and let it dry completely. Pro tip: choose a light or neutral color for your base so that the chrome effect stands out more. Now, take your metallic or shimmery nail polish and apply a thin layer on top of your base color. Let it dry for a few minutes. Next, take your sponge applicator and dip it into the chrome powder. Gently rub the powder onto your nails in a back and forth motion, making sure to cover the entire nail. Repeat this step for all your nails. Once you're happy with the amount of powder on your nails, take a clean brush or a lint-free cloth and gently buff your nails. This will remove any excess powder and give your nails a high shine finish. Lastly, seal in your manicure with a top coat. This will protect your nails and enhance the chrome effect. Let it dry completely and there you have it, a stunning chrome nail design using regular polish. Don't be afraid to mix and match different colors to create unique and eye-catching chrome nail designs.5. Chrome Nail Design Tutorial Using Regular Nail Polish


5. Chrome Nail Design Tutorial Using Regular Nail Polish


Gel polish is known for its long-lasting and shiny finish, making it the perfect choice for a chrome nail design. This tutorial will show you how to achieve the look using gel polish. Before you start, make sure you have all the necessary supplies – a base coat, a chrome powder or polish, a top coat, and a sponge applicator. You'll also need a gel polish color of your choice. Start by applying a thin layer of your base coat and curing it under a UV or LED lamp. This will help the chrome powder adhere to your nails and make the manicure last longer. Next, apply two coats of your chosen gel polish color, curing each coat under the lamp as directed by the manufacturer. Now comes the fun part – applying the chrome powder. Take your sponge applicator and dip it into the powder. Gently rub the powder onto your nails in a back and forth motion, making sure to cover the entire nail. Repeat this step for all your nails. Once you're happy with the amount of powder on your nails, take a clean brush or a lint-free cloth and gently buff your nails. This will remove any excess powder and give your nails a high shine finish. Lastly, seal in your manicure with a top coat and cure it under the lamp. And there you have it, a stunning chrome nail design using gel polish. With proper care, your gel polish chrome nails can last up to two weeks, making them perfect for special occasions or vacations.6. Chrome Nail Design Tutorial with Gel Polish


6. Chrome Nail Design Tutorial with Gel Polish


If you're feeling a little more adventurous, why not try a gradient chrome nail design? This tutorial will show you how to create a stunning ombre effect with chrome powder. You'll need a base coat, a chrome powder or polish, a top coat, a makeup sponge, and two or more nail polish colors. Start by applying a thin layer of your base coat and letting it dry completely. Next, apply two coats of your lightest nail polish color and let it dry. Take your makeup sponge and paint vertical stripes of your chosen nail polish colors on it. Gently dab the sponge onto your nails, making sure to blend the colors together for a seamless gradient effect. Now, take your sponge applicator and dip it into the chrome powder. Gently rub the powder onto your nails in a back and forth motion, making sure to cover the entire nail. Repeat this step for all your nails. Once you're happy with the amount of powder on your nails, take a clean brush or a lint-free cloth and gently buff your nails. This will remove any excess powder and give your nails a high shine finish. Finish off your manicure with a top coat and let it dry completely. And there you have it, a gorgeous gradient chrome nail design that will surely turn heads.7. Gradient Chrome Nail Design Tutorial
7. Gradient Chrome Nail Design Tutorial


Spice up your chrome nails with a touch of holographic shimmer. This tutorial will show you how to create a stunning holographic chrome nail design. Before you start, make sure you have all the necessary supplies – a base coat, a holographic powder or polish, a top coat, and a sponge applicator. Start by applying a thin layer of your base coat and letting it dry completely. Next, apply two coats of your chosen nail polish color and let it dry. Now, take your sponge applicator and dip it into the holographic powder. Gently rub the powder onto your nails in a back and forth motion, making sure to cover the entire nail. Repeat this step for all your nails. Once you're happy with the amount of powder on your nails, take a clean brush or a lint-free cloth and gently buff your nails. This will remove any excess powder and give your nails a high shine finish. To finish off your manicure, apply a top coat and let it dry completely. And there you have it, a stunning holographic chrome nail design that will surely make a statement. Experiment with different holographic powders and base colors to create unique and eye-catching designs.8. Holographic Chrome Nail Design Tutorial
8. Holographic Chrome Nail Design Tutorial


Love the look of ombre nails? This tutorial will show you how to combine the trend with chrome nails for a stunning and unique manicure. You'll need a base coat, a chrome powder or polish, a top coat, a makeup sponge, and two or more nail polish colors. Start by applying a thin layer of your base coat and letting it dry completely. Next, apply two coats of your chosen base color and let it dry. Take your makeup sponge and paint vertical stripes of your chosen nail polish colors on it. Gently dab the sponge onto your nails, making sure to blend the colors together for a seamless ombre effect. Once the polish is dry, take your sponge applicator and dip it into the chrome powder. Gently rub the powder onto your nails in a back and forth motion, making sure to cover the entire nail. Repeat this step for all your nails.9. Ombre Chrome Nail Design Tutorial


9. Ombre Chrome Nail Design Tutorial


Create a Unique Look with Chrome Nail Design
Why Choose Chrome Nails?

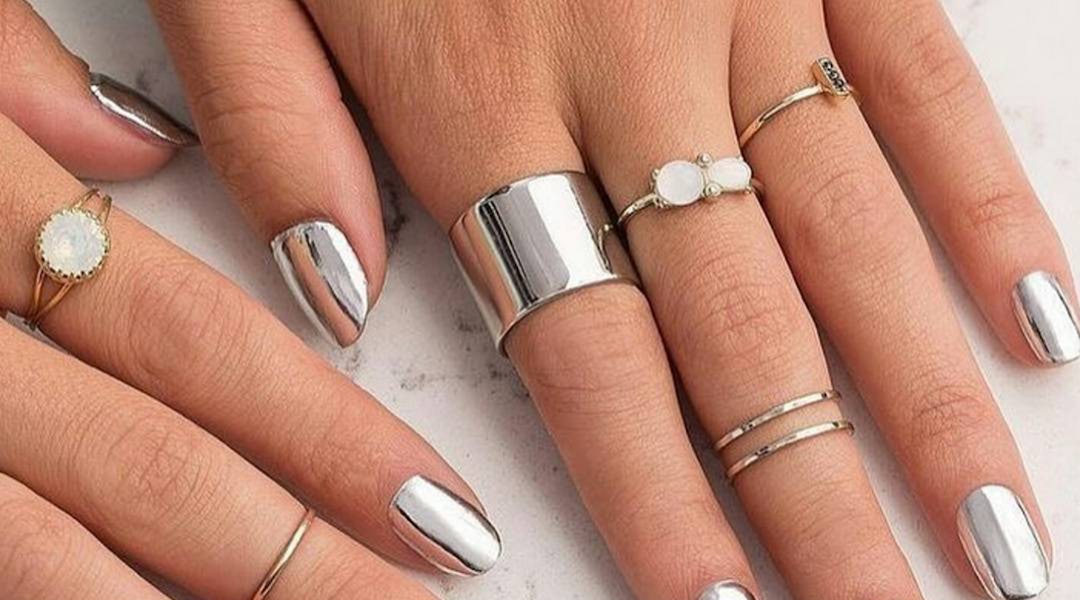
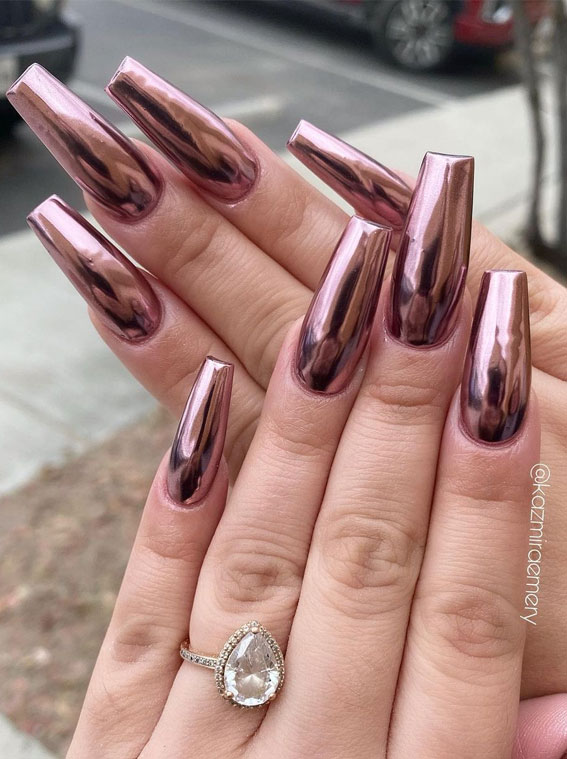
When it comes to nail design, there are countless options to choose from. But if you want to make a statement and stand out from the crowd, chrome nails are the way to go. This trend has taken the nail world by storm, with its metallic shine and endless color possibilities. Whether you're going for a bold and eye-catching look or a subtle and elegant one, chrome nails can be customized to fit your personal style.
How to Achieve the Perfect Chrome Nail Look
:max_bytes(150000):strip_icc()/090823-chrome-nails-social-c32e2bb2cb434418a319a59b42f541af.jpg)
Creating your own chrome nail design may seem intimidating, but with the right tools and techniques, it can be a fun and easy process. Here's a step-by-step guide on how to achieve the perfect chrome nail look:
- Start by prepping your nails. Make sure they are clean, trimmed, and filed to your desired shape.
- Apply a base coat to your nails and let it dry completely. This will help the chrome powder to adhere to your nails better.
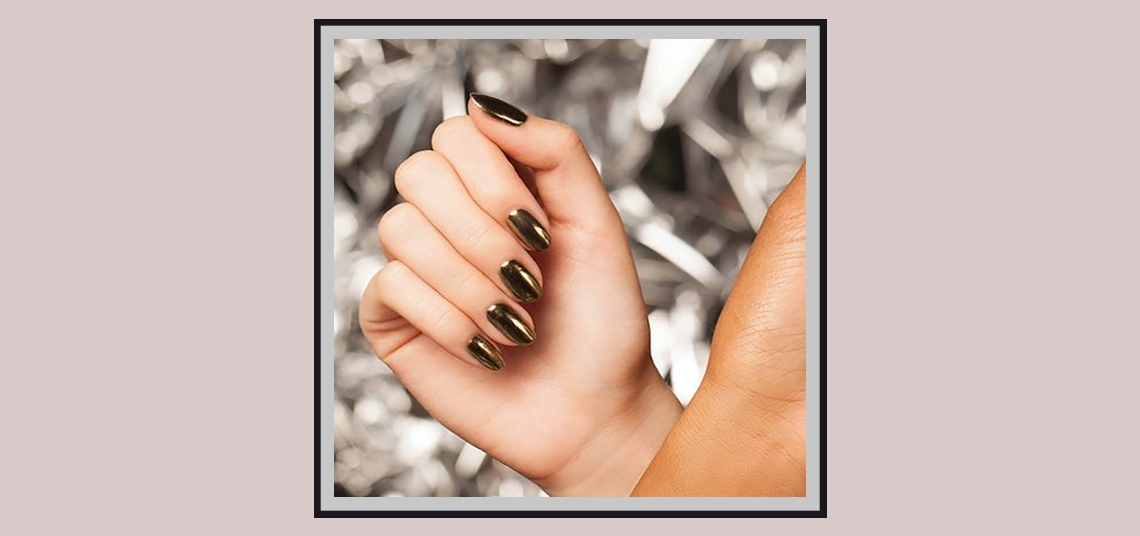
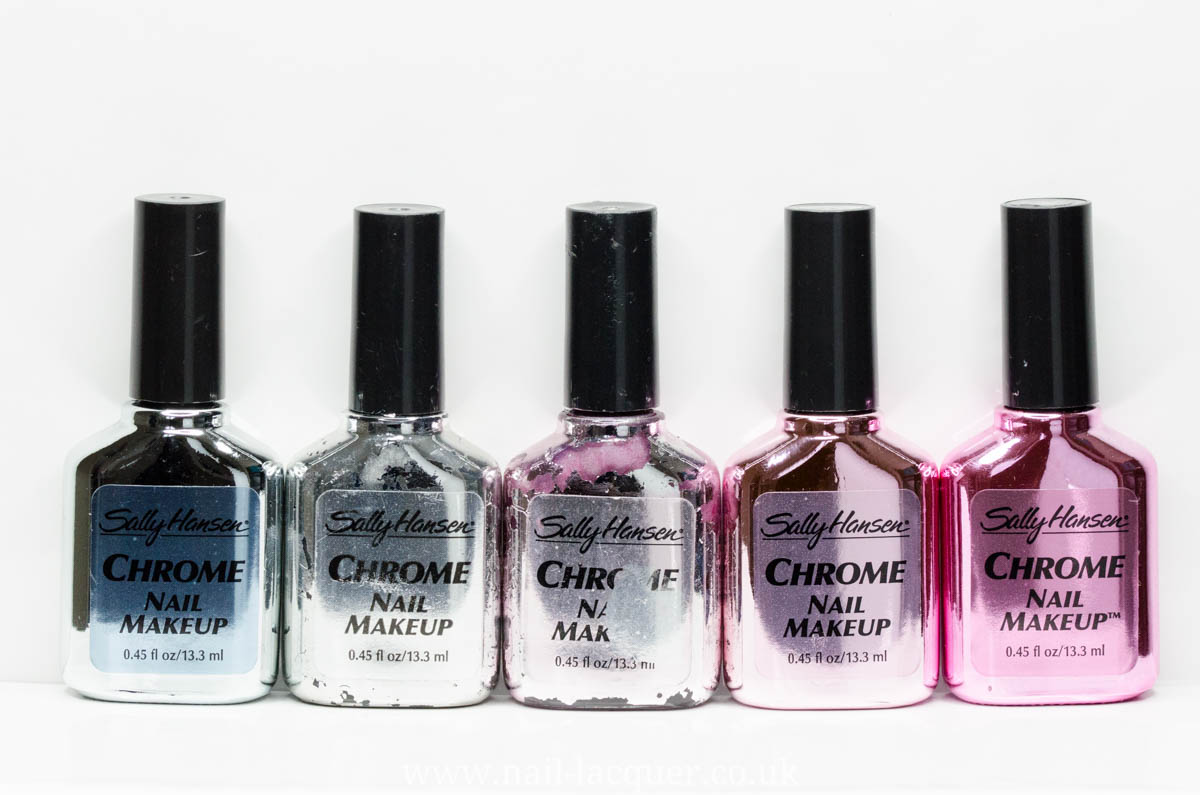
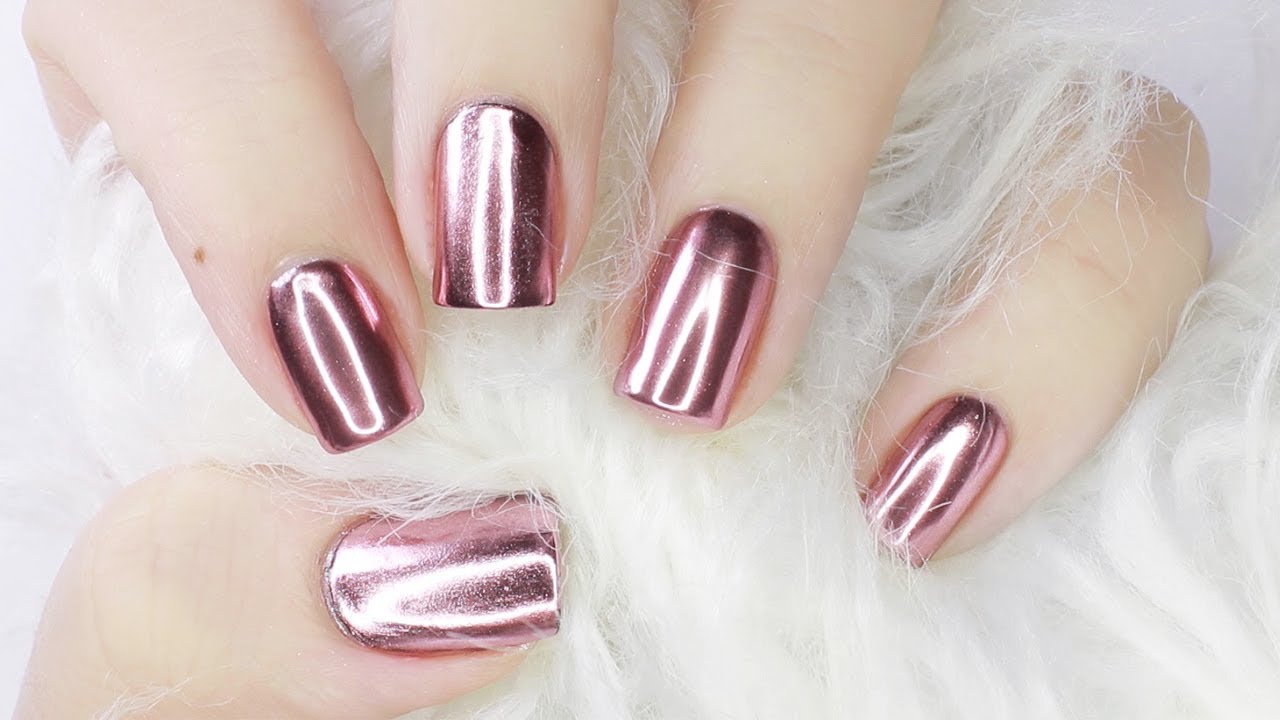
- Choose your desired color of chrome powder. You can go for a classic silver or gold, or get creative with a bright and bold color.
- Using a sponge applicator, gently rub the chrome powder onto your nails. Make sure to cover the entire nail evenly.
- Once your nails are completely covered, use a soft brush to remove any excess powder.
- Apply a top coat to seal in the chrome powder and give your nails a glossy finish.
Take It to the Next Level

If you want to add some extra pizzazz to your chrome nail design, there are a few ways to take it to the next level:
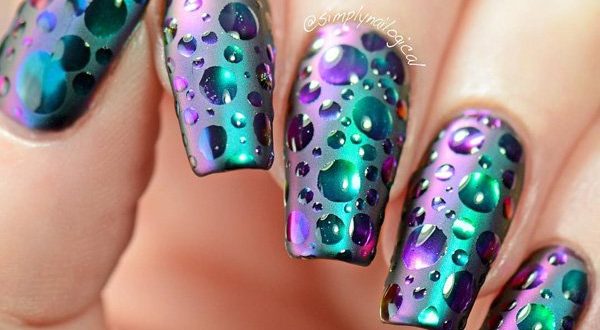
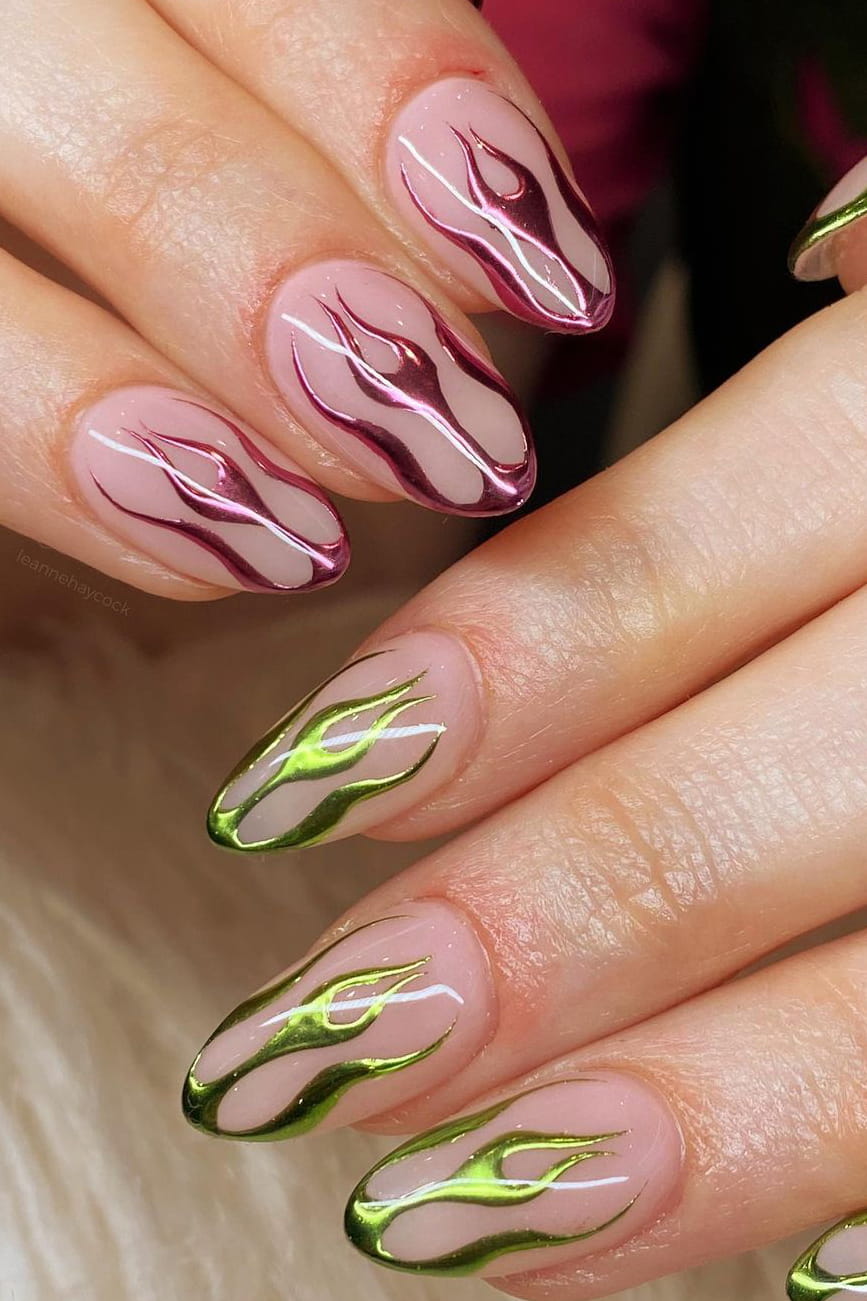
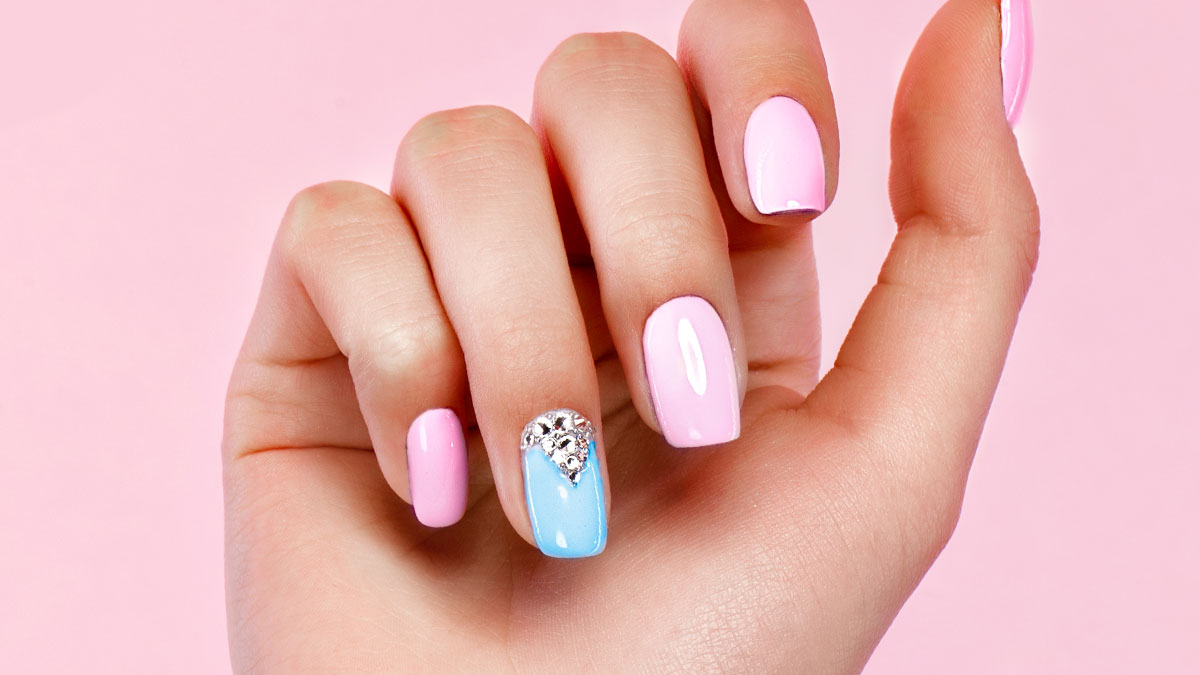
- Try mixing different colors of chrome powder for a unique and multi-dimensional look.
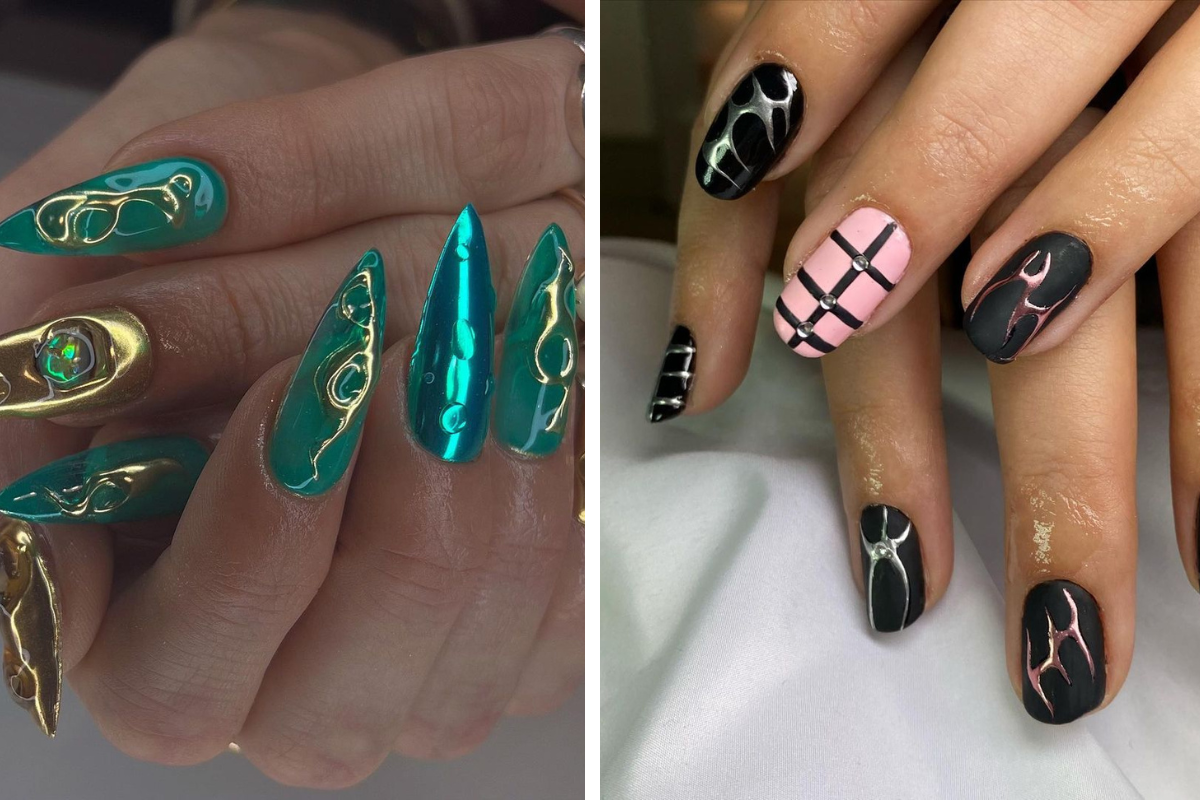
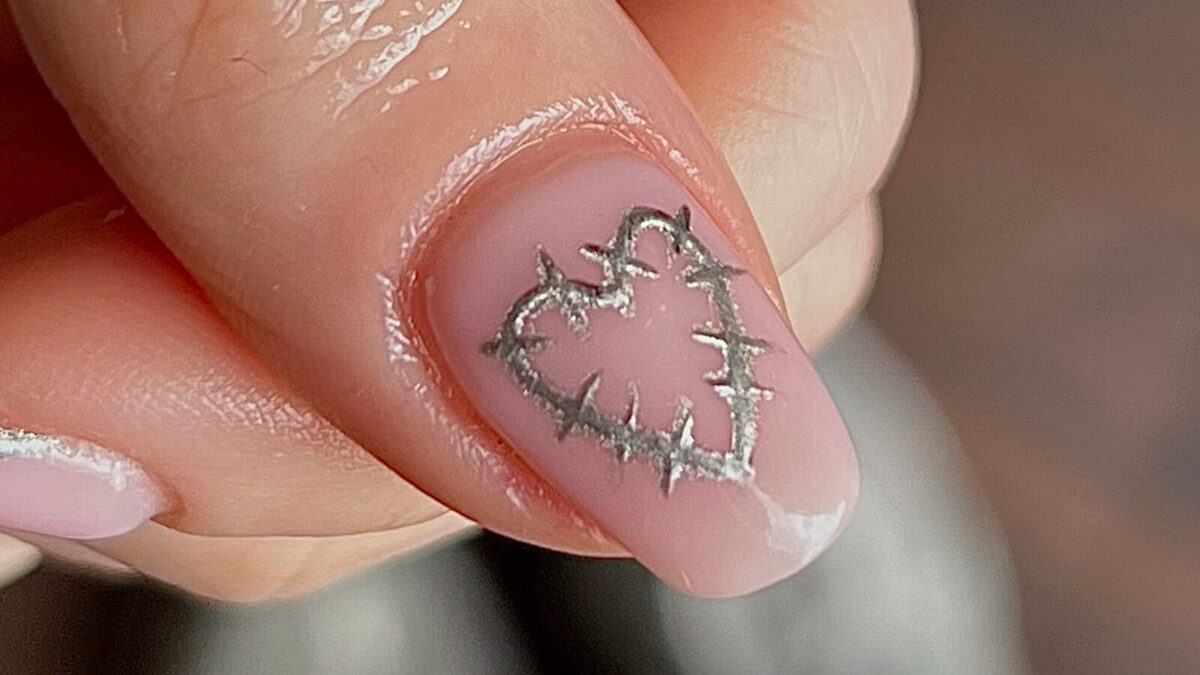
- Add some nail art or decals on top of your chrome nails for a fun and playful touch.
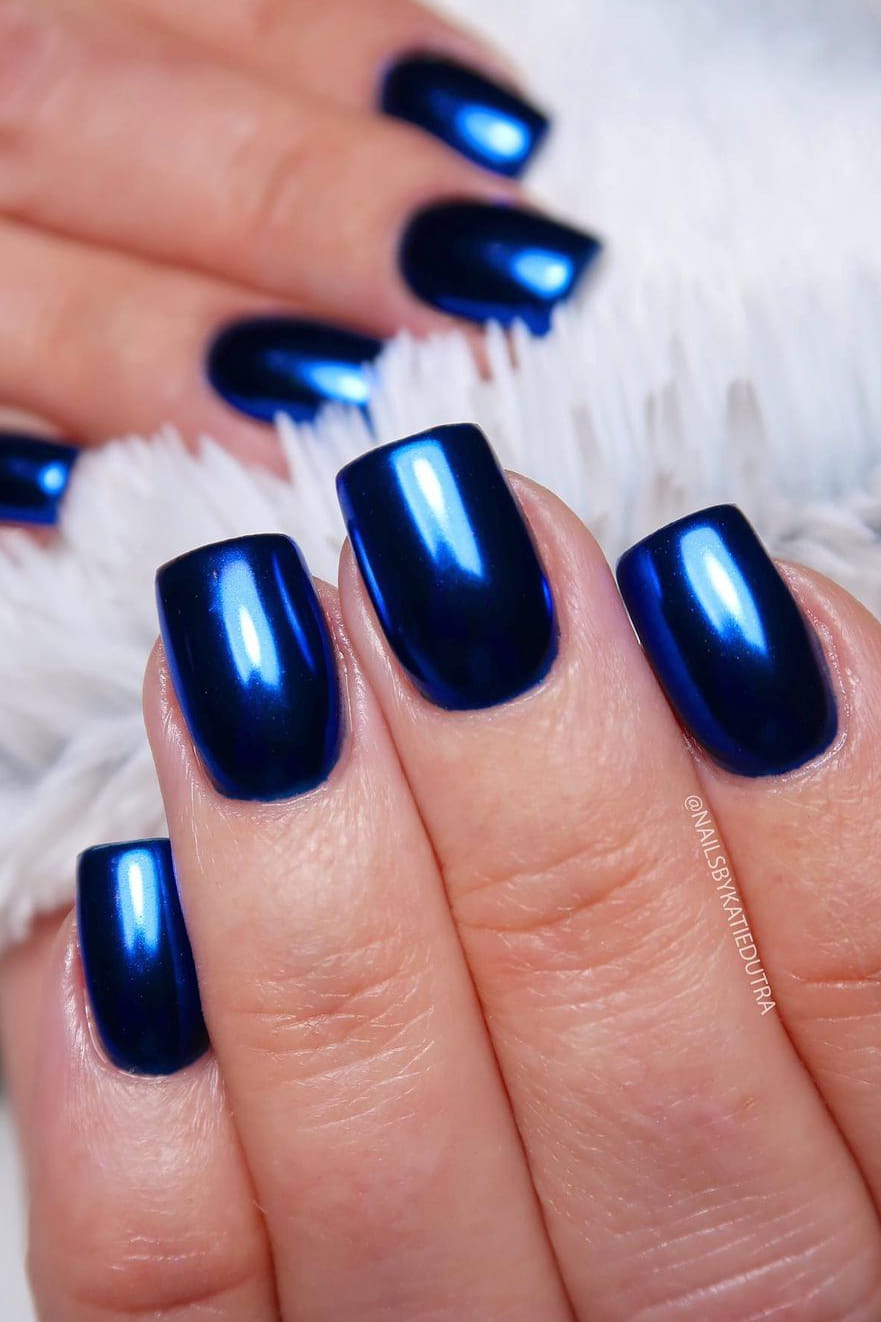
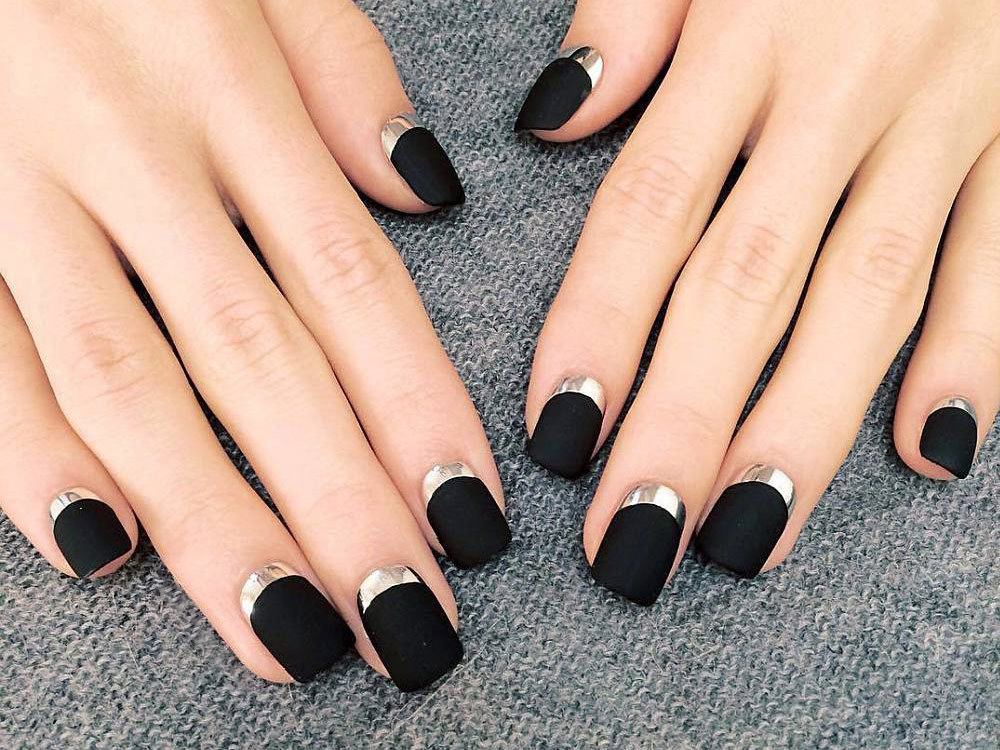
- Experiment with different base colors, such as black or navy, to create a dramatic effect.
With these tips and tricks, you can create a stunning and one-of-a-kind chrome nail design that will turn heads and make you feel confident and stylish. So go ahead and give it a try, and let your nails be the ultimate statement piece.


