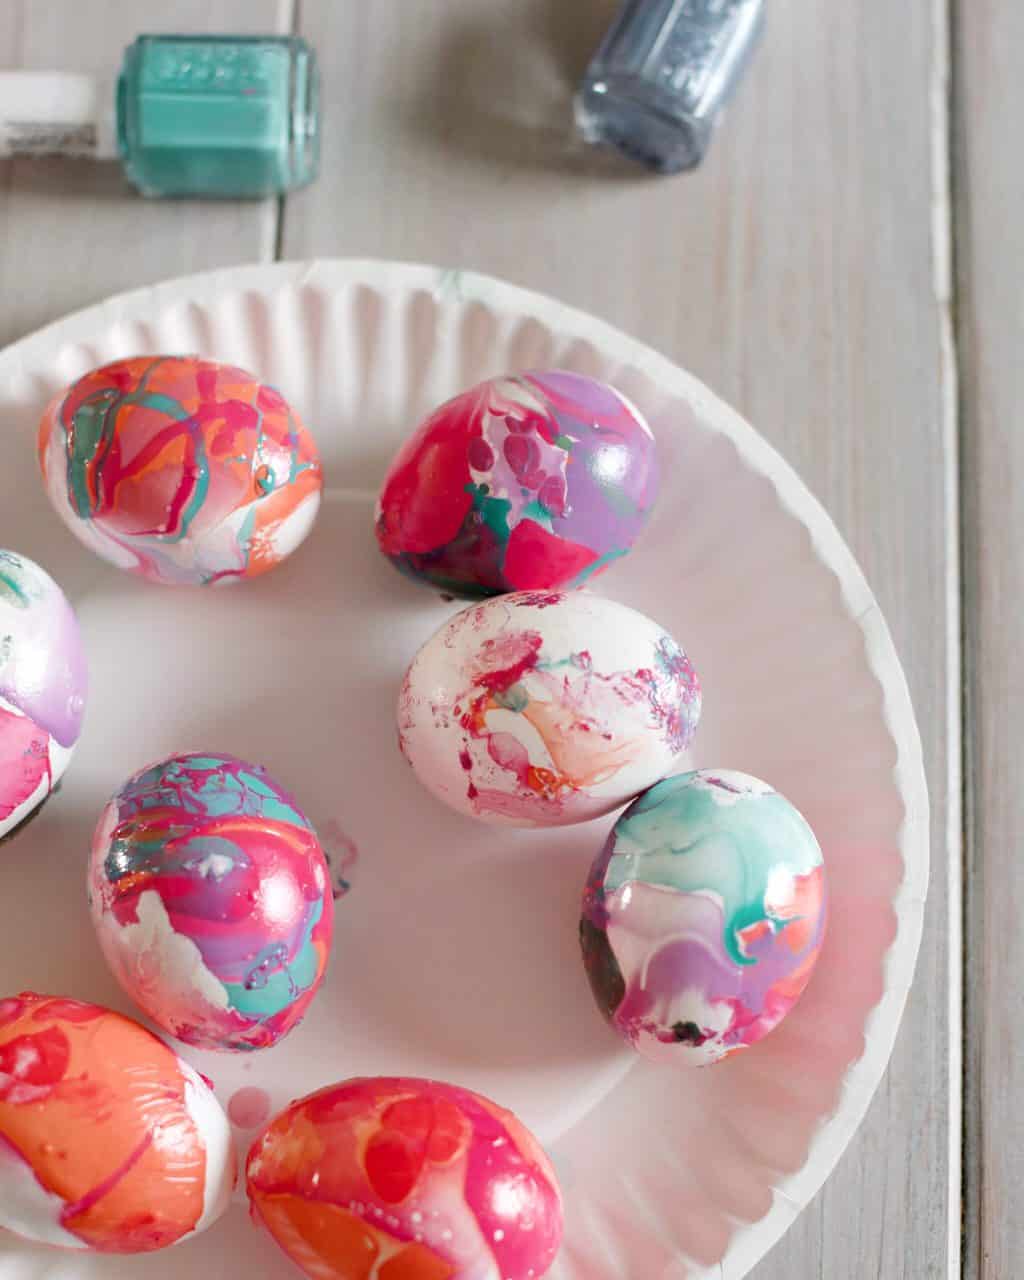
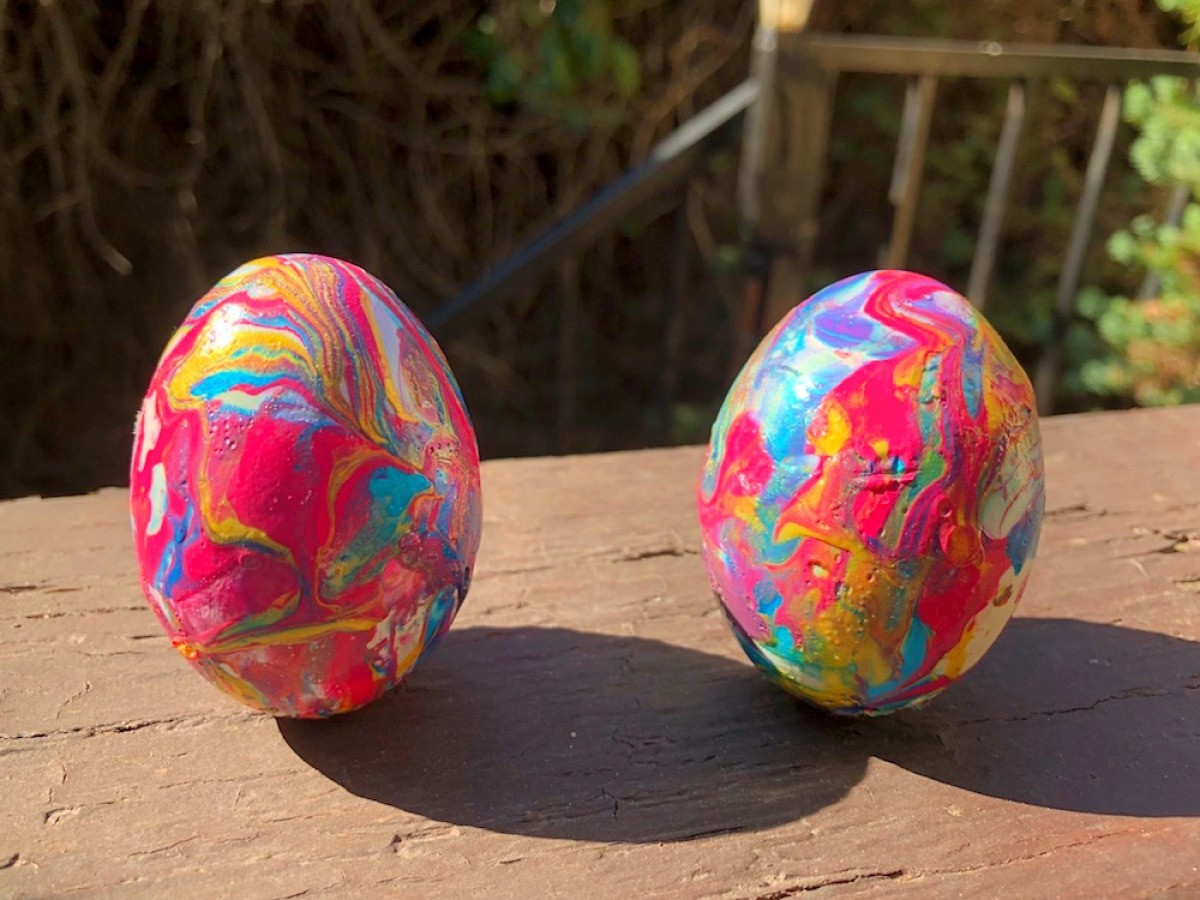
One of the most unique and eye-catching ways to decorate Easter eggs is by using nail polish. Not only does it create a beautiful marbled effect, but it's also a fun and easy DIY project for the whole family to enjoy. Easter eggs are a symbol of new life and rebirth, and what better way to celebrate this holiday than by creating colorful and vibrant eggs with nail polish? Easter eggs decorated with nail polish make for a beautiful centerpiece or a unique addition to your Easter basket. So, let's dive into how to make these stunning marbled Easter eggs with nail polish.1. Marbled Easter Eggs with Nail Polish

Marbled Easter Eggs with Nail Polish


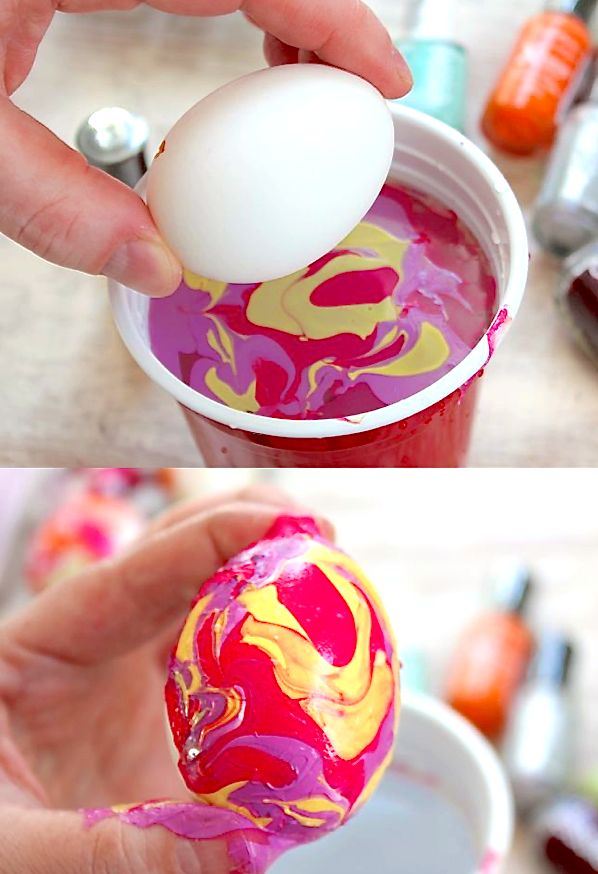
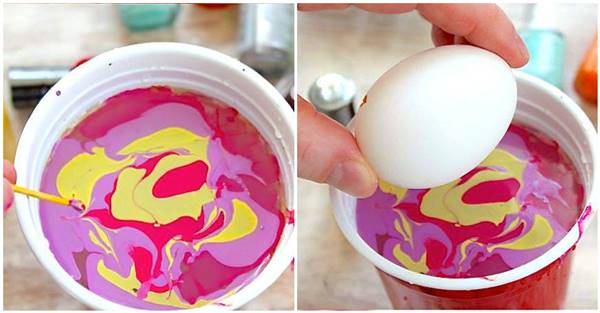
If you're wondering how to dye Easter eggs with nail polish, don't worry, it's a simple process. All you need is a few supplies and a little bit of creativity. First, gather your materials: hard-boiled eggs, a disposable container, nail polish in various colors, and some toothpicks. Next, fill the container with enough warm water to cover the eggs and add a few drops of each nail polish color to the water. Use the toothpick to swirl the colors together, creating a marbled effect. Finally, carefully dip your eggs into the water, rotating them to cover the entire surface. Let them dry on a paper towel, and voila! You now have beautifully dyed Easter eggs with nail polish.2. How to Dye Easter Eggs with Nail Polish


How to Dye Easter Eggs with Nail Polish


The possibilities for nail polish Easter egg decorating are endless. You can use any color you want and even mix different colors to create unique patterns. If you want to add a bit of sparkle to your eggs, you can use glitter nail polish or add some glitter to the water before dipping the eggs. You can also experiment with different techniques, such as using a toothbrush to splatter the nail polish onto the eggs or using different types of nail polish brushes to create intricate designs. Let your imagination run wild and have fun with this nail polish Easter egg decorating project.3. Nail Polish Easter Egg Decorating


Nail Polish Easter Egg Decorating


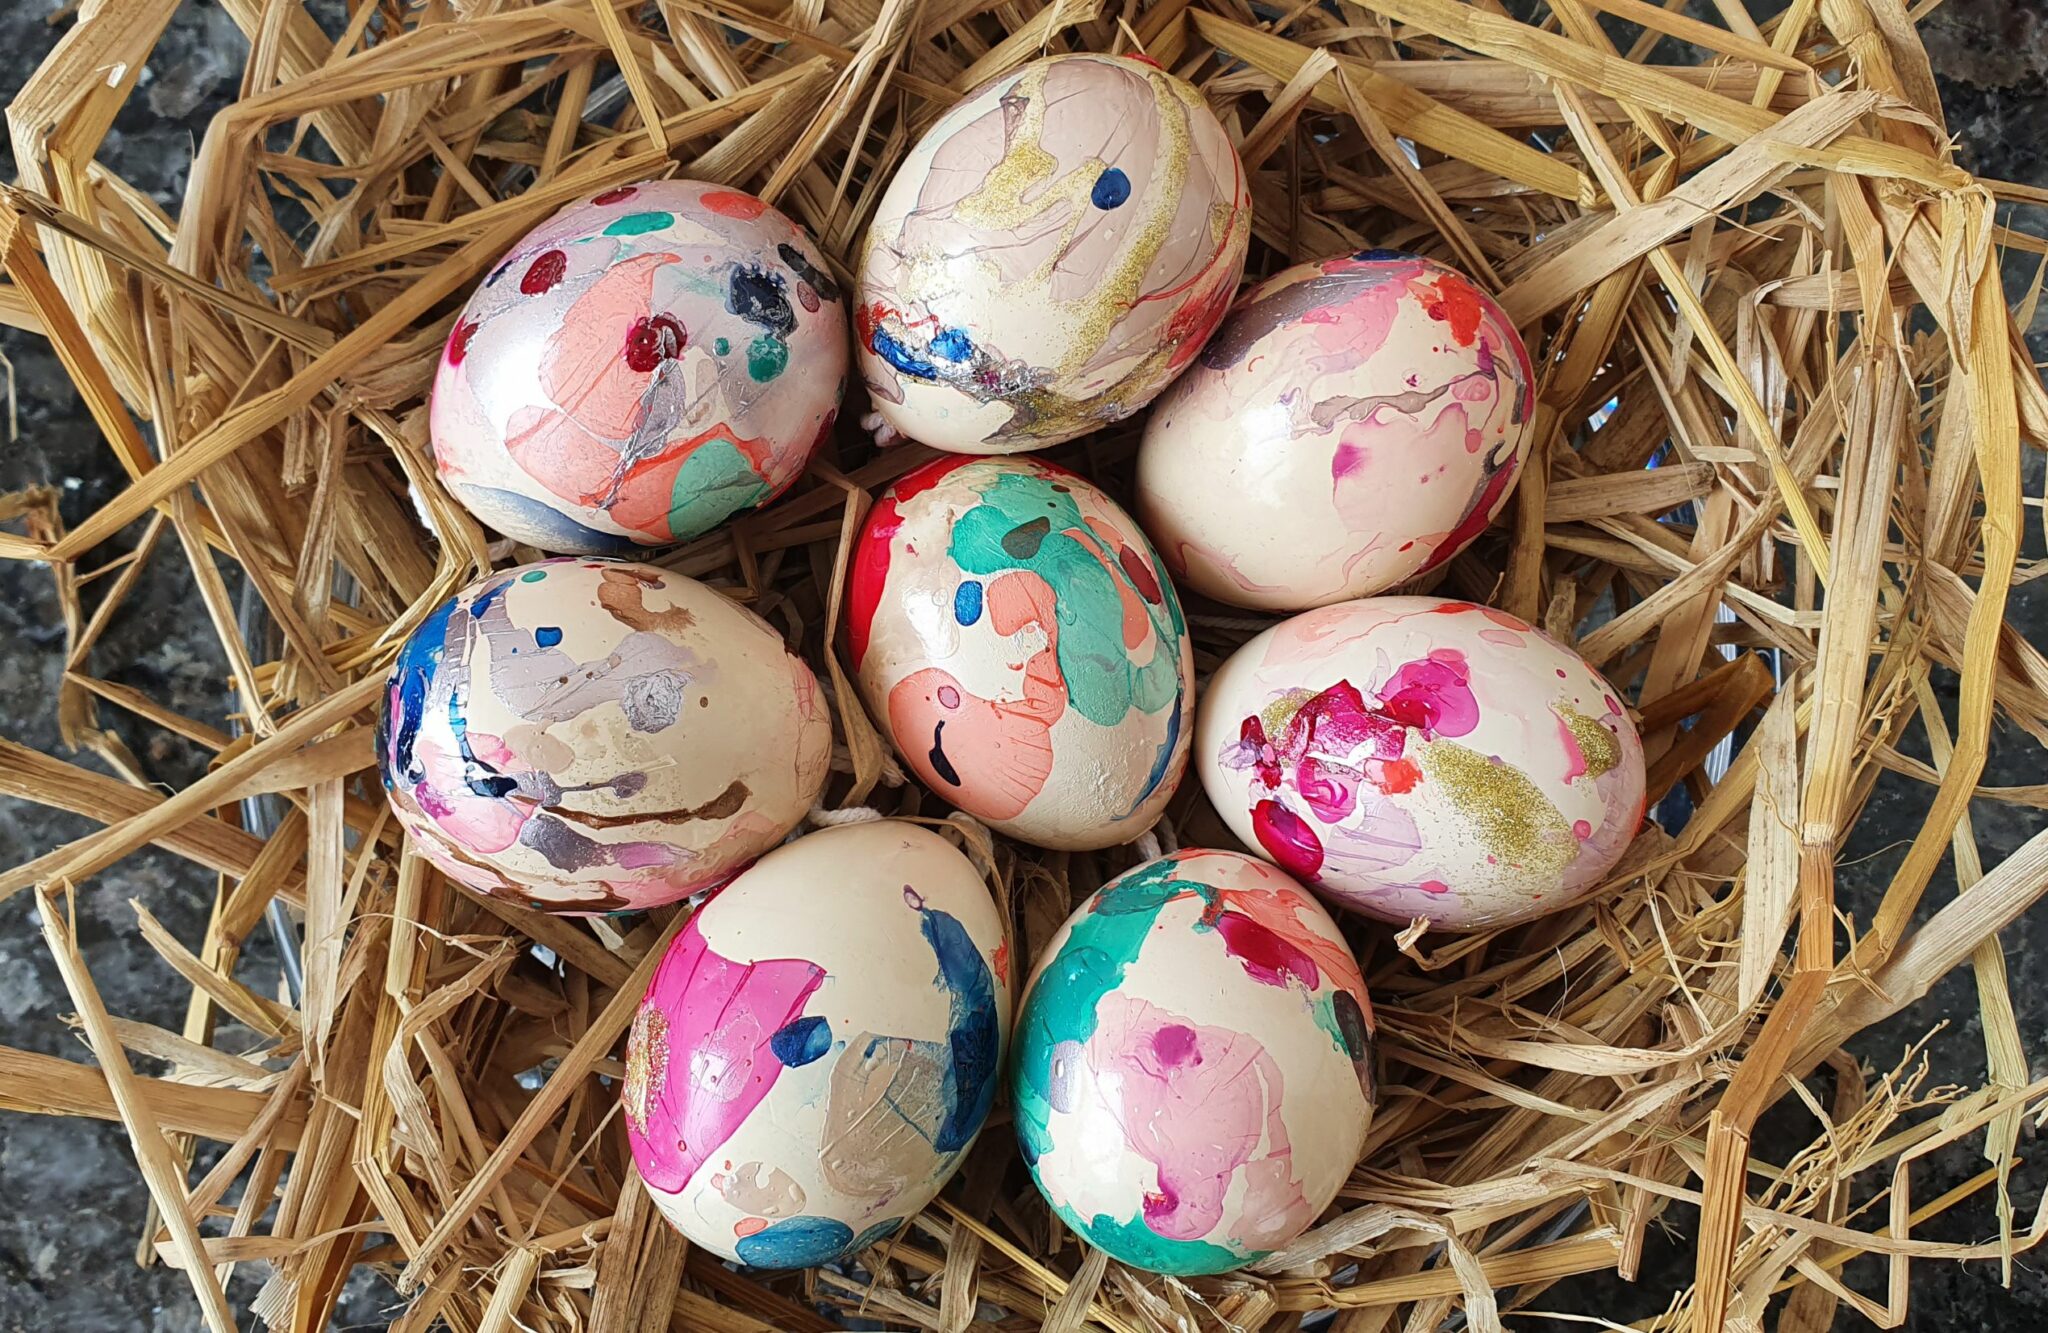
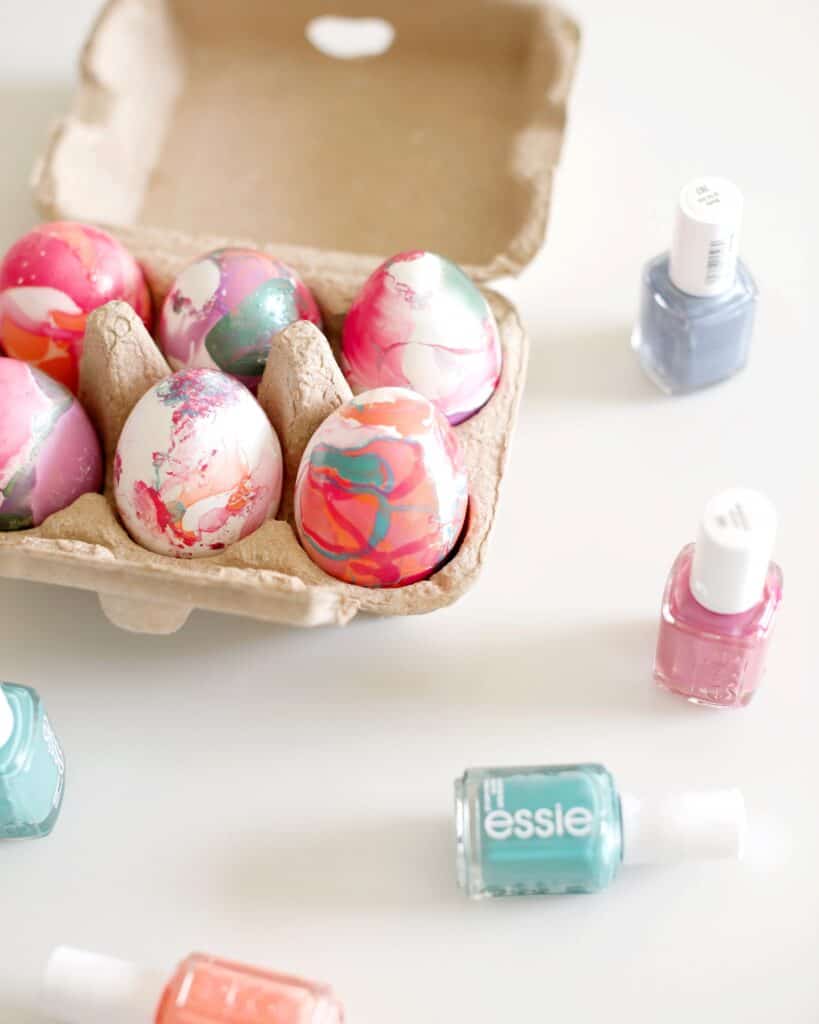
There's no need to spend money on store-bought decorations when you can easily make your own DIY nail polish Easter eggs. You can use any type of eggs for this project, whether they are hard-boiled or blown out. Blown-out eggs are great for creating long-lasting decorations that you can display year after year. With some colorful nail polish and a little bit of patience, you can create beautiful and unique DIY Easter eggs with nail polish that will impress your family and friends.4. DIY Nail Polish Easter Eggs

DIY Nail Polish Easter Eggs

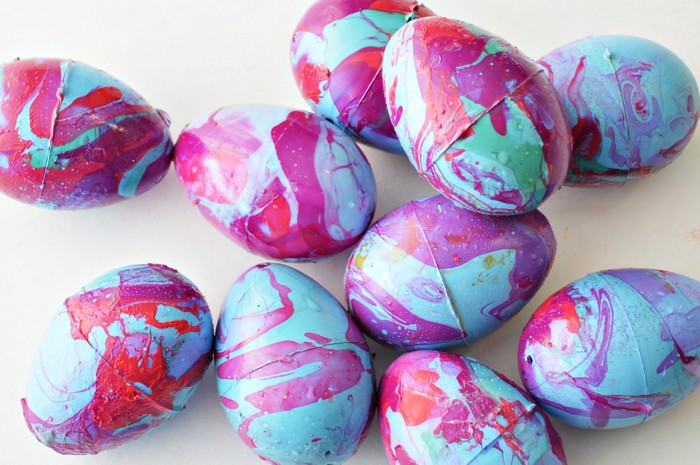
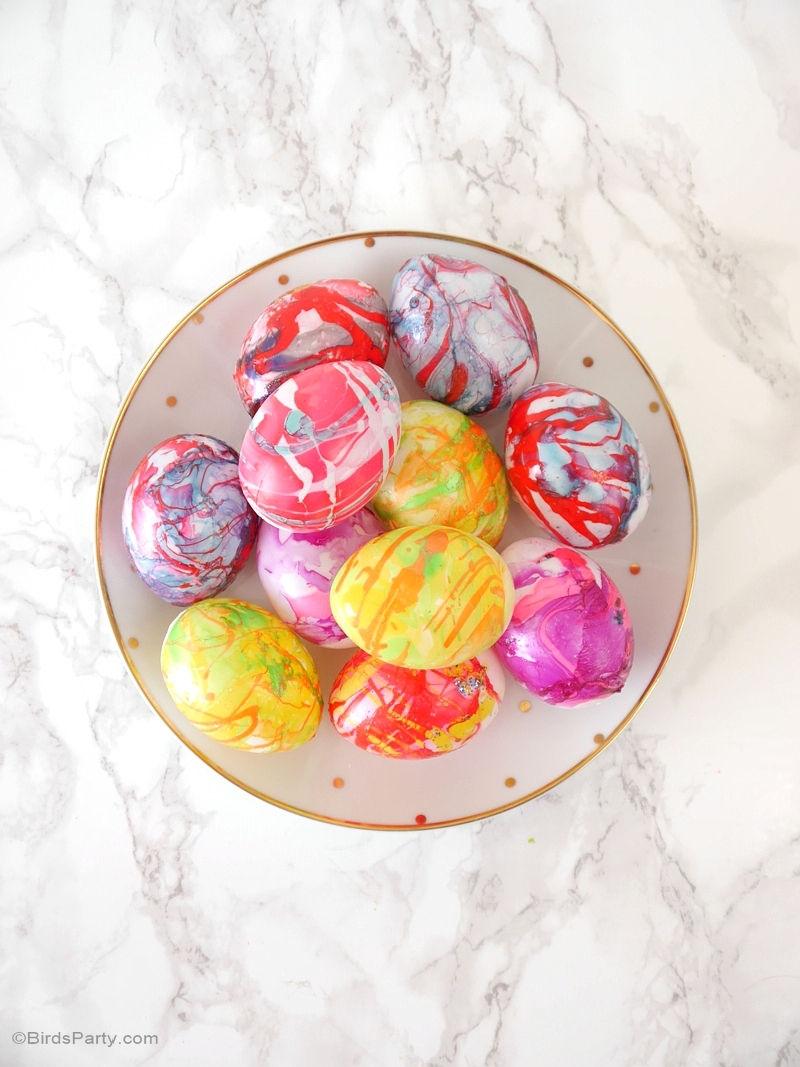
Forget the traditional method of dyeing Easter eggs with food coloring, and add some color to your holiday with colorful Easter eggs with nail polish. Nail polish comes in a wide range of colors, so you can create a rainbow of vibrant eggs to decorate your home. You can also mix different colors to create ombre or tie-dye effects. These colorful Easter eggs with nail polish will make a stunning addition to any Easter celebration.5. Colorful Easter Eggs with Nail Polish


Colorful Easter Eggs with Nail Polish

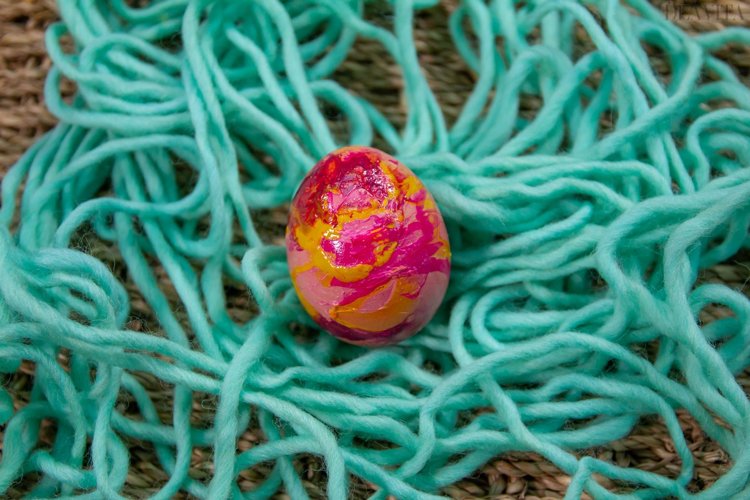
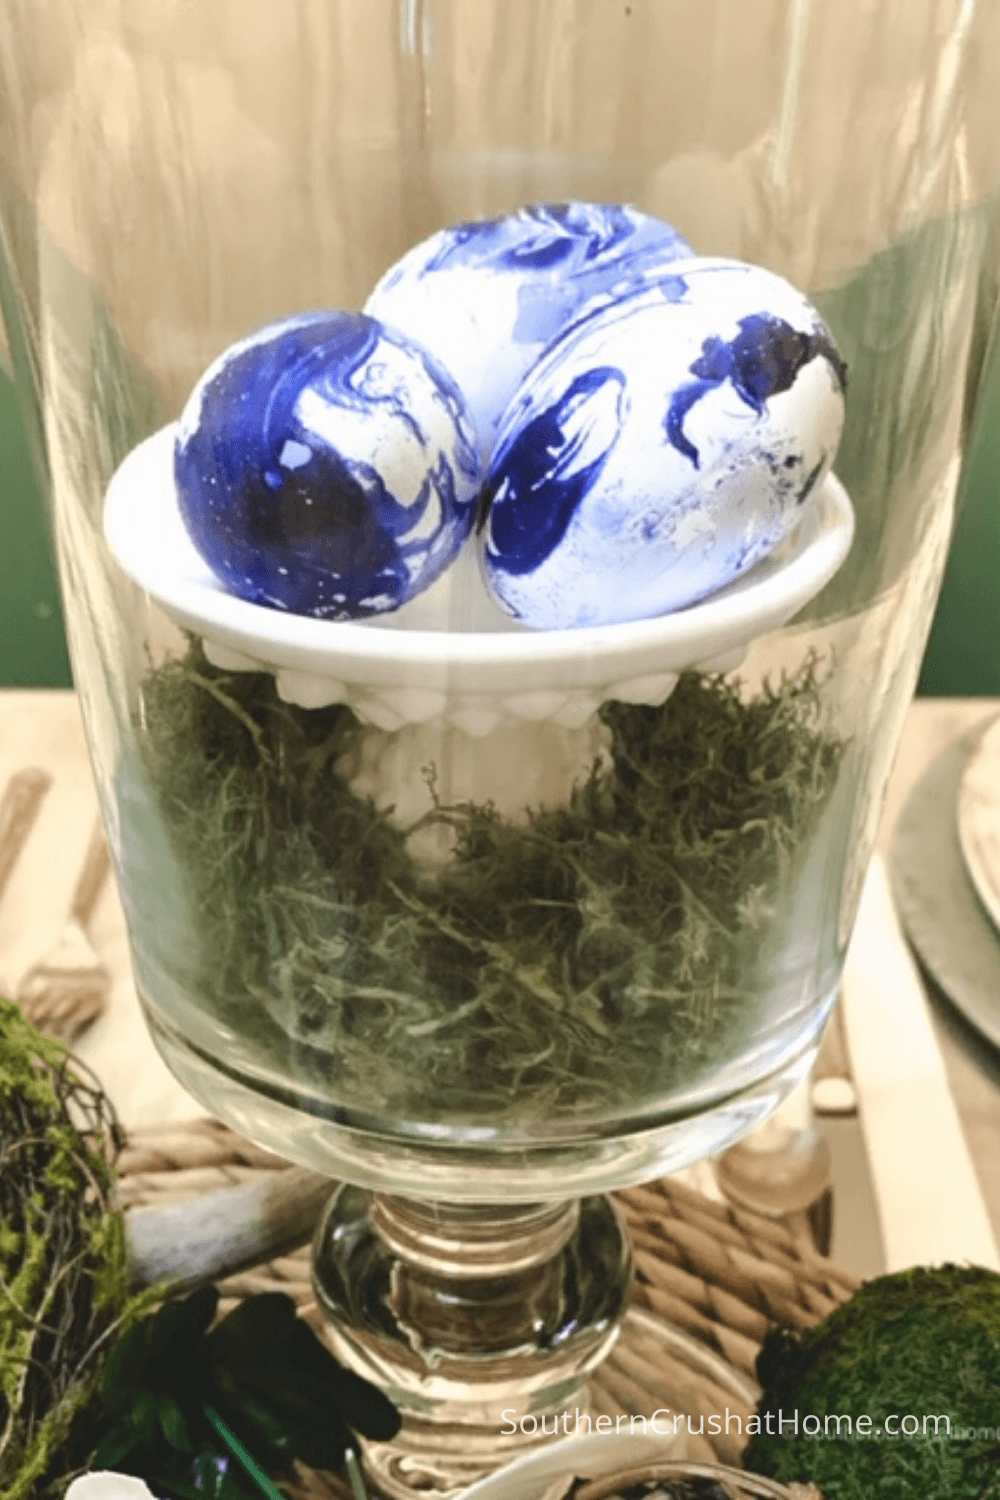
If you want to take your Easter egg decorating to the next level, try making nail polish swirl Easter eggs. This technique involves swirling the nail polish colors together to create a mesmerizing marble effect on the eggs. You can use different color combinations for each egg or stick to a specific color theme for a cohesive look. These nail polish swirl Easter eggs will add a touch of elegance and sophistication to your Easter decorations.6. Nail Polish Swirl Easter Eggs

Nail Polish Swirl Easter Eggs

Easter egg decorating with nail polish is not only easy and fun, but it also allows you to create one-of-a-kind eggs that reflect your personal style. You can use different patterns, colors, and techniques to decorate your eggs. You can even use glow-in-the-dark nail polish to create a unique display for your Easter egg hunt at night. Let your creativity shine with Easter egg decorating with nail polish.7. Easter Egg Decorating with Nail Polish
Easter Egg Decorating with Nail Polish


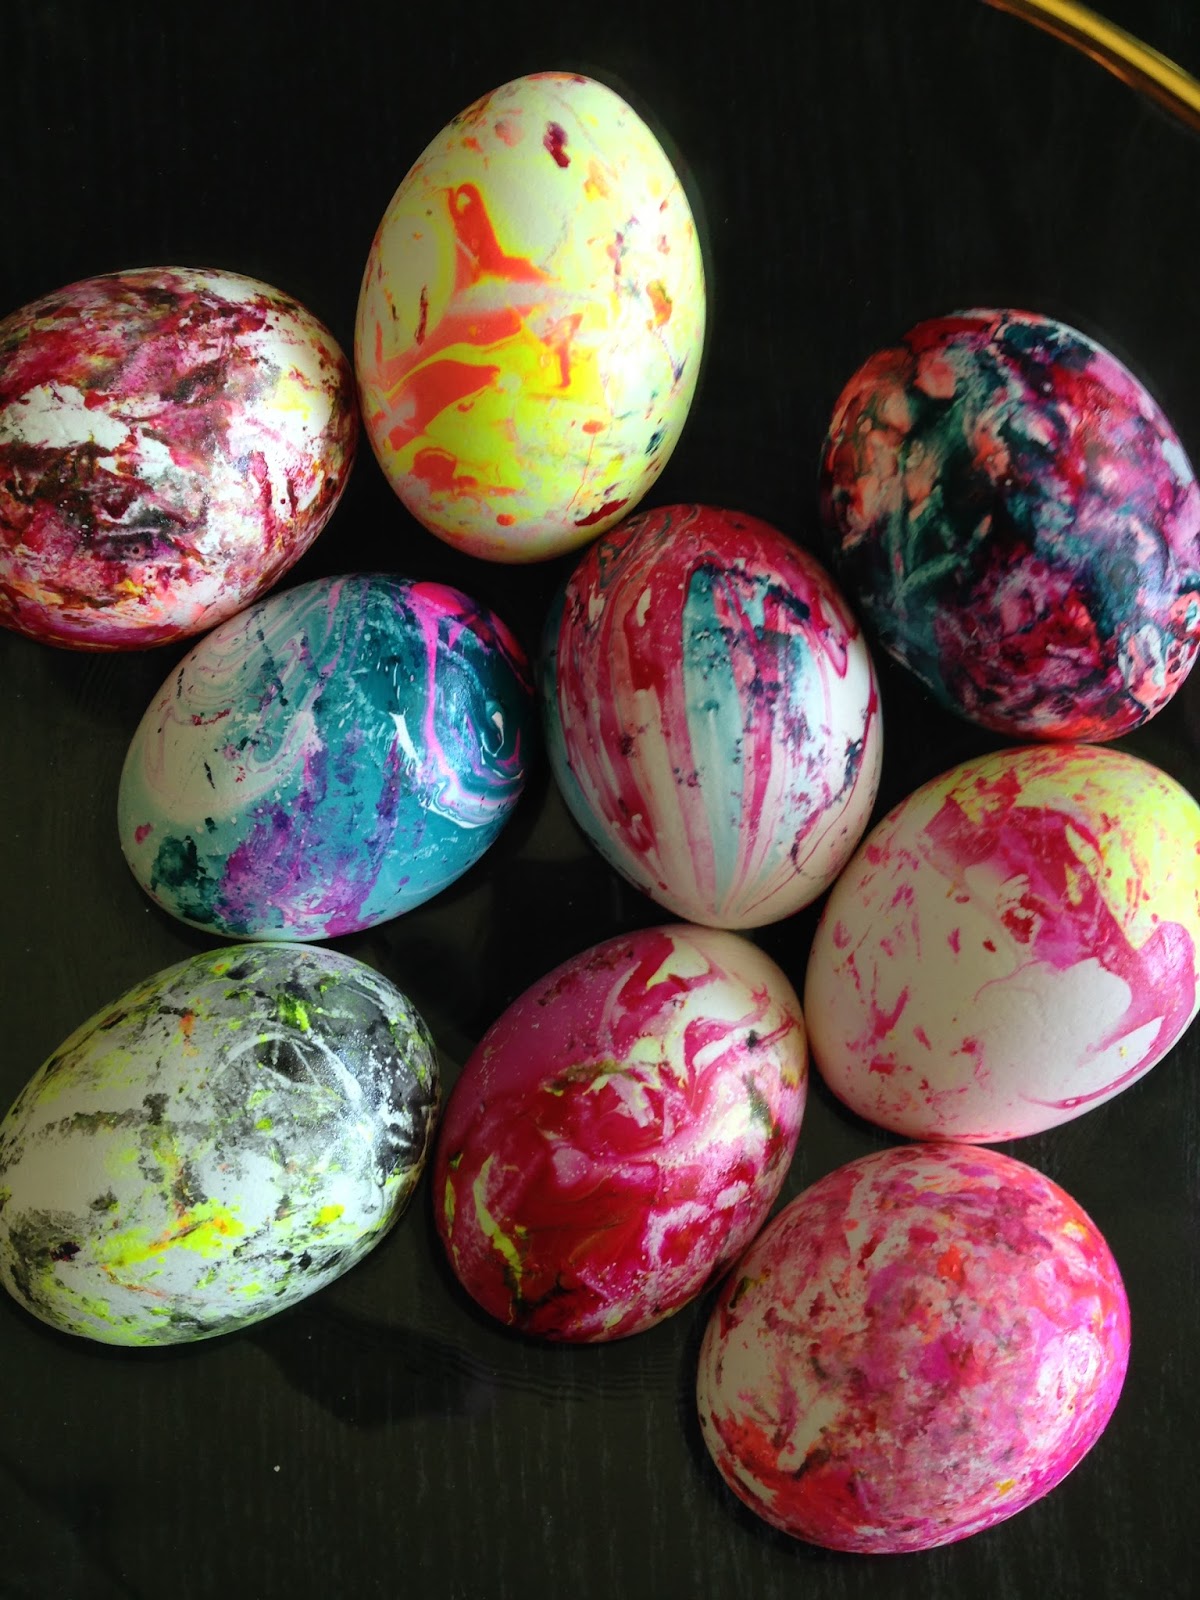
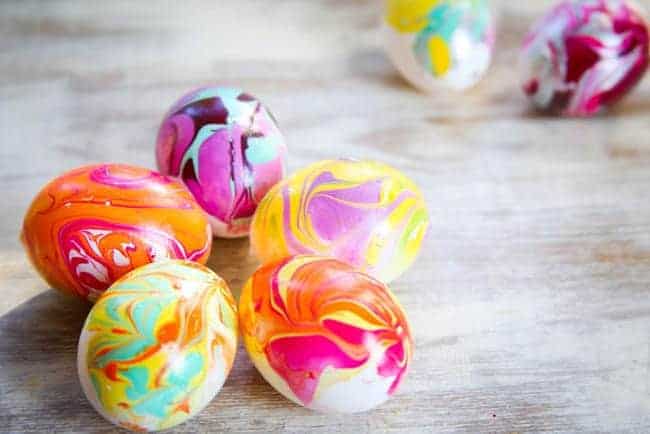
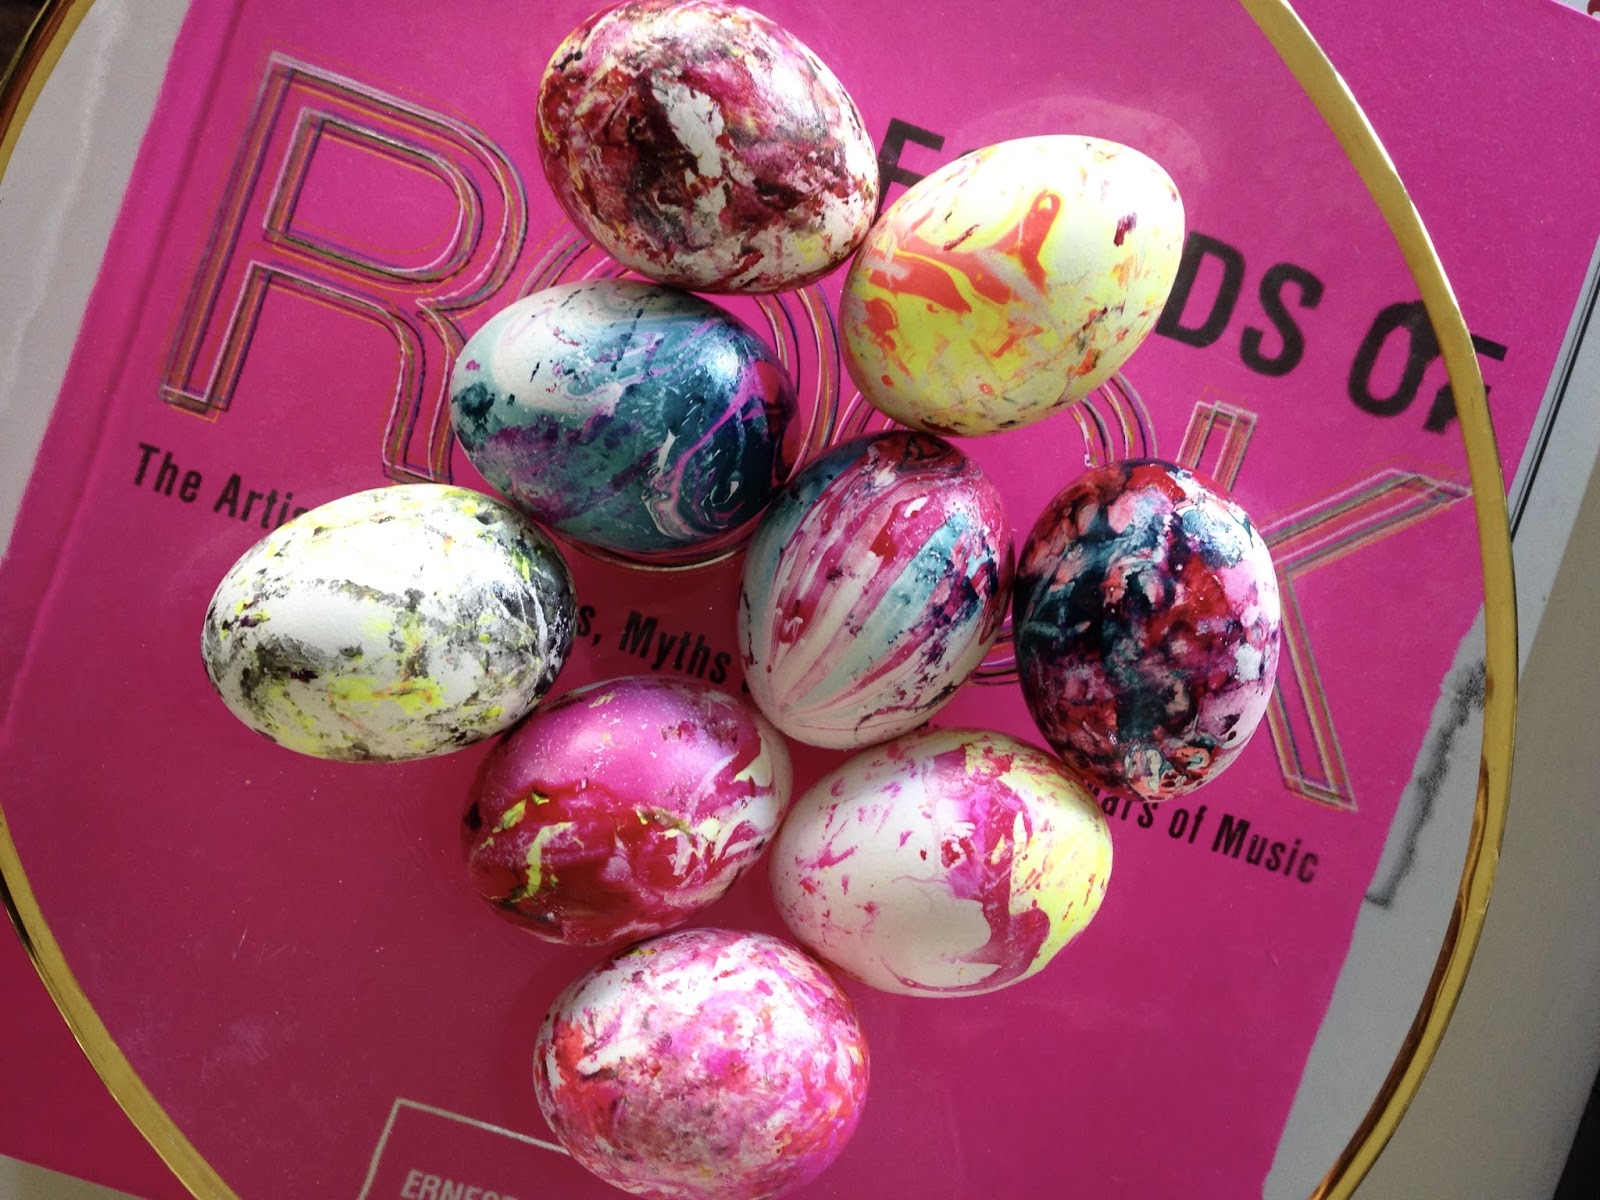
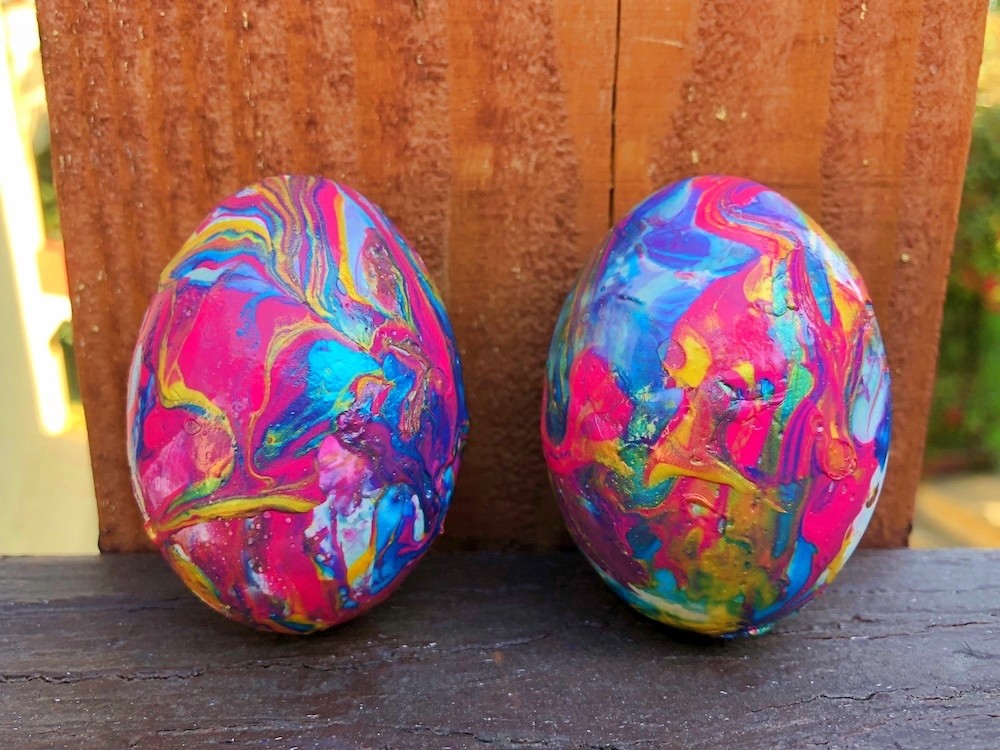
The marbled effect created by nail polish marbled eggs is simply stunning. It's a great way to add a pop of color to your Easter decorations and impress your guests. You can use different shades of the same color for a subtle look, or mix and match bright colors for a more vibrant display. You can even use metallic nail polish for a touch of glamour. These nail polish marbled eggs will definitely stand out in any Easter egg hunt.8. Nail Polish Marbled Eggs
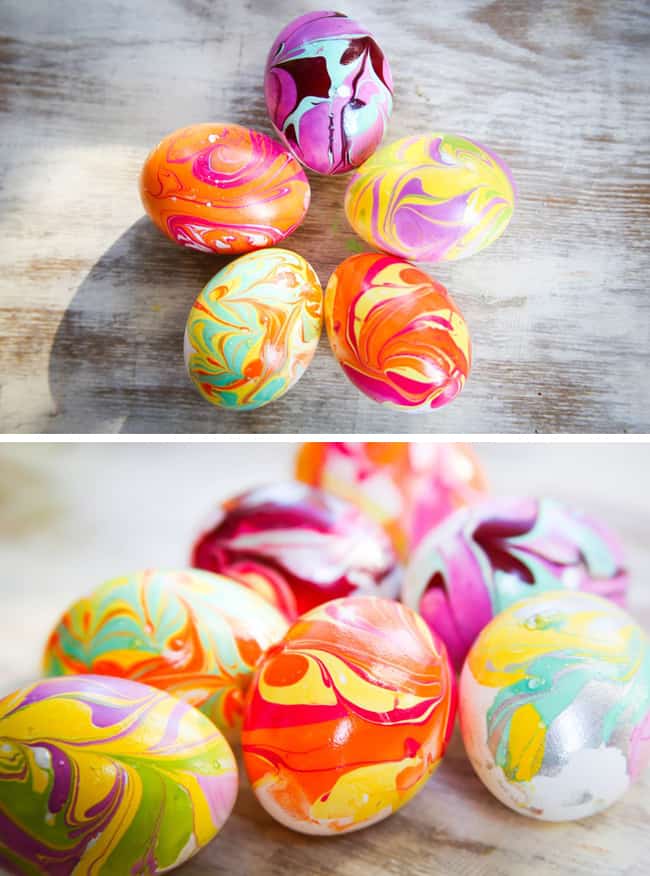
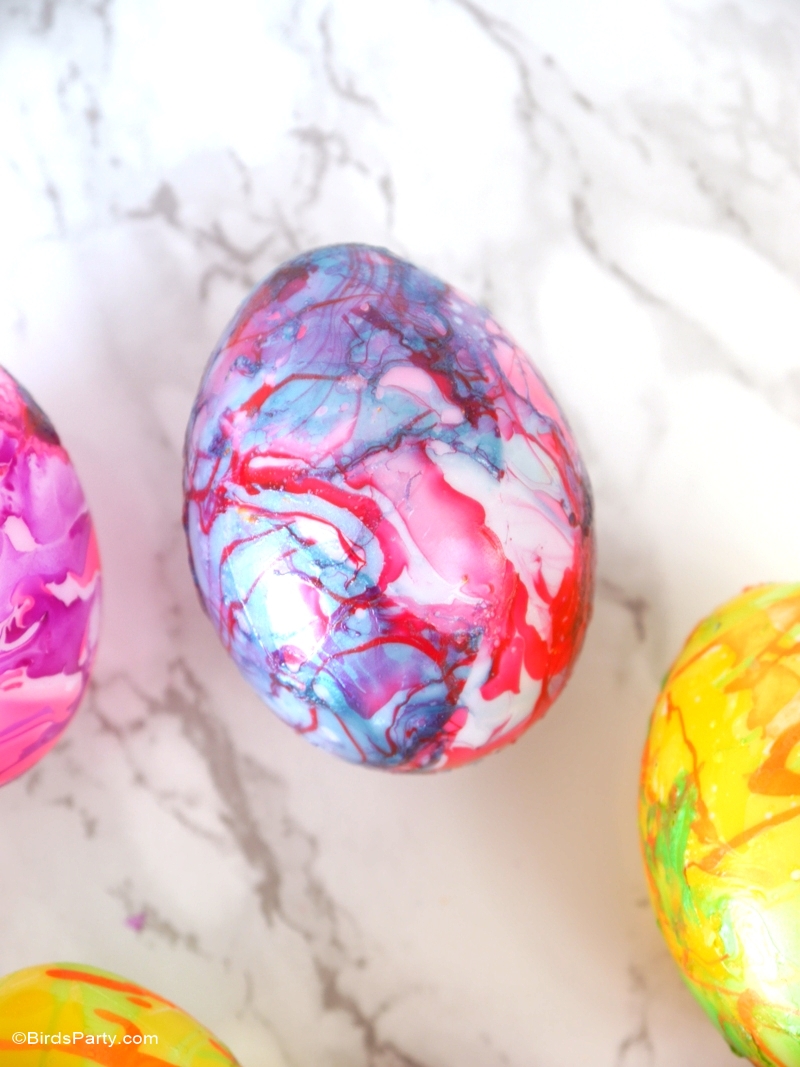
Nail Polish Marbled Eggs


Not only is decorating Easter eggs with nail polish fun, but it's also easy and mess-free. Unlike traditional dyeing methods, you don't have to worry about staining your hands or clothes. Plus, easy Easter egg decorating with nail polish allows you to create unique and beautiful eggs in no time. You can even involve the kids in this project, and they will have a blast creating their own designs.9. Easy Easter Egg Decorating with Nail Polish
Easy Easter Egg Decorating with Nail Polish
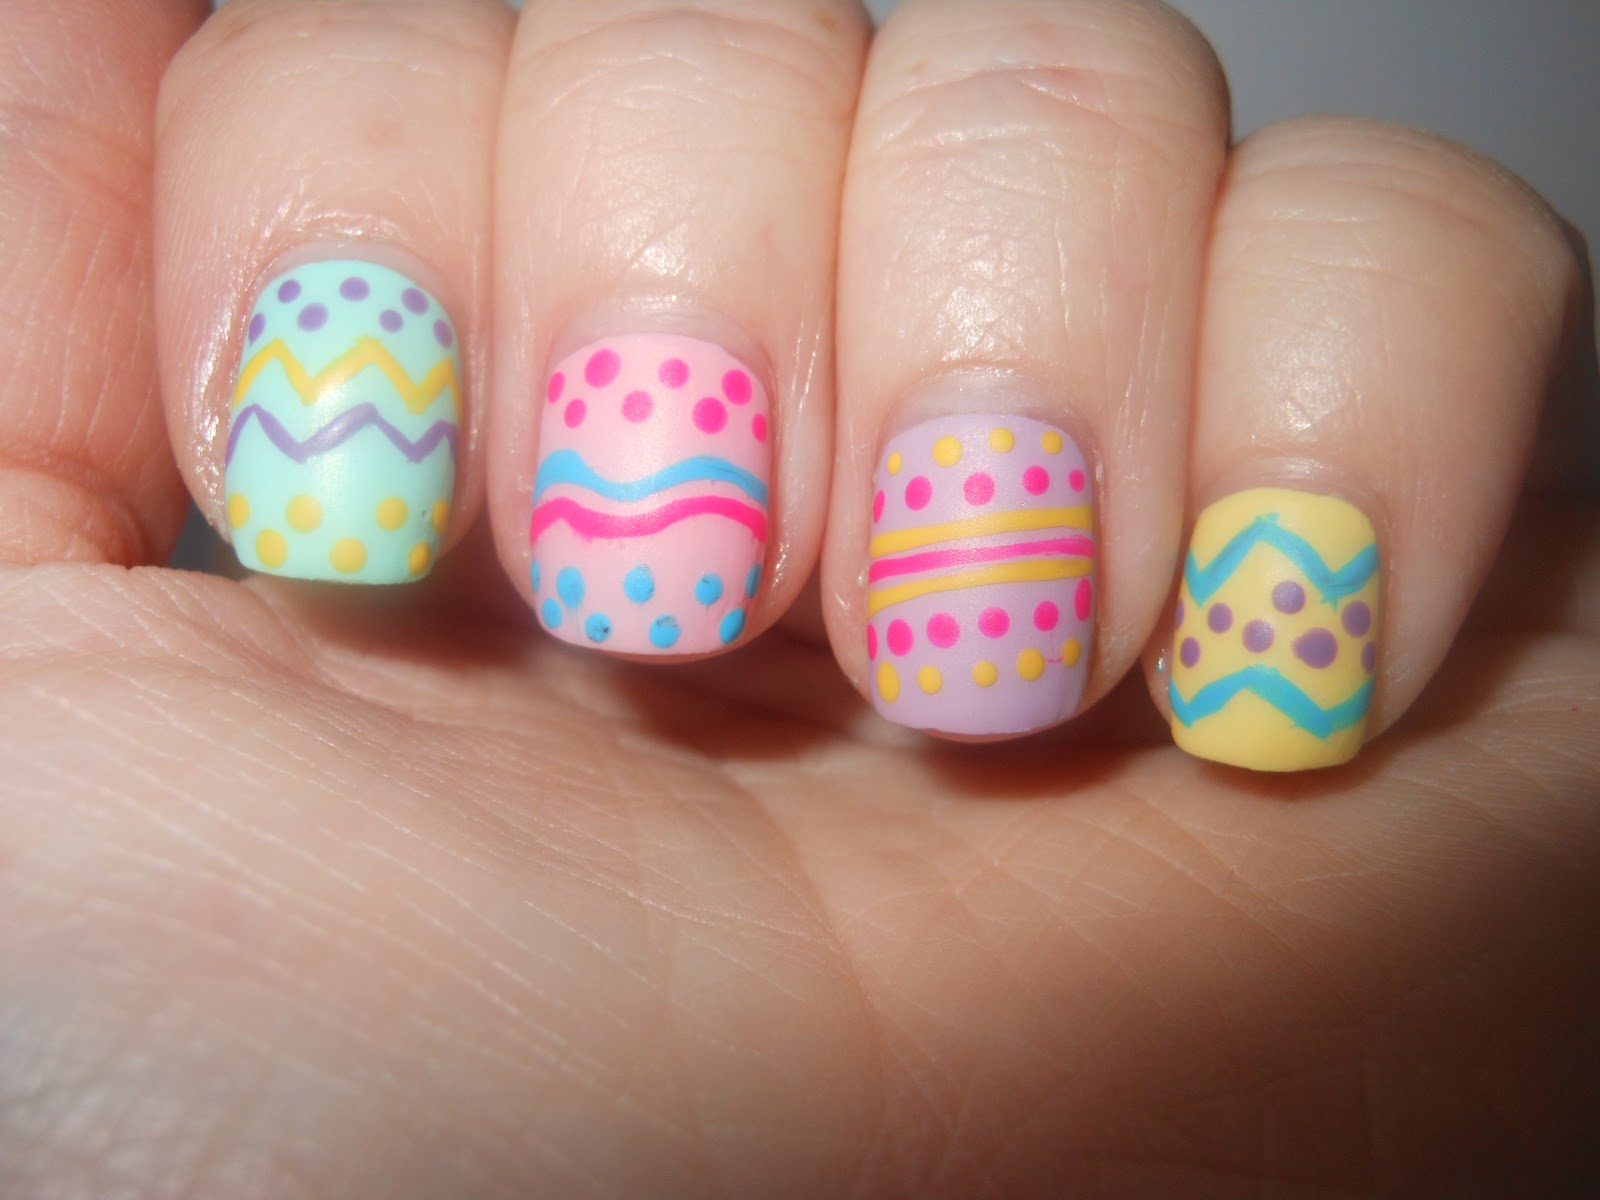
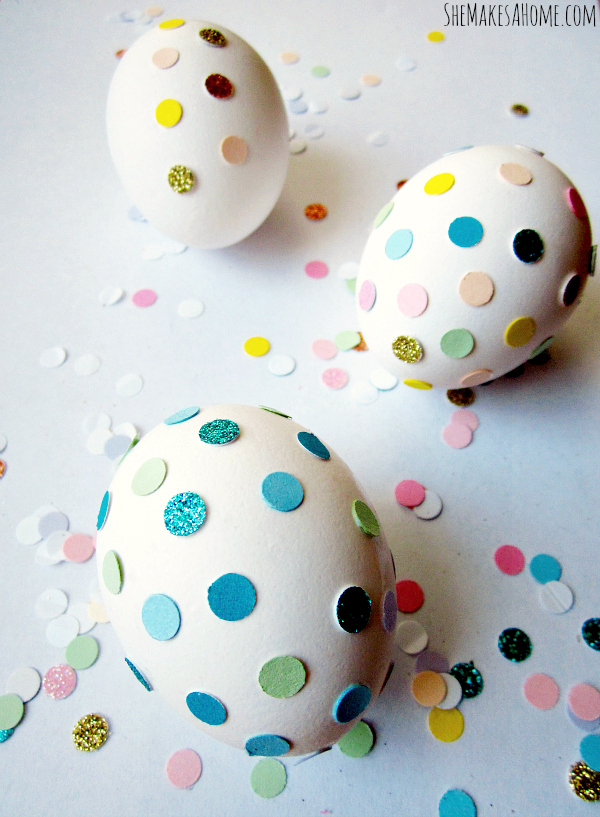
The possibilities for nail polish Easter egg designs are endless. You can use stencils, stickers, or even freehand your own designs to create personalized eggs. You can also use other materials, such as rhinestones, lace, or washi tape, to add texture and dimension to your eggs. The sky's the limit when it comes to nail polish Easter egg designs. So, grab your favorite nail polish colors and start creating beautiful and unique Easter eggs that will impress everyone.10. Nail Polish Easter Egg Designs


Nail Polish Easter Egg Designs

Add a Splash of Color to Your Easter Eggs with Nail Polish
A Fun Twist on Traditional Egg Coloring
 Easter is right around the corner and that means it's time to start thinking about decorating eggs! While traditional egg dyeing kits are always a go-to, why not add a unique twist to your egg coloring this year? Using
nail polish
to decorate eggs is a fun and creative way to add a
pop of color
to your Easter festivities.
Easter is right around the corner and that means it's time to start thinking about decorating eggs! While traditional egg dyeing kits are always a go-to, why not add a unique twist to your egg coloring this year? Using
nail polish
to decorate eggs is a fun and creative way to add a
pop of color
to your Easter festivities.
What You'll Need
 To get started, gather your supplies. You will need hard-boiled eggs, an assortment of
nail polish
colors, a bowl of room temperature water, and some toothpicks. You can use a variety of nail polish shades or stick to a specific color theme for your eggs. The choice is yours!
To get started, gather your supplies. You will need hard-boiled eggs, an assortment of
nail polish
colors, a bowl of room temperature water, and some toothpicks. You can use a variety of nail polish shades or stick to a specific color theme for your eggs. The choice is yours!
The Step-by-Step Process
 Once you have your supplies ready, it's time to start coloring your eggs. Follow these simple steps for a mess-free and easy decorating experience:
Step 1: Prepare Your Eggs
Start by hard-boiling your eggs and letting them cool completely before beginning the coloring process. This will ensure that the nail polish adheres properly to the eggshell.Step 2: Choose Your Colors
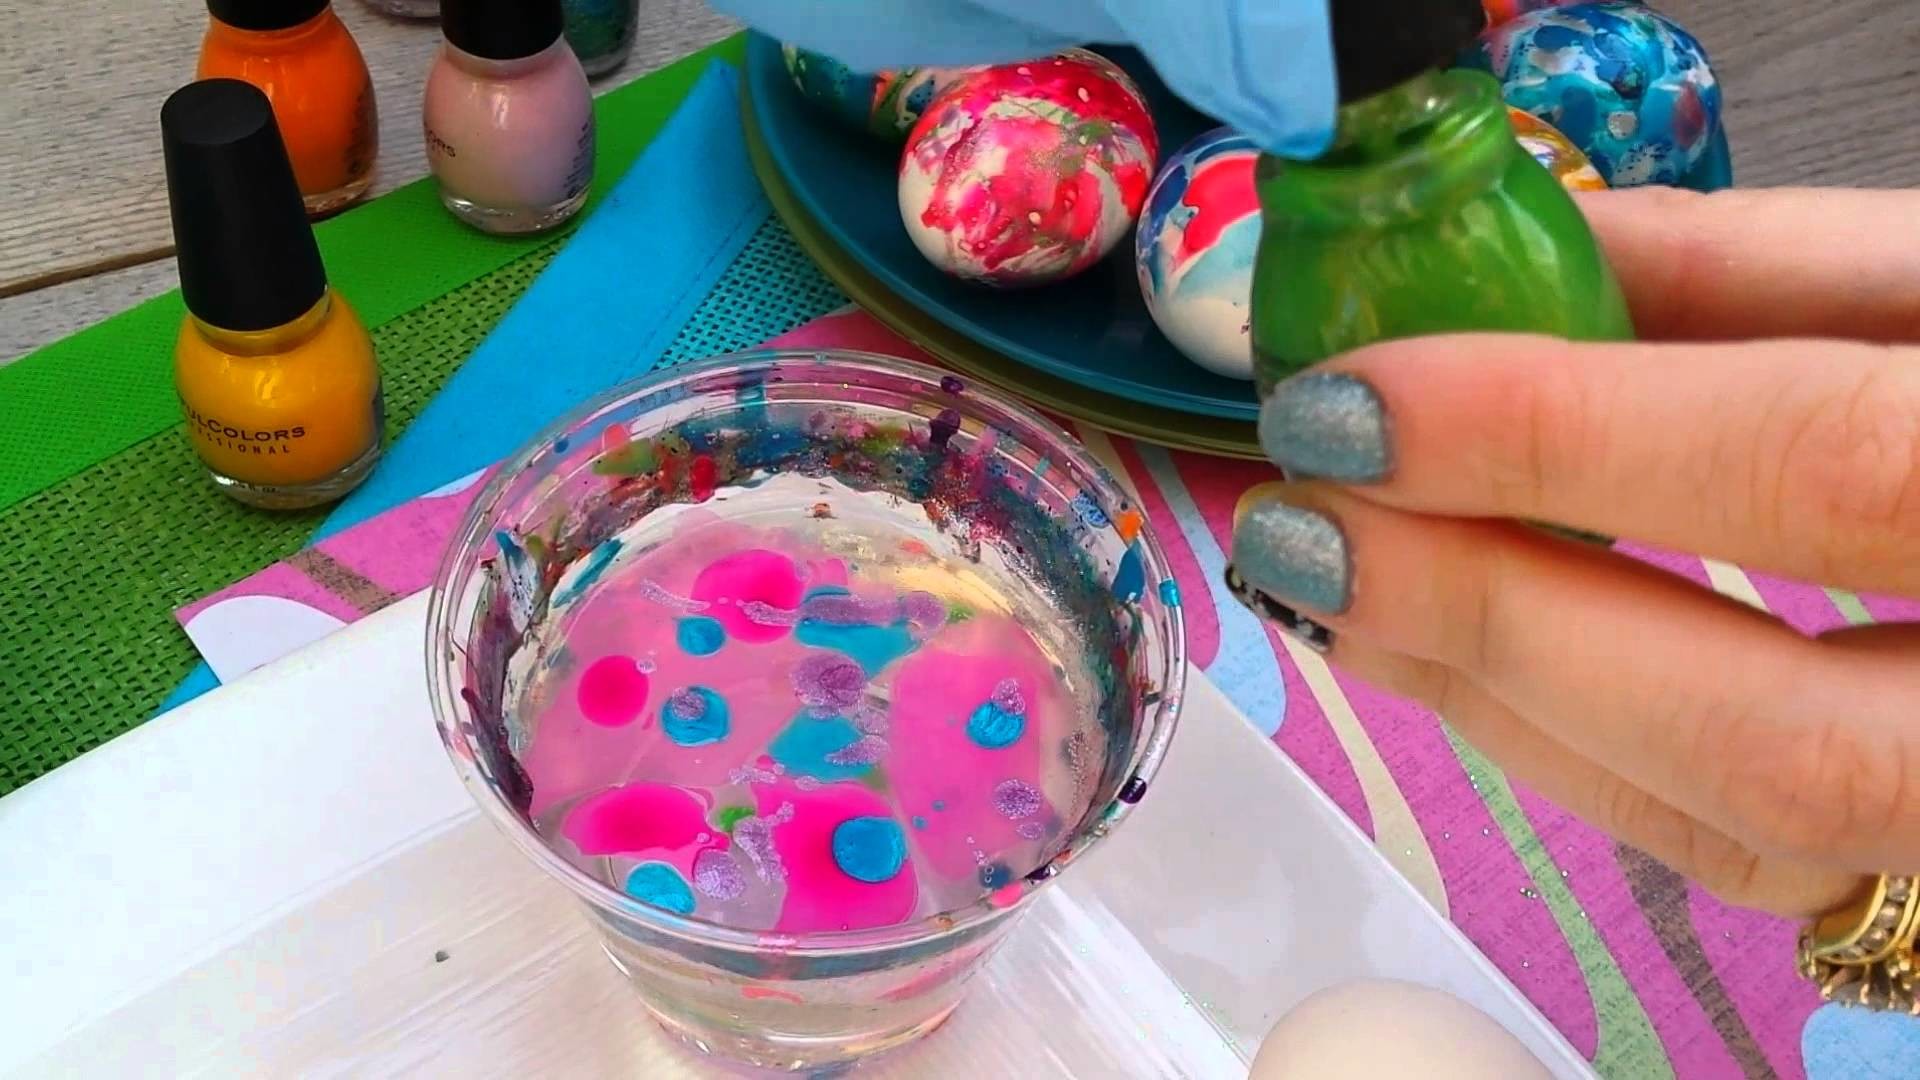
Next, select the nail polish colors you want to use for your eggs. You can create a marbled effect by using multiple colors or opt for a solid color look by using just one shade.Step 3: Add Nail Polish to Water
Fill a bowl with room temperature water and carefully add a few drops of nail polish to the surface. You can use a toothpick to swirl the colors together if desired.Step 4: Dip Your Eggs
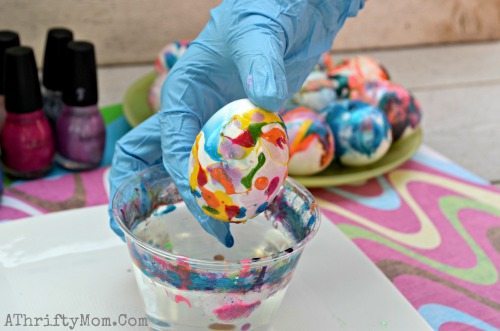
Using a toothpick, gently swirl the nail polish in the water to create a marbled effect. Then, carefully dip your egg into the water, making sure to cover the entire surface.Step 5: Let Dry
Once your egg is fully covered in nail polish , carefully remove it from the water and place it on a paper towel to dry. Repeat this process for each egg you want to decorate.Enjoy Your Beautifully Decorated Eggs
 After your eggs have dried, you will be left with beautifully colored and unique creations. You can display them in a basket or use them for an Easter egg hunt. Either way, they are sure to be a hit with kids and adults alike.
A Fun DIY Project for the Whole Family
 Using
nail polish
to color eggs is a fun and easy DIY project that the whole family can enjoy. It's a great way to add a personal touch to your Easter decorations and create memories with your loved ones. So, why not give it a try this year and see the colorful results for yourself?
Using
nail polish
to color eggs is a fun and easy DIY project that the whole family can enjoy. It's a great way to add a personal touch to your Easter decorations and create memories with your loved ones. So, why not give it a try this year and see the colorful results for yourself?