Nail designs have become a popular way to express one's creativity and style. However, not everyone has the time or skills to create intricate designs. That's where tape comes in! With just a few simple steps, you can achieve cool and easy nail designs using tape. Let's take a look at some of the best ideas and techniques for tape nail art. First, make sure you have all the necessary supplies. This includes nail polish, clear tape, scissors, and a base and top coat. You can also use striping tape or masking tape for more precise designs. Now, let's get started!1. Easy Nail Designs with Tape | Cool Nail Art Ideas with Tape


1. Easy Nail Designs with Tape


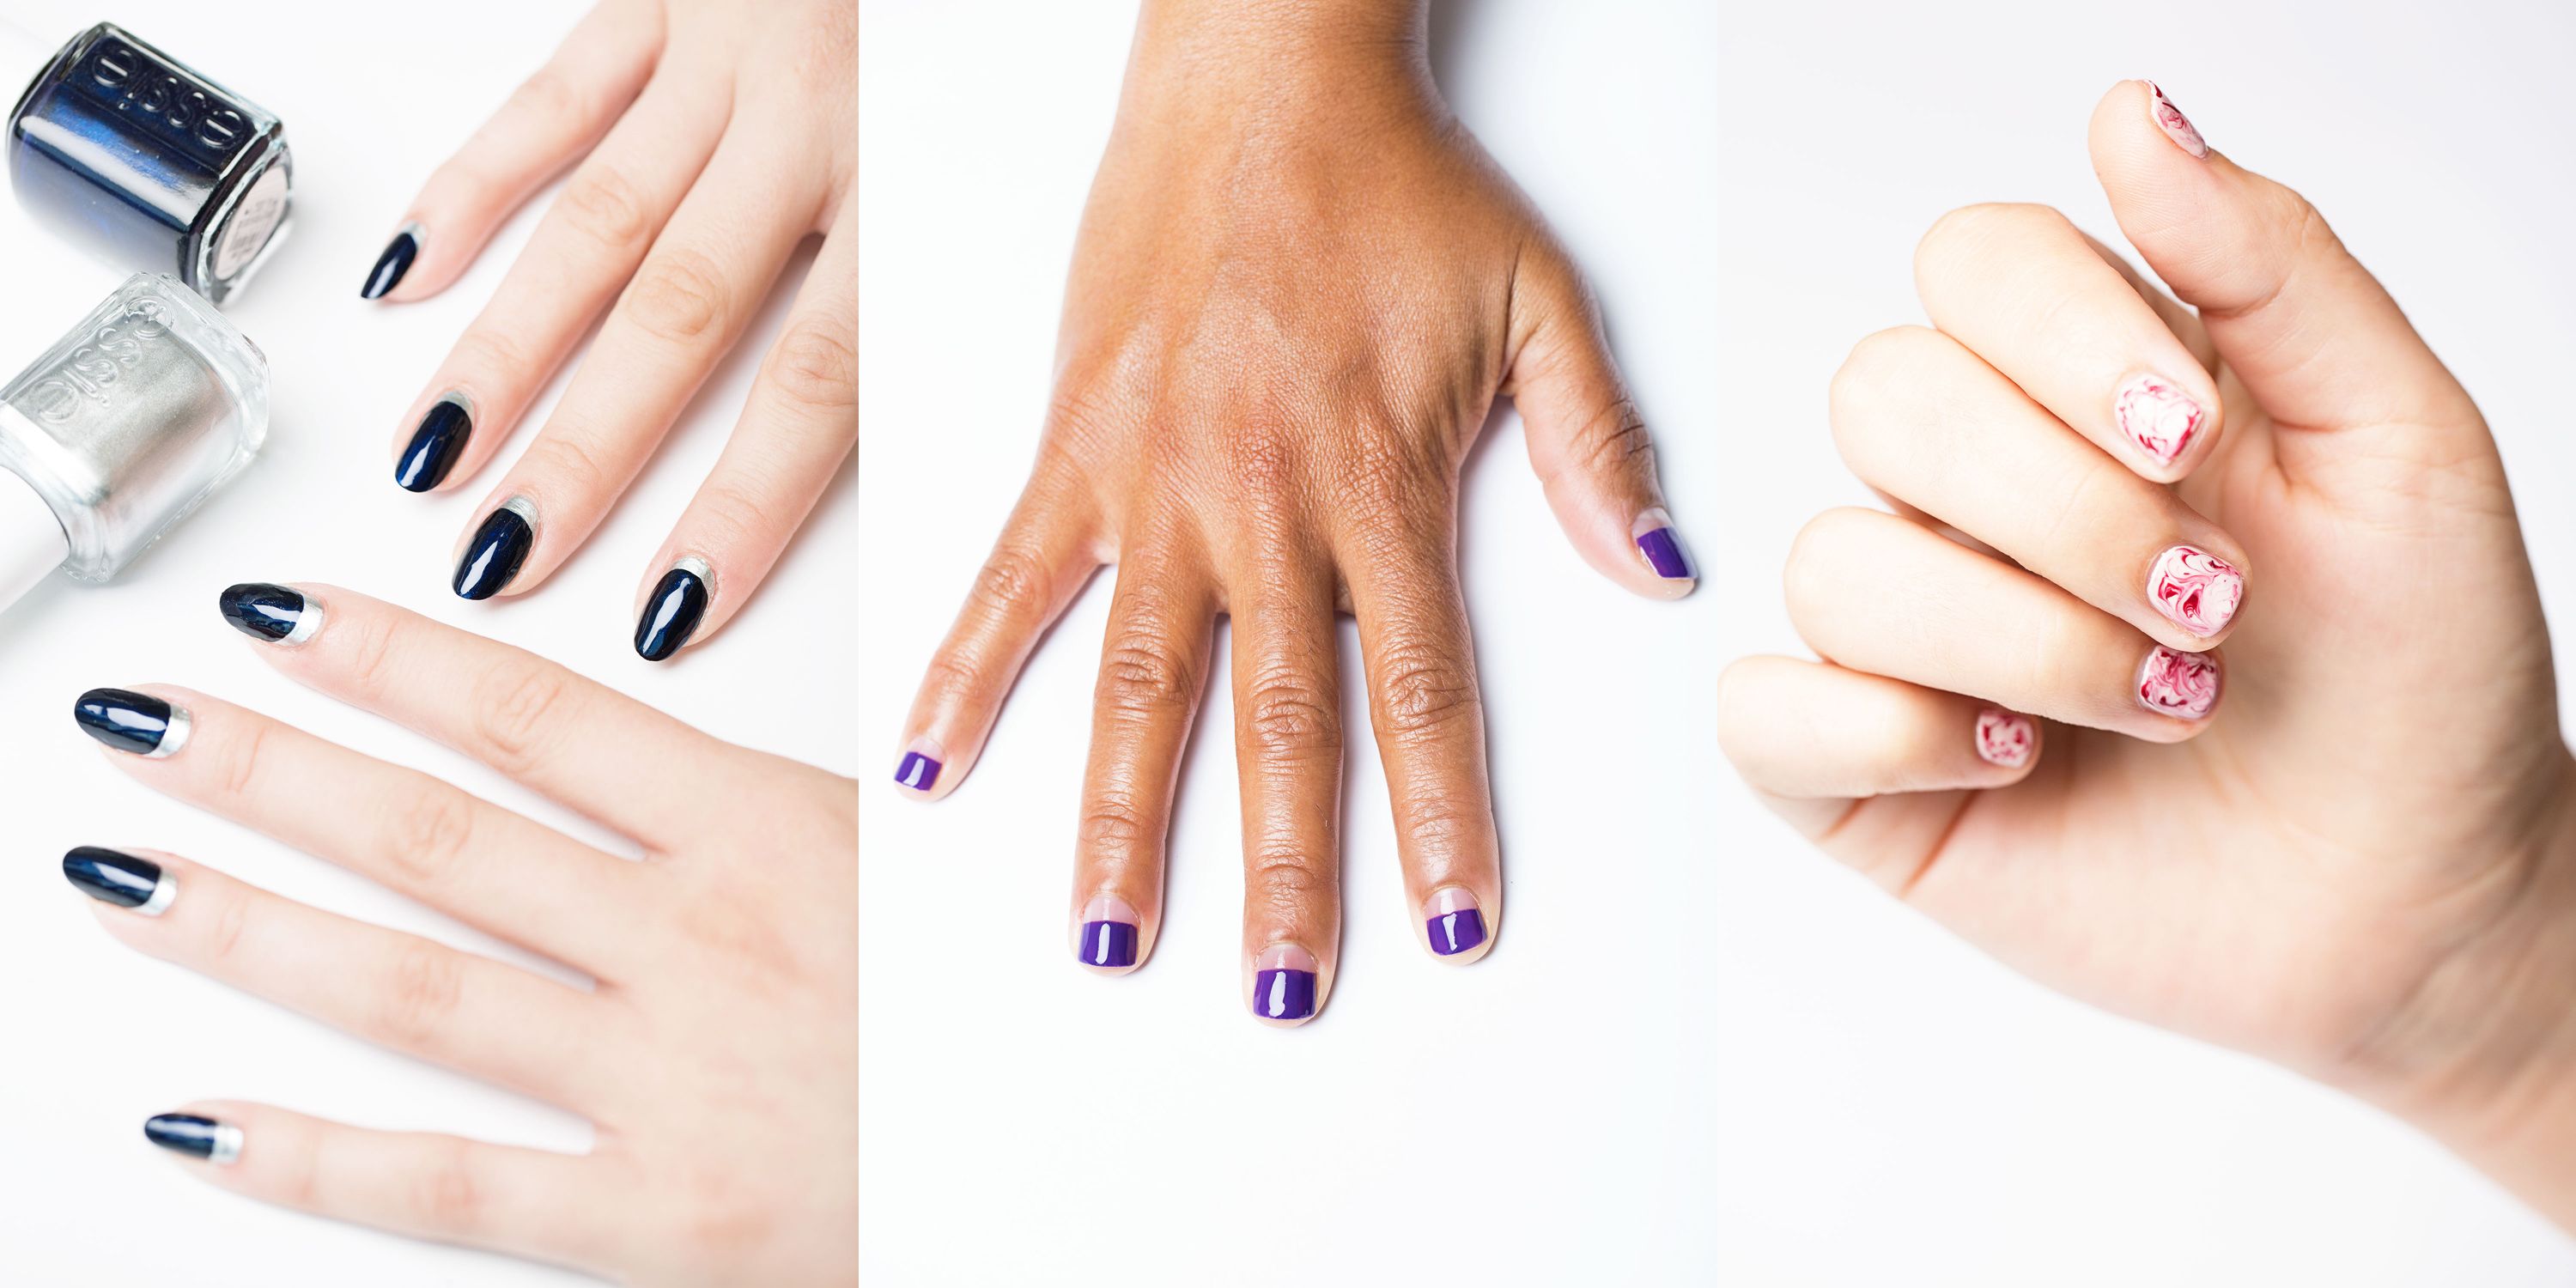


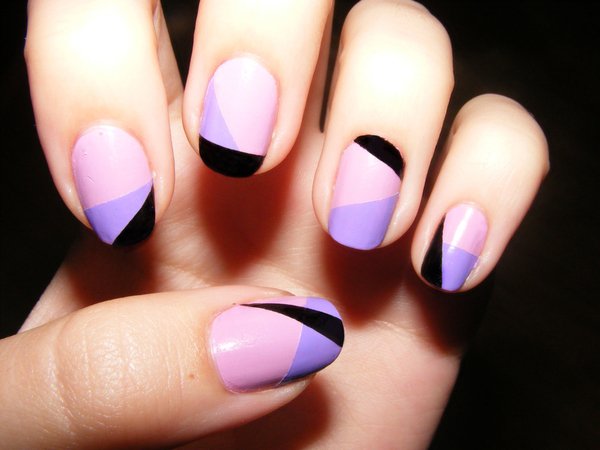
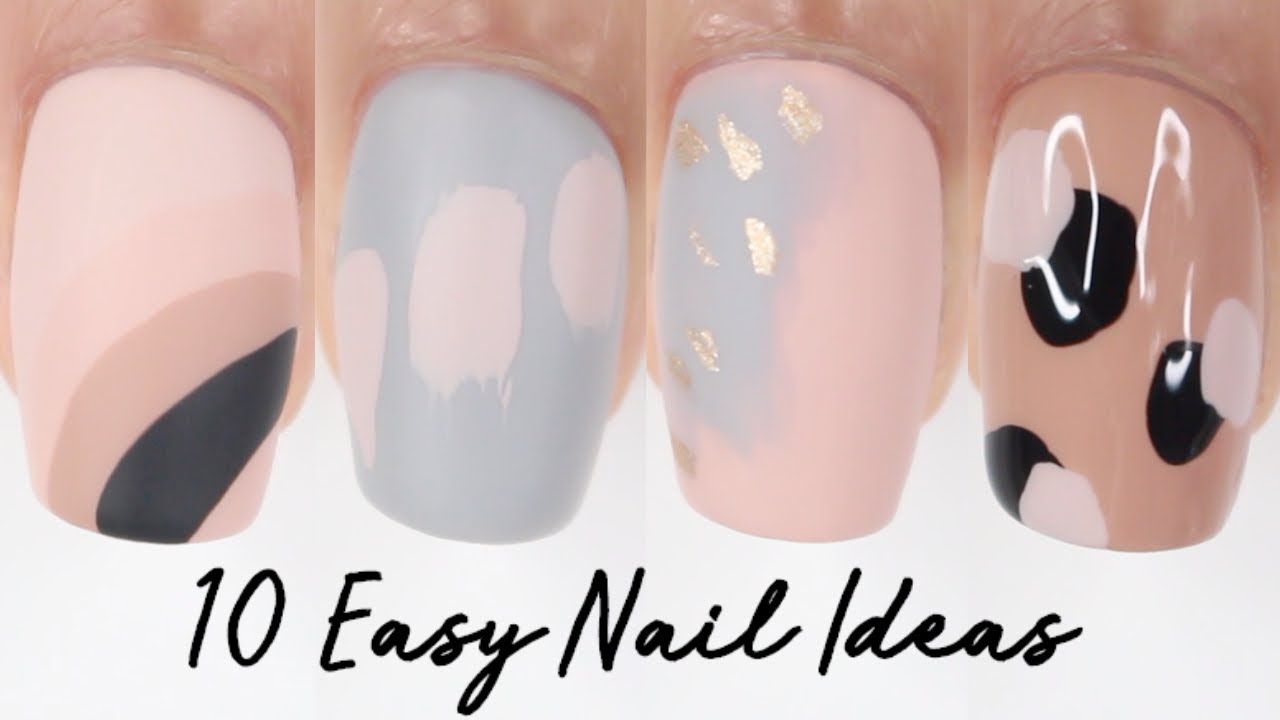
When it comes to easy nail designs, there are endless possibilities with tape. One popular technique is creating geometric patterns. Simply cut strips of tape and place them on your nails in various shapes and angles. Then, paint over the tape with your desired nail polish color. Once the polish is dry, carefully peel off the tape to reveal a clean and crisp design. You can also use tape to create negative space designs. Apply a base coat and let it dry. Then, place strips of tape on your nails in any pattern you like. Paint over the tape with a different color and let it dry. Once the polish is completely dry, peel off the tape to reveal a unique and modern design.2. 10 Easy Nail Designs You Can Do with Tape | The Ultimate Guide


Cool Nail Art Ideas with Tape

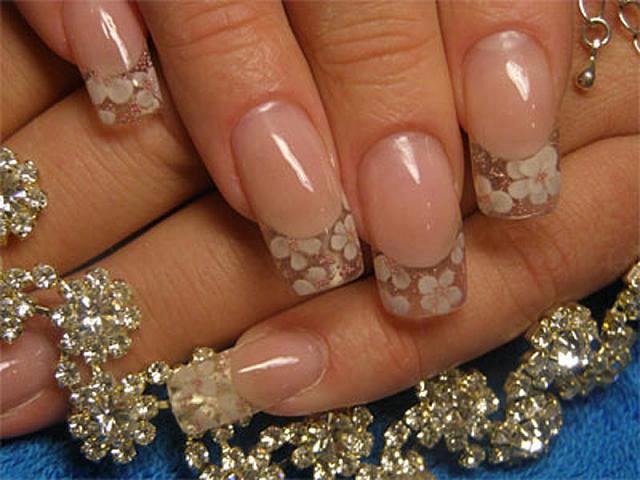


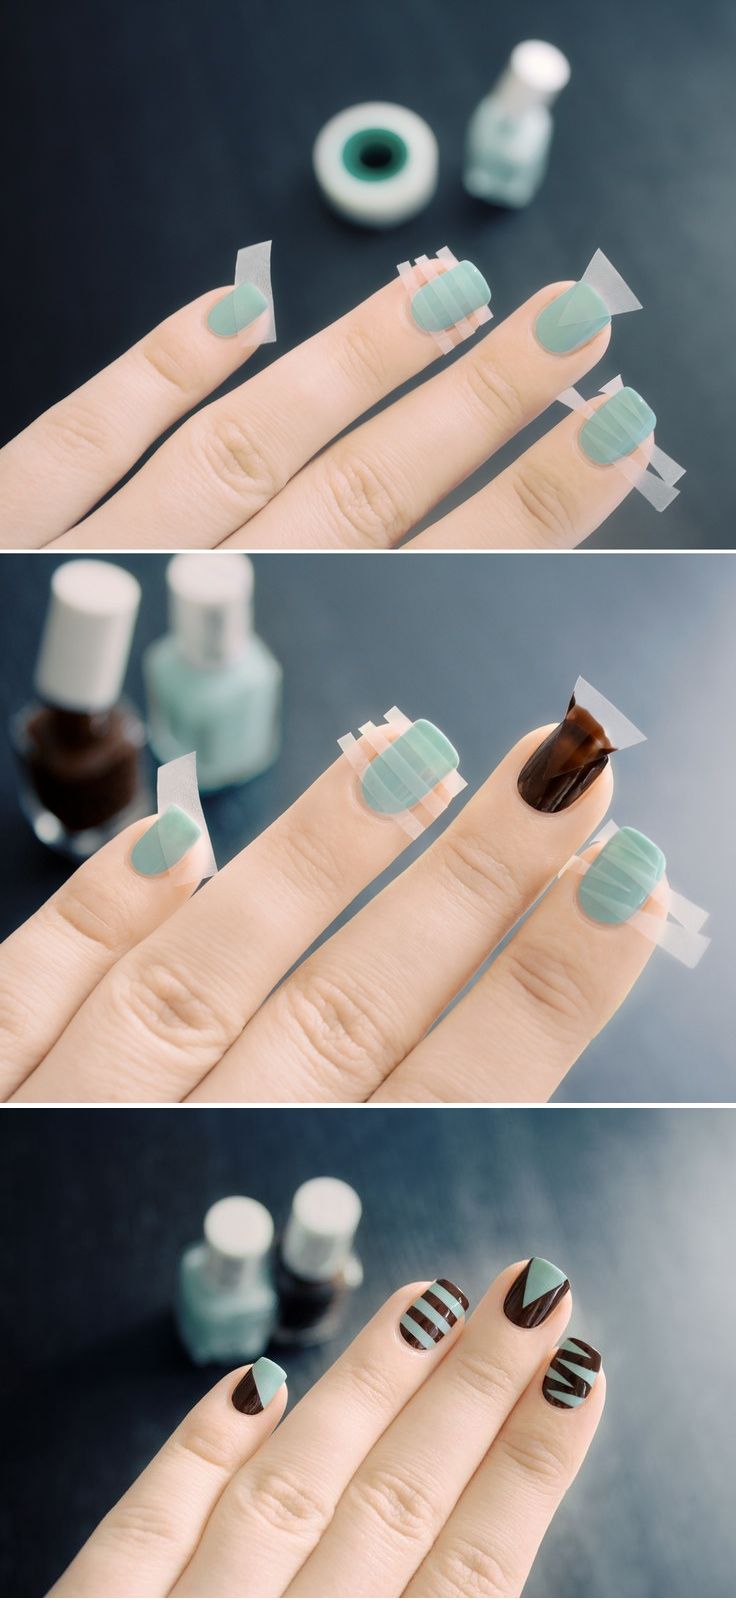
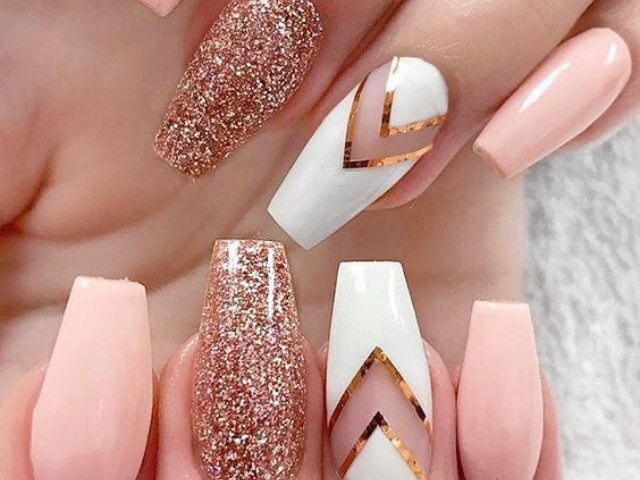
If you're a beginner in nail art, scotch tape is your best friend. It's easily accessible and can create simple yet stunning designs. One idea is to create a diagonal French manicure. Apply a base coat and let it dry. Then, cut small pieces of tape and place them on your nails diagonally, leaving a small space at the tip. Paint over the tape with a different color and let it dry. Once the polish is completely dry, carefully peel off the tape to reveal a chic and modern French manicure. You can also use scotch tape to create stripes and chevron designs. Apply a base coat and let it dry. Then, place strips of tape on your nails in the desired pattern. Paint over the tape with a different color and let it dry. Once the polish is dry, carefully peel off the tape to reveal a stylish and eye-catching design.3. Cool Nail Designs with Scotch Tape | Easy DIY Nail Art Tutorial


2. 10 Easy Nail Designs You Can Do with Tape

:max_bytes(150000):strip_icc()/072922-beauty-nail-art-lead-2000-21de3481261e48a995c855269f9846ad.jpg)


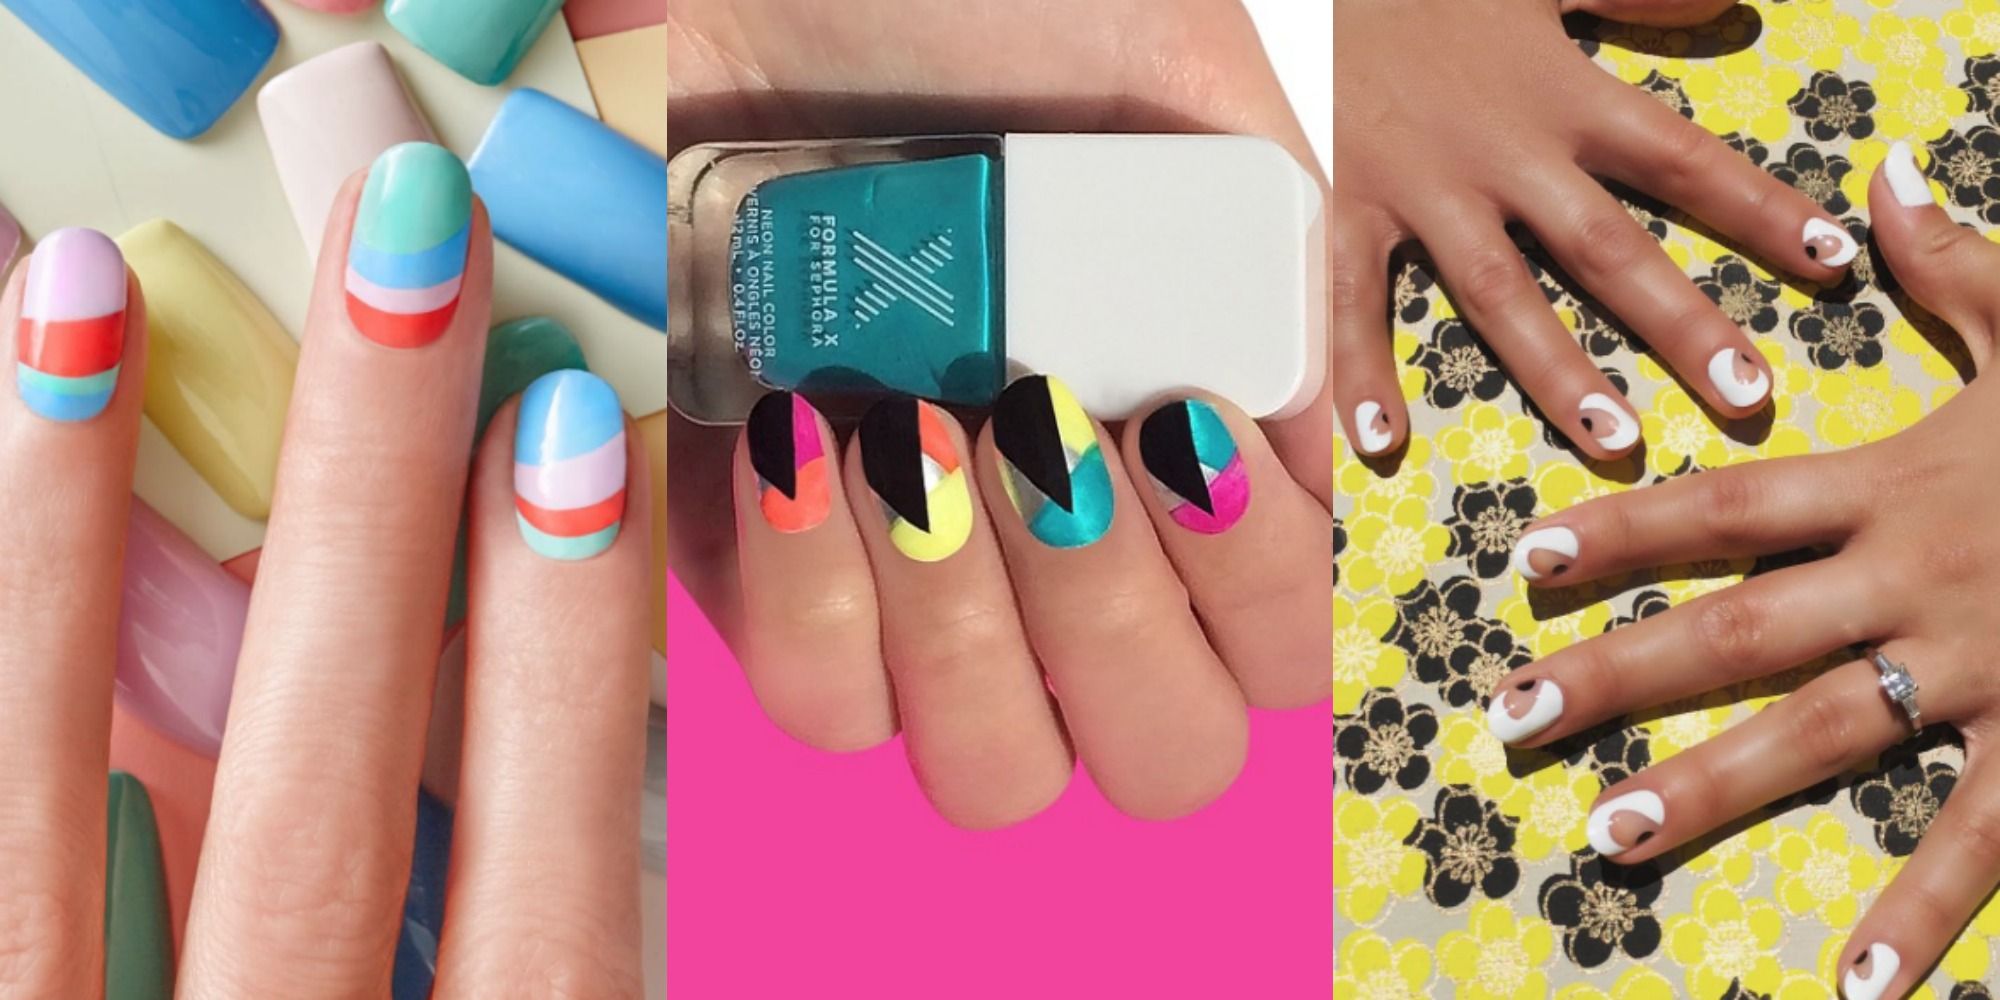

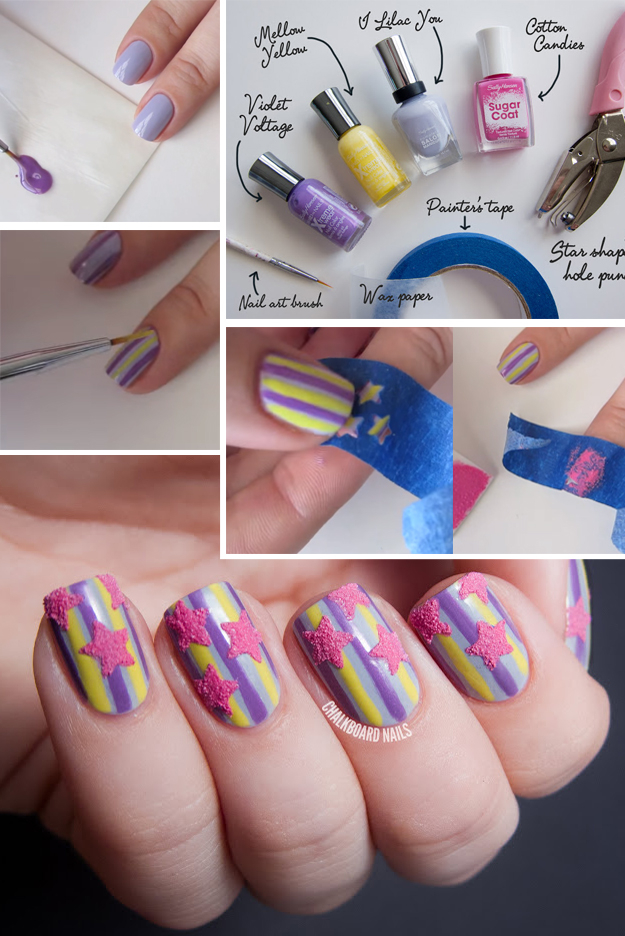
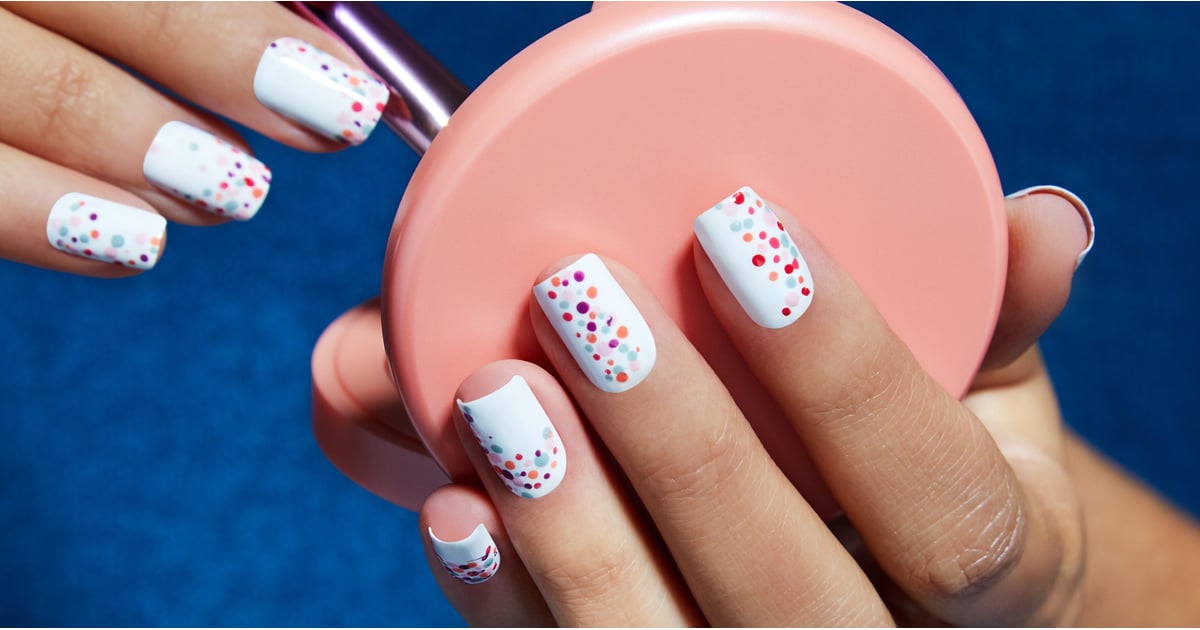
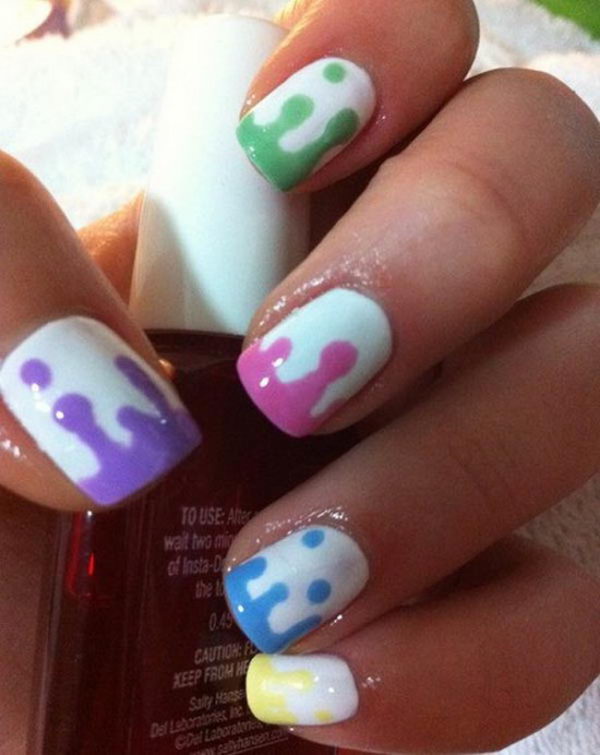
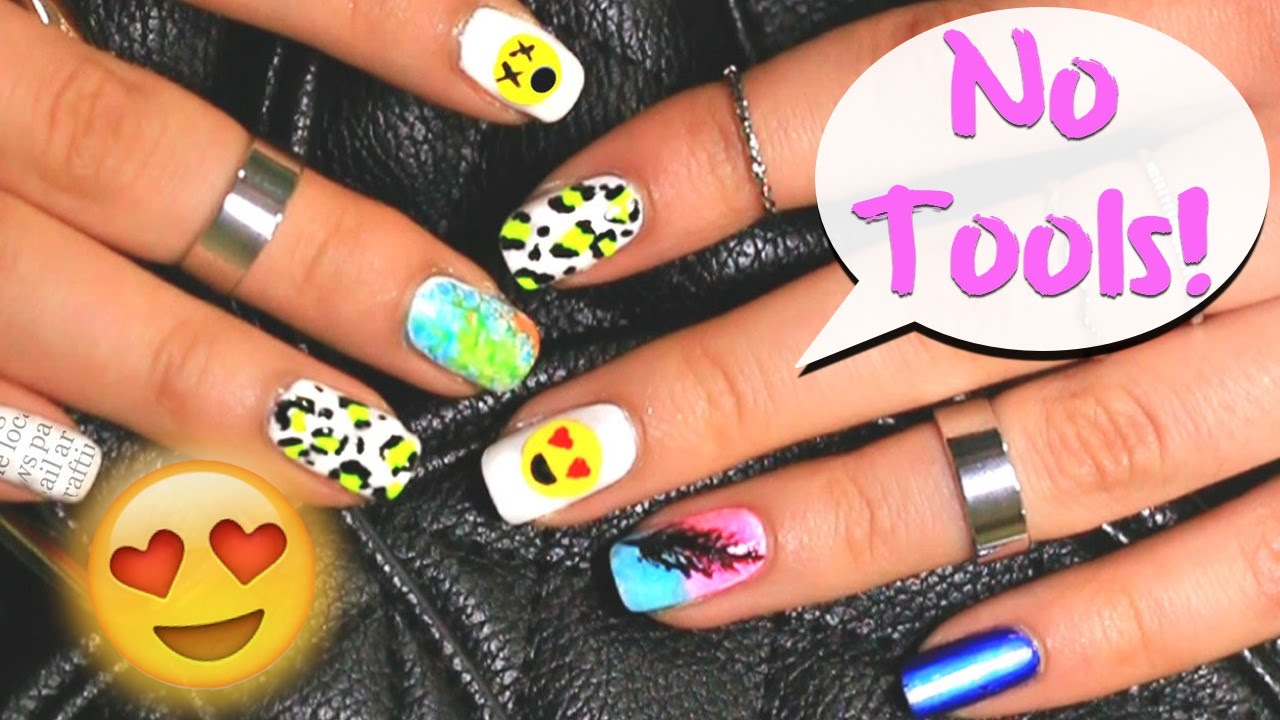
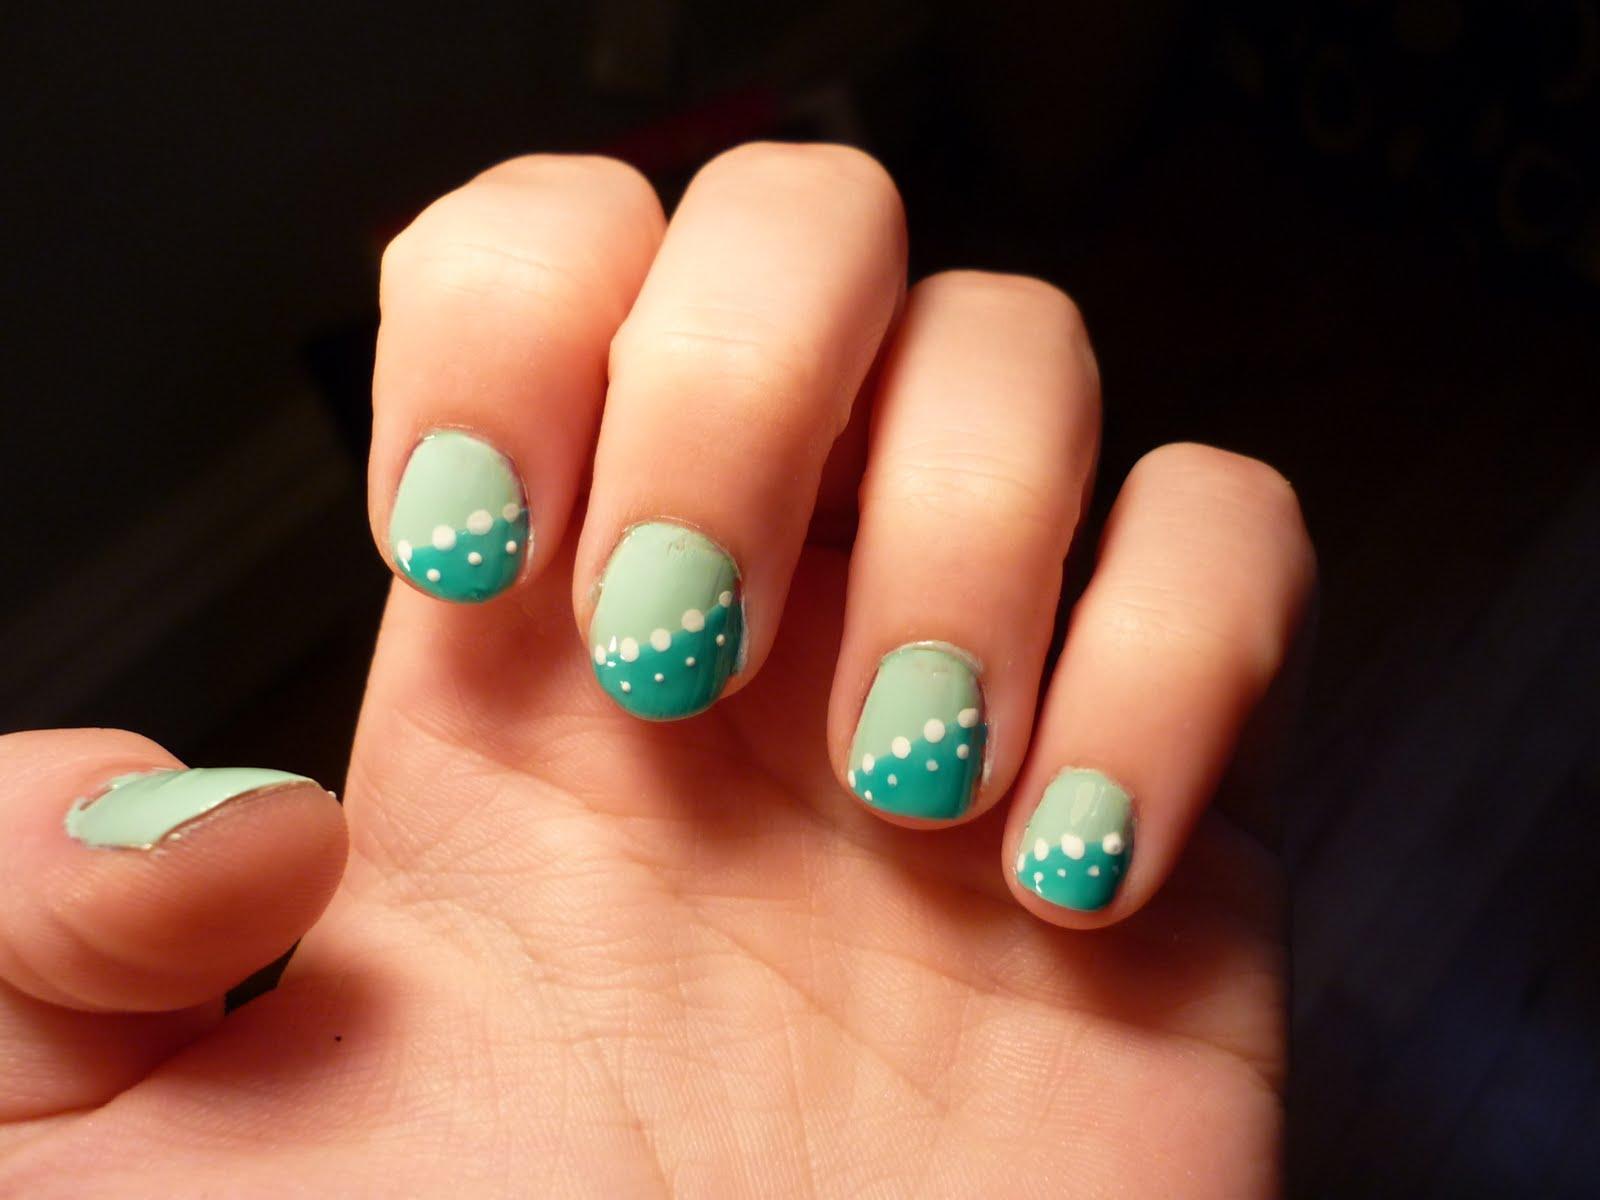
One of the best things about using tape for nail art is that you don't need any special tools. You can create beautiful designs with just tape and your favorite nail polish. For a fun and playful look, try creating polka dot nails with tape. Apply a base coat and let it dry. Then, place small pieces of tape on your nails in a polka dot pattern. Paint over the tape with a different color and let it dry. Once the polish is completely dry, carefully peel off the tape to reveal cute and colorful polka dot nails. Another easy design is the half-moon manicure. Apply a base coat and let it dry. Then, place a small strip of tape at the base of your nail, leaving the top half exposed. Paint over the exposed area with a different color and let it dry. Once the polish is completely dry, carefully peel off the tape to reveal a trendy half-moon design.4. 5 Easy Nail Designs Using Tape | No Tools Needed!

The Ultimate Guide


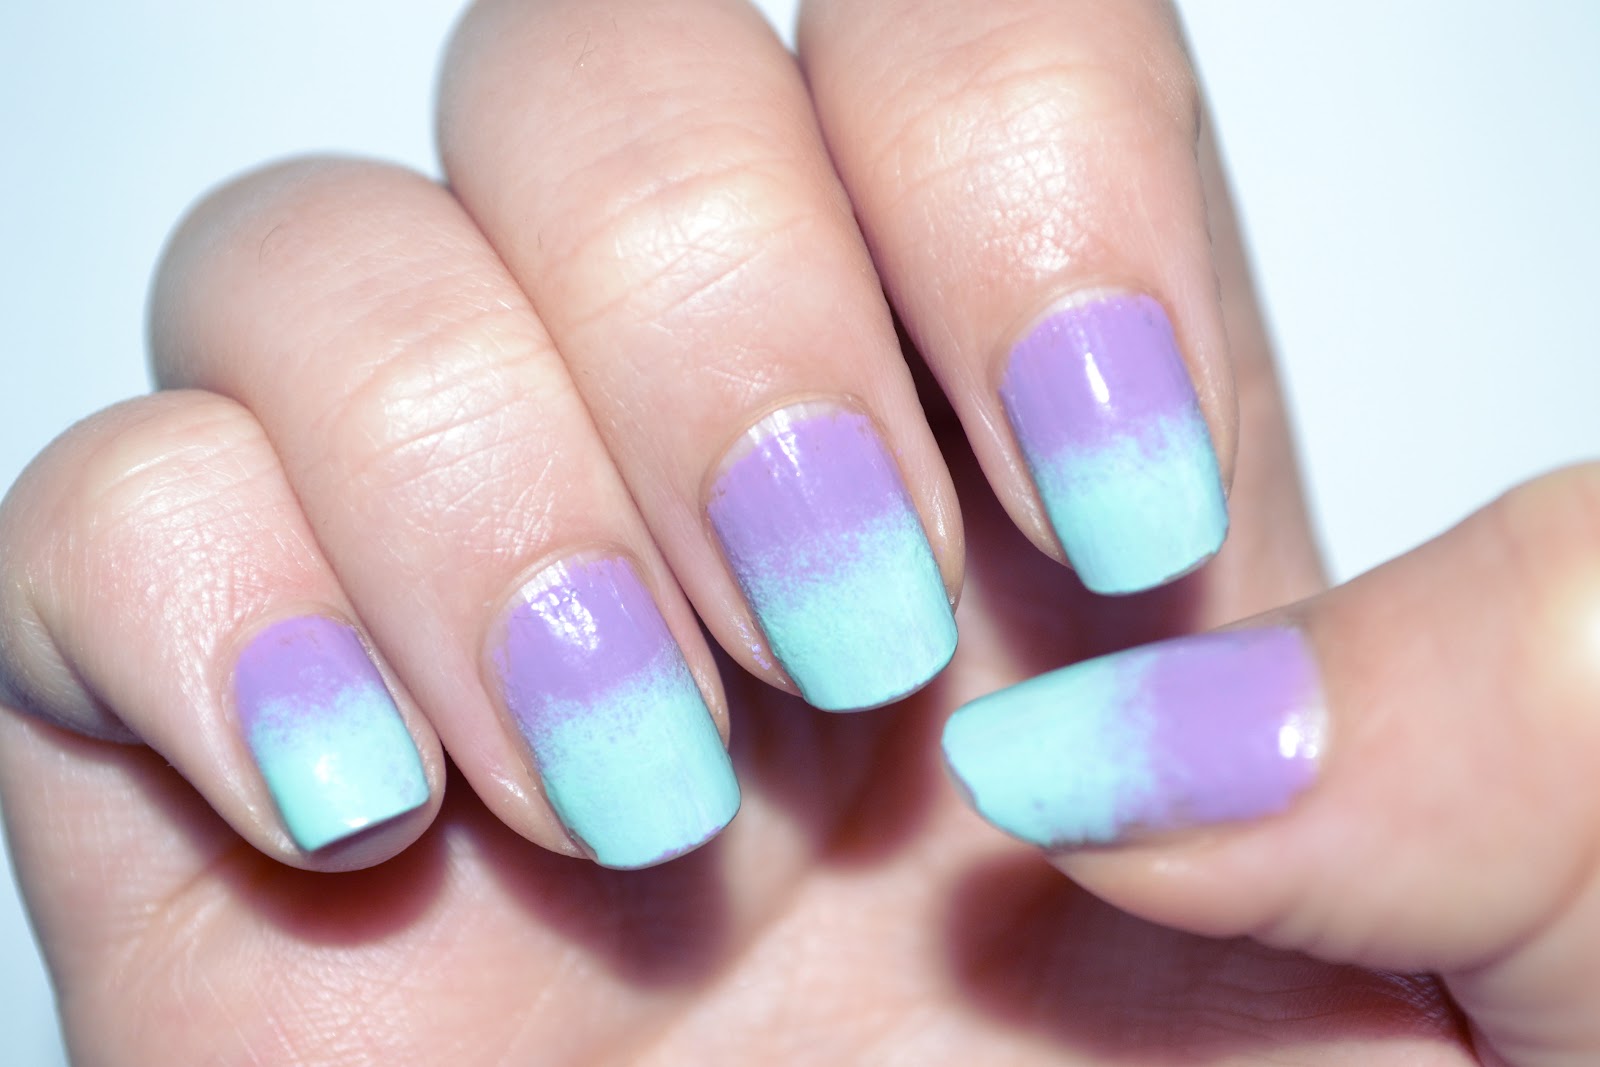
If you want to take your nail art to the next level, striping tape is the way to go. This thin and flexible tape allows for precise and intricate designs. One idea is to create a tribal pattern. Apply a base coat and let it dry. Then, cut small pieces of striping tape and place them on your nails in a geometric pattern. Paint over the tape with a different color and let it dry. Once the polish is completely dry, carefully peel off the tape to reveal a unique and eye-catching design. You can also use striping tape to create a colorful gradient effect. Apply a base coat and let it dry. Then, place strips of tape on your nails in a diagonal pattern. Use a sponge to apply different shades of the same color over the tape. Once the polish is dry, carefully peel off the tape to reveal a beautiful gradient design.5. Cool Nail Designs with Striping Tape | Easy Nail Art Tutorial


3. Cool Nail Designs with Scotch Tape


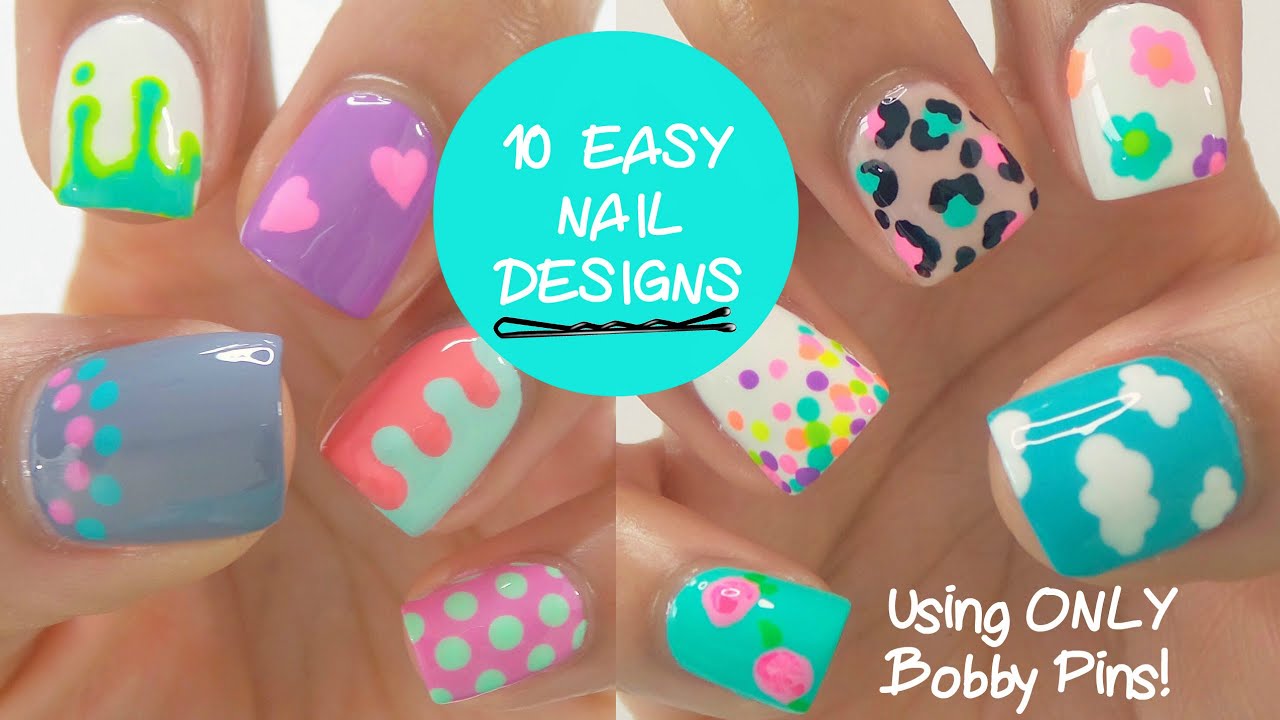
With so many options for tape nail art, it can be overwhelming to choose just one design. That's why we've rounded up 10 of the coolest nail designs with tape, complete with step-by-step tutorials. From simple stripes to intricate patterns, there's something for everyone. So grab your tape and let's get started! 1. Diagonal French Manicure: Apply a base coat and let it dry. Cut small pieces of tape and place them diagonally on your nails, leaving a space at the tip. Paint over the tape with a different color and let it dry. Carefully peel off the tape to reveal a chic French manicure. 2. Negative Space Design: Apply a base coat and let it dry. Place strips of tape on your nails in any pattern you like. Paint over the tape with a different color and let it dry. Once the polish is dry, carefully peel off the tape to reveal a unique negative space design. 3. Geometric Pattern: Cut strips of tape and place them on your nails in various shapes and angles. Paint over the tape with your desired nail polish color. Once the polish is dry, peel off the tape to reveal a clean and crisp design. 4. Half-Moon Manicure: Apply a base coat and let it dry. Place a small strip of tape at the base of your nail, leaving the top half exposed. Paint over the exposed area with a different color and let it dry. Once the polish is completely dry, carefully peel off the tape to reveal a trendy half-moon design. 5. Polka Dot Nails: Apply a base coat and let it dry. Place small pieces of tape on your nails in a polka dot pattern. Paint over the tape with a different color and let it dry. Once the polish is completely dry, carefully peel off the tape to reveal cute and colorful polka dot nails. 6. Chevron Design: Apply a base coat and let it dry. Place strips of tape on your nails in a chevron pattern. Paint over the tape with a different color and let it dry. Once the polish is dry, carefully peel off the tape to reveal a stylish and eye-catching design. 7. Tribal Pattern: Apply a base coat and let it dry. Cut small pieces of striping tape and place them on your nails in a geometric pattern. Paint over the tape with a different color and let it dry. Once the polish is completely dry, carefully peel off the tape to reveal a unique and eye-catching design. 8. Gradient Effect: Apply a base coat and let it dry. Place strips of tape on your nails in a diagonal pattern. Use a sponge to apply different shades of the same color over the tape. Once the polish is dry, carefully peel off the tape to reveal a beautiful gradient design. 9. Color Block Nails: Apply a base coat and let it dry. Place strips of tape on your nails in any pattern you like. Paint over the tape with different colors and let it dry. Once the polish is dry, carefully peel off the tape to reveal a fun and colorful design. 10. Zig Zag Manicure: Apply a base coat and let it dry. Cut small pieces of tape and place them on your nails in a zig zag pattern. Paint over the tape with a different color and let it dry. Once the polish is dry, carefully peel off the tape to reveal a unique and edgy design.6. 10 Cool Nail Designs with Tape | Step-by-Step Tutorial
Easy DIY Nail Art Tutorial


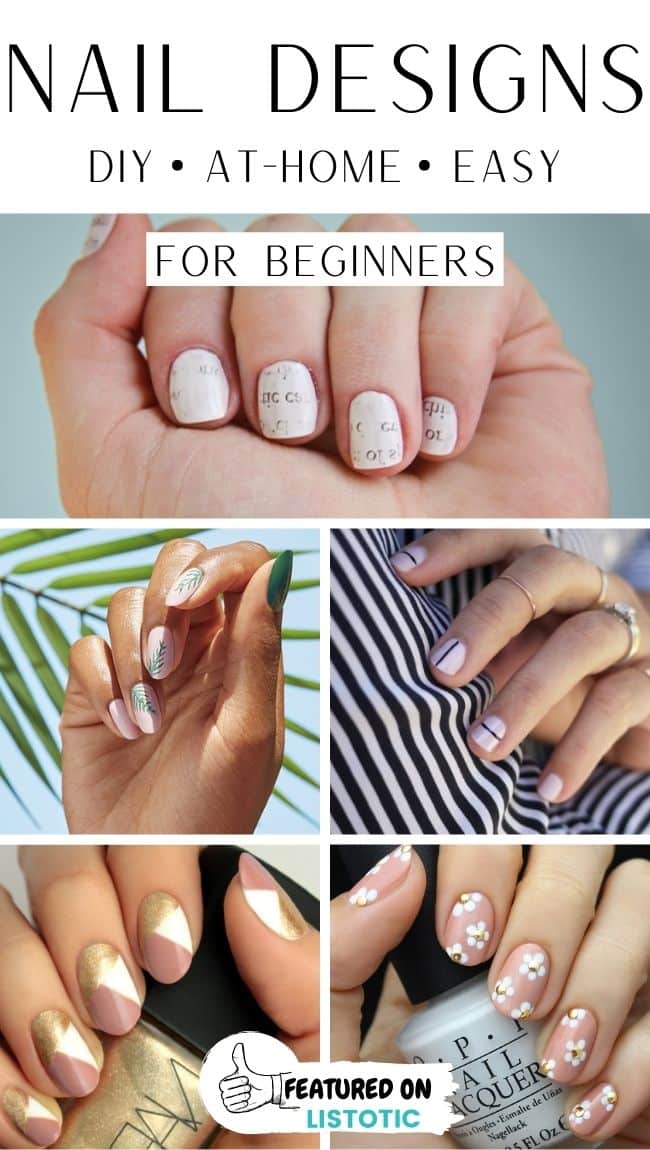
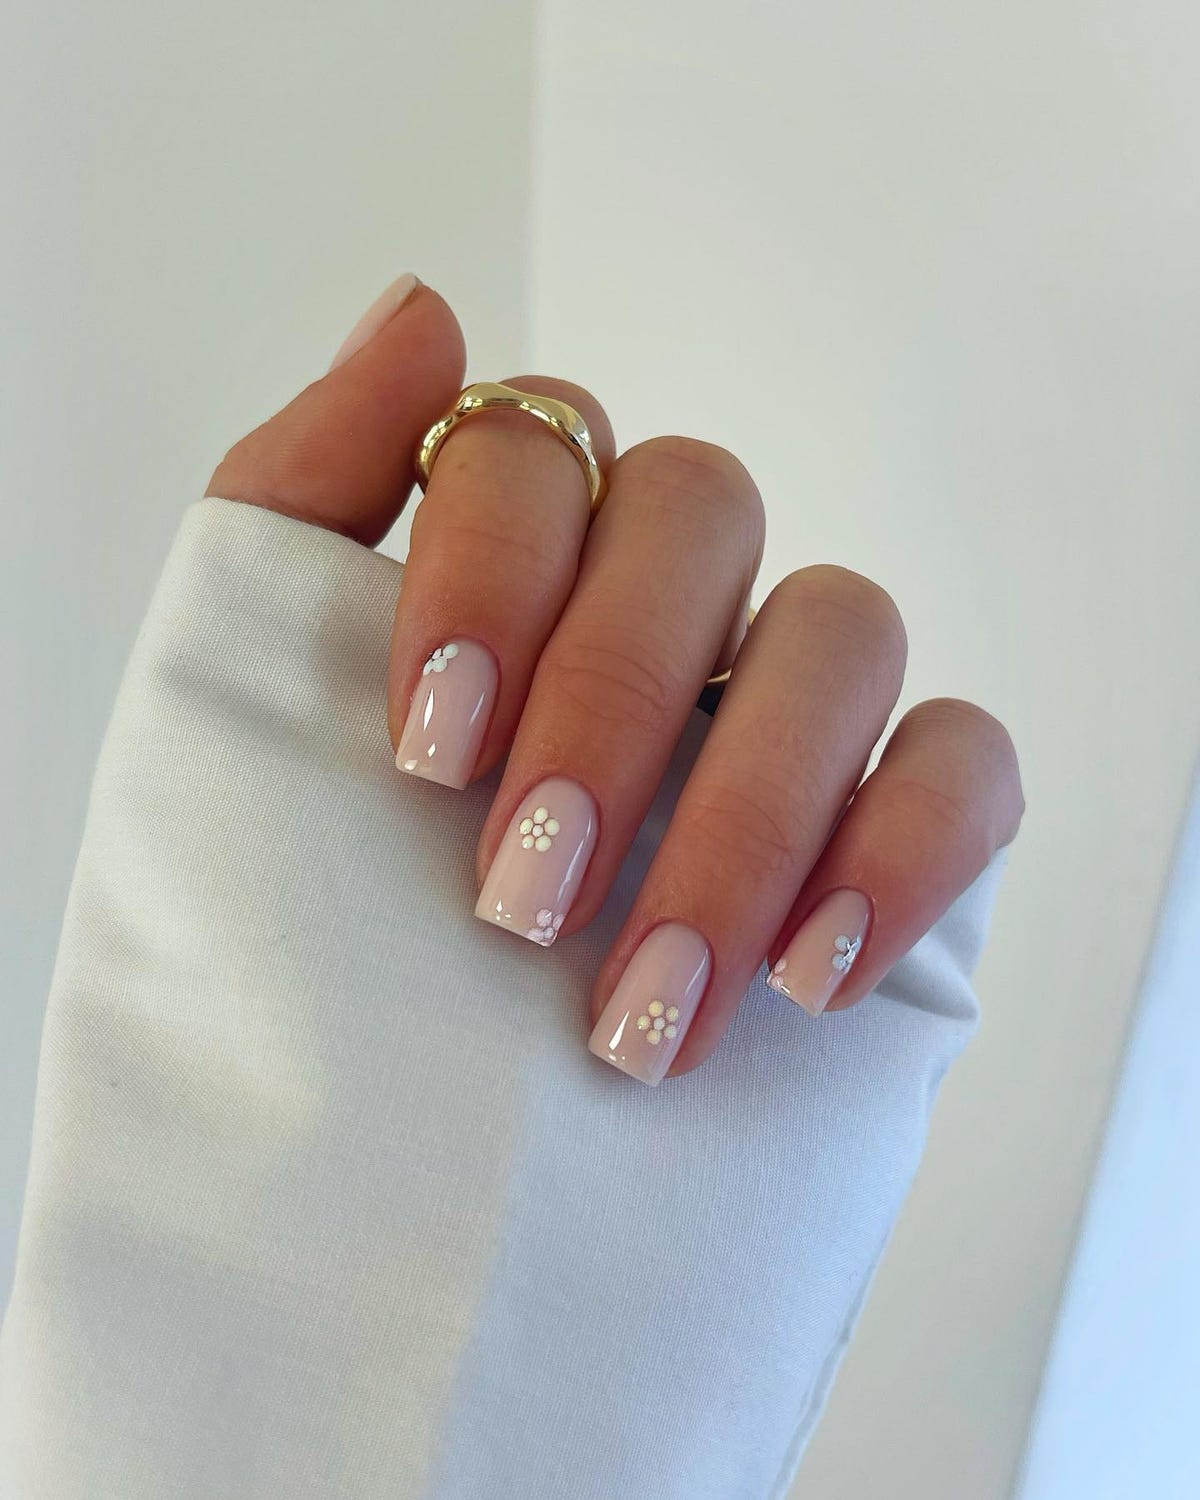
Tape nail art is not only easy, but it's also a fun and creative way to add some flair to your nails. You can experiment with different colors, patterns, and techniques to create your own unique designs. Don't be afraid to get creative and have fun with it! Another fun idea is to use tape to create a newspaper print design. Apply a light colored base coat and let it dry. Then, cut small strips of newspaper and place them on your nails, pressing down gently. Use a cotton ball soaked in rubbing alcohol to dab over the newspaper. Once the newspaper is removed, the print will transfer onto your nails. Finish off with a top coat for a cool and unique look.7. Easy Nail Art Designs with Tape | Fun and Creative Ideas

4. 5 Easy Nail Designs Using Tape


Masking tape is another great alternative for creating easy and cool nail designs. It's slightly less sticky than scotch tape, making it easier to work with. You can use it to create simple and stylish designs, such as diagonal lines or a checkerboard pattern. For a unique and edgy design, try using masking tape to create a shattered glass effect. Apply a base coat and let it dry. Then, cut small strips of tape and place them on your nails in a random pattern. Paint over the tape with a different color and let it dry. Once the polish is completely dry, carefully peel off the tape to reveal a shattered glass design.8. Cool Nail Designs with Masking Tape | Simple and Stylish Ideas


No Tools Needed!


Scotch tape is not just for wrapping presents. It can also be used to create quick and easy nail designs. One idea is to create a simple and elegant diagonal French manicure. Apply a base coat and let it dry. Then, cut small pieces of tape and place them diagonally on your nails, leaving a space at the tip. Paint over the tape with a different color and let it dry. Carefully peel off the tape to reveal a classic French manicure with a twist. You can also use scotch tape to create a glitter gradient design. Apply a base coat and let it dry. Place strips of tape on your nails in a diagonal pattern. Use a sponge to apply glitter polish over the tape. Once the polish is dry, carefully peel off the tape to reveal a sparkly and glamorous design.9. 5 Easy Nail Designs Using Scotch Tape | Quick and Simple Tutorial


5. Cool Nail Designs with Striping Tape


For those who want to make a bold statement with their nails, electrical tape is the way to go. This shiny and thick tape is perfect for creating unique and edgy designs. One idea is to create a metallic French manicure. Apply a base coat and let it dry. Then, place small strips of electrical tape at the tips of your nails. Trim the edges to create a clean line. Paint over the exposed area with a different color and let it dry. Once the polish is completely dry, carefully peel off the tape to reveal a metallic French manicure. Another cool design is the negative space lightning bolt. Apply a base coat and let it dry. Place strips of electrical tape on your nails in a zig zag pattern, leaving some space between each strip. Paint over the tape with a different color and let it dry. Once the polish is completely dry, carefully peel off the tape to reveal a unique and edgy lightning bolt design. And there you have it, 10 cool and easy nail designs with tape. With these ideas and techniques, you can achieve beautiful and unique nail art without spending hours at the salon. So grab some tape and get creative with your nails!10. Cool Nail Designs with Electrical Tape | Unique and Edgy Ideas

Easy Nail Art Tutorial

Cool Easy Nail Design with Tape: A Fun and Creative Way to Add Style to Your Nails

Introduction
 Are you looking for a unique and easy way to add some flair to your nails? Look no further than
cool easy nail designs with tape!
This fun and creative technique allows you to create beautiful and intricate designs on your nails without the hassle of using multiple tools and products. With just a few simple steps, you can achieve salon-worthy nails right at home. In this article, we will explore the world of nail design with tape and provide you with some inspiration to get started.
Are you looking for a unique and easy way to add some flair to your nails? Look no further than
cool easy nail designs with tape!
This fun and creative technique allows you to create beautiful and intricate designs on your nails without the hassle of using multiple tools and products. With just a few simple steps, you can achieve salon-worthy nails right at home. In this article, we will explore the world of nail design with tape and provide you with some inspiration to get started.
What is Nail Design with Tape?
 Nail design with tape is a simple yet effective way to create stunning designs on your nails. It involves using adhesive tape, typically painter's tape or washi tape, to create clean and precise lines on your nails. The tape acts as a stencil, allowing you to create intricate patterns and designs without the need for steady hands or expensive tools. This technique is perfect for beginners and can also be used by experienced nail artists to create unique and eye-catching designs.
How to Create Cool Easy Nail Designs with Tape
 Creating nail designs with tape is a straightforward process that anyone can do. Here's a step-by-step guide to help you get started:
Step 1: Prepare Your Nails
Before you begin, make sure your nails are clean and free from any old nail polish. If you have any rough edges, gently file them down to create a smooth surface for your design.
Step 2: Gather Your Materials
To create nail designs with tape, you will need the following materials:
Creating nail designs with tape is a straightforward process that anyone can do. Here's a step-by-step guide to help you get started:
Step 1: Prepare Your Nails
Before you begin, make sure your nails are clean and free from any old nail polish. If you have any rough edges, gently file them down to create a smooth surface for your design.
Step 2: Gather Your Materials
To create nail designs with tape, you will need the following materials:
- Nail polish in your desired colors
- Adhesive tape (painter's tape or washi tape)
- Scissors
- Top coat
Inspiration for Cool Easy Nail Designs with Tape
 Now that you know how to create nail designs with tape, here are some ideas to get your creative juices flowing:
- Create a modern and chic look with a black and white striped design
- Make a statement with a bold and colorful geometric design
- Add some sparkle to your nails with a glittery chevron pattern
- Get festive with a candy cane-inspired design for the holidays


