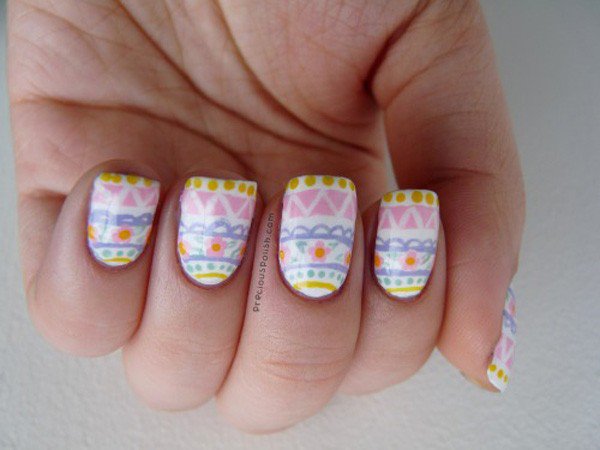
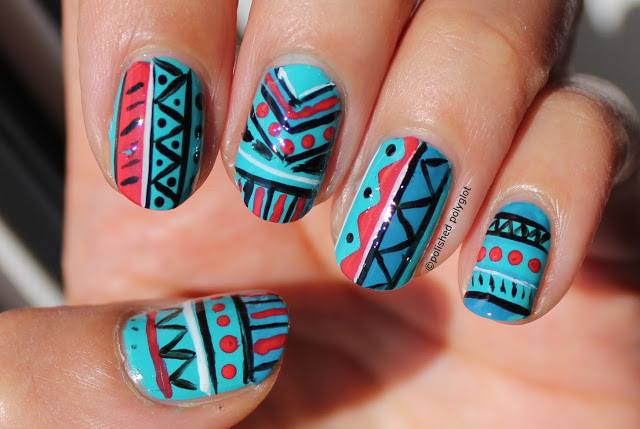
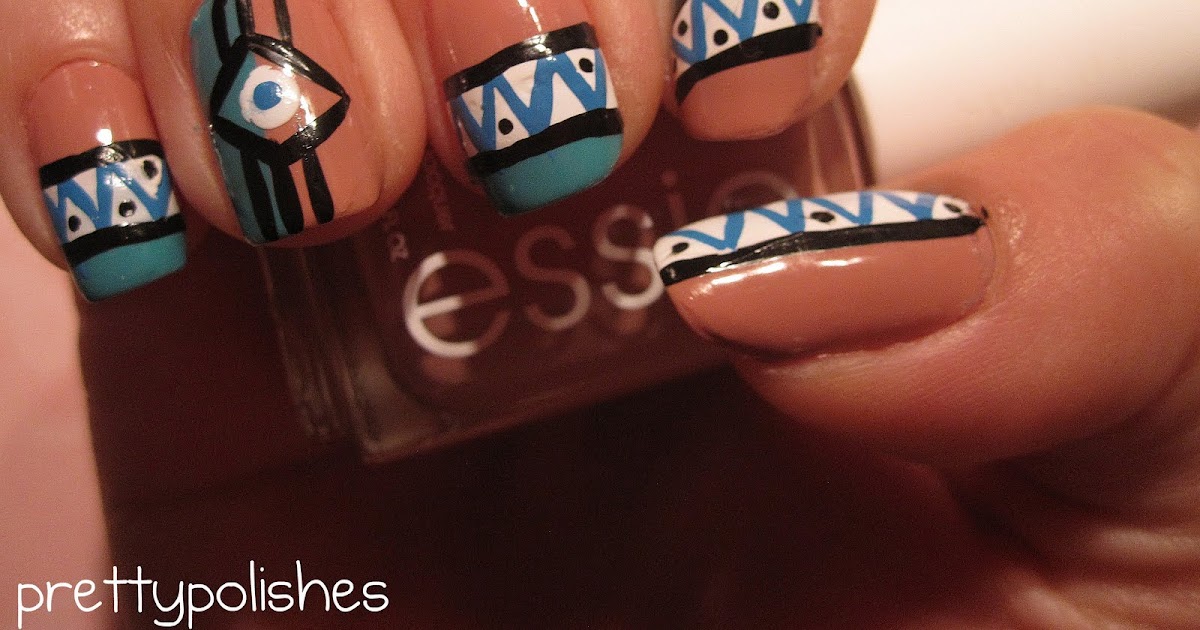
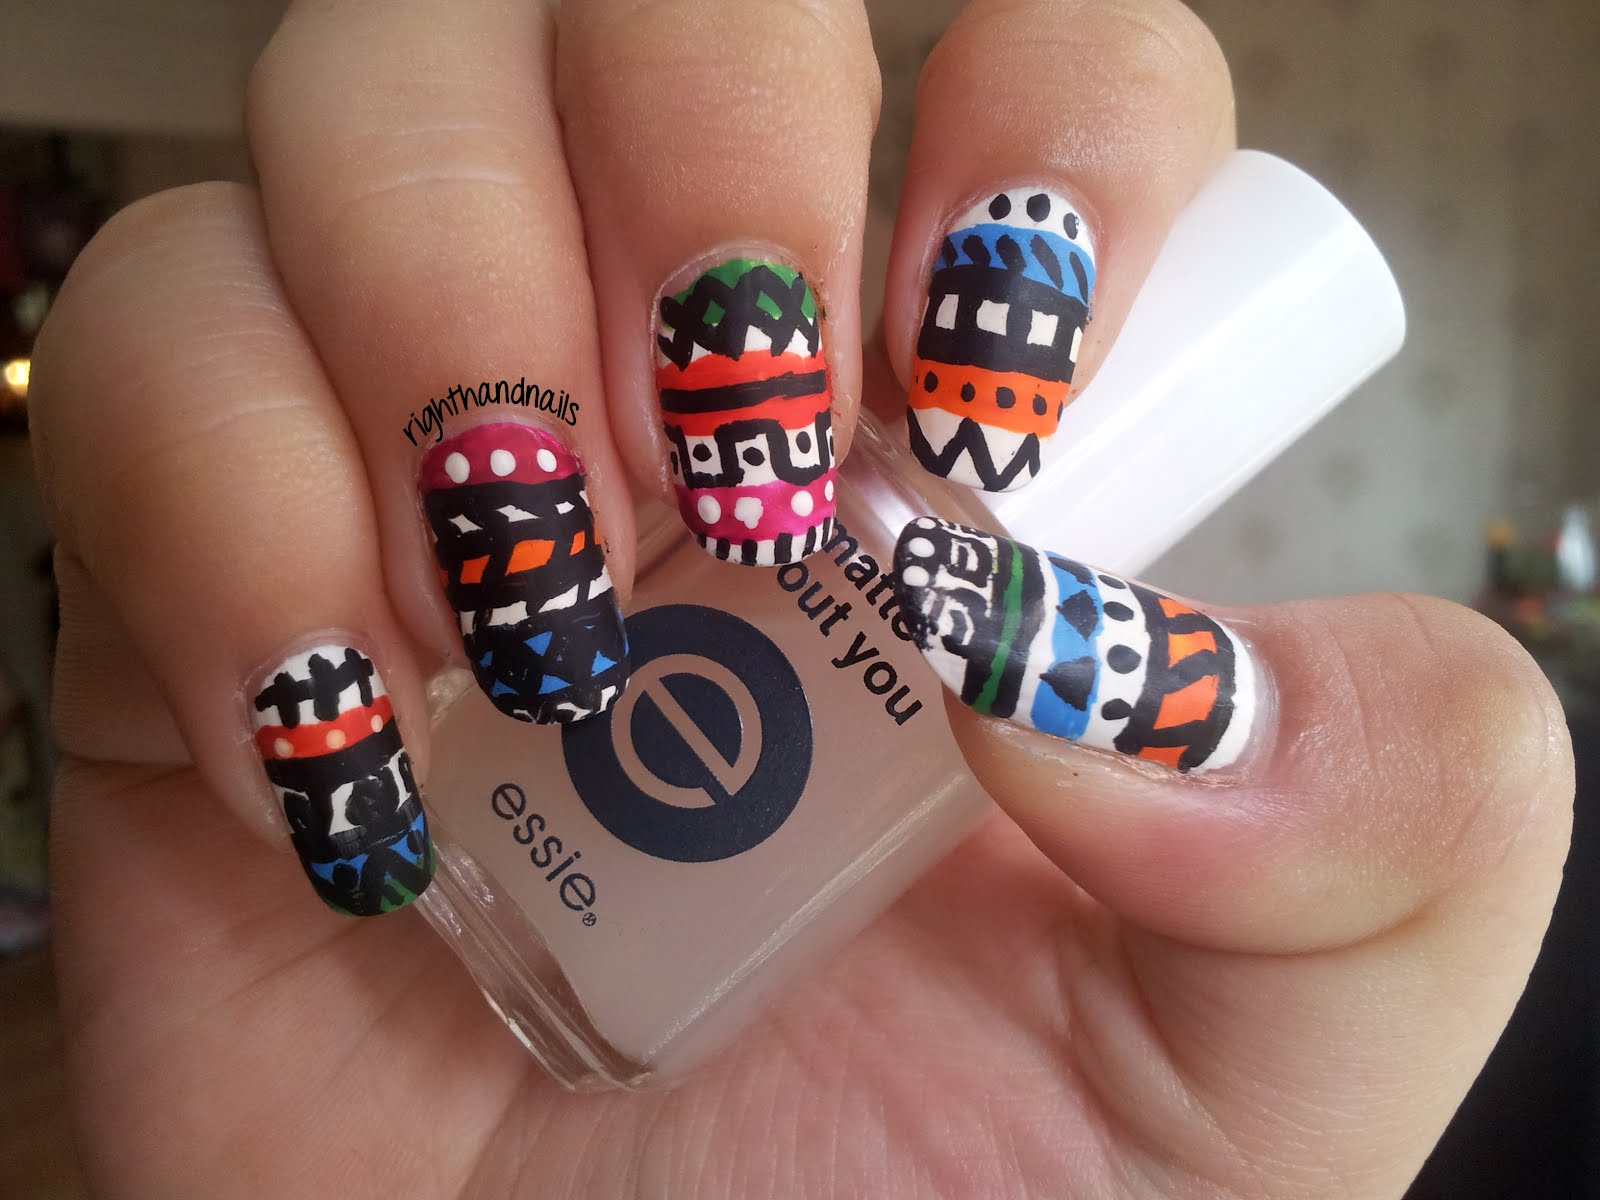
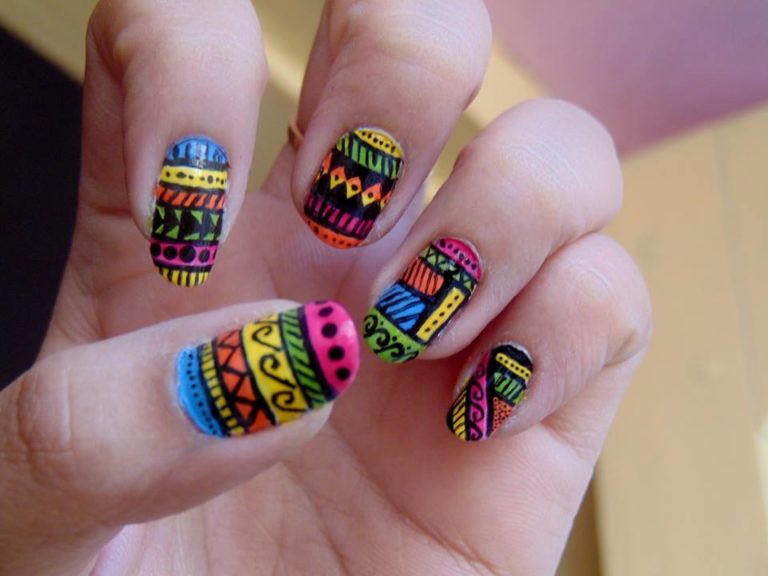
If you're looking for a fun and easy way to add some tribal flair to your nails, then this tutorial is for you! With just a few simple steps, you can create a cute and trendy tribal nail design that is perfect for any occasion. So, let's get started! To begin, you will need a few basic nail polish colors of your choice, a thin nail art brush, and a top coat. You can also add some glitter or rhinestones for some extra sparkle if you'd like. Start by painting your nails with a base color of your choice. It's best to choose a light neutral shade as this will make the tribal design stand out. Let the polish dry completely before moving on to the next step. Next, take your thin nail art brush and dip it into a contrasting color. You can choose any color that complements your base color, such as black, white, or a bright color like red or blue. Begin by creating a triangle shape on the tip of your nail, starting from the corner and drawing a line down to the center of your nail. Then, create another triangle on the opposite corner of your nail, pointing towards the center. This will create a diamond shape in the center of your nail. Continue this pattern on each nail until all of your nails are complete. Once you have finished creating the diamond shapes, use your nail art brush to draw smaller triangles and lines inside the larger ones. This will give your design a more intricate and tribal look. You can also add dots or other small details to make your design more unique. Once you're happy with your design, seal it with a top coat to make it last longer. This will also give your nails a glossy finish and make the colors pop. And there you have it, a cute and easy tribal nail design that you can rock on any occasion. Feel free to experiment with different color combinations and designs to make it your own!1. Cute and Easy Tribal Nail Design Tutorial


1. Cute and Easy Tribal Nail Design Tutorial
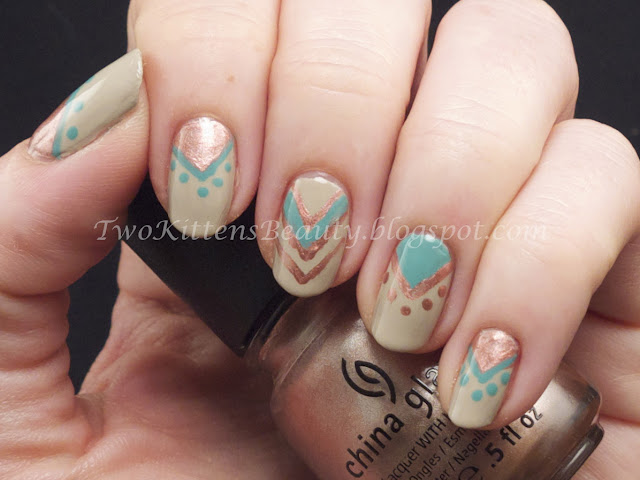


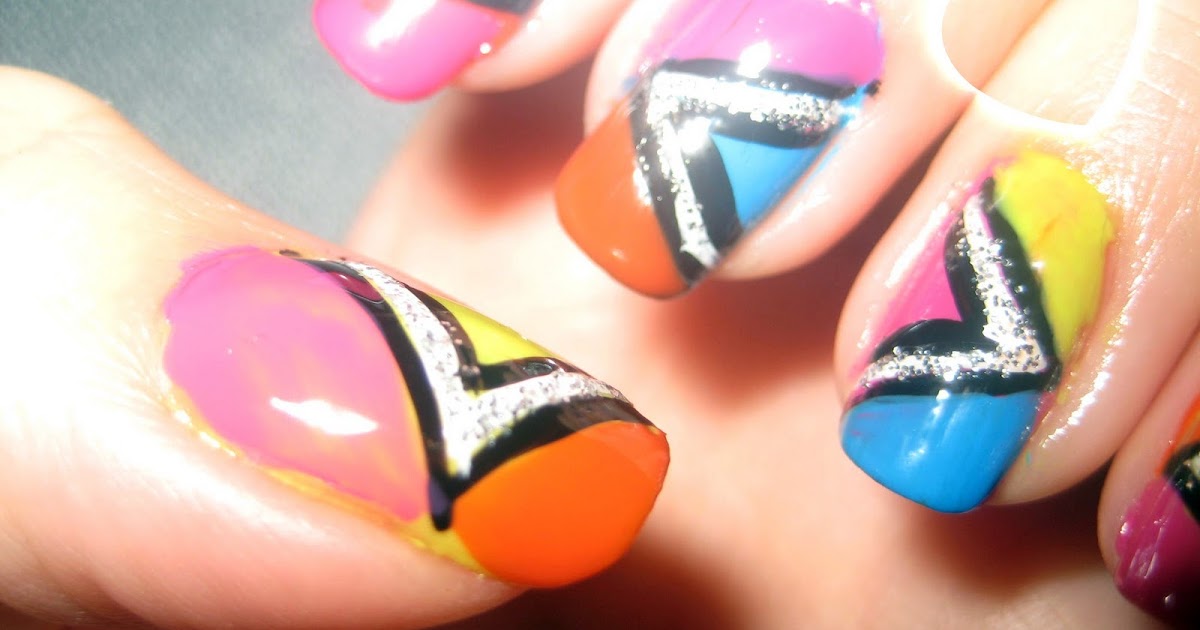

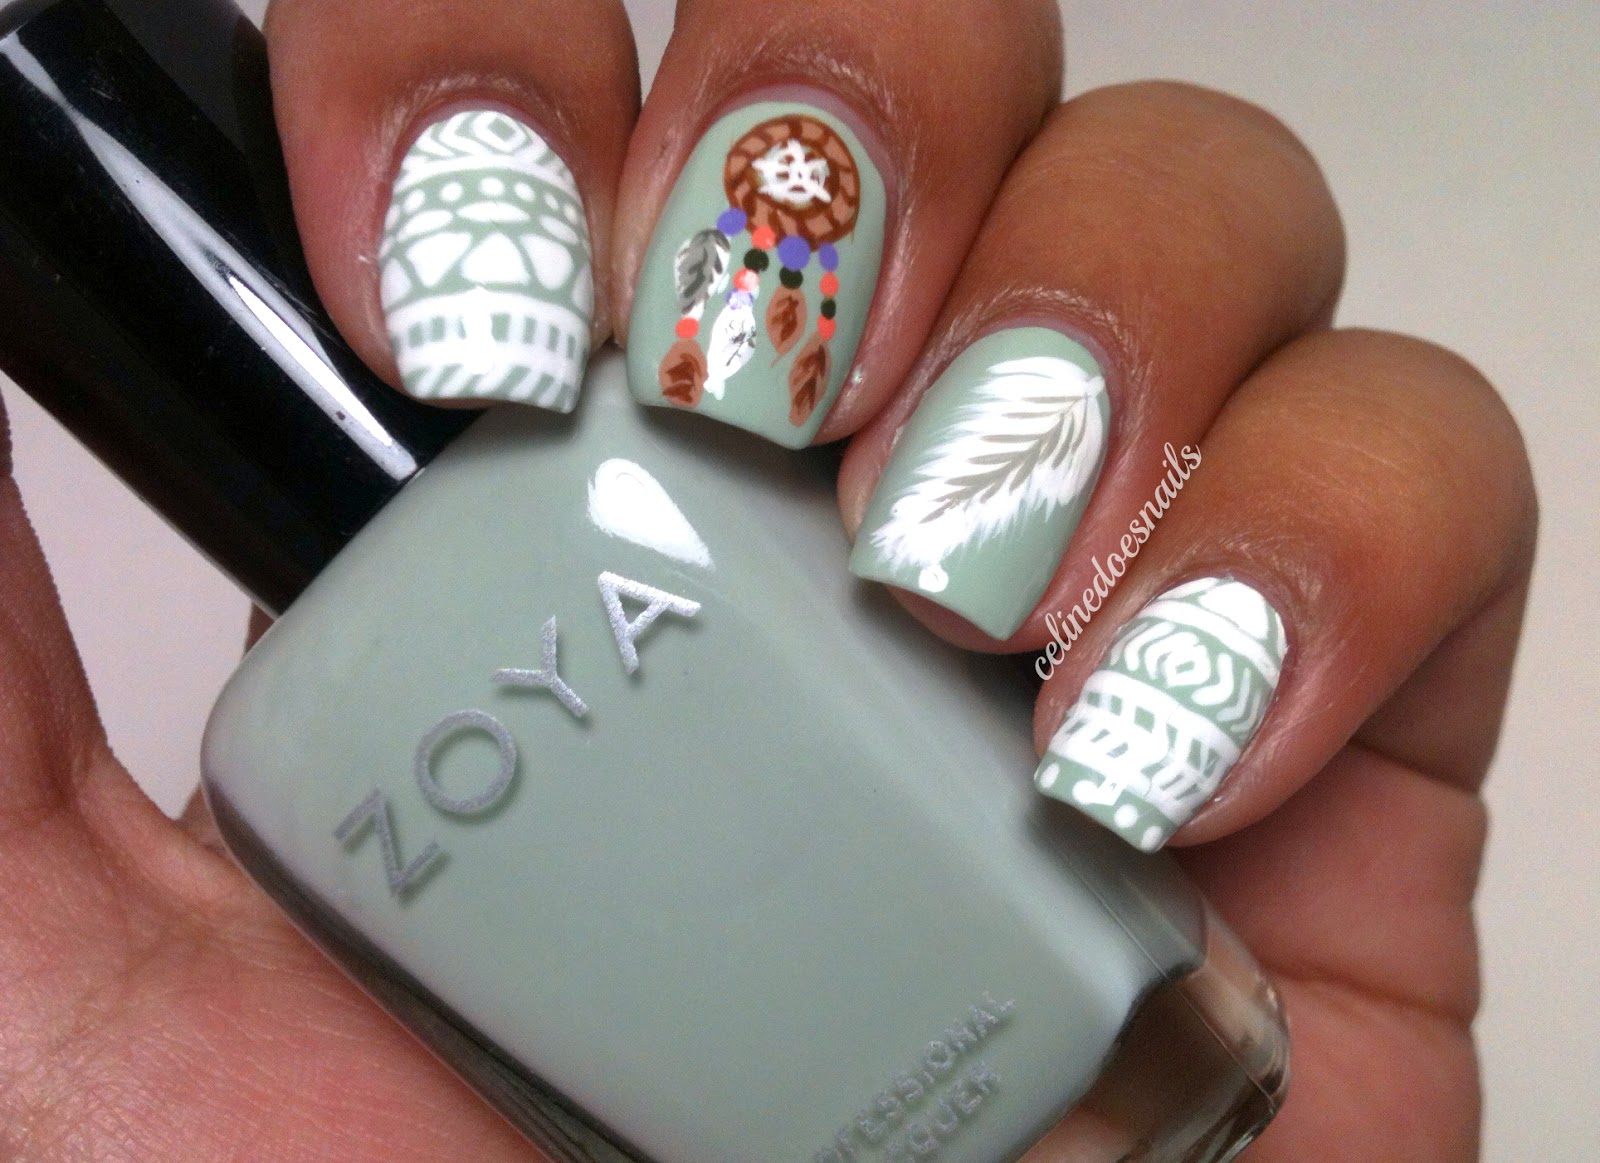
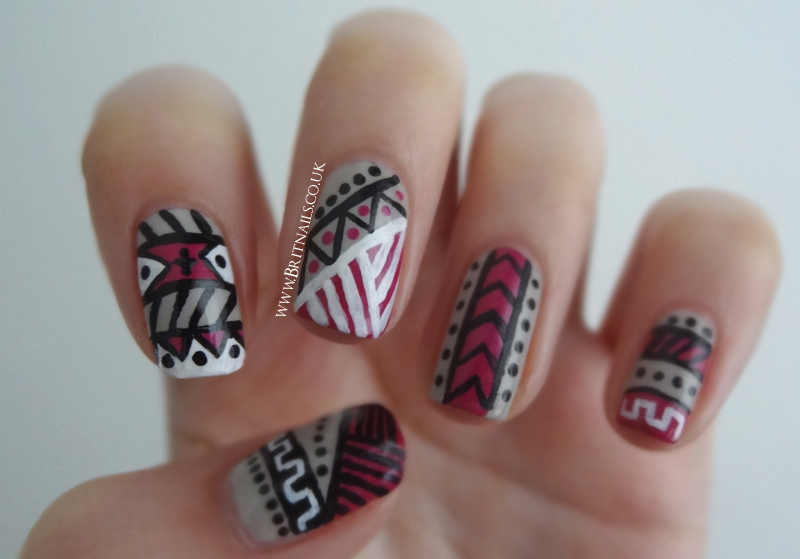
If you're new to the world of nail art, tribal designs may seem intimidating. But fear not, there are plenty of easy and beginner-friendly tribal nail art ideas that anyone can recreate. With a little practice and patience, you'll be creating stunning tribal designs in no time! One simple way to create a tribal nail design is by using nail stickers or stencils. These can be found at most drugstores or online and make the process much easier. Simply apply the sticker or stencil to your nail and paint over it with a contrasting color. Peel off the sticker or stencil before the polish dries to reveal a perfect tribal design. You can also create a tribal design by using a small makeup sponge. Apply a base color to your nails and let it dry completely. Then, sponge on another color over the base color using a dabbing motion. Use different colors for each nail to create a colorful and fun tribal look. Another easy option is to use a nail art pen or striper brush to create your tribal design. These tools allow for more precision and control, making it easier to create intricate designs. Start with simple patterns and then gradually add more details as you become more comfortable. If you're feeling extra creative, you can also try creating a 3D tribal design using acrylic powder or gel. Simply apply a layer of clear gel or acrylic powder on top of your base color and then use a toothpick or small brush to create your tribal design. This will give your nails a unique and textured look that is sure to stand out. Remember, practice makes perfect, so don't be afraid to experiment and have fun with your tribal nail art. With these easy ideas, you'll be a tribal nail art pro in no time!2. Tribal Nail Art Ideas for Beginners


2. Tribal Nail Art Ideas for Beginners

Creating a Cute and Easy Tribal Nail Design
Introduction
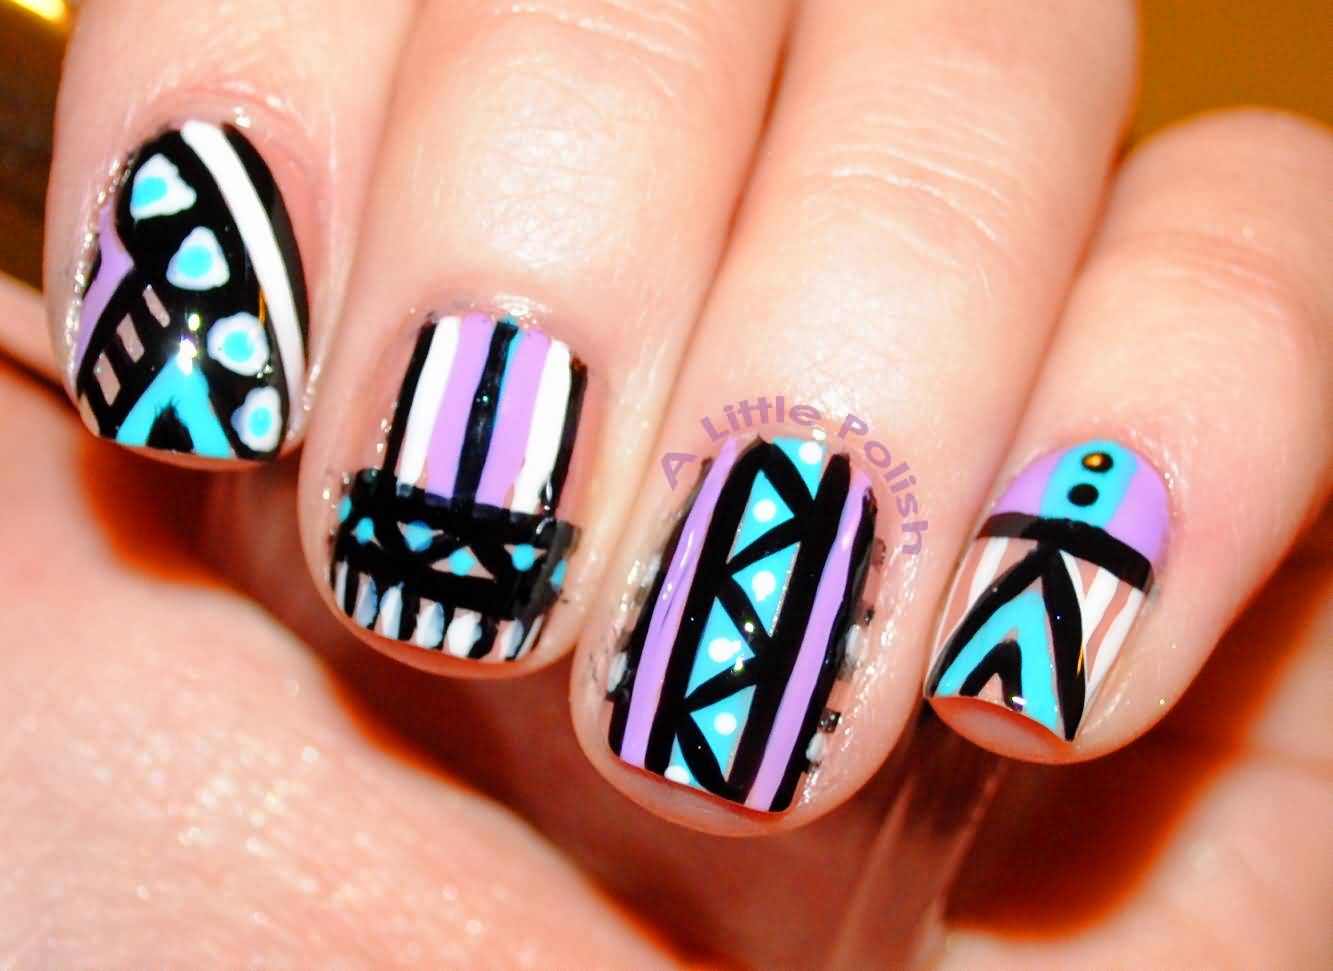
 Are you looking for a unique and eye-catching way to express your personal style through your nails? Look no further than a cute and easy tribal nail design! This trend has been gaining popularity in recent years and for good reason. Tribal nail designs are a perfect blend of bold colors, geometric patterns, and intricate details, making them perfect for anyone looking to make a statement. In this article, we will guide you through the process of creating your own cute and easy tribal nail design, perfect for any occasion.
Gather Your Supplies
 Before we dive into the design process, it's important to make sure you have all the necessary supplies. You will need a base coat, top coat, a variety of
bold and vibrant nail polish colors
, a thin nail art brush, and a dotting tool. You can also add
glitter, studs or rhinestones
for some extra sparkle and dimension to your design. Make sure to have some cotton pads and nail polish remover on hand for any mistakes.
Before we dive into the design process, it's important to make sure you have all the necessary supplies. You will need a base coat, top coat, a variety of
bold and vibrant nail polish colors
, a thin nail art brush, and a dotting tool. You can also add
glitter, studs or rhinestones
for some extra sparkle and dimension to your design. Make sure to have some cotton pads and nail polish remover on hand for any mistakes.
Prep and Prime Your Nails
 To ensure your tribal nail design lasts, it's important to prep and prime your nails. Start by trimming and shaping your nails to your desired length and shape. Next, apply a base coat to protect your nails and create a smooth canvas for your design. Allow the base coat to dry completely before moving on to the next step.
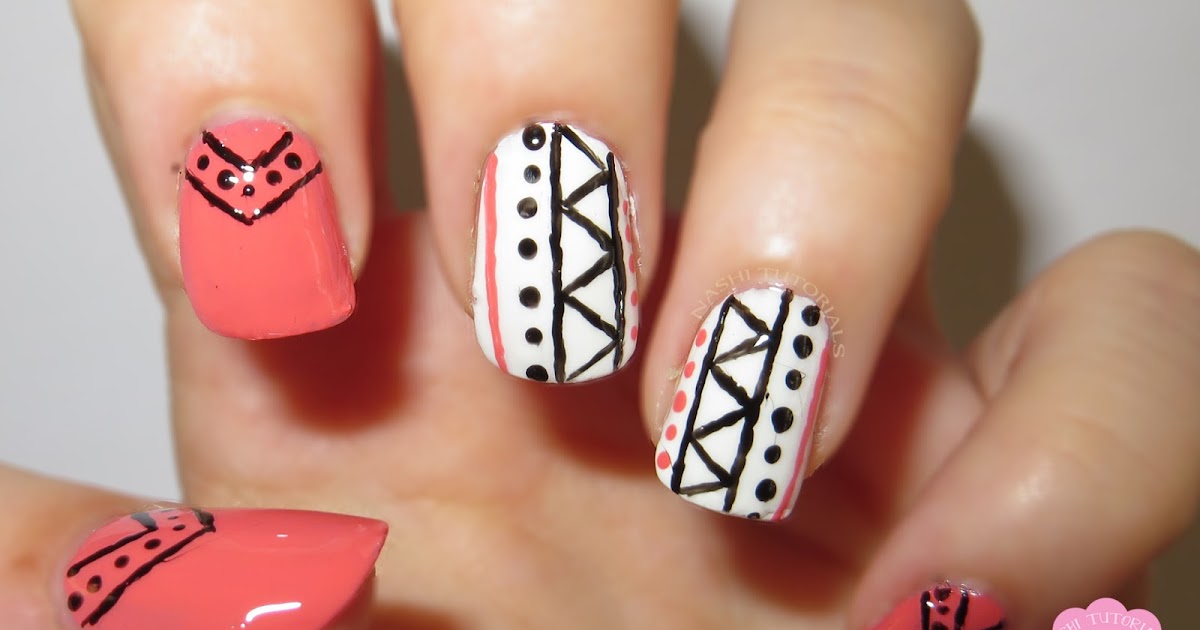
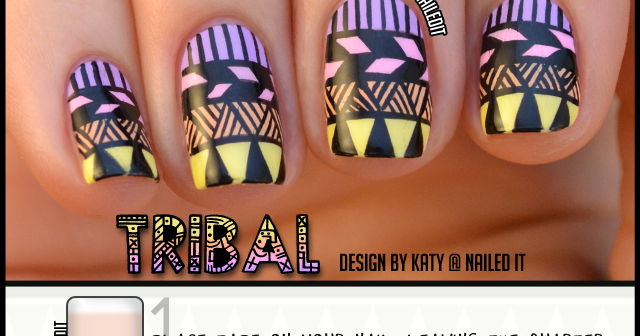
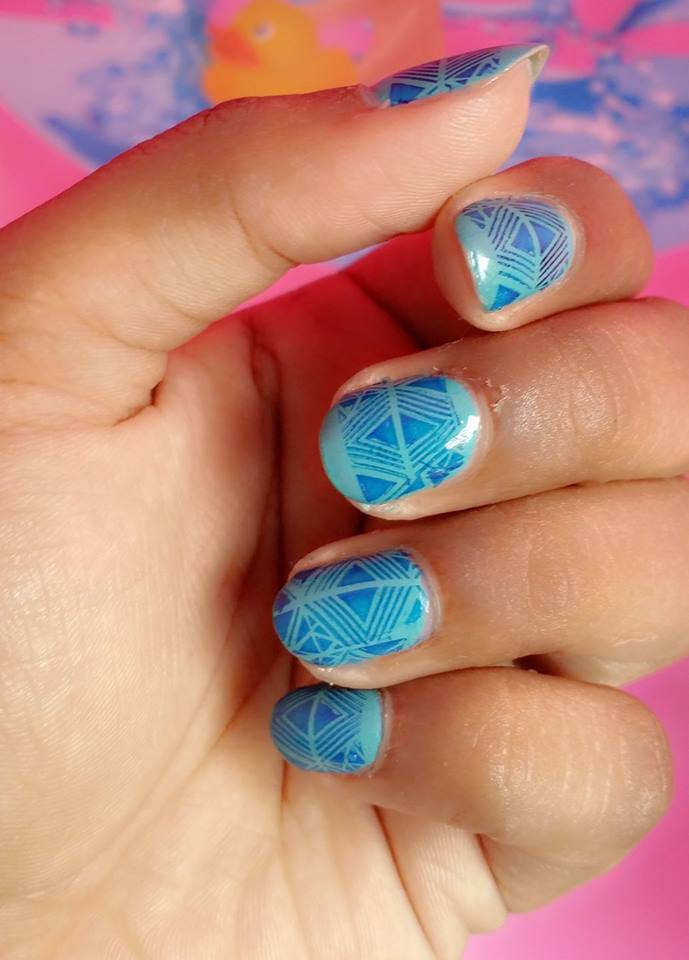
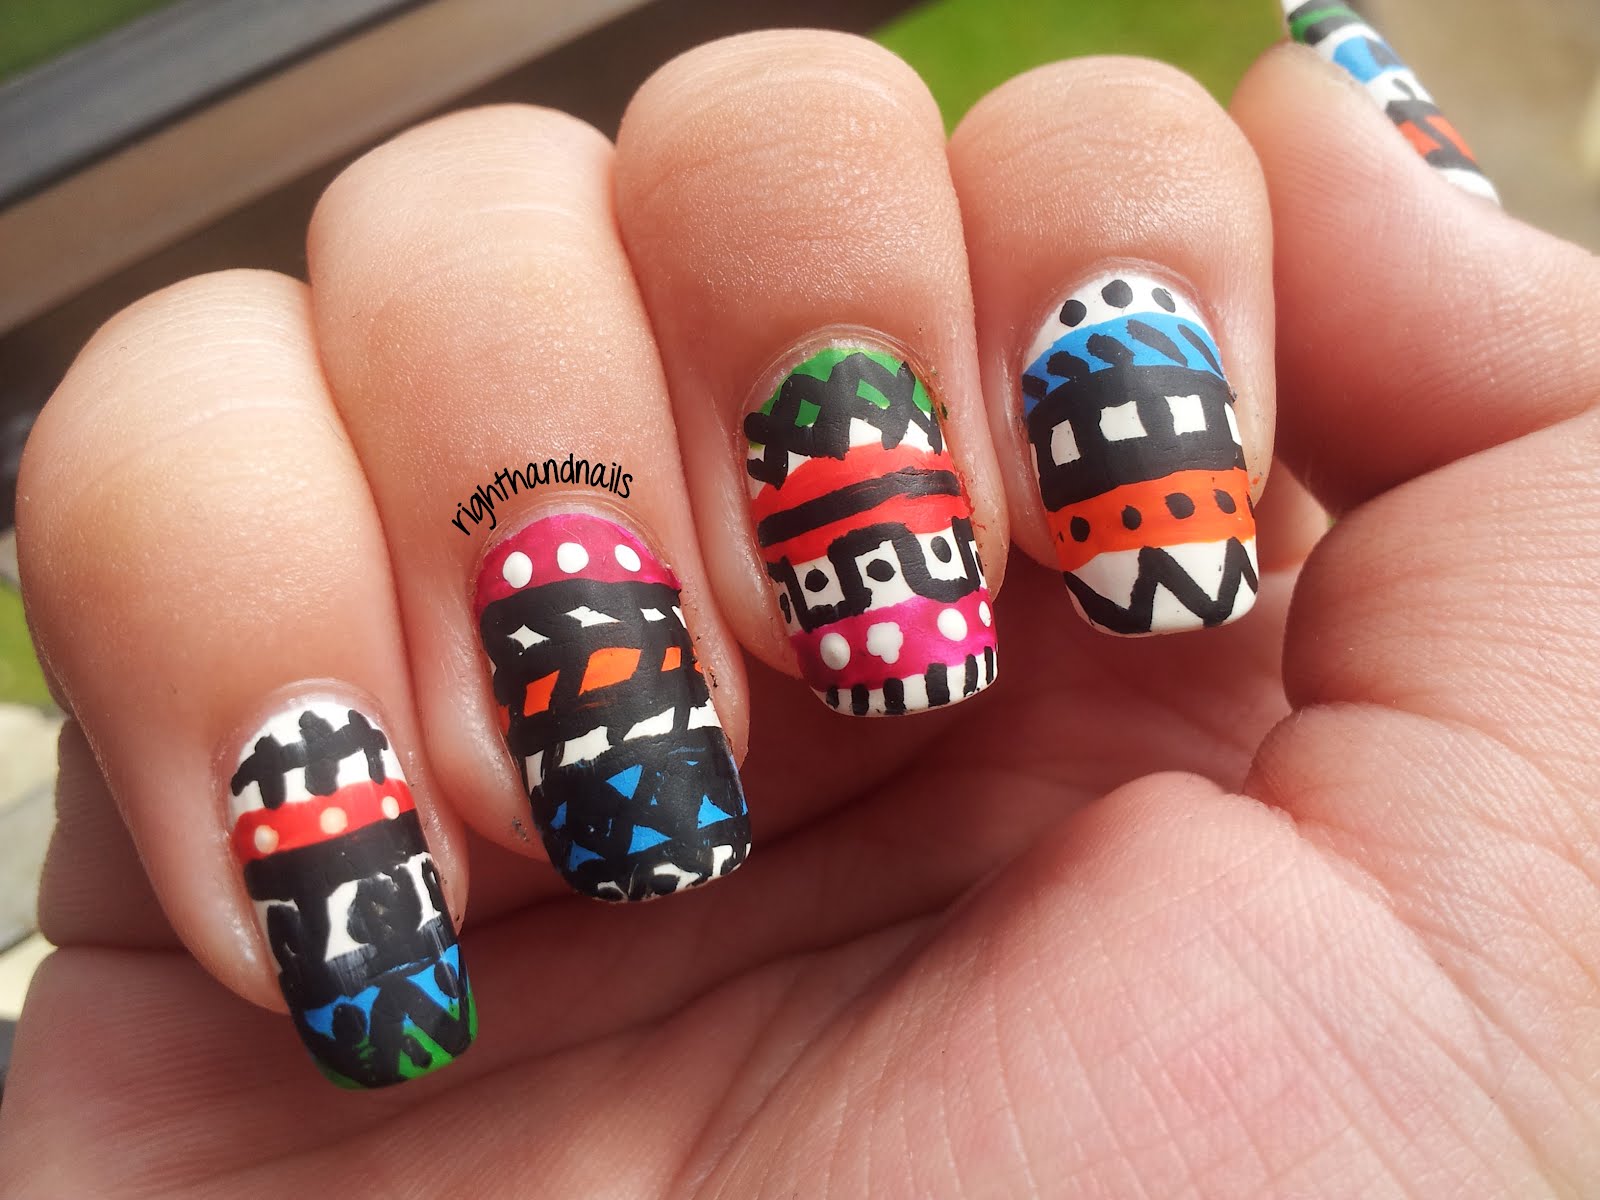
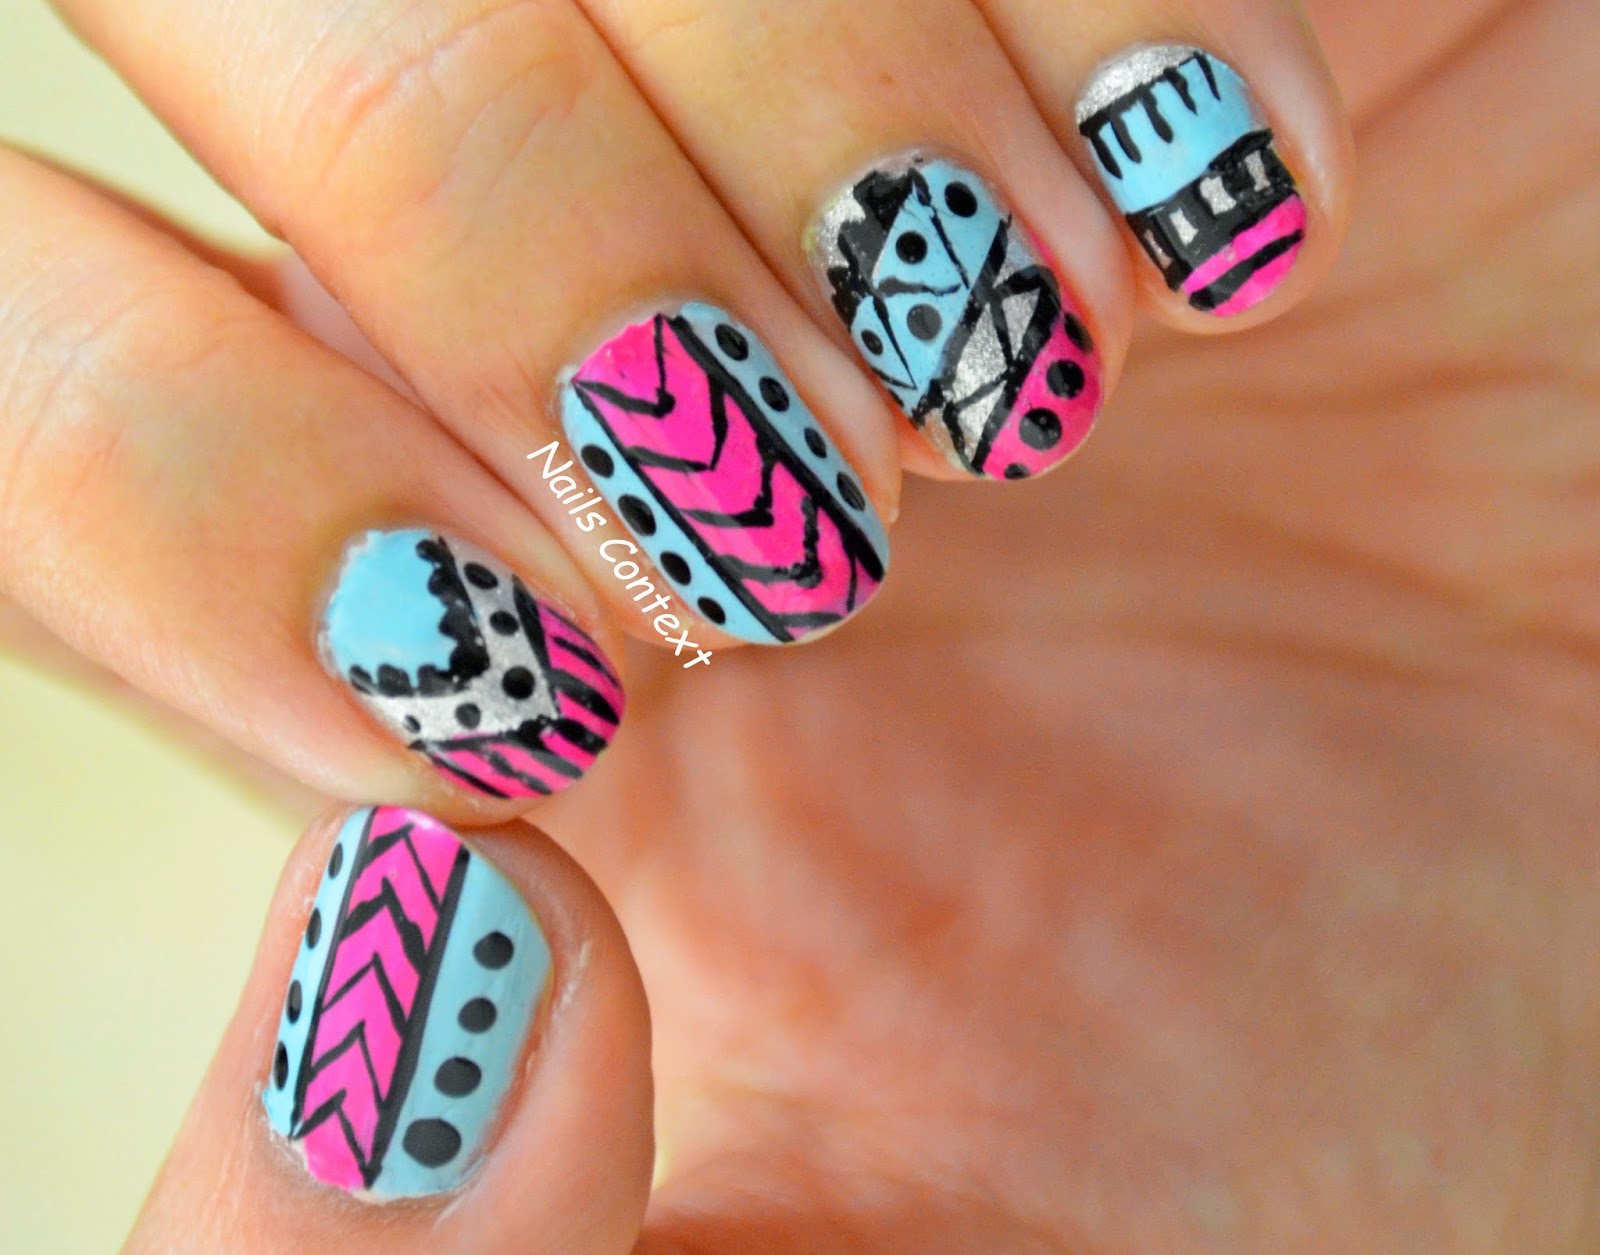
Get Creative with Your Design
 Now comes the fun part - creating your cute and easy tribal nail design! The best part about tribal designs is that there are no rules, so let your creativity run wild. You can opt for a single bold color or create a colorful pattern using multiple shades. Use your thin nail art brush to create geometric shapes, lines, and dots on your nails. You can also use the dotting tool to add small details or textures to your design. Don't be afraid to mix and match different colors and patterns to create a unique and personalized look.
Seal the Deal with a Top Coat
 Once you are satisfied with your design, let it dry for a few minutes before applying a top coat. This will not only protect your design but also give it a glossy and professional finish. Make sure to seal the tips of your nails with the top coat to prevent chipping.
Final Thoughts
 In just a few simple steps, you have created a cute and easy tribal nail design that is sure to turn heads. With endless possibilities and room for creativity, tribal nail designs are a great way to express your personal style and add a unique touch to your look. So go ahead and give it a try, we guarantee you won't be disappointed!


