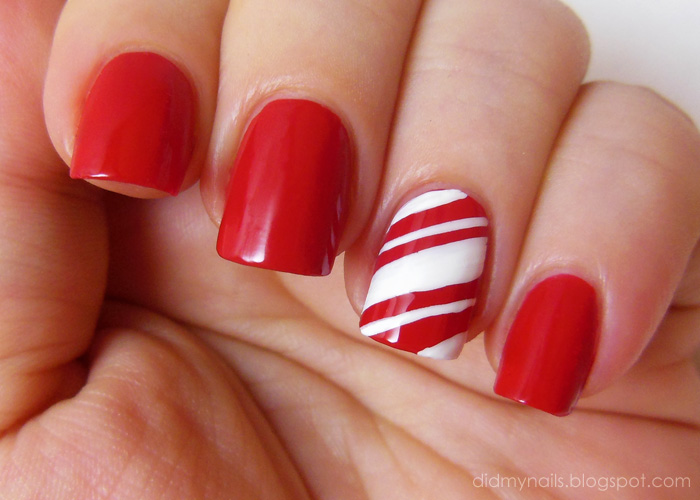
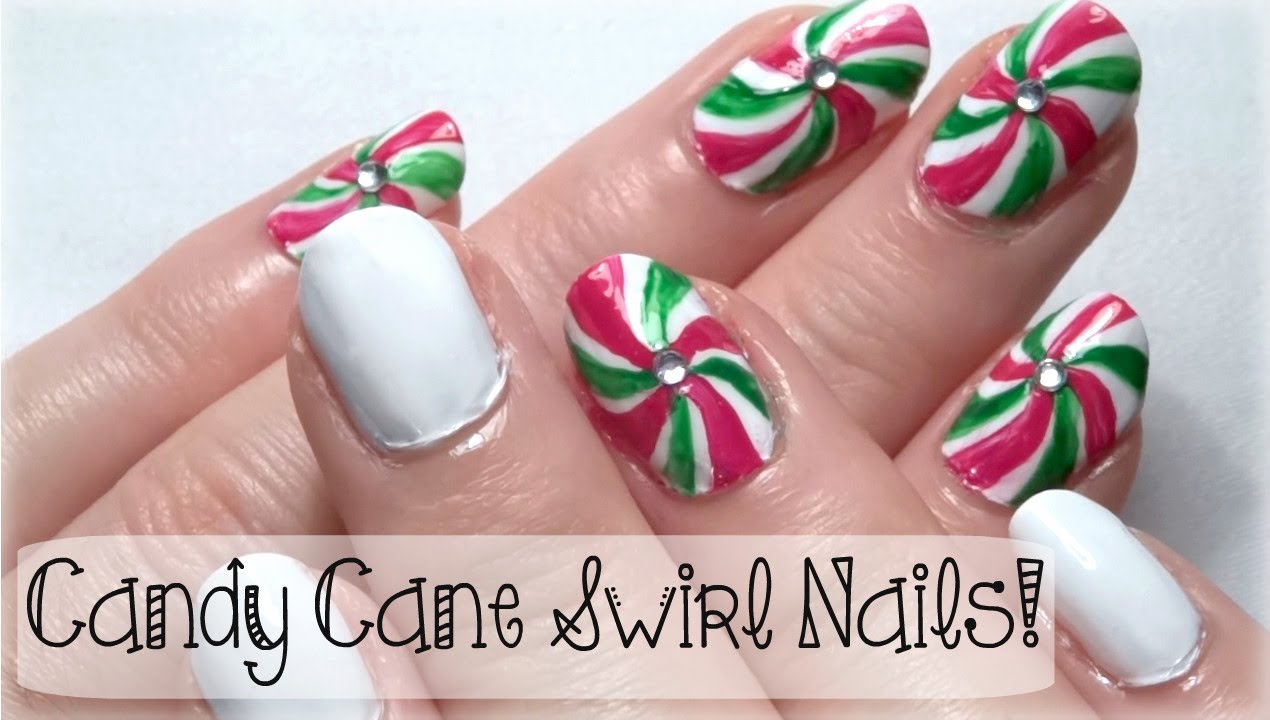
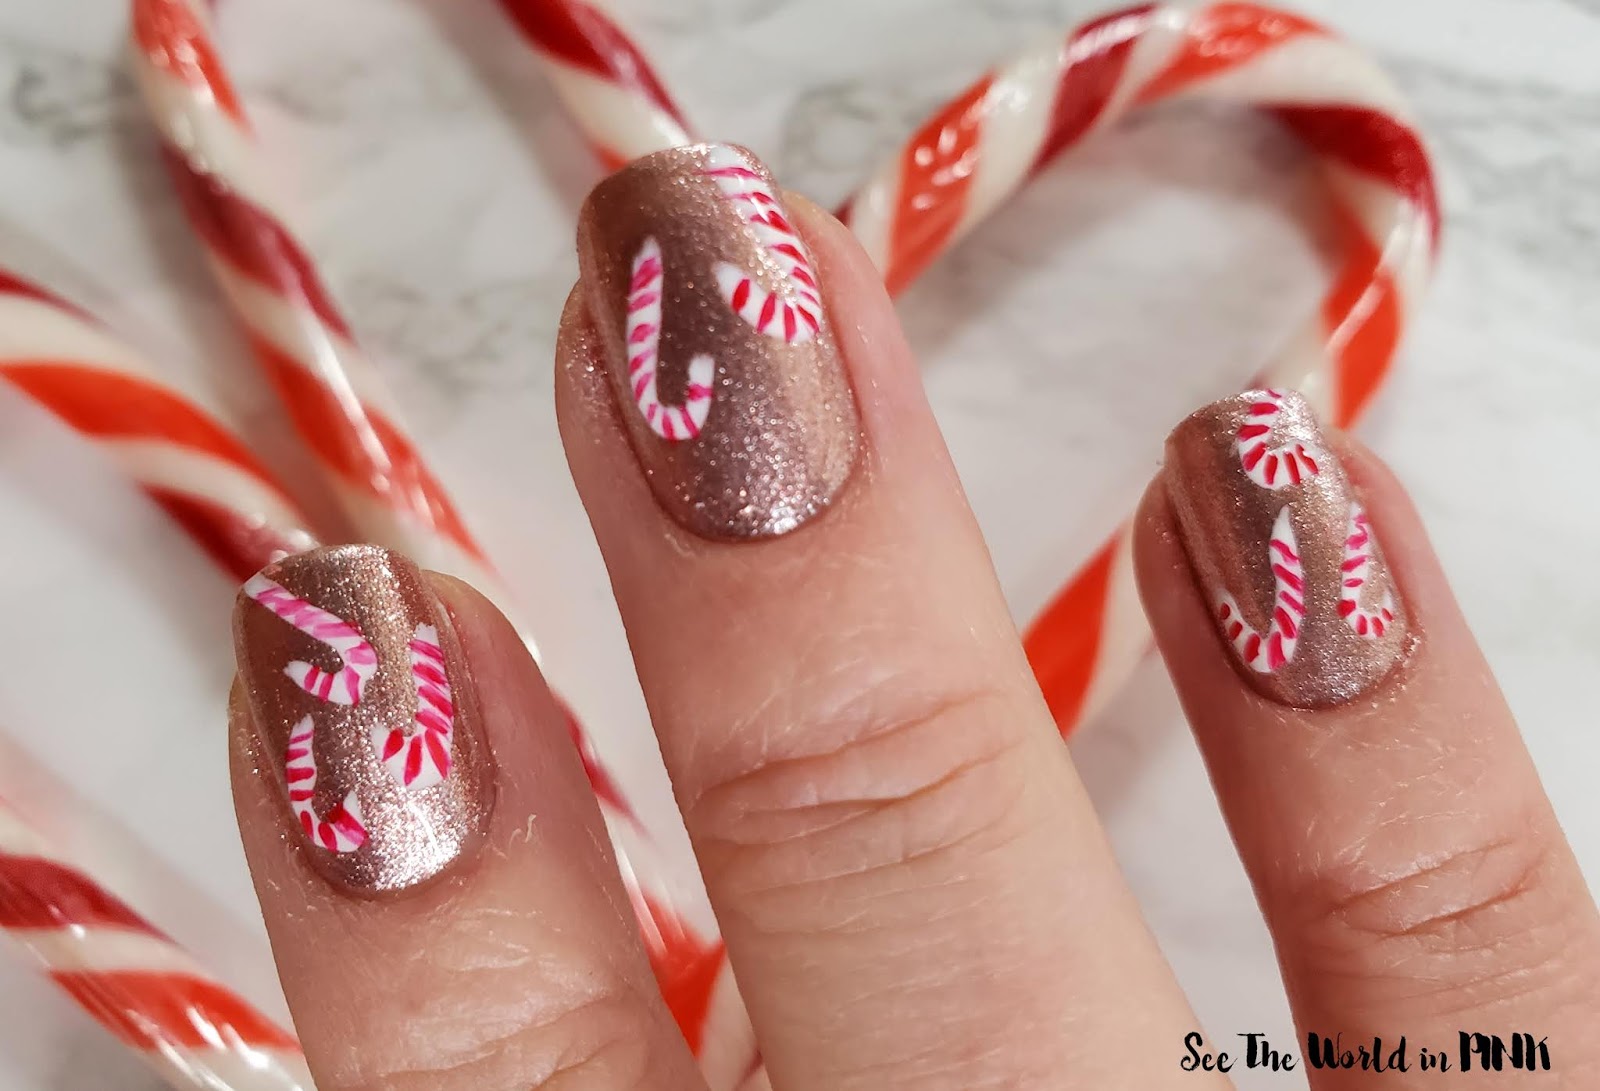
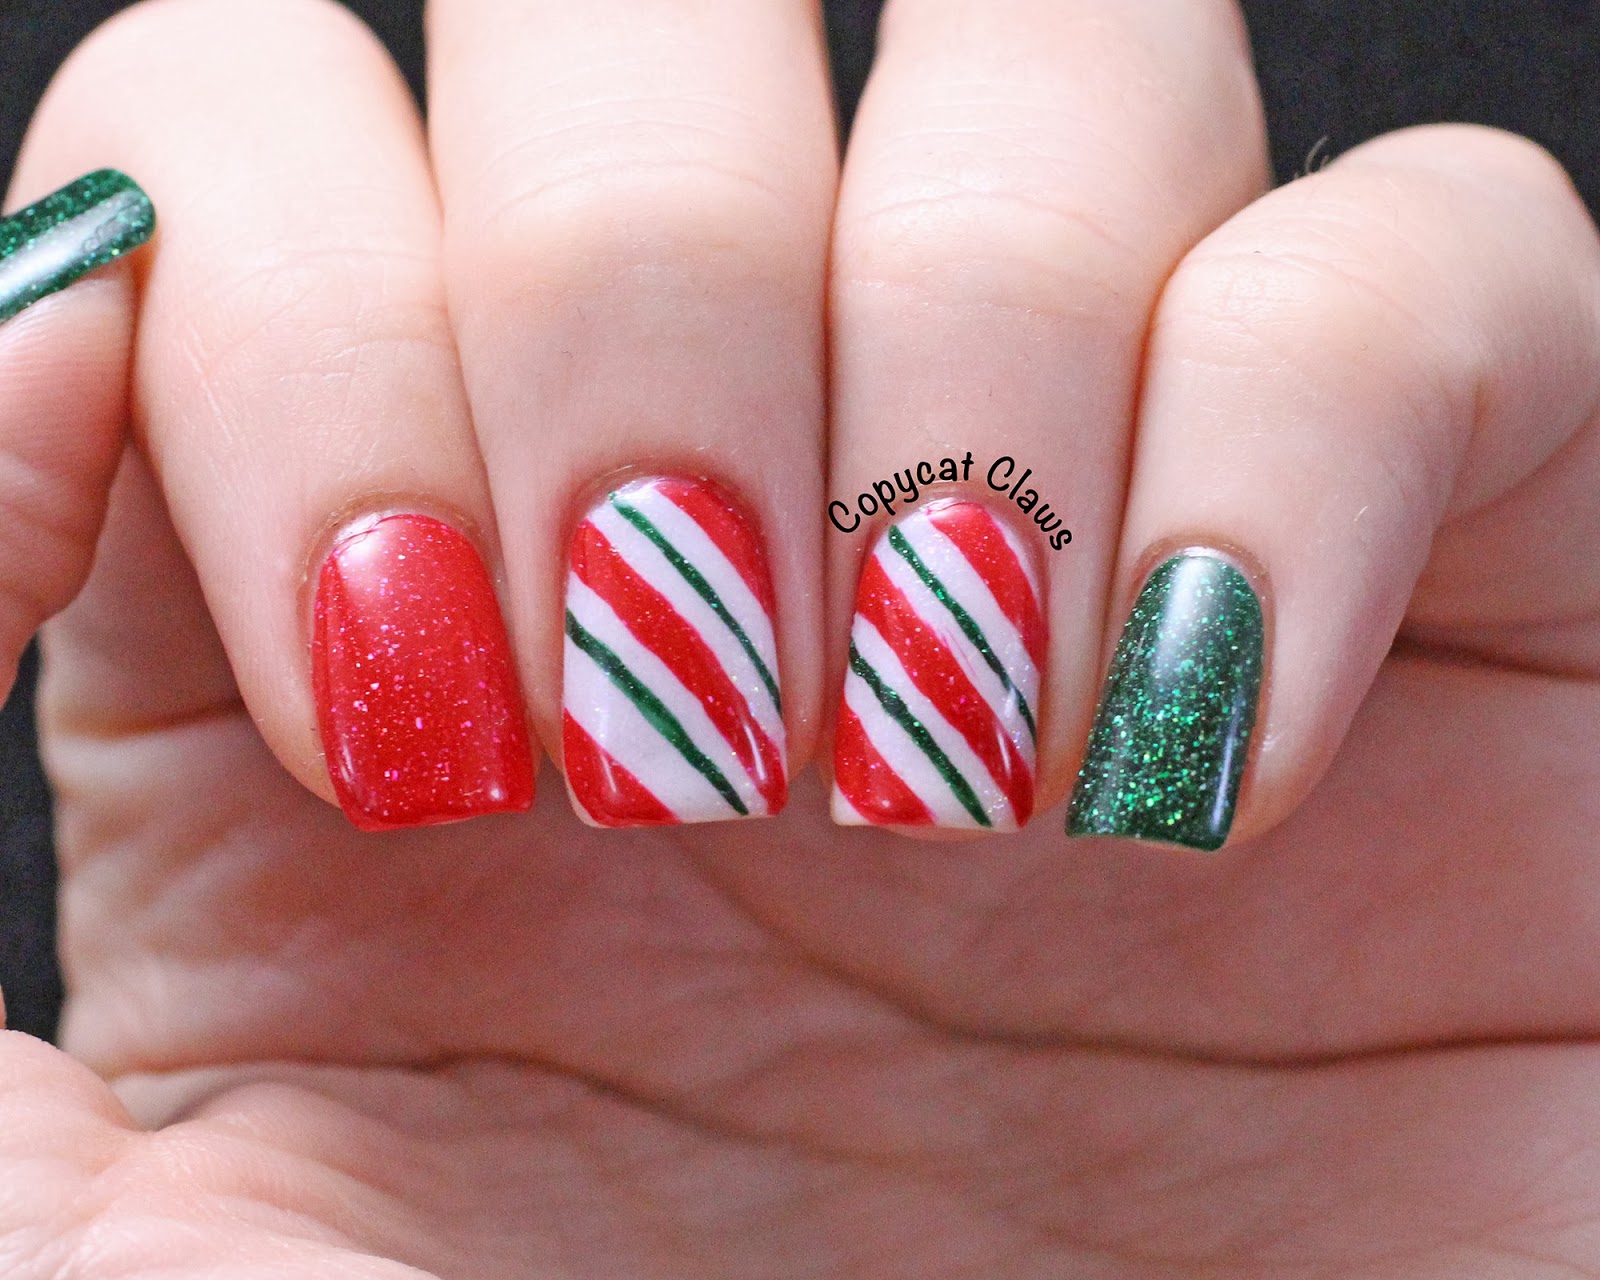
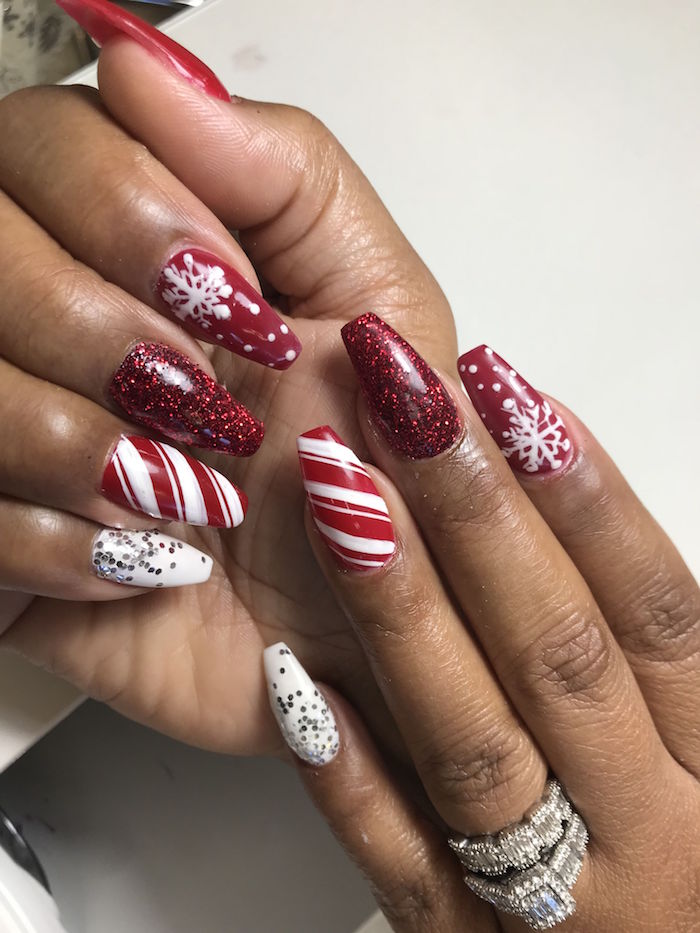
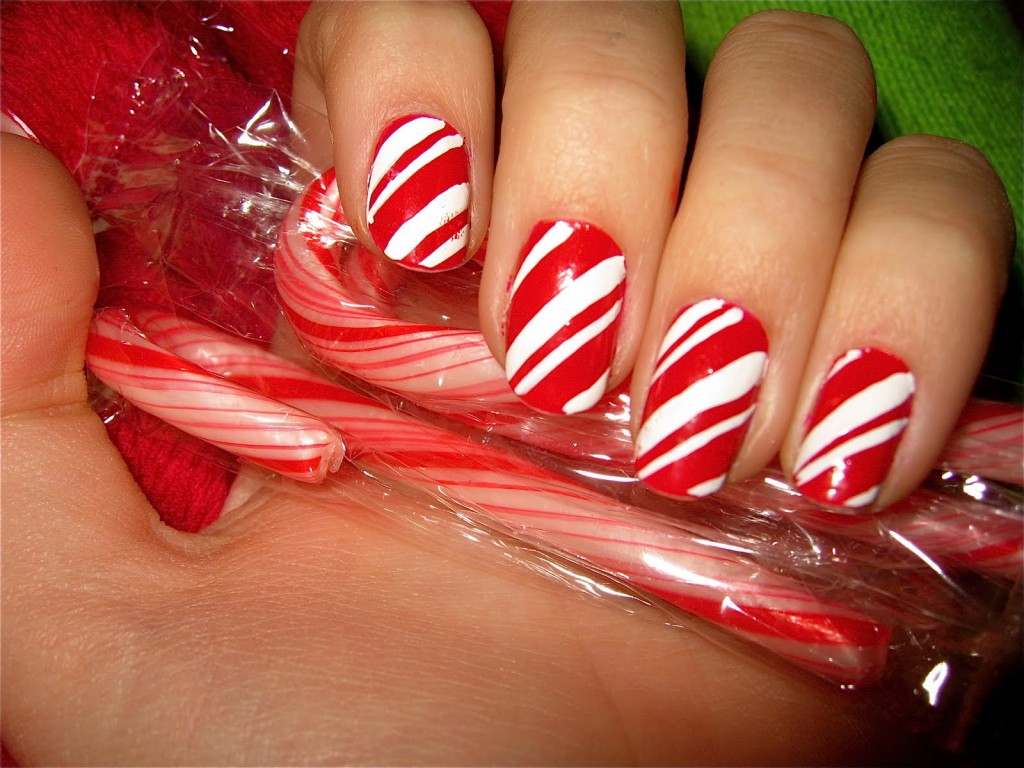
The classic red and white stripes of a candy cane are a must-have design for Christmas nails. This simple yet striking design is perfect for those who want a festive look without too much effort. Red and white are the featured keywords for this design, so make sure to have these colors in your nail polish collection. To achieve this look, start by painting your nails white and letting them dry completely. Then, using a thin brush or a toothpick, carefully create red stripes on each nail. For a more playful look, you can alternate the direction of the stripes on each nail. Finish off with a top coat for a glossy finish.1. "Candy Cane Nails"


1. "Candy Cane Nails"


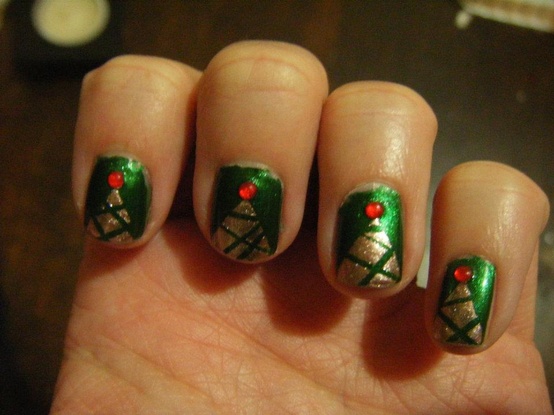
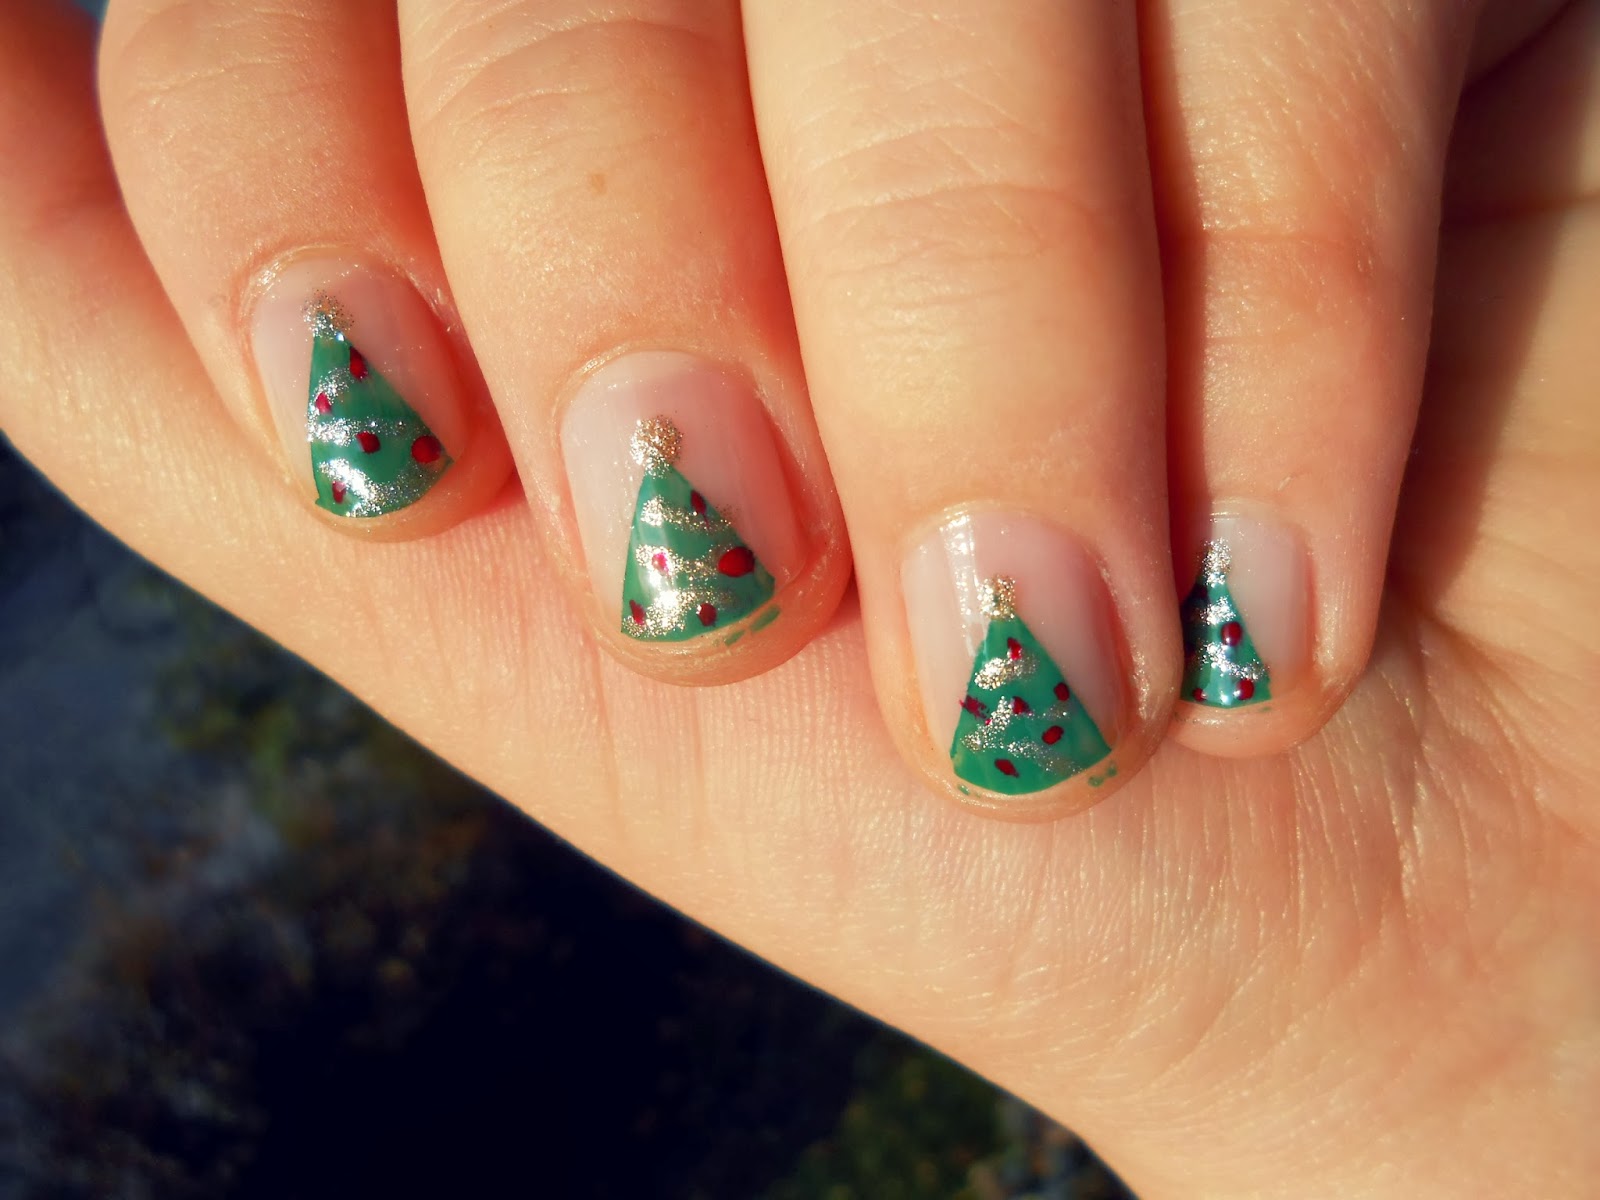
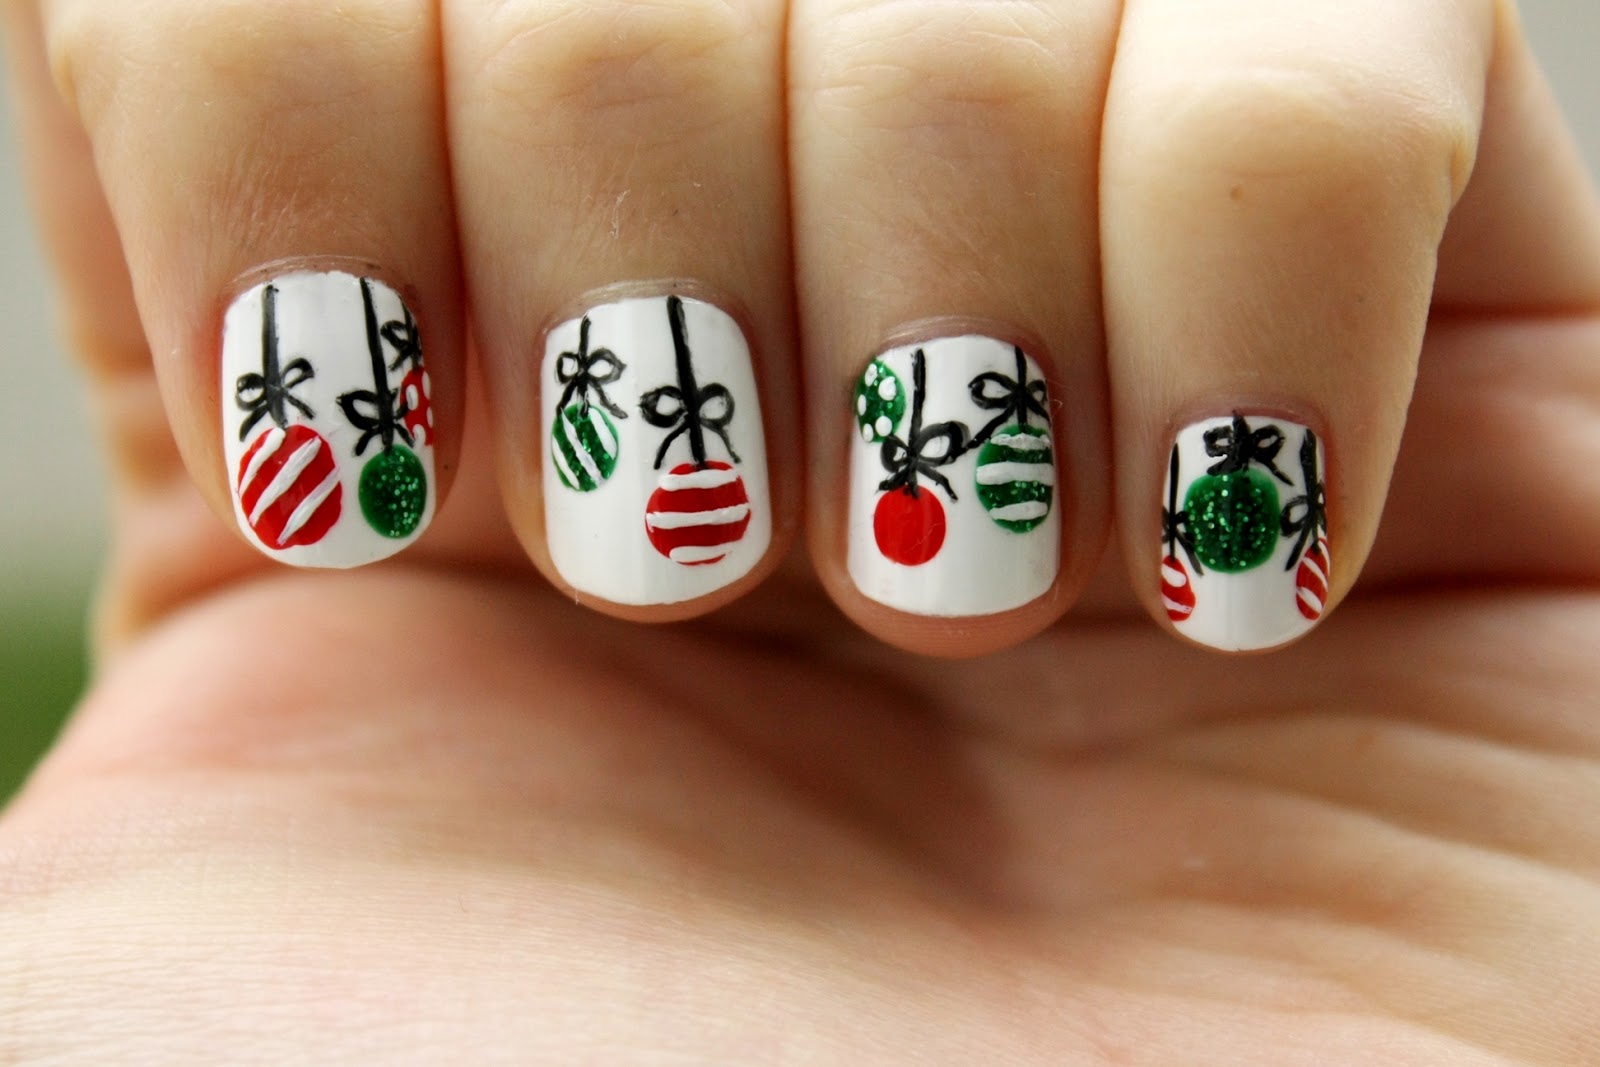
Christmas tree is the main keyword for this fun and festive nail design. You can get creative with this design by using different shades of green for the tree and adding ornaments as the related keyword in different colors. Start by painting your nails a dark green color for the base. Then, using a lighter shade of green, create a triangular shape on each nail to represent the tree. Next, use a dotting tool or toothpick to add colorful dots for the ornaments. You can also add a gold or silver star on top of the tree for an extra touch of holiday spirit.2. "Christmas Tree Nails"
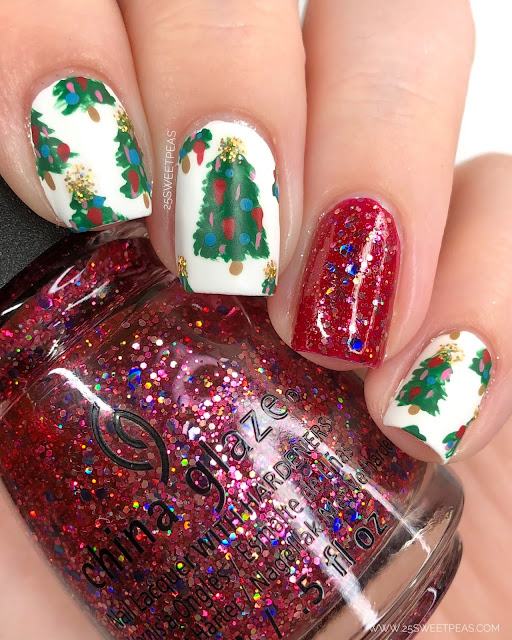


2. "Christmas Tree Nails"


.JPG)


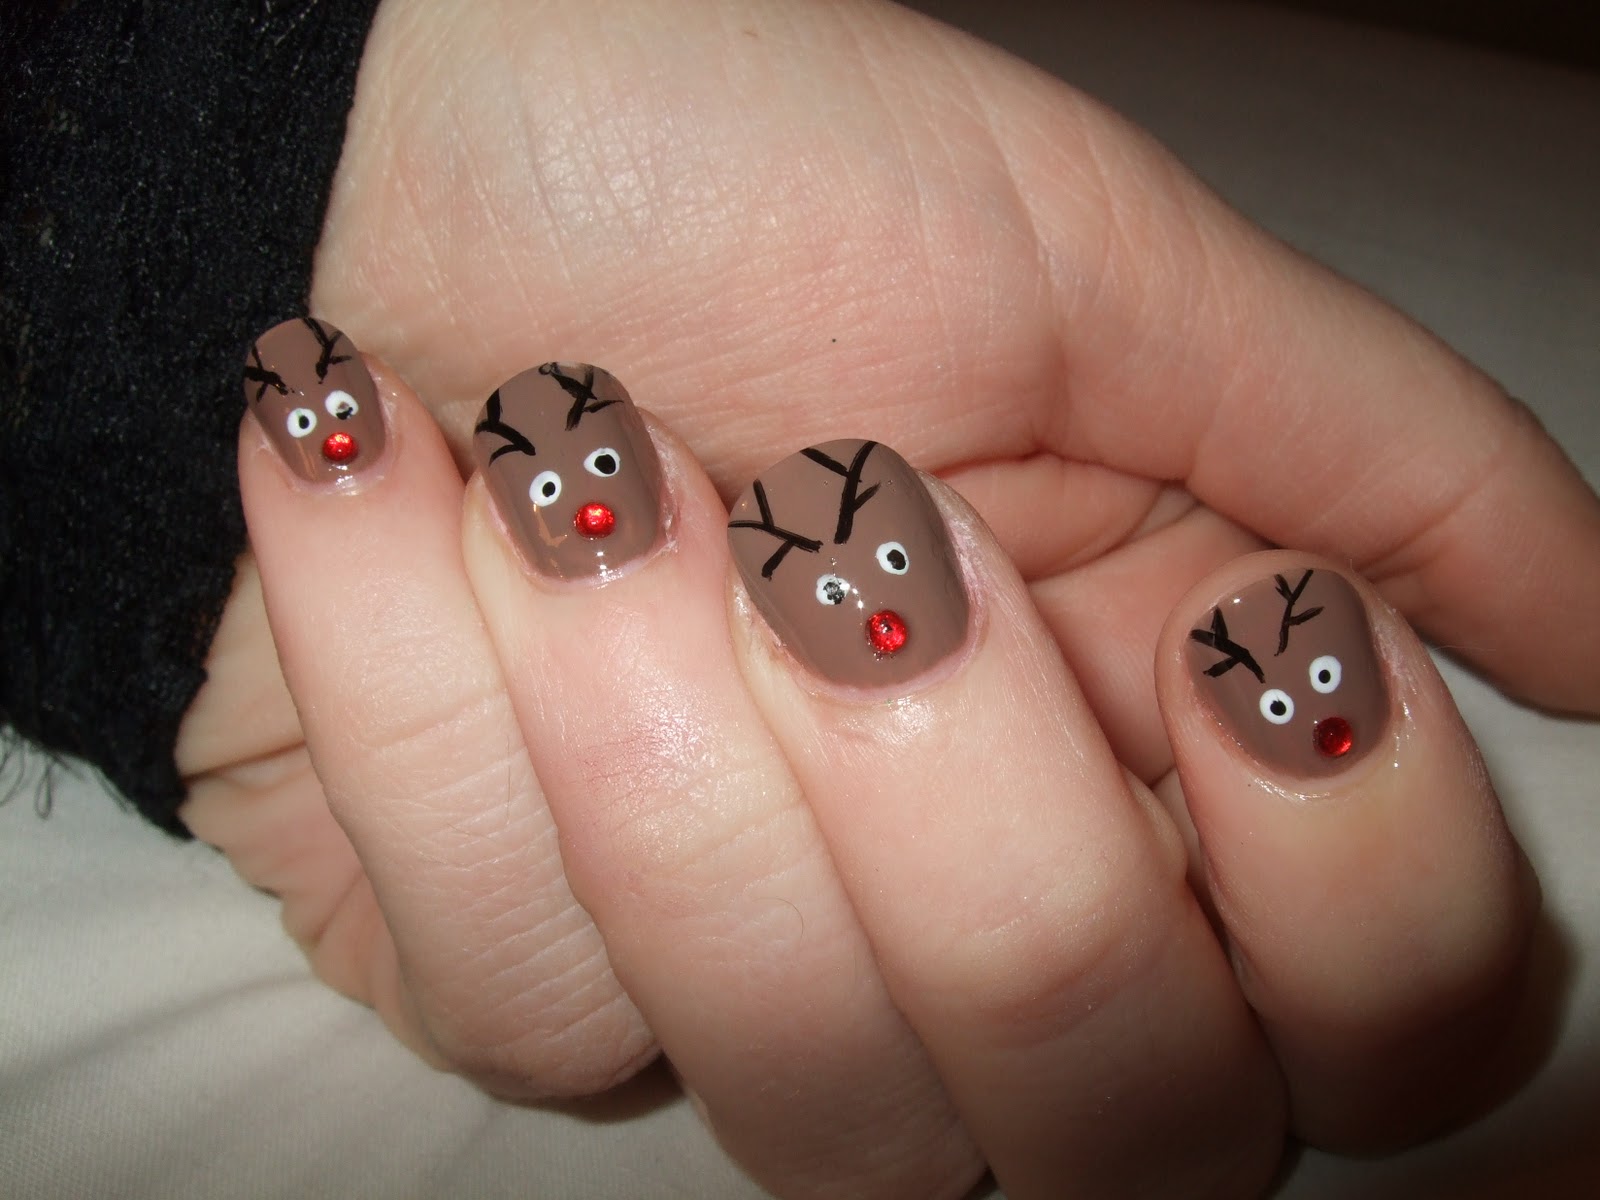
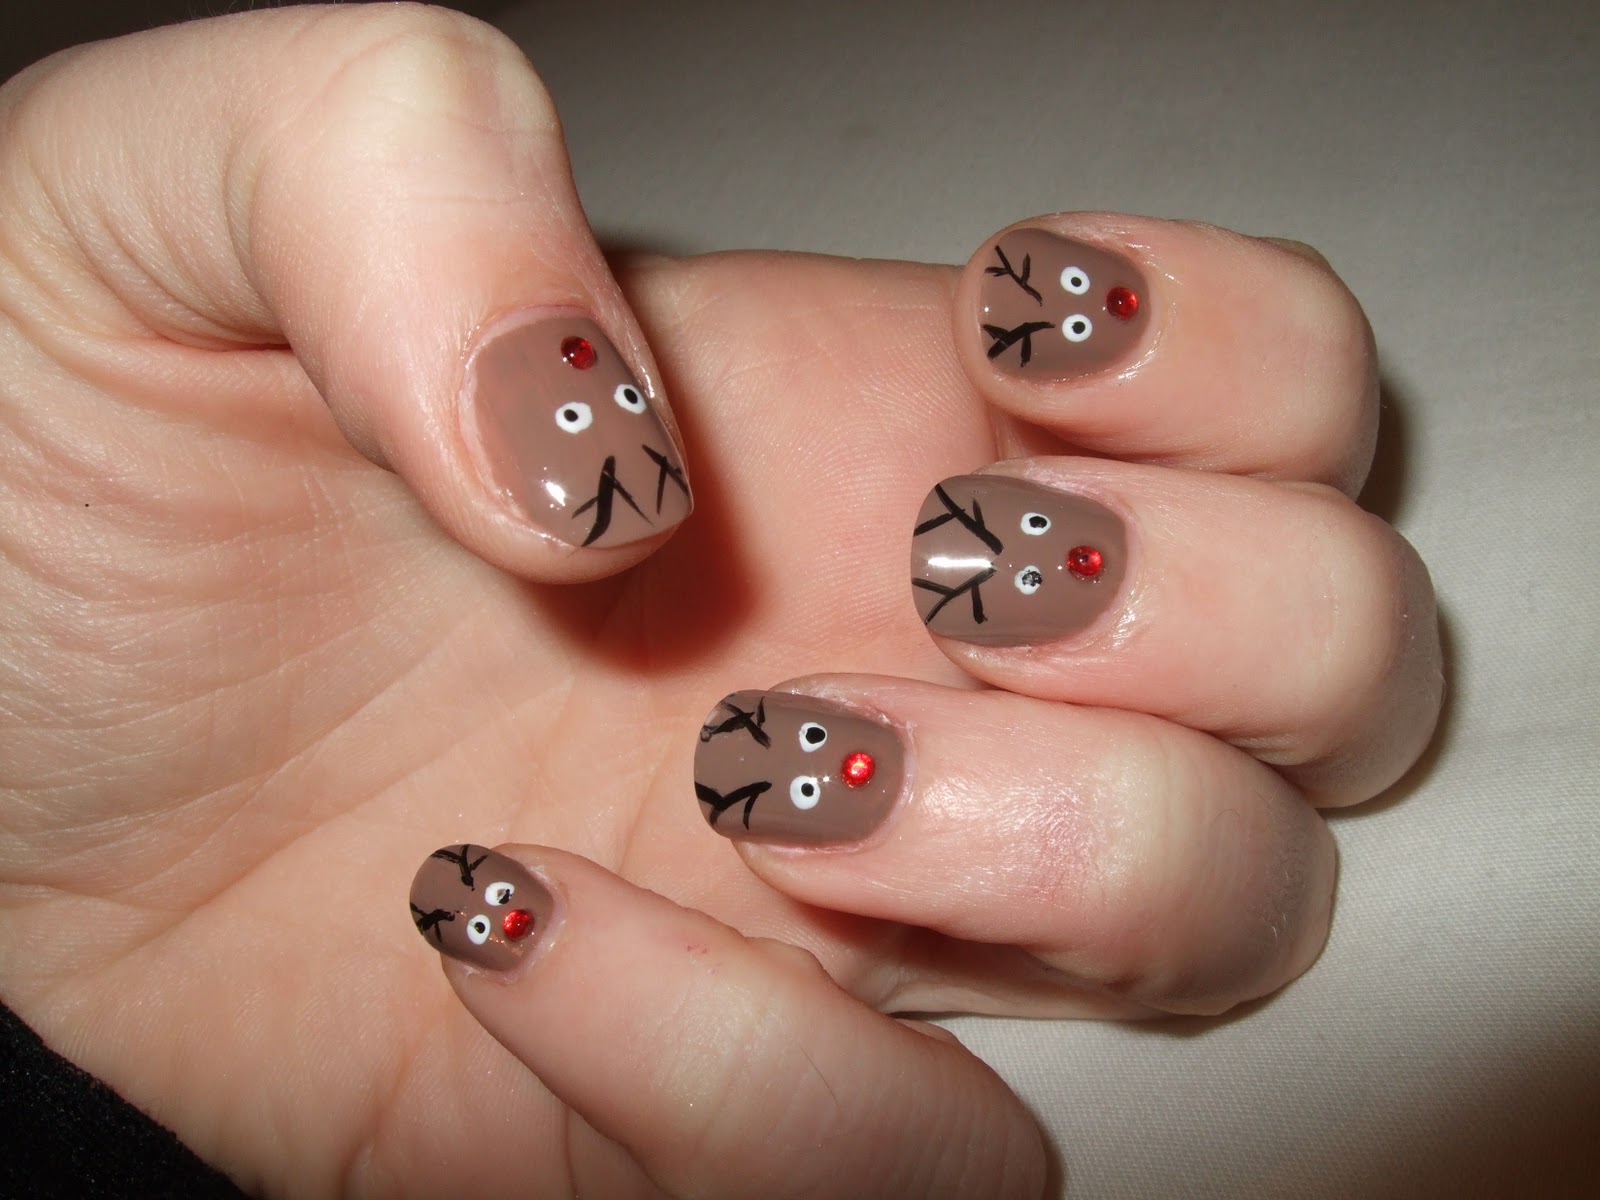
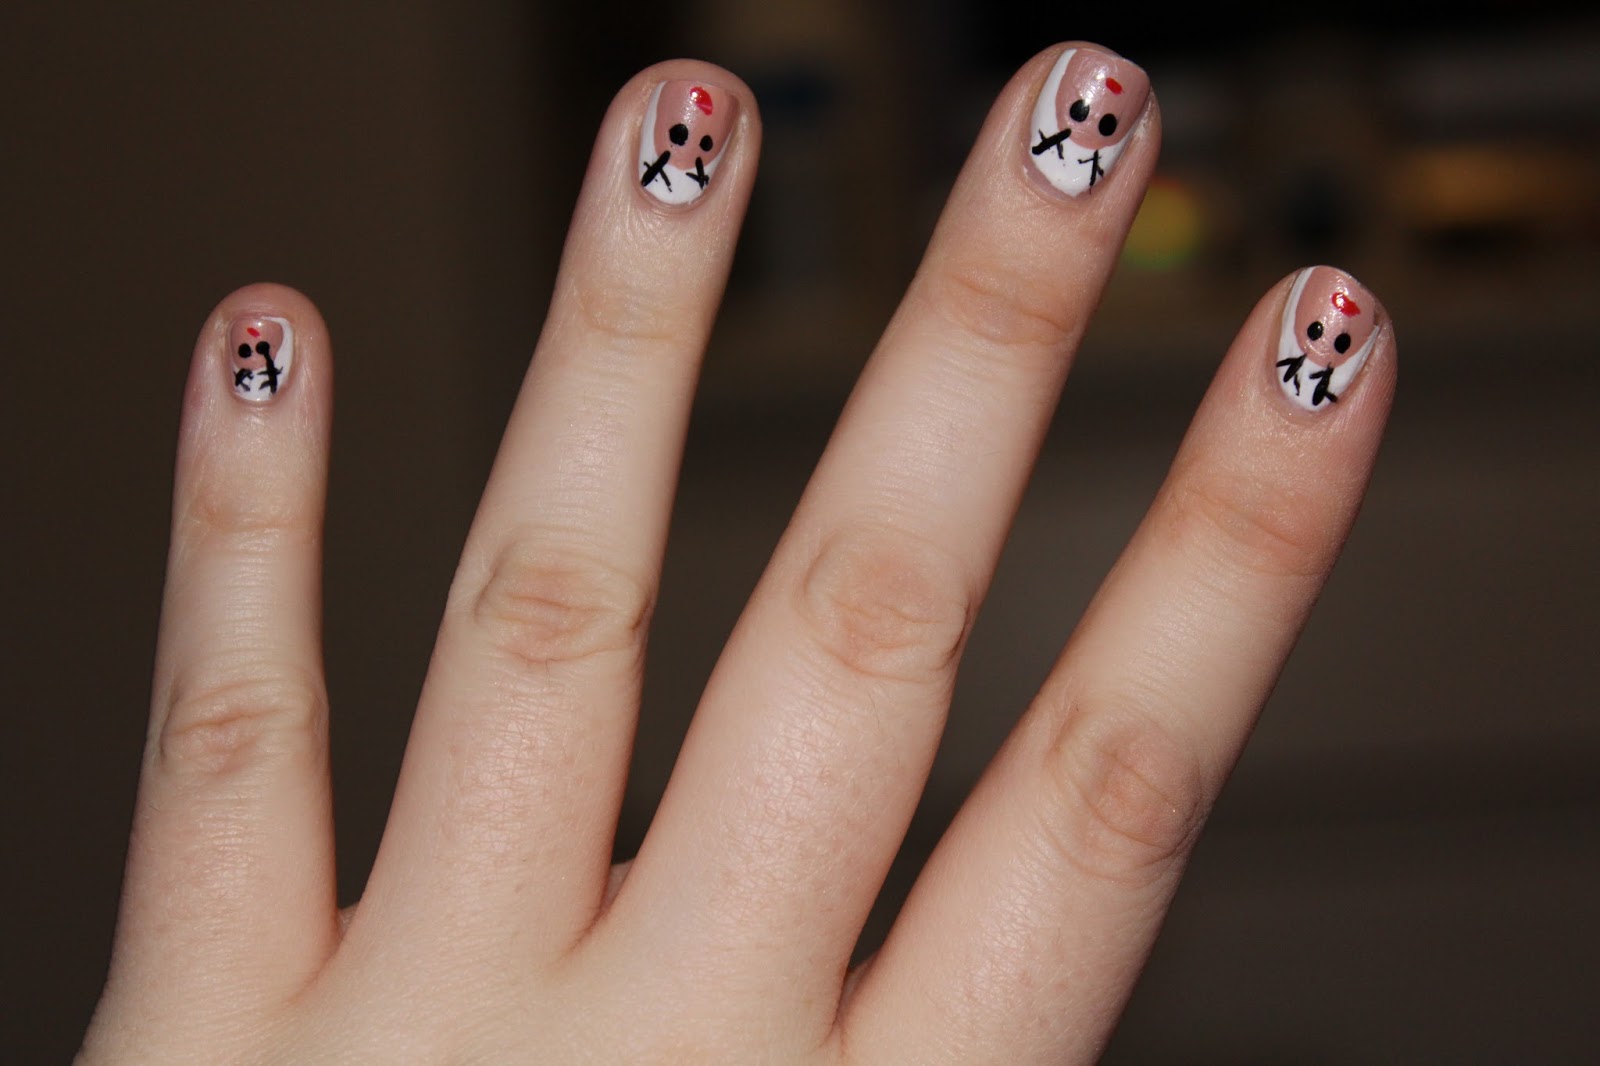
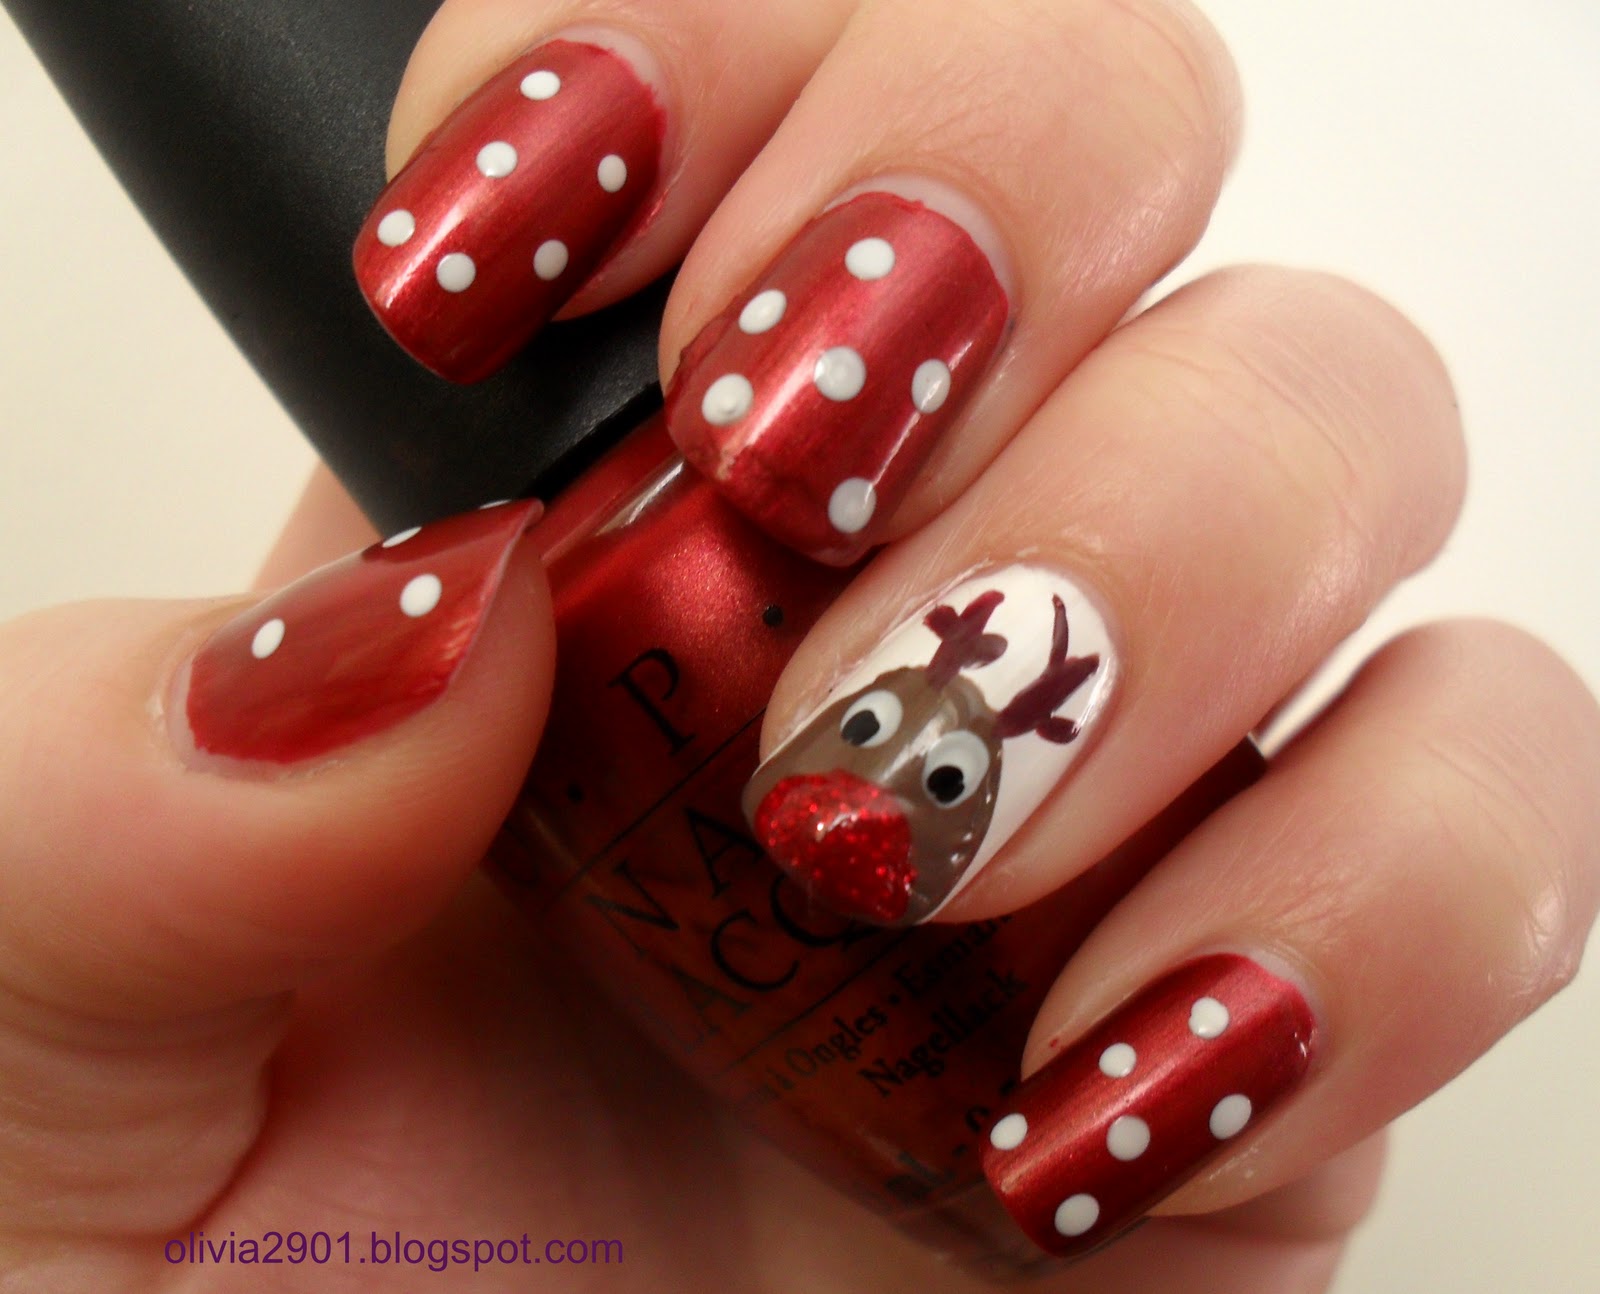
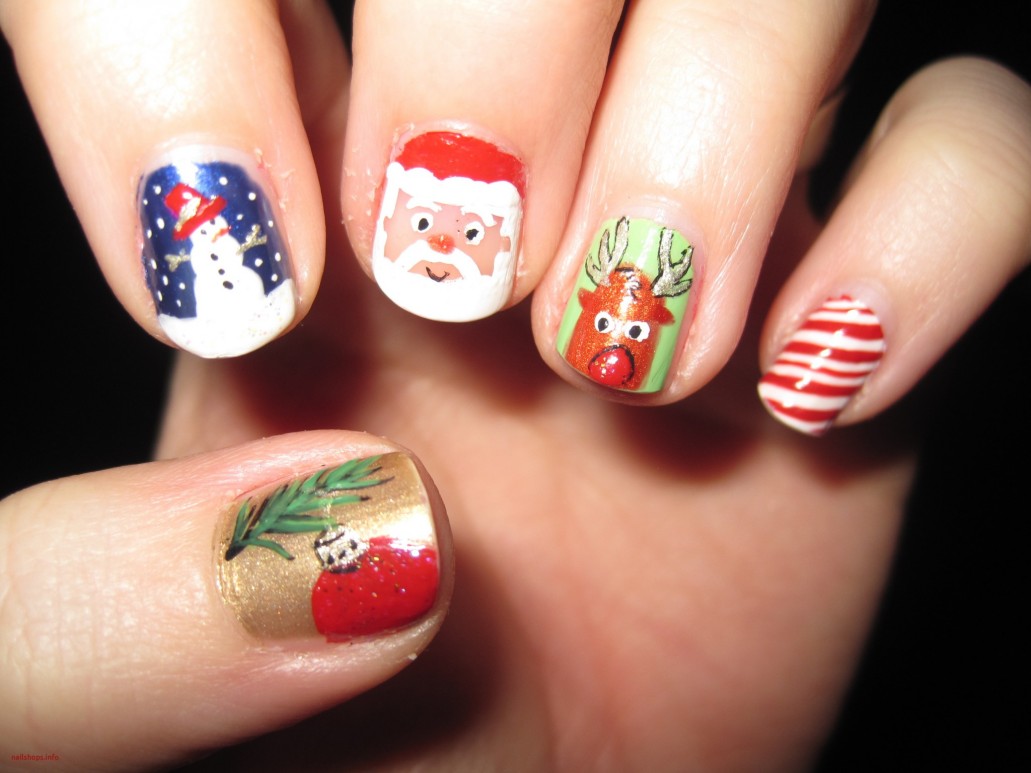
Who doesn't love the adorable reindeer as the main keyword of Christmas? This nail design is perfect for those who want to add a cute and playful element to their holiday look. To achieve this design, start by painting your nails a nude or light brown color. Then, using a thin brush or toothpick, add small antlers to the top corners of each nail. Next, use a dotting tool to create the reindeer's eyes and nose. For an extra touch, you can add a red nose for Rudolph or a bow for a feminine touch.3. "Reindeer Nails"
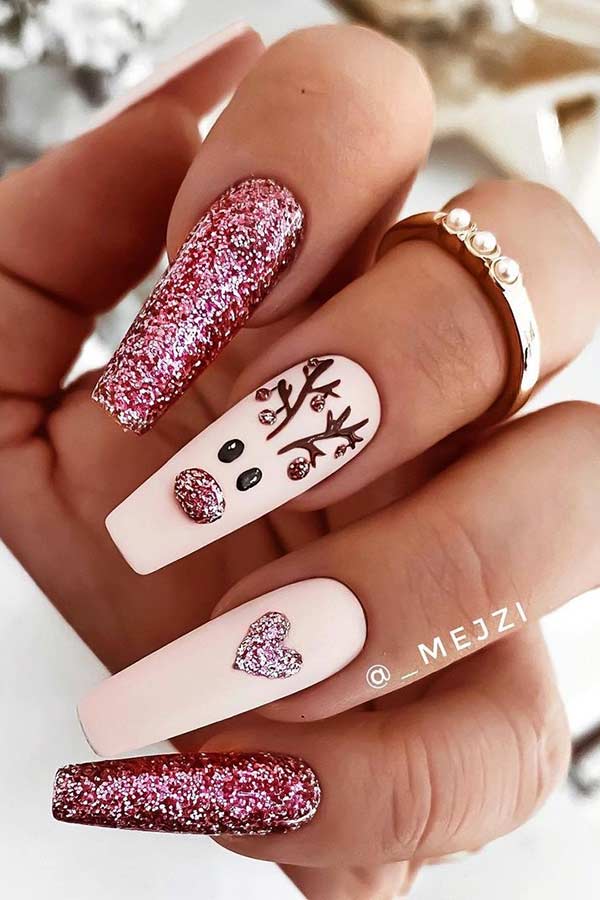

3. "Reindeer Nails"


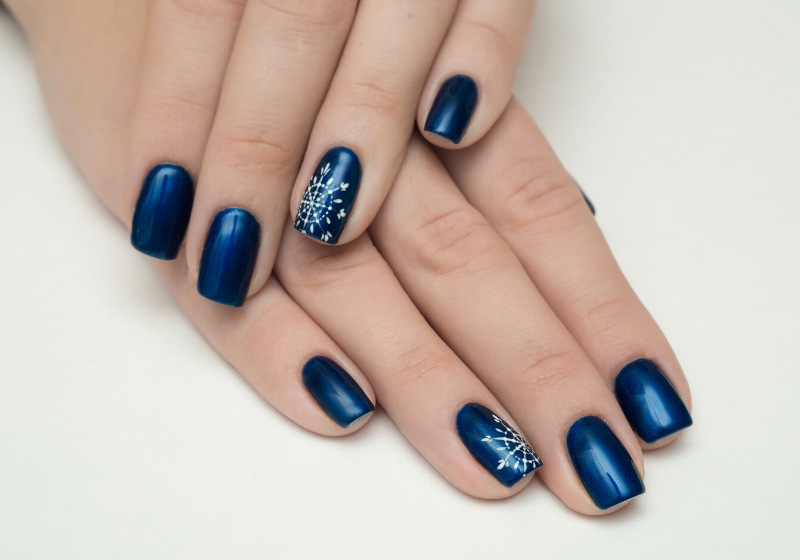
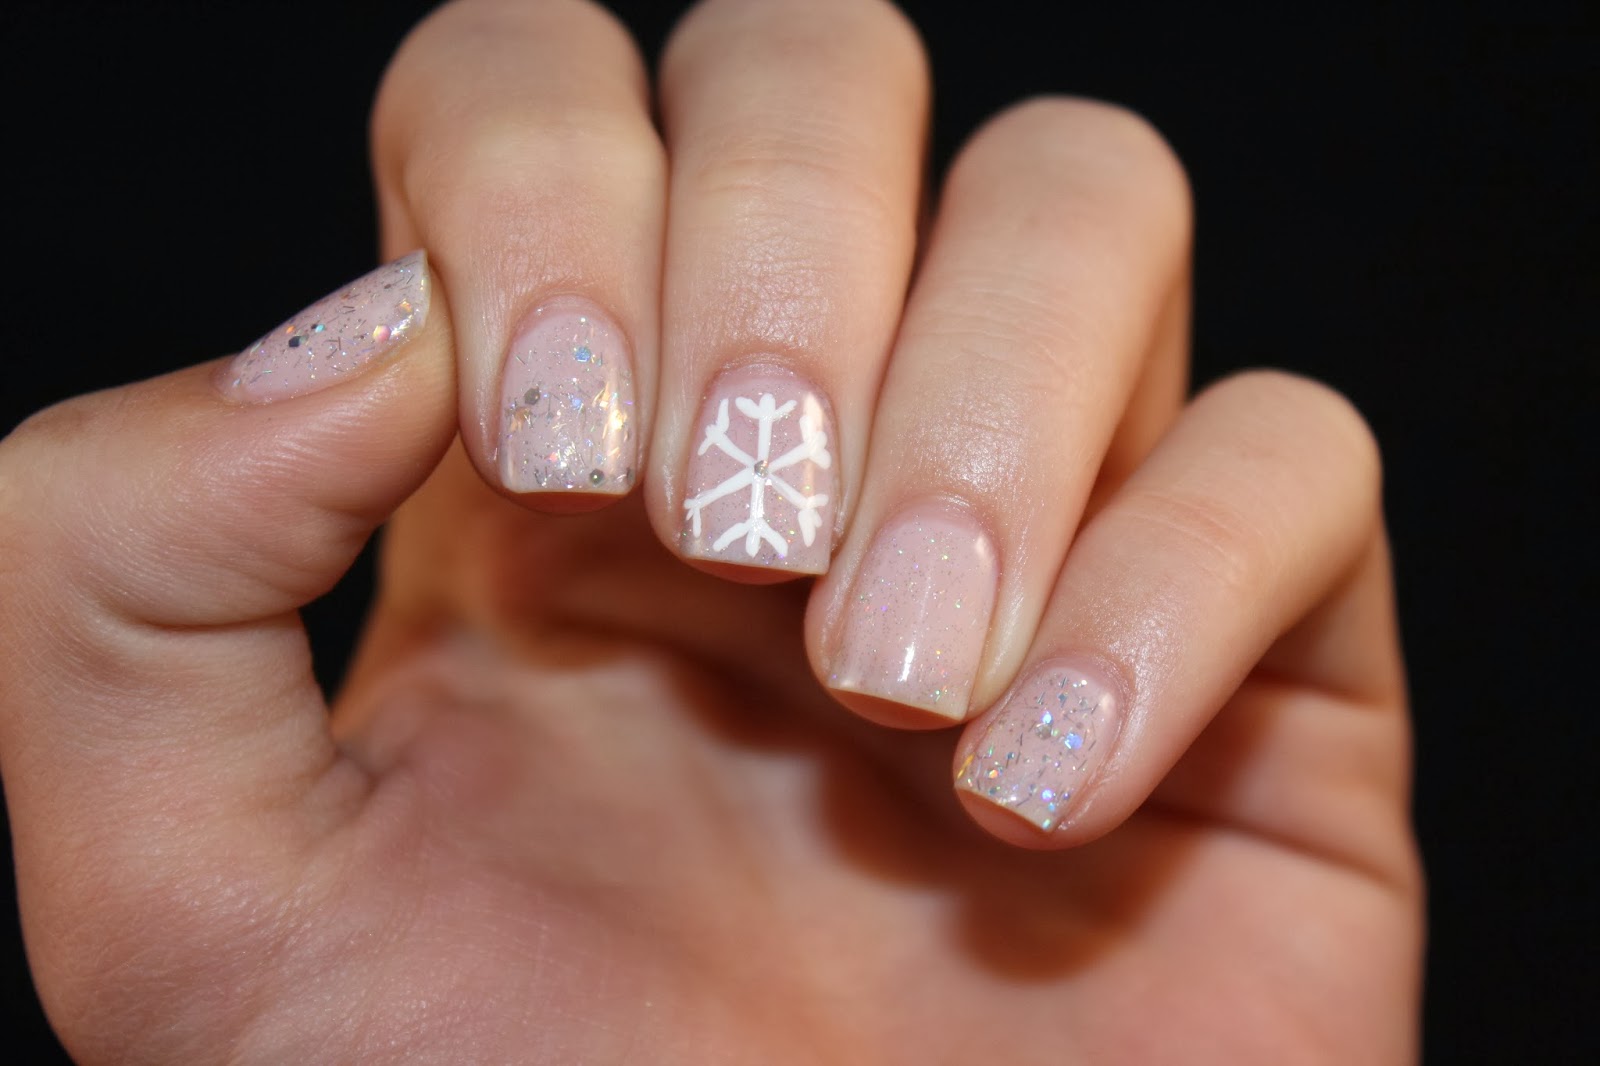
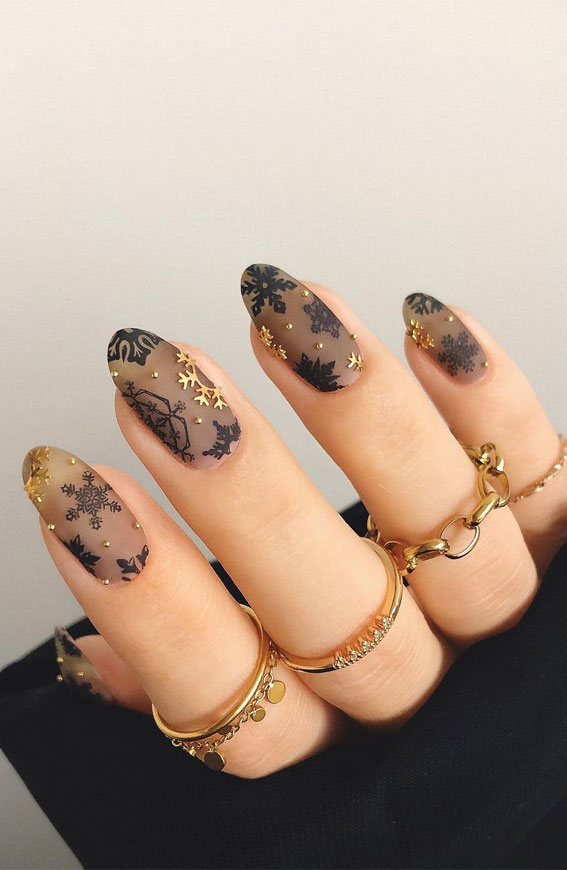
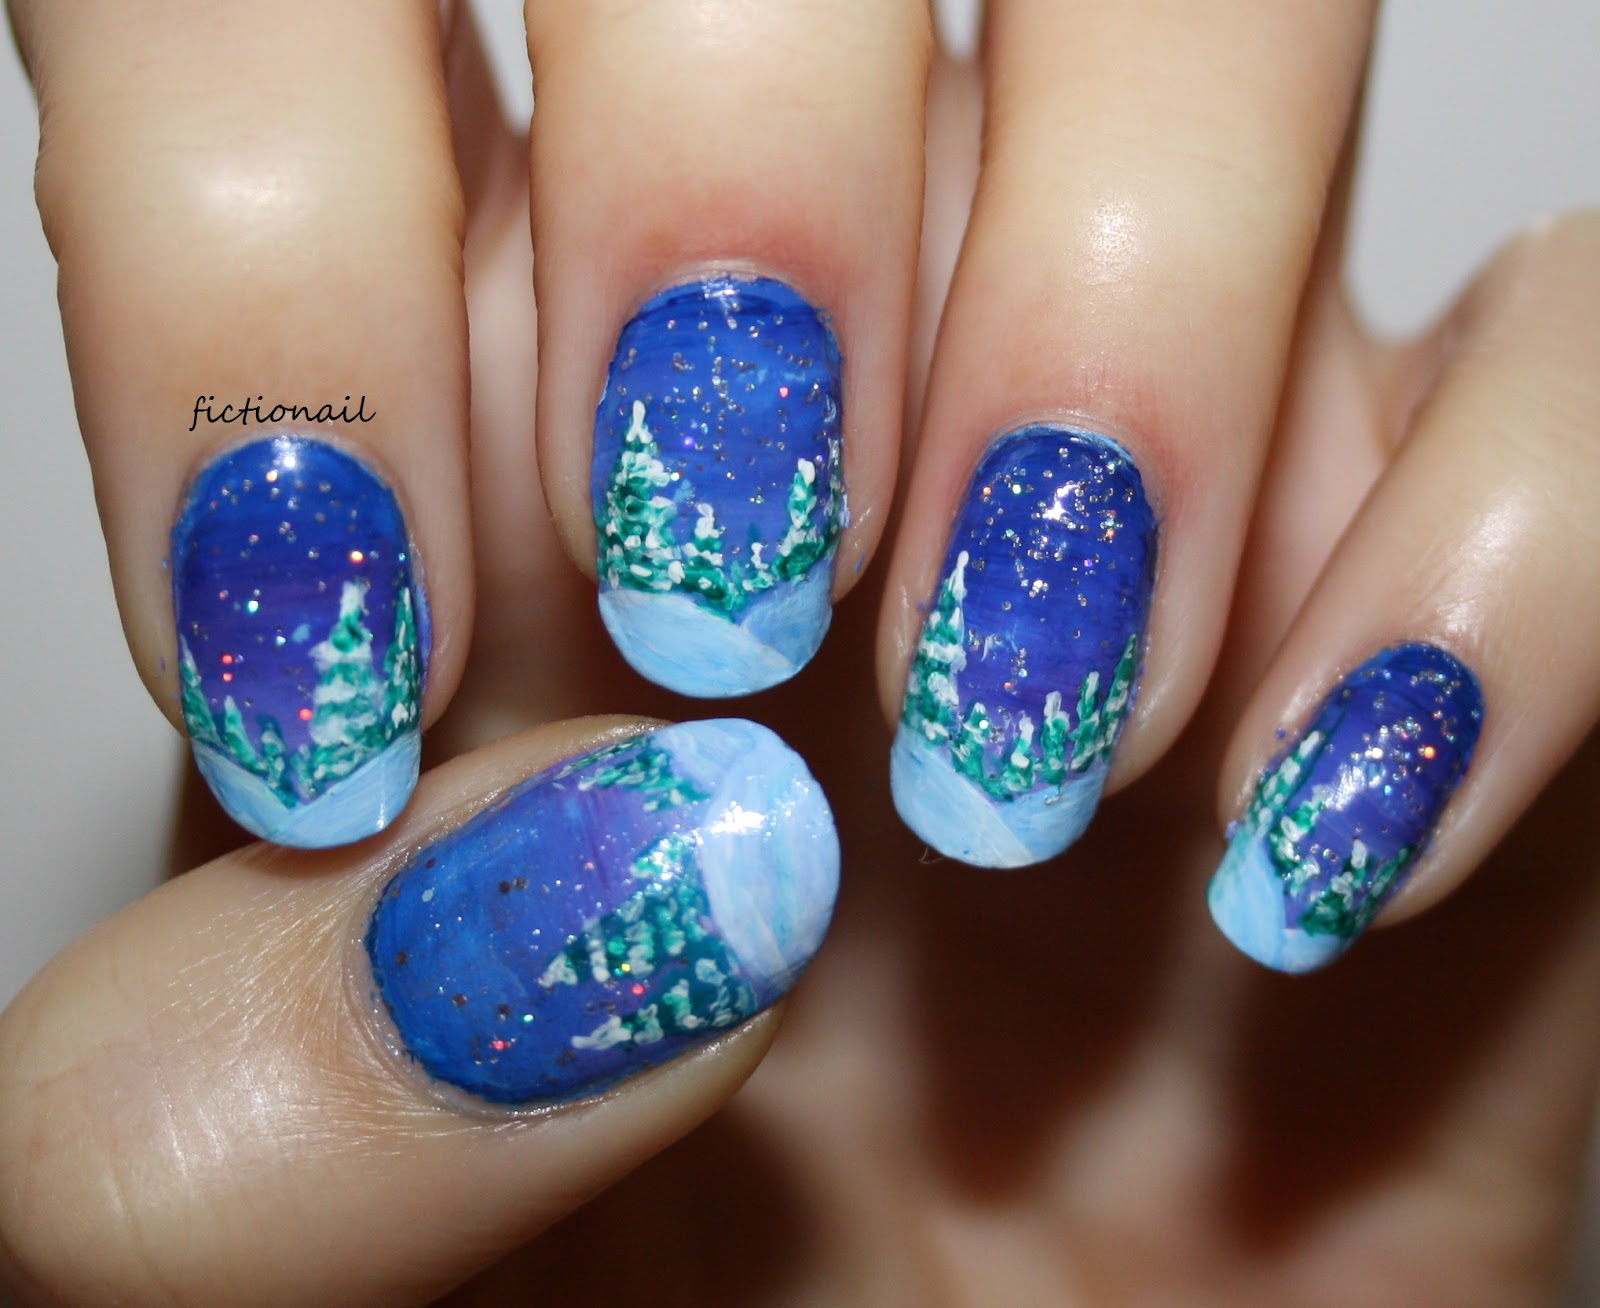
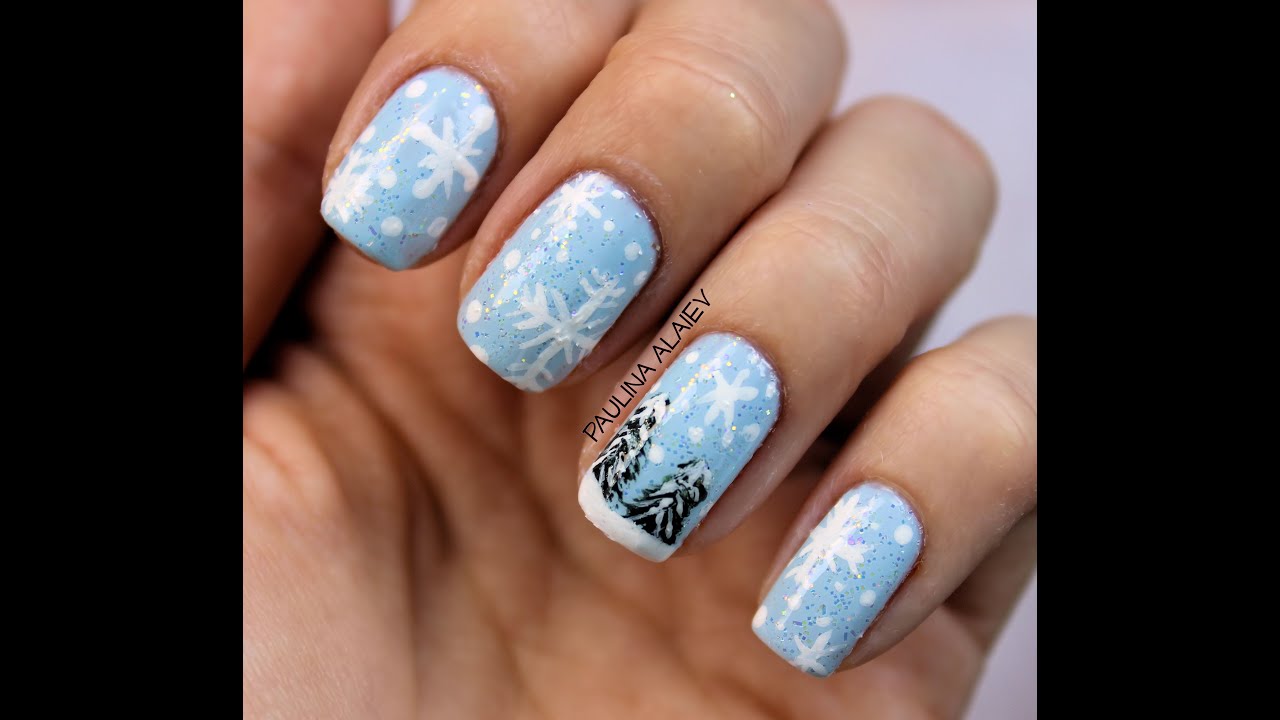
Snowflake is the featured keyword for this elegant and wintery nail design. This design is perfect for those who want a more subtle and sophisticated look for their Christmas nails. Start by painting your nails a light blue or white color for the base. Then, using a thin brush or toothpick, carefully create snowflake designs on each nail using a silver or white nail polish. For an extra touch, you can add some glitter or rhinestones to make your snowflakes sparkle.4. "Snowflake Nails"
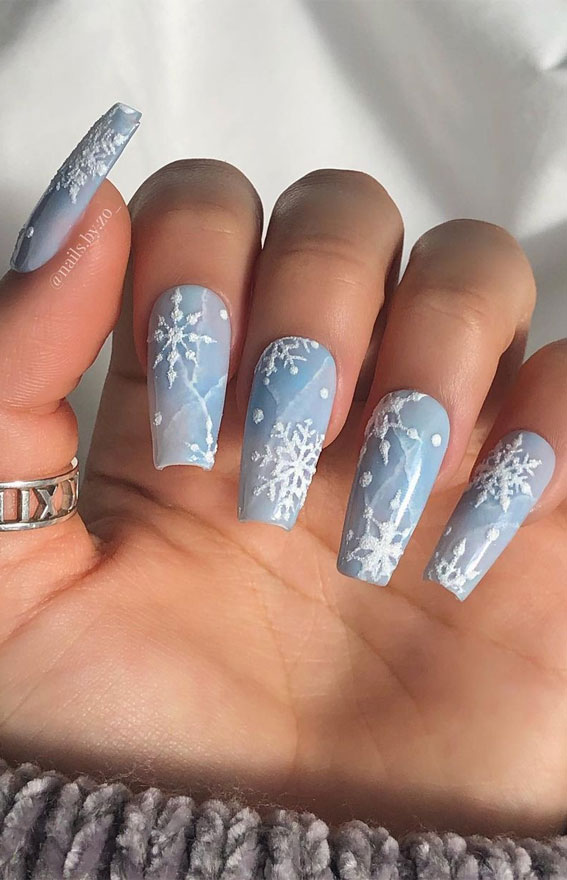

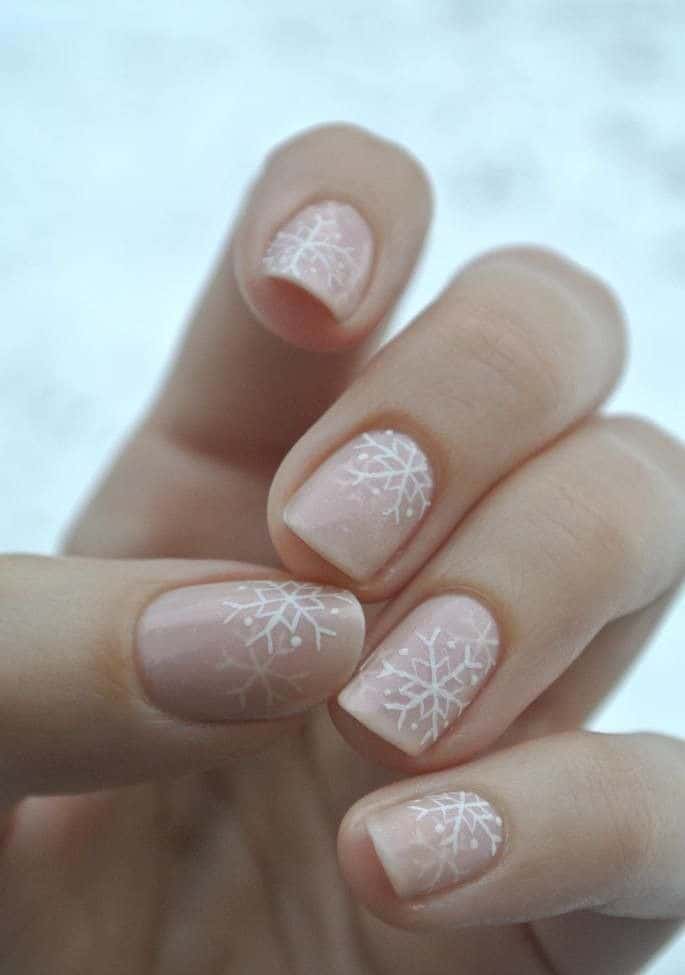
4. "Snowflake Nails"


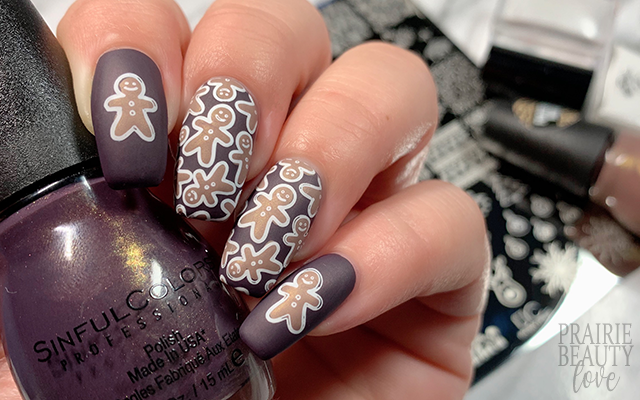
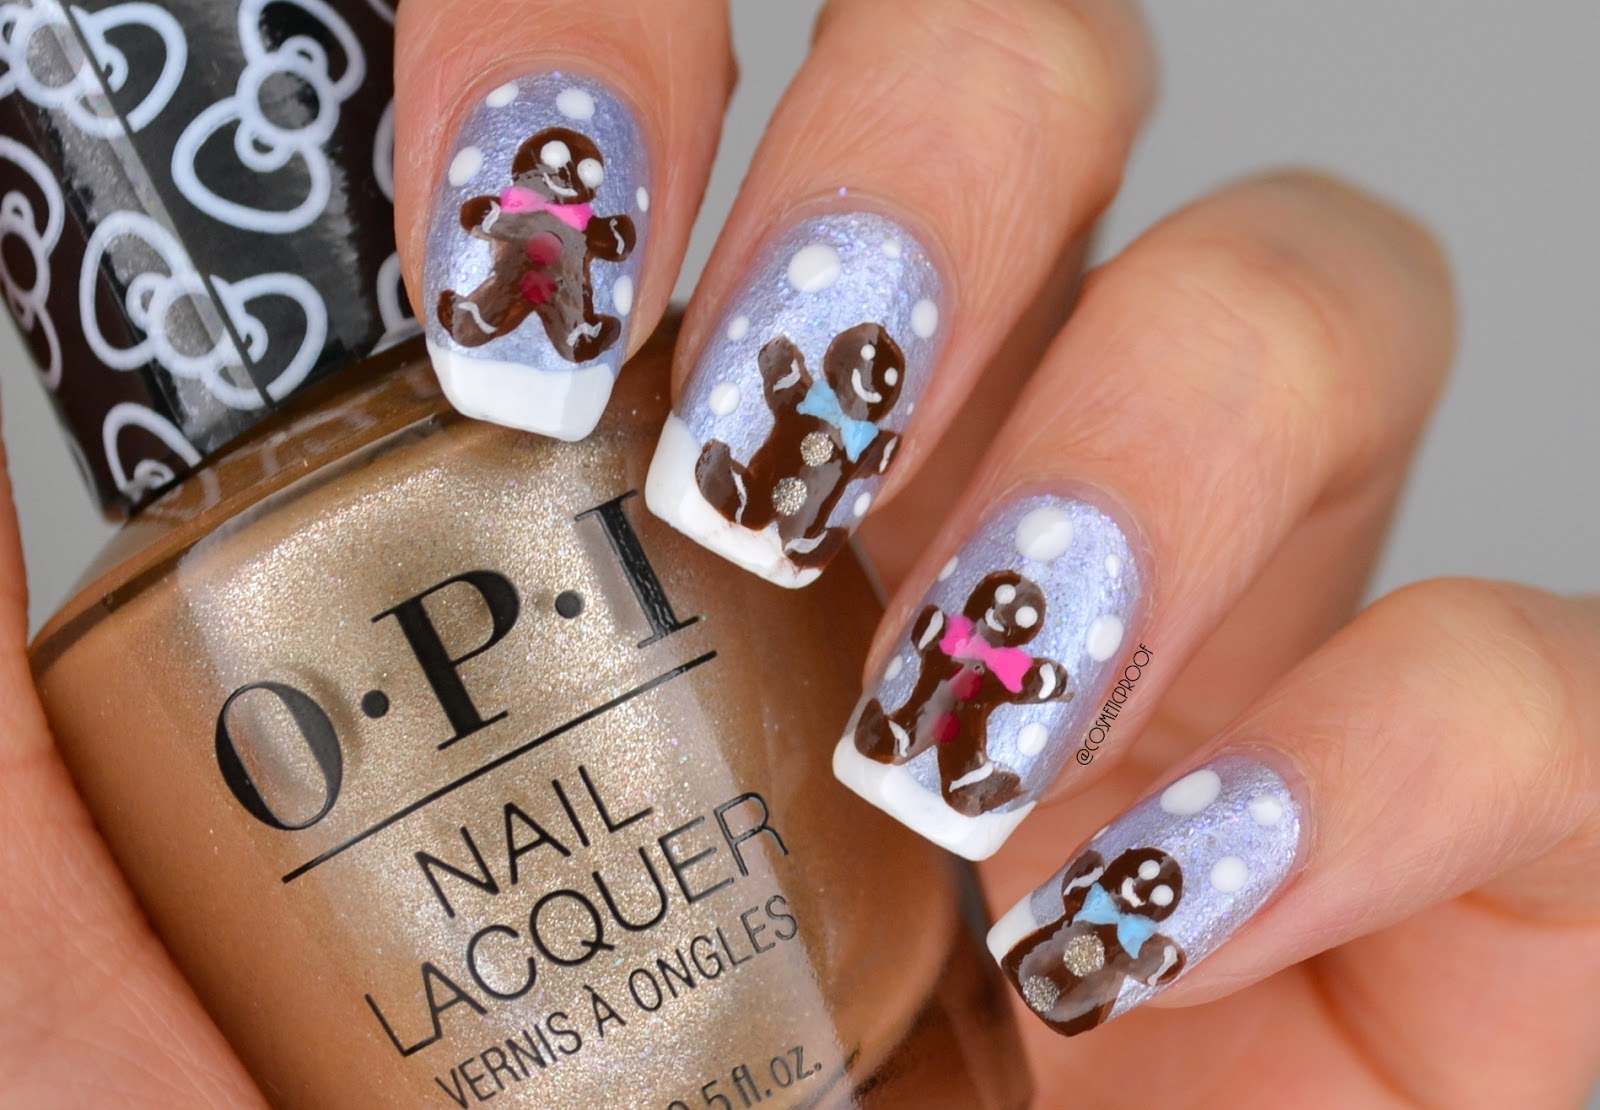
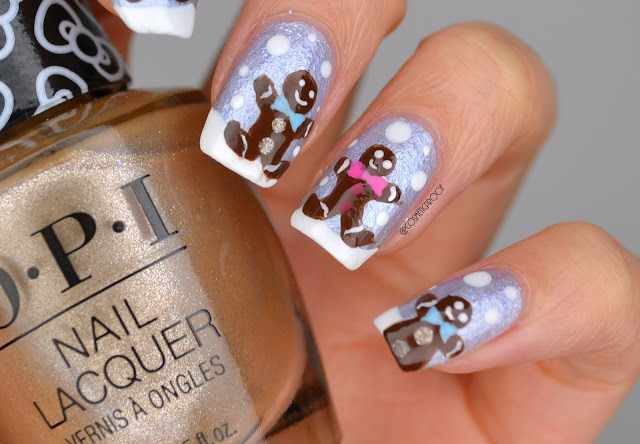
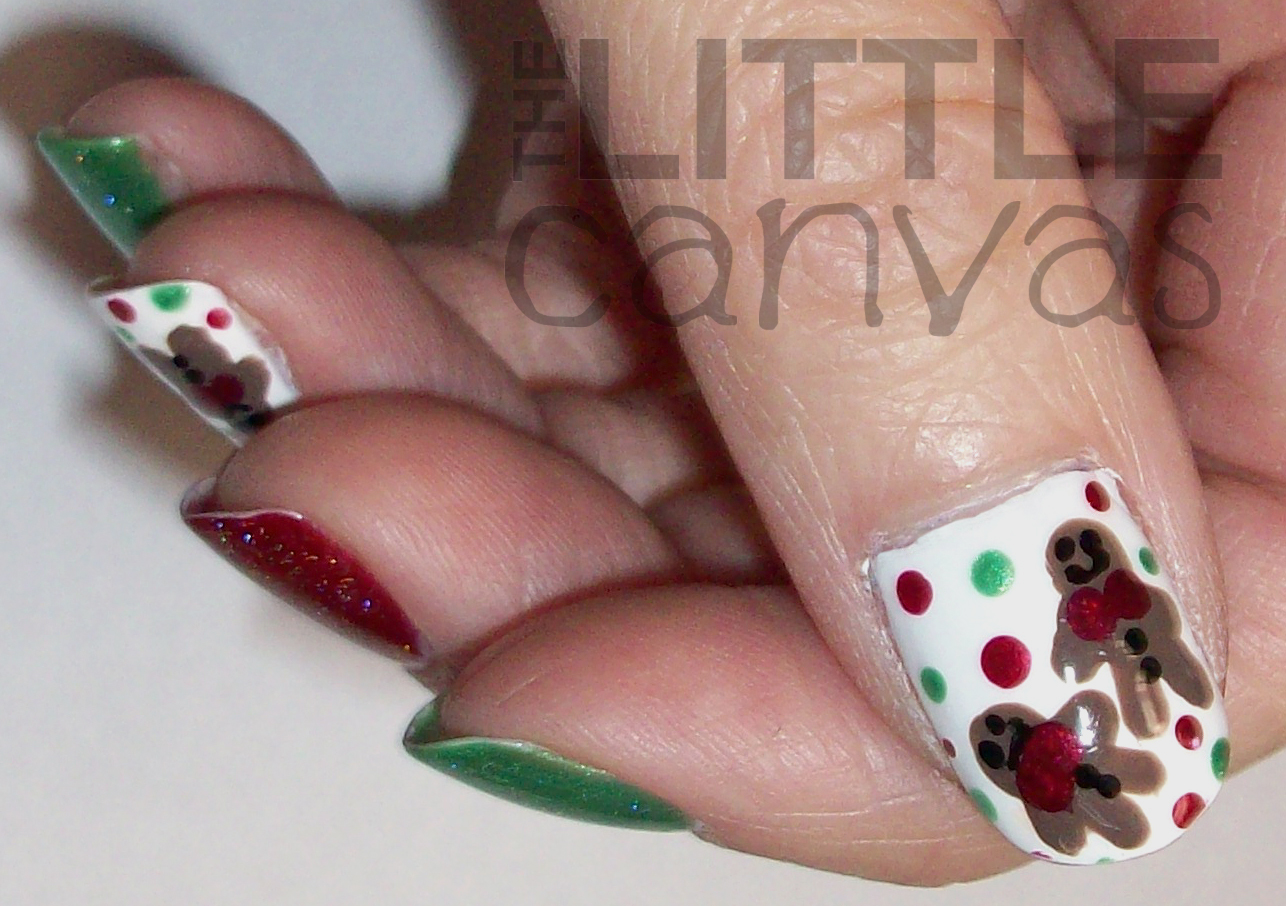
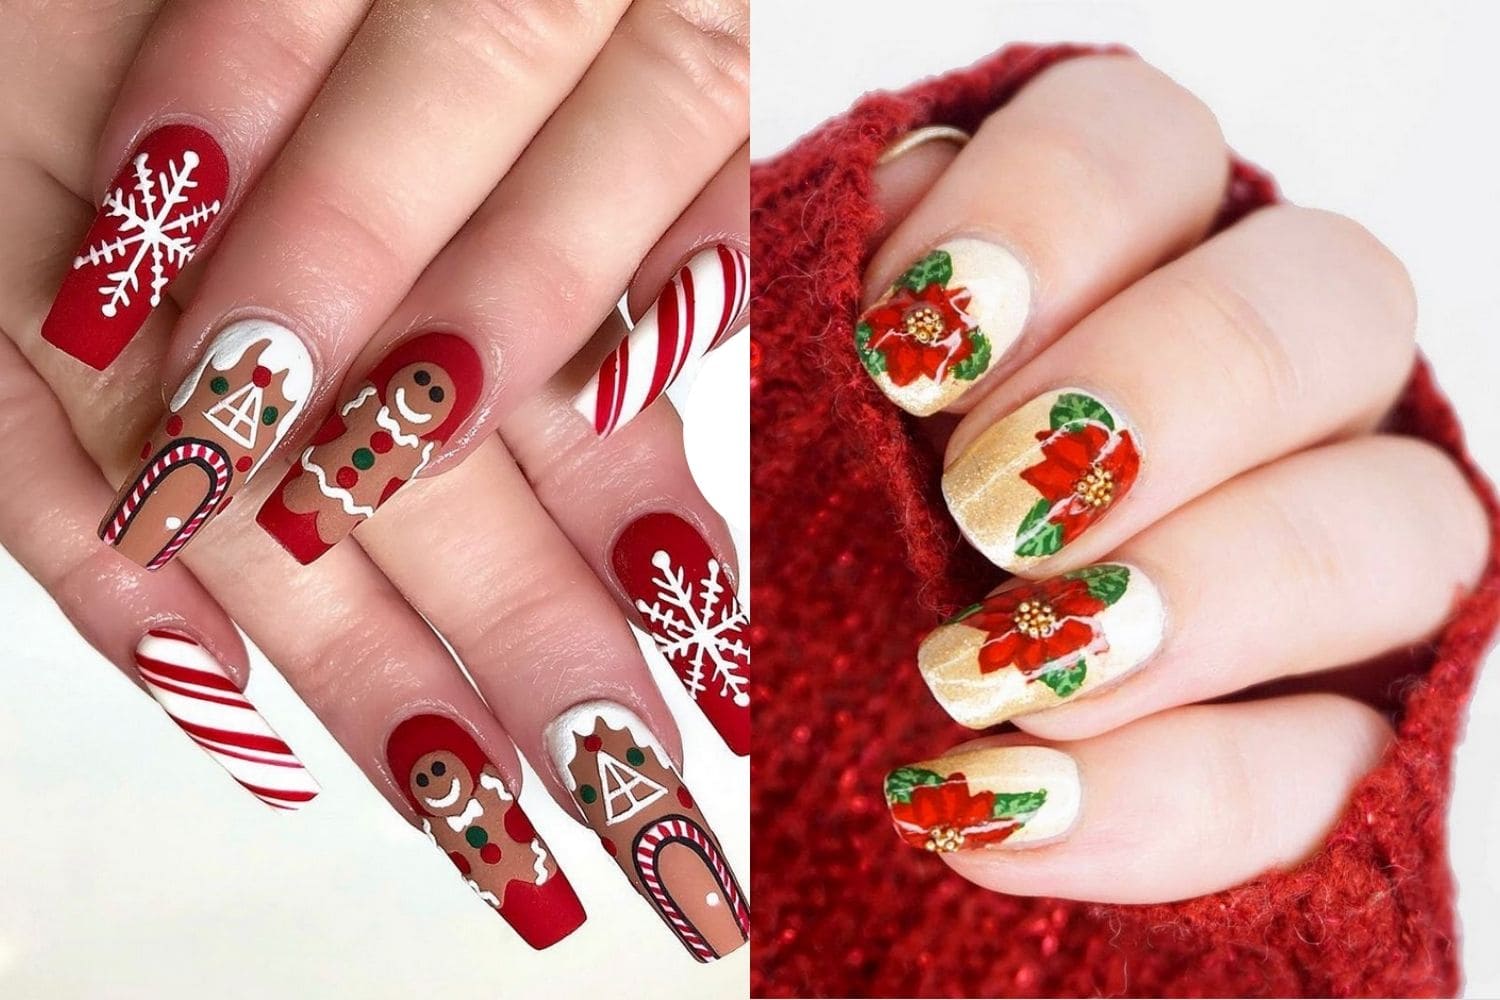
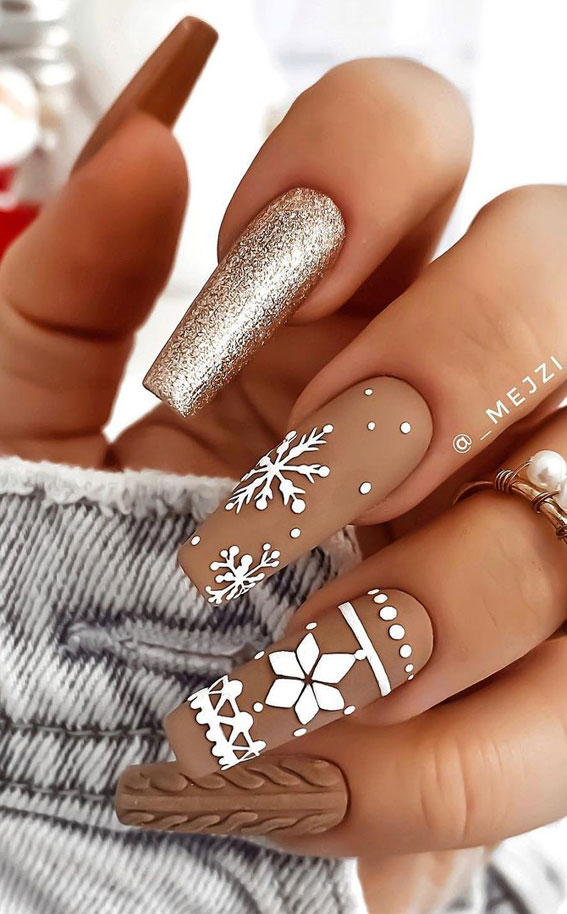
Gingerbread man is the main keyword for this cute and festive nail design. This design is perfect for those who want to add a touch of sweetness to their holiday look. Start by painting your nails a light brown color for the base. Then, using a thin brush or toothpick, create a gingerbread man shape on each nail. You can add details like buttons and a smile using a darker brown polish. For an extra touch, you can add a little bow tie or a Santa hat to your gingerbread man.5. "Gingerbread Man Nails"


5. "Gingerbread Man Nails"


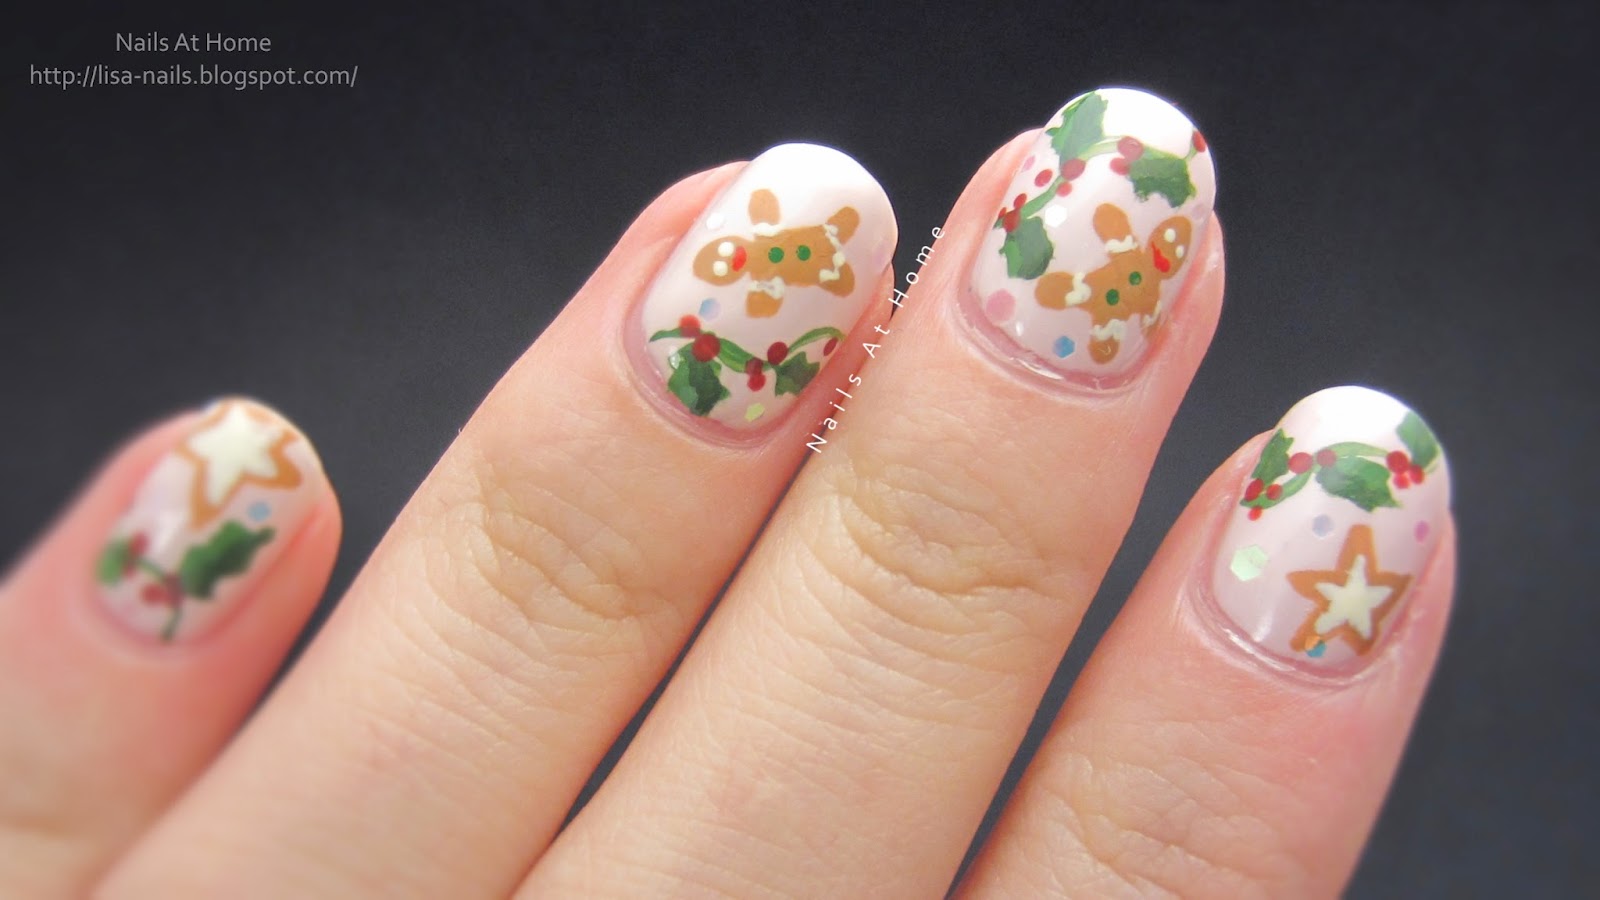


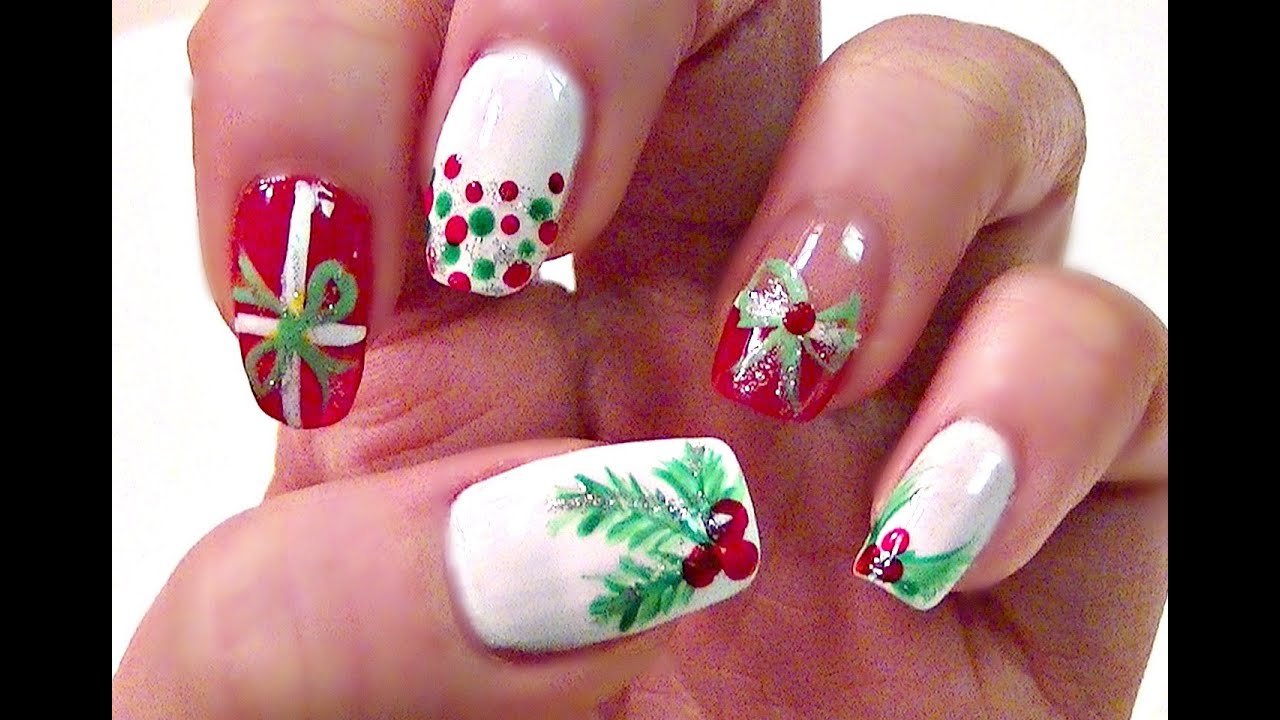
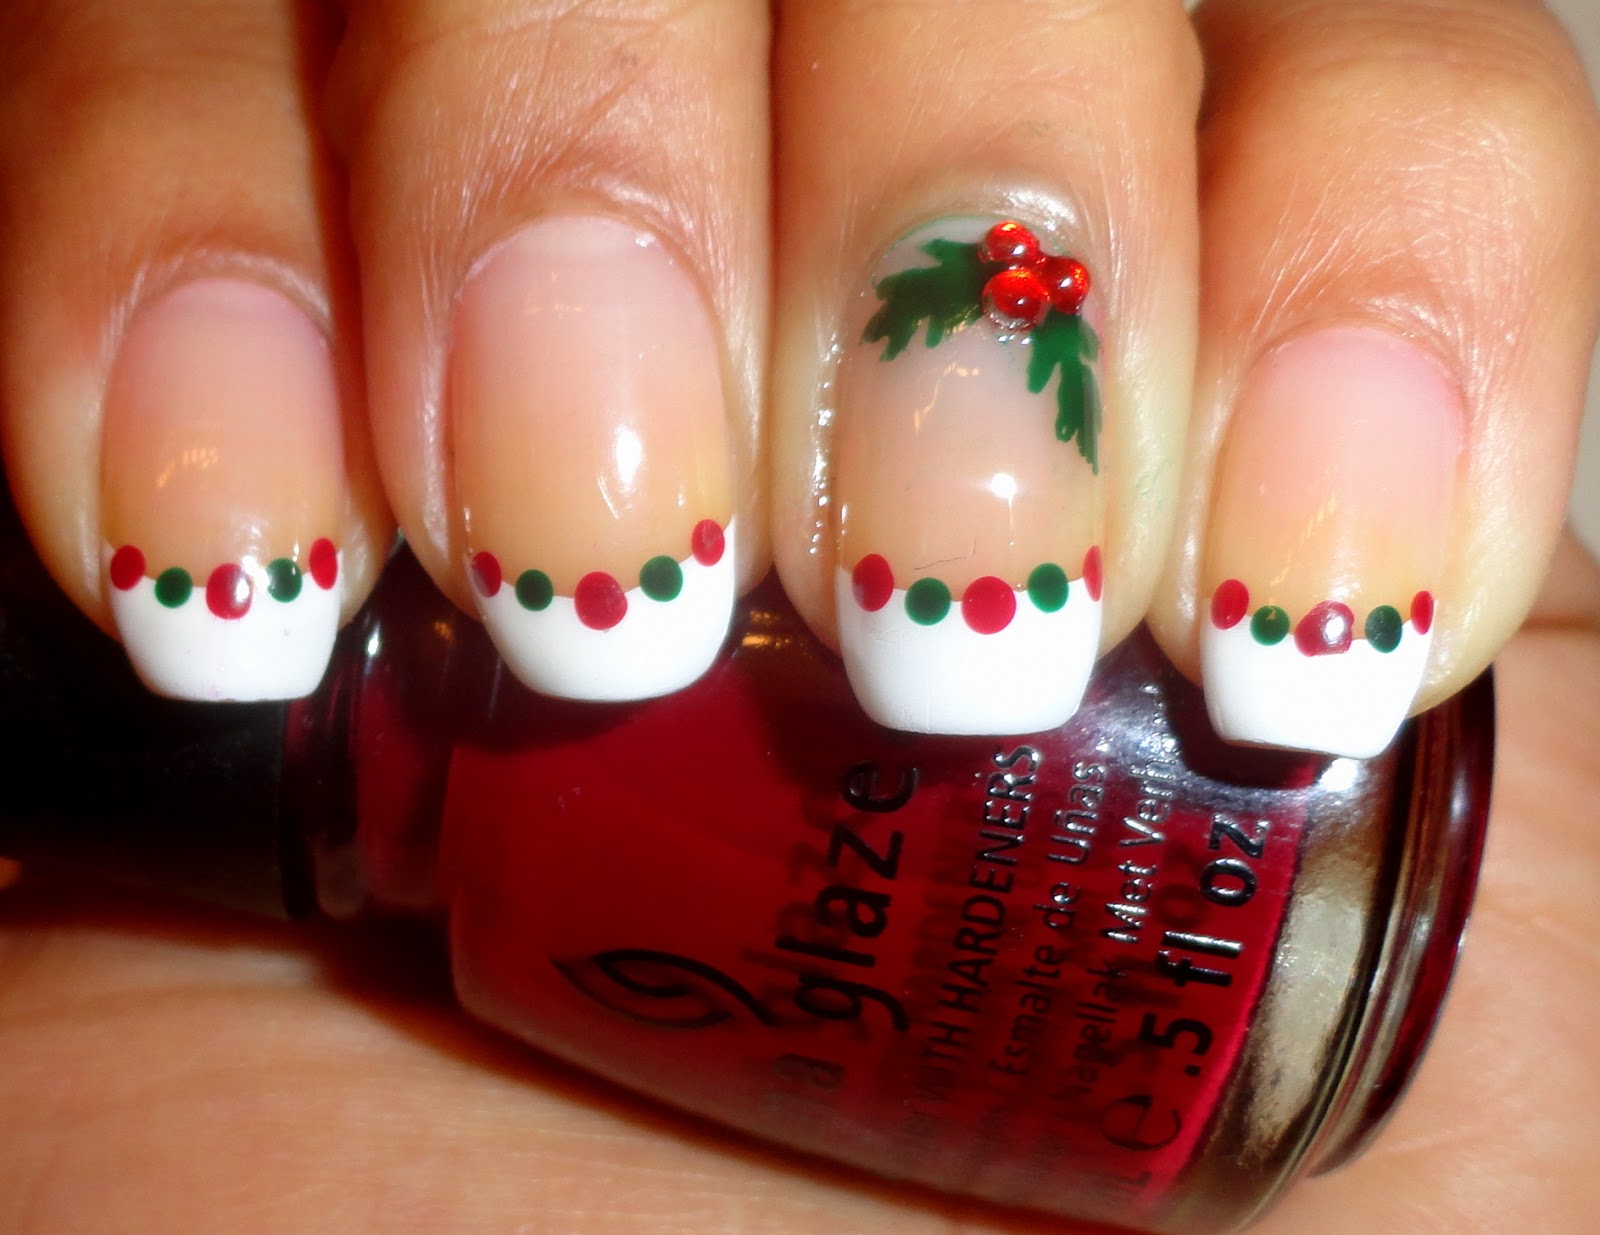
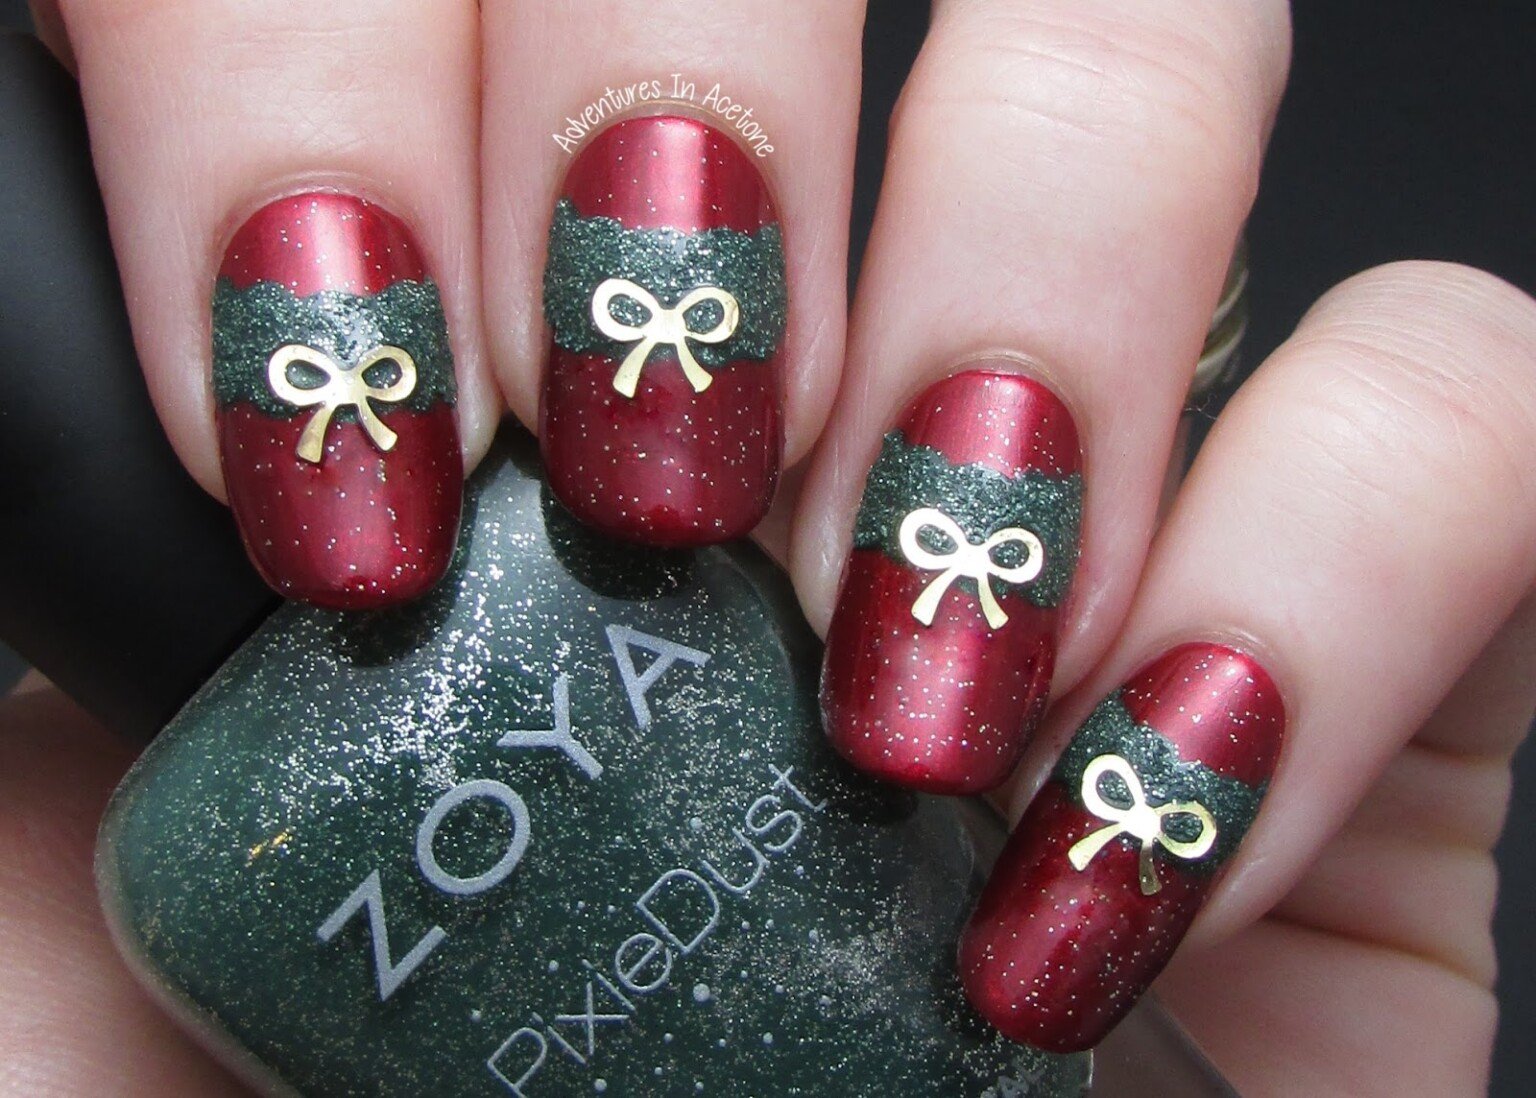
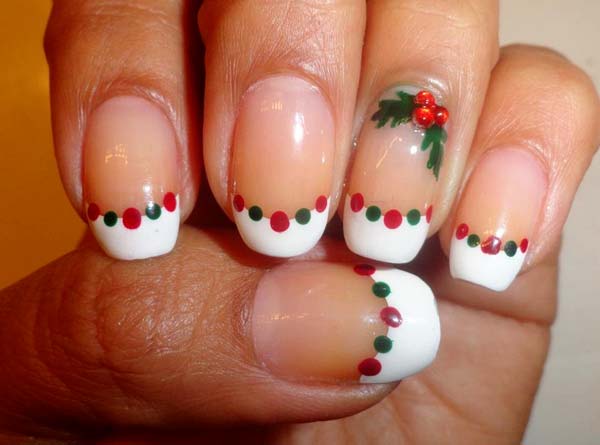
Holly is the featured keyword for this classic and festive nail design. This design is perfect for those who want a traditional Christmas look for their nails. Start by painting your nails a dark green color for the base. Then, using a thin brush or toothpick, carefully create holly leaves and berries on each nail using a red and white nail polish. For an extra touch, you can add some gold or silver accents to make your holly design stand out.6. "Holly Nails"


6. "Holly Nails"


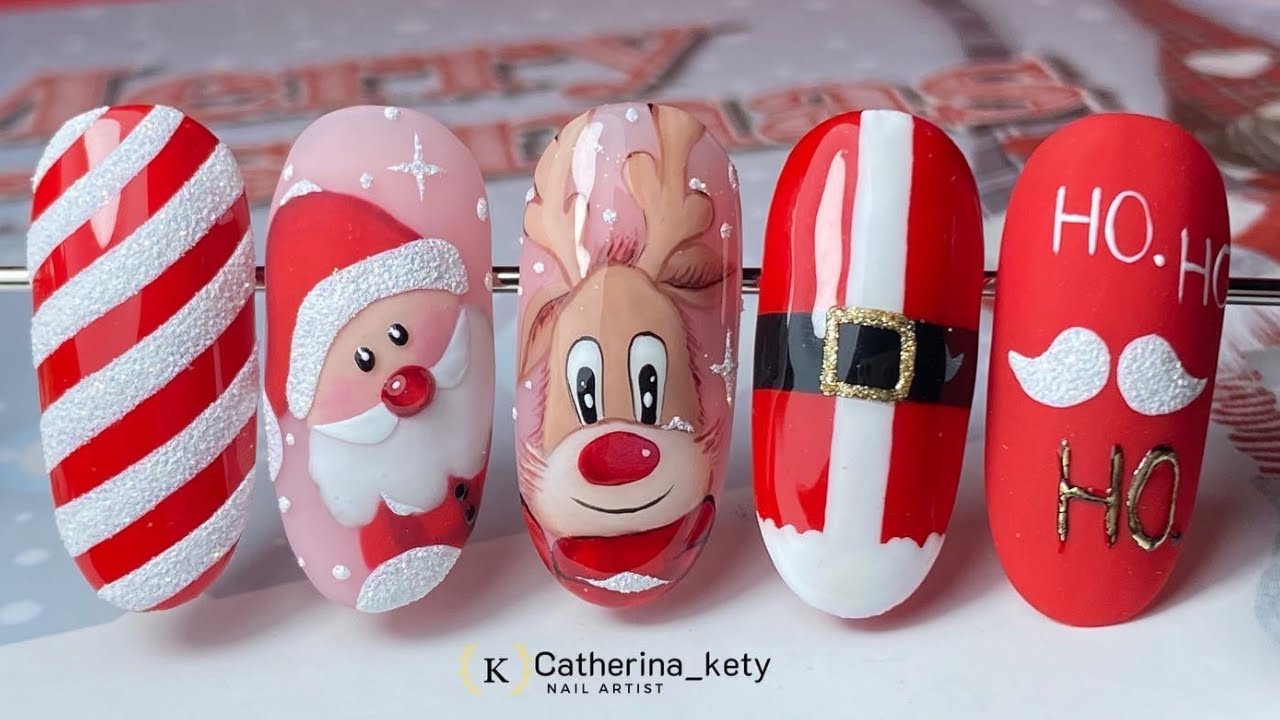
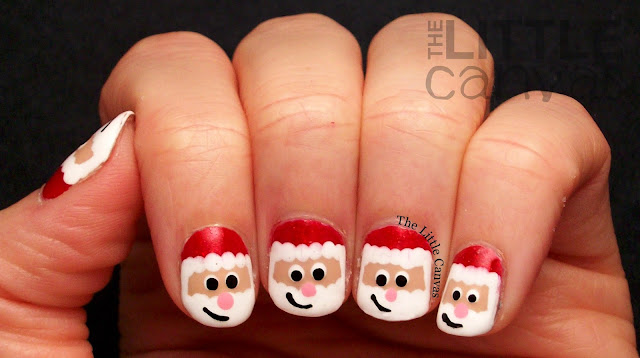
Santa Claus is the main keyword for this jolly and fun nail design. This design is perfect for those who want to show off their love for the man in the red suit. Start by painting your nails a bright red color for the base. Then, using a thin brush or toothpick, create Santa's hat on the top half of each nail using a white nail polish. Next, use a dotting tool to create Santa's eyes and nose. For an extra touch, you can add a white beard using a toothpick and some white nail polish.7. "Santa Claus Nails"


7. "Santa Claus Nails"


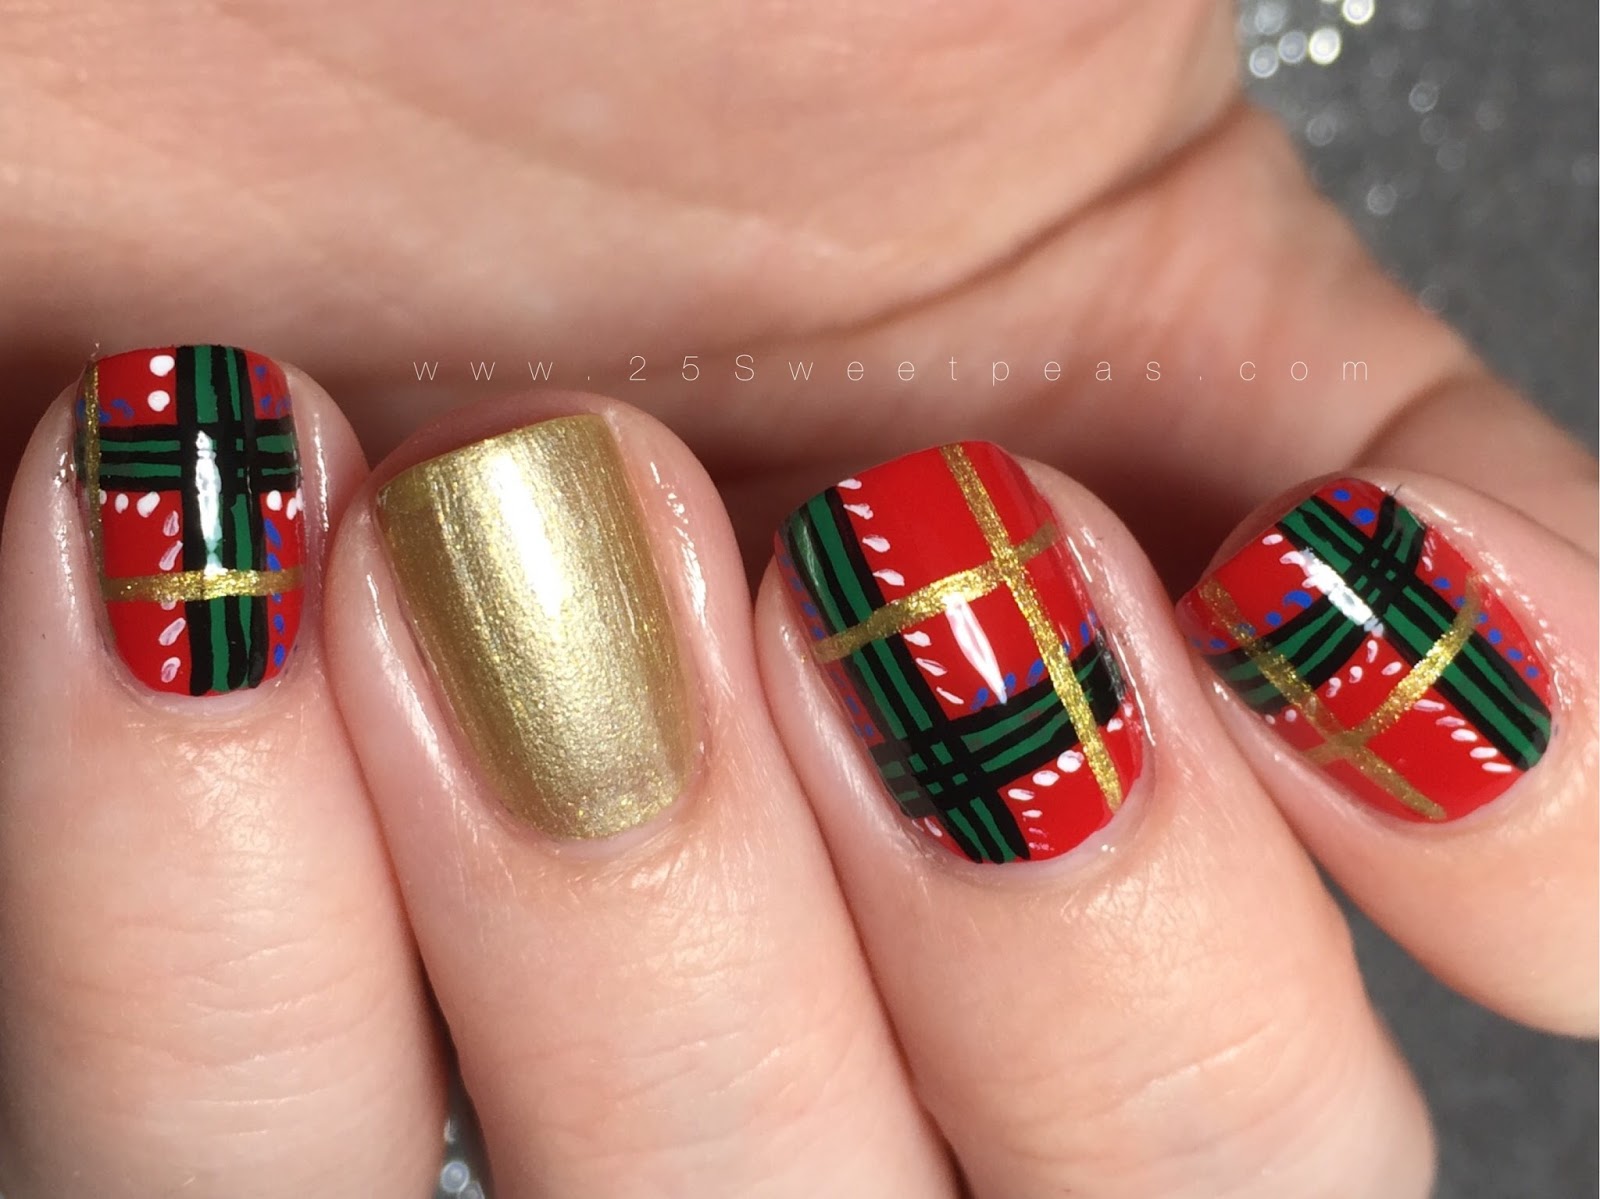
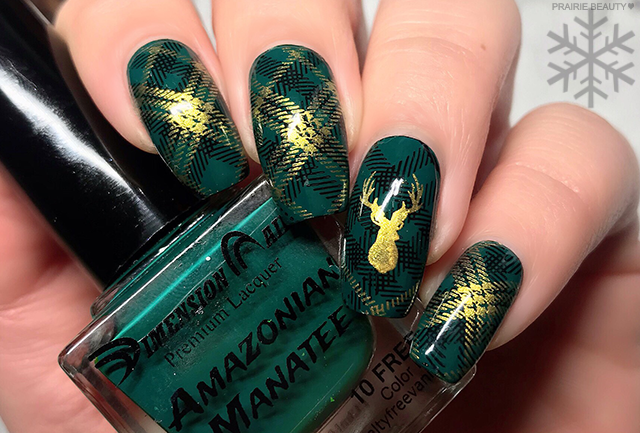
Plaid is the featured keyword for this cozy and festive nail design. This design is perfect for those who want a more unique and eye-catching look for their Christmas nails. Start by painting your nails a neutral color, such as beige or light grey, for the base. Then, using a thin brush or toothpick, carefully create plaid patterns on each nail using red and green nail polish. You can also add some glitter or rhinestones to make your plaid design stand out even more.8. "Festive Plaid Nails"

8. "Festive Plaid Nails"


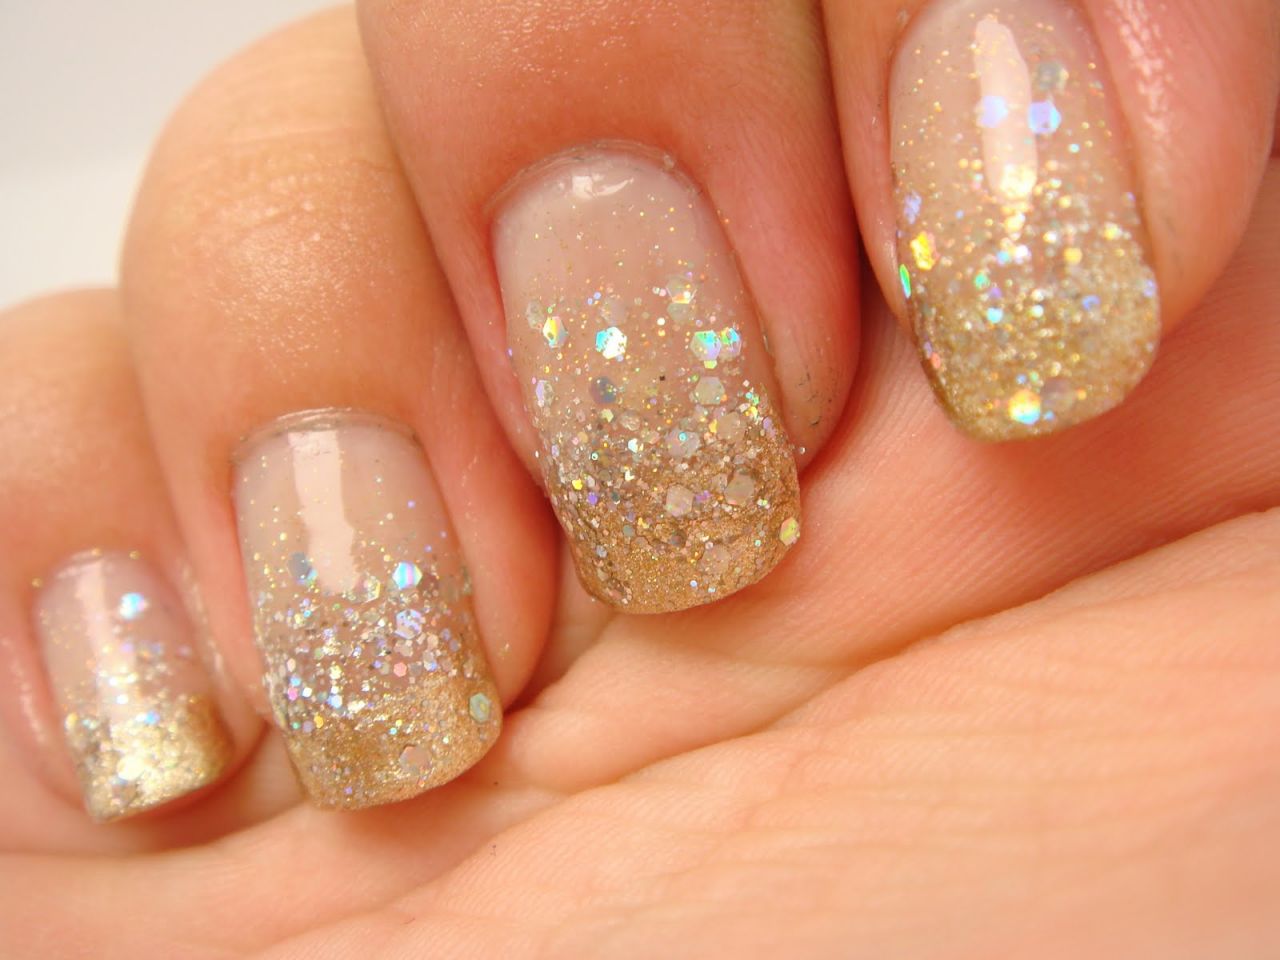
Sparkly glitter is the main keyword for this dazzling and festive nail design. This design is perfect for those who want to add some extra sparkle to their holiday look. To achieve this design, start by painting your nails a base color of your choice. Then, using a glitter nail polish, add a coat of sparkles to each nail. For an extra touch, you can add some larger glitter pieces or rhinestones for a more eye-catching look.9. "Sparkly Glitter Nails"


9. "Sparkly Glitter Nails"


Winter wonderland is the featured keyword for this dreamy and ethereal nail design. This design is perfect for those who want to capture the magical feeling of the holiday season. Start by painting your nails a light blue or white color for the base. Then, using a thin brush or toothpick, carefully create snowflake designs on each nail using a silver or white nail polish. Next, add some glitter or rhinestones to make your nails sparkle like snow. For an extra touch, you can also add some white dots to represent falling snowflakes.10. "Winter Wonderland Nails"


10. "Winter Wonderland Nails"


Cute Nail Design for Christmas: The Perfect Way to Add Festivity to Your Manicure
 When it comes to getting into the holiday spirit, there's no better way to do so than by incorporating festive elements into your everyday routine. And what better way to do that than through your nails?
Cute nail designs for Christmas
are a fun and creative way to showcase your holiday cheer and add a touch of sparkle to your overall look. With so many
Christmas nail designs
to choose from, you can easily find the perfect style to match your personality and the occasion.
When it comes to getting into the holiday spirit, there's no better way to do so than by incorporating festive elements into your everyday routine. And what better way to do that than through your nails?
Cute nail designs for Christmas
are a fun and creative way to showcase your holiday cheer and add a touch of sparkle to your overall look. With so many
Christmas nail designs
to choose from, you can easily find the perfect style to match your personality and the occasion.
Getting Inspired: Festive Nail Design Ideas
 The key to achieving the perfect
Christmas nail design
is by drawing inspiration from the holiday itself. Think glitter, snowflakes, reindeer, and of course, the classic red and green color palette. Incorporating these elements into your manicure will instantly add a festive touch and make your nails stand out in any holiday gathering.
The key to achieving the perfect
Christmas nail design
is by drawing inspiration from the holiday itself. Think glitter, snowflakes, reindeer, and of course, the classic red and green color palette. Incorporating these elements into your manicure will instantly add a festive touch and make your nails stand out in any holiday gathering.
Simple Yet Eye-Catching Designs
 If you're looking to keep things simple, there are plenty of
cute and easy nail designs for Christmas
that you can try. For a classic and elegant look, opt for a red base color with a touch of gold or silver glitter. This will give your nails a subtle yet festive touch. You can also add a few snowflake or Christmas tree decals for a more intricate design.
If you're looking to keep things simple, there are plenty of
cute and easy nail designs for Christmas
that you can try. For a classic and elegant look, opt for a red base color with a touch of gold or silver glitter. This will give your nails a subtle yet festive touch. You can also add a few snowflake or Christmas tree decals for a more intricate design.
Go Bold with Festive Patterns
 For those who love to make a statement with their nails, there are endless options for
fun and bold Christmas nail designs
. From candy cane stripes to Santa Claus faces, you can let your creativity run wild and showcase your love for the holiday season. Don't be afraid to mix and match patterns and colors to create a unique and eye-catching look.
For those who love to make a statement with their nails, there are endless options for
fun and bold Christmas nail designs
. From candy cane stripes to Santa Claus faces, you can let your creativity run wild and showcase your love for the holiday season. Don't be afraid to mix and match patterns and colors to create a unique and eye-catching look.
Make it Personal
 Another great way to incorporate
Christmas nail designs
is by personalizing them to fit your interests and hobbies. Are you a fan of Christmas movies? Paint your nails with iconic movie characters or scenes. Are you a lover of Christmas treats? Add cute snowman or gingerbread man accents to your nails. The possibilities are endless, and by adding a personal touch, your nails will surely be the talk of the party.
In conclusion,
cute nail designs for Christmas
are a fun and festive way to add some holiday cheer to your manicure. From simple and elegant to bold and personalized, there are endless options to choose from. So why not get creative and let your nails be a reflection of your holiday spirit?
Another great way to incorporate
Christmas nail designs
is by personalizing them to fit your interests and hobbies. Are you a fan of Christmas movies? Paint your nails with iconic movie characters or scenes. Are you a lover of Christmas treats? Add cute snowman or gingerbread man accents to your nails. The possibilities are endless, and by adding a personal touch, your nails will surely be the talk of the party.
In conclusion,
cute nail designs for Christmas
are a fun and festive way to add some holiday cheer to your manicure. From simple and elegant to bold and personalized, there are endless options to choose from. So why not get creative and let your nails be a reflection of your holiday spirit?


