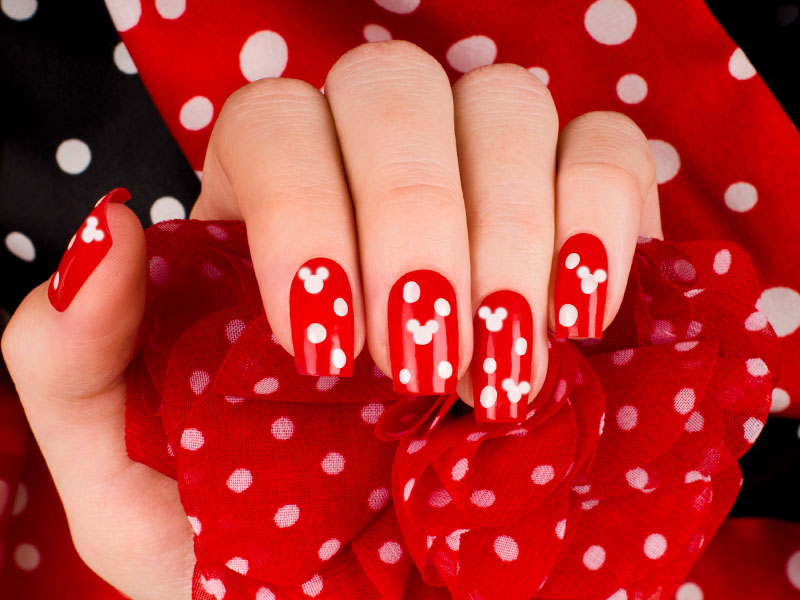
Are you a fan of Disney's beloved character, Mickey Mouse? Want to show off your love for the iconic mouse on your nails? Look no further! In this tutorial, we will guide you through the top 10 Disney Mickey Mouse nail art designs that you can easily recreate at home. Get ready to add a touch of magic to your manicure!Disney Mickey Mouse Nail Art Design Tutorial


Disney Mickey Mouse Nail Art Design Tutorial


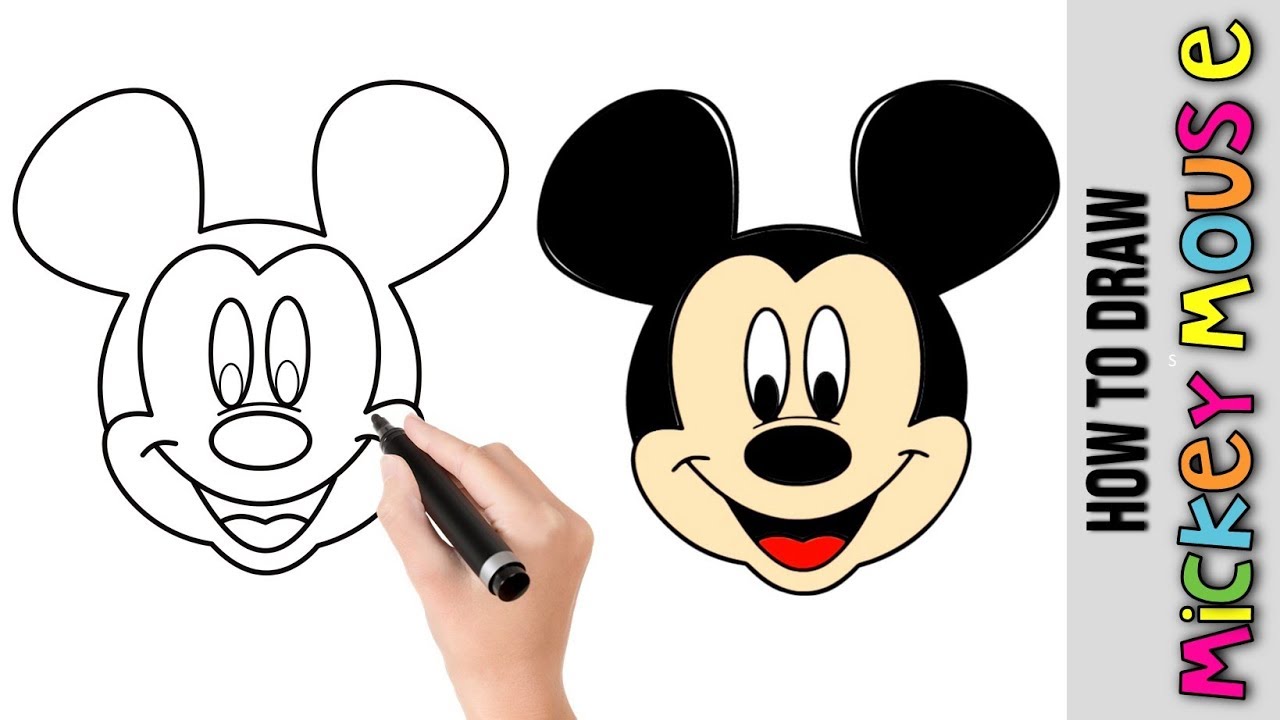
Before we dive into the tutorials, here are some tips on how to create a Disney Mickey Mouse nail art design:How to Create a Disney Mickey Mouse Nail Art Design


How to Create a Disney Mickey Mouse Nail Art Design


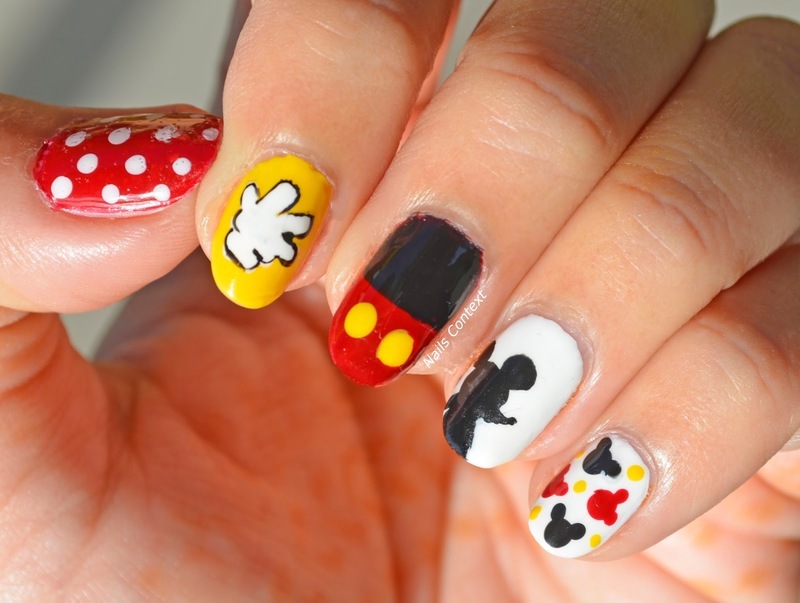
Now, onto the fun part - creating the nail art! Follow these step-by-step tutorials to achieve your favorite Mickey Mouse designs:Step-by-Step Disney Mickey Mouse Nail Art Tutorial


Step-by-Step Disney Mickey Mouse Nail Art Tutorial


.png)
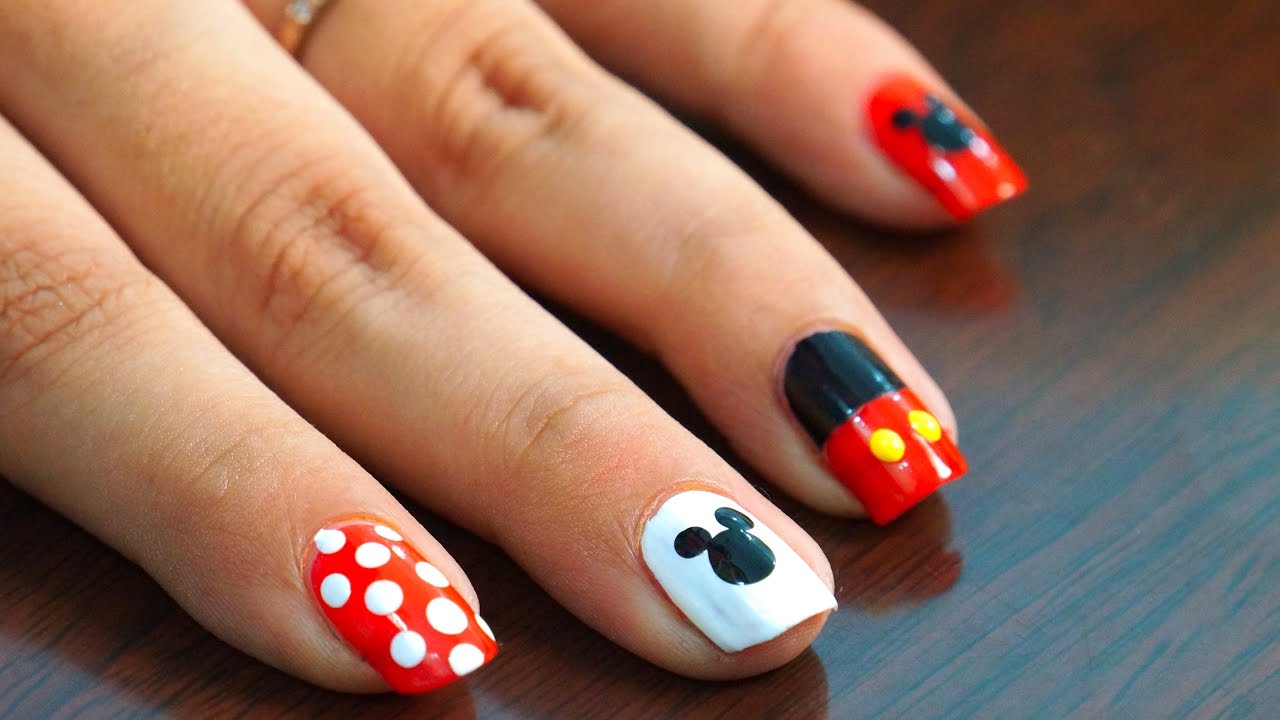
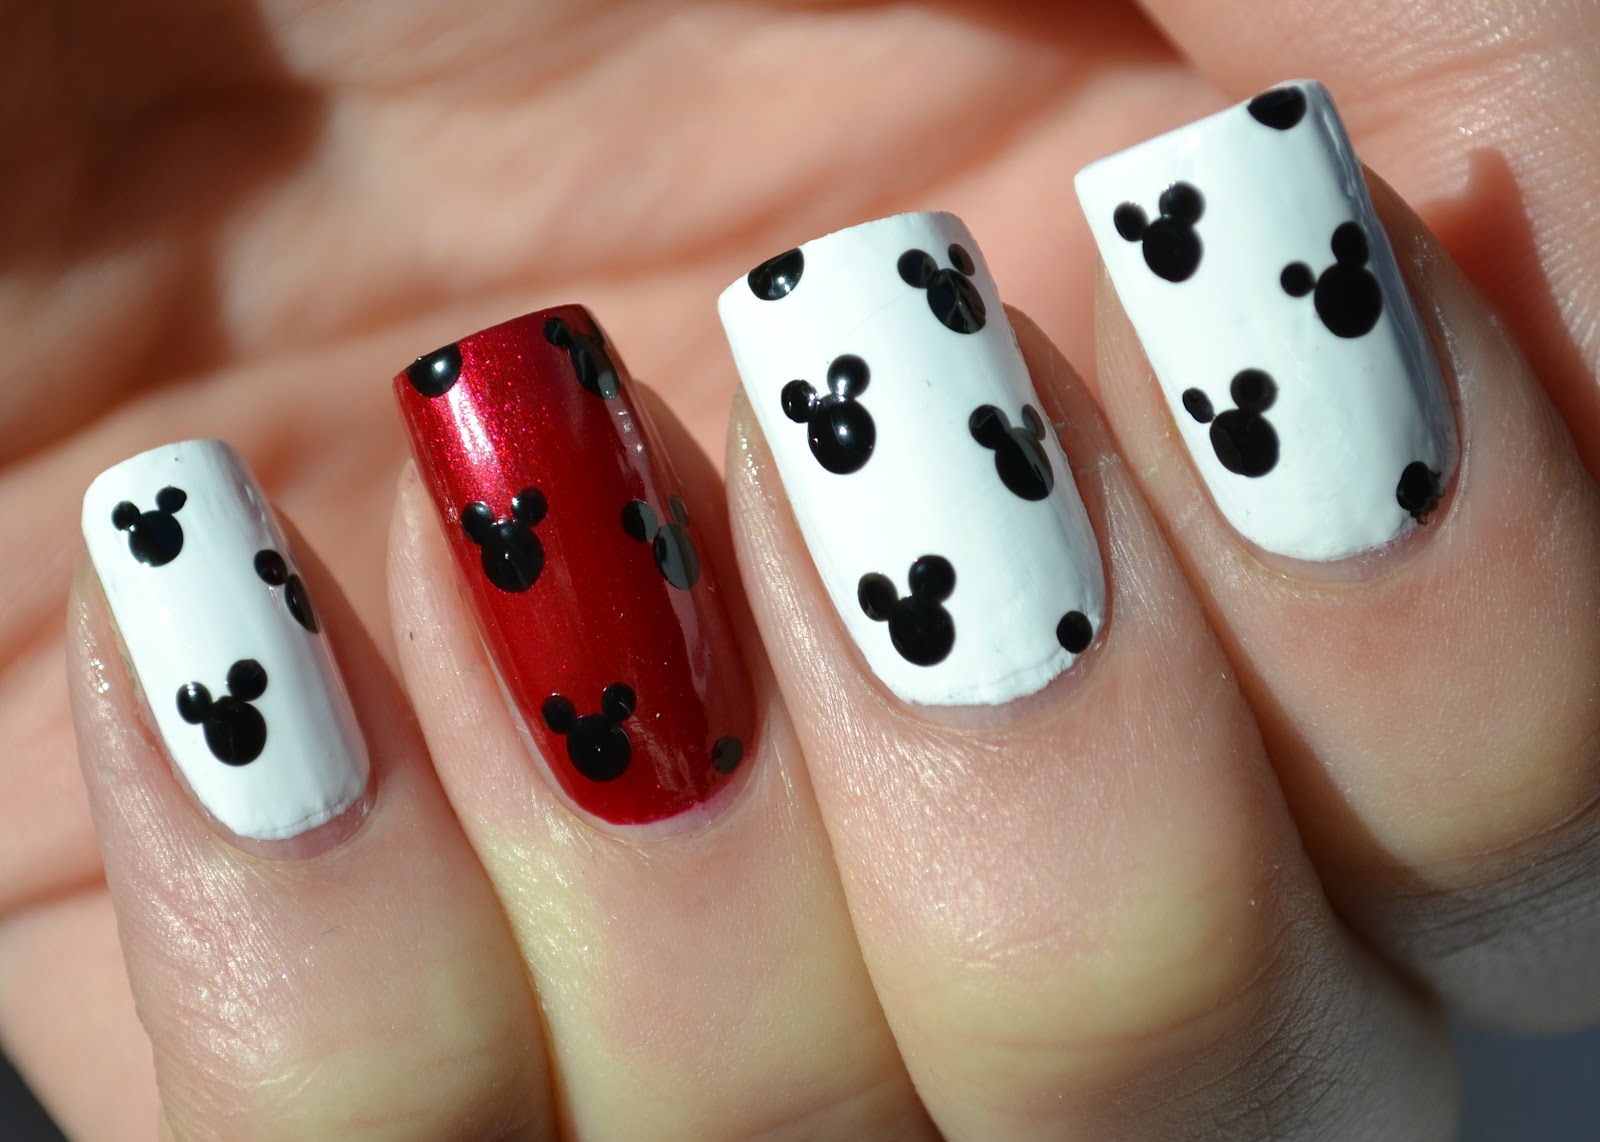
If you're new to nail art, don't worry! Here's an easy Mickey Mouse design that anyone can recreate:Easy Disney Mickey Mouse Nail Art Design for Beginners


Easy Disney Mickey Mouse Nail Art Design for Beginners


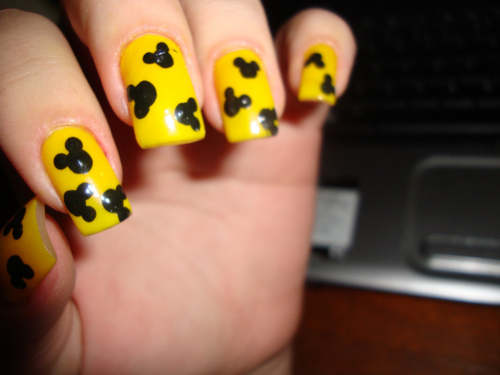
Want to add some cuteness and fun to your nails? Try out these Mickey Mouse designs:Cute and Fun Disney Mickey Mouse Nail Art Tutorial


Cute and Fun Disney Mickey Mouse Nail Art Tutorial

Don't have any nail art tools? No problem! Here's a DIY method for creating a Mickey Mouse nail design:DIY Disney Mickey Mouse Nail Art Design Tutorial

DIY Disney Mickey Mouse Nail Art Design Tutorial

Want to get your kids involved in the nail art fun? Here's a simple and fun Mickey Mouse design for them to try out:Disney Mickey Mouse Nail Art Design Tutorial for Kids
Disney Mickey Mouse Nail Art Design Tutorial for Kids

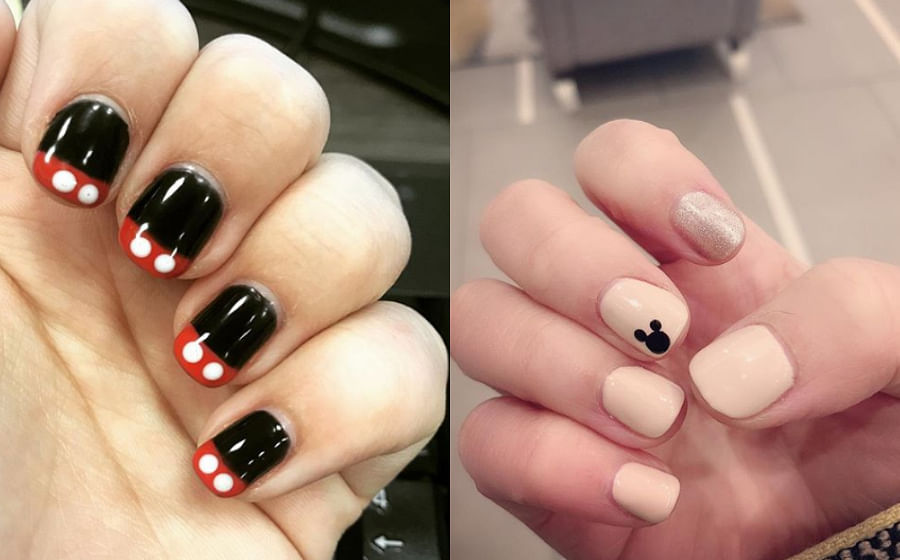
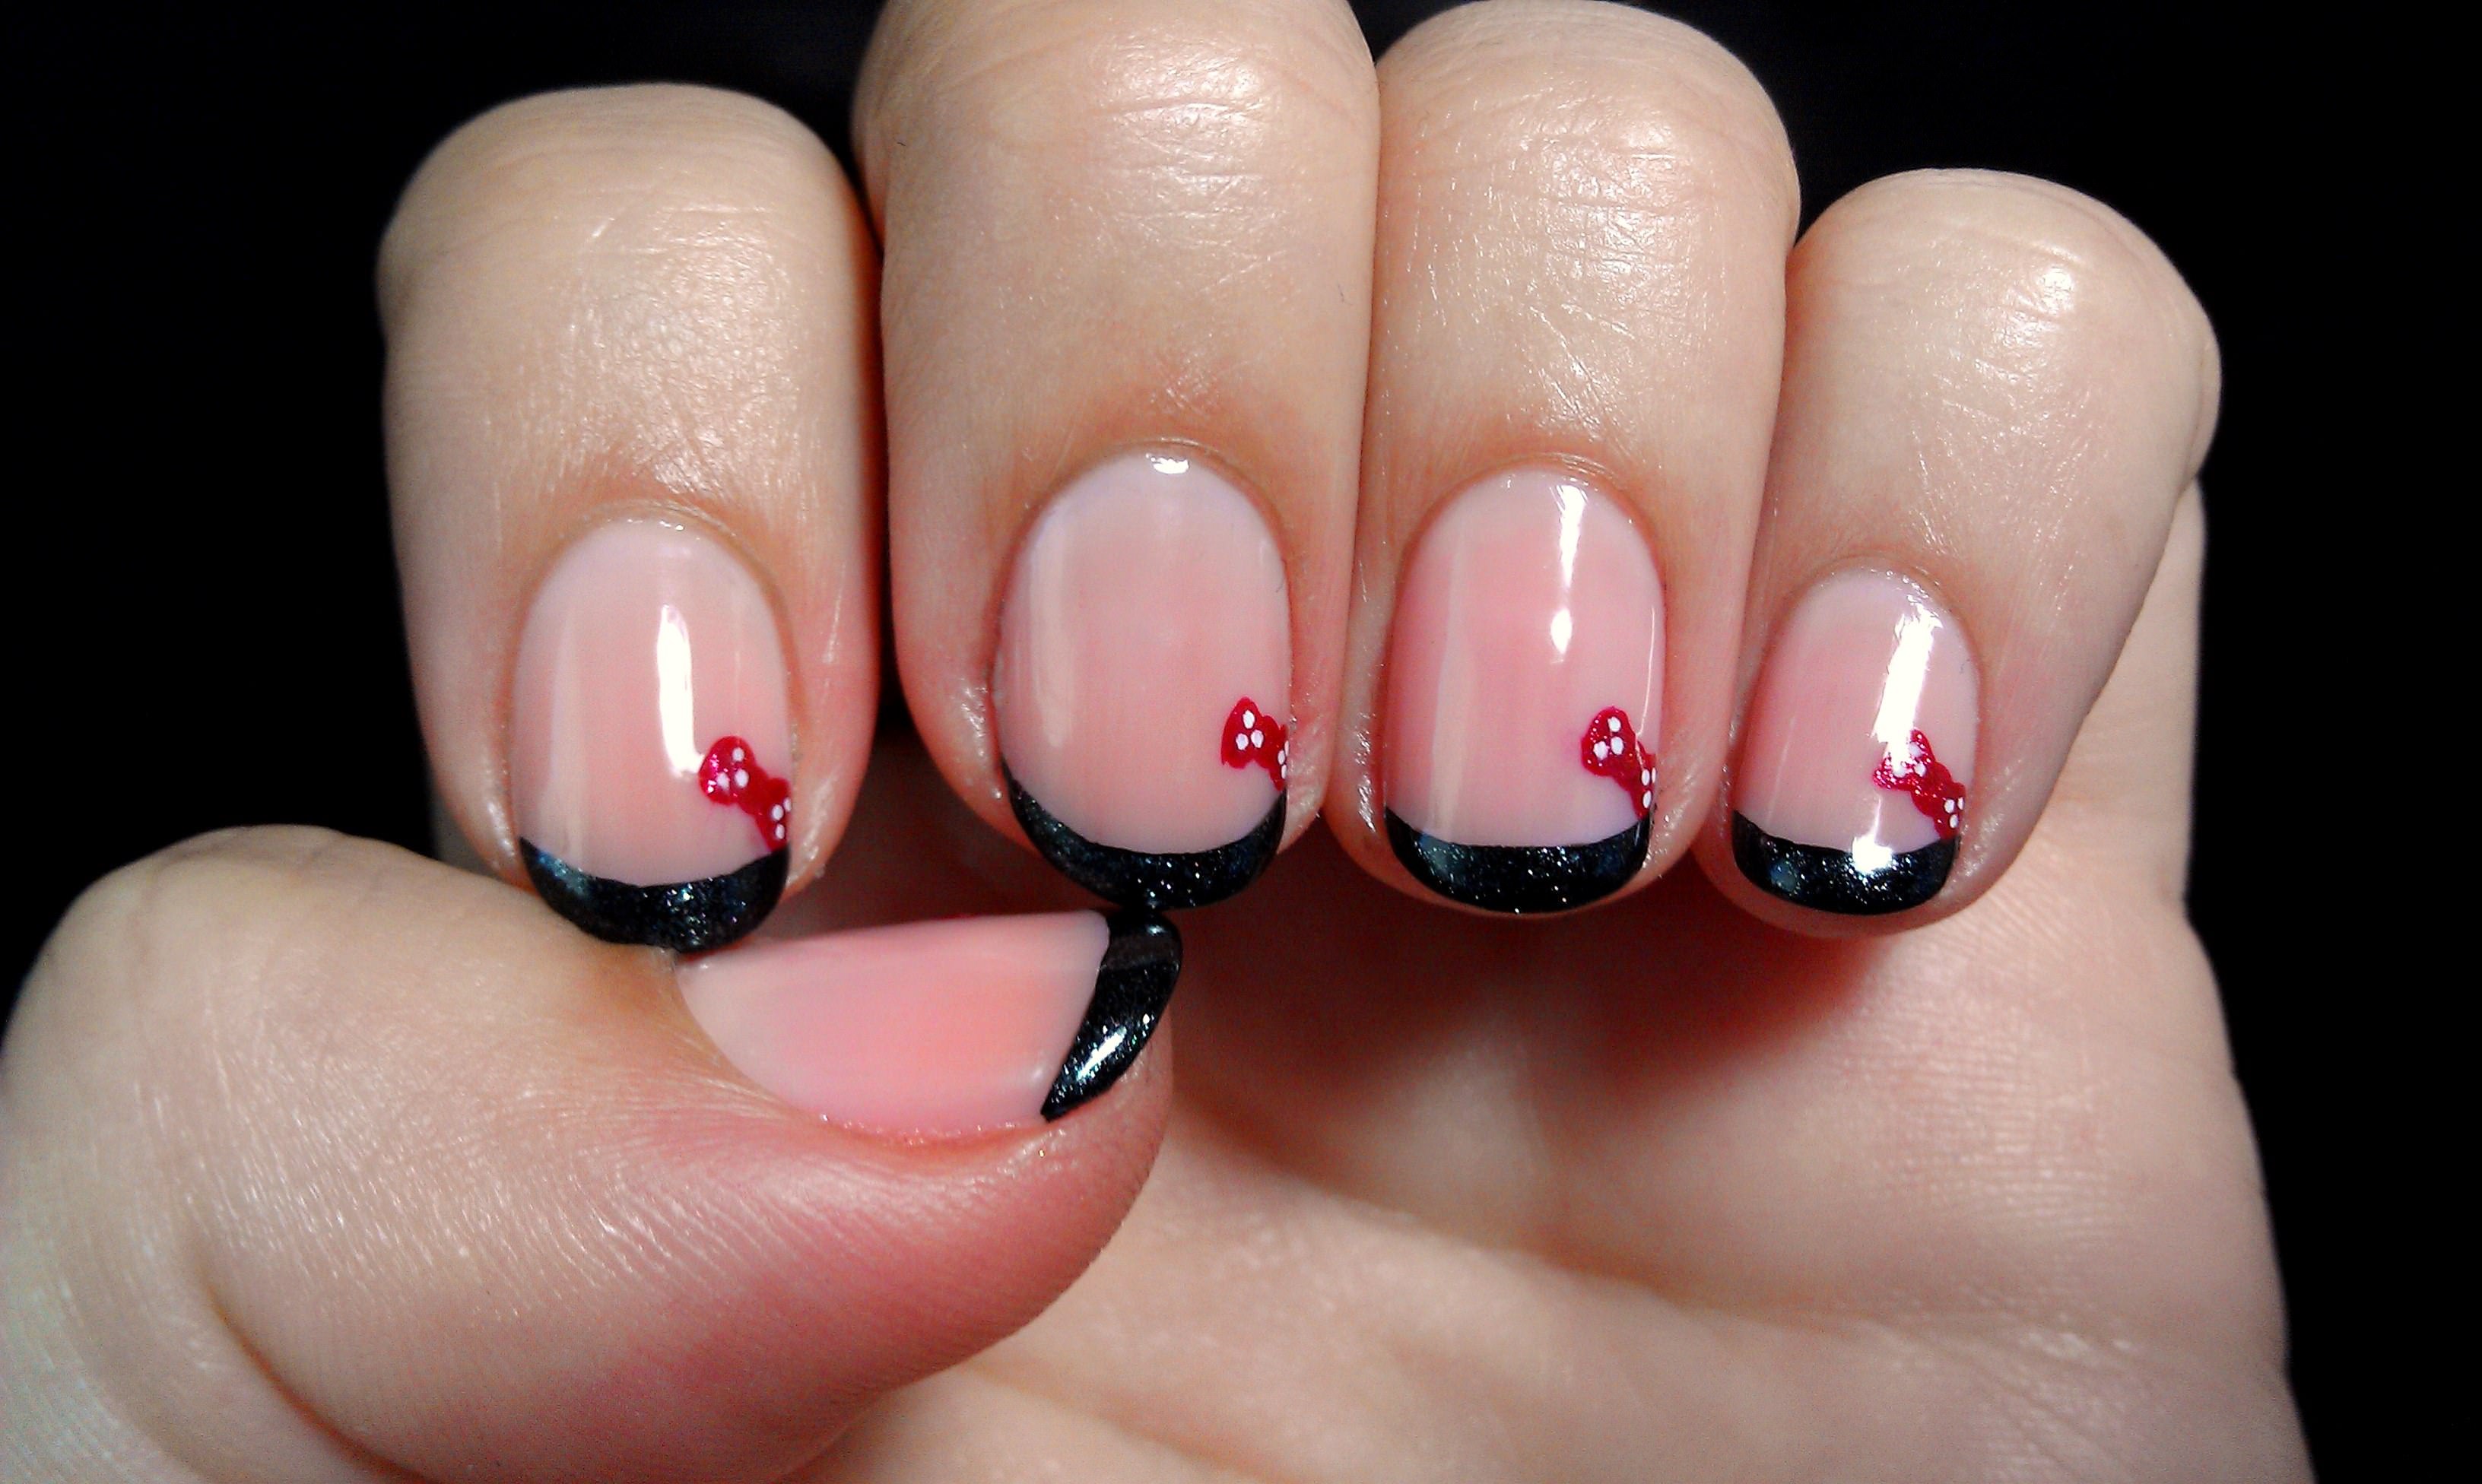
Looking for a more subtle Mickey Mouse design? Try these inspired designs:Mickey Mouse Inspired Nail Art Design Tutorial

Mickey Mouse Inspired Nail Art Design Tutorial


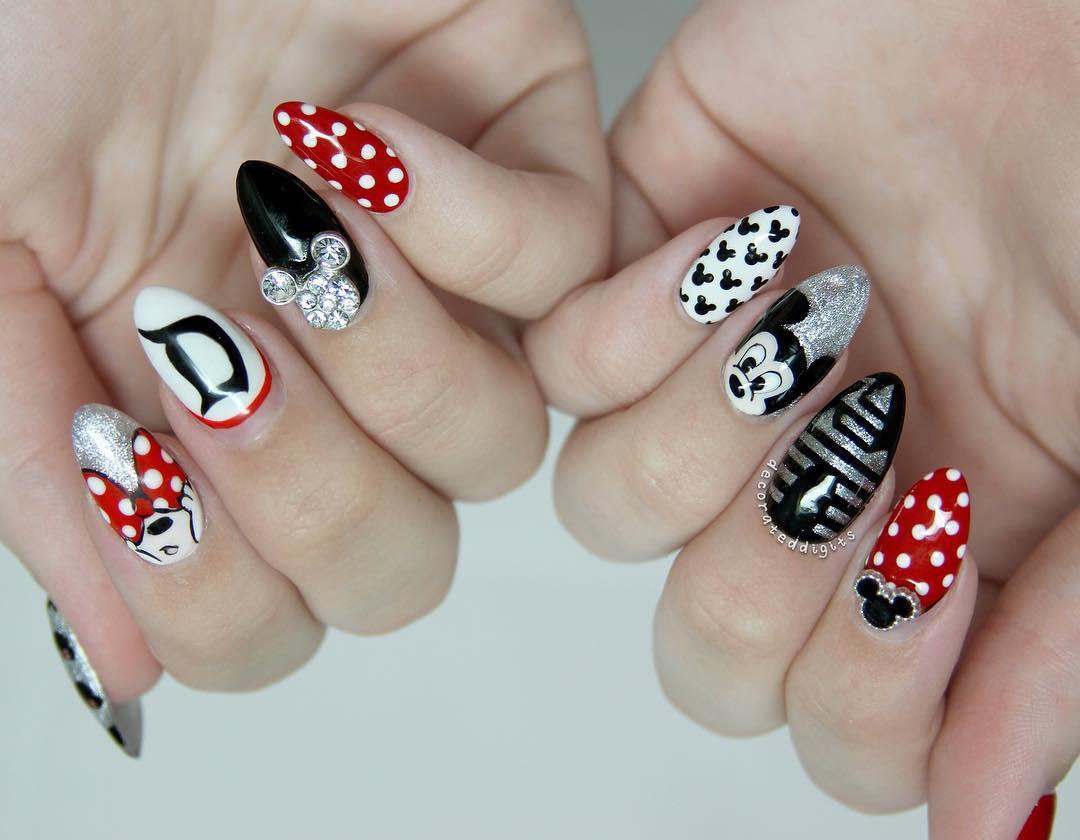
Want to incorporate other Disney elements into your Mickey Mouse nail art? Here's a design for you:Disney Themed Nail Art Design Tutorial featuring Mickey Mouse


Disney Themed Nail Art Design Tutorial featuring Mickey Mouse


Now that you have learned how to create various Disney Mickey Mouse nail art designs, it's time to show off your skills! These designs are perfect for any Disney lover or for a fun and unique manicure. So grab your nail polishes and get ready to add some Disney magic to your nails!How to Paint Disney Mickey Mouse Nails - Nail Art Tutorial

How to Paint Disney Mickey Mouse Nails - Nail Art Tutorial


Step-by-Step Guide to Creating Your Own Disney Mickey Mouse Nail Art Design

Introduction
 If you're a fan of Disney and love to express your love for the magical world through your nails, then a Mickey Mouse nail art design is the perfect choice for you. This iconic character has been a symbol of fun and happiness for generations and now you can bring it to life on your fingertips. In this tutorial, we will take you through the steps of creating your own Disney Mickey Mouse nail art design that will surely make heads turn.
Gather Your Supplies
 Before we jump into the design process, it's important to have all the necessary supplies ready. Here's a list of things you'll need:
-
Nail polish:
Red, black, white, and yellow
-
Dotting tool or toothpick:
This will be used for creating the iconic Mickey Mouse head.
-
Thin brush:
This will help with creating the details of the design.
-
Nail polish remover:
To clean up any mistakes.
-
Base coat and top coat:
To protect your nails and make the design last longer.
Before we jump into the design process, it's important to have all the necessary supplies ready. Here's a list of things you'll need:
-
Nail polish:
Red, black, white, and yellow
-
Dotting tool or toothpick:
This will be used for creating the iconic Mickey Mouse head.
-
Thin brush:
This will help with creating the details of the design.
-
Nail polish remover:
To clean up any mistakes.
-
Base coat and top coat:
To protect your nails and make the design last longer.
Prep Your Nails
 Before starting any nail art design, it's important to prepare your nails. Start by filing and shaping your nails to your desired length and shape. Then, apply a base coat to protect your nails from staining and allow it to dry completely.
Creating the Design
 Now it's time to get creative and start creating your Disney Mickey Mouse nail art design. Follow these steps:
1. Paint all your nails with a red nail polish and let it dry.
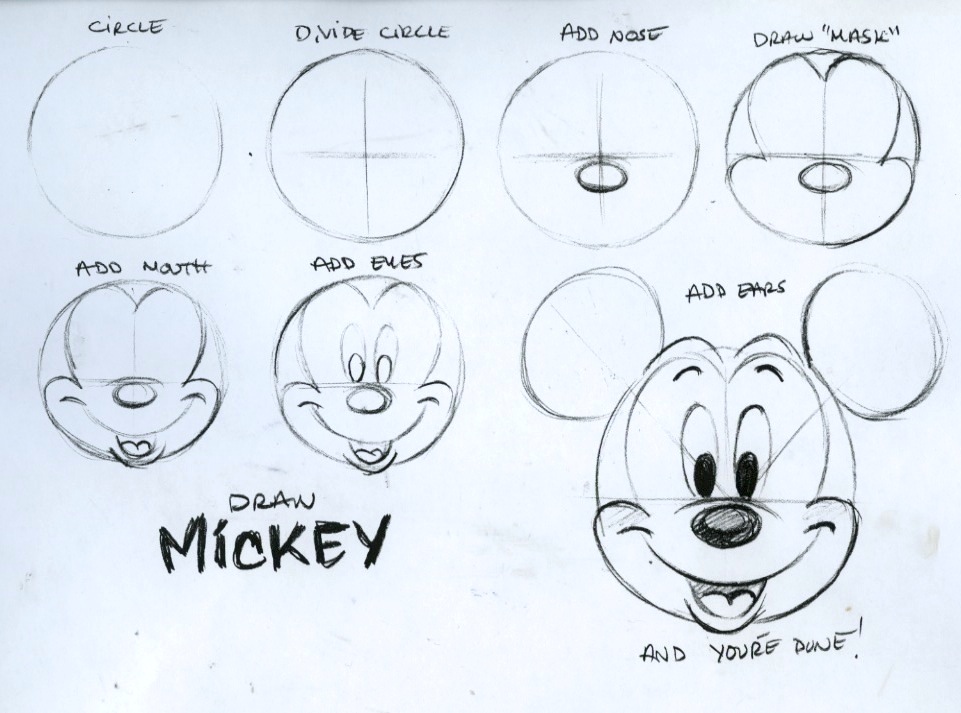
2. Using a dotting tool or toothpick, create two Mickey Mouse heads on your ring finger and thumb in white polish. This will be the main focus of the design.
3. With a thin brush, create a black outline for the ears and fill them in.
4. Using a dotting tool or toothpick, create two small yellow circles for Mickey's buttons on the white heads.
5. On the remaining nails, create black polka dots using a dotting tool or toothpick.
6. Using a thin brush, create a white outline for the polka dots on your index and pinky fingers.
7. Let the design dry completely before moving on to the next step.
Now it's time to get creative and start creating your Disney Mickey Mouse nail art design. Follow these steps:
1. Paint all your nails with a red nail polish and let it dry.
2. Using a dotting tool or toothpick, create two Mickey Mouse heads on your ring finger and thumb in white polish. This will be the main focus of the design.
3. With a thin brush, create a black outline for the ears and fill them in.
4. Using a dotting tool or toothpick, create two small yellow circles for Mickey's buttons on the white heads.
5. On the remaining nails, create black polka dots using a dotting tool or toothpick.
6. Using a thin brush, create a white outline for the polka dots on your index and pinky fingers.
7. Let the design dry completely before moving on to the next step.
Finishing Touches
 To make your Disney Mickey Mouse nail art design last longer and give it a glossy finish, apply a top coat over the entire design. This will also help to blend all the colors together and give it a professional look. Clean up any mistakes around your nails using a cotton swab dipped in nail polish remover.
Congratulations, you now have your very own Disney Mickey Mouse nail art design that will make you feel like a Disney princess every time you look at your nails. With a little bit of practice, you can create different variations of this design and add your own personal touch. So, go ahead and show off your love for Disney with this fun and playful nail art design.
To make your Disney Mickey Mouse nail art design last longer and give it a glossy finish, apply a top coat over the entire design. This will also help to blend all the colors together and give it a professional look. Clean up any mistakes around your nails using a cotton swab dipped in nail polish remover.
Congratulations, you now have your very own Disney Mickey Mouse nail art design that will make you feel like a Disney princess every time you look at your nails. With a little bit of practice, you can create different variations of this design and add your own personal touch. So, go ahead and show off your love for Disney with this fun and playful nail art design.


