Are you tired of the same old plain nail designs? Want to add a touch of elegance and creativity to your nails? Look no further because we have the perfect solution for you – DIY geometric nail designs! These designs are not only easy to create, but they also make a statement and elevate your overall look. So, grab your nail polish and get ready to unleash your inner artist with this step-by-step tutorial.1. DIY Geometric Nail Design Tutorial


1. DIY Geometric Nail Design Tutorial


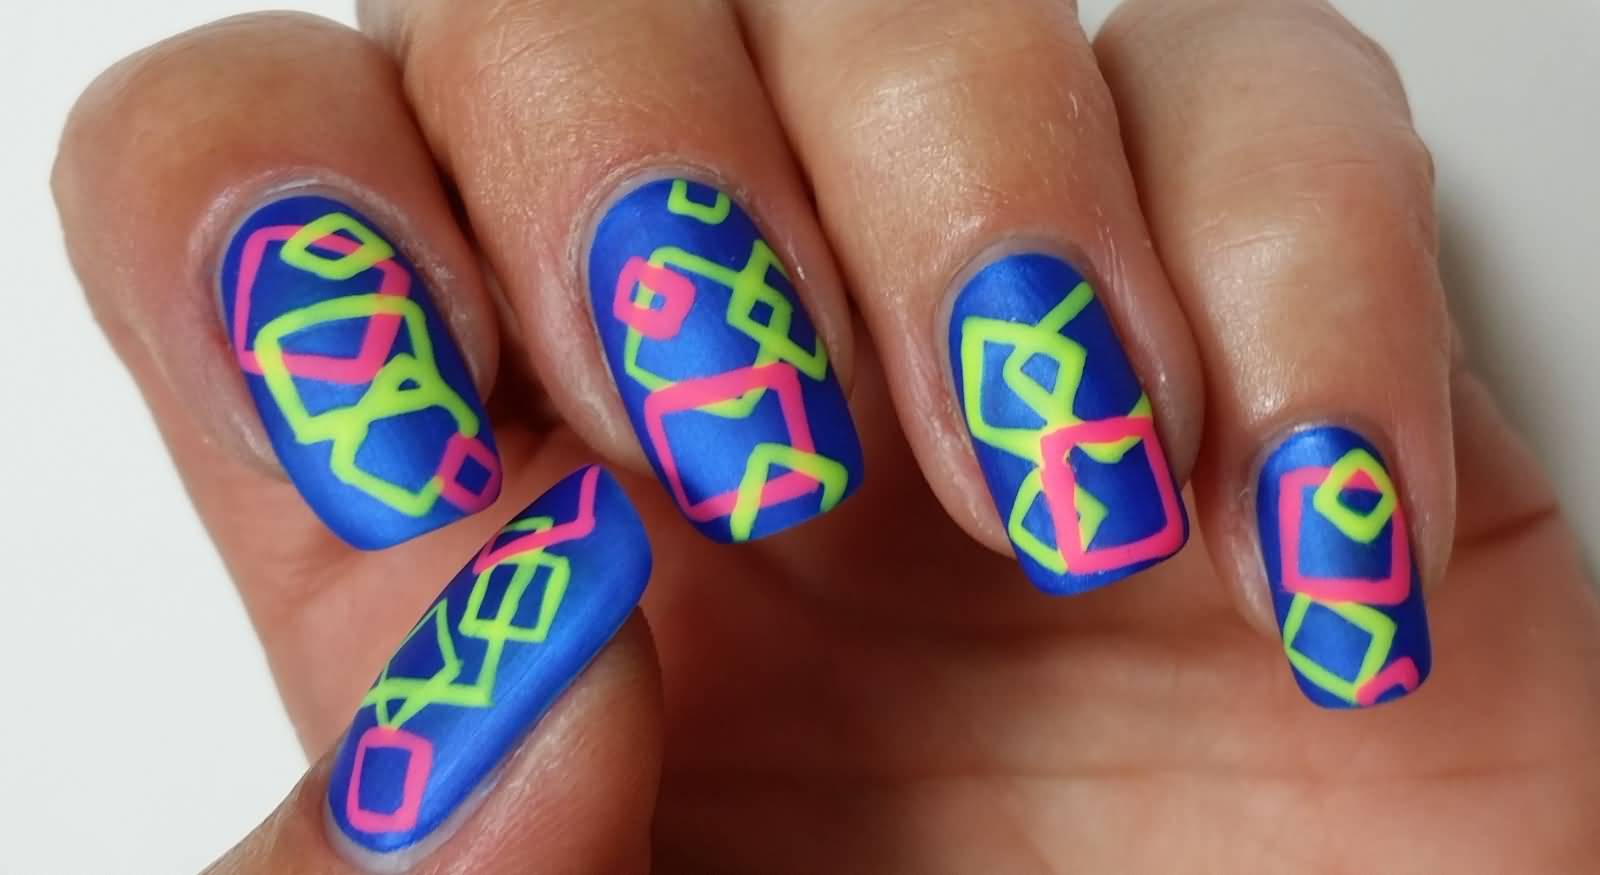
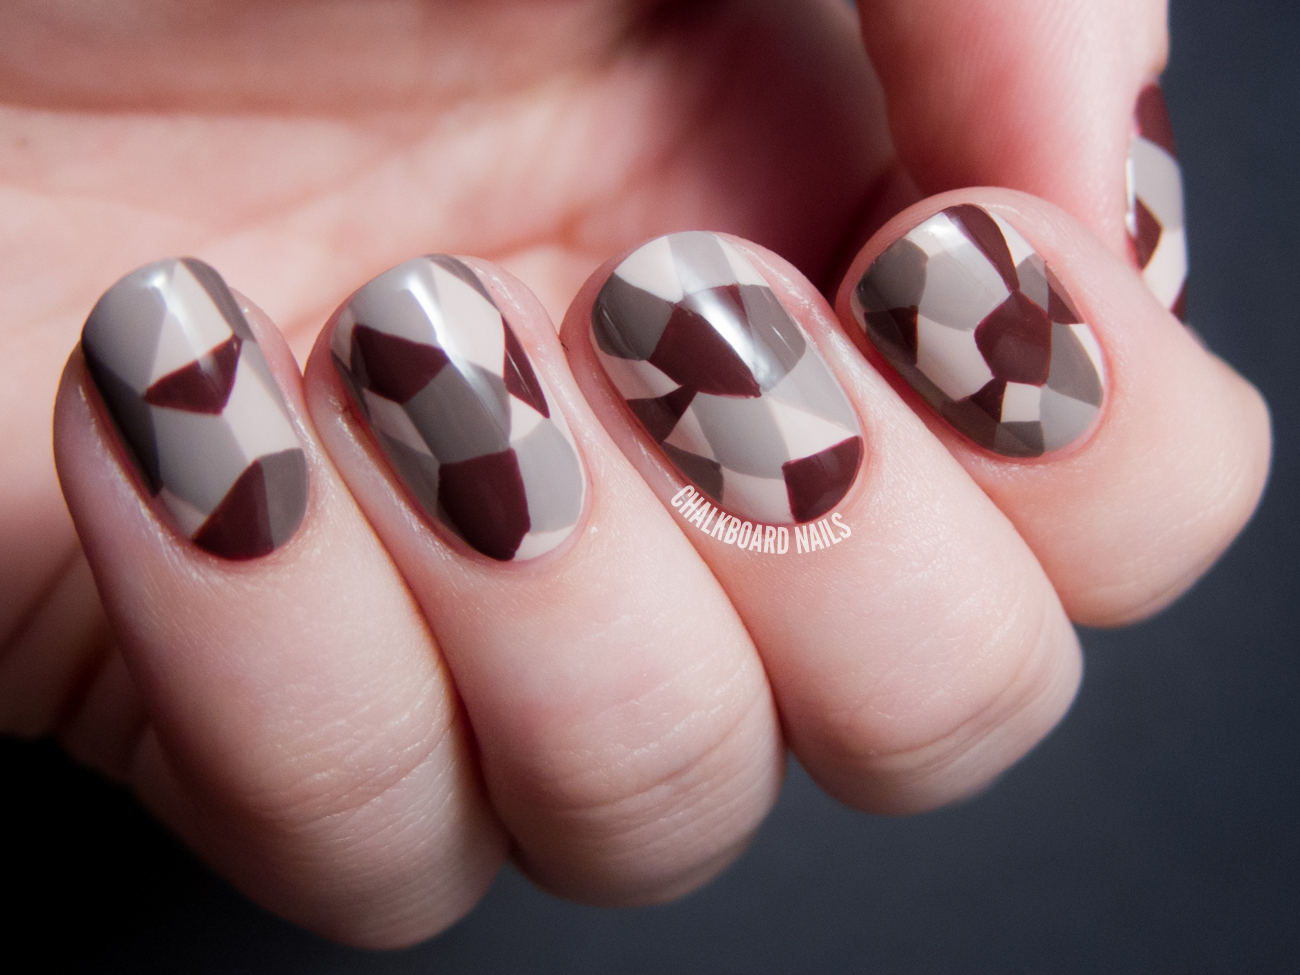
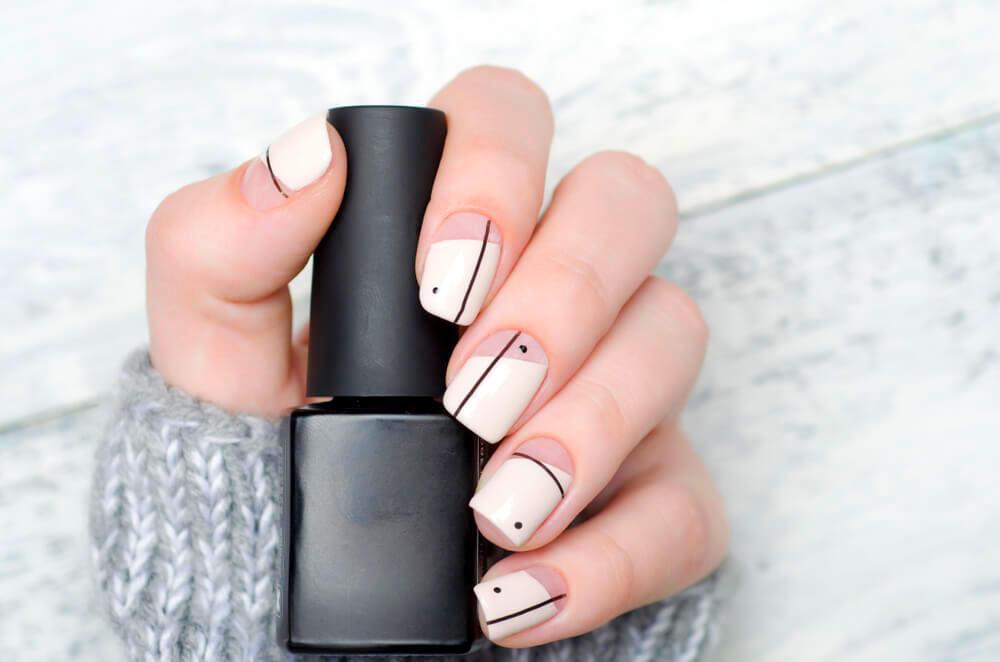
Geometric nail designs may seem intimidating, but they are actually quite simple to achieve. With a few basic tools and some patience, you can create elegant and sophisticated nail designs that will wow everyone. The key is to start with clean and well-manicured nails, and then follow these easy steps to create a stunning geometric design that will make your nails stand out.2. Elegant Geometric Nail Design Tutorial


2. Elegant Geometric Nail Design Tutorial


If you're new to nail art, don't worry – geometric designs are a great place to start. They don't require any special skills or tools, and the possibilities are endless. You can mix and match different colors and patterns to create your own unique design. And the best part? They are quick and easy to do! With this tutorial, you'll be able to create a beautiful geometric nail design in no time.3. Easy DIY Geometric Nail Art Tutorial


3. Easy DIY Geometric Nail Art Tutorial


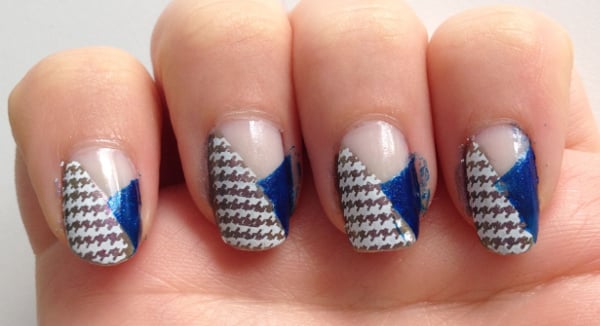
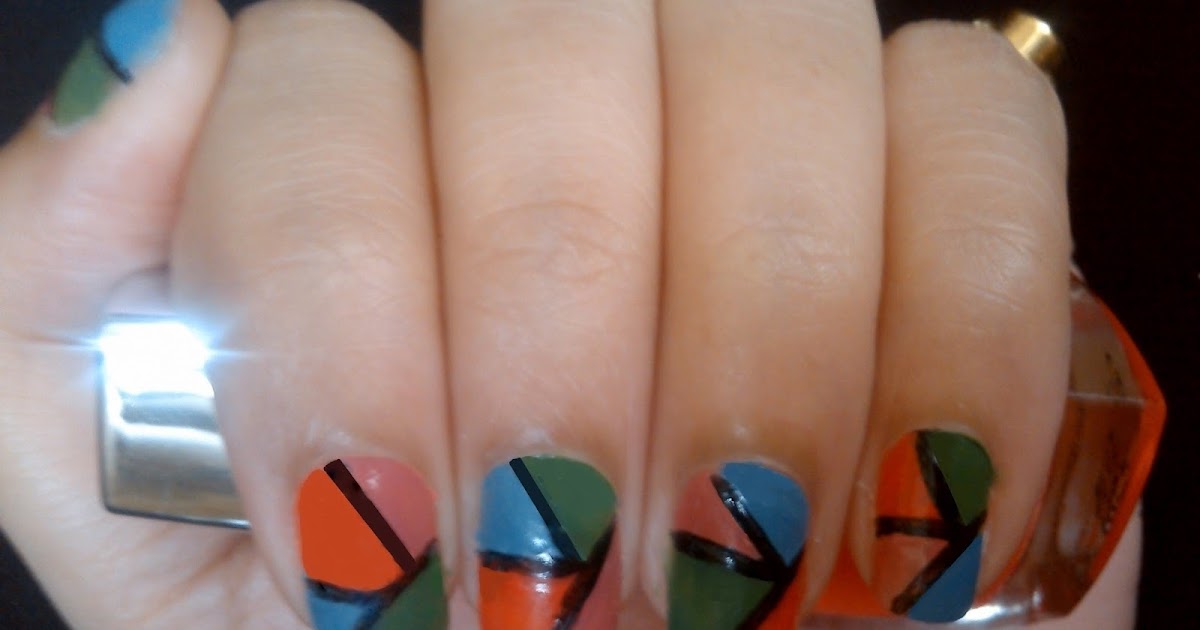
Step 1: Start by applying a base coat to your nails to protect them from staining and to help the polish last longer. Step 2: Choose two contrasting nail polish colors for your design. For an elegant look, opt for a neutral base color like champagne or nude, and a bold color like navy blue or burgundy. Step 3: Using the lighter color, paint your nails and let them dry completely. Step 4: Cut small pieces of scotch tape and place them on your nails in a geometric pattern of your choice. You can create lines, triangles, squares, or any other shape you like. Step 5: Using the darker color, paint over the tape and the exposed part of your nails. Make sure to cover the entire nail with the second color. Step 6: Carefully remove the tape while the polish is still wet to reveal the geometric pattern. Step 7: Let the polish dry completely before applying a top coat to seal in your design and add shine.4. Step-by-Step Geometric Nail Design Tutorial

4. Step-by-Step Geometric Nail Design Tutorial
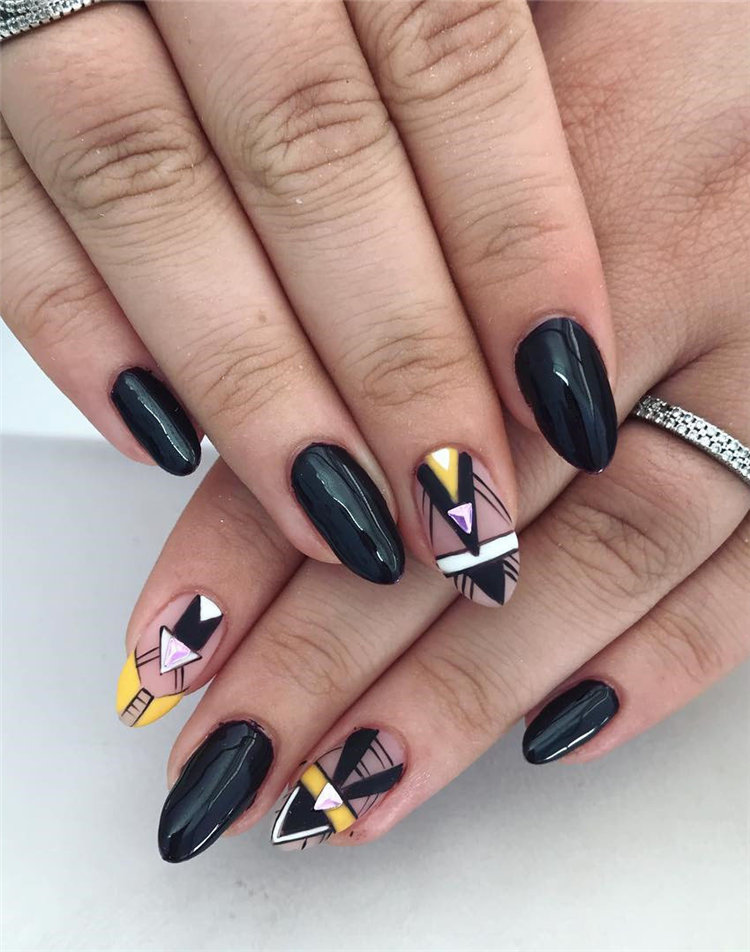
If you're new to nail art, it may be overwhelming to see intricate designs on social media. But don't worry, you don't need to be a professional nail artist to achieve a beautiful geometric design. As a beginner, start with simple patterns like stripes or triangles using two contrasting colors. Once you get the hang of it, you can experiment with more complex designs.5. Geometric Nail Design Tutorial for Beginners


5. Geometric Nail Design Tutorial for Beginners


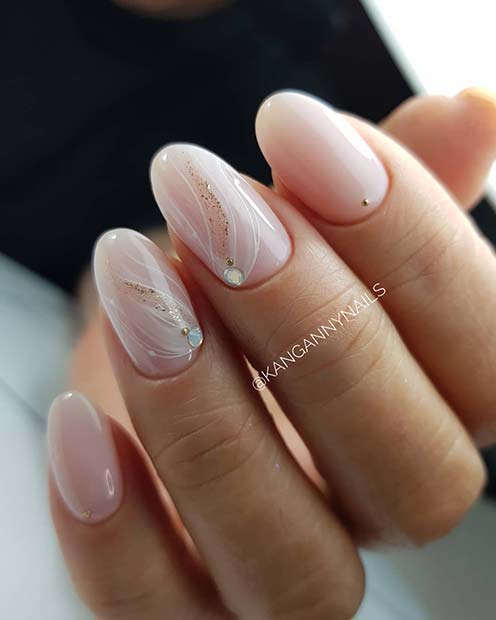
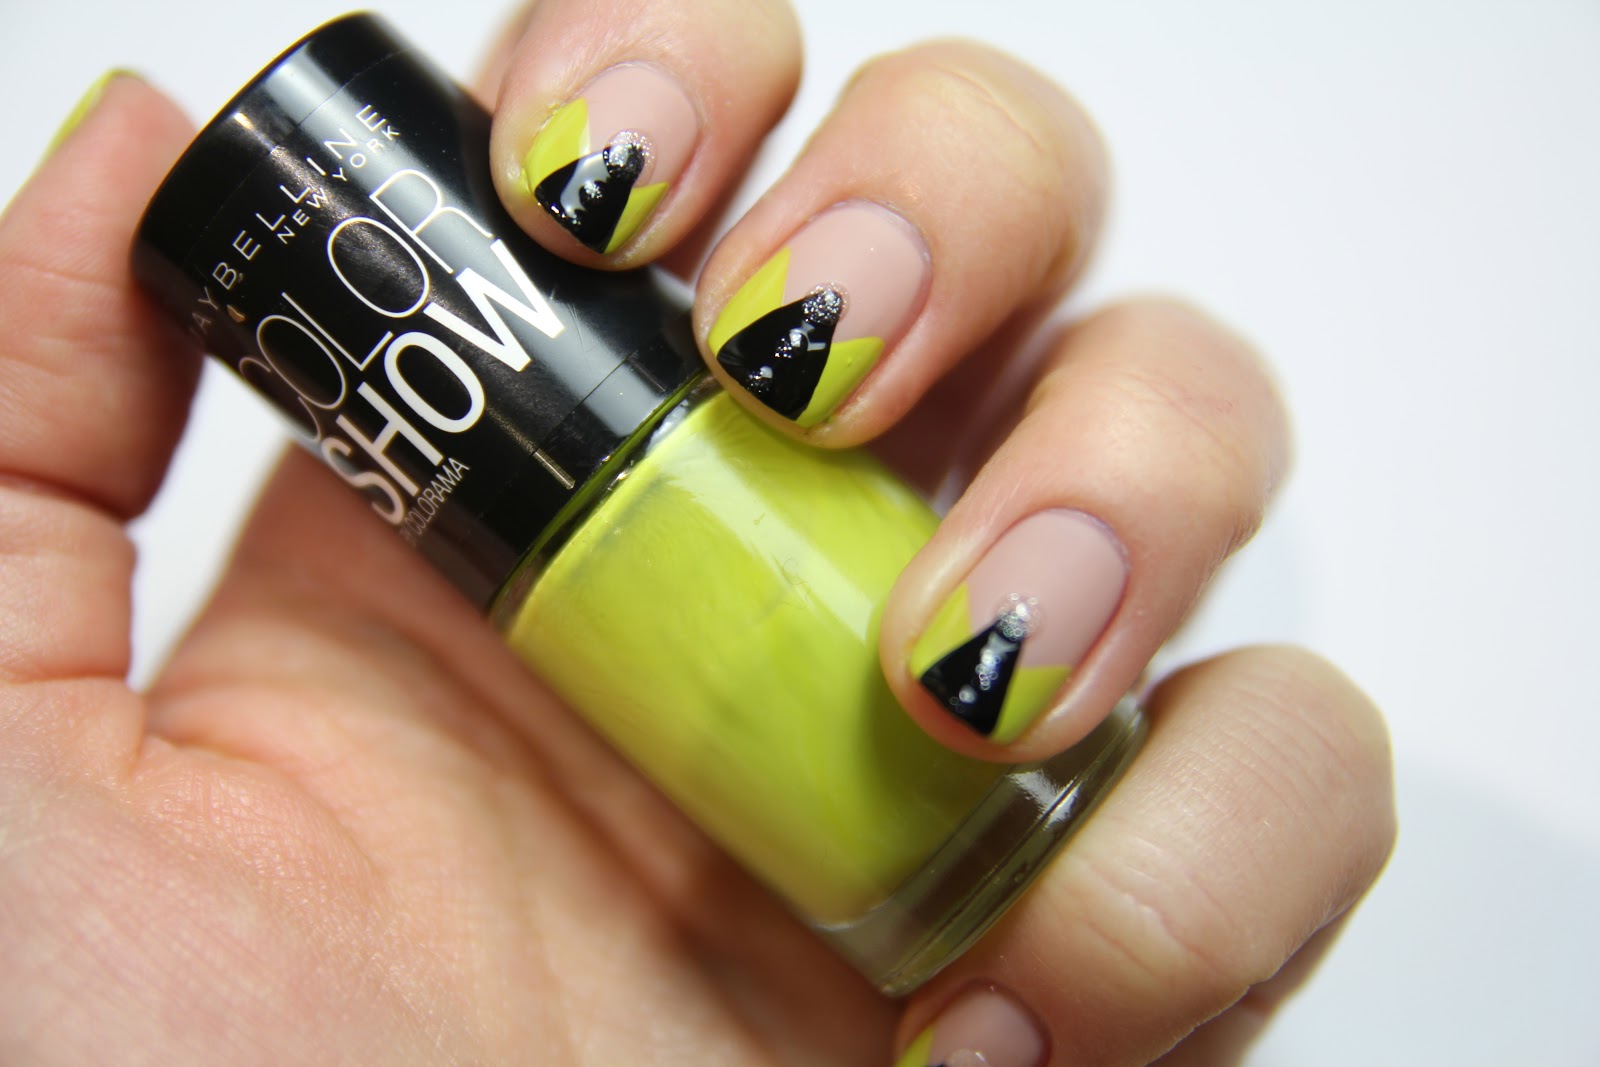
Geometric nail designs are not just for everyday wear – they can also be dressed up for special occasions. For a glamorous look, try using metallic or glitter nail polish for your geometric design. You can also add small rhinestones or pearls to your design for an extra touch of elegance. This is perfect for weddings, proms, or other formal events.6. Elegant Geometric Nail Art Tutorial for Special Occasions

6. Elegant Geometric Nail Art Tutorial for Special Occasions


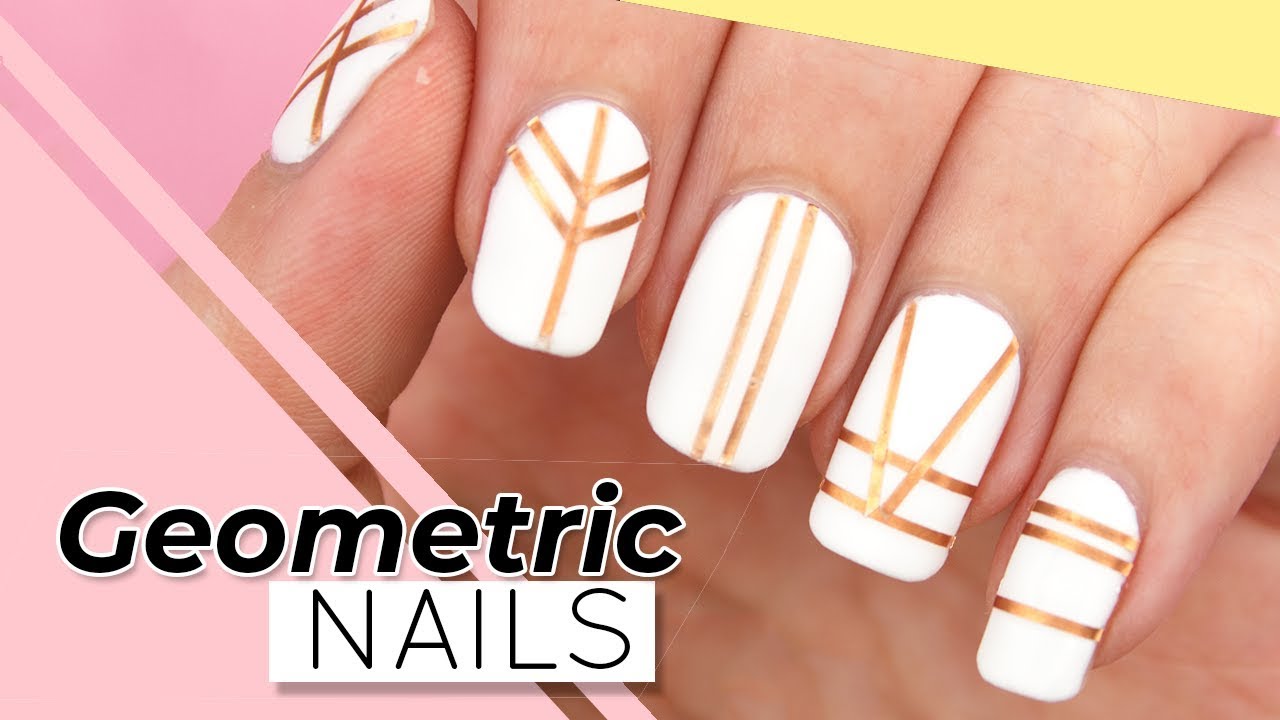
If you don't have nail art tools like striping tape or stencils, don't worry – you can achieve a great geometric design using regular scotch tape. Simply cut the tape into thin strips and use them to create your desired pattern. This is a budget-friendly and easy way to achieve a stylish geometric design on your nails.7. DIY Geometric Nail Design Tutorial using Tape

7. DIY Geometric Nail Design Tutorial using Tape

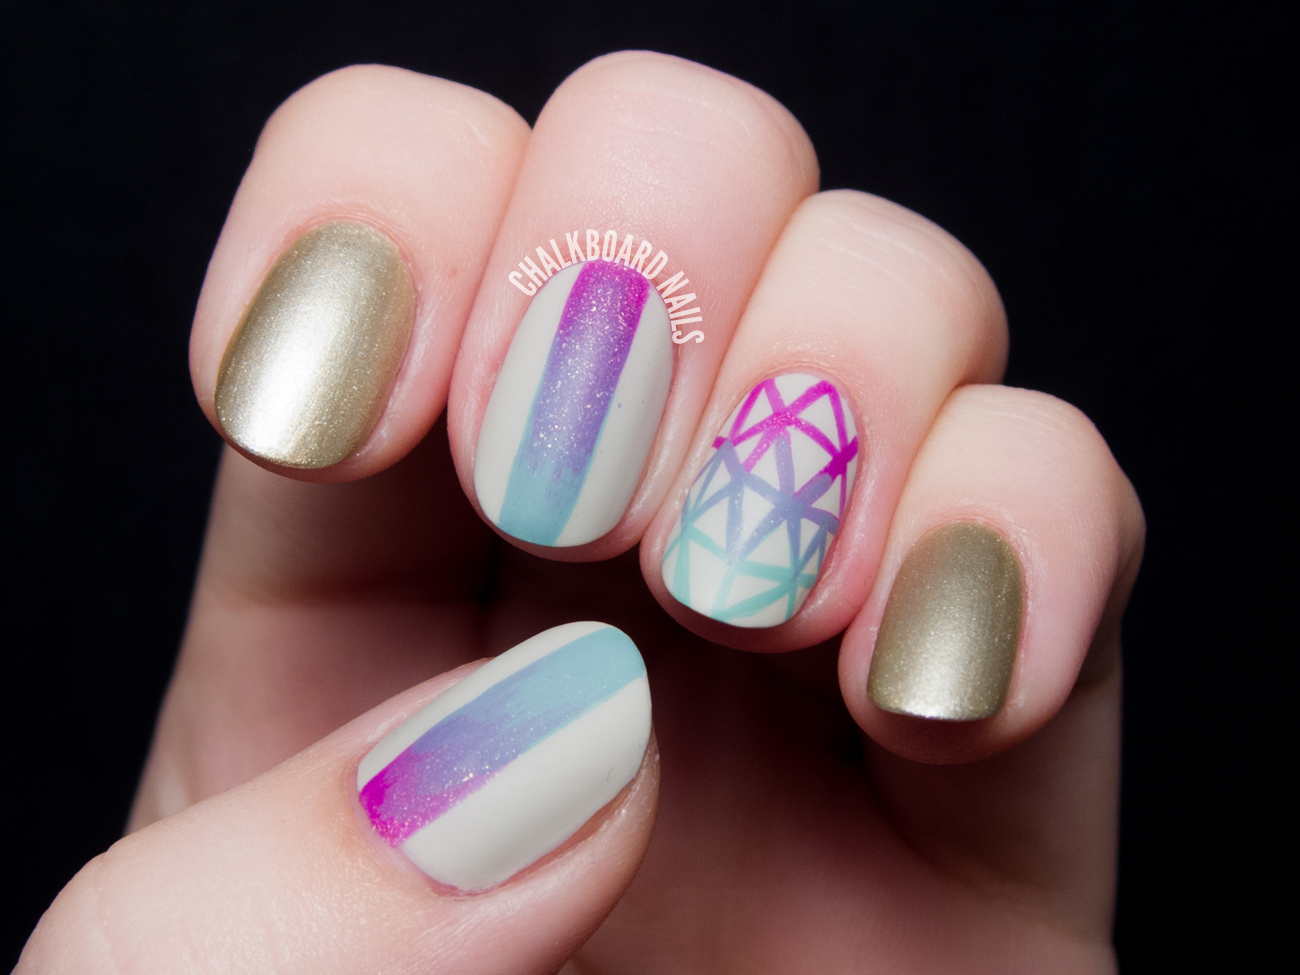
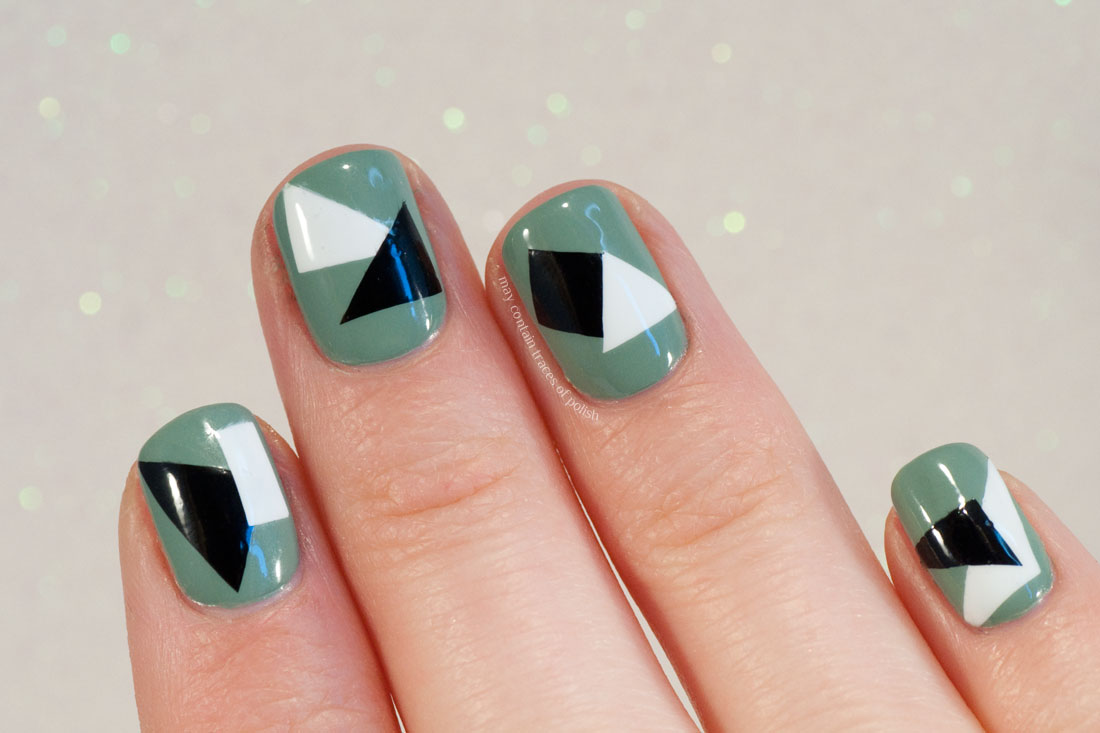
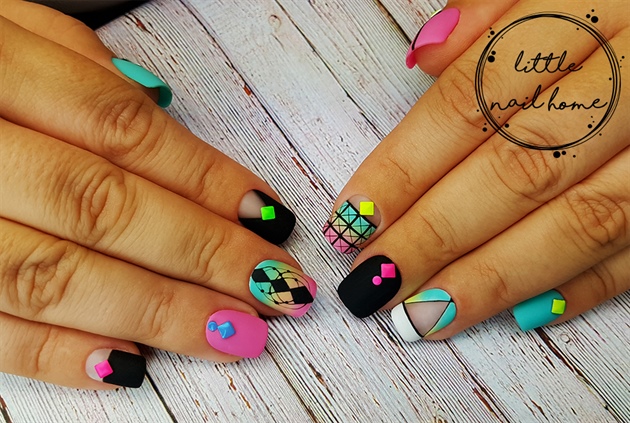
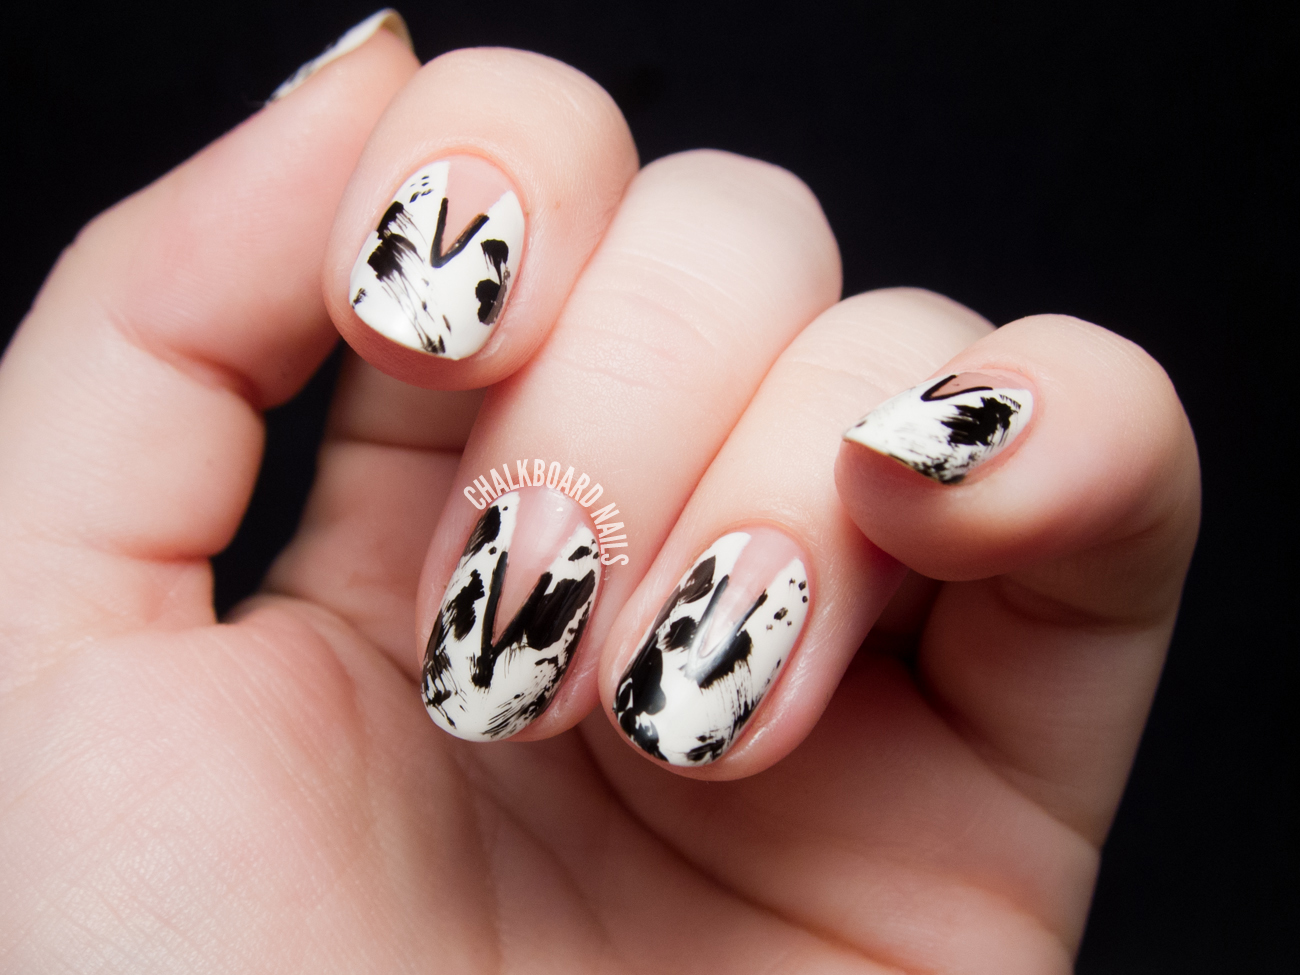
Negative space is a popular trend in nail art and it works perfectly with geometric designs. To achieve this look, leave some parts of your nails unpainted while creating your geometric pattern. This allows your natural nail color to show through and adds a unique touch to your design. You can also use different colors for the negative space to make your design even more eye-catching.8. Geometric Nail Design Tutorial with Negative Space

8. Geometric Nail Design Tutorial with Negative Space

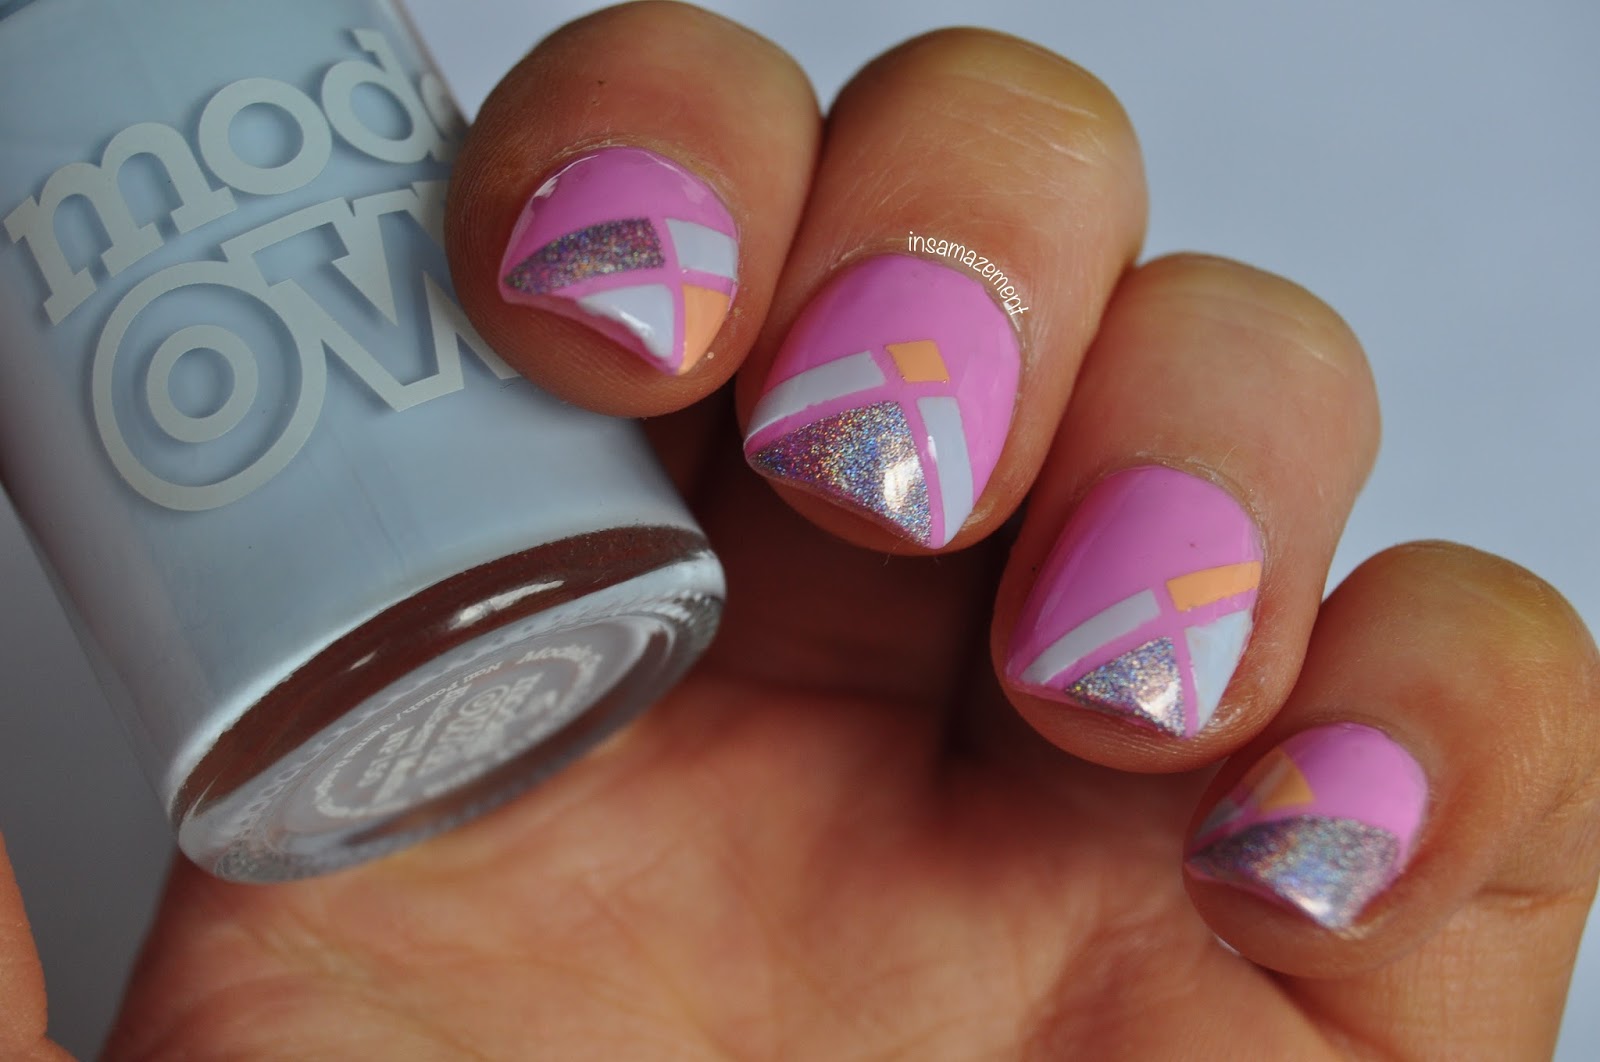
Metallic nail polish adds a touch of luxury and sophistication to any nail design. For a chic and elegant look, combine metallic colors with geometric patterns. You can use metallic nail polish for the base color, or for the geometric design itself. This will give your nails a modern and edgy vibe.9. Geometric Nail Design Tutorial with Metallic Accents


9. Geometric Nail Design Tutorial with Metallic Accents

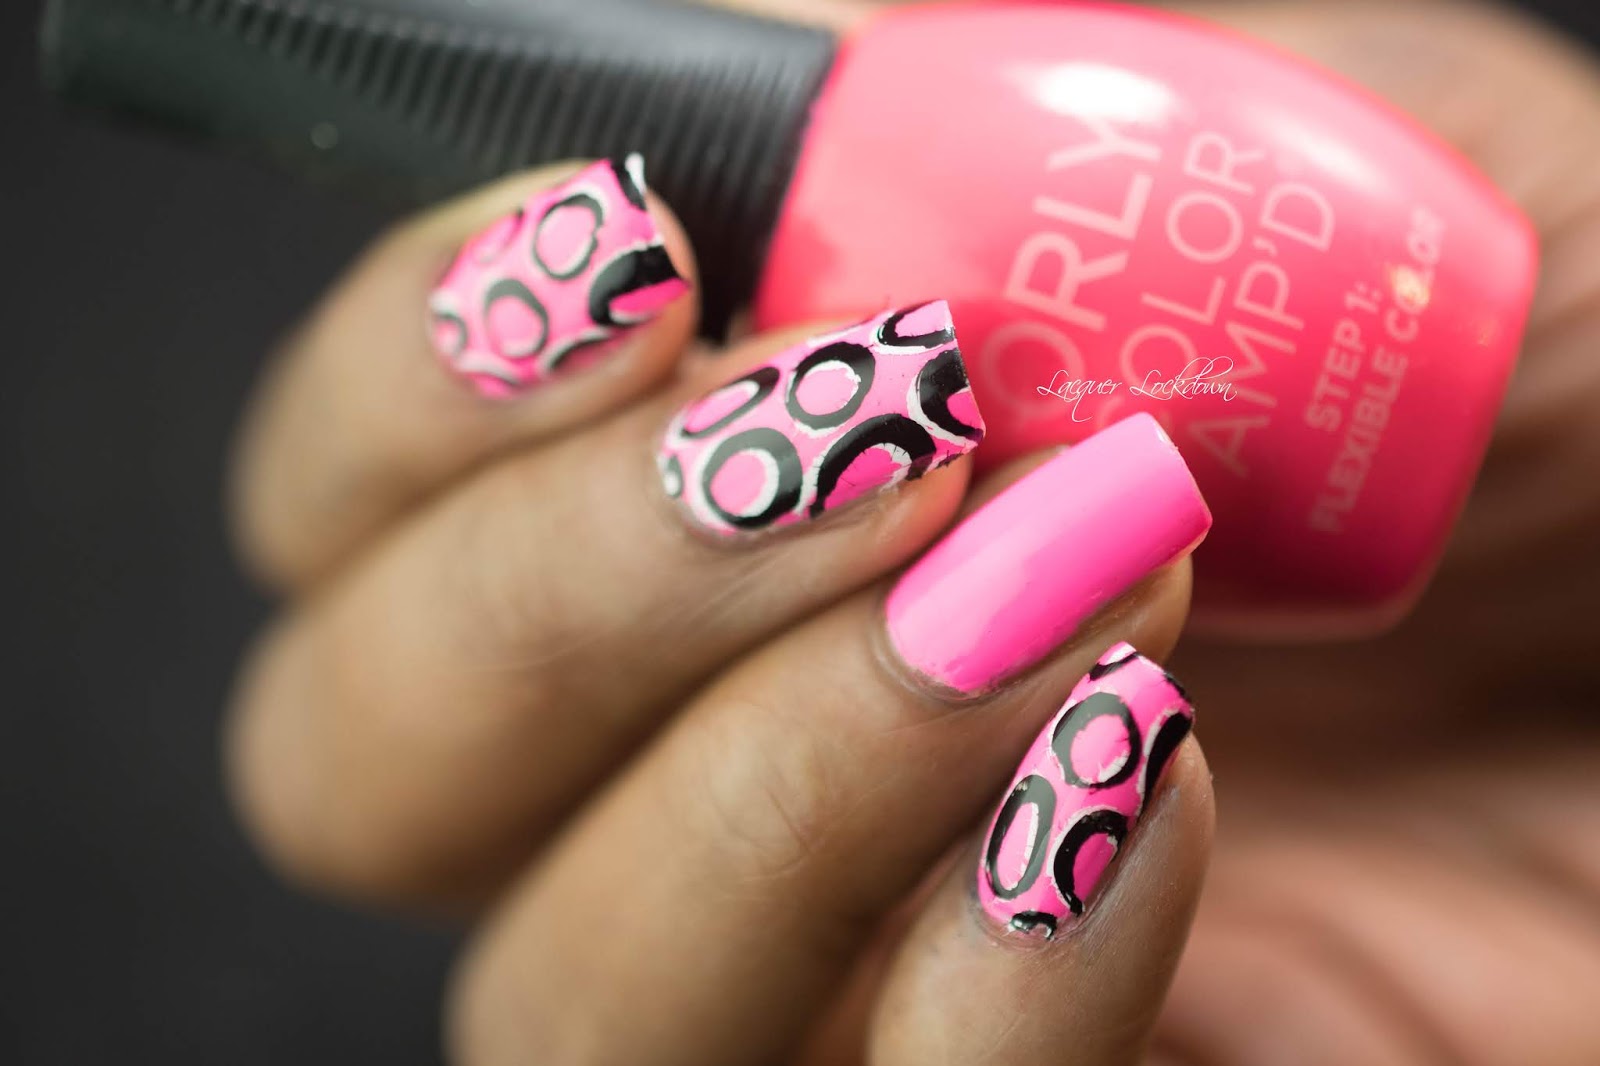
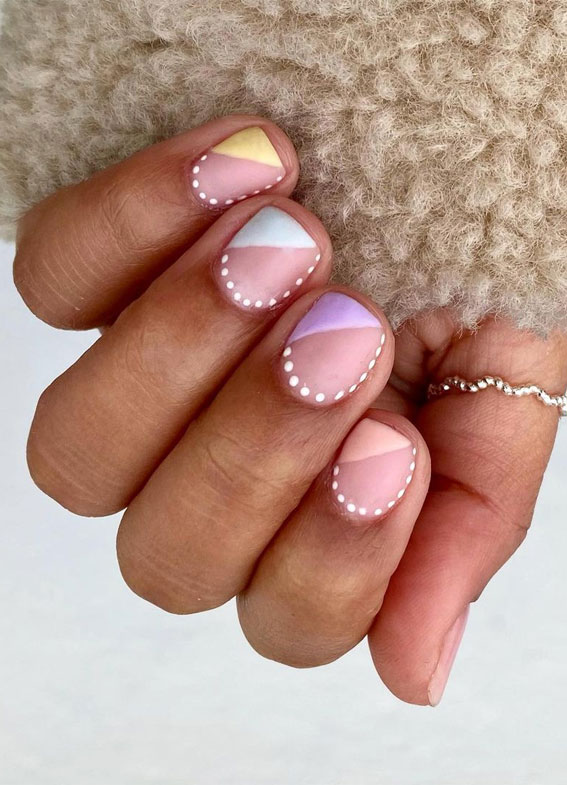
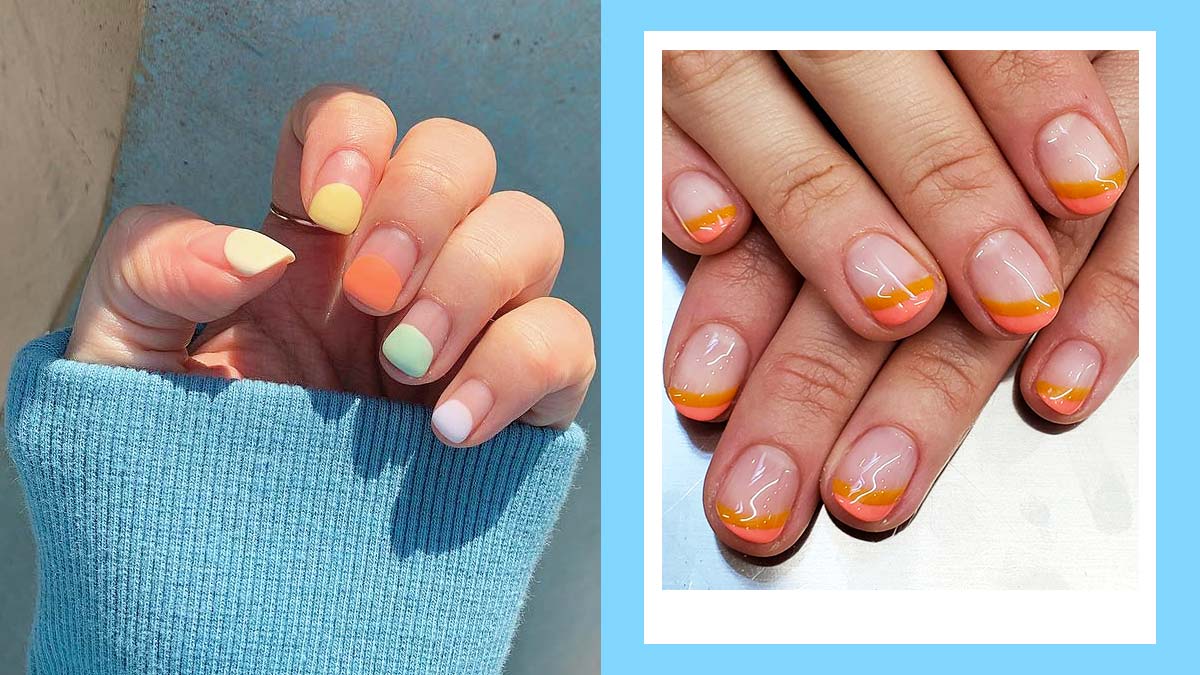
Pastel colors are perfect for spring and summer and they work beautifully with geometric designs. For a soft and feminine look, choose pastel shades like lavender, peach, or mint green for your base color. Then, use a darker color like rose pink or baby blue for your geometric design. This will create a lovely contrast and give your nails a delicate and elegant look. With these 10 DIY elegant geometric nail design tutorials, you can easily create stunning and unique nail designs at home. So, get your creative juices flowing and have fun experimenting with different colors and patterns to create your own personalized geometric nail art. Your nails will thank you for it.10. DIY Geometric Nail Design Tutorial with Pastel Colors
10. DIY Geometric Nail Design Tutorial with Pastel Colors


The Latest Trend: DIY Elegant Geometric Nail Design
Why Geometric Nail Design is Taking Over
 Geometric nail design has been gaining popularity in the world of nail art. Its clean lines and bold shapes add a modern twist to traditional nail designs. With the rise of DIY tutorials and social media platforms, more and more people are experimenting with this chic and elegant trend. Not only is it easy to achieve at home, but it also allows for endless creativity and customization. In this article, we will guide you through a step-by-step tutorial on how to create your own
DIY elegant geometric nail design
that will have everyone asking where you got your nails done.
Geometric nail design has been gaining popularity in the world of nail art. Its clean lines and bold shapes add a modern twist to traditional nail designs. With the rise of DIY tutorials and social media platforms, more and more people are experimenting with this chic and elegant trend. Not only is it easy to achieve at home, but it also allows for endless creativity and customization. In this article, we will guide you through a step-by-step tutorial on how to create your own
DIY elegant geometric nail design
that will have everyone asking where you got your nails done.
The Basics: Preparing Your Nails
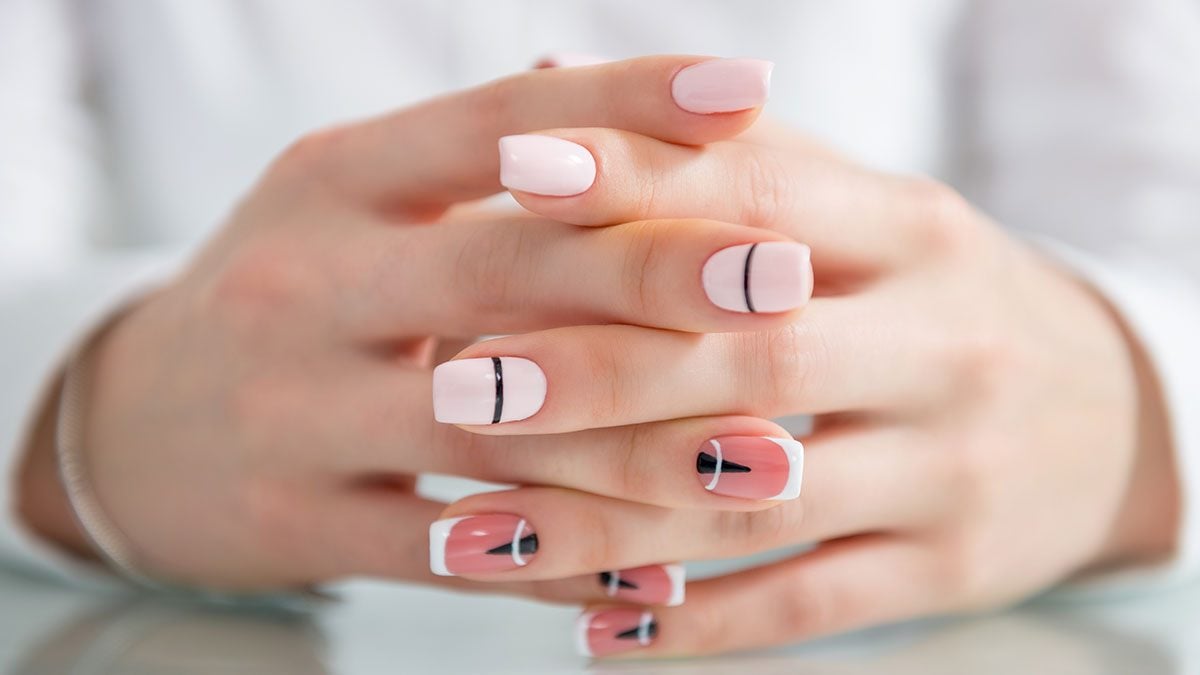
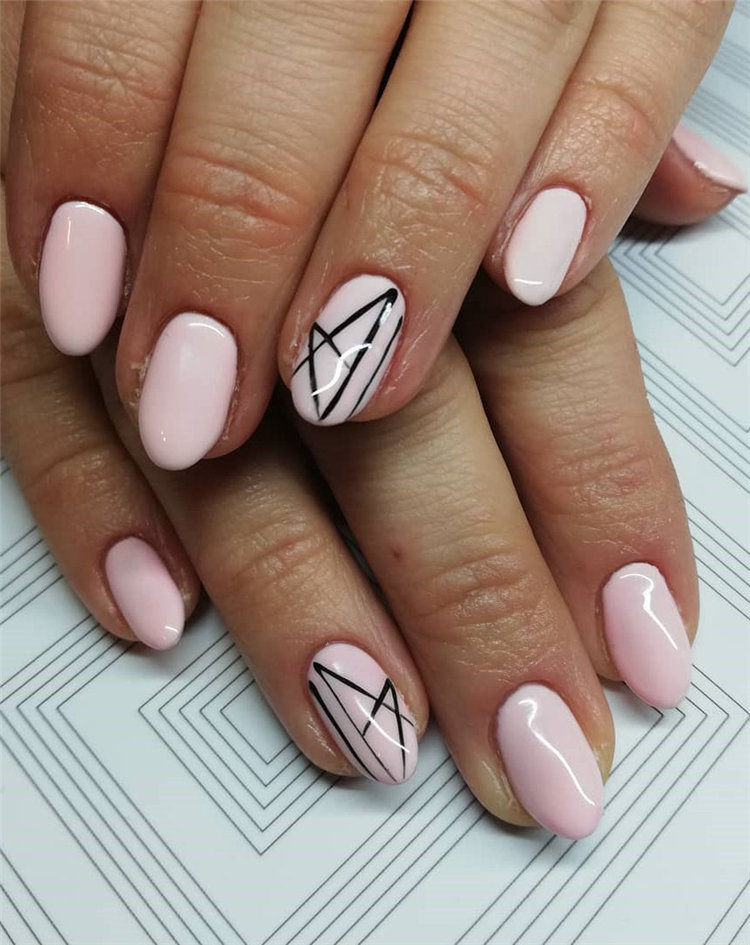
 Before diving into the design process, make sure your nails are clean and prepped. Start by removing any old polish and shaping your nails to your desired length and shape. Next, apply a base coat to protect your nails and ensure the polish goes on smoothly. This will also help your design last longer. For our
elegant geometric nail design
, we recommend using a neutral or pastel color as your base, such as light pink, nude, or light grey.
Before diving into the design process, make sure your nails are clean and prepped. Start by removing any old polish and shaping your nails to your desired length and shape. Next, apply a base coat to protect your nails and ensure the polish goes on smoothly. This will also help your design last longer. For our
elegant geometric nail design
, we recommend using a neutral or pastel color as your base, such as light pink, nude, or light grey.
Creating the Geometric Pattern
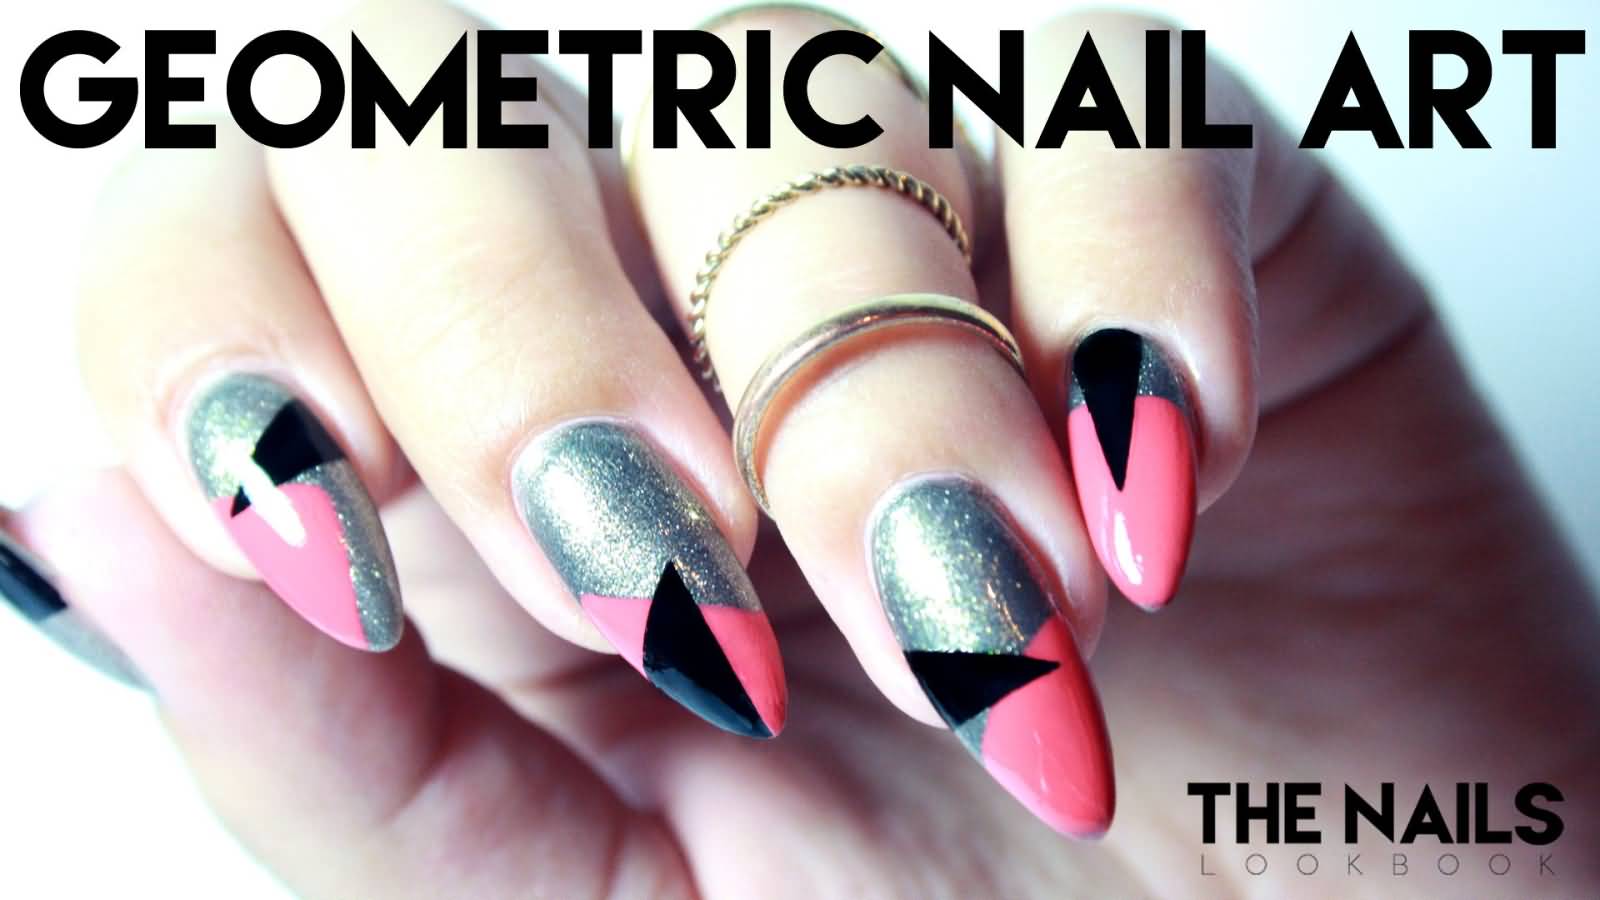
 Now it's time for the fun part - creating the geometric pattern on your nails. You will need a thin nail brush,
nail striping tape
, and two contrasting nail polishes. Using the striping tape, create your desired geometric design on each nail. This can be as simple as diagonal lines, triangles, or more complex shapes like diamonds or hexagons. Once you have applied the tape, paint over it with your base color. Let it dry for a few minutes before carefully removing the tape to reveal the design.
Now it's time for the fun part - creating the geometric pattern on your nails. You will need a thin nail brush,
nail striping tape
, and two contrasting nail polishes. Using the striping tape, create your desired geometric design on each nail. This can be as simple as diagonal lines, triangles, or more complex shapes like diamonds or hexagons. Once you have applied the tape, paint over it with your base color. Let it dry for a few minutes before carefully removing the tape to reveal the design.
Adding the Finishing Touches
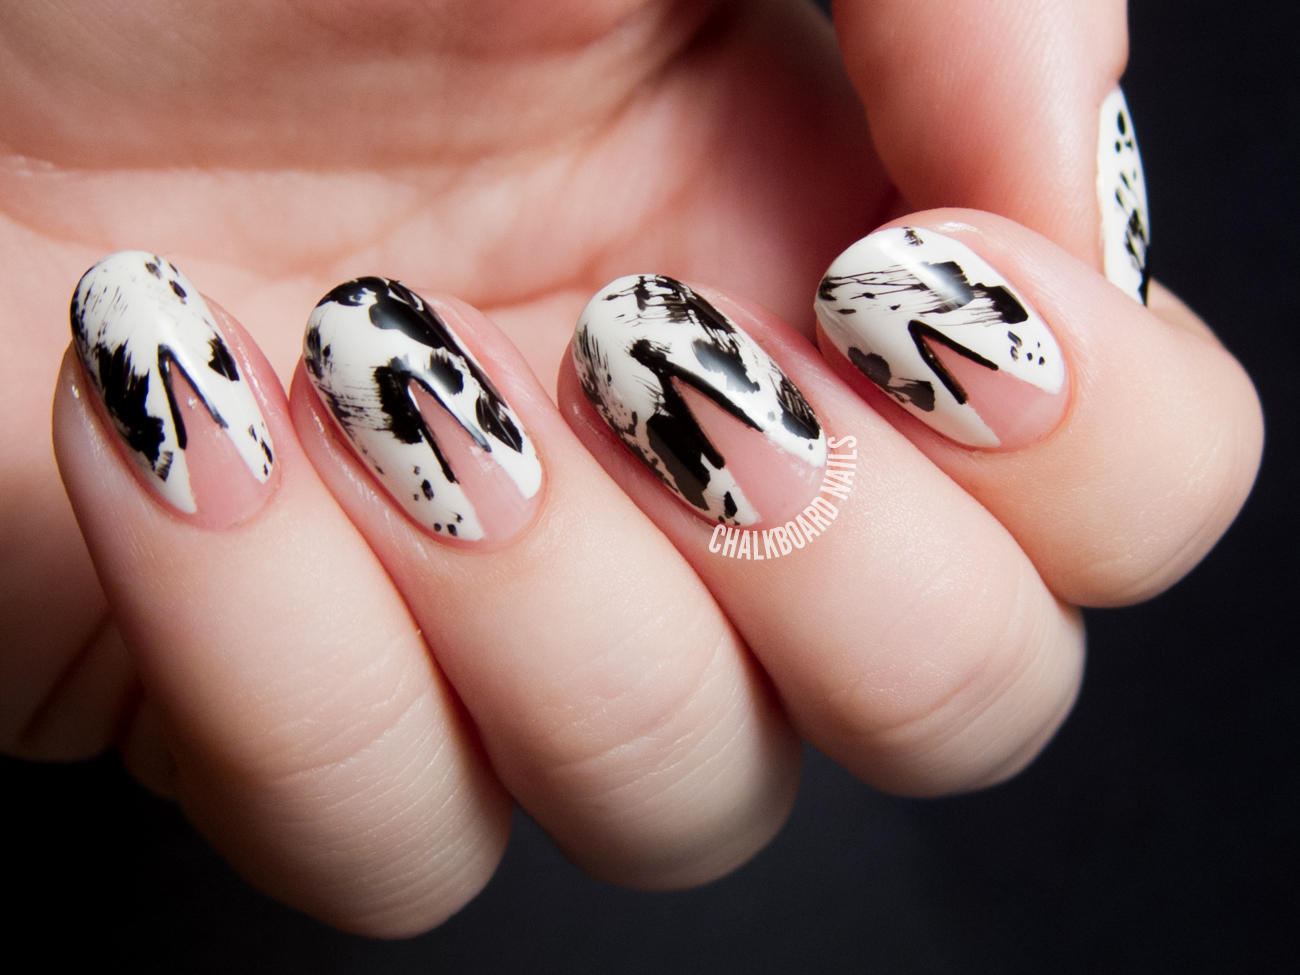
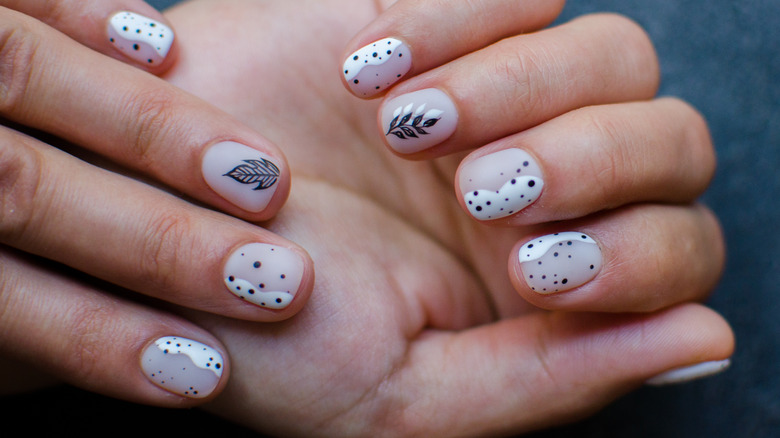
 To add some depth to your design, use the thin nail brush to outline the geometric shapes with the second nail polish. This will make the design stand out and give it a more professional look. You can also add small details or accents using the second nail polish, such as dots or stripes. Once you are satisfied with your design, seal it with a top coat to protect it and give it a glossy finish.
Final Thoughts
 With this simple and easy tutorial, you can achieve a
elegant geometric nail design
in the comfort of your own home. Don't be afraid to experiment with different colors and shapes to make it your own. This trend is here to stay, so embrace your creative side and rock your unique geometric nails.
With this simple and easy tutorial, you can achieve a
elegant geometric nail design
in the comfort of your own home. Don't be afraid to experiment with different colors and shapes to make it your own. This trend is here to stay, so embrace your creative side and rock your unique geometric nails.


