Are you tired of your plain old nail polish and looking for a fun and easy way to spice up your nails? Look no further than DIY nail designs using tape! This simple and affordable technique allows you to create unique and eye-catching designs on your nails without any special tools or skills required. Let's take a look at some of the best and easiest DIY nail designs using tape that you can try at home.1. Easy DIY Nail Designs Using Tape


1. Easy DIY Nail Designs Using Tape

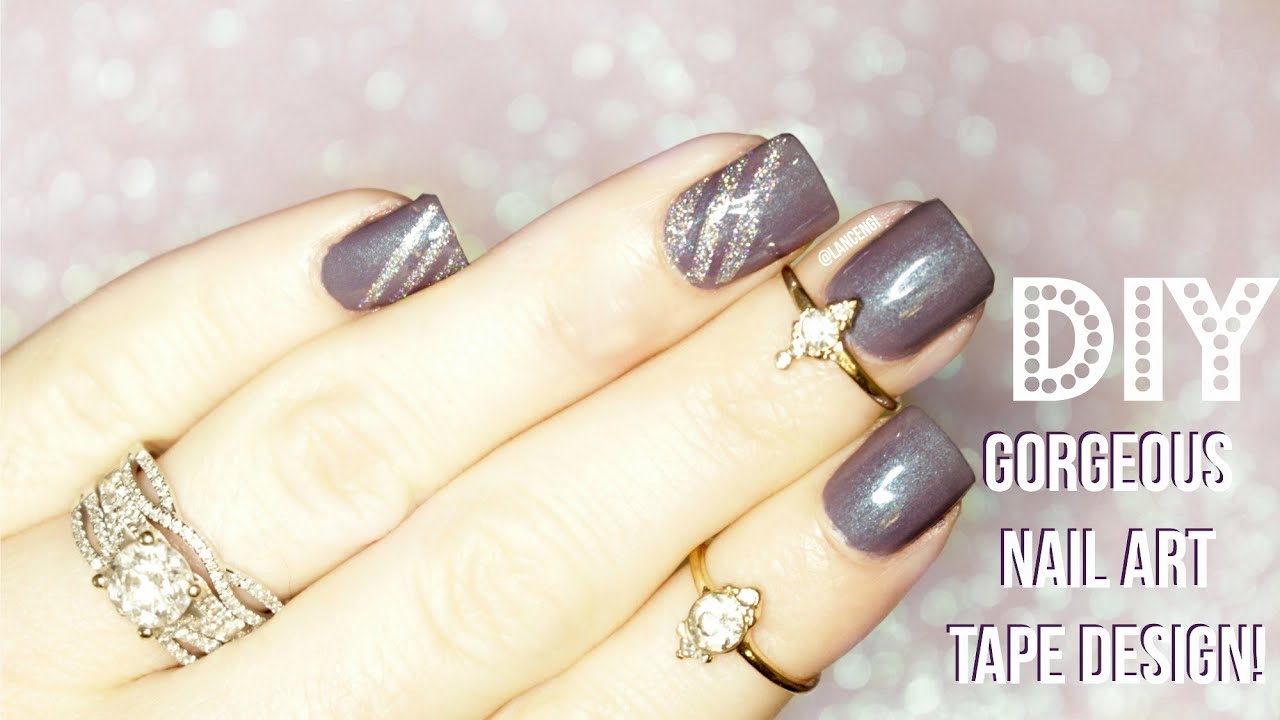

Tape can be used to create endless possibilities when it comes to nail art. From simple lines and shapes to intricate patterns and designs, the possibilities are endless. You can use tape to create geometric designs, stripes, grids, and even negative space designs. The best part? You don't need any special skills or tools, just some tape and your favorite nail polish colors.2. Creative Nail Art Ideas with Tape


2. Creative Nail Art Ideas with Tape
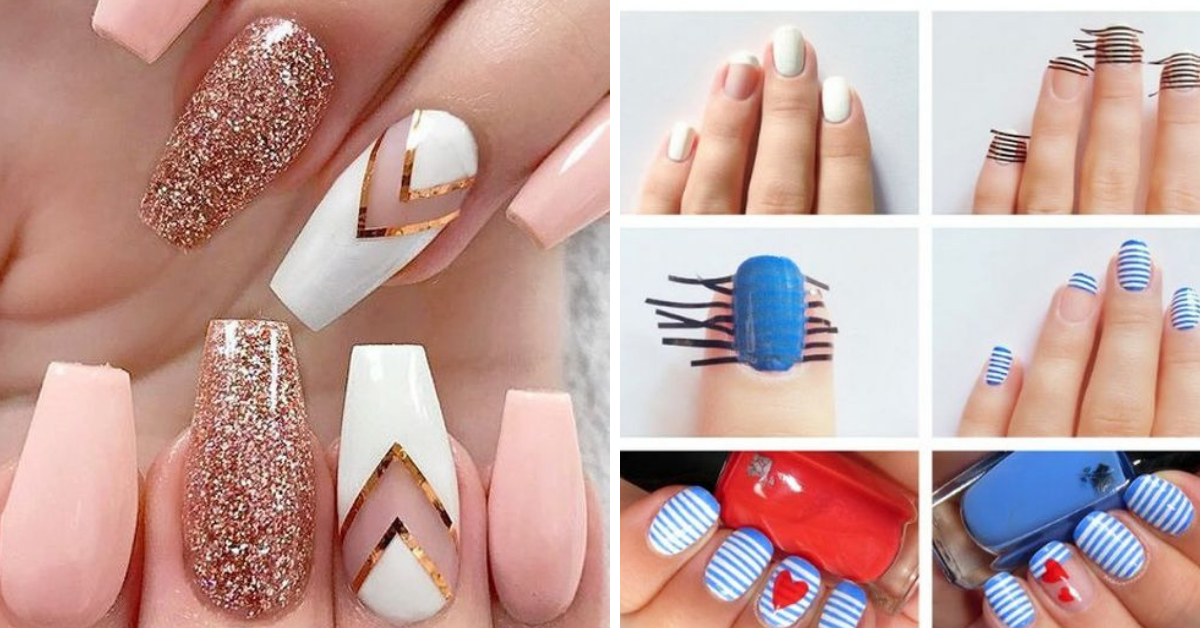


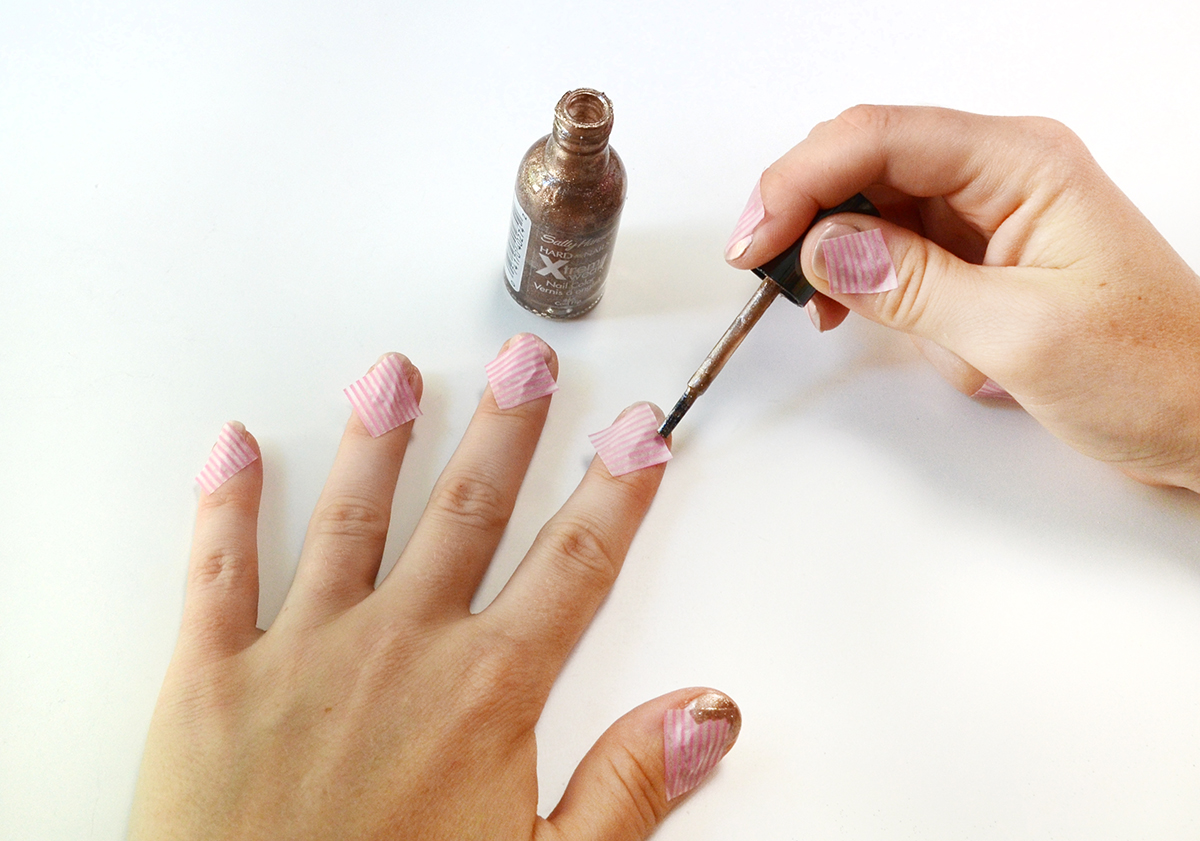
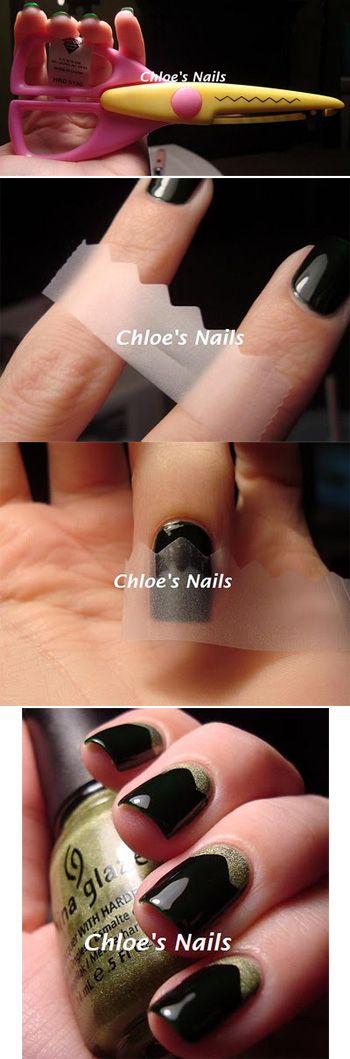
If you're new to nail art, don't worry! Creating nail designs with tape is easy and doesn't require any special skills. To start, you'll need some clear tape, scissors, and your choice of nail polish colors. Cut small strips of tape and place them on your nails in the desired pattern or design. Paint over the tape with your nail polish and let it dry completely before carefully removing the tape to reveal your unique design.3. Step-by-Step Guide to Nail Designs with Tape


3. Step-by-Step Guide to Nail Designs with Tape


If you're looking for a quick and easy way to add some fun to your nails, try these simple tape nail designs. Use tape to create a diagonal or straight line across your nails and paint over it with a contrasting color. You can also create a half-moon design by placing tape at the bottom of your nails and painting over it with another color. The possibilities are endless, and the results are always fun and eye-catching.4. Fun and Simple Nail Designs with Tape


4. Fun and Simple Nail Designs with Tape


If you're new to DIY nail designs with tape, it can be helpful to watch a tutorial to get started. There are plenty of video tutorials available online that will guide you through the process step by step. You'll be amazed at how easy it is to create stunning nail designs with just some tape and nail polish.5. Tape Nail Art Tutorial for Beginners


5. Tape Nail Art Tutorial for Beginners


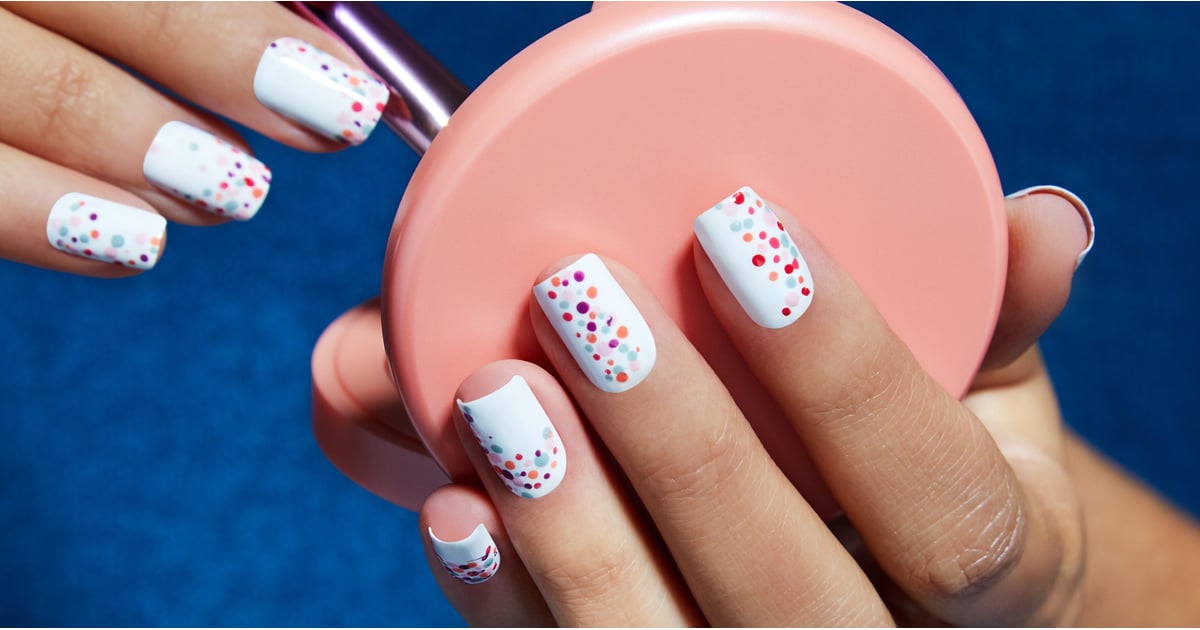
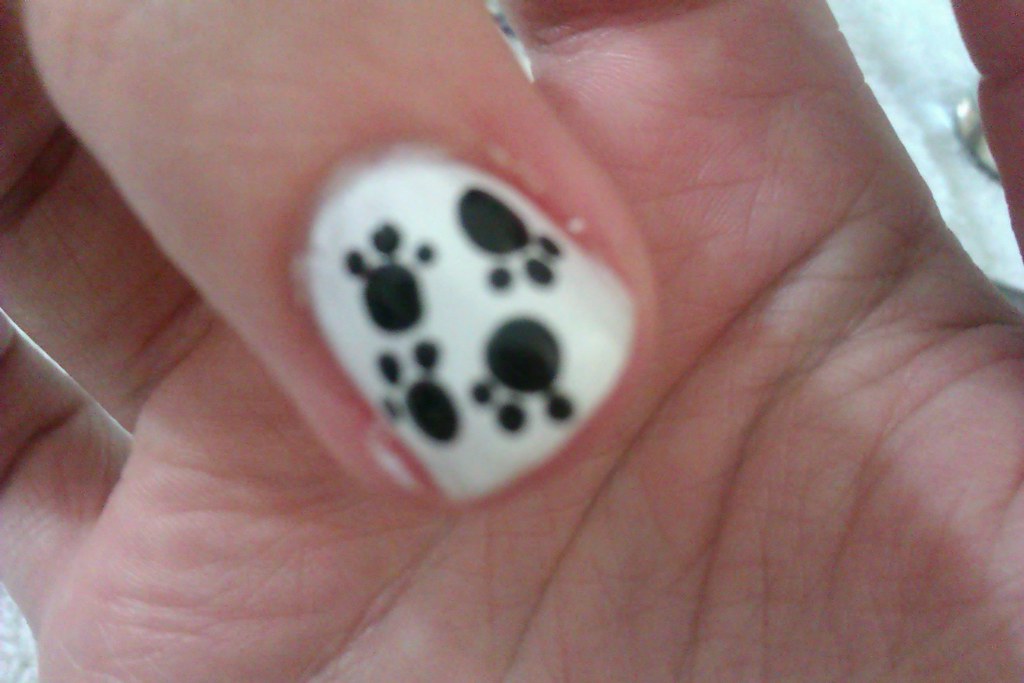
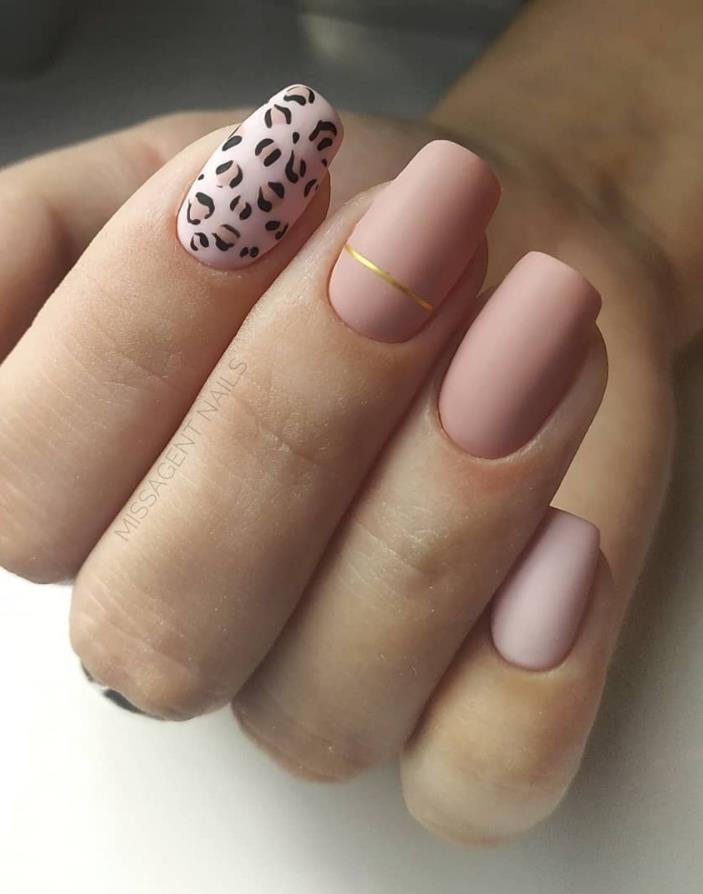
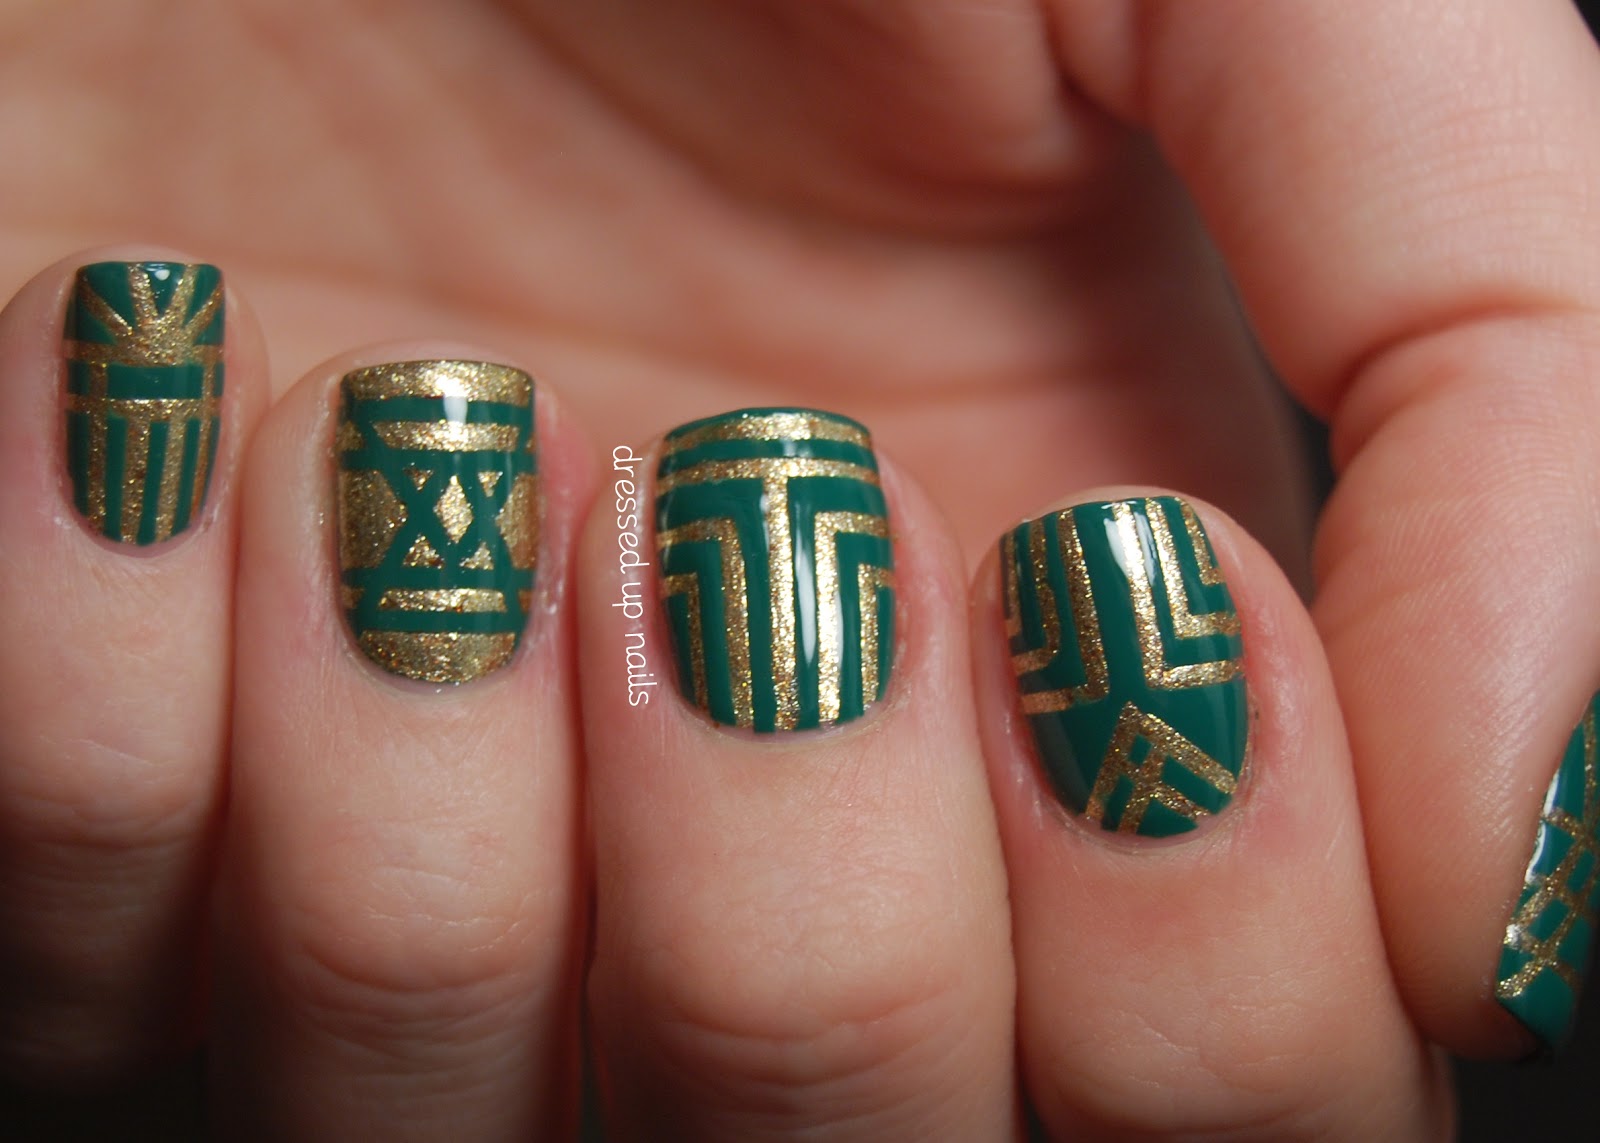
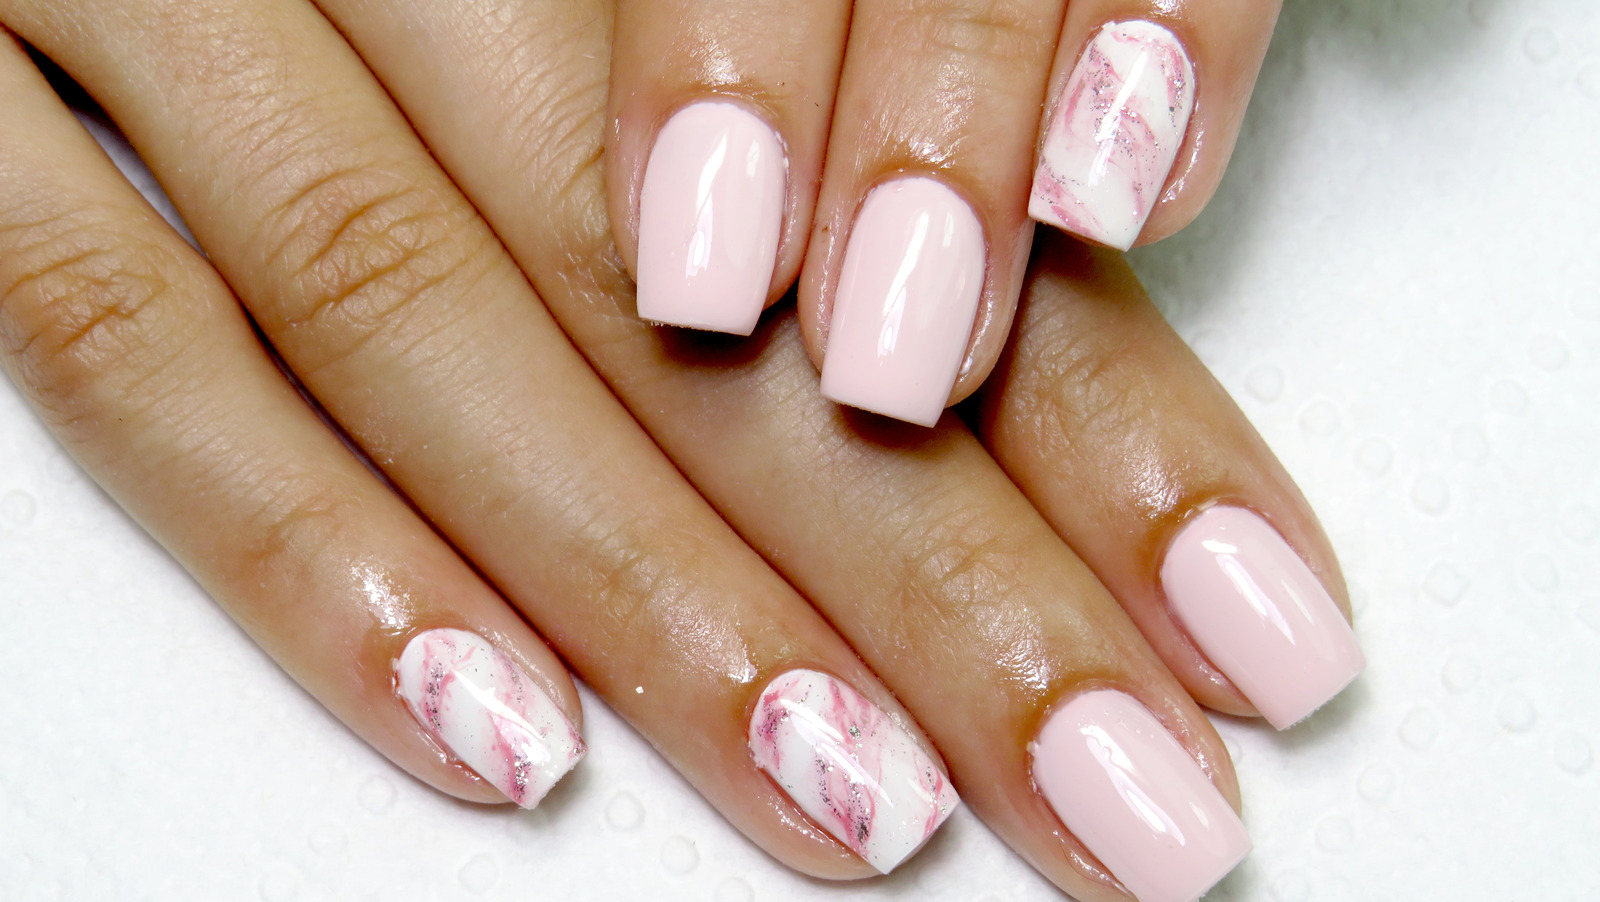
Tape can be used to create unique and one-of-a-kind nail designs that will make your nails stand out from the crowd. You can create intricate geometric patterns, mix and match different colors and textures, or even use tape to create negative space designs. The possibilities are endless, so don't be afraid to get creative and try something new.6. Unique Tape Nail Designs to Try at Home


6. Unique Tape Nail Designs to Try at Home


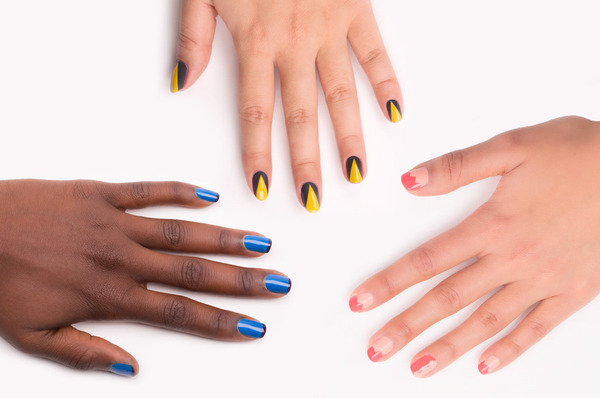
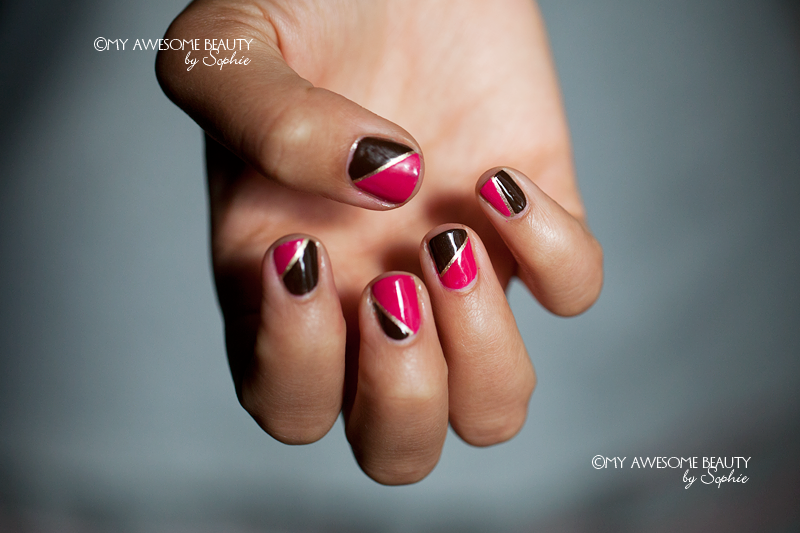
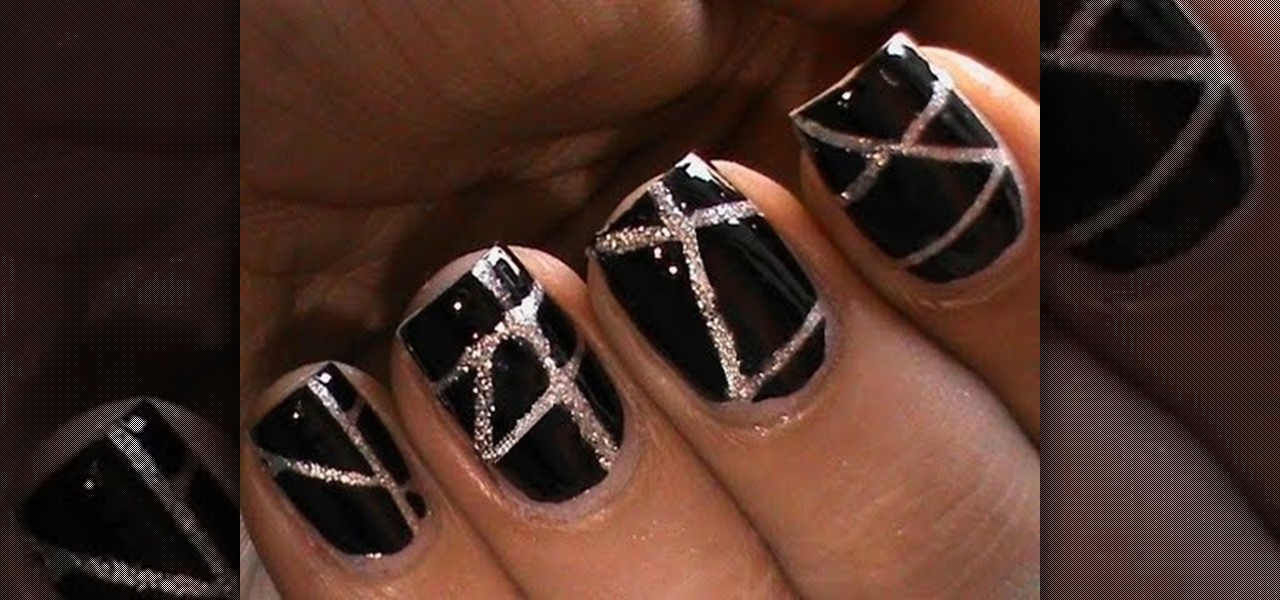
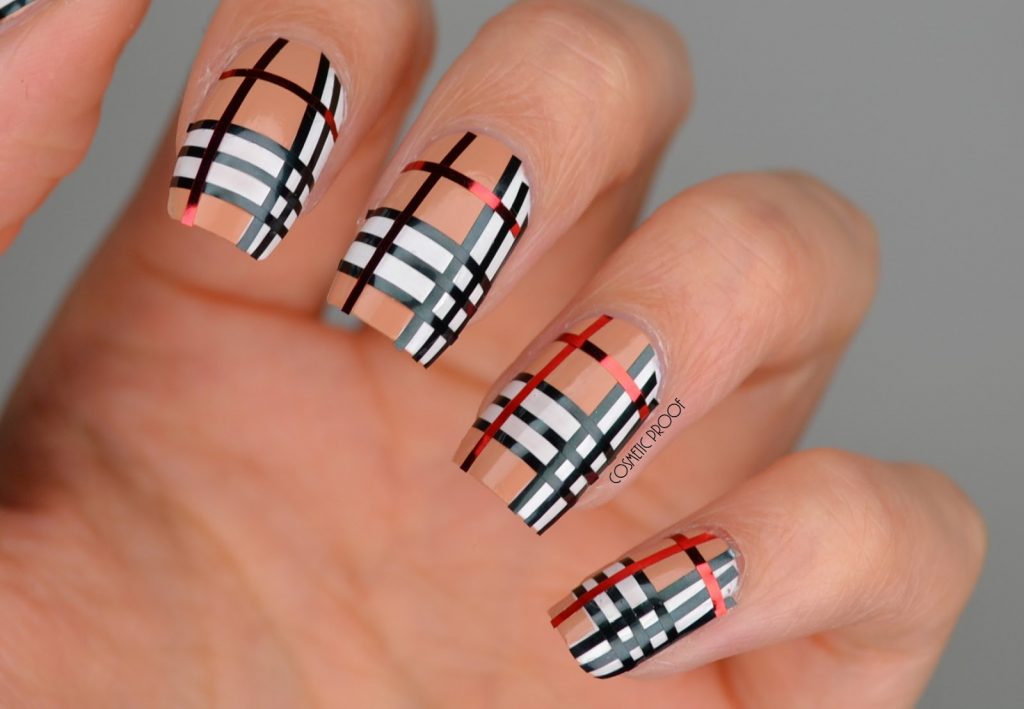
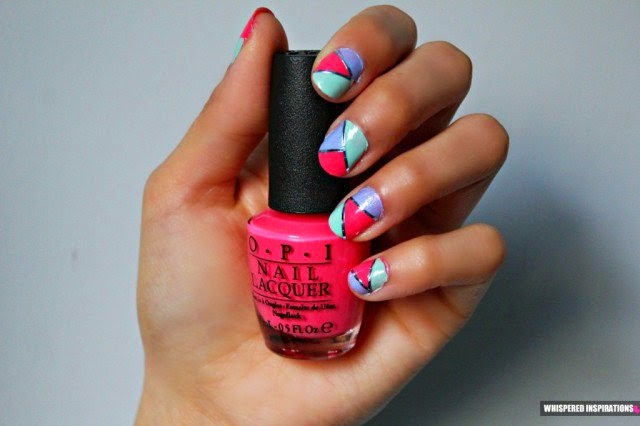
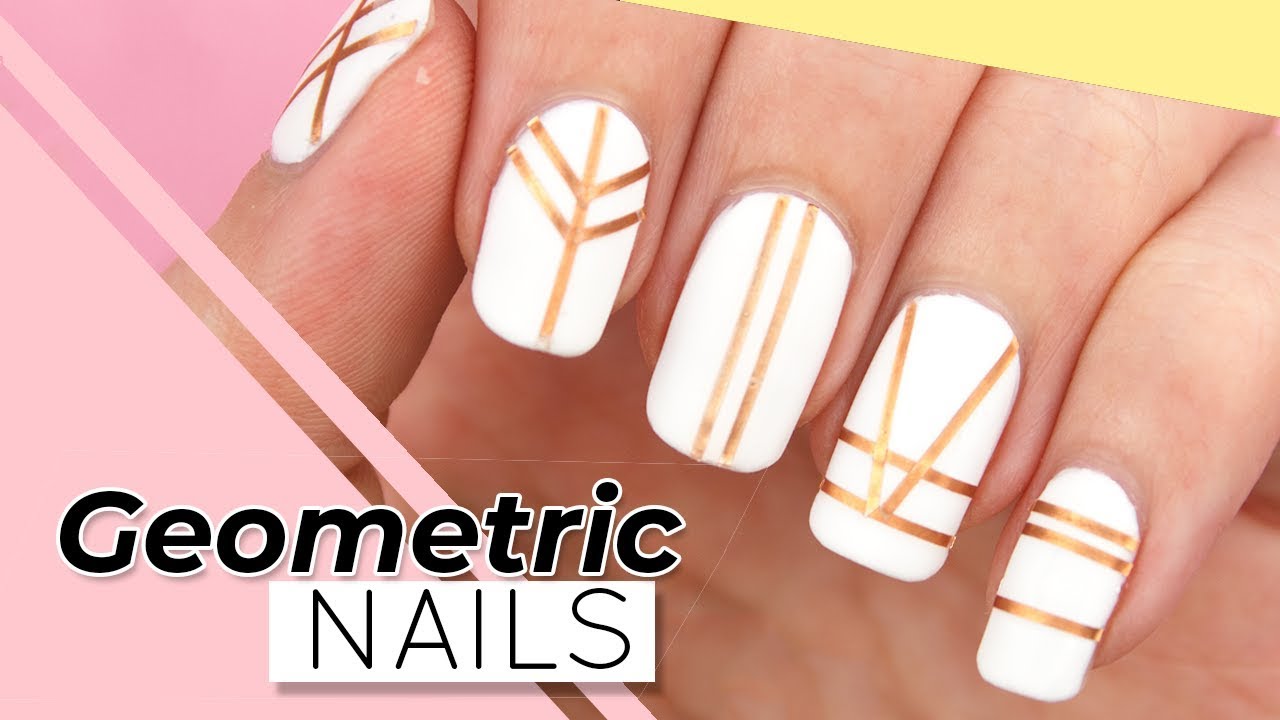
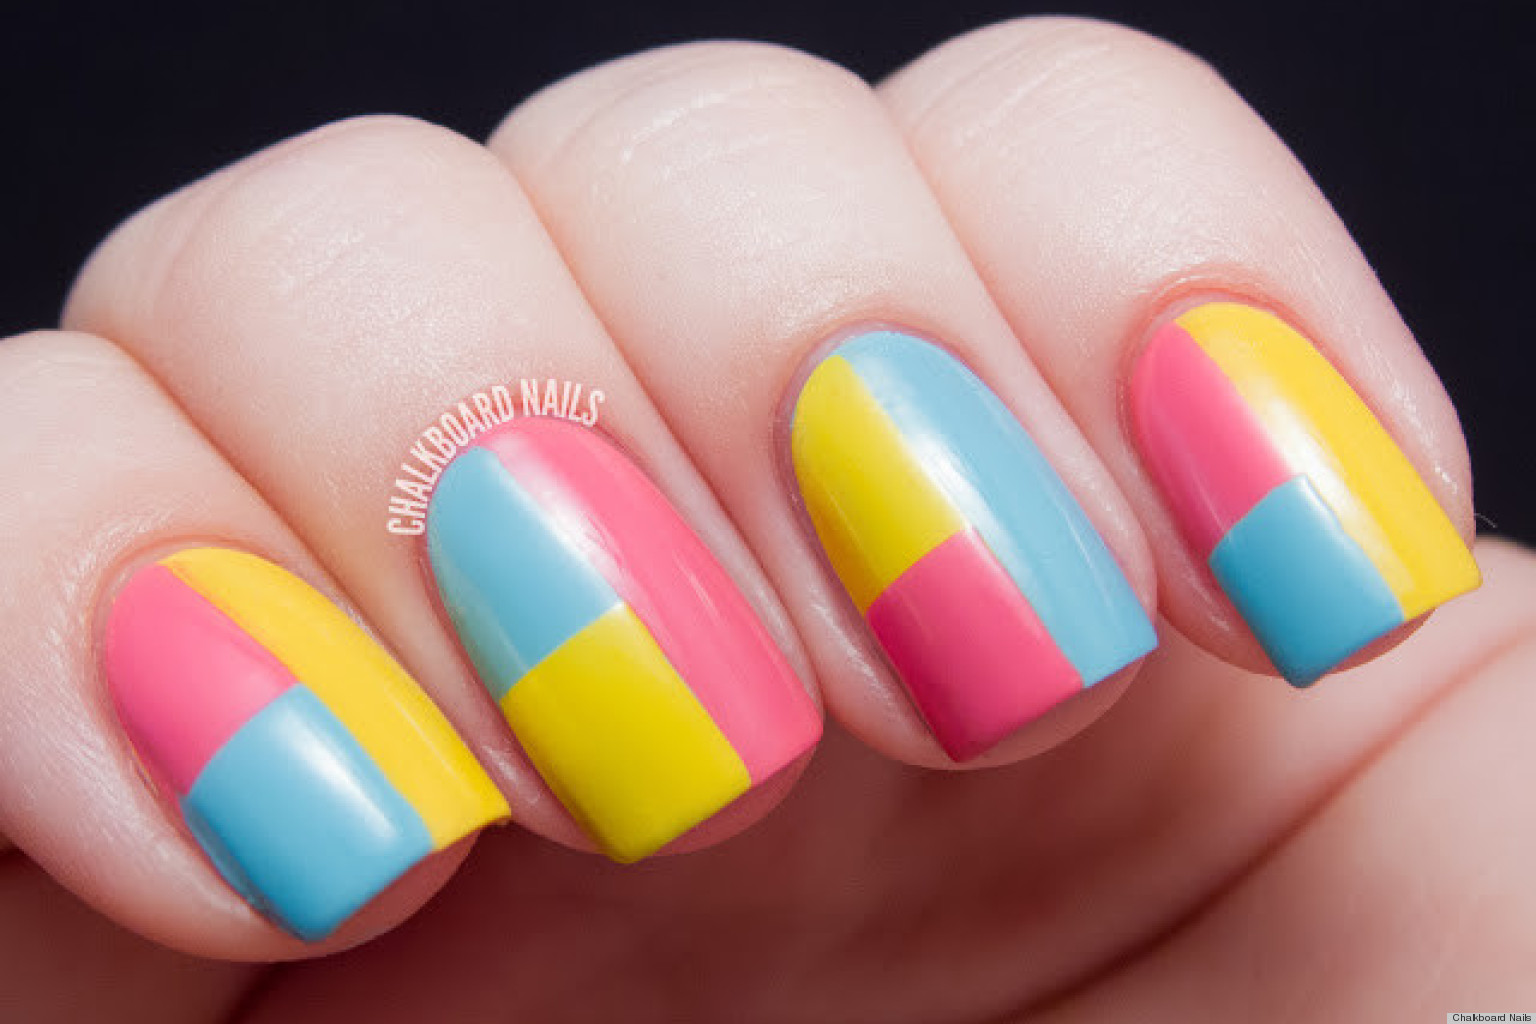
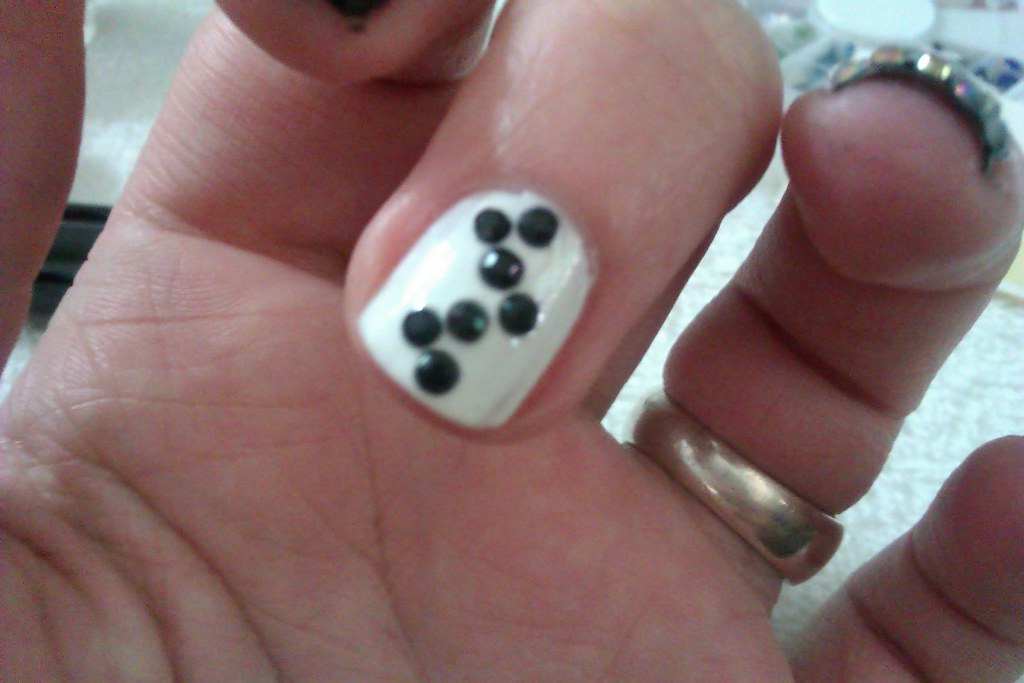
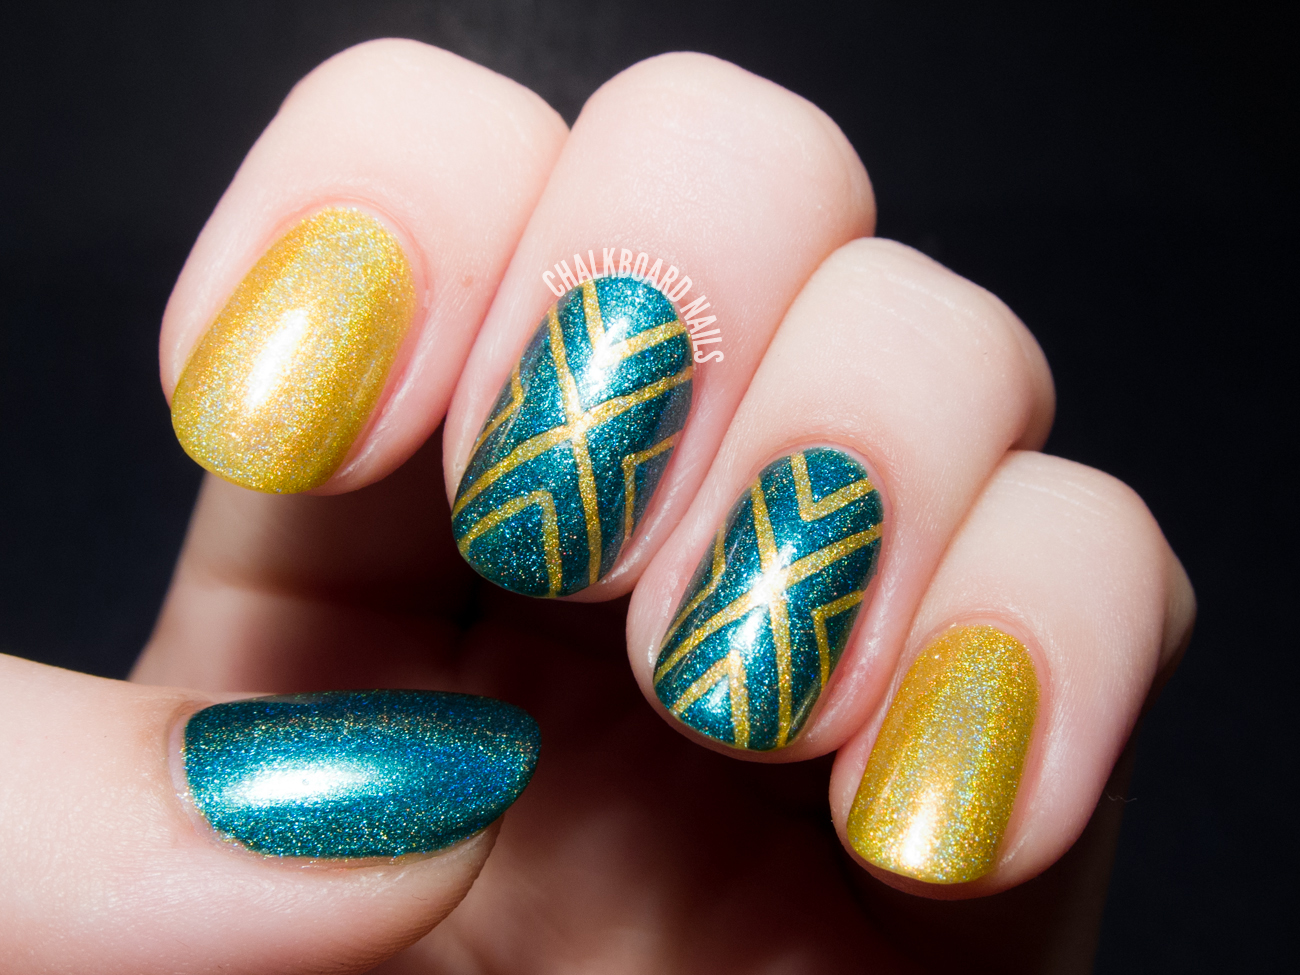
Geometric nail designs are a popular trend that can be achieved easily with tape. Cut thin strips of tape and place them on your nails to create geometric shapes, such as triangles, squares, or diamonds. You can also use different colors to create a more vibrant and eye-catching design. This is a great way to add a modern and unique touch to your nails.7. DIY Geometric Nail Designs with Tape


7. DIY Geometric Nail Designs with Tape


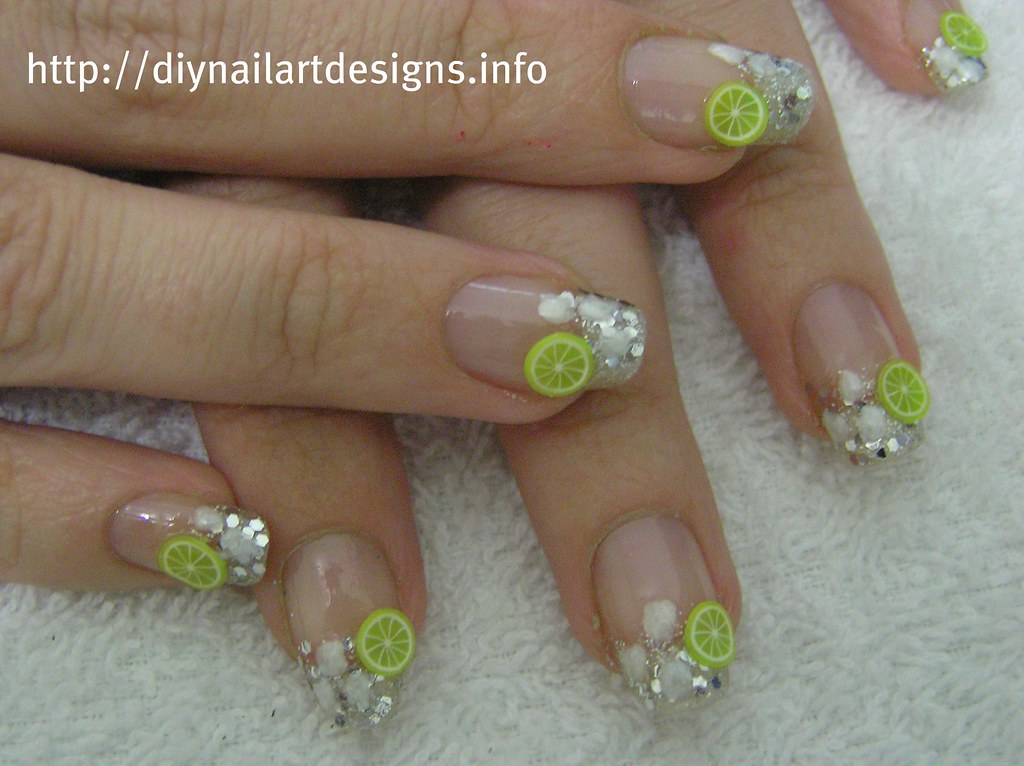
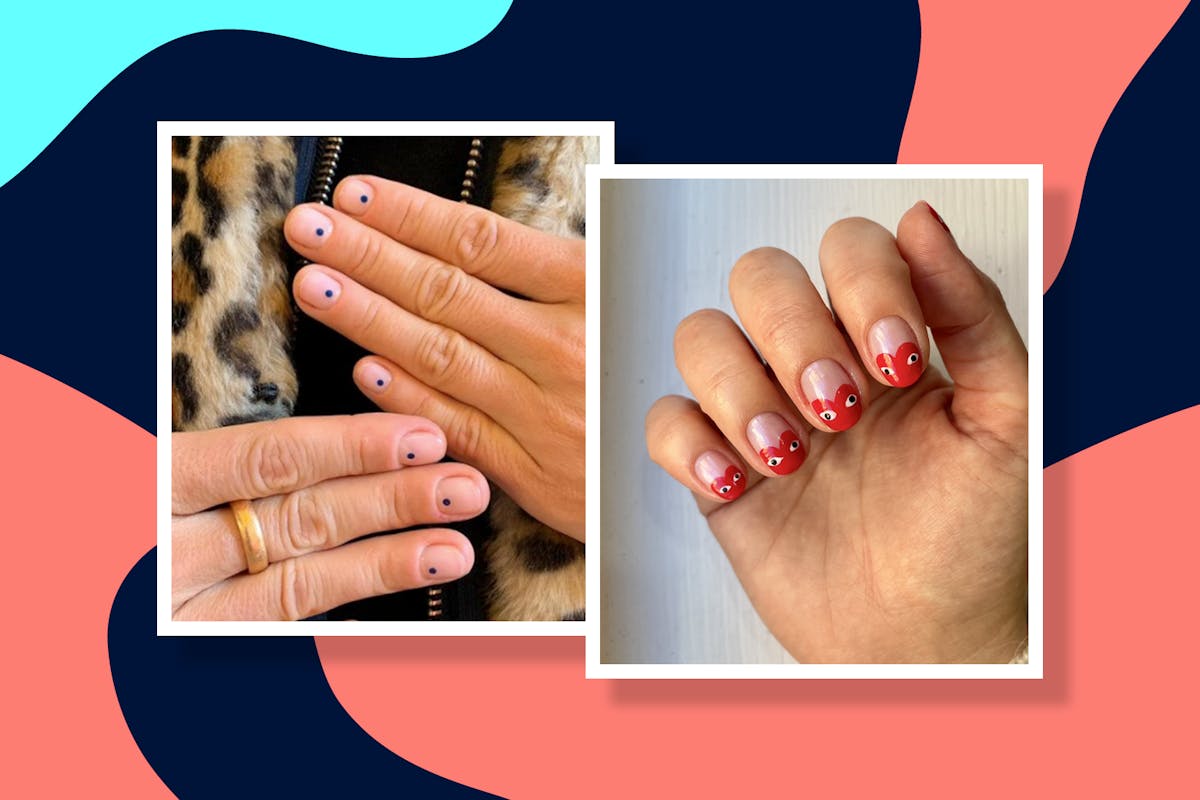
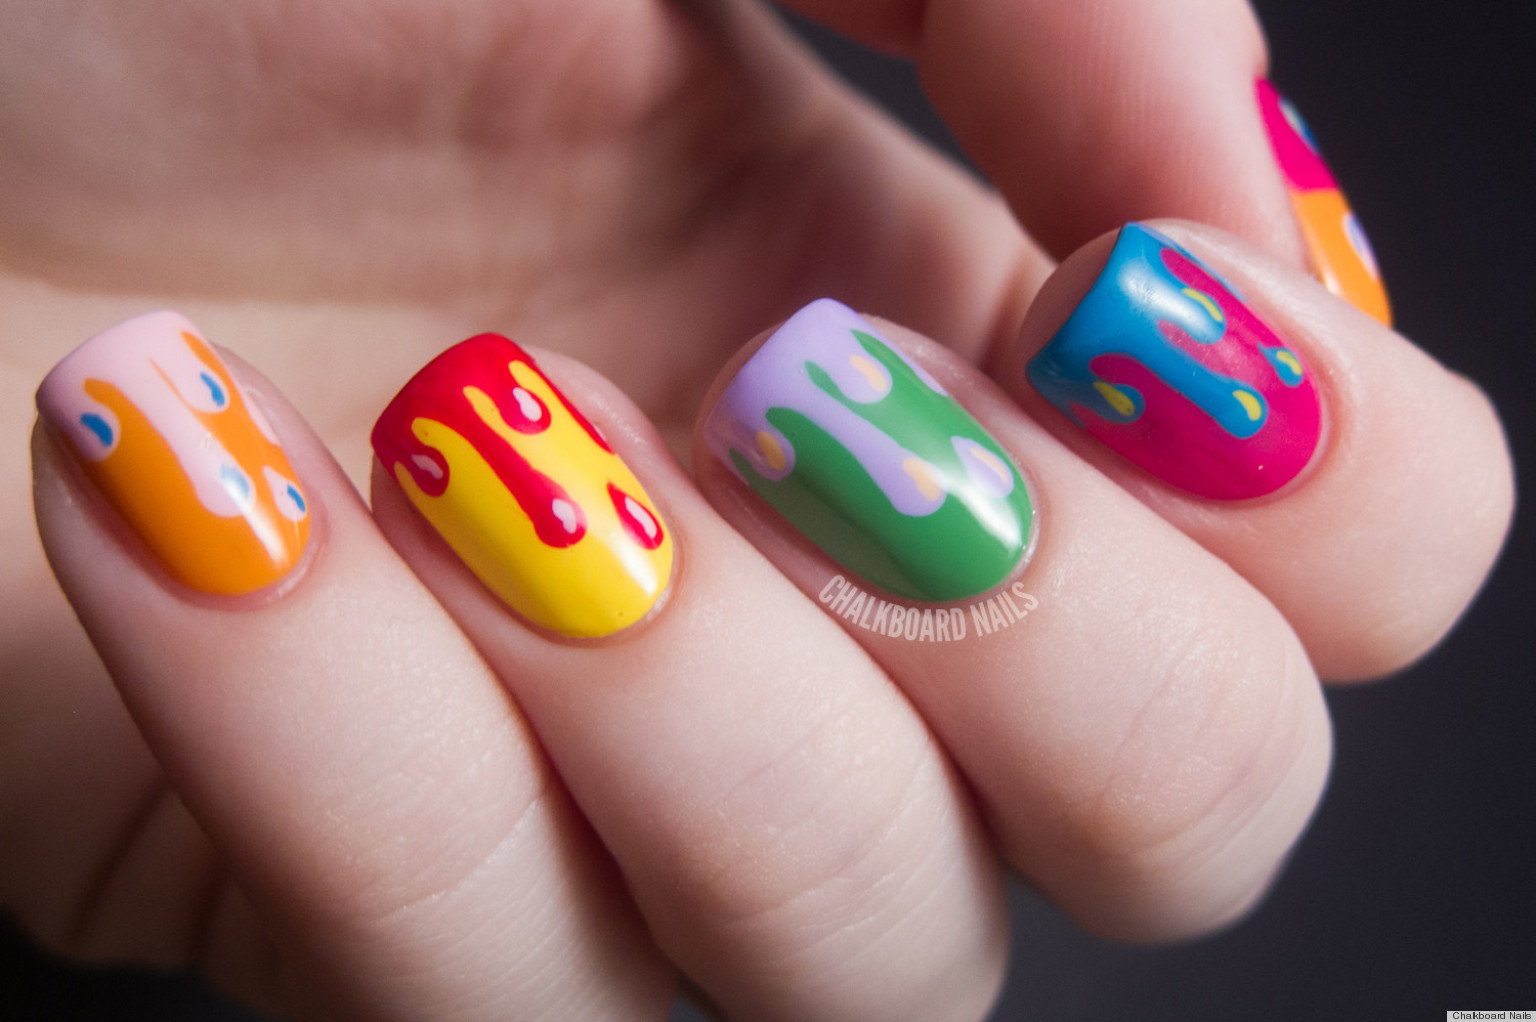
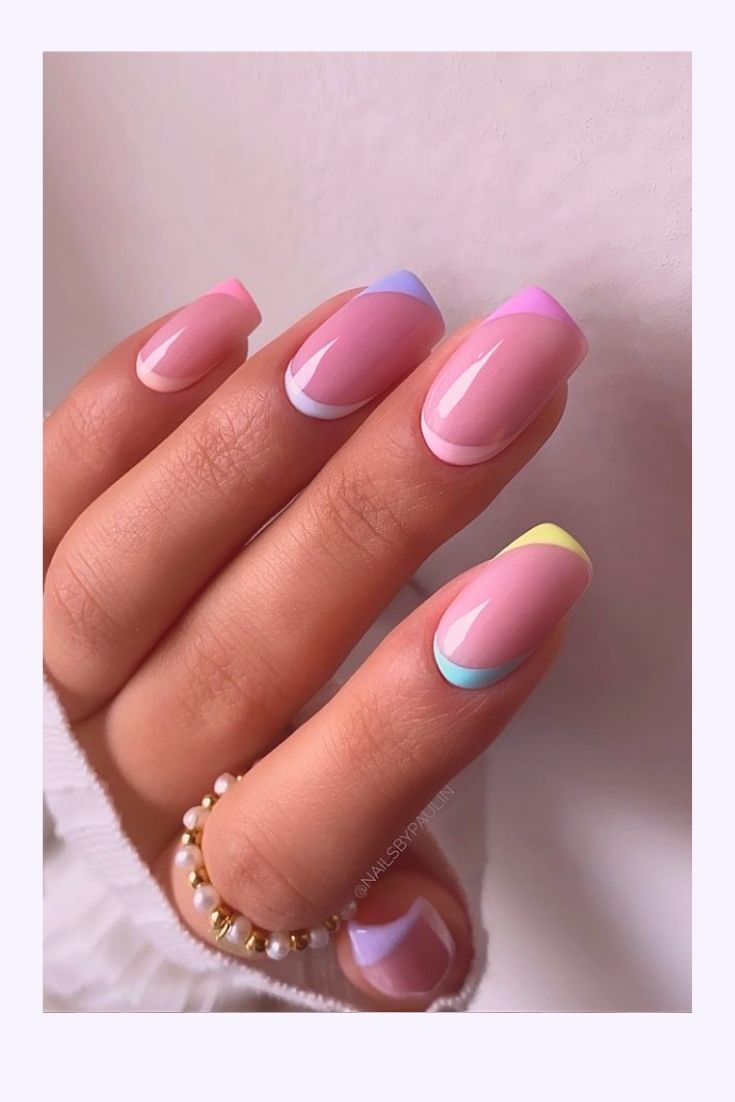
Tape nail designs are versatile and can be customized to suit any occasion. For a more subtle look, use neutral colors and simple patterns, such as stripes or dots. For a more festive look, use bright and bold colors and create more intricate designs. You can also use tape to add some sparkle to your nails by creating glitter or metallic designs. Whether it's for a casual day out or a special event, there's a tape manicure idea for every occasion.8. Tape Manicure Ideas for Every Occasion


8. Tape Manicure Ideas for Every Occasion


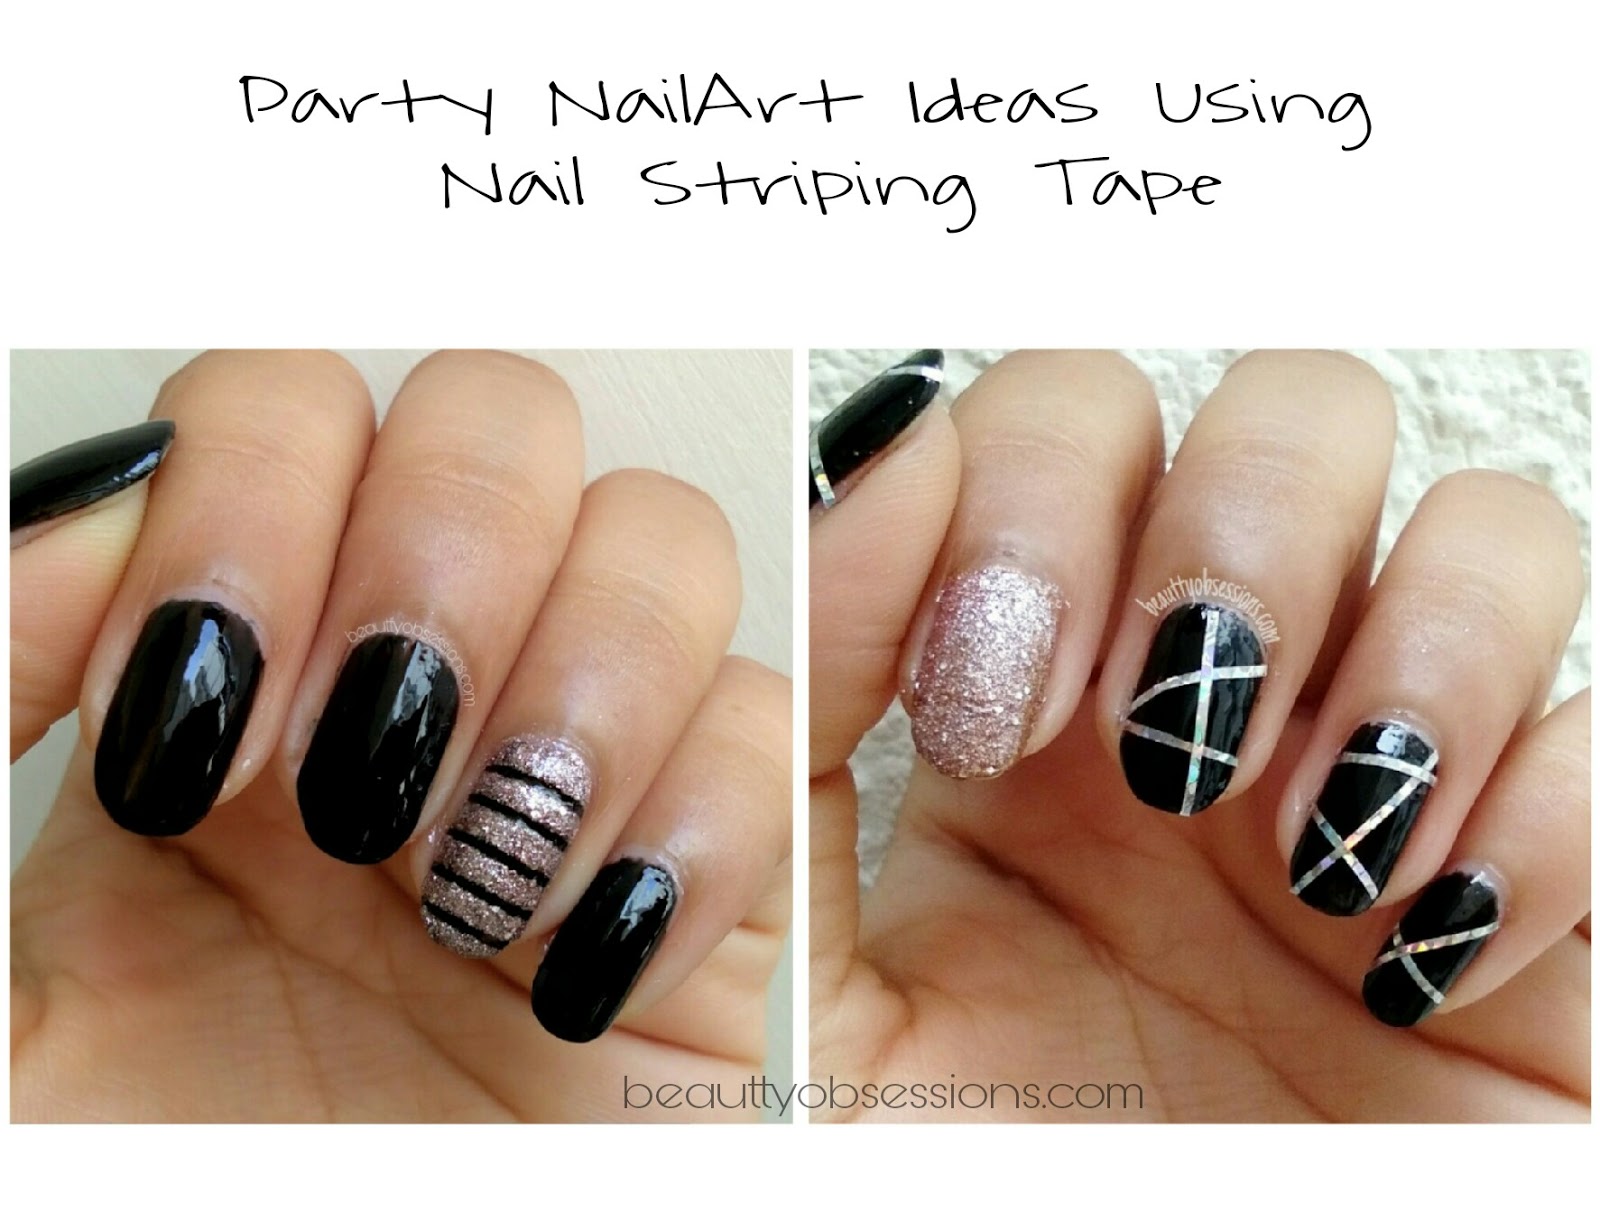
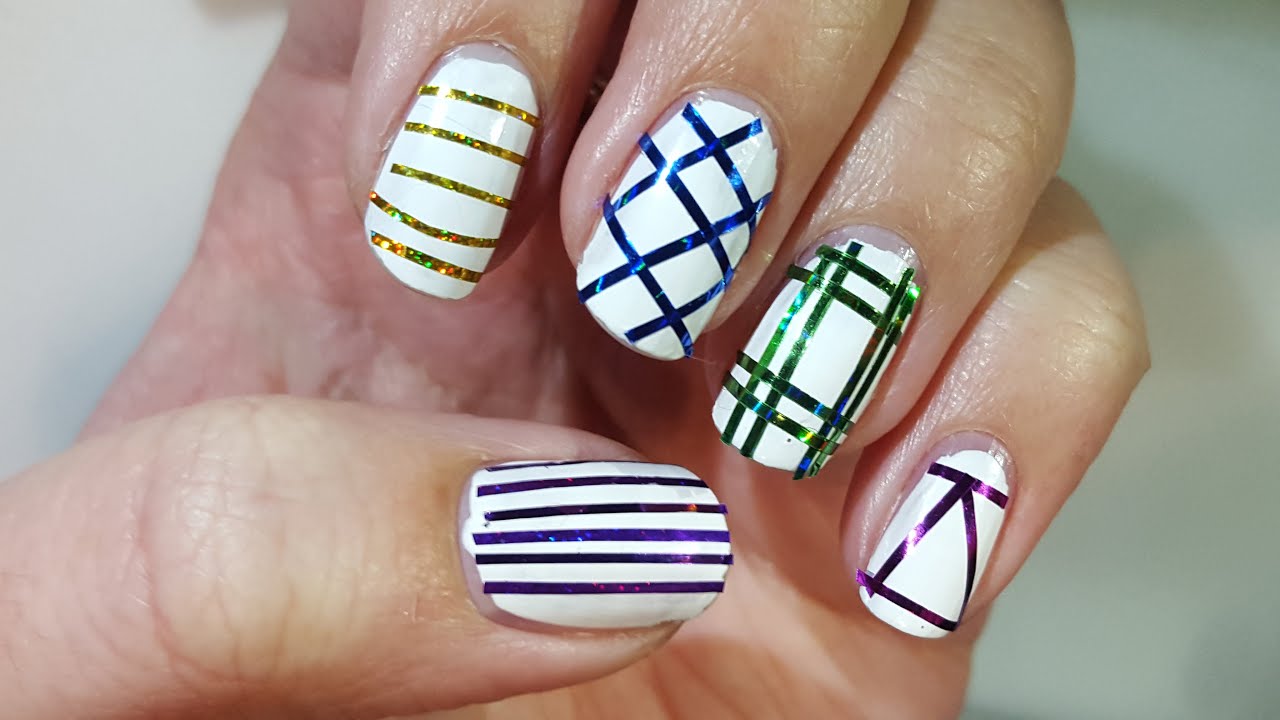
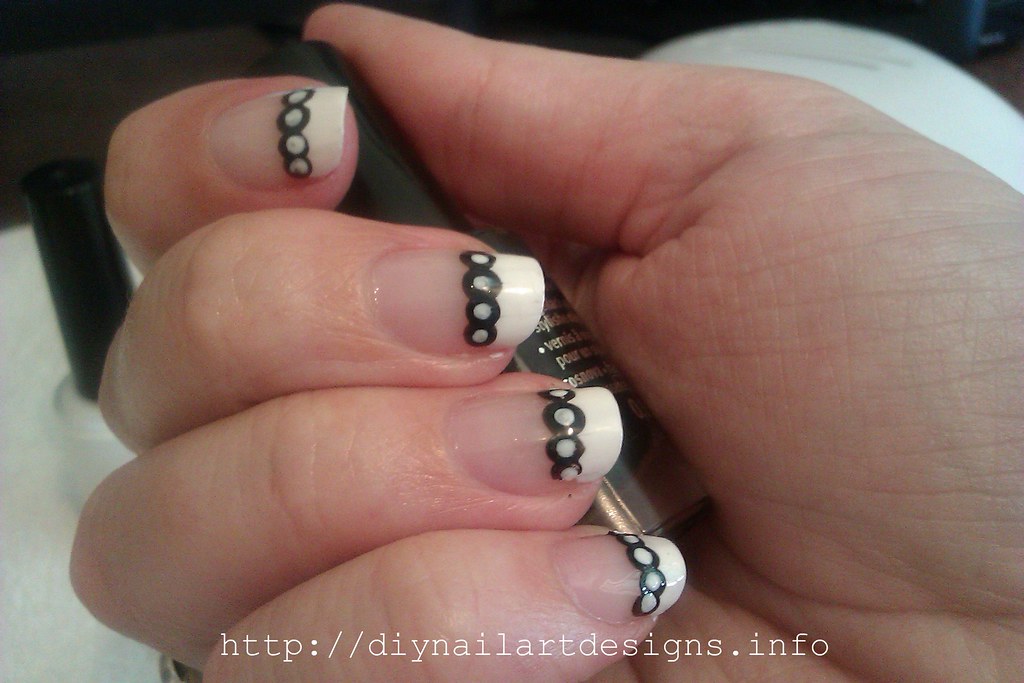
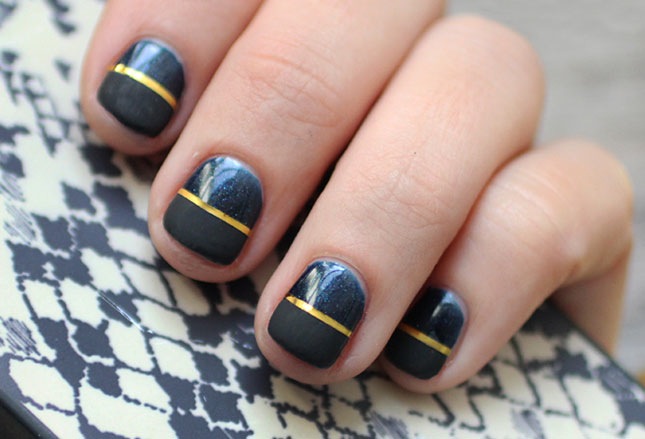
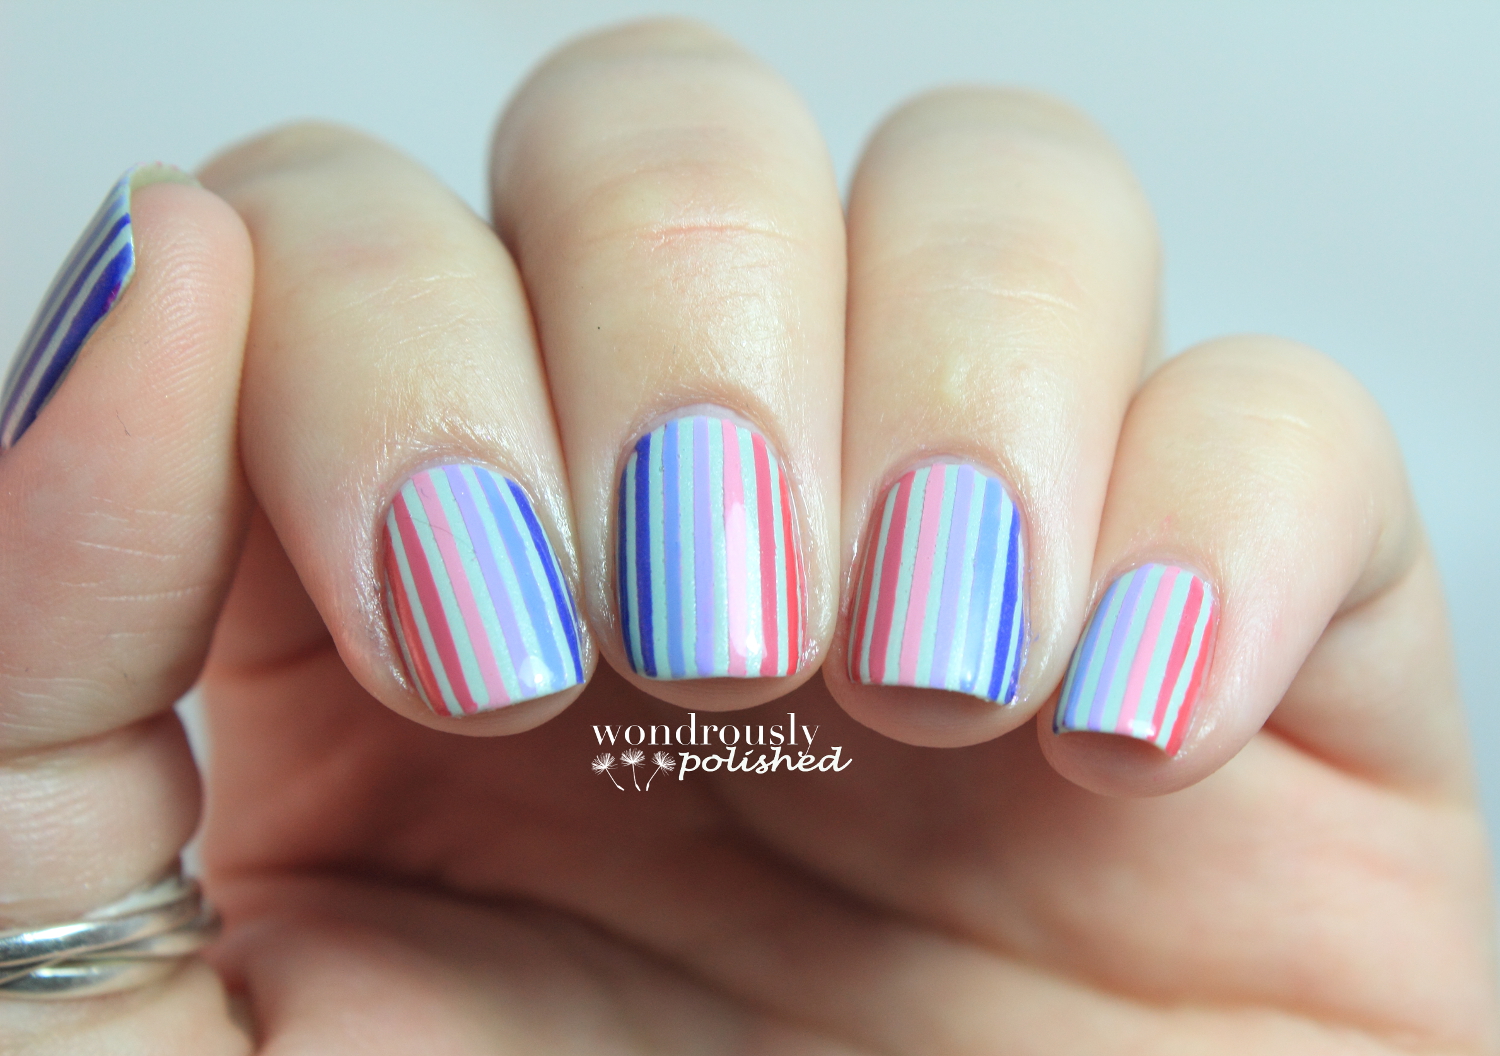
Striped nail designs are a classic and timeless look that can be easily achieved with tape. Cut thin strips of tape and place them on your nails to create stripes in any direction or pattern. You can use two or more colors to create a more colorful and fun look. This is a great way to add some interest to your nails without too much effort.9. How to Create Striped Nail Designs with Tape

9. How to Create Striped Nail Designs with Tape


If you have short nails, you may think that nail designs are not an option for you. However, with tape, you can create stunning and unique designs on even the shortest of nails. Use tape to create simple patterns or designs that don't require too much space, such as diagonal lines or half-moons. This way, you can still have beautiful and stylish nails, even with short nails.10. Tape Nail Designs for Short Nails


10. Tape Nail Designs for Short Nails


DIY Nail Design with Tape: A Fun and Easy Way to Create Beautiful Nail Art
What is DIY Nail Design with Tape?
 DIY nail design with tape is a simple and creative technique that allows you to create stunning nail art designs at home. The process involves using
tape
as a stencil to create crisp and clean lines on your nails. With this method, you can achieve intricate and professional-looking designs without the need for expensive salon visits.
DIY nail design with tape is a simple and creative technique that allows you to create stunning nail art designs at home. The process involves using
tape
as a stencil to create crisp and clean lines on your nails. With this method, you can achieve intricate and professional-looking designs without the need for expensive salon visits.
Why You Should Try DIY Nail Design with Tape
 Not only is DIY nail design with tape a fun and affordable way to create unique nail art, but it also allows you to express your creativity and personal style. Plus, you can easily customize the designs to match any occasion or outfit. Whether you're a beginner or an experienced nail artist, this technique is suitable for everyone. So why not give it a try and elevate your nail game?
How to Create Stunning Nail Designs with Tape
 To get started, you will need some basic supplies such as
nail polish
,
nail tape
, and
scissors
. First, paint your nails with a base color of your choice and let it dry completely. Then, cut small pieces of tape and place them on your nails in your desired design. You can create stripes, geometric patterns, or even intricate shapes using multiple layers of tape. Once you're happy with the placement, paint over the tape with a different color and let it dry. Finally, carefully remove the tape to reveal your beautiful design.
To get started, you will need some basic supplies such as
nail polish
,
nail tape
, and
scissors
. First, paint your nails with a base color of your choice and let it dry completely. Then, cut small pieces of tape and place them on your nails in your desired design. You can create stripes, geometric patterns, or even intricate shapes using multiple layers of tape. Once you're happy with the placement, paint over the tape with a different color and let it dry. Finally, carefully remove the tape to reveal your beautiful design.
Tips for a Perfect DIY Nail Design with Tape
 To ensure a flawless result, here are some tips to keep in mind:
- Use a fast-drying topcoat to seal in your design and prevent smudging.
- Experiment with different colors and patterns to create unique designs.
- For a cleaner finish, use a small brush or toothpick to clean up any mistakes or excess polish.
- Don't be afraid to mix and match different types of tape, such as washi tape or striping tape, to add more dimension to your designs.
In Conclusion
 DIY nail design with tape is a fun and easy way to create beautiful nail art without breaking the bank. With this technique, you can let your creativity run wild and achieve professional-looking designs at home. So next time you're looking for a fun and budget-friendly activity, grab some tape and give this method a try. Your nails will thank you!


