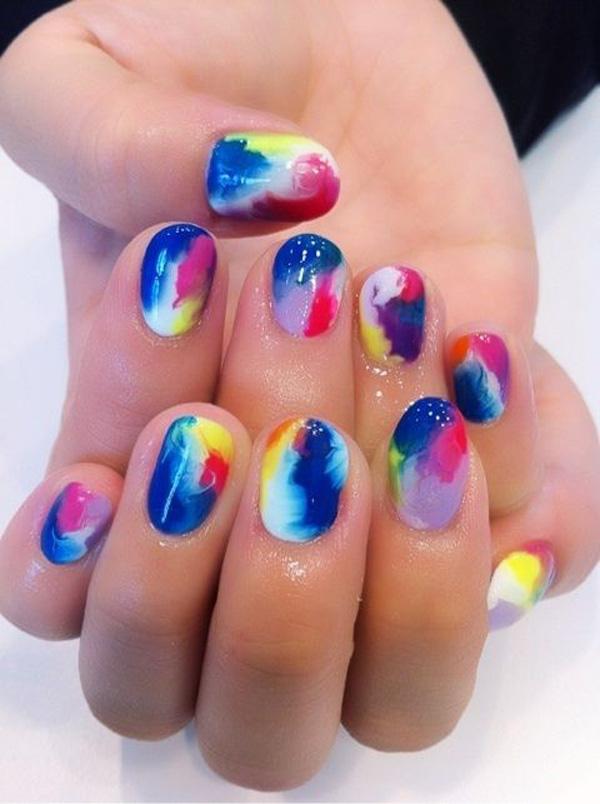
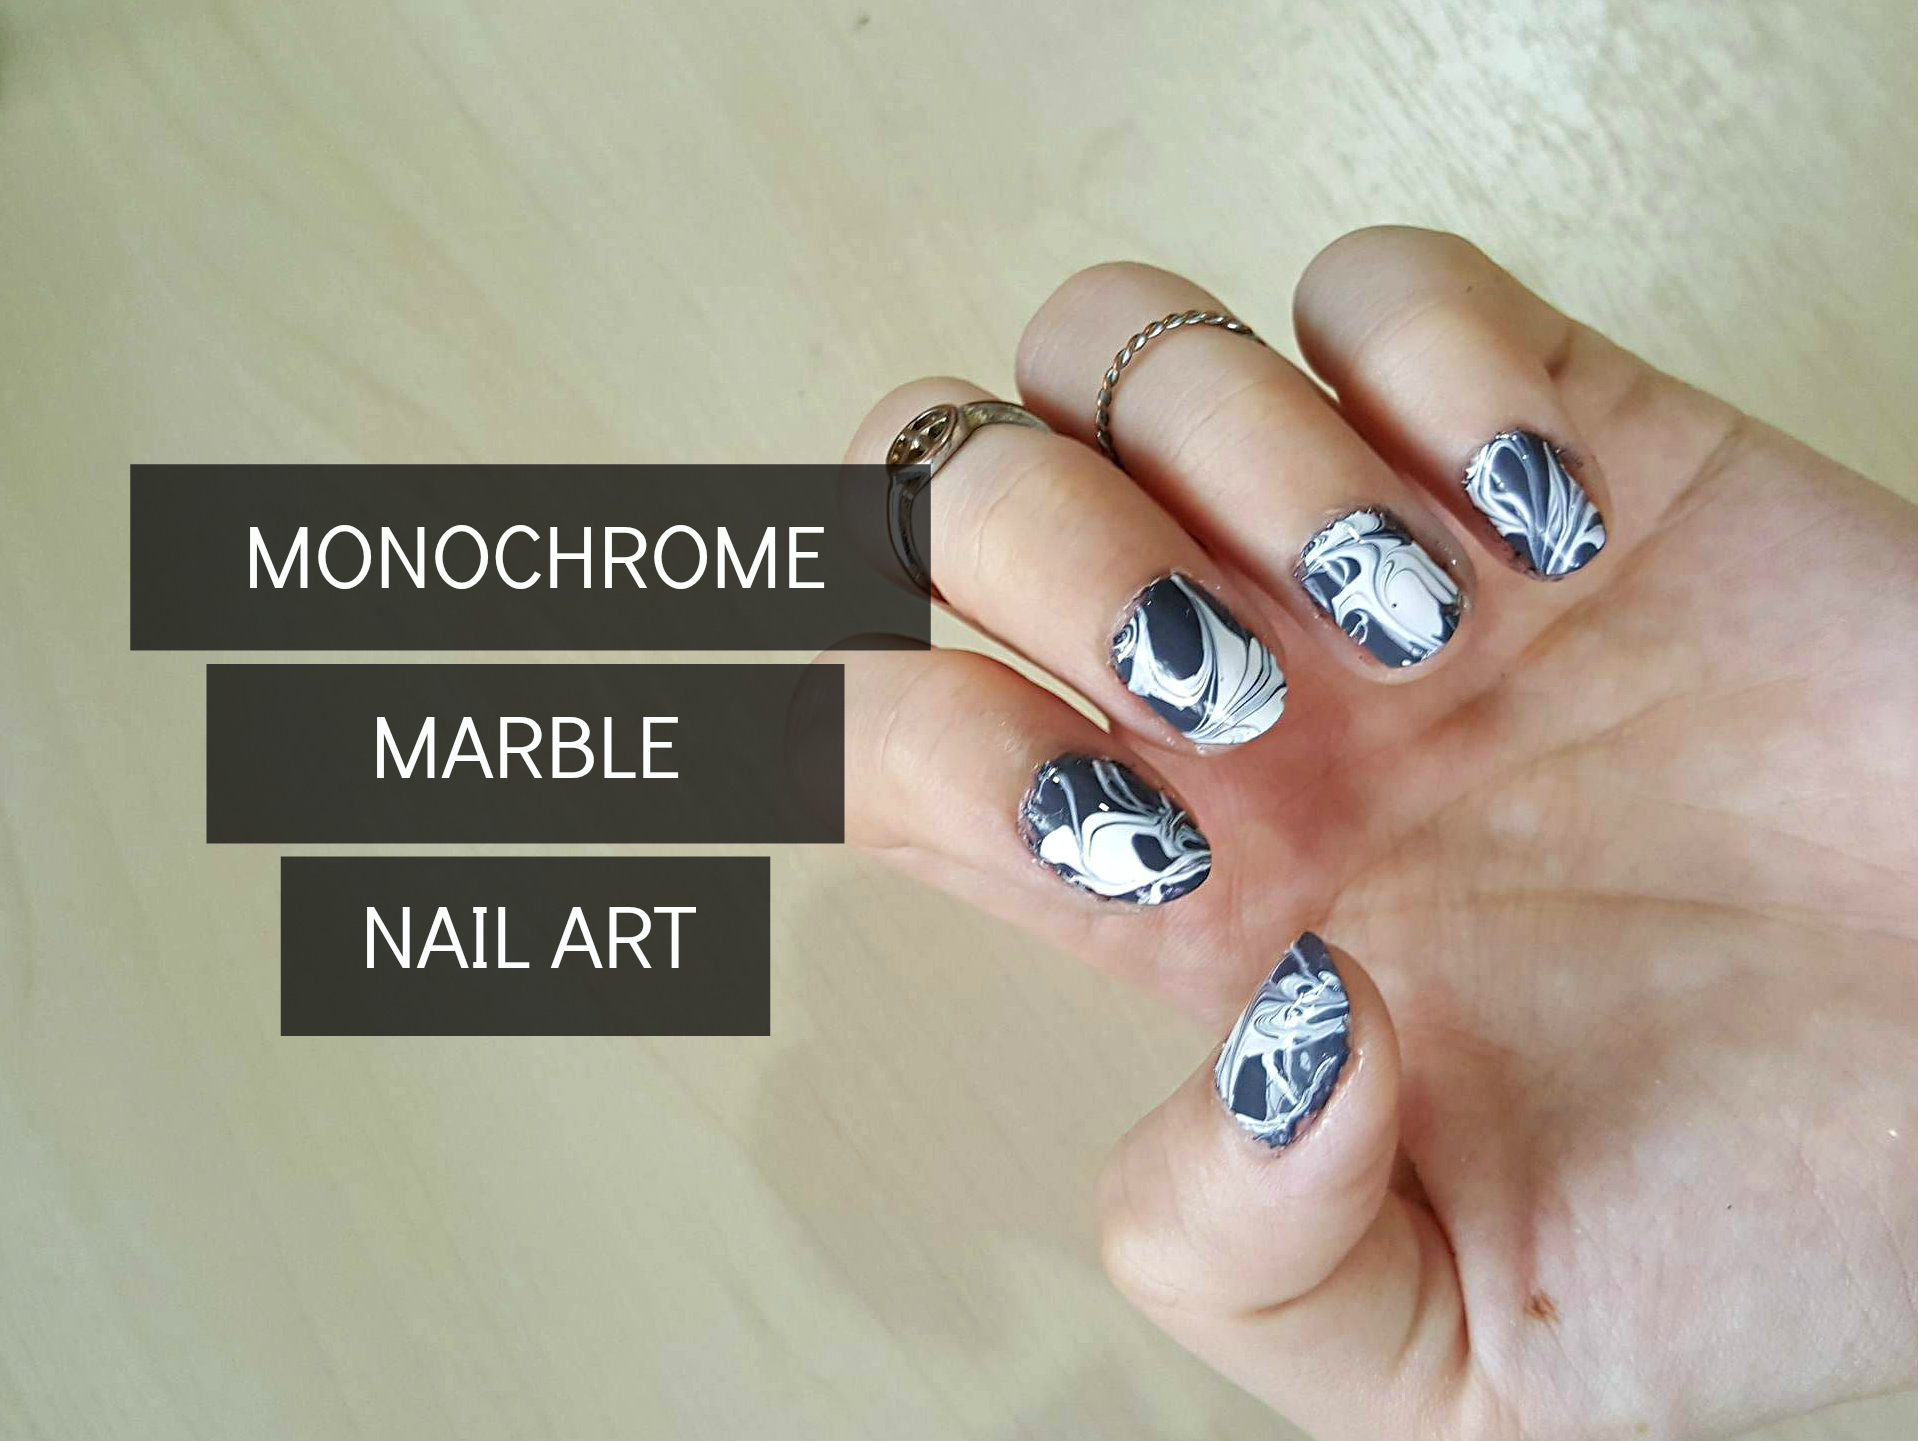
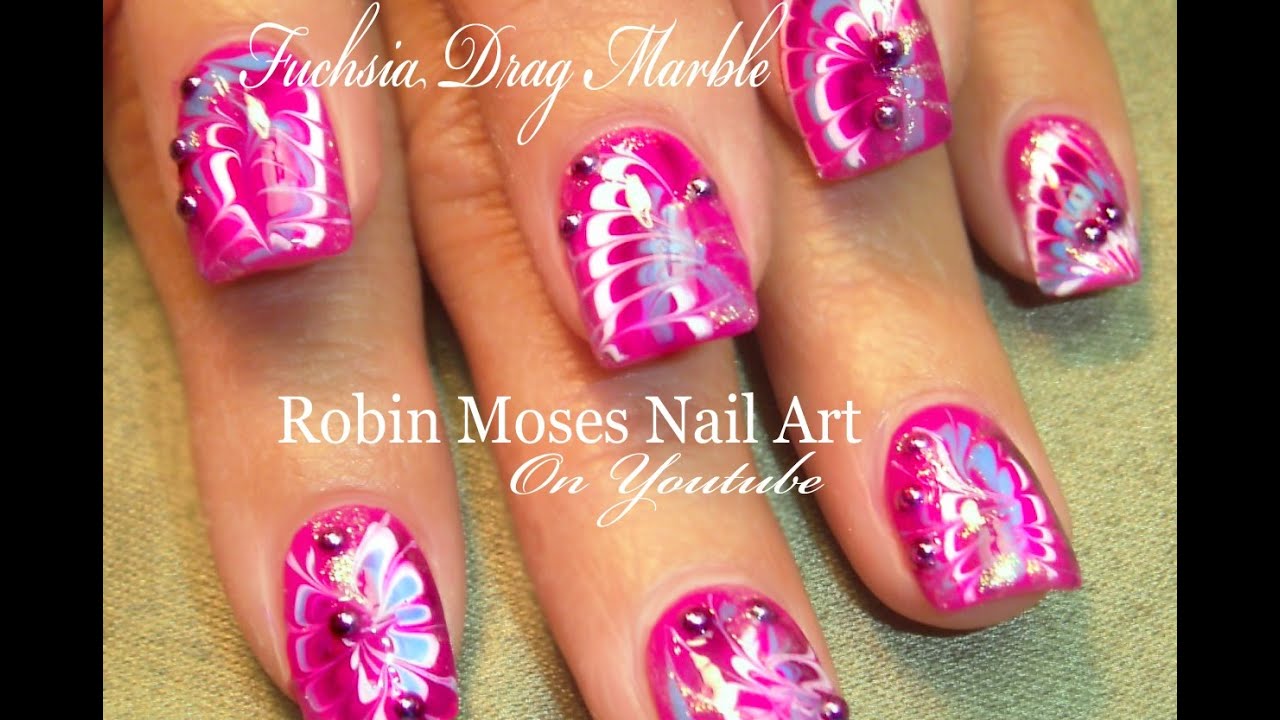
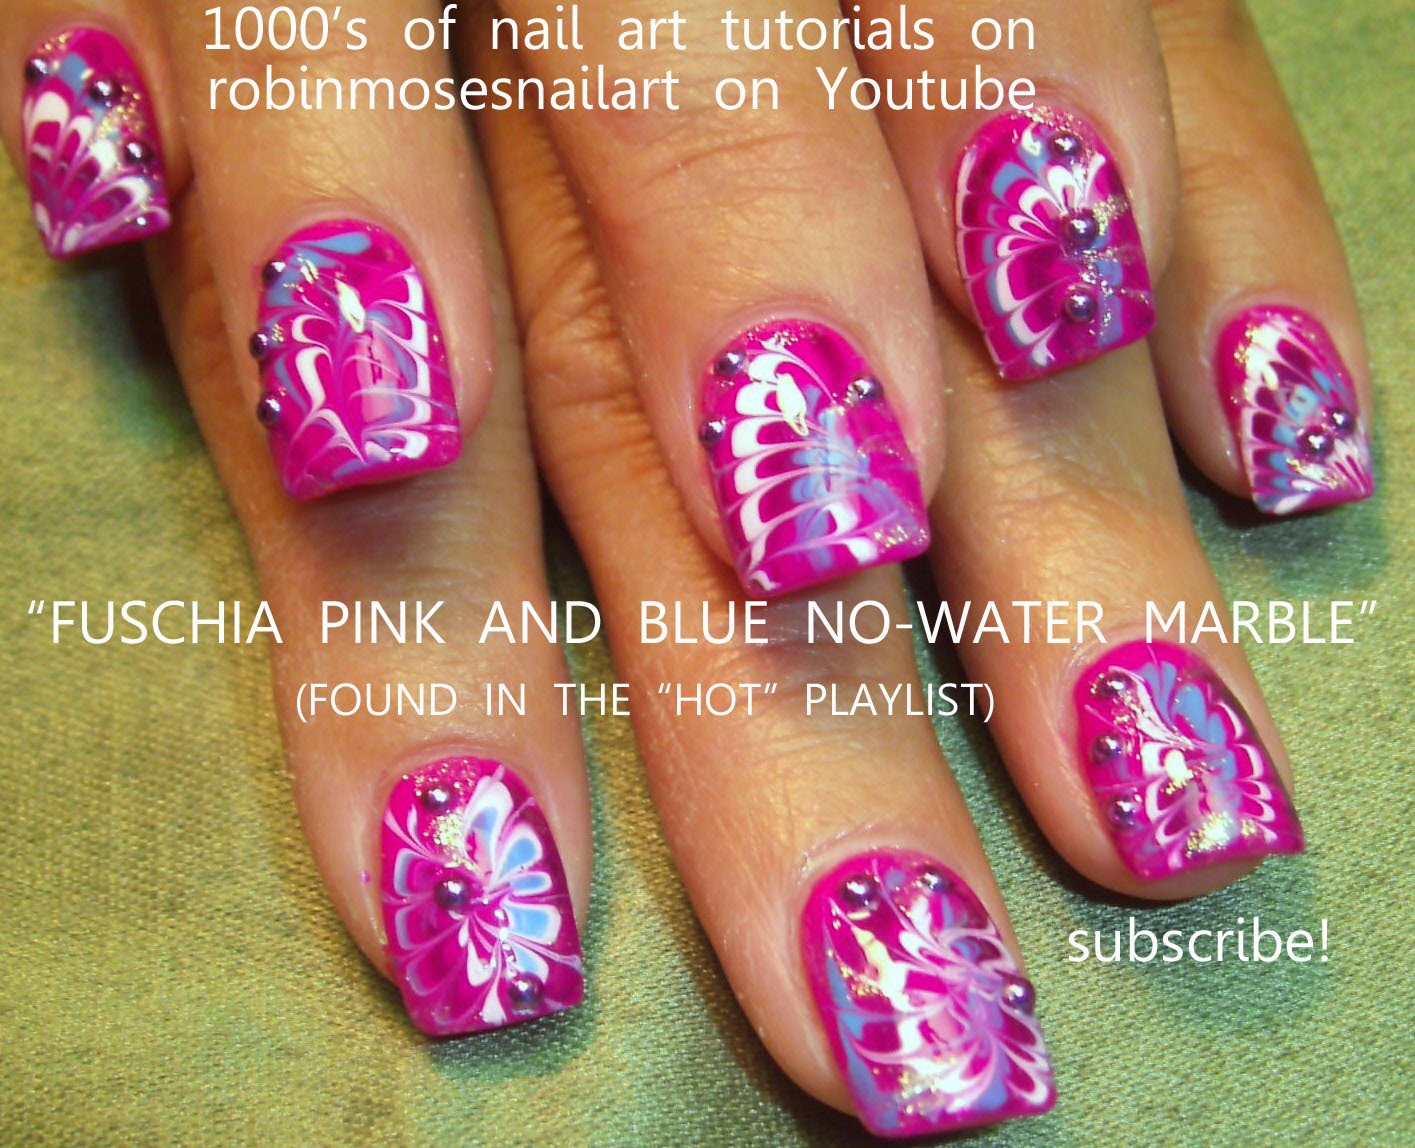
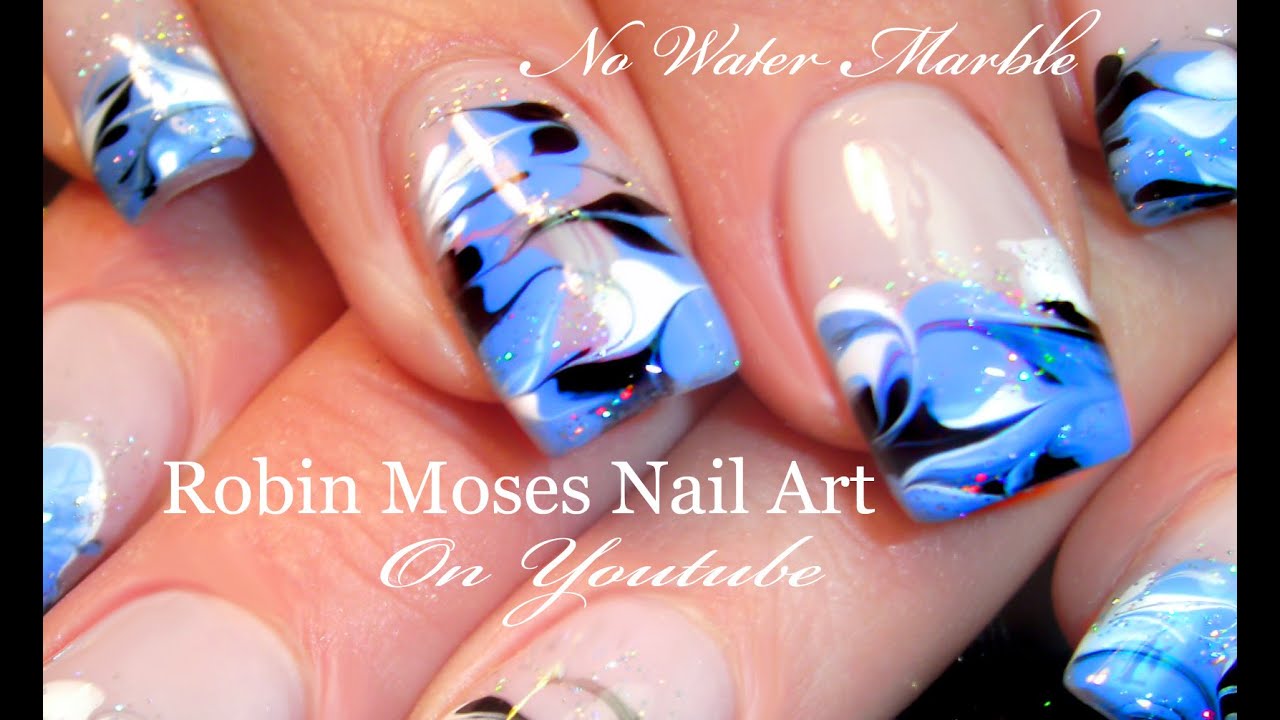
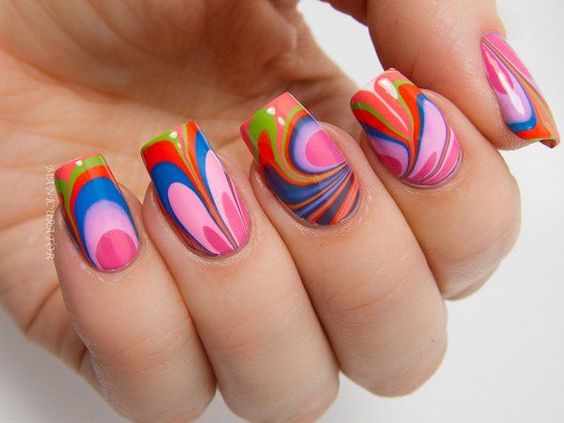
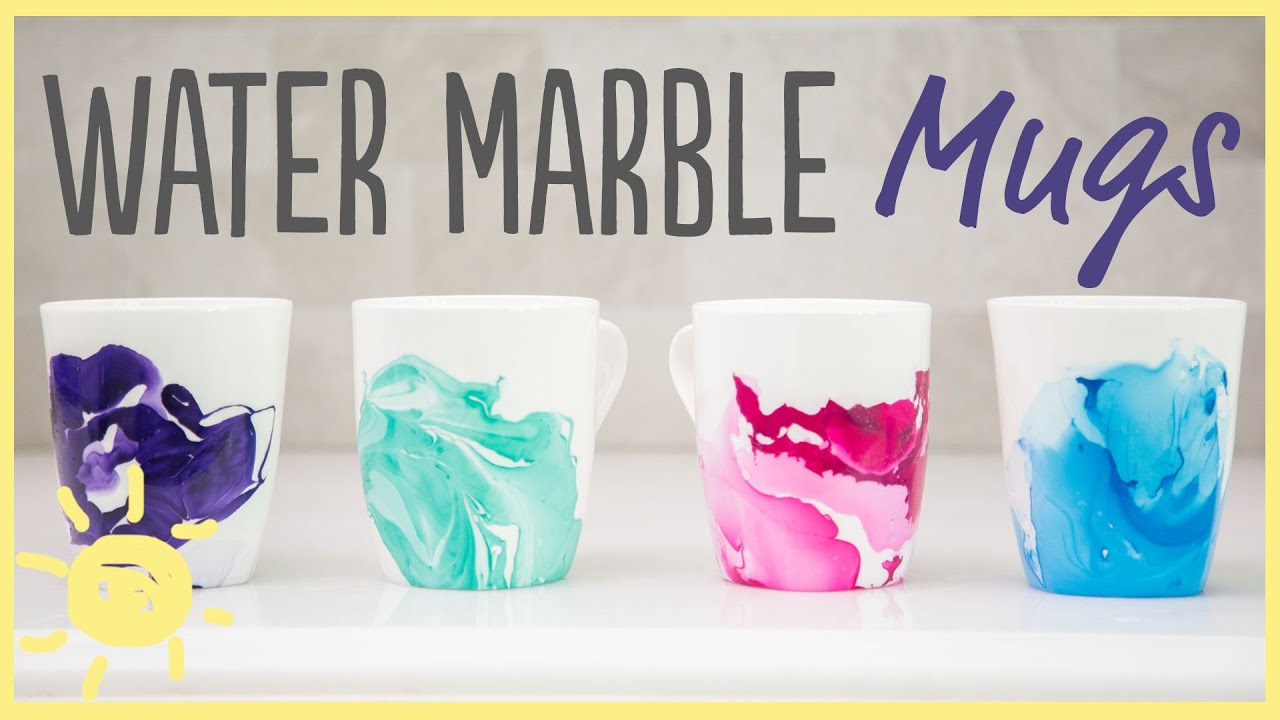
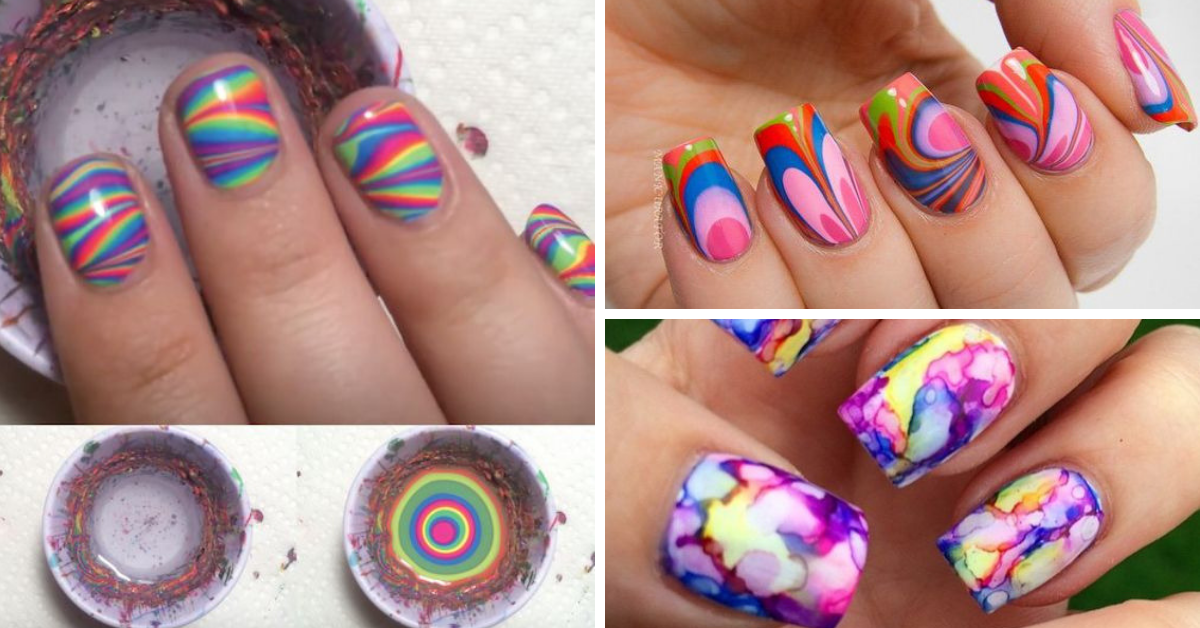
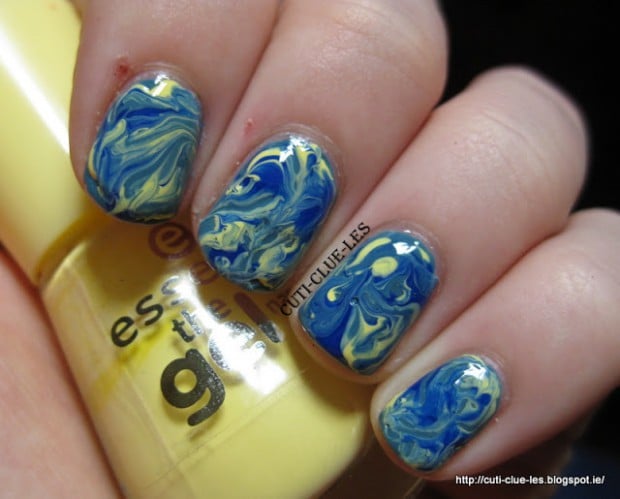
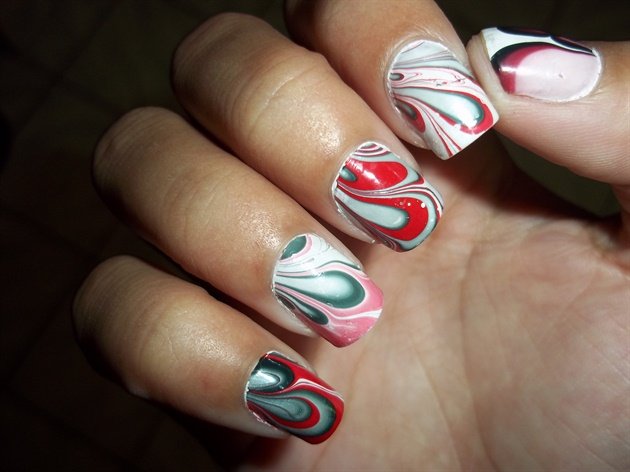
Water marble nail art has become a popular trend in the world of nail design. It's a technique that involves creating unique and beautiful patterns by swirling different colors of nail polish on the surface of water. This DIY water marble nail design is perfect for those looking to add a touch of creativity and fun to their manicures. So grab your favorite nail polishes and let's get started!Water Marble Nail Art Tutorial | DIY Water Marble Nail Design


Water Marble Nail Art Tutorial


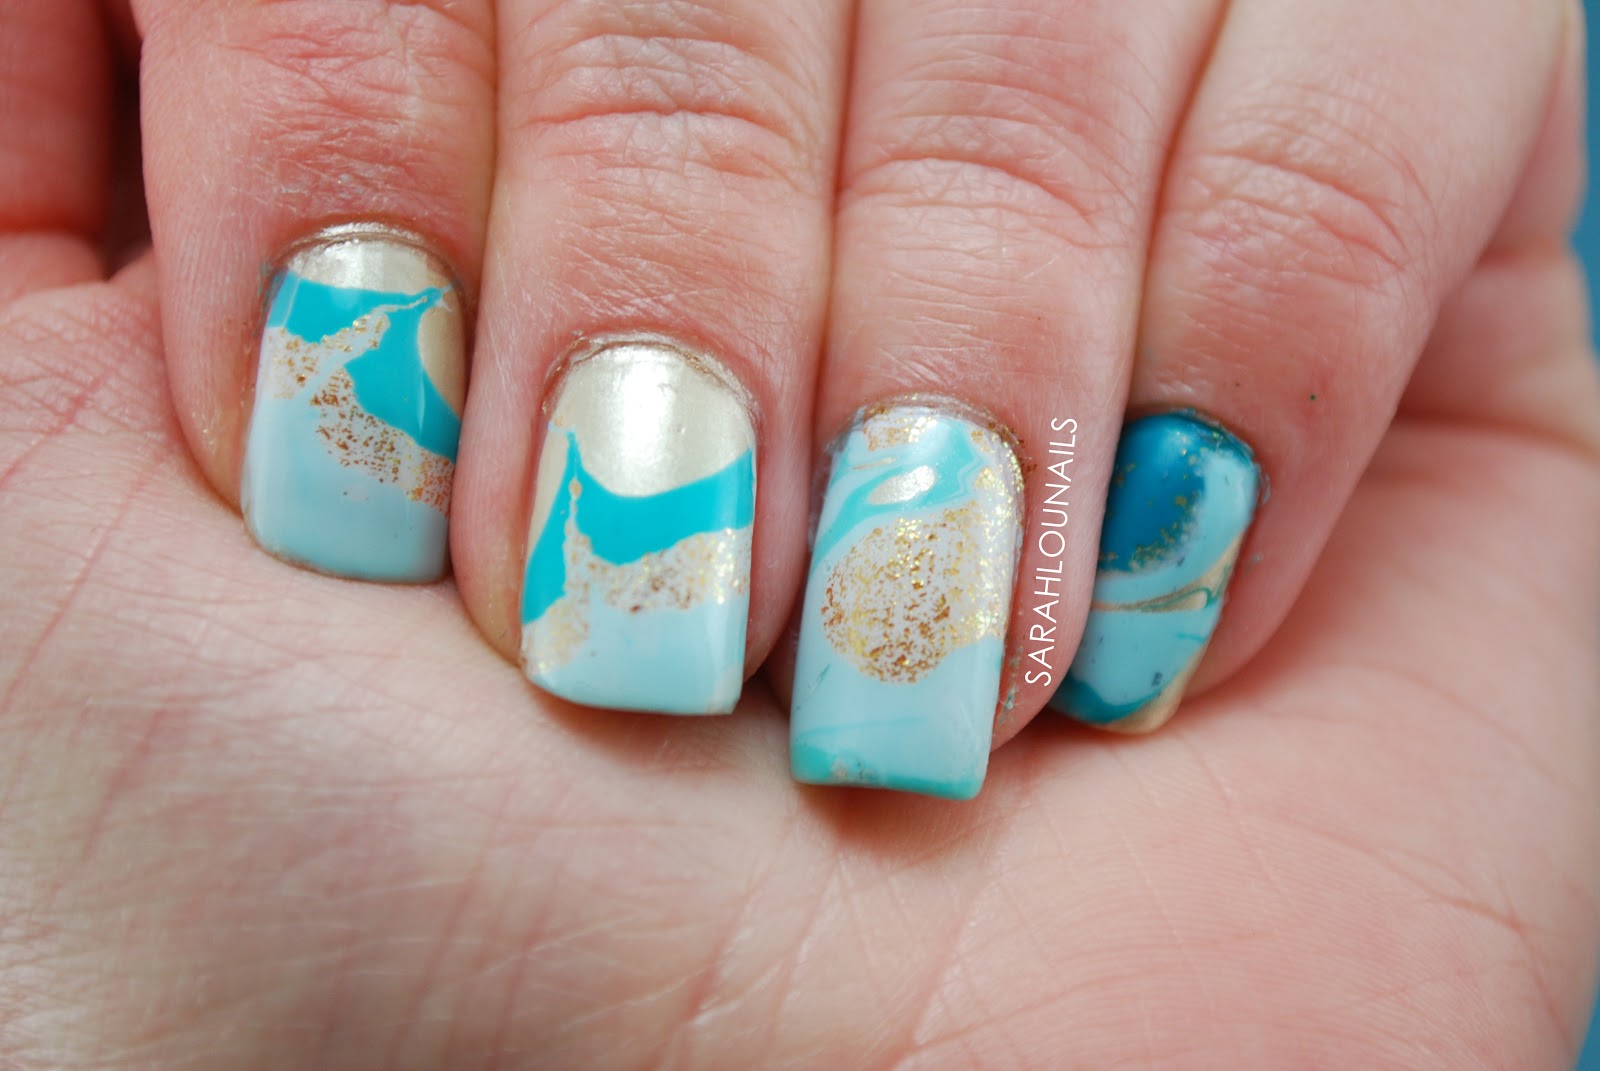
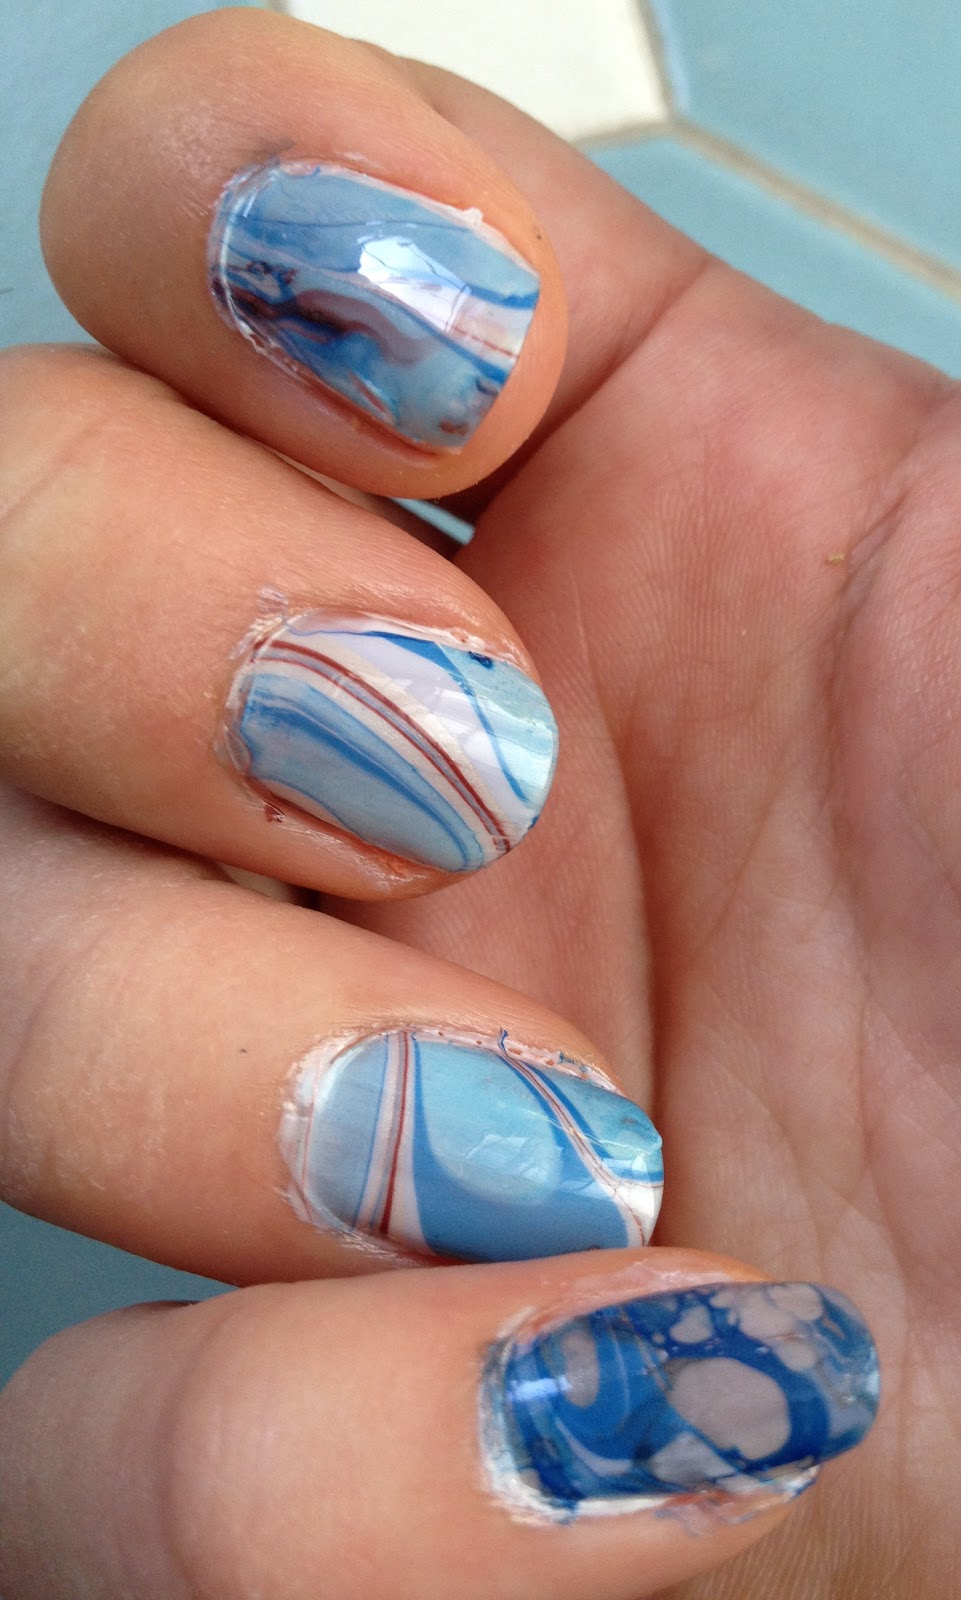
Creating a water marble nail design may seem intimidating at first, but with a little practice and the right tools, you can achieve stunning results. To start, you'll need a small bowl filled with room temperature water, a few nail polishes in your desired colors, and some toothpicks for creating the swirls.DIY Water Marble Nail Art Tutorial | How to Water Marble Your Nails


DIY Water Marble Nail Design


If you're not comfortable with using water for your nail design, there's an alternative method that doesn't require any water at all. You'll need a plastic bag and some nail polish in your chosen colors. Simply paint stripes of different colors on the plastic bag and use a toothpick to create the desired pattern. Then, transfer the design onto your nails by pressing them onto the plastic bag. It's a simple and mess-free way to achieve a water marble effect!Easy DIY Water Marble Nail Art Tutorial | No Water Needed!


DIY Water Marble Nail Art Tutorial

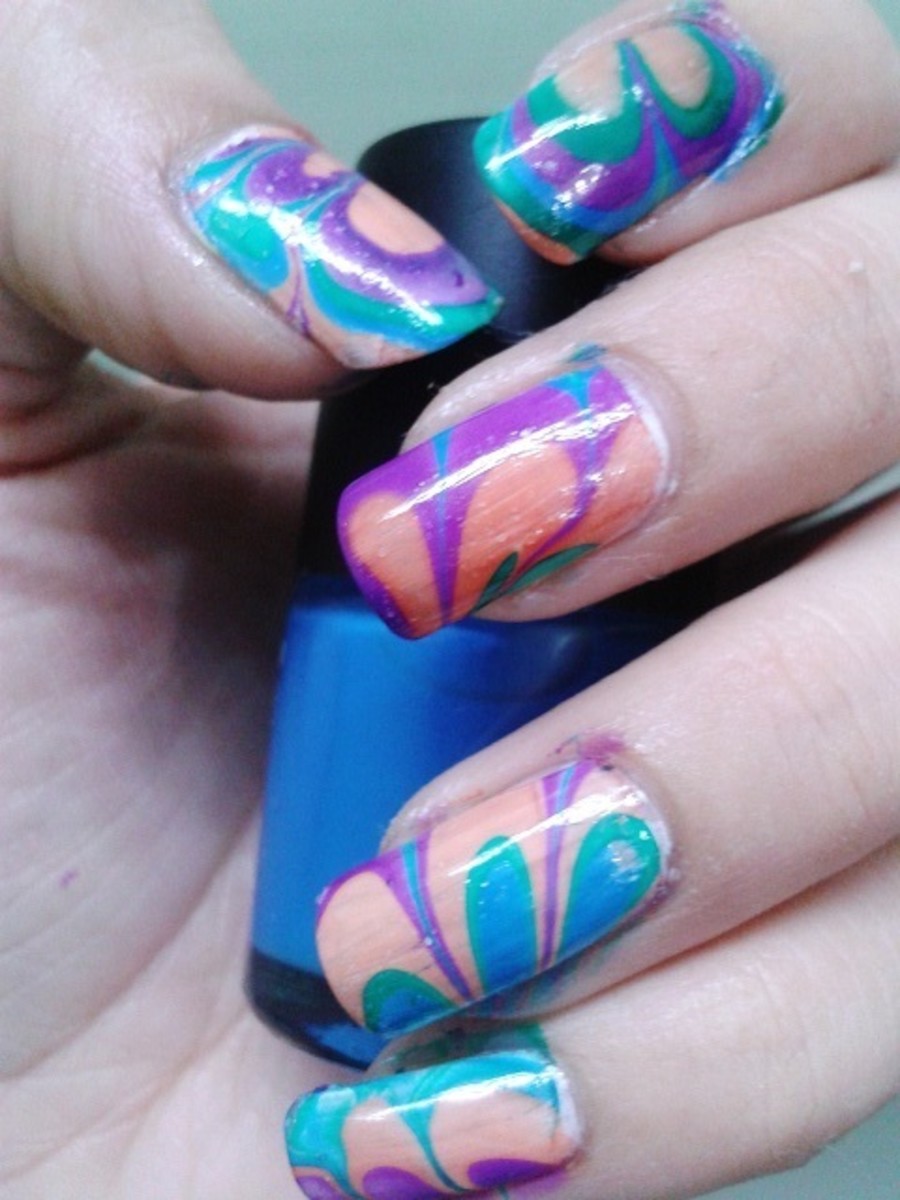
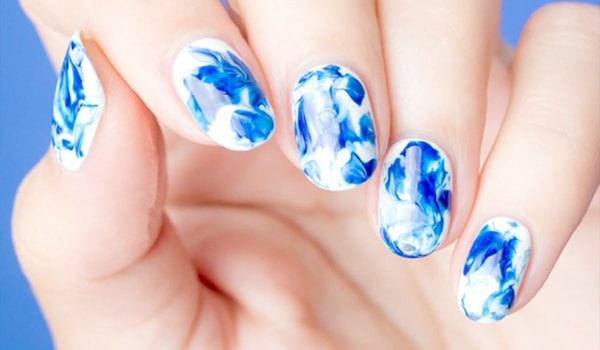
If you're new to water marble nail art, it's important to take your time and follow the steps carefully. Start by applying a base coat to protect your nails and allow it to dry completely. Then, choose your nail polish colors and carefully drop them onto the surface of the water. Use a toothpick to create a pattern by dragging it through the polish. Once you're happy with the design, dip your nail into the water and use a cotton swab to remove any excess polish. Repeat this process on all your nails and finish with a top coat for a glossy finish.DIY Water Marble Nail Art Tutorial for Beginners | Step by Step Guide
How to Water Marble Your Nails


Another fun way to achieve a water marble nail design is by using a plastic bag. This method allows you to create a more abstract and unique pattern. Start by painting a base color on your nails and allowing it to dry. Then, paint stripes of different nail polish colors on the plastic bag and use a toothpick to swirl them together. Press your nails onto the plastic bag to transfer the design and finish with a top coat for a smooth finish.DIY Water Marble Nail Design Using a Plastic Bag | Nail Art Tutorial

Easy DIY Water Marble Nail Art Tutorial
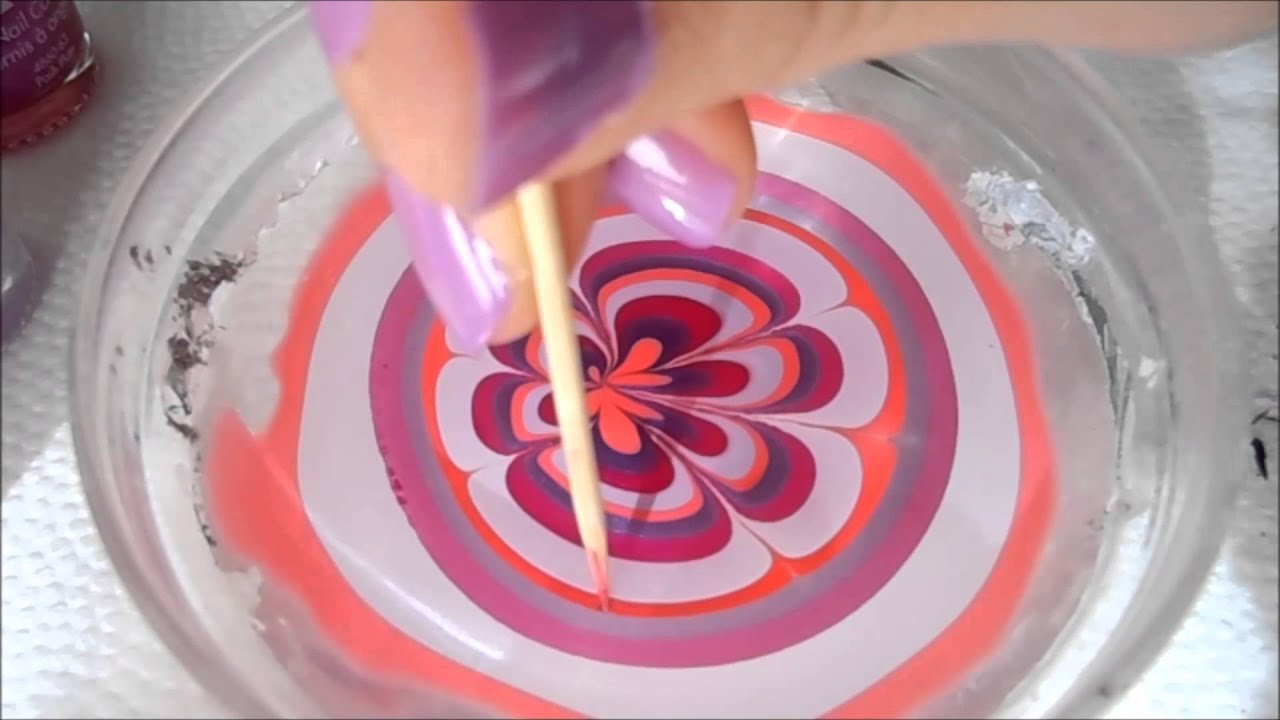
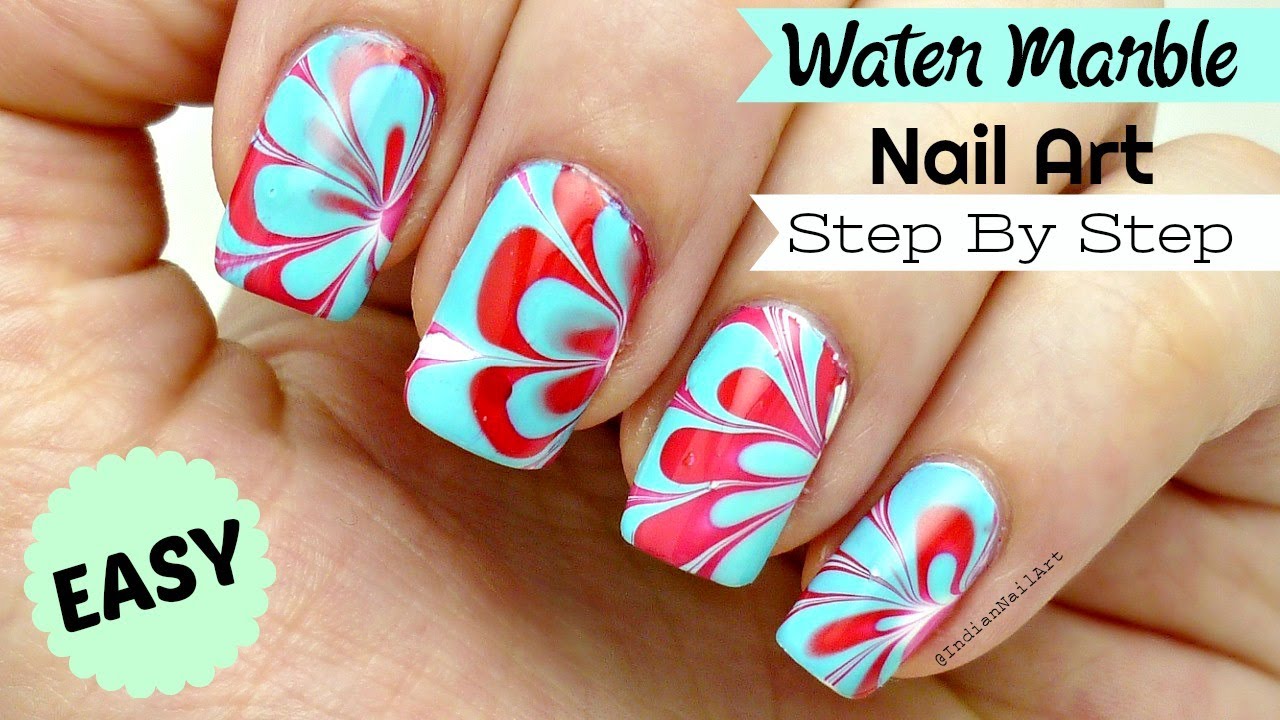
If you don't have any nail art tools on hand, you can still achieve a water marble effect using a toothpick. Start by painting a base color on your nails and allowing it to dry. Then, drop a few drops of different nail polish colors onto the surface of the water and use a toothpick to create your desired pattern. Dip your nail into the water and clean up any excess polish with a cotton swab. It may take a few tries to get the hang of it, but the results are worth it!DIY Water Marble Nail Art with Toothpick | Easy Nail Design Tutorial


No Water Needed!


You don't need any special tools or materials to create a stunning water marble nail design. All you need is some nail polish in your favorite colors and a toothpick. Start by applying a base color and allowing it to dry. Then, drop a few drops of different nail polish colors onto the surface of the water and use a toothpick to create a pattern. Dip your nail into the water, clean up any excess polish, and finish with a top coat for a polished look.DIY Water Marble Nail Art with Nail Polish | Step by Step Tutorial


DIY Water Marble Nail Art Tutorial for Beginners


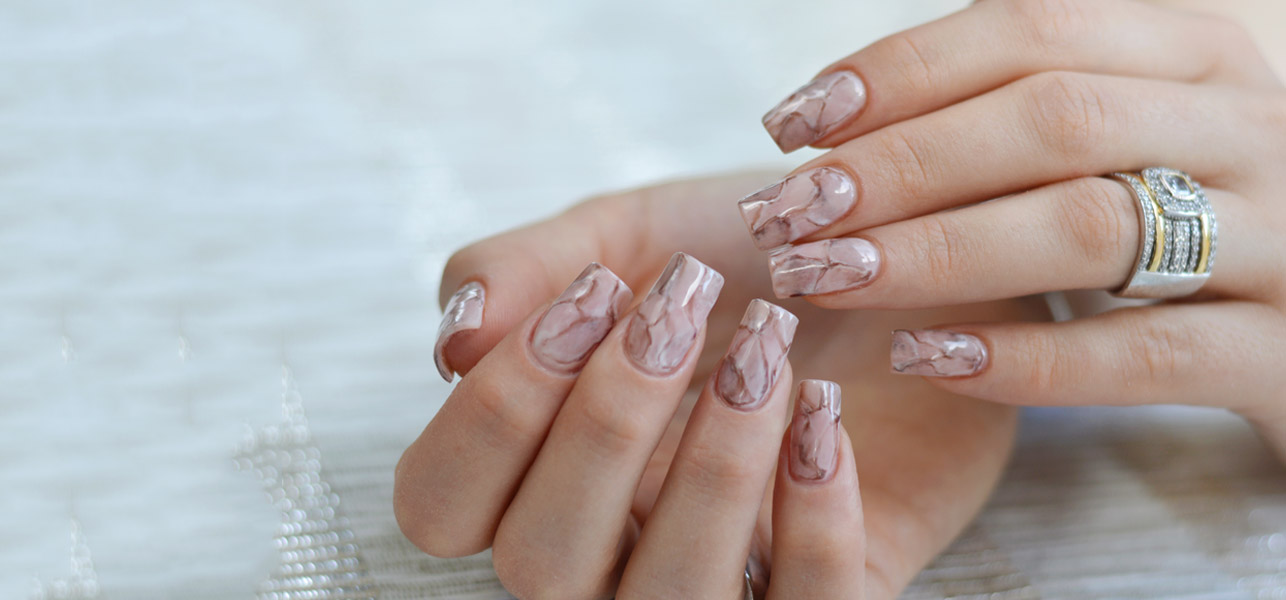
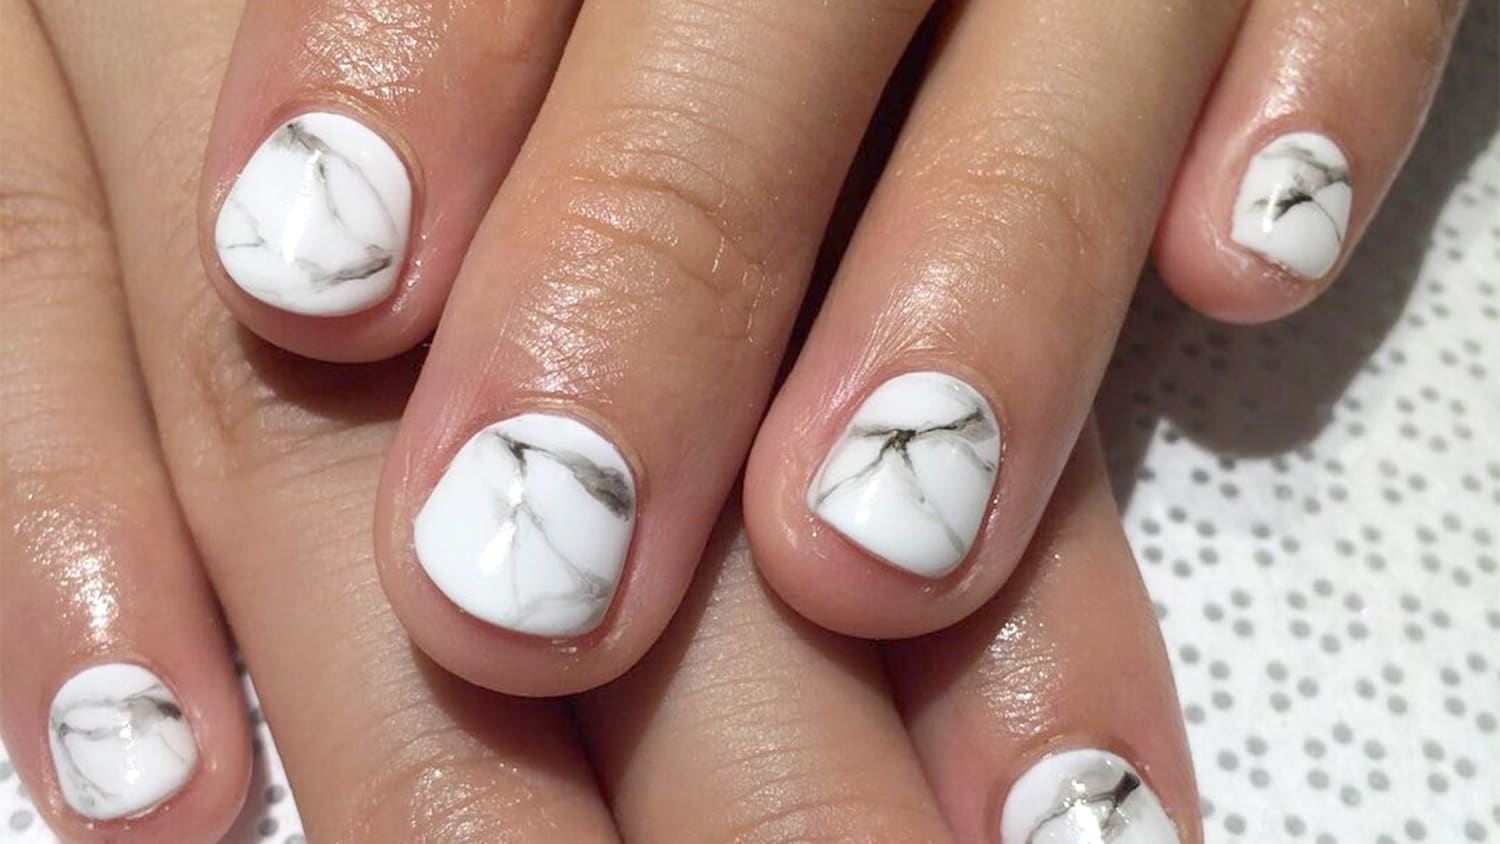
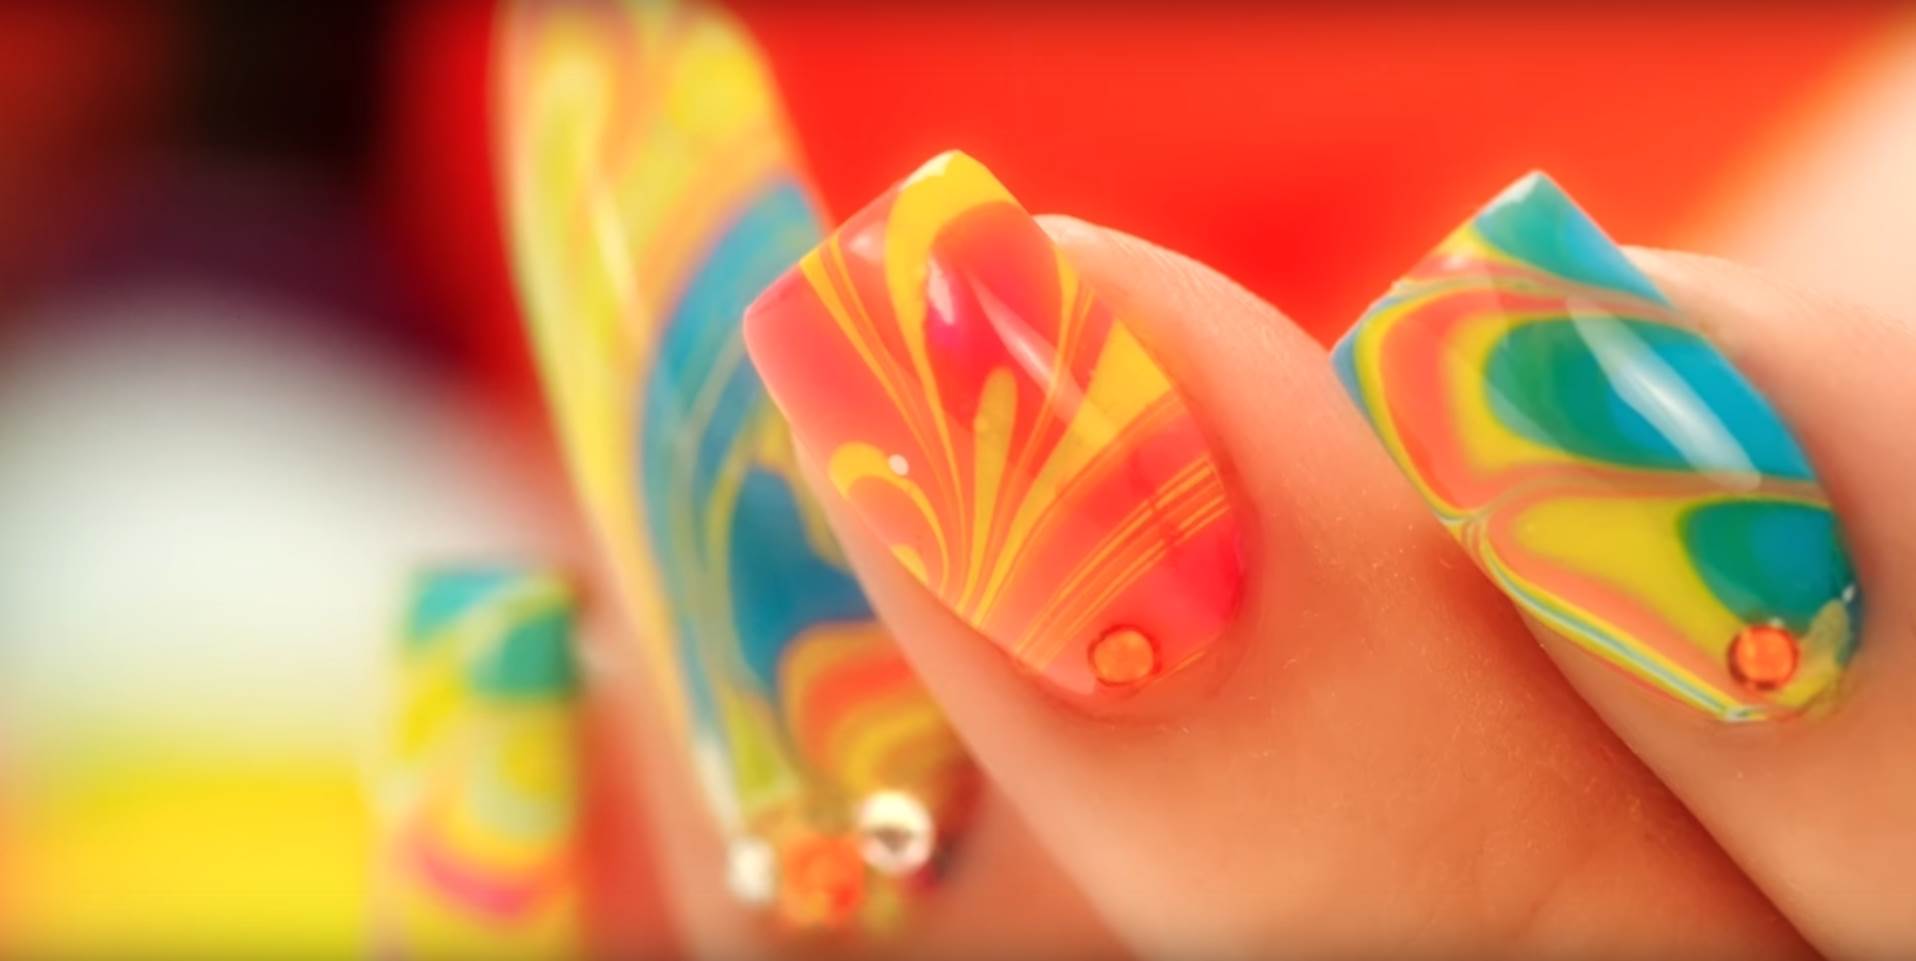
If you want to experiment with different colors and designs, using acrylic paint for your water marble nail art is a great option. It's more forgiving than nail polish and allows you to create intricate patterns. Simply mix your desired colors on the surface of the water using a toothpick and dip your nail in to transfer the design. Use a cotton swab to clean up any excess paint and finish with a top coat.DIY Water Marble Nail Art with Acrylic Paint | Simple Nail Design Tutorial


Step by Step Guide

Gel polish is a great option for those looking for a long-lasting and durable water marble nail design. Start by applying a base coat and cure it under a UV or LED lamp. Then, follow the same steps as using regular nail polish, dropping different colors onto the surface of the water and creating a pattern with a toothpick. Once you're happy with the design, cure it under the lamp again and finish with a top coat for a shiny finish.DIY Water Marble Nail Art with Gel Polish | Easy Nail Design Tutorial


DIY Water Marble Nail Design Using a Plastic Bag


For a fun and colorful twist on traditional water marble nail art, try using Sharpie markers. Start by painting your nails with a base color and allowing it to dry. Then, use different colored Sharpies to create a design on the surface of the water. Dip your nail into the water and clean up any excess marker with a cotton swab. Finish with a top coat for a long-lasting and vibrant water marble effect. Water marble nail art is a fun and creative way to elevate your manicure game. With these easy DIY tutorials, you can achieve stunning results without breaking the bank. So go ahead and experiment with different colors and techniques to create your own unique water marble nail design!DIY Water Marble Nail Art with Sharpie | Fun and Colorful Nail Design Tutorial

Nail Art Tutorial
Elevate Your Nails with a Stunning DIY Water Marble Design
Unleash Your Creativity with DIY Nail Art
 Are you tired of the same old solid-colored nail polish? Do you want to add a touch of uniqueness and creativity to your nail game? Look no further, as
DIY water marble nail design
is the perfect solution for you. This
fun and easy
technique will elevate your nails to a whole new level and have you receiving compliments left and right. Plus, you don't have to spend a fortune at a nail salon to achieve this look. You can easily create this
professional-looking
design in the comfort of your own home.
Are you tired of the same old solid-colored nail polish? Do you want to add a touch of uniqueness and creativity to your nail game? Look no further, as
DIY water marble nail design
is the perfect solution for you. This
fun and easy
technique will elevate your nails to a whole new level and have you receiving compliments left and right. Plus, you don't have to spend a fortune at a nail salon to achieve this look. You can easily create this
professional-looking
design in the comfort of your own home.
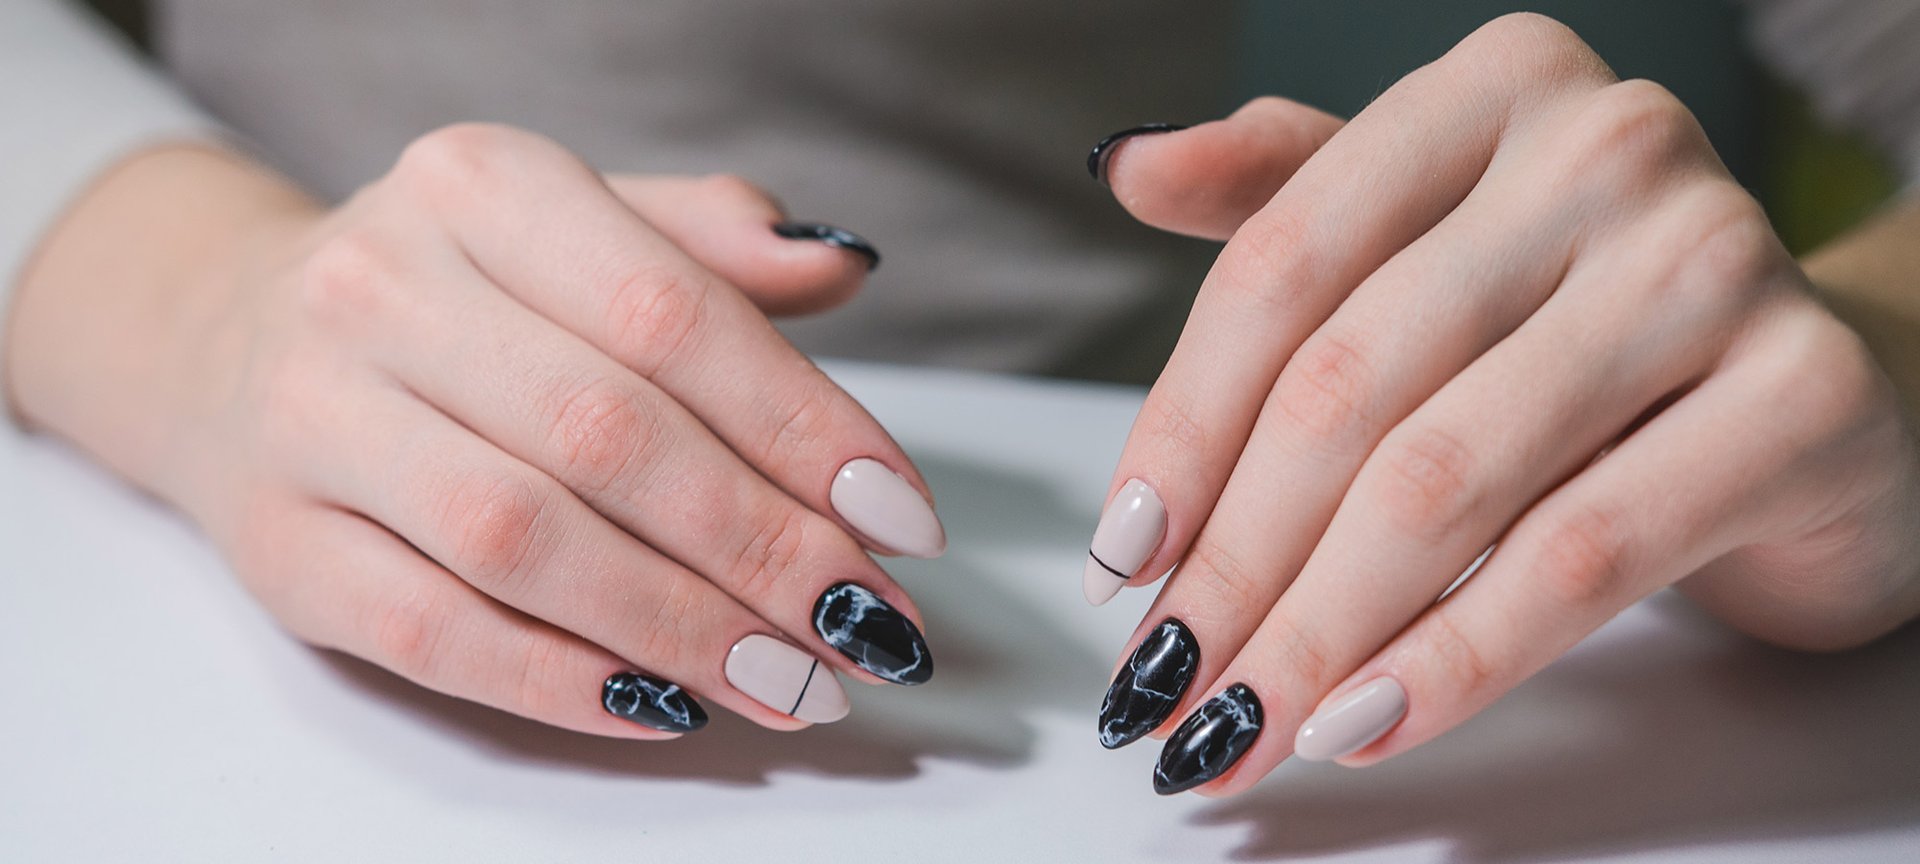
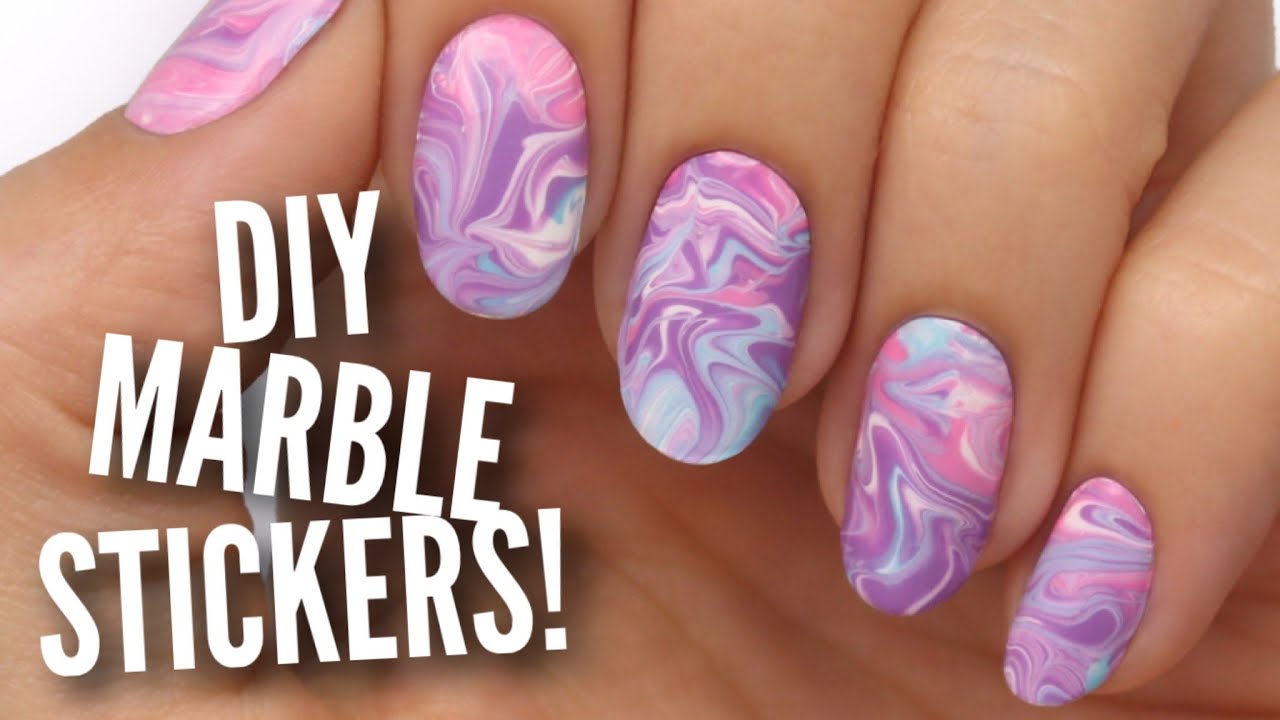
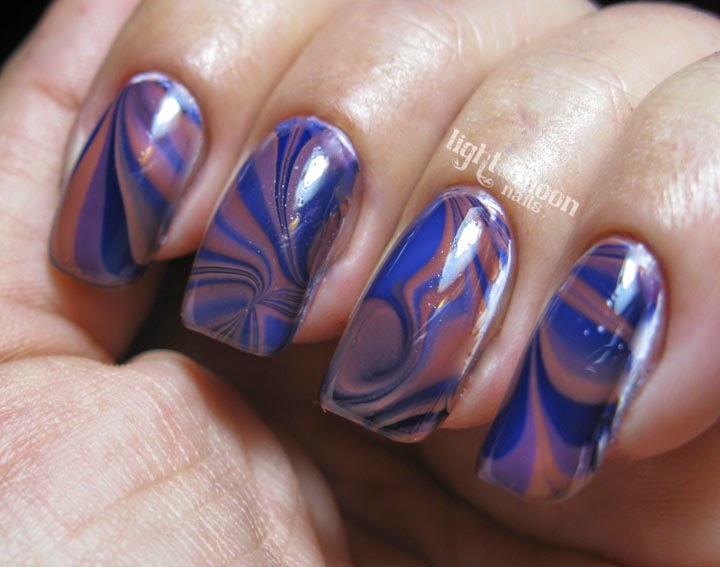
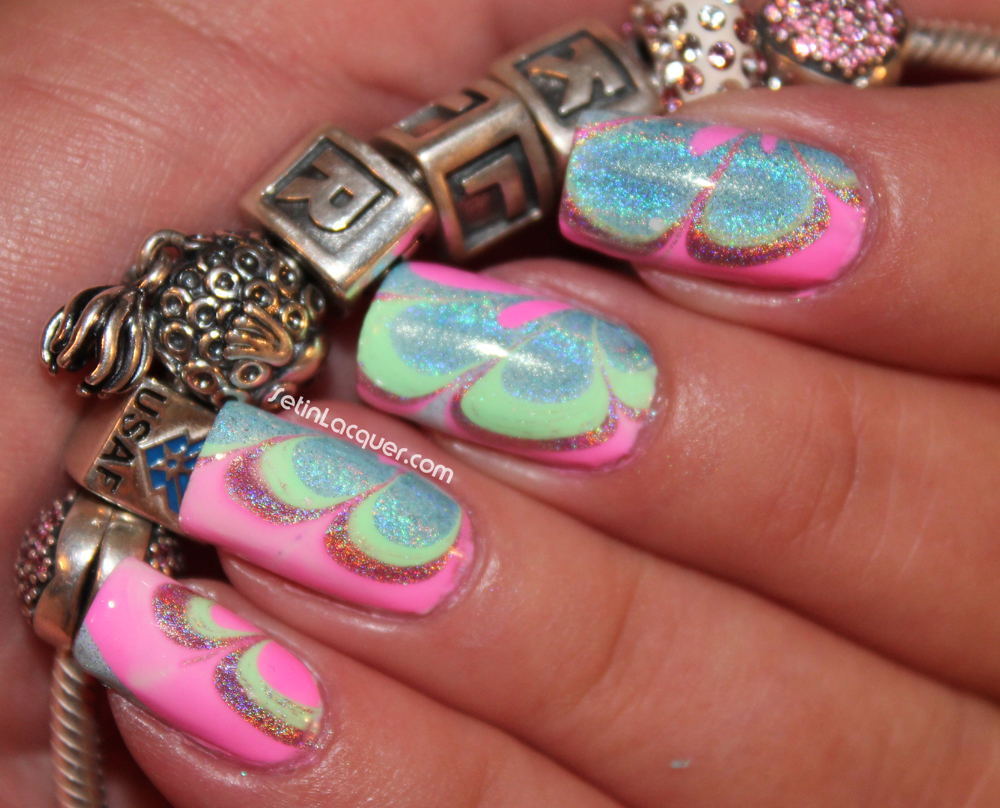
What is Water Marble Nail Design?
 Water marble nail design
is a
popular nail art technique
that involves creating a
marbled effect
on your nails using water and nail polish. The process involves dropping different colored nail polish into a bowl of water, swirling it to create a unique pattern, and then dipping your nails into the water to transfer the design onto them. The result is a
beautiful, one-of-a-kind
design that will make your nails stand out from the crowd.
Water marble nail design
is a
popular nail art technique
that involves creating a
marbled effect
on your nails using water and nail polish. The process involves dropping different colored nail polish into a bowl of water, swirling it to create a unique pattern, and then dipping your nails into the water to transfer the design onto them. The result is a
beautiful, one-of-a-kind
design that will make your nails stand out from the crowd.
Why You Should Try DIY Water Marble Nail Design
 Not only is
DIY water marble nail design
a
fun and creative
way to express yourself, but it also has several other benefits. Firstly, this technique allows you to use
multiple colors
on your nails, creating a
unique and eye-catching
look. Secondly, it is a
budget-friendly
option as you can use
regular nail polish
and don't need any expensive tools to create this design. Thirdly, it is
long-lasting
and will not chip easily like traditional nail polish. Plus, the process itself can be quite
therapeutic and relaxing
, making it a great activity to do at home.
Not only is
DIY water marble nail design
a
fun and creative
way to express yourself, but it also has several other benefits. Firstly, this technique allows you to use
multiple colors
on your nails, creating a
unique and eye-catching
look. Secondly, it is a
budget-friendly
option as you can use
regular nail polish
and don't need any expensive tools to create this design. Thirdly, it is
long-lasting
and will not chip easily like traditional nail polish. Plus, the process itself can be quite
therapeutic and relaxing
, making it a great activity to do at home.
How to Create Your Own DIY Water Marble Nail Design
 Creating your own
DIY water marble nail design
may seem daunting at first, but with a little practice, you'll be a pro in no time. Here are the
simple steps
to achieve this stunning look:
1. Start off with clean and trimmed nails.
2. Fill a small bowl with room temperature water.
3. Choose the nail polish colors you want to use and have them ready.
4. Use a toothpick to create a design by dropping one color of nail polish into the water, followed by another color and so on.
5. Once you have your desired design, carefully dip your fingers into the water, one at a time.
6. Use a toothpick to remove any excess nail polish from the surface of the water.
7. Gently remove your fingers from the water and let them dry.
8. Apply a clear topcoat to seal and protect your design.
With these easy steps, you can achieve a
professional-looking
design that will have everyone asking where you got your nails done.
Creating your own
DIY water marble nail design
may seem daunting at first, but with a little practice, you'll be a pro in no time. Here are the
simple steps
to achieve this stunning look:
1. Start off with clean and trimmed nails.
2. Fill a small bowl with room temperature water.
3. Choose the nail polish colors you want to use and have them ready.
4. Use a toothpick to create a design by dropping one color of nail polish into the water, followed by another color and so on.
5. Once you have your desired design, carefully dip your fingers into the water, one at a time.
6. Use a toothpick to remove any excess nail polish from the surface of the water.
7. Gently remove your fingers from the water and let them dry.
8. Apply a clear topcoat to seal and protect your design.
With these easy steps, you can achieve a
professional-looking
design that will have everyone asking where you got your nails done.
In Conclusion
 Now that you know all about
DIY water marble nail design
, it's time to unleash your creativity and give it a try. Whether you want to add a pop of color to your everyday look or have a special occasion coming up, this
unique and affordable
technique is perfect for any occasion. So gather your supplies, get your creative juices flowing, and enjoy creating your own stunning water marble nail design.
Now that you know all about
DIY water marble nail design
, it's time to unleash your creativity and give it a try. Whether you want to add a pop of color to your everyday look or have a special occasion coming up, this
unique and affordable
technique is perfect for any occasion. So gather your supplies, get your creative juices flowing, and enjoy creating your own stunning water marble nail design.


