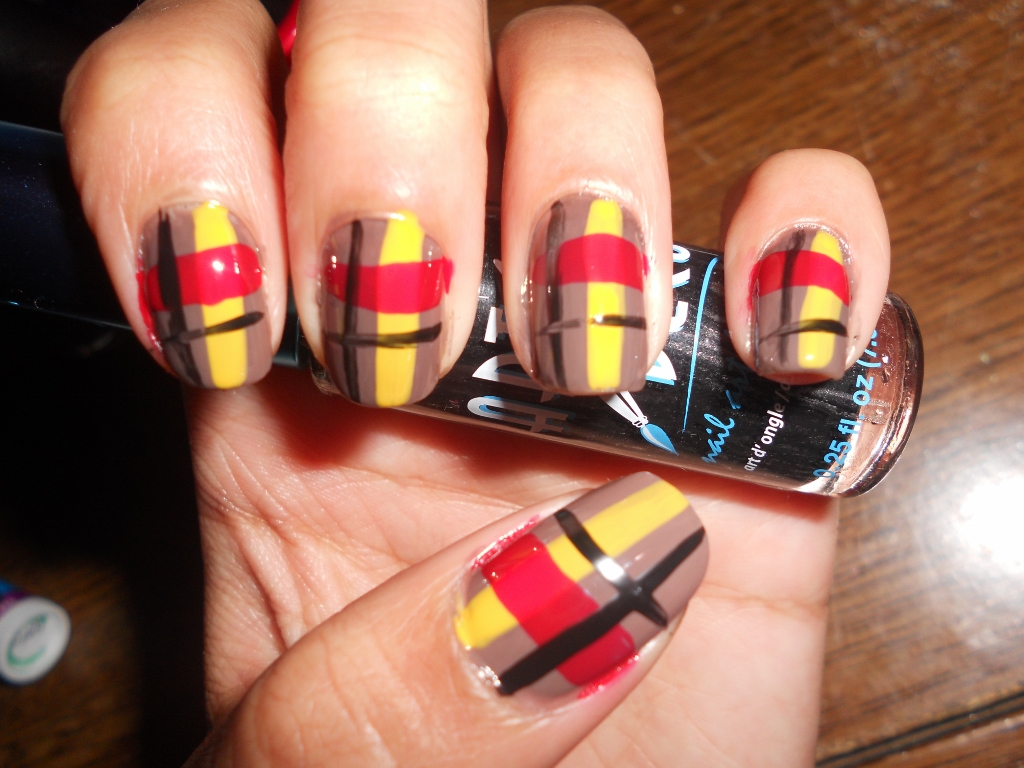
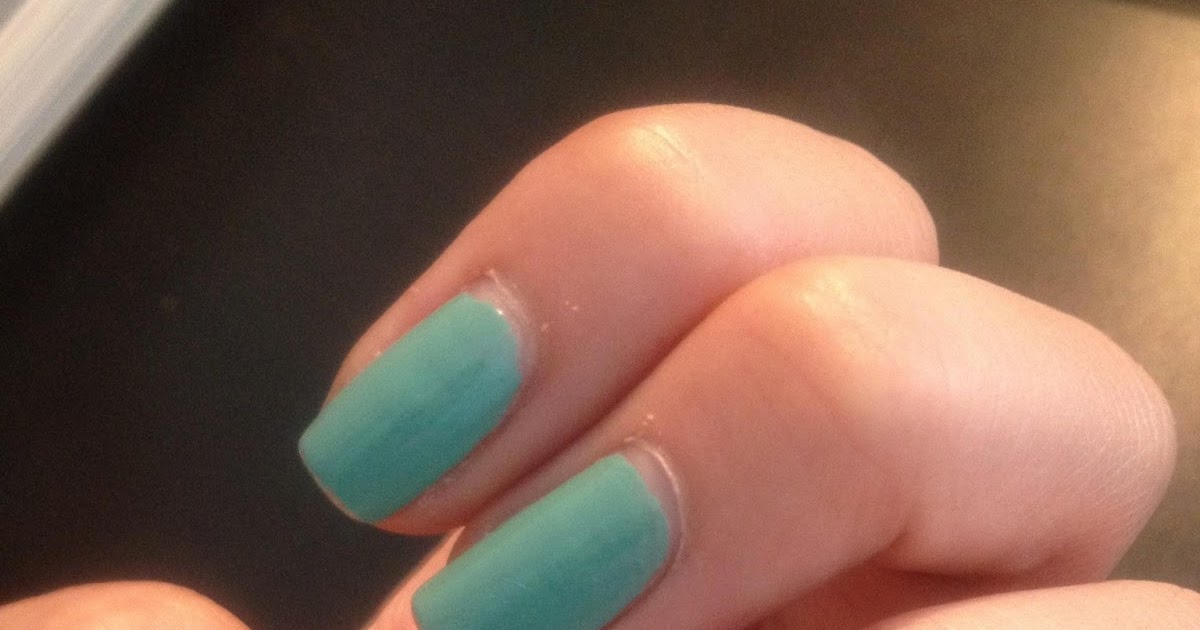
Are you tired of the same old plain nail designs? Looking for a fun and unique way to spice up your nails? Look no further! Plaid nail design is a trendy and eye-catching style that is sure to make a statement. Follow these 10 simple steps to achieve the perfect plaid nails. Step 1: Gather Your Materials The first step to achieving the perfect plaid nails is to gather all the necessary materials. You will need a base coat, top coat, plaid nail polish, thin nail tape, nail striping brush, scissors, and a nail polish remover. Make sure to have all your materials handy before starting. Step 2: Prep Your Nails Before starting with the design, make sure to prep your nails by trimming and shaping them. Apply a base coat to protect your nails and allow it to dry completely. Step 3: Apply Base Color Choose a base color for your nails. You can go for classic red, blue, or black, or mix things up with a neon or pastel shade. Apply two coats of your chosen base color and let it dry completely.How to Do Plaid Nail Design: 10 Steps (with Pictures) - wikiHow


How to Do Plaid Nail Design: 10 Steps (with Pictures) - wikiHow

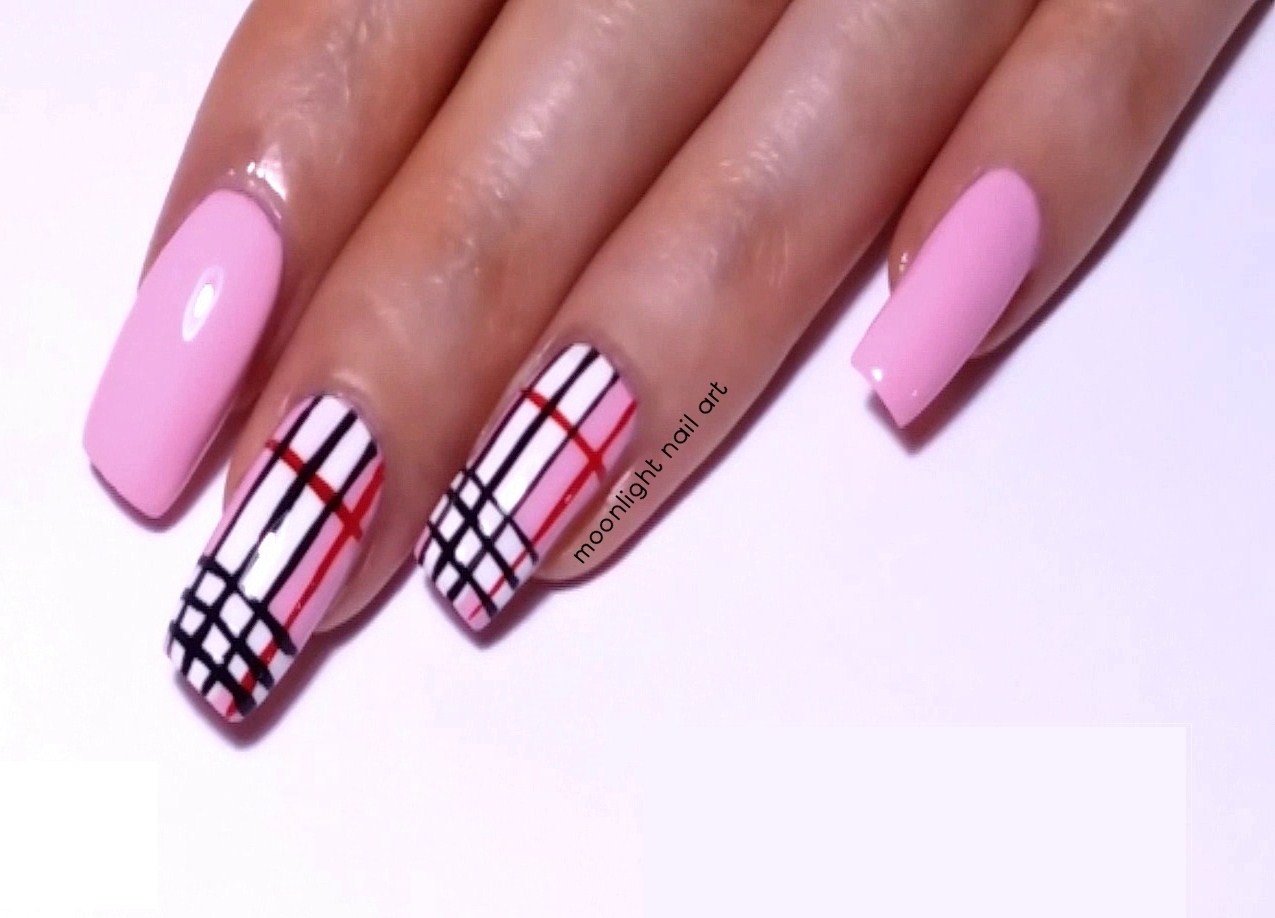


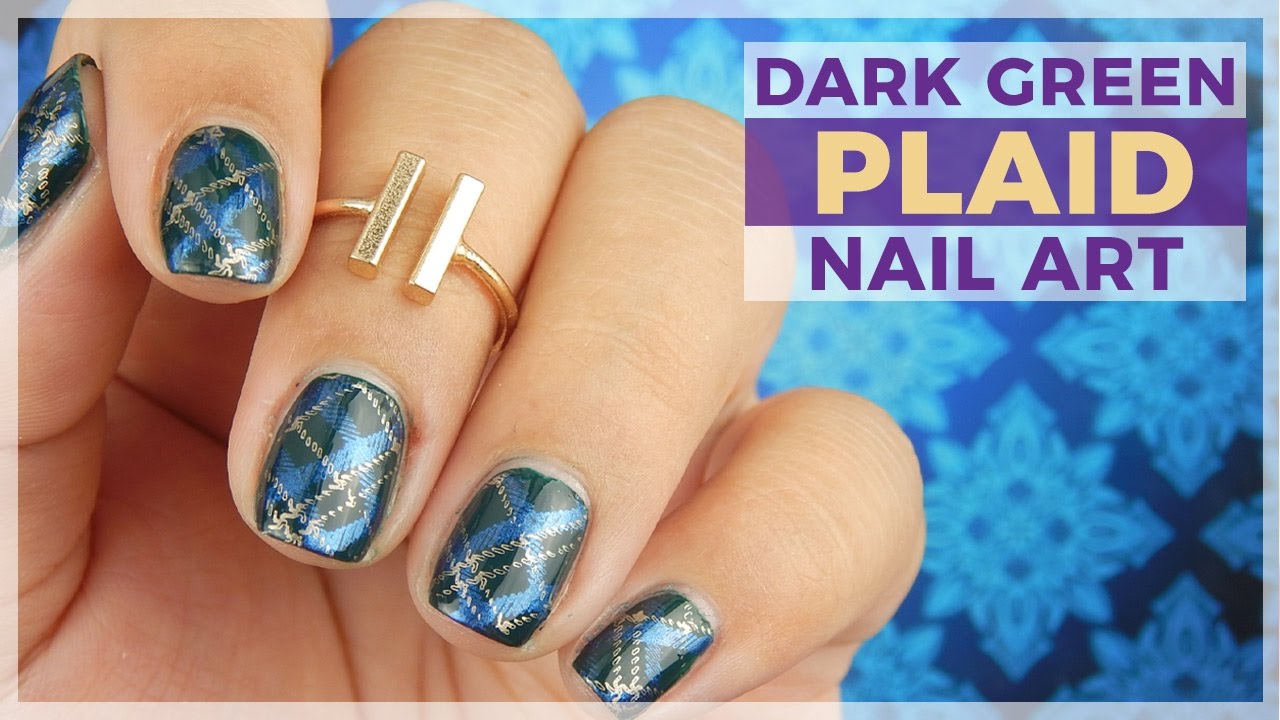
If you're a visual learner, you can also watch a plaid nail art tutorial on YouTube. This can help you follow along with the steps and get a better understanding of the process. You can also find some helpful tips and tricks from experienced nail artists. Step 4: Cut the Nail Tape Take the thin nail tape and use scissors to cut thin strips. These strips will act as the lines for your plaid design. Make sure to cut enough strips to cover all your nails. Step 5: Place the Tape Take one strip of tape and place it horizontally across your nail, leaving enough space at the top and bottom for the other lines. Repeat this step with the remaining strips, placing them vertically and diagonally to create a criss-cross pattern.Plaid Nail Art Tutorial - YouTube

Plaid Nail Art Tutorial - YouTube


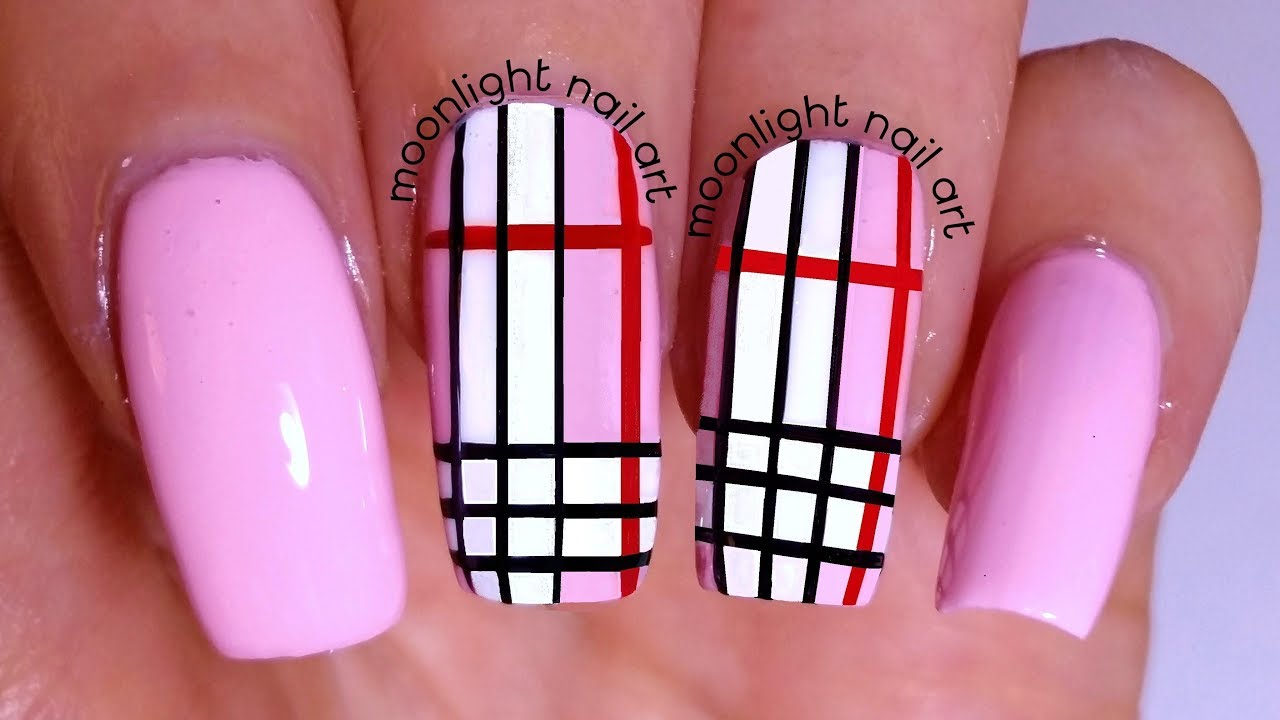
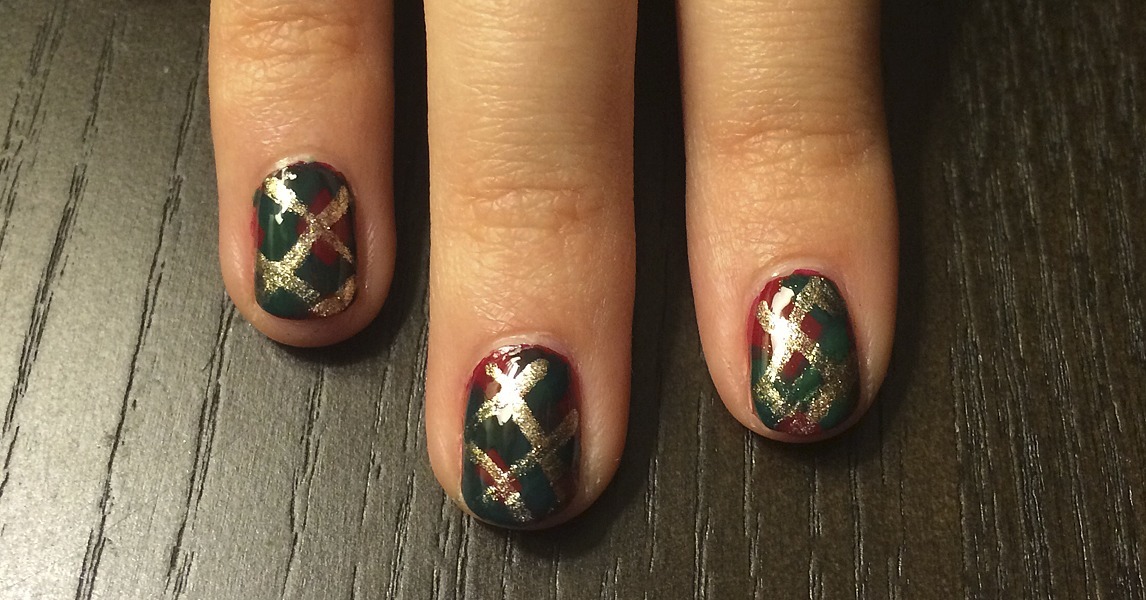
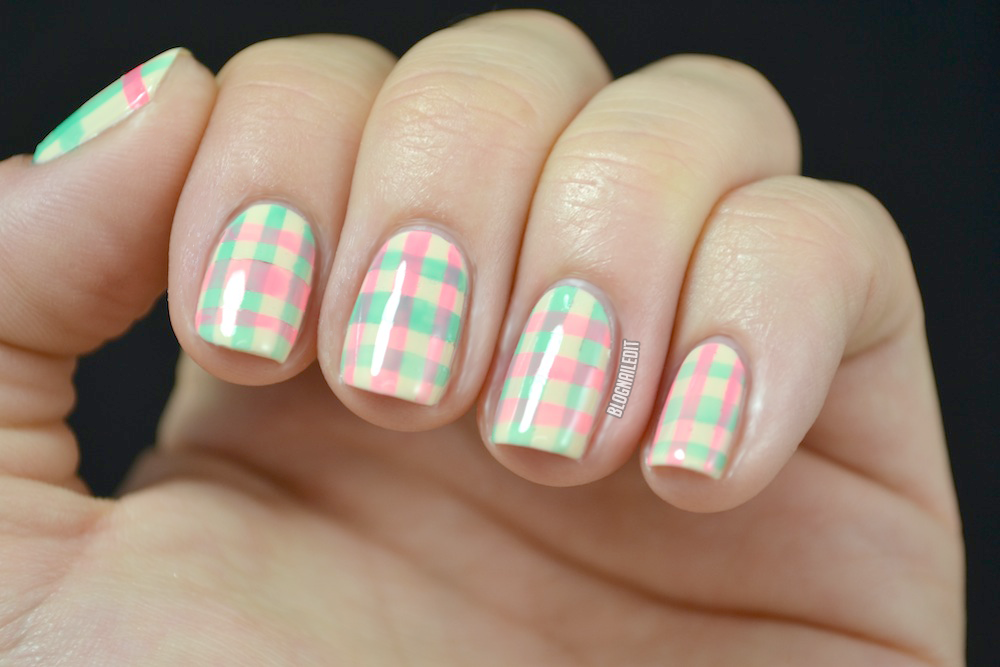
If you're in need of some inspiration for your plaid nail design, you can check out various plaid nail art designs on nail art galleries online. This can help you come up with different color combinations and patterns for your own unique design. Step 6: Apply Second Color Once the tape is in place, apply a second color of nail polish over the entire nail. This color will fill in the gaps between the tape and create the plaid pattern. Step 7: Remove the Tape After the second color has dried, carefully remove the strips of tape from your nails. This will reveal the plaid pattern underneath. If there are any mistakes or smudges, you can use a nail polish remover to clean them up.Plaid Nail Art Designs - Nail Art Gallery


Plaid Nail Art Designs - Nail Art Gallery

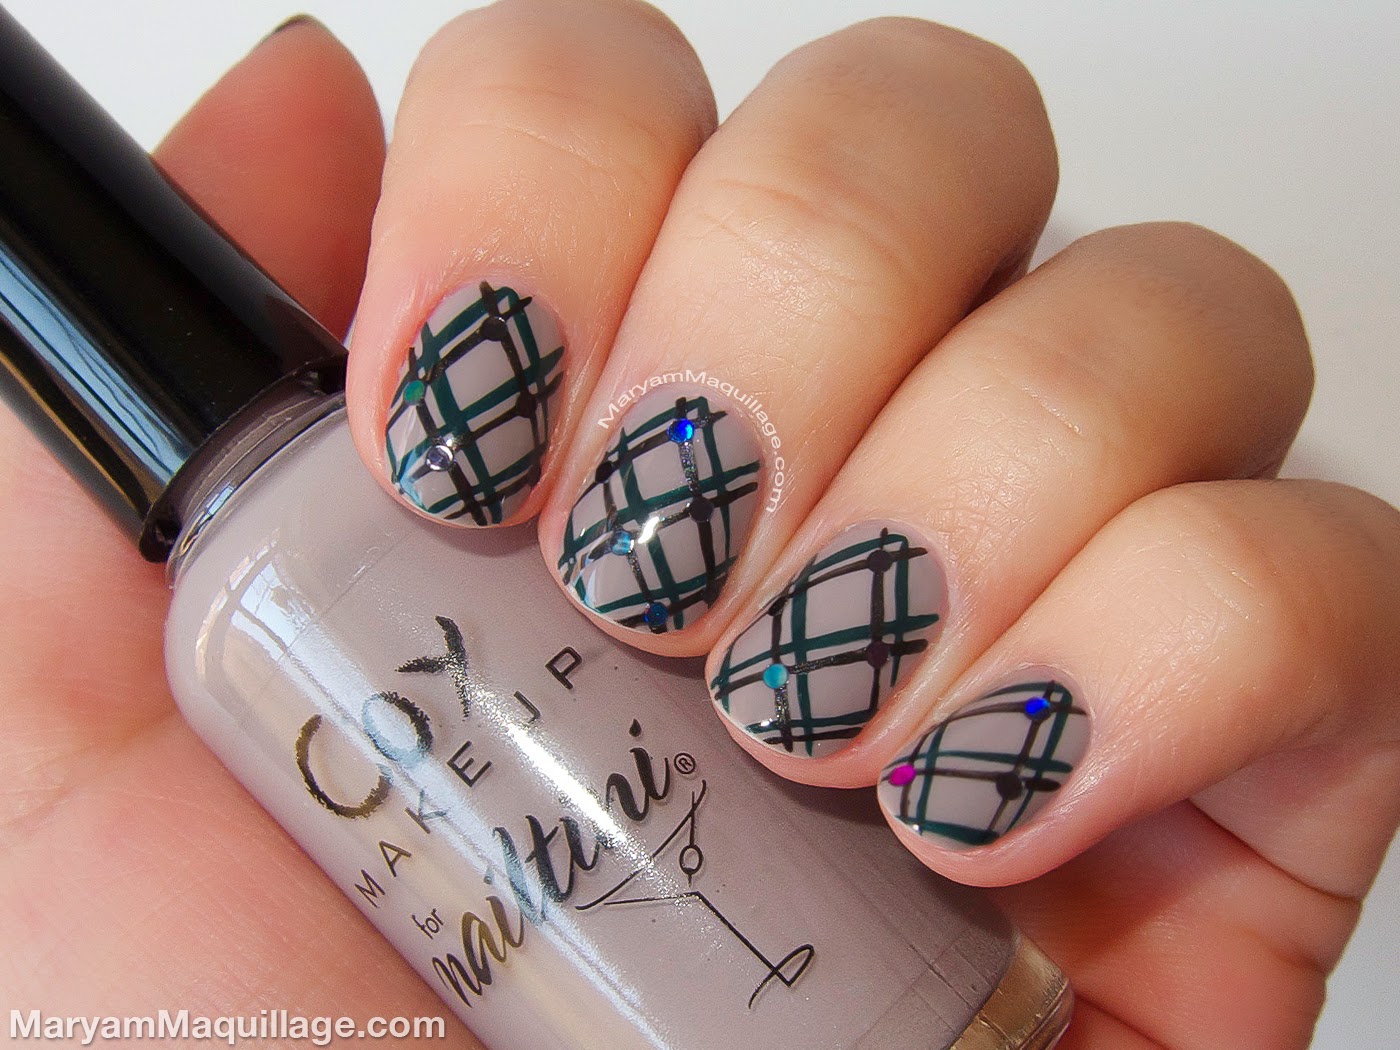


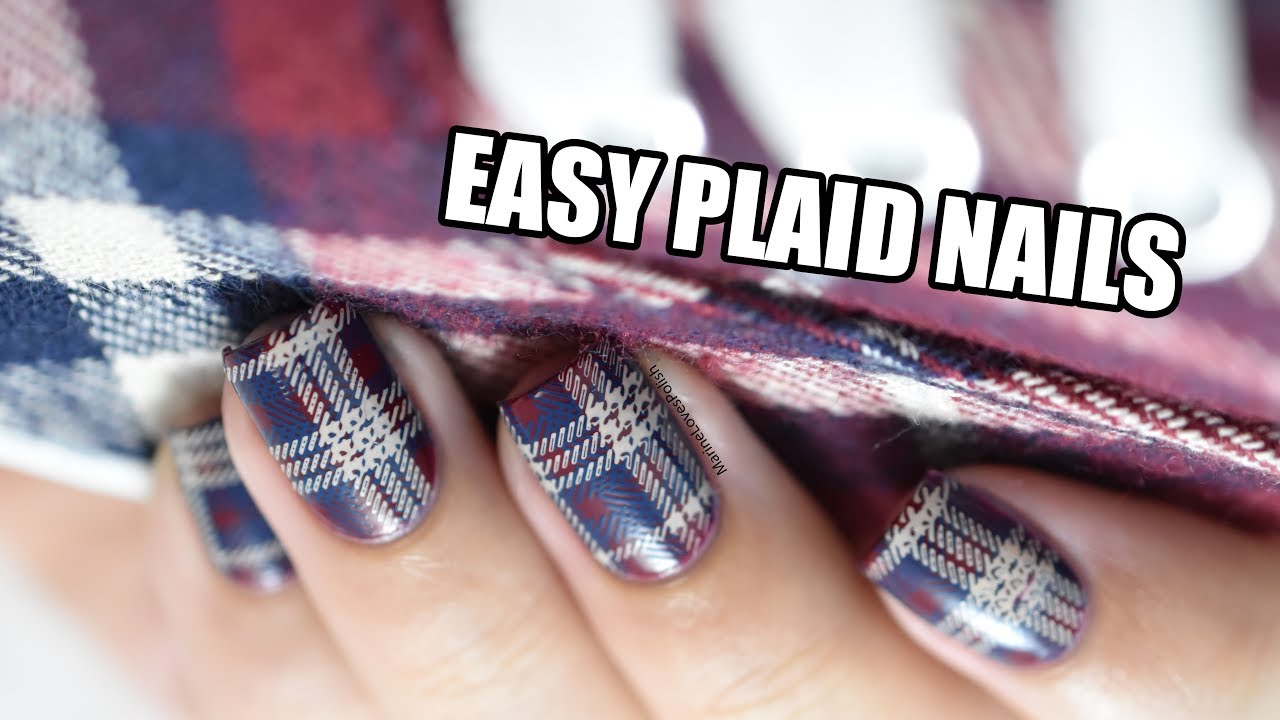
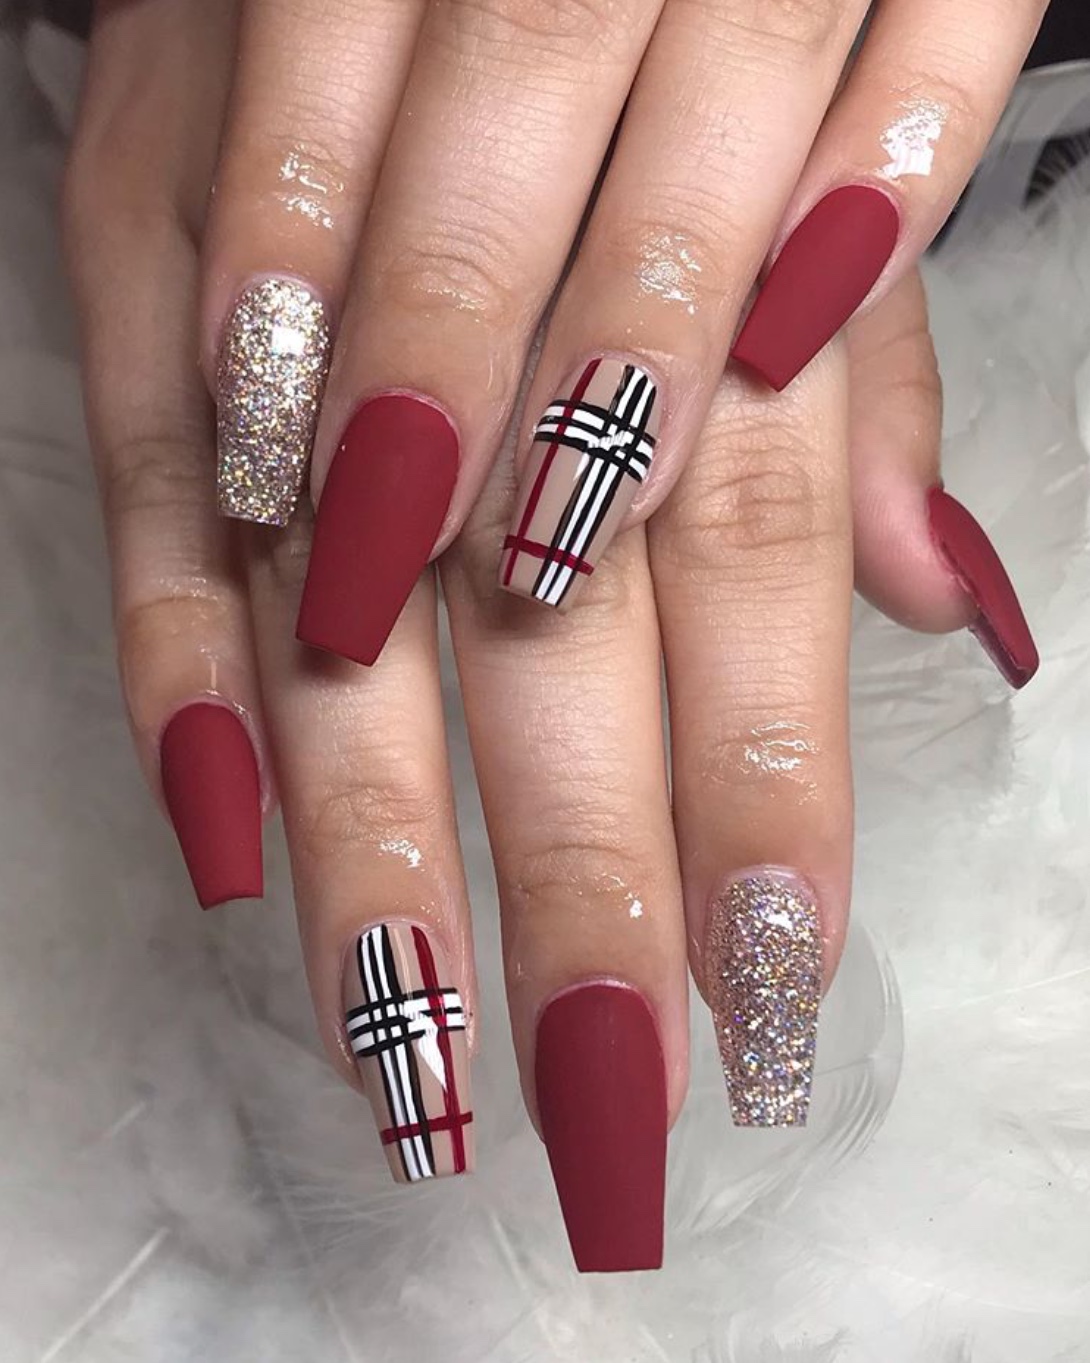
You can also find some plaid nail art designs on nail art galleries that use a variety of colors and patterns to create unique and eye-catching designs. This can give you even more inspiration and ideas for your own plaid nail design. Step 8: Add Details For a more intricate design, you can use a nail striping brush to add thin lines or dots on top of the plaid pattern. This will add depth and dimension to your nails. You can also add some glitter or rhinestones for some extra sparkle.Plaid Nail Art Designs - Nail Art Gallery
Plaid Nail Art Designs - Nail Art Gallery

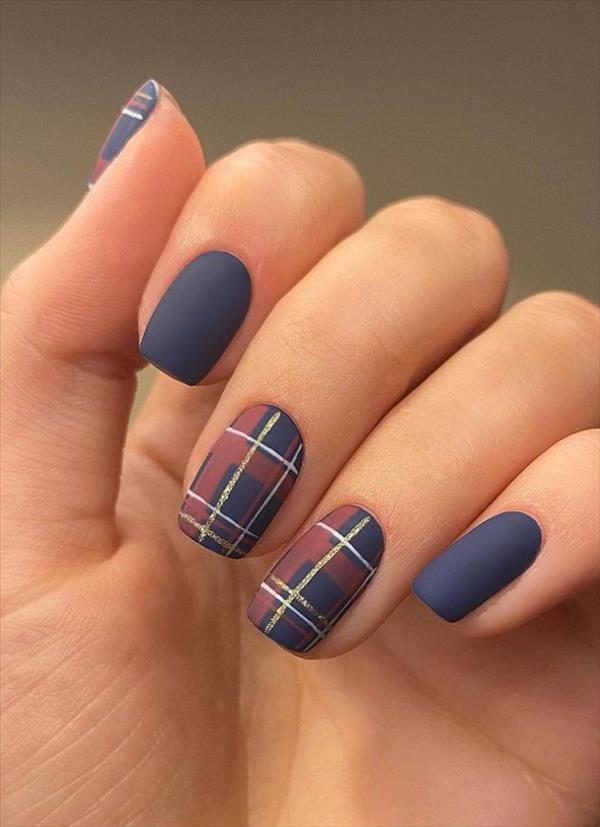
If you're feeling adventurous, you can also try out different plaid nail art designs that incorporate different patterns and colors. This can create a unique and personalized look for your nails. Step 9: Apply Top Coat Once you're satisfied with your plaid nail design, apply a top coat to seal in the design and add shine. This will also help your design last longer and prevent chipping. Step 10: Show Off Your Plaid Nails Congratulations, you now have the perfect plaid nails! Show them off to your friends and family and rock your new trendy and unique nail design. With these 10 simple steps, you can easily achieve the perfect plaid nails at home.Plaid Nail Art Designs - Nail Art Gallery
Plaid Nail Art Designs - Nail Art Gallery
How to Create a Trendy Plaid Nail Design for Your Home

Transform Your Nails into a Fashionable Design Element
 Are you looking for a unique and stylish way to add some personality to your home? Look no further than plaid nail design! This fun and creative trend has been taking the interior design world by storm and can be easily incorporated into any room in your house. Not only is it a budget-friendly option, but it also allows you to unleash your inner artist and customize your space in a way that reflects your personal style. From subtle accents to bold statement pieces, plaid nail design is a versatile and eye-catching addition to any home. Let's dive into the world of plaid nail design and learn how to incorporate it into your home decor.
Choose Your Plaid Pattern
Gather Your Materials
 To create your plaid nail design, you'll need a few essential materials. These include
nail polish
in your chosen plaid pattern,
nail art strips
or tape, and a
base and top coat
. You can also use
nail art tools
like a small brush or dotting tool for more intricate designs. Make sure to have a
nail polish remover
and
cotton swabs
handy for any mistakes.
To create your plaid nail design, you'll need a few essential materials. These include
nail polish
in your chosen plaid pattern,
nail art strips
or tape, and a
base and top coat
. You can also use
nail art tools
like a small brush or dotting tool for more intricate designs. Make sure to have a
nail polish remover
and
cotton swabs
handy for any mistakes.
Prep Your Nails
 Start by preparing your nails for the design. This includes trimming, filing, and shaping them to your desired length and shape. Apply a base coat to protect your nails and allow it to dry completely before moving on to the next step.
Create Your Plaid Design
 Using the nail art strips or tape, create a grid-like pattern on your nails. This will serve as a guide for your plaid design. Then, using the chosen nail polish, paint alternating squares in your desired plaid pattern. You can also mix and match different plaid patterns on each nail for a more eclectic look. Allow the polish to dry before carefully removing the nail art strips or tape.
Seal the Design
 Once your plaid design is complete, seal it with a top coat. This will not only protect your design but also give your nails a shiny and professional finish. Allow the top coat to dry completely before touching or using your hands.
With these simple steps, you can easily create a trendy and unique plaid nail design for your home. Play around with different colors and patterns to find the perfect look for your space. Don't be afraid to get creative and have fun with it! Your nails will now serve as a stylish element in your home decor.
Once your plaid design is complete, seal it with a top coat. This will not only protect your design but also give your nails a shiny and professional finish. Allow the top coat to dry completely before touching or using your hands.
With these simple steps, you can easily create a trendy and unique plaid nail design for your home. Play around with different colors and patterns to find the perfect look for your space. Don't be afraid to get creative and have fun with it! Your nails will now serve as a stylish element in your home decor.


