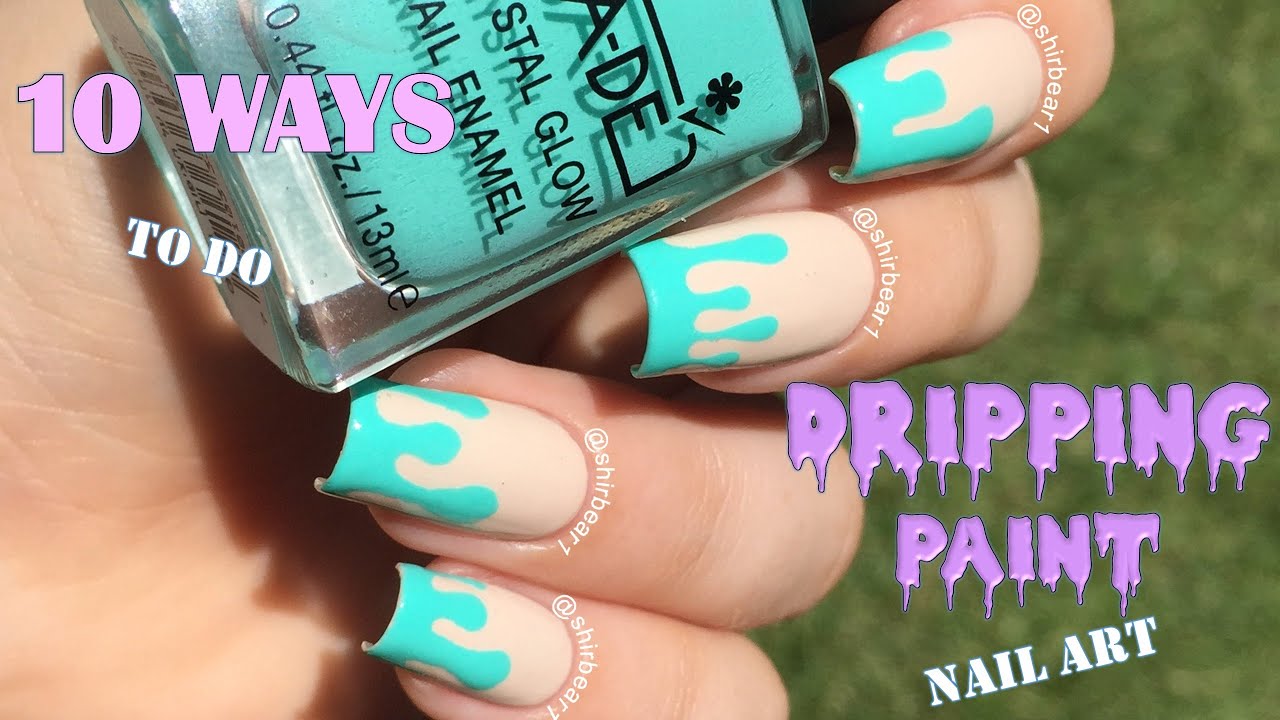
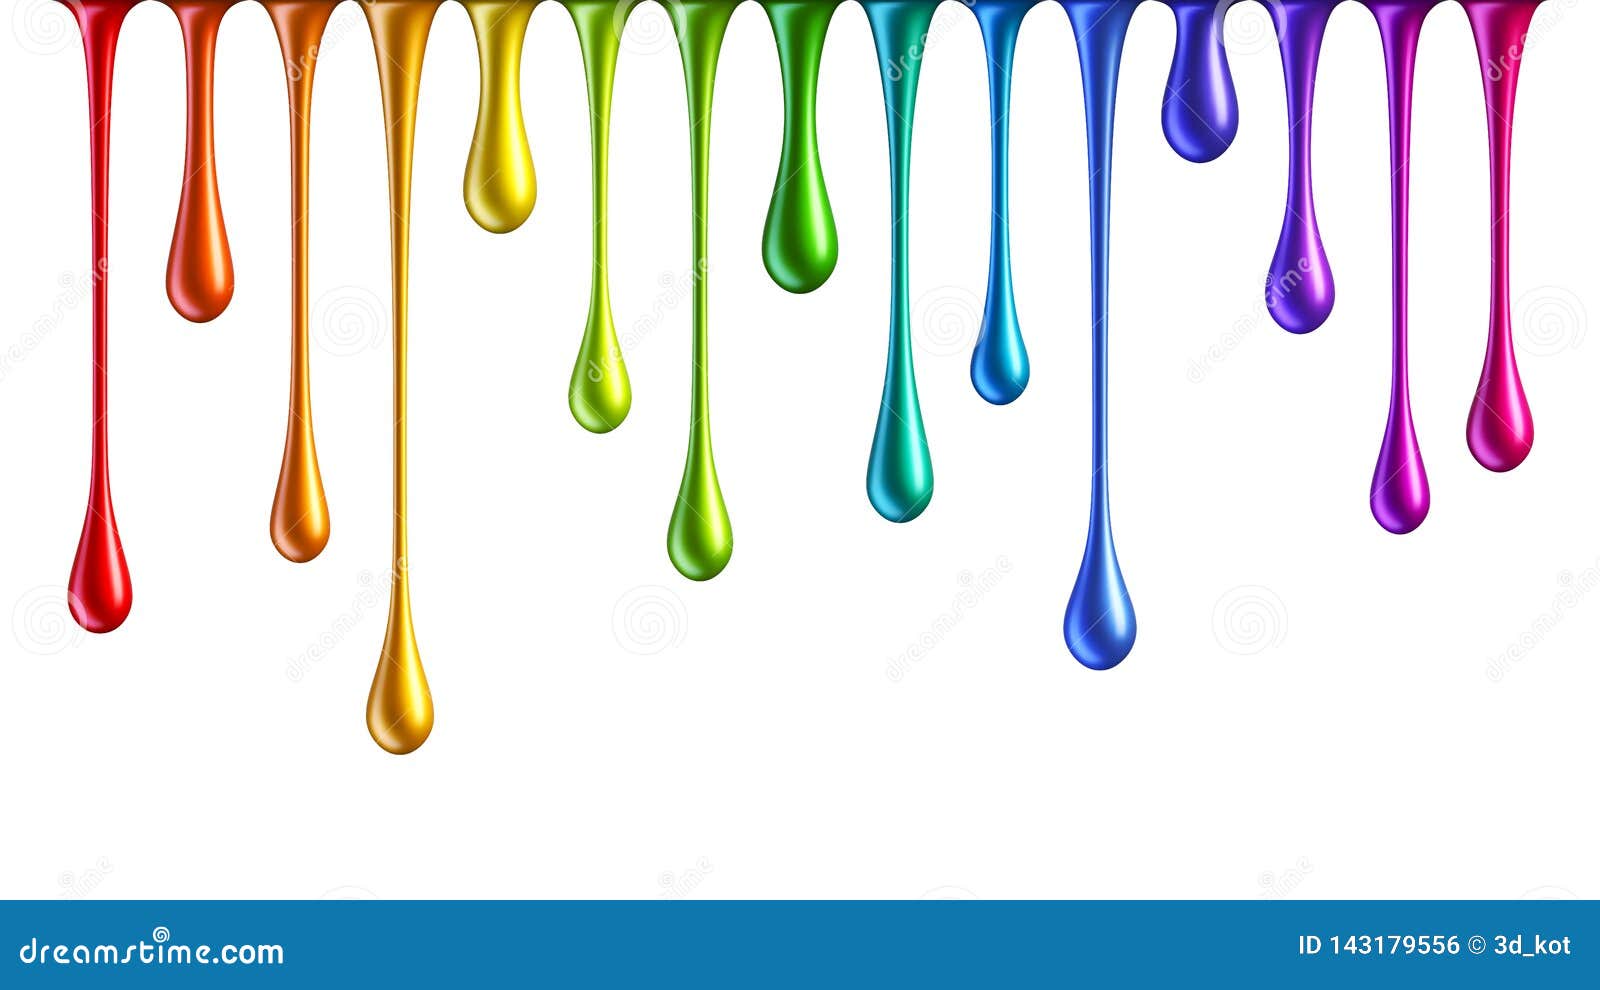
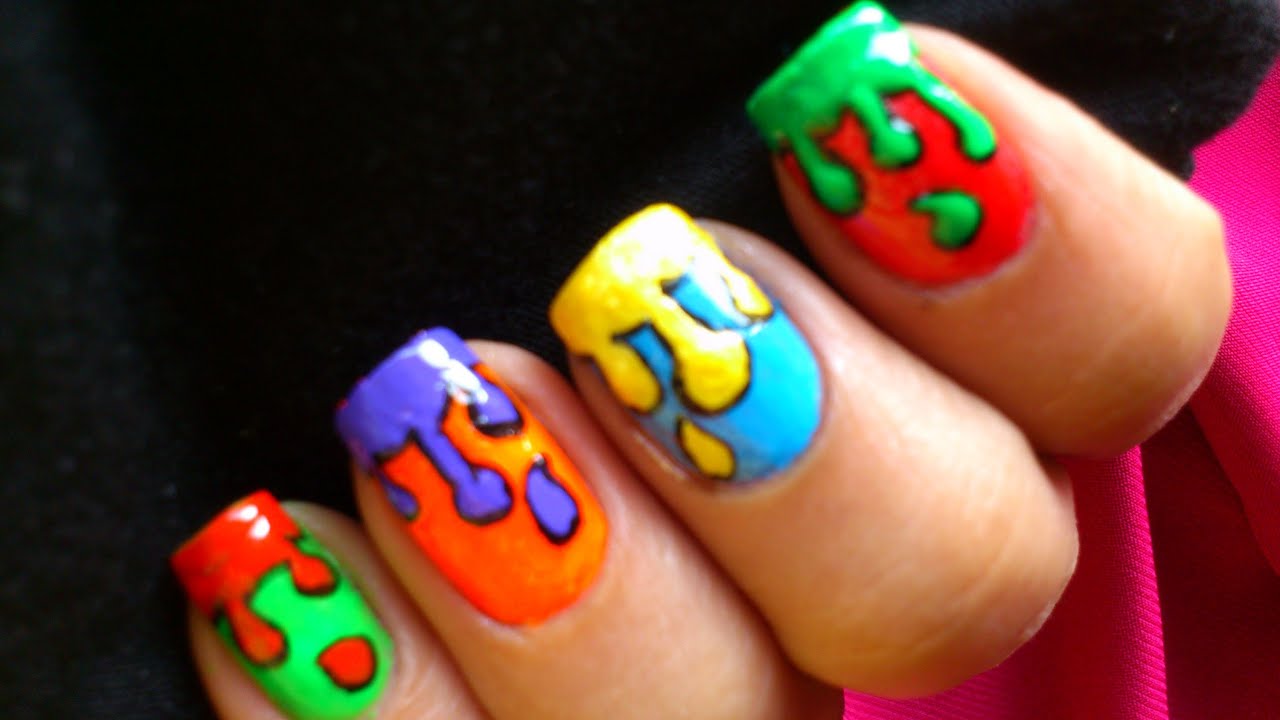
One of the best things about the dripping nail polish design is its versatility. There are endless design possibilities, making it perfect for any occasion. You can opt for a bold and colorful design or keep it simple and elegant with a monochromatic look. The choice is yours!1. Dripping Nail Polish Design Ideas


1. Dripping Nail Polish Design Ideas


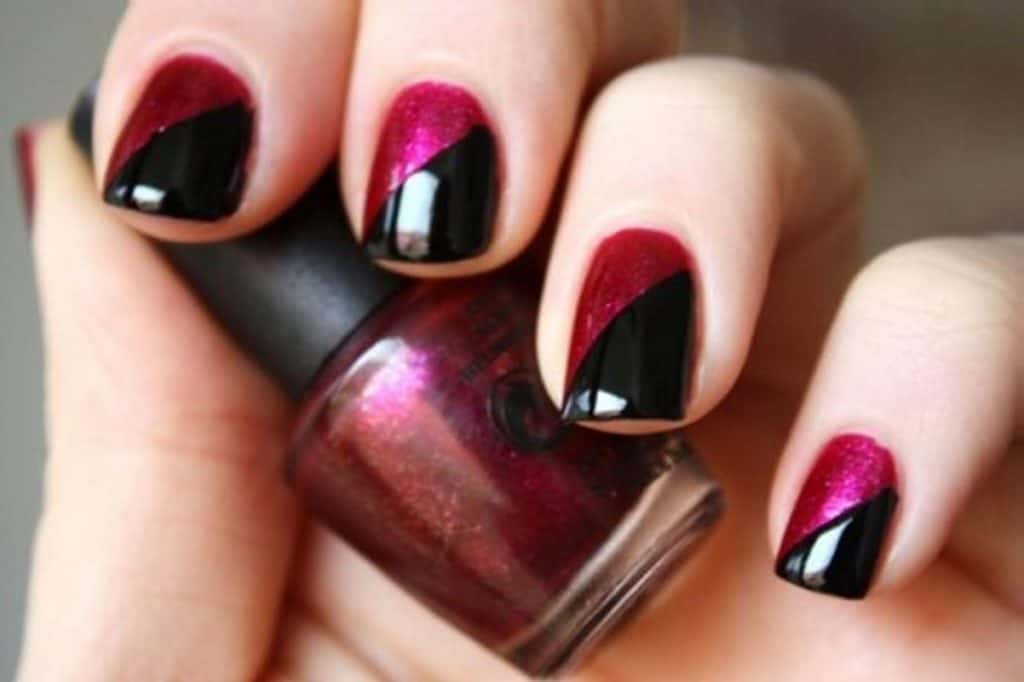


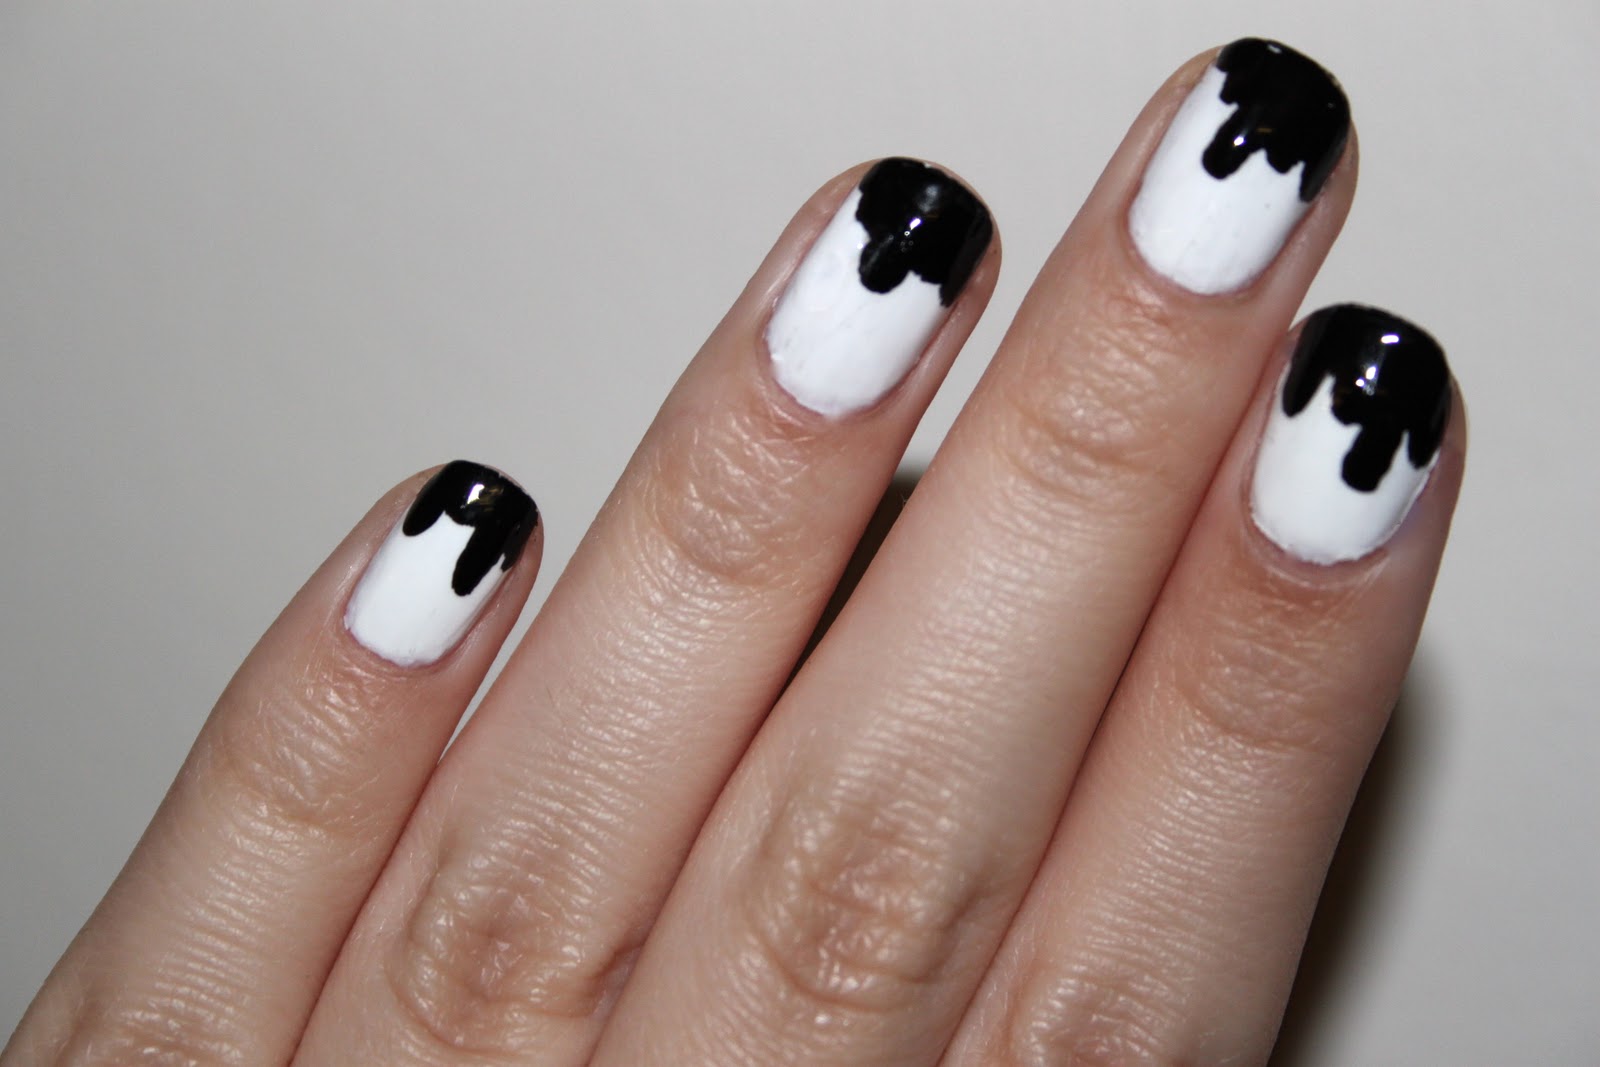
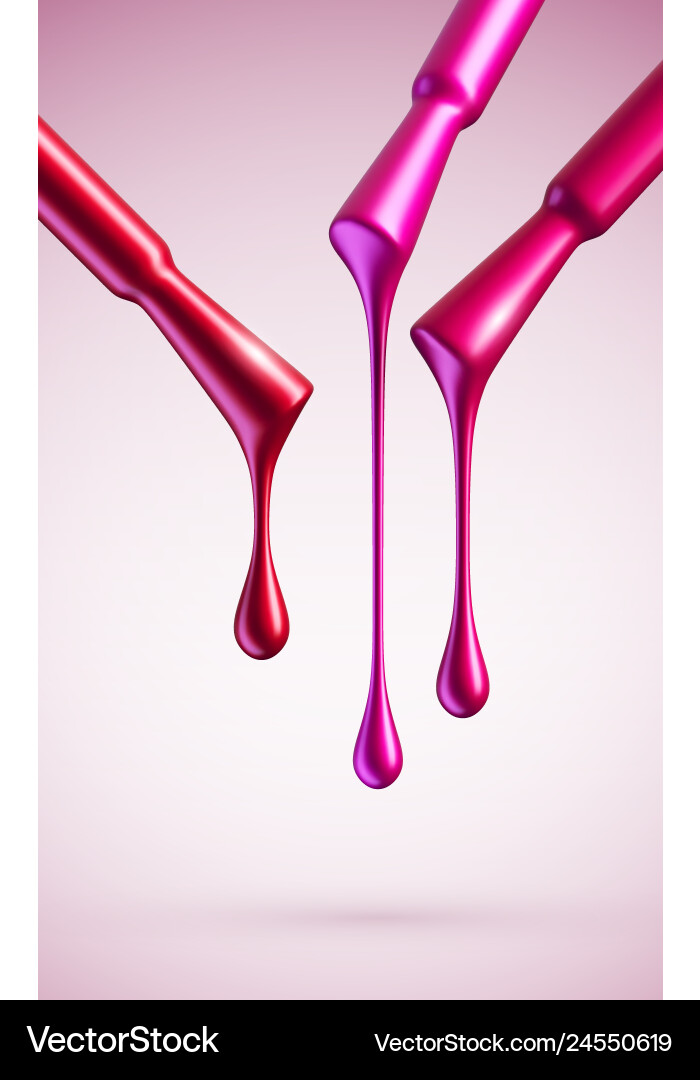
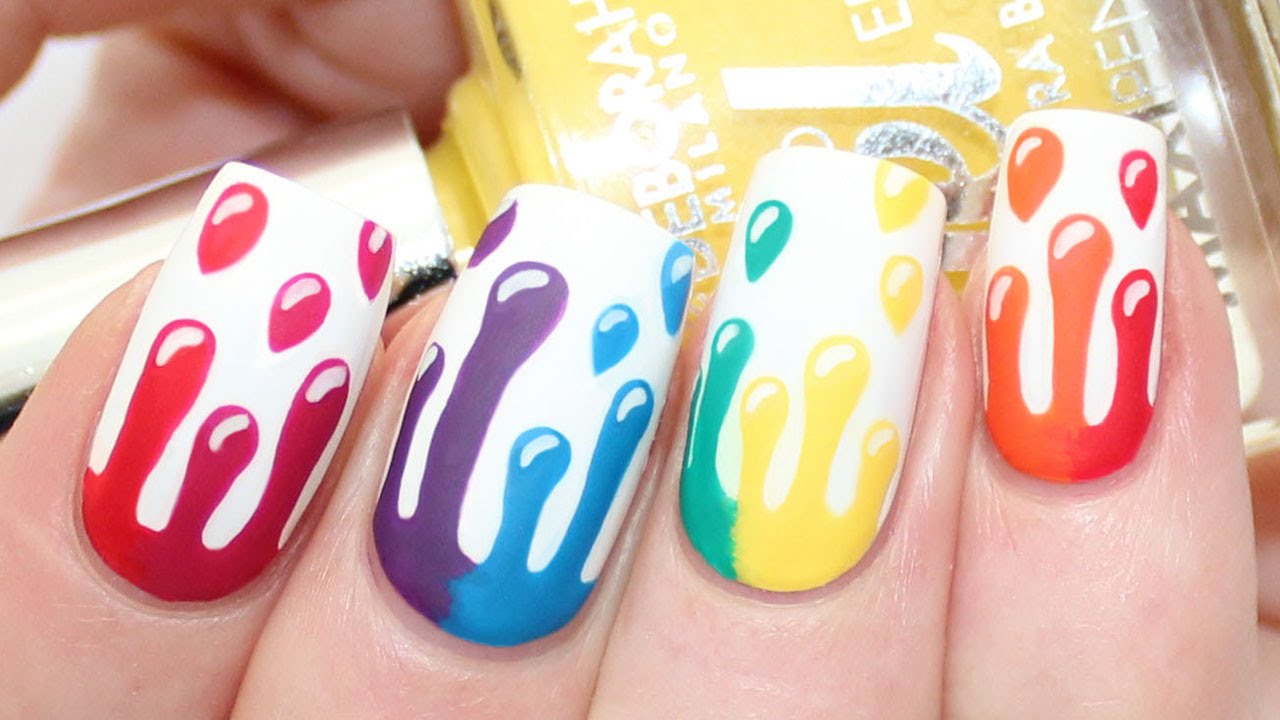
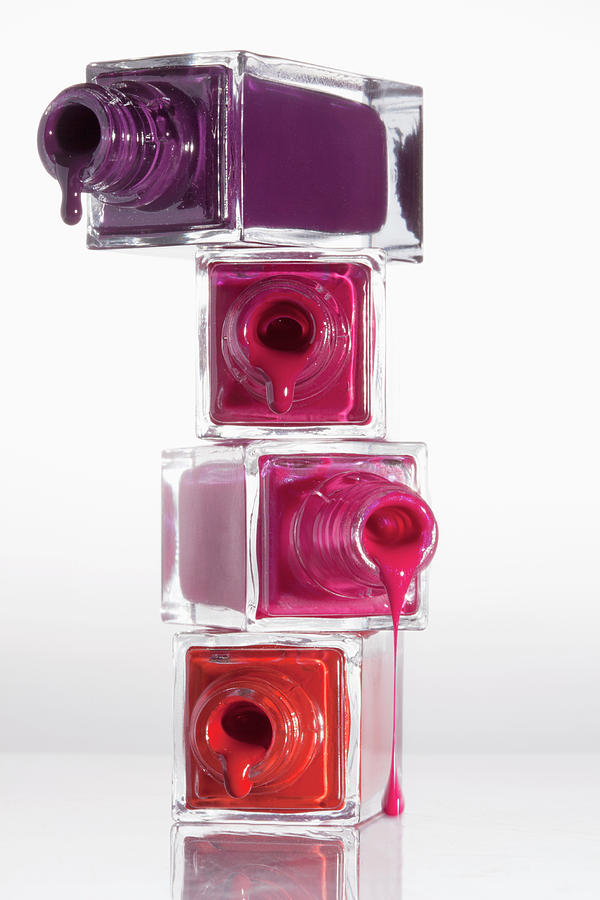
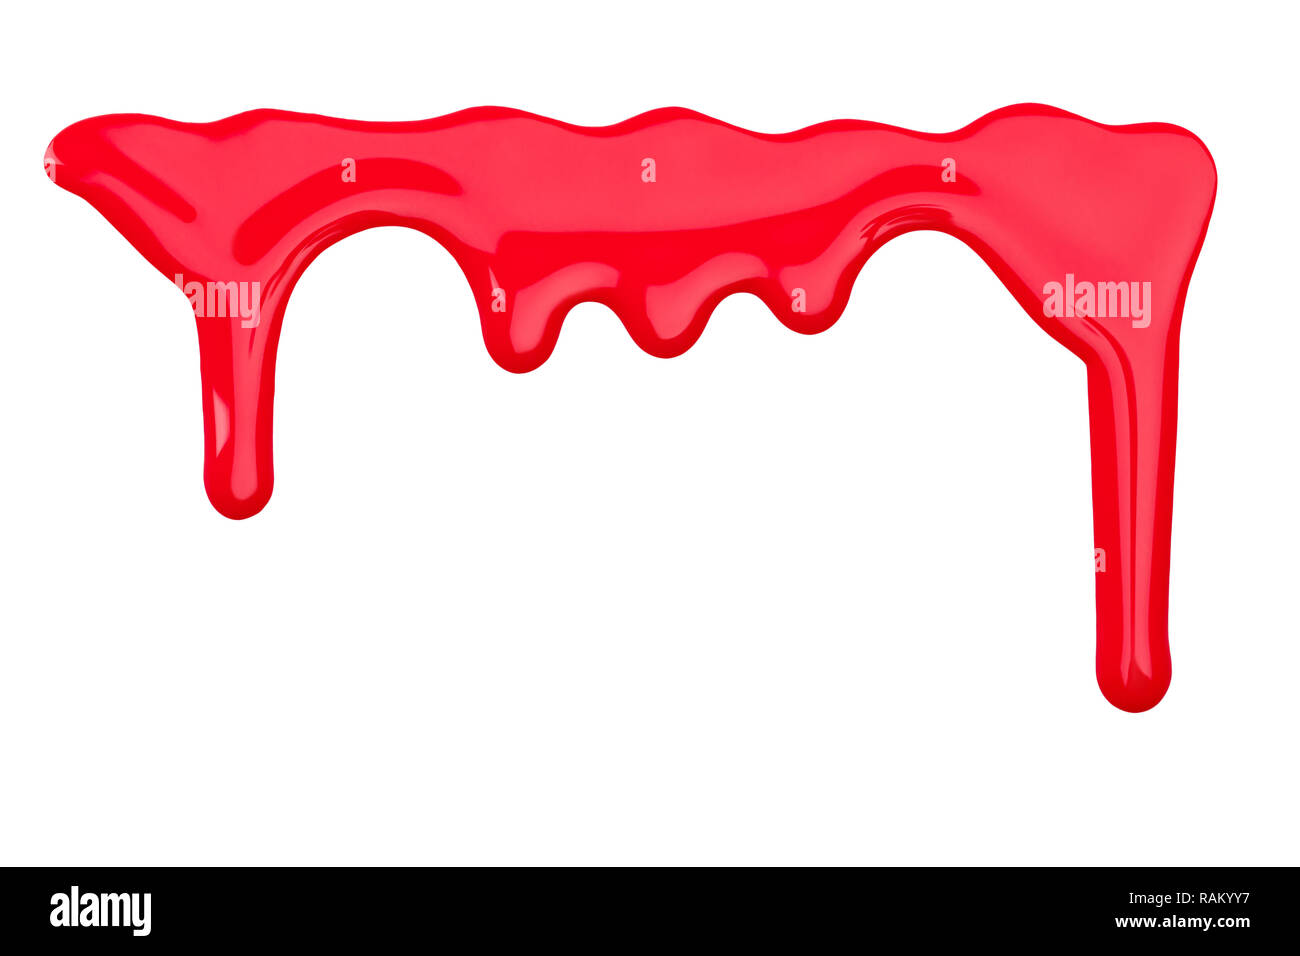
Creating a dripping nail polish design may seem daunting, but it's actually quite simple. All you need is your desired nail polish colors, a base coat, and a top coat. Start by applying your base coat and letting it dry completely. Then, using a small brush or a toothpick, drip your chosen polish colors from the top of your nail down towards the tip. You can create different dripping patterns and designs by varying the amount of polish and the direction of your brush strokes.2. How to Create a Dripping Nail Polish Design


2. How to Create a Dripping Nail Polish Design


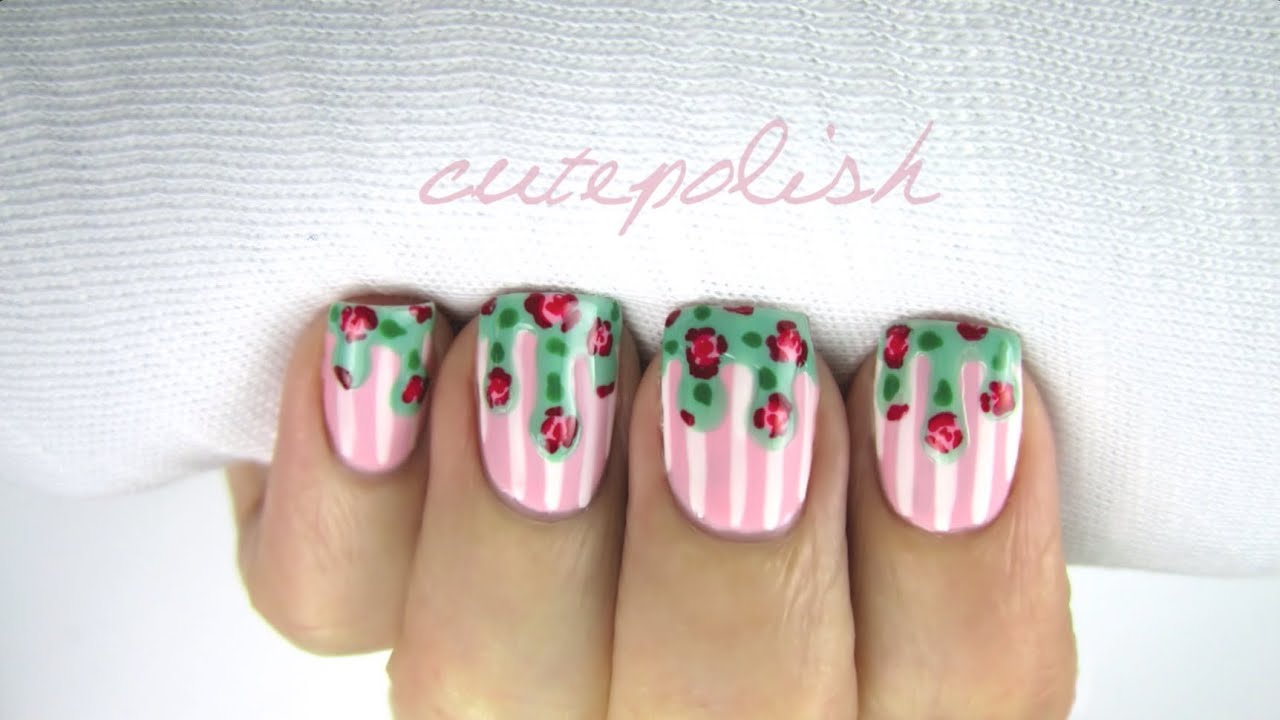
If you're a visual learner, there are plenty of tutorials available online that will guide you through the process of creating a dripping nail polish design. You can find step-by-step videos on YouTube or detailed blog posts with pictures on beauty websites. Follow along and have fun experimenting with different color combinations and designs.3. Dripping Nail Polish Design Tutorial

3. Dripping Nail Polish Design Tutorial
Short nails don't have to be limiting when it comes to nail art. In fact, the dripping nail polish design looks just as stunning on shorter nails as it does on longer ones. For those with shorter nails, try creating smaller drips to avoid overwhelming your nail bed. You can also opt for a simpler design with only a few drips on each nail.4. Dripping Nail Polish Design for Short Nails
4. Dripping Nail Polish Design for Short Nails
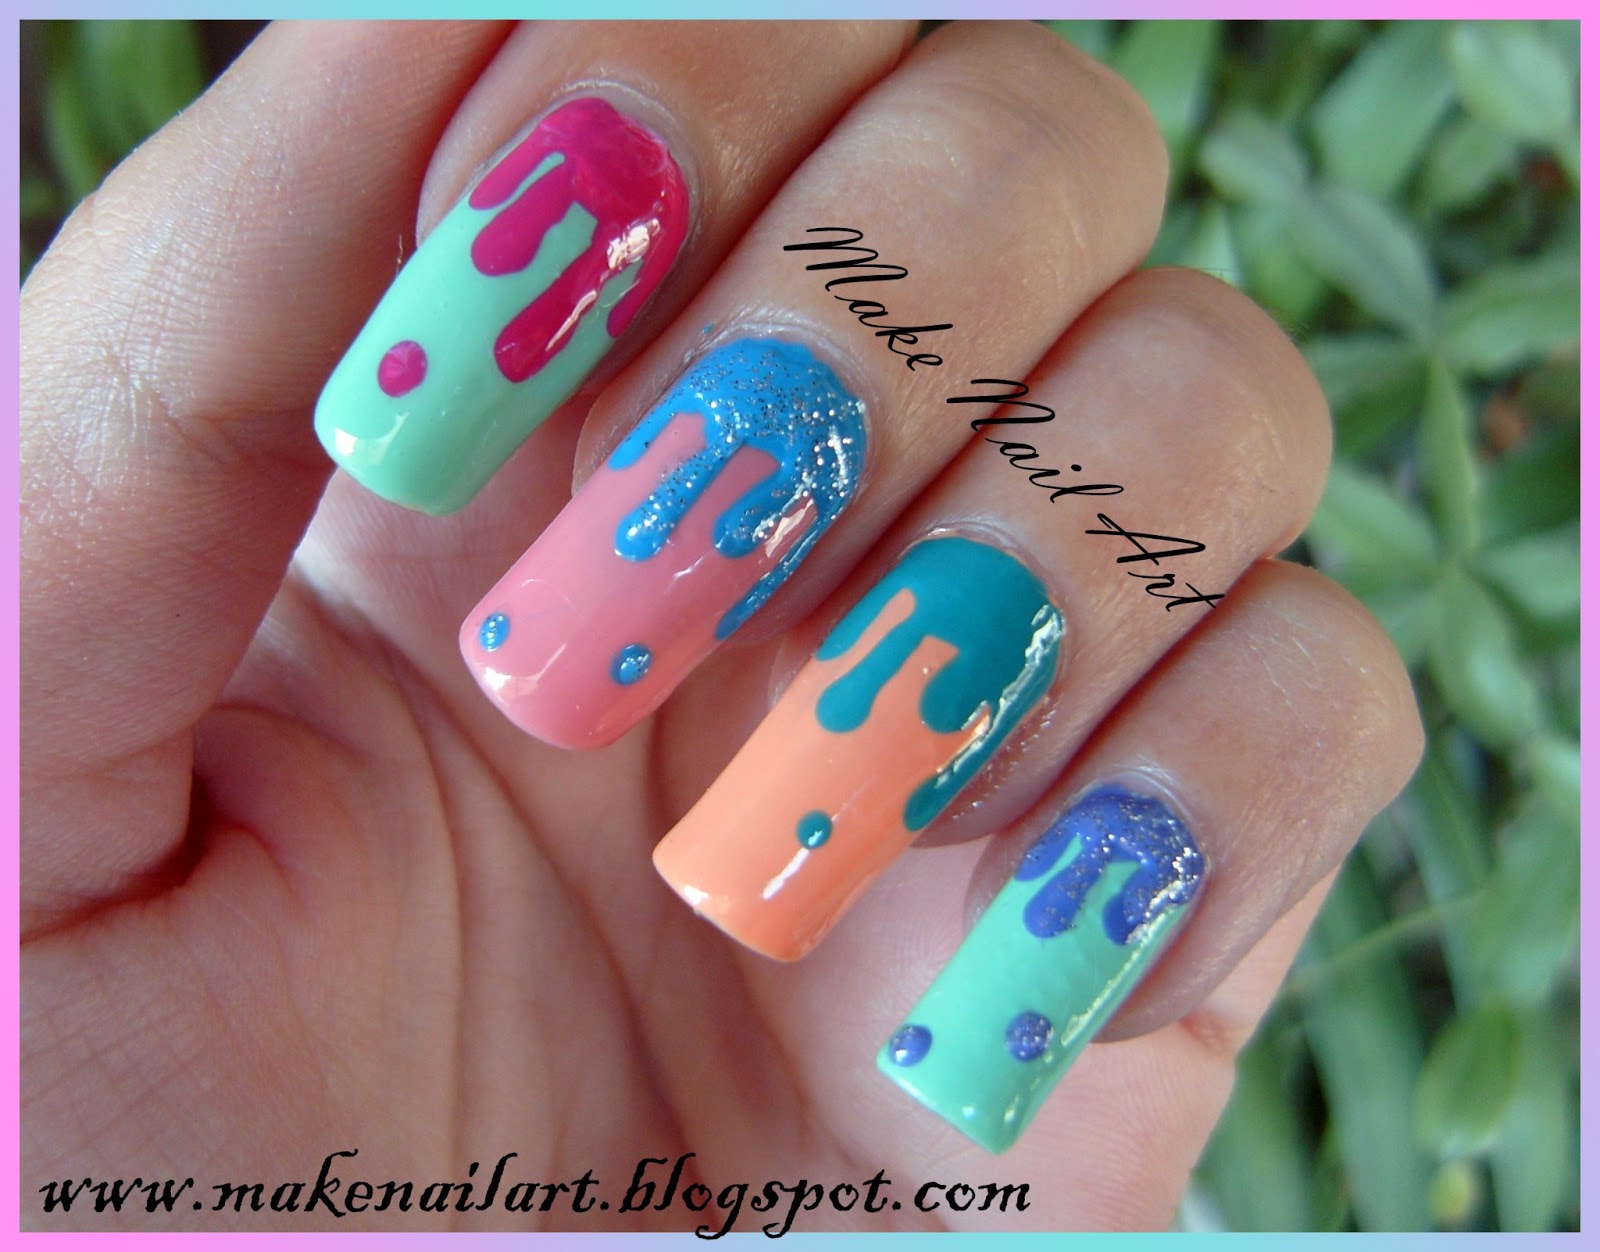

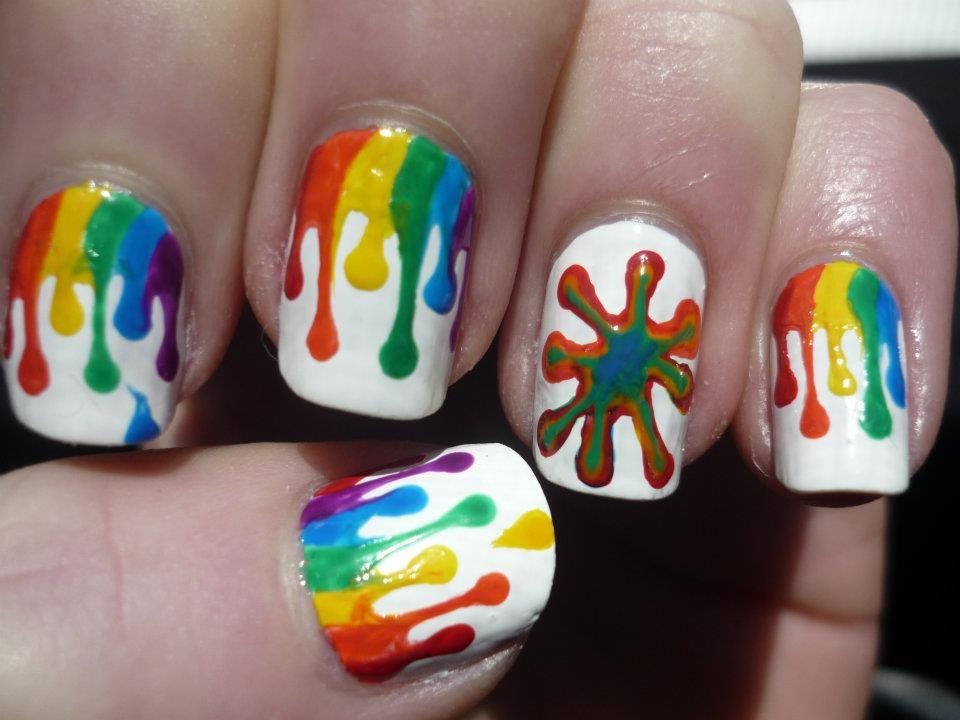

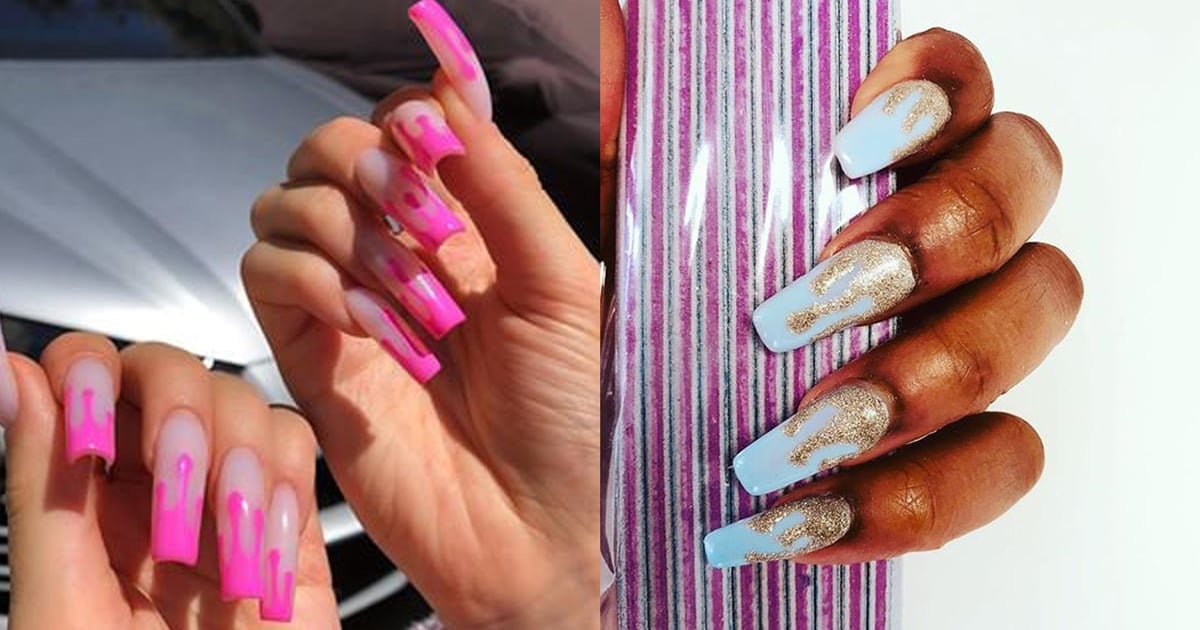
On the other hand, if you have long nails, you can have some fun with your dripping nail polish design and experiment with different drips sizes and patterns. You can also try incorporating different colors for a bolder and more dynamic look.5. Dripping Nail Polish Design for Long Nails

5. Dripping Nail Polish Design for Long Nails


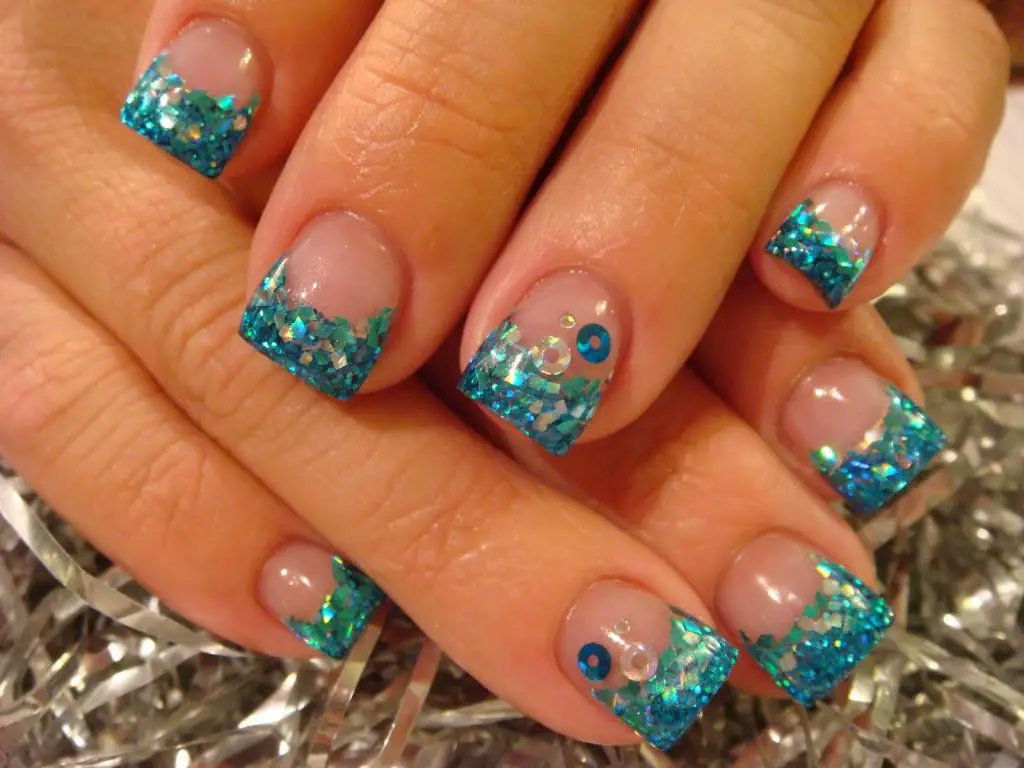
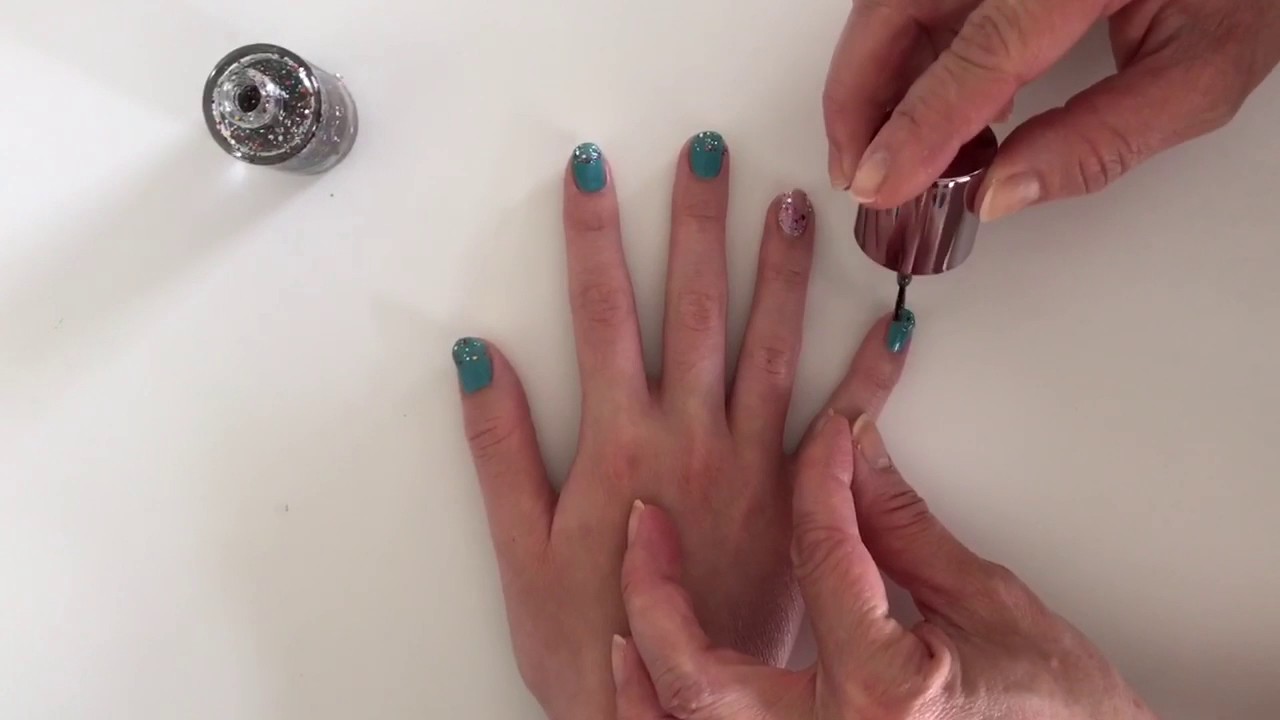
Take your dripping nail polish design to the next level by adding some glitter! After creating your drips, sprinkle some glitter onto your wet nails and gently press it down. Once your nails are dry, apply a top coat to seal in the glitter and give your nails a glossy finish.6. Dripping Nail Polish Design with Glitter


6. Dripping Nail Polish Design with Glitter
If you want to add some bling to your nails, why not incorporate rhinestones into your dripping nail polish design? After creating your base design, use a nail glue or top coat to carefully place rhinestones on your nails. This will give your nails a glamorous and sophisticated look.7. Dripping Nail Polish Design with Rhinestones


7. Dripping Nail Polish Design with Rhinestones
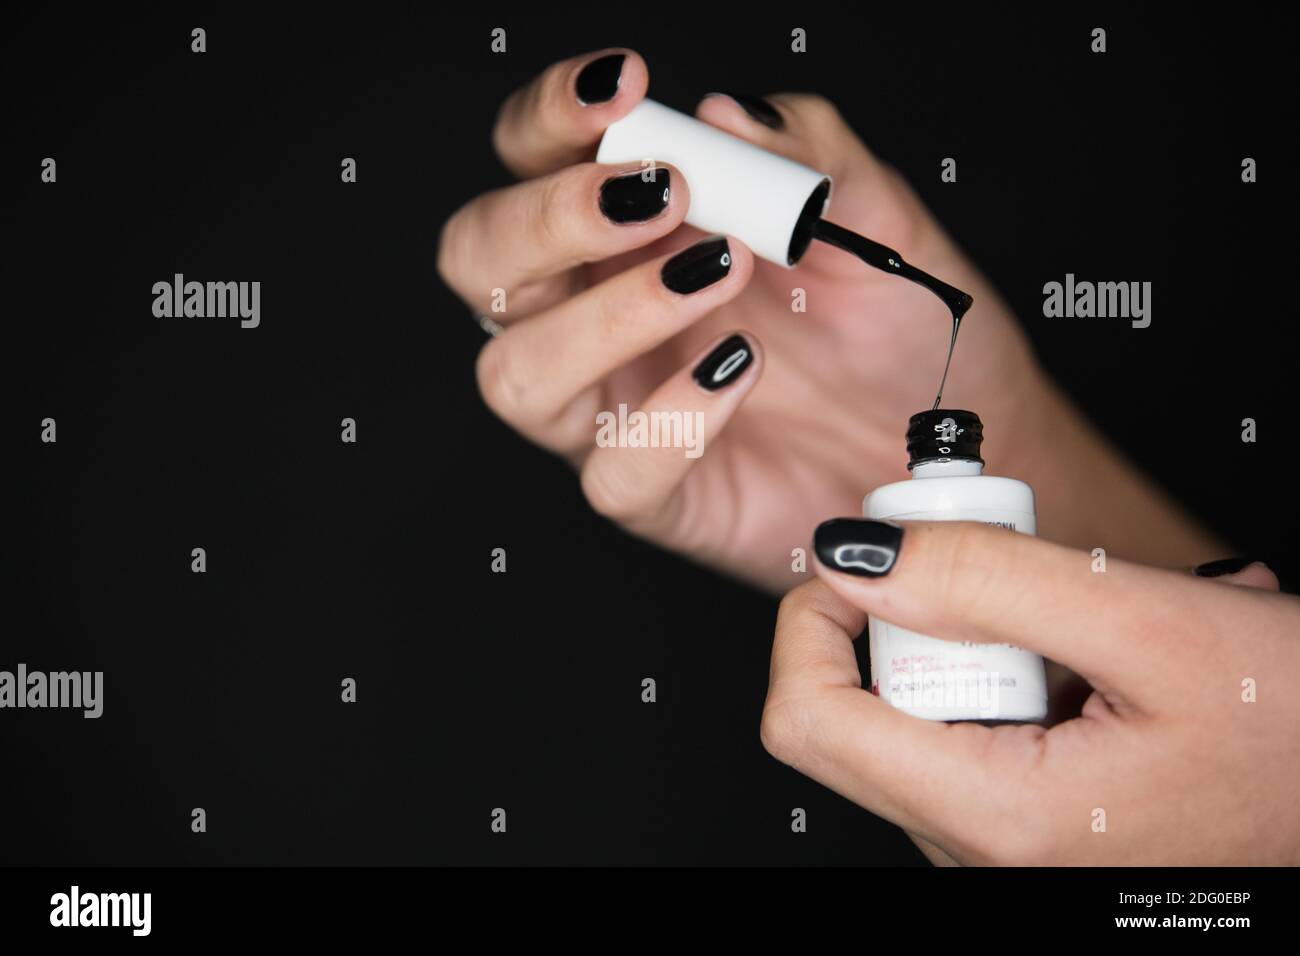
If you're new to nail art, don't worry! The dripping nail polish design is perfect for beginners as it doesn't require any special tools or skills. Just have fun experimenting with different colors and drips until you find a design that you love.8. Dripping Nail Polish Design for Beginners

8. Dripping Nail Polish Design for Beginners
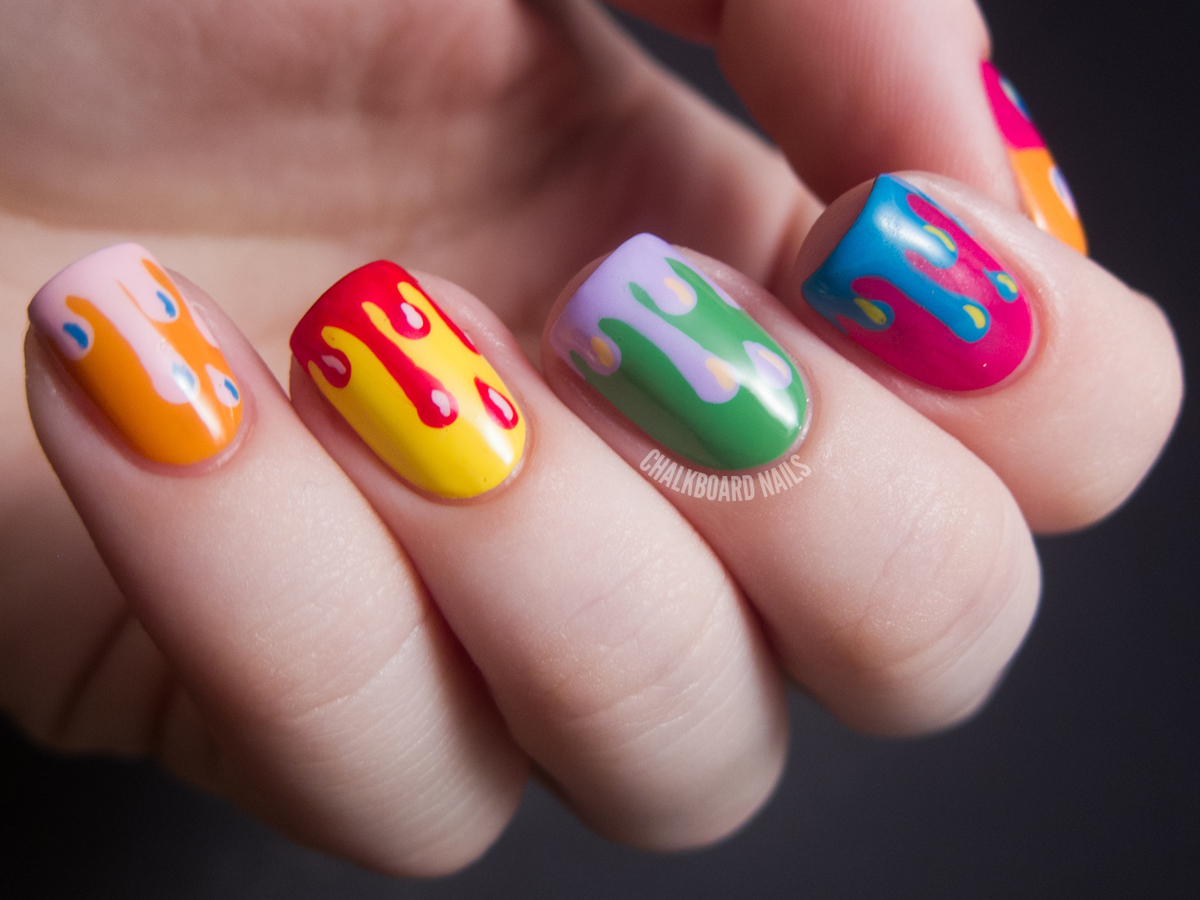
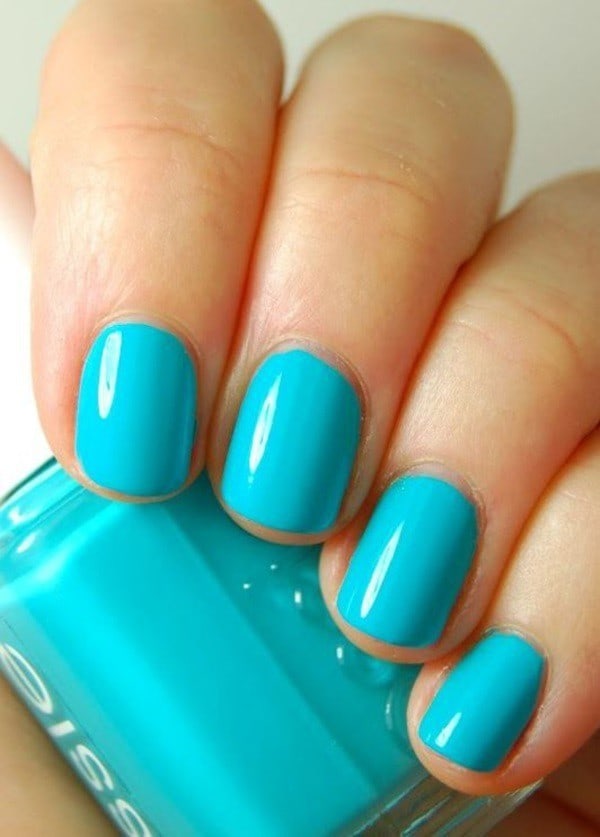
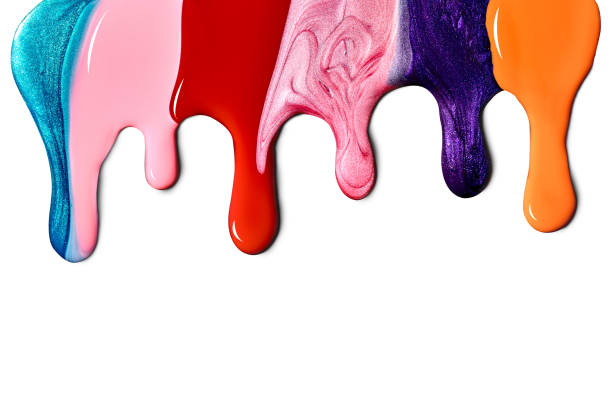
Summer is the perfect time to rock a dripping nail polish design. Opt for bright and vibrant colors like coral, turquoise, and yellow for a fun and playful look. You can also add some tropical vibes by incorporating palm tree or flamingo drips into your design.9. Dripping Nail Polish Design for Summer


9. Dripping Nail Polish Design for Summer


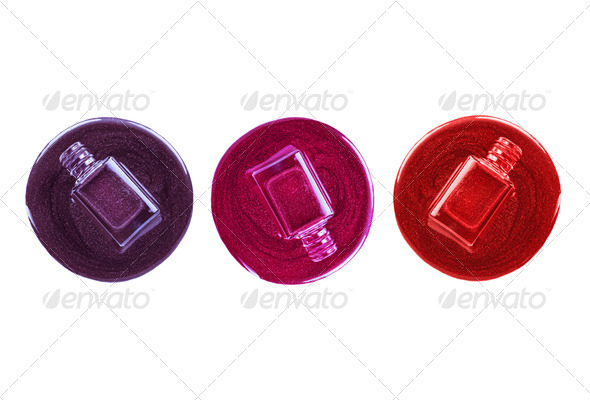
In the fall, you can switch up your color palette and opt for deeper and richer hues like burgundy, navy, and forest green. You can also add some seasonal elements like leaves or pumpkins into your design for a festive touch. In conclusion, the dripping nail polish design is a fun and versatile way to add some creativity and personality to your nails. With these top 10 ideas, you'll be sure to turn heads and have the most stylish nails in the room. So go ahead and give this trendy design a try, and don't forget to have fun with it!10. Dripping Nail Polish Design for Fall
10. Dripping Nail Polish Design for Fall

The Art of Dripping Nail Polish Design: Adding a Unique Touch to Your Home

What is Dripping Nail Polish Design?
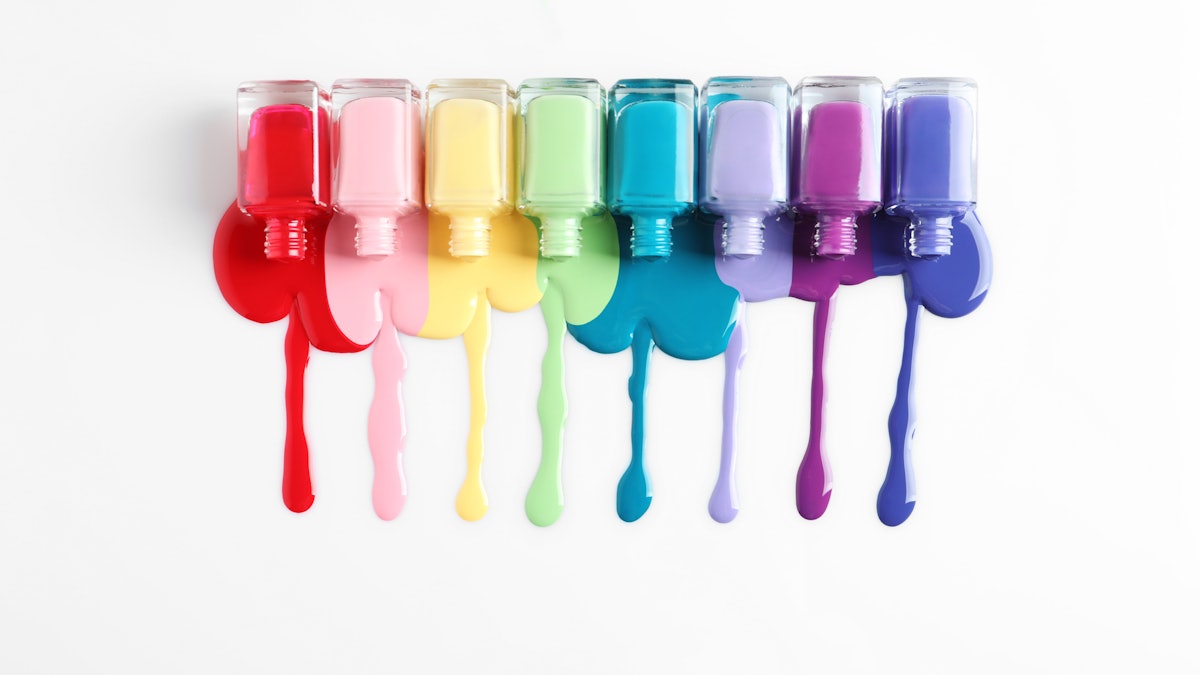
 Dripping nail polish design is a relatively new trend in the world of interior design. This technique involves using nail polish to create unique and eye-catching patterns on various surfaces in your home. From walls to furniture, dripping nail polish design adds a touch of creativity and personality to any space.
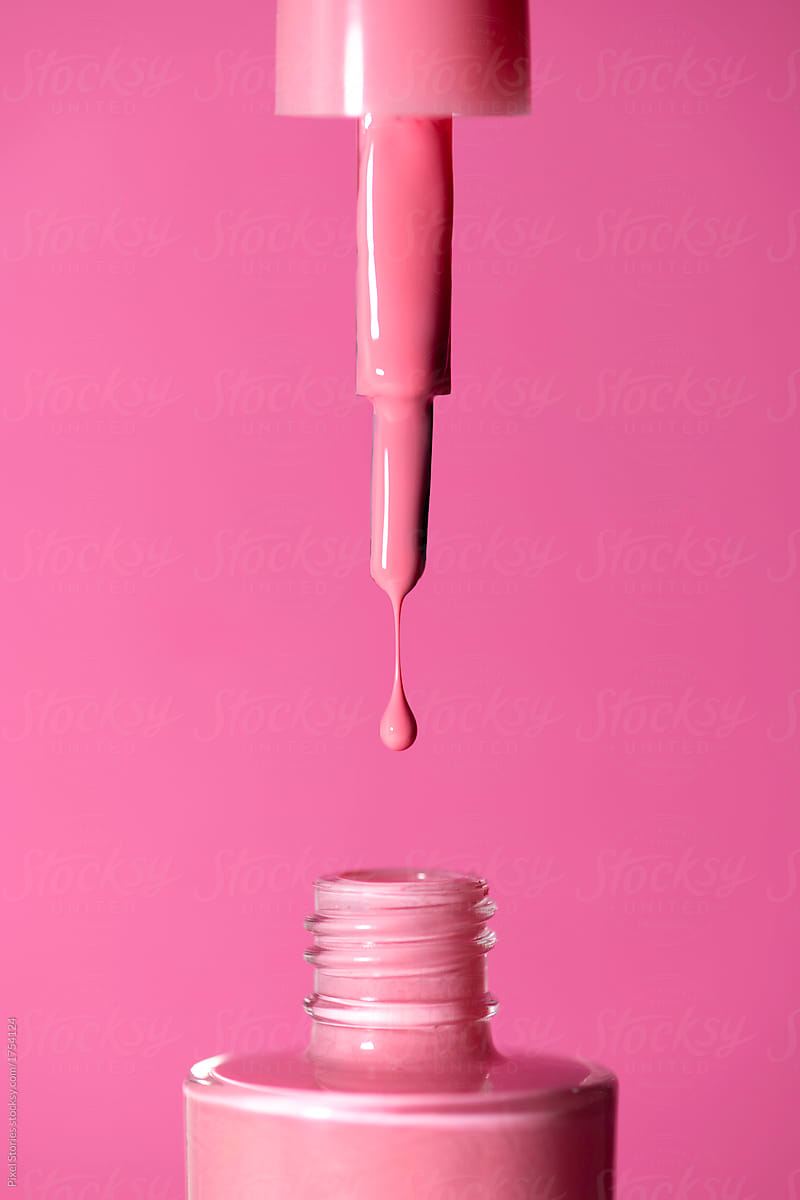
How to Incorporate Dripping Nail Polish Design in Your Home
 If you're looking to add a unique touch to your home, dripping nail polish design is the perfect option. First, gather all the necessary materials such as nail polish, a small brush, and a plastic drop cloth. Then, choose the surface you want to decorate. This could be a plain wall, a piece of furniture, or even a plain vase. Once you have your materials and surface ready, it's time to unleash your creativity. Use the nail polish to create drips, swirls, or any other patterns that you desire. The possibilities are endless with this technique, so have fun and experiment until you achieve the desired look.
The Benefits of Dripping Nail Polish Design
 Aside from adding a unique and creative touch to your home, there are many benefits to using dripping nail polish design. Firstly, it is a budget-friendly option compared to other forms of home decor. You can use inexpensive nail polish and transform a plain surface into a work of art. Additionally, dripping nail polish design allows you to customize your home decor and make it truly one-of-a-kind. You can choose colors and patterns that reflect your personality and style. Another benefit is that it is easy to do and does not require any special skills or tools. Anyone can try their hand at dripping nail polish design and achieve stunning results.
Dripping nail polish design
is a unique and creative way to add a personal touch to your home. Not only is it budget-friendly and easy to do, but it also allows you to showcase your creativity and personality. So why settle for plain and ordinary home decor when you can have a one-of-a-kind masterpiece with dripping nail polish design? Give it a try and see your home transform into a work of art.
Aside from adding a unique and creative touch to your home, there are many benefits to using dripping nail polish design. Firstly, it is a budget-friendly option compared to other forms of home decor. You can use inexpensive nail polish and transform a plain surface into a work of art. Additionally, dripping nail polish design allows you to customize your home decor and make it truly one-of-a-kind. You can choose colors and patterns that reflect your personality and style. Another benefit is that it is easy to do and does not require any special skills or tools. Anyone can try their hand at dripping nail polish design and achieve stunning results.
Dripping nail polish design
is a unique and creative way to add a personal touch to your home. Not only is it budget-friendly and easy to do, but it also allows you to showcase your creativity and personality. So why settle for plain and ordinary home decor when you can have a one-of-a-kind masterpiece with dripping nail polish design? Give it a try and see your home transform into a work of art.


