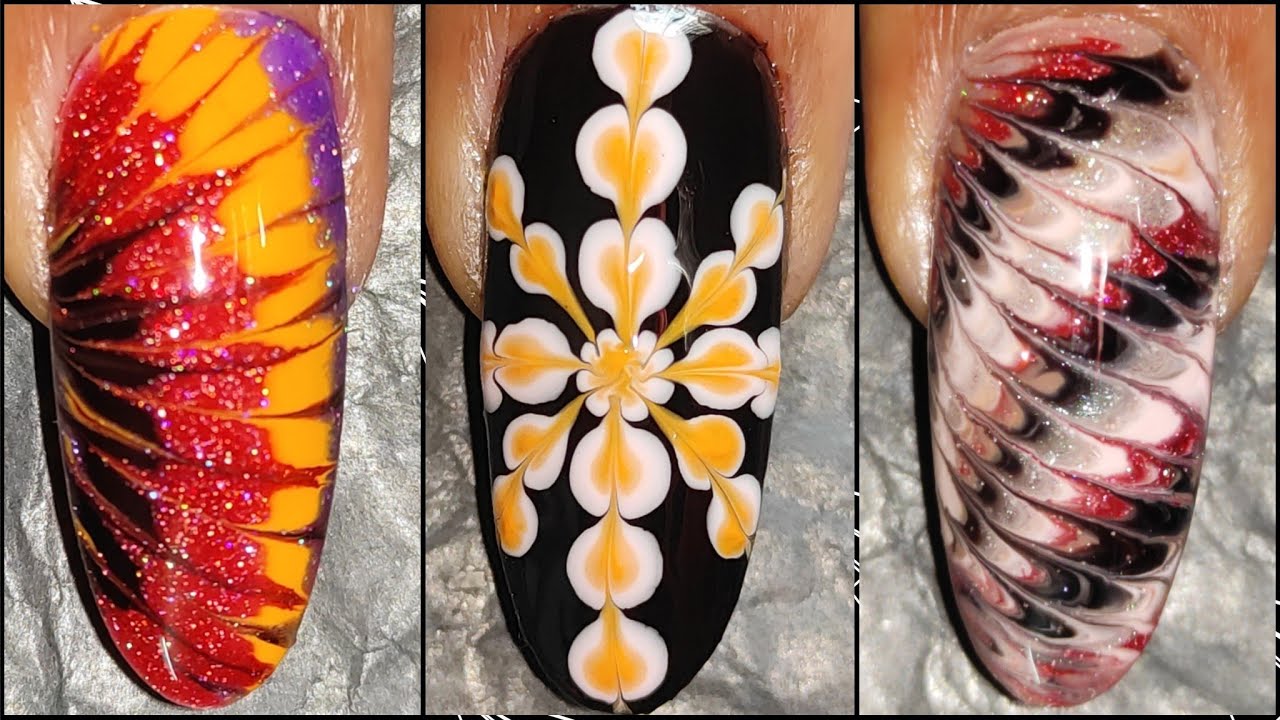
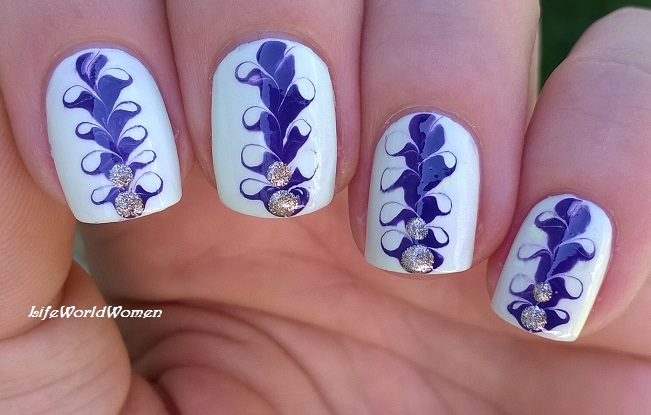
Looking for a unique and eye-catching nail art design? Look no further than dry drag nail art! This technique involves creating intricate designs using a dry brush and nail polish. Not only is it easy to do, but it also allows for endless creativity. Let's explore some ideas for dry drag nail art that will make your nails stand out.1. Dry Drag Nail Art Design Ideas


1. Dry Drag Nail Art Design Ideas


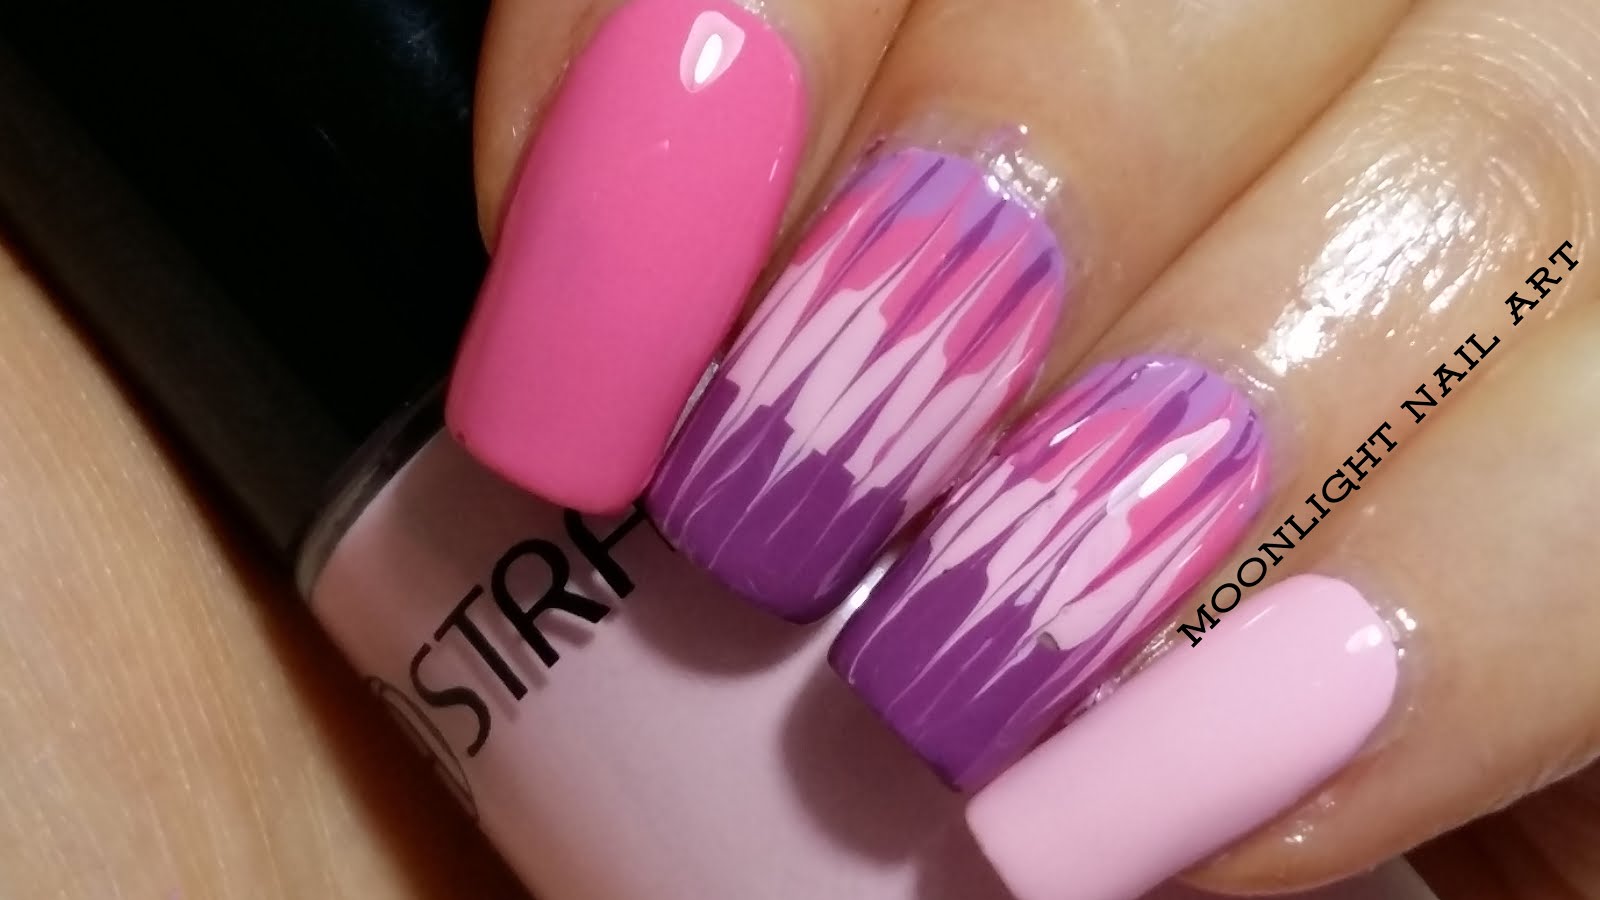
Before we dive into design ideas, let's go over the basics of creating dry drag nail art. Start by painting your nails with a base color and allowing it to dry completely. Then, dip a dry, clean brush into your desired nail polish color and lightly drag it across your nail in any pattern you like. You can repeat this process with multiple colors for a more intricate design. Finish with a top coat to seal in your design.2. How to Create Dry Drag Nail Art


2. How to Create Dry Drag Nail Art


If you're new to dry drag nail art, it can be helpful to follow a tutorial for your first attempt. There are plenty of step-by-step guides available online that can walk you through the process and provide inspiration for different designs. You can also find video tutorials on platforms like YouTube for a more visual demonstration.3. Dry Drag Nail Art Tutorial


3. Dry Drag Nail Art Tutorial
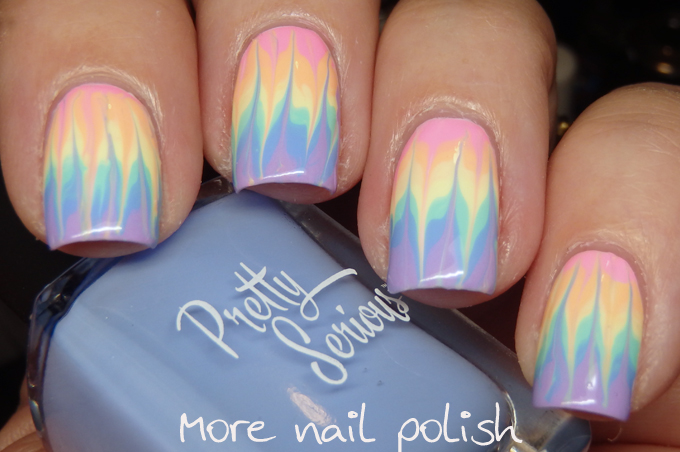


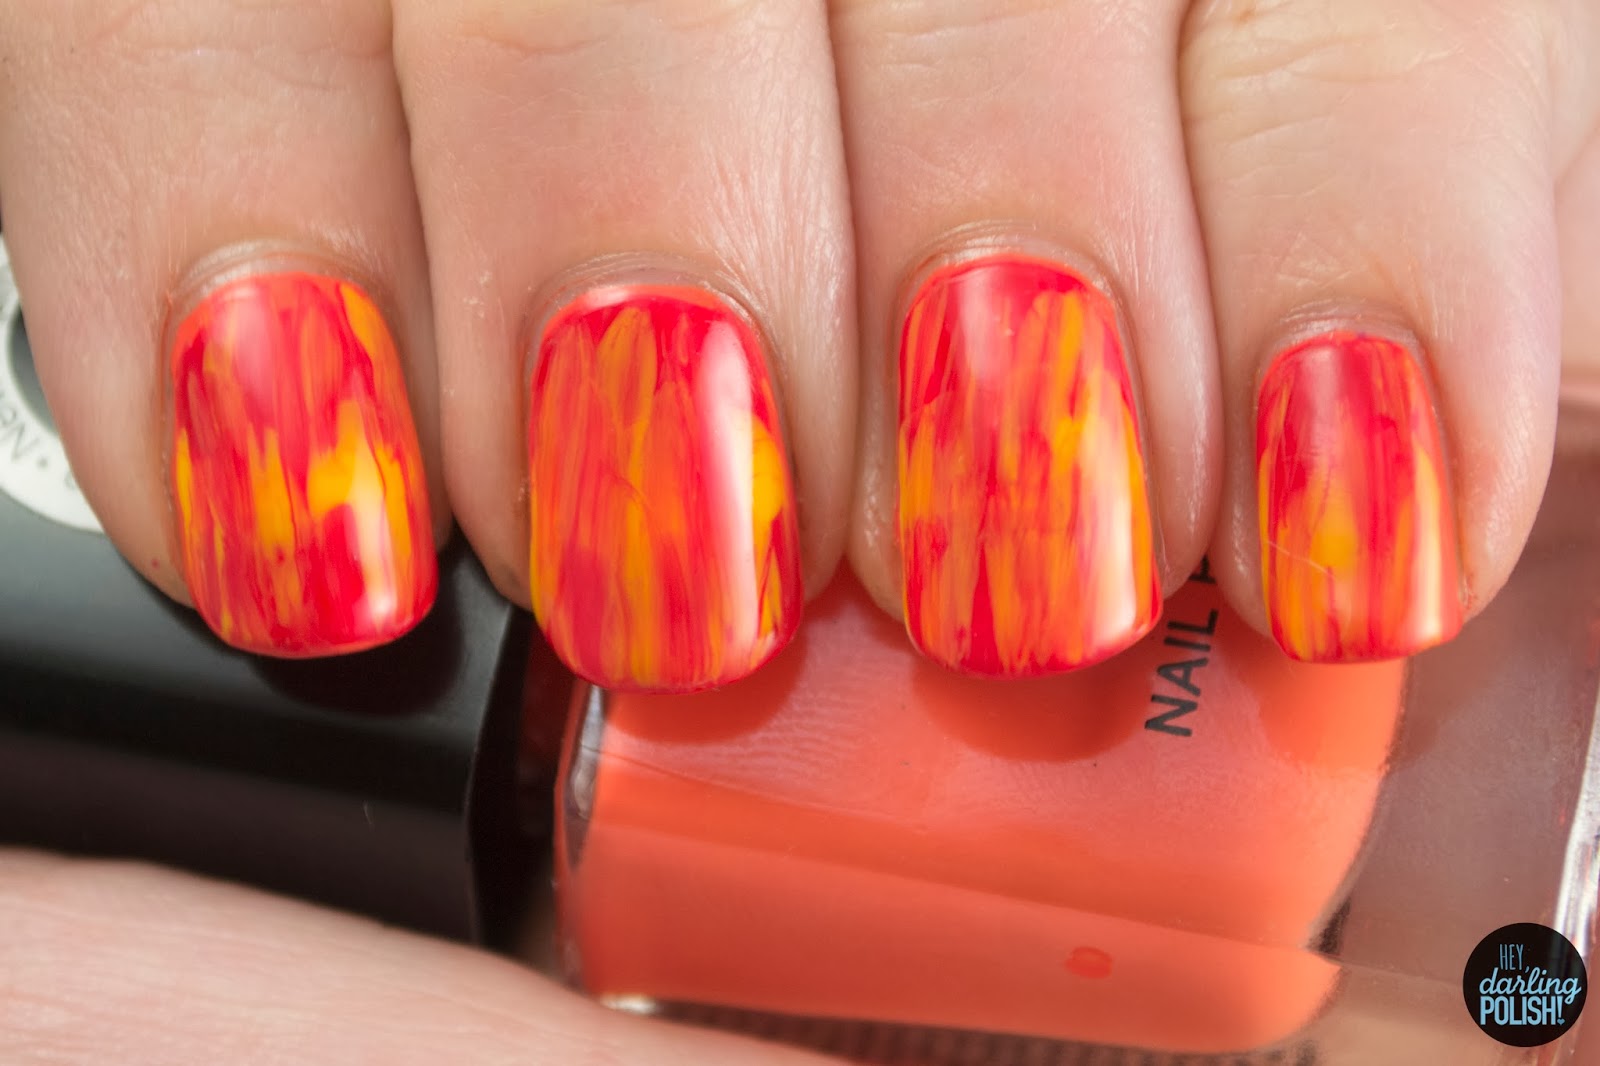

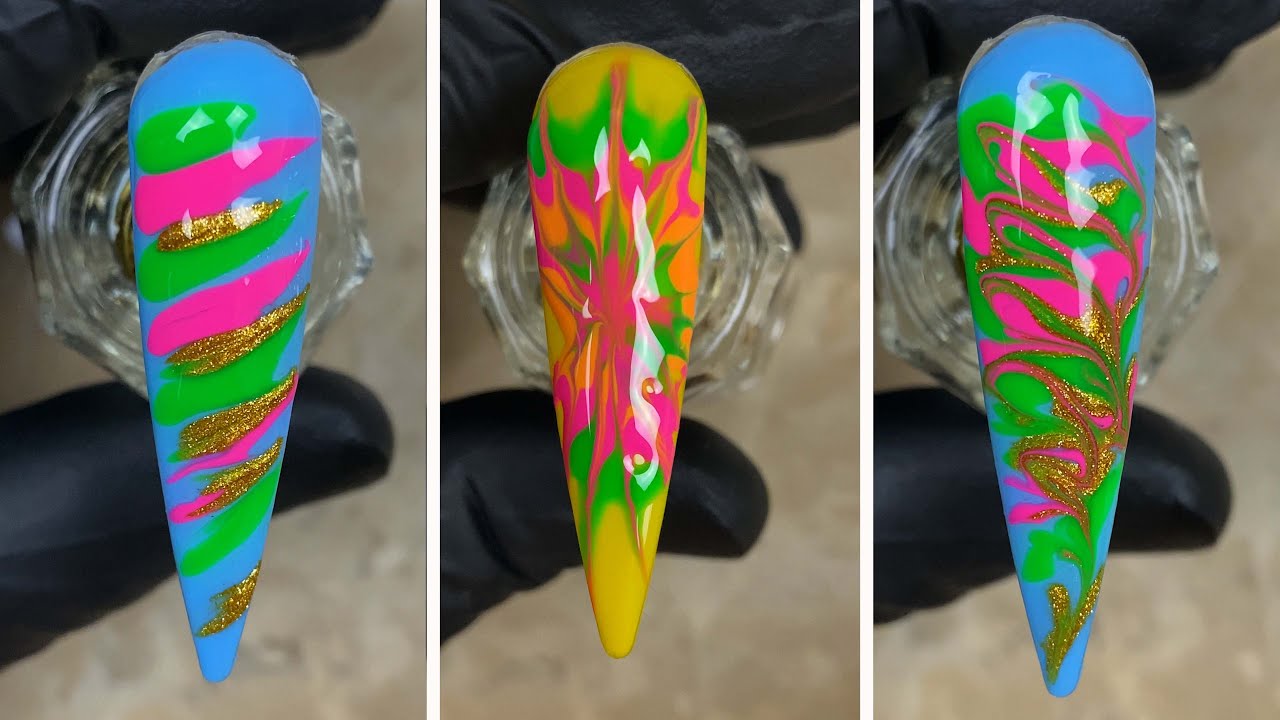
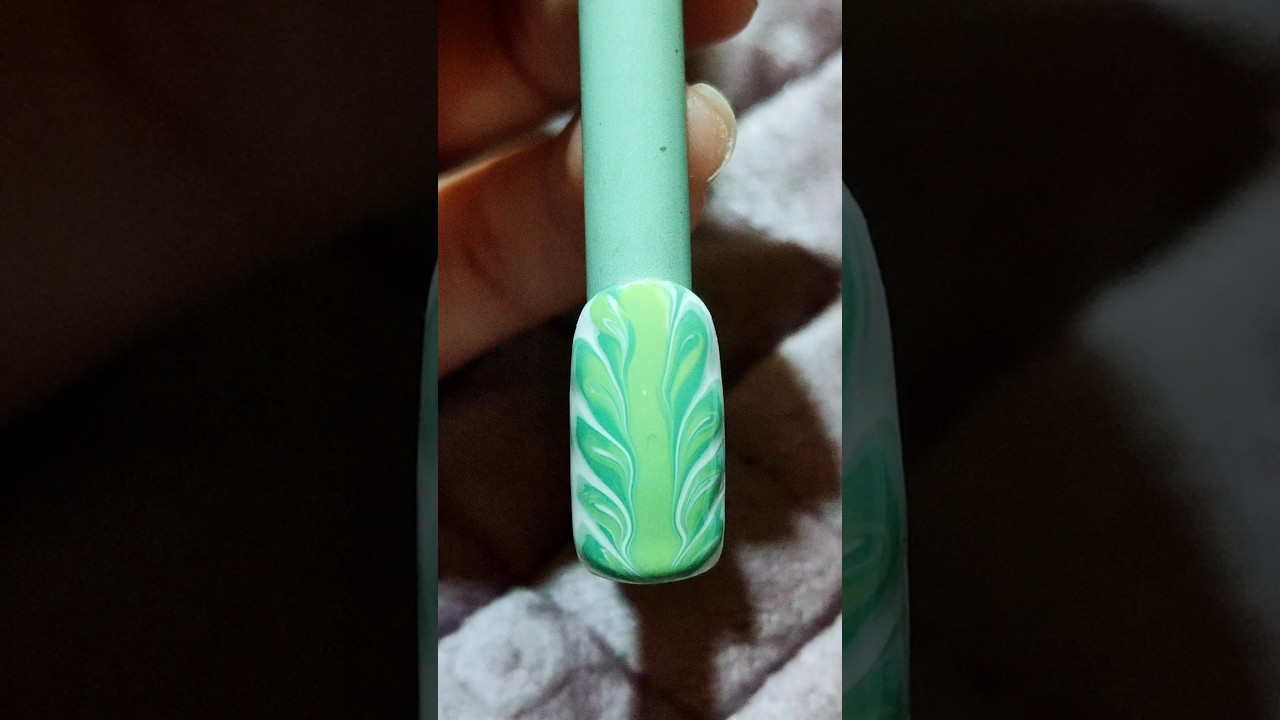
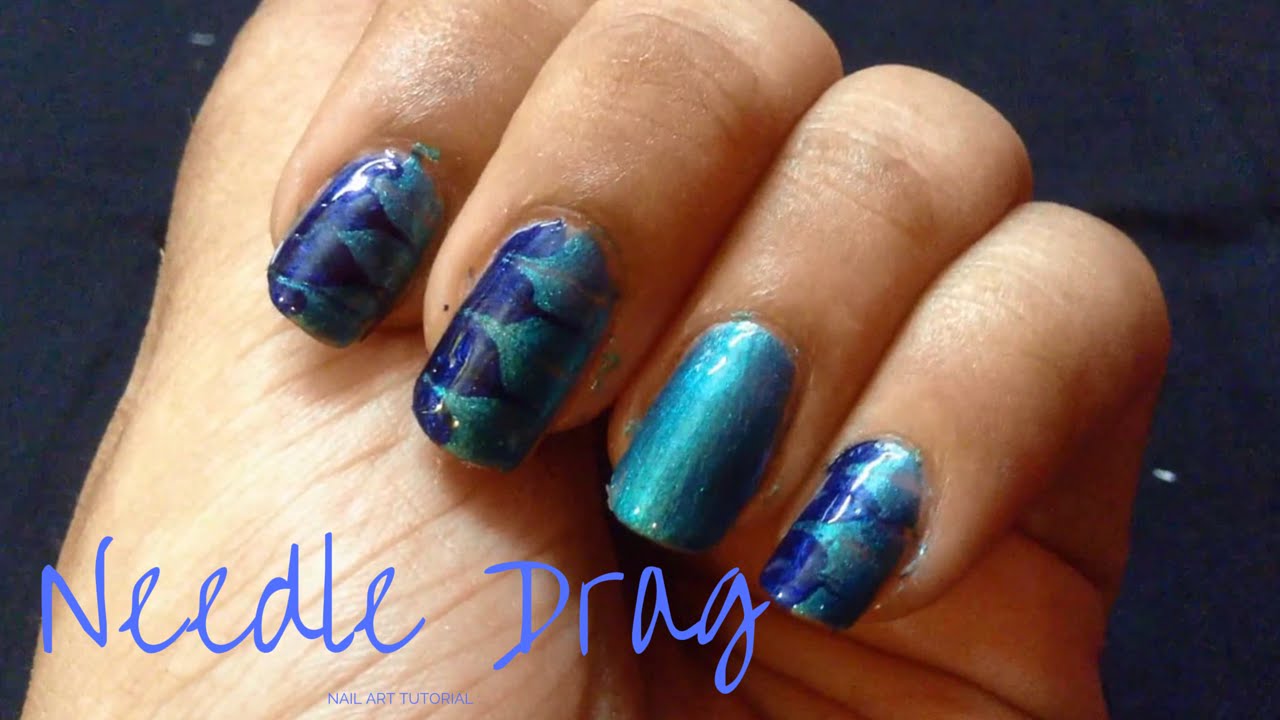
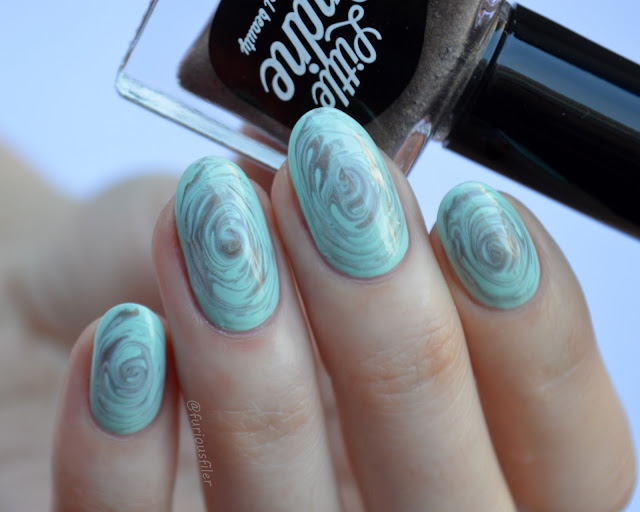
While the basic technique for dry drag nail art involves dragging a dry brush across your nails, there are different variations you can try to achieve different effects. For example, you can use a fan brush for a wispy, feathered look or a flat brush for more defined lines. Experiment with different brushes and techniques to find what works best for you.4. Dry Drag Nail Art Techniques


4. Dry Drag Nail Art Techniques

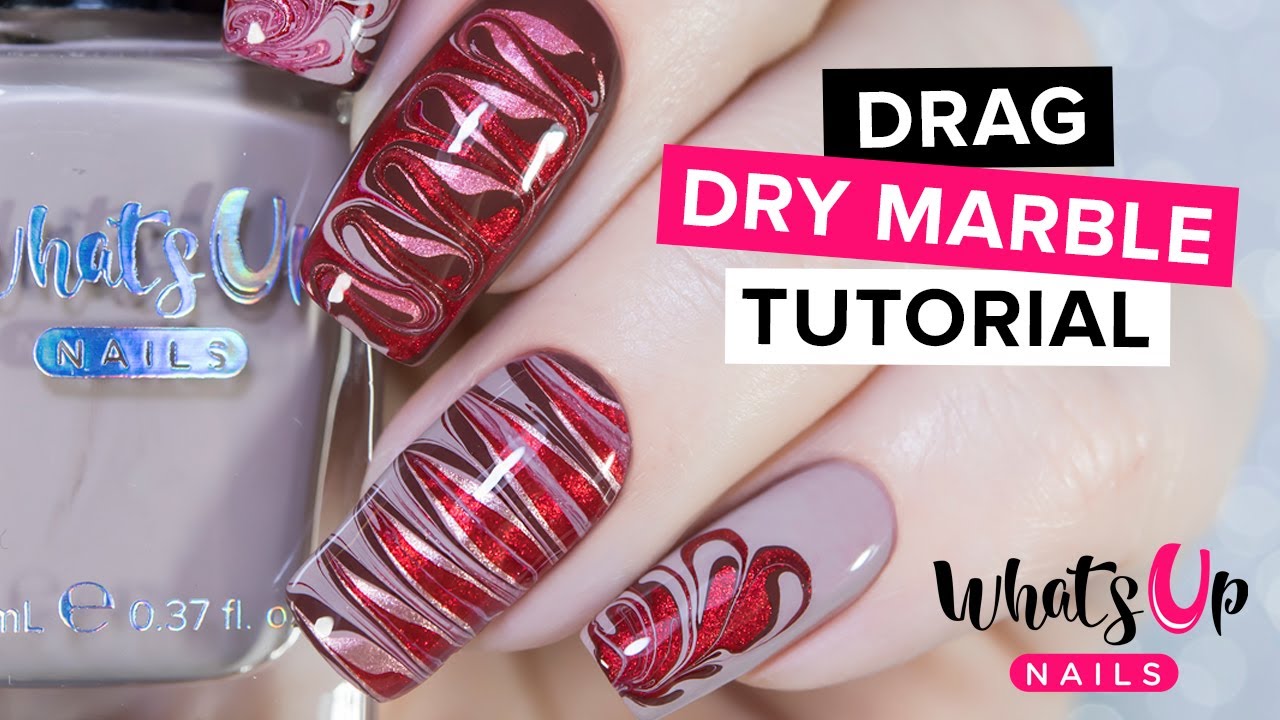
To create a simple dry drag nail art design, start with a base color and let it dry completely. Then, use a dry brush to drag your chosen color across your nail in any pattern you like. You can repeat this process with different colors or add more detail with a smaller brush. Finish with a top coat to seal in your design and voila! You have a beautiful dry drag nail art design.5. Dry Drag Nail Art Step by Step


5. Dry Drag Nail Art Step by Step

Don't be intimidated if you're new to nail art. Dry drag nail art is a great technique for beginners because it doesn't require any special tools or skills. With a little practice, you can create stunning designs that will impress everyone. Start with simple designs and work your way up to more intricate ones as you gain confidence.6. Dry Drag Nail Art for Beginners

6. Dry Drag Nail Art for Beginners


While you don't need any special tools for dry drag nail art, there are a few items that can make the process easier. These include a fan brush, flat brush, and small detail brush. You can also use a toothpick or bobby pin to create more precise lines and dots. And of course, you'll need a variety of nail polish colors to play with!7. Dry Drag Nail Art Tools


7. Dry Drag Nail Art Tools

In addition to brushes and nail polish, there are a few other supplies that can come in handy for dry drag nail art. These include a base coat and top coat for a long-lasting design, a nail polish remover and cotton swabs for cleaning up any mistakes, and a nail art mat to protect your workspace.8. Dry Drag Nail Art Supplies
8. Dry Drag Nail Art Supplies
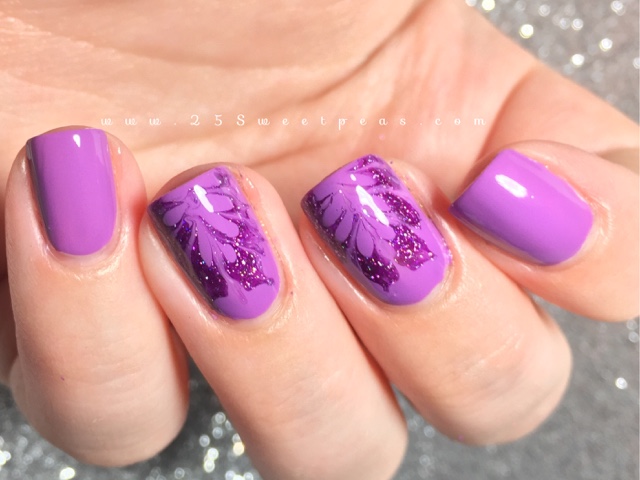
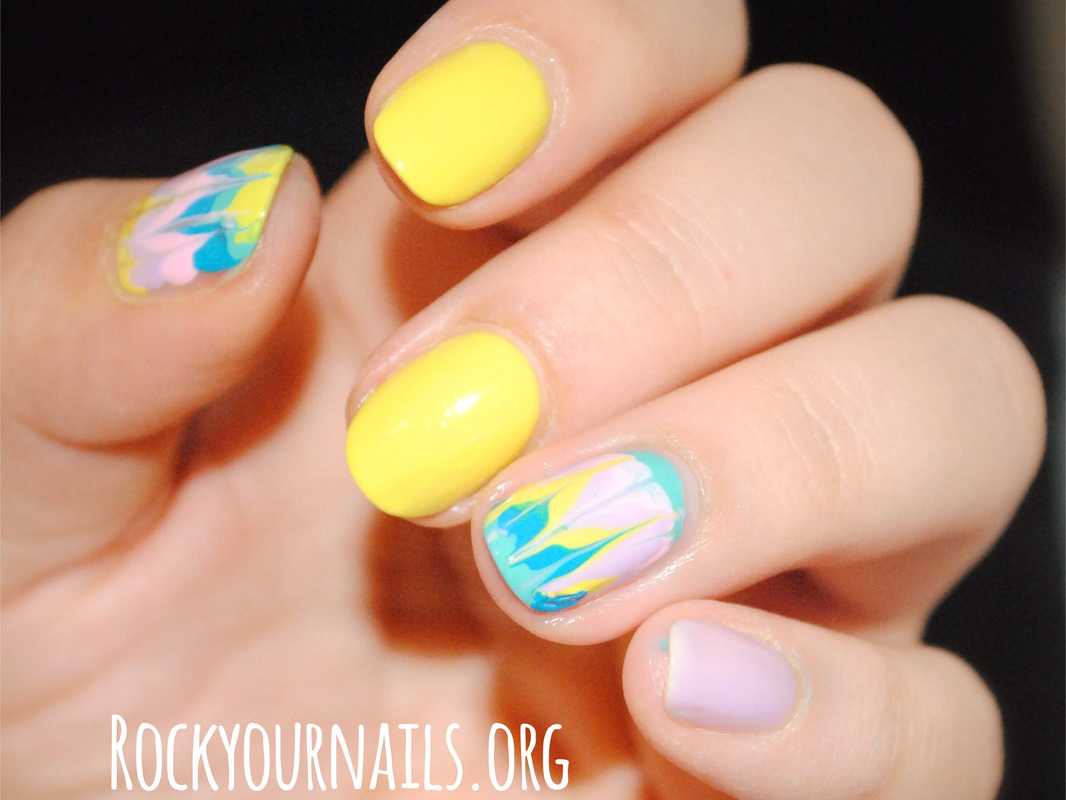
Short nails don't mean you can't rock a stunning dry drag nail art design. In fact, the smaller canvas can often make for a more intricate and detailed design. Try creating a simple geometric pattern or a dainty floral design on your short nails for a chic and sophisticated look.9. Dry Drag Nail Art Designs for Short Nails

9. Dry Drag Nail Art Designs for Short Nails


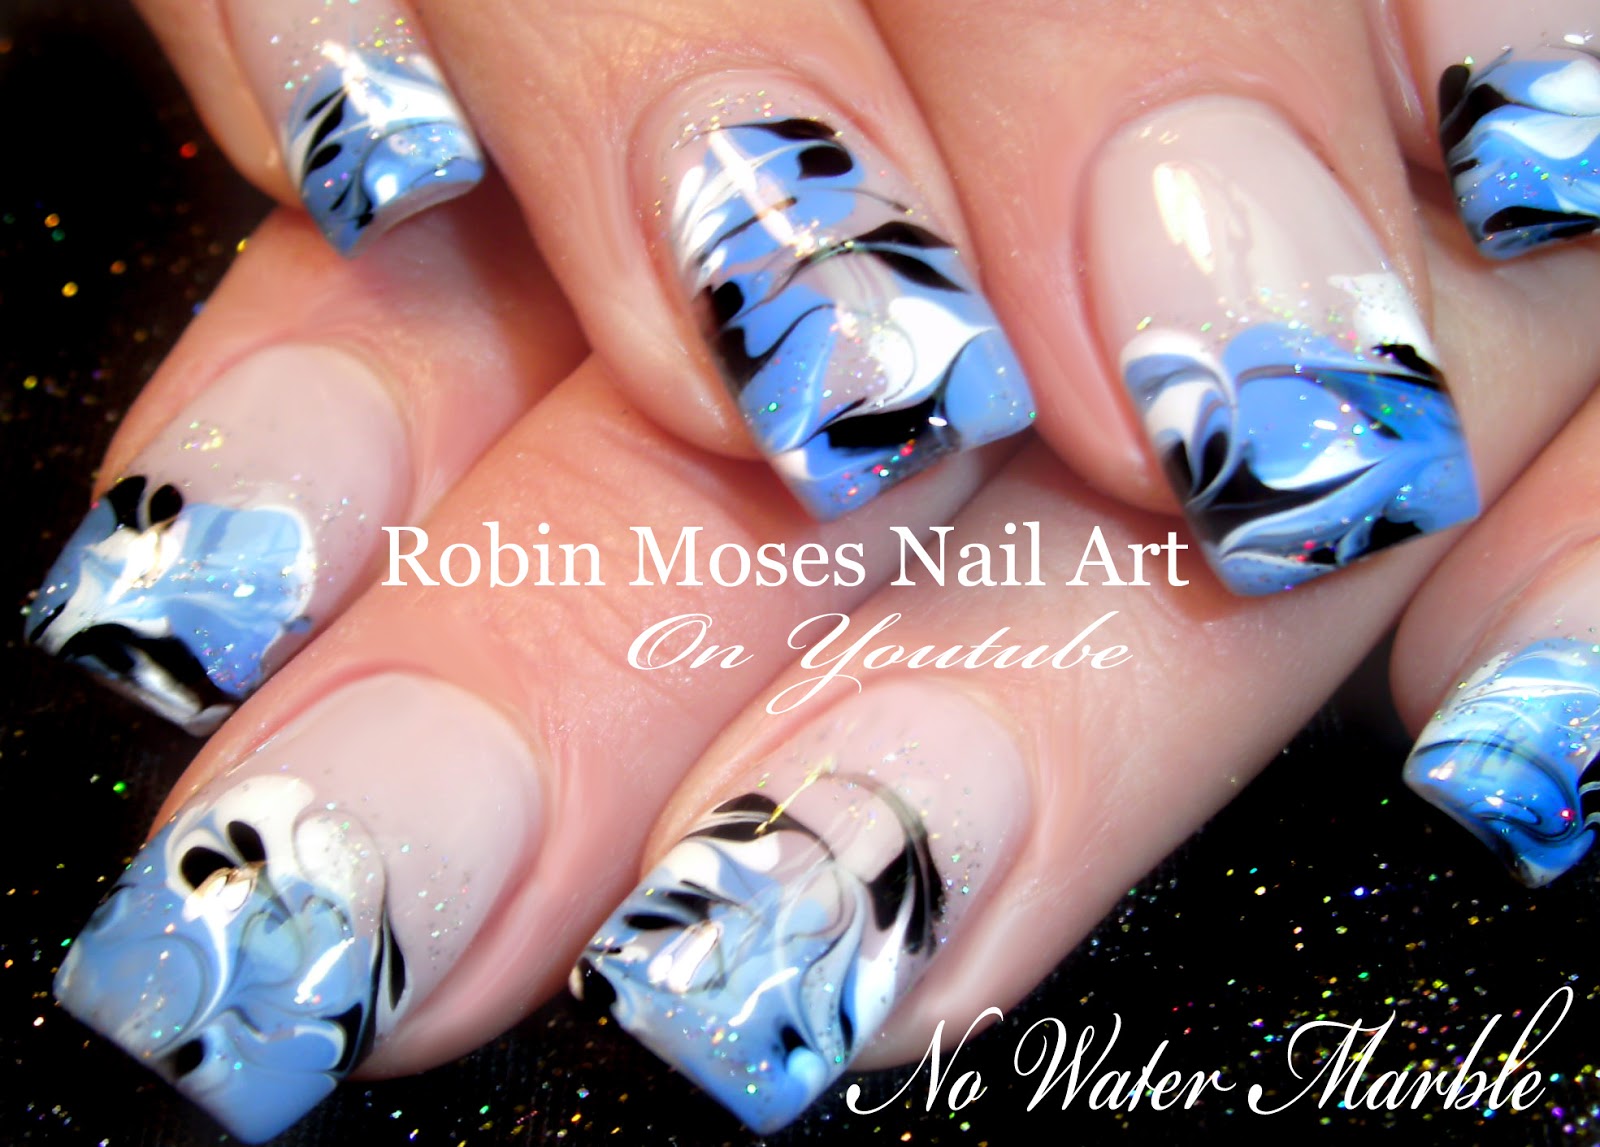
If you have long nails, you have even more surface area to play with when it comes to dry drag nail art. You can create bold and dramatic designs or opt for a more subtle and delicate look. Experiment with different color combinations and patterns to find a design that suits your personal style and showcases your beautiful long nails.10. Dry Drag Nail Art Designs for Long Nails


10. Dry Drag Nail Art Designs for Long Nails

The Art of Dry Drag Nail Design: A Modern Twist on House Design

The Rise of Dry Drag Nail Art
 When we think of house design, our minds often go to the traditional elements of architecture and interior decorating. However, in recent years, a new kind of design has emerged – dry drag nail art. This unique style takes inspiration from the art of drag, specifically the drag queen technique of "dry drag." By using everyday household items and unconventional tools, this nail art trend has created a buzz in the beauty industry and has now made its way into house design.
What is Dry Drag Nail Art?
 Dry drag nail art involves using various materials such as sponges, saran wrap, and even paper towels to create a textured, "dragged" effect on the nails. This technique mimics the look of fabric or other materials and adds dimension and depth to the nails. The result is a unique and eye-catching design that is perfect for those looking to add a touch of creativity and personality to their house design.
The Process of Dry Drag Nail Art
 To achieve the dry drag effect, a base color is first applied to the nails. Then, using a small piece of sponge or saran wrap, a contrasting color is lightly dabbed onto the nails to create a textured look. This can be done in a haphazard manner or in a specific pattern, depending on the desired outcome. Finally, a layer of top coat is applied to seal and protect the design.
Bringing Dry Drag Nail Art into House Design
 With its unique and unconventional approach, dry drag nail art has now made its way into house design. From walls to furniture to home decor, this trend has been incorporated into various elements of interior design. By using the same techniques and materials, homeowners can create a one-of-a-kind, textured look in their homes. This adds a playful and artistic touch to any living space and allows for endless possibilities in design.
The Benefits of Dry Drag Nail Art in House Design
 Aside from the creative and unique aesthetic that dry drag nail art brings to house design, it also offers practical benefits. The use of everyday household items not only makes this trend budget-friendly, but it also allows for easy customization and experimentation. Homeowners can easily change up their design by using different colors or patterns, making it a versatile and fun way to decorate their homes.
In Conclusion
 Dry drag nail art has proven to be more than just a trend in the beauty industry – it has now made its way into the world of house design. By incorporating this unique and playful technique, homeowners can add a touch of creativity and personality to their living spaces. So why not give dry drag nail art a try and see how it can elevate your house design?


