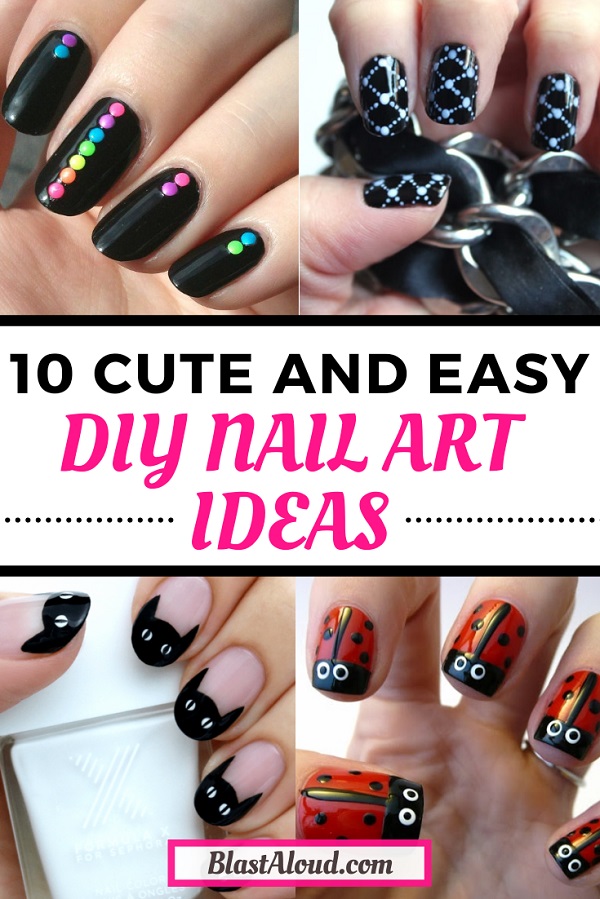
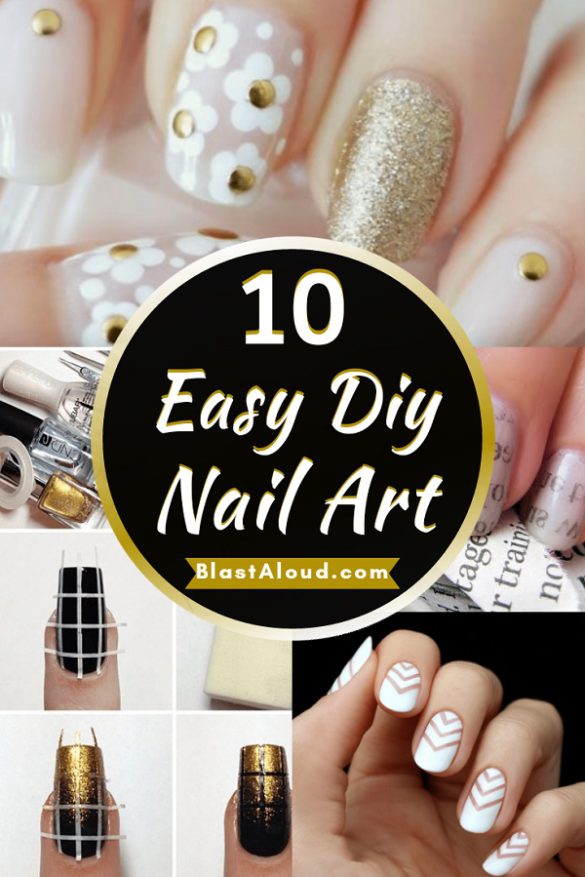
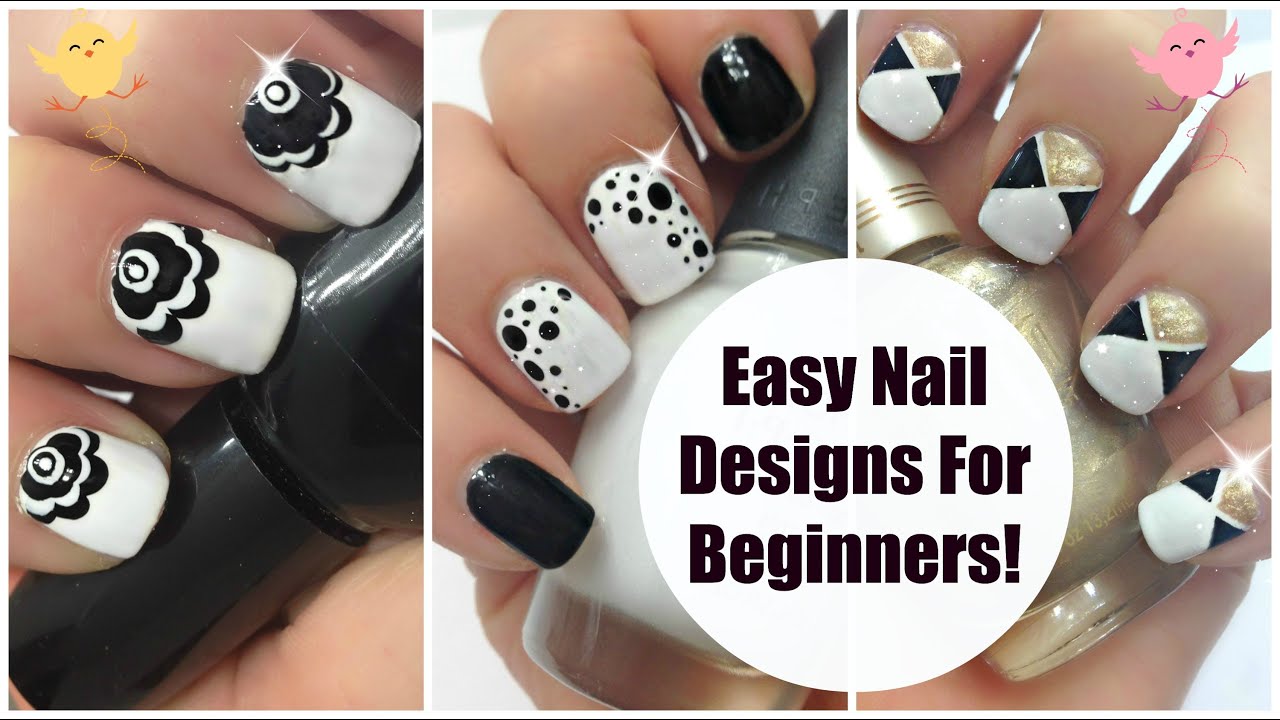
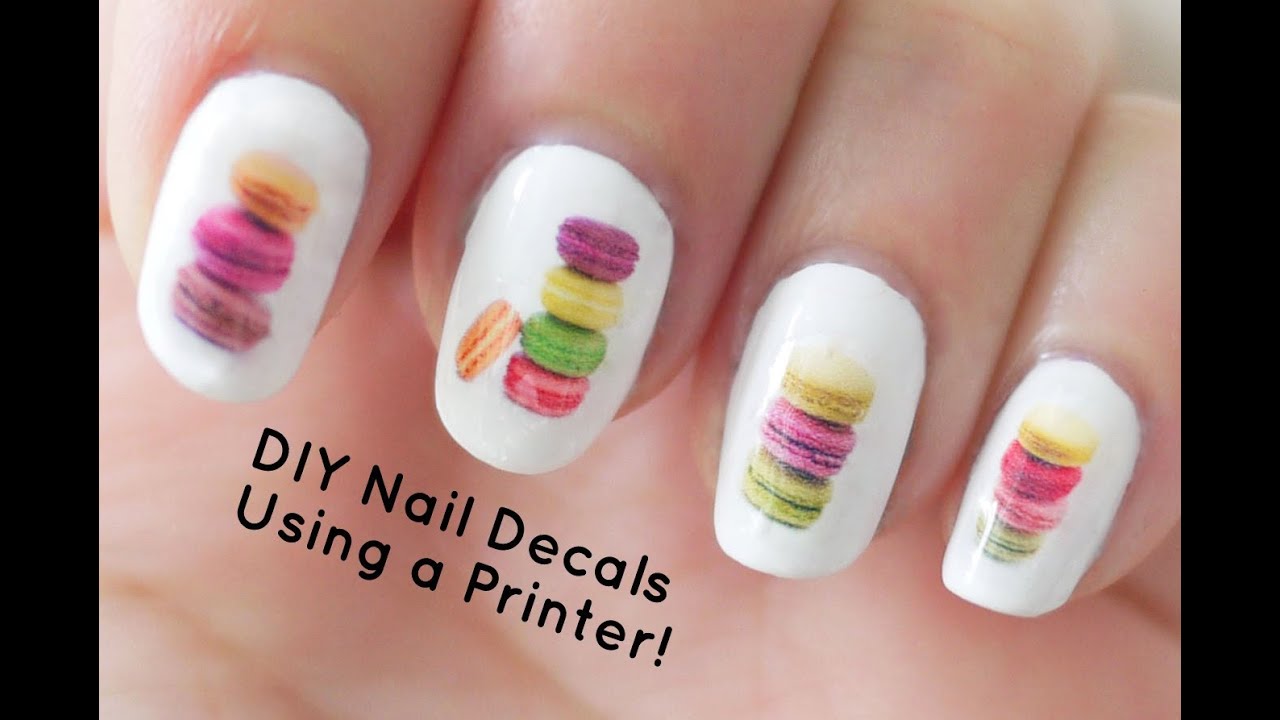
Are you tired of spending a fortune on getting your nails done at the salon? With just a few basic supplies and some creativity, you can easily achieve beautiful nail designs at home. Even if you're a beginner, these simple DIY nail designs will make you look like a pro. So put on your favorite music, gather your supplies, and let's get started! For this easy DIY nail design, you'll need nail polish in your desired color, a base coat, a top coat, and some nail art tools such as a dotting tool or toothpick. Start by applying a base coat to protect your nails and let it dry completely. Next, take your nail polish and create stripes on your nails using the brush. You can make them vertical, horizontal, or even diagonal. Once the polish is dry, use your dotting tool or toothpick to create polka dots on top of the stripes. Finish off with a top coat to seal in your design and give it a shiny finish. Voila! You have a fun and easy DIY nail design for beginners.1. Simple DIY Nail Designs for Beginners

1. Simple DIY Nail Designs for Beginners

/ScreenShot2020-03-13at1.50.44PM-ab49b0be5550419c991135fffd2cffa4.png)
.JPG)

Are you looking for some quick and easy nail art ideas to spice up your boring nails? Look no further! These easy DIY nail art ideas are perfect for those who want to add a little something extra to their nails without spending hours on it. Marble nails are a popular trend that looks complicated but is actually very easy to achieve. All you need is two different colors of nail polish, a cup of water, and a toothpick. Take one color and drop a few drops into the water, then do the same with the other color. Use the toothpick to create a marble effect by swirling the colors together. Dip your nail into the water and voila! You have a gorgeous marble effect on your nails. If you want something a little more playful, try rainbow nails. For this, you'll need nail polish in different colors and a makeup sponge. Paint each color of polish in stripes on the sponge, then gently dab it onto your nails. The sponge will help blend the colors together, creating a rainbow effect on your nails. Don't forget to seal in your designs with a top coat for long-lasting and shiny nails.2. Easy DIY Nail Art Ideas


2. Easy DIY Nail Art Ideas


Do you want to achieve stunning nail designs without spending hours on them? These quick and easy DIY nail designs are perfect for those who are short on time but still want to rock beautiful nails. A simple yet eye-catching design is half-moon nails. All you need is some reinforcement stickers used for loose-leaf paper. Place the stickers at the base of your nails, leaving the half-moon part exposed. Paint your nails with your desired color, and once it's dry, carefully remove the stickers to reveal a perfect half-moon shape at the base of your nails. Another quick and easy design is ombre nails. Choose two or three nail polish colors in the same shade family and paint each nail with a different color, starting with the lightest at the base and gradually getting darker towards the tip. Use a makeup sponge to blend the colors together for a seamless ombre effect. These easy DIY nail designs will have your nails looking fabulous in no time.3. Quick and Easy DIY Nail Designs


3. Quick and Easy DIY Nail Designs
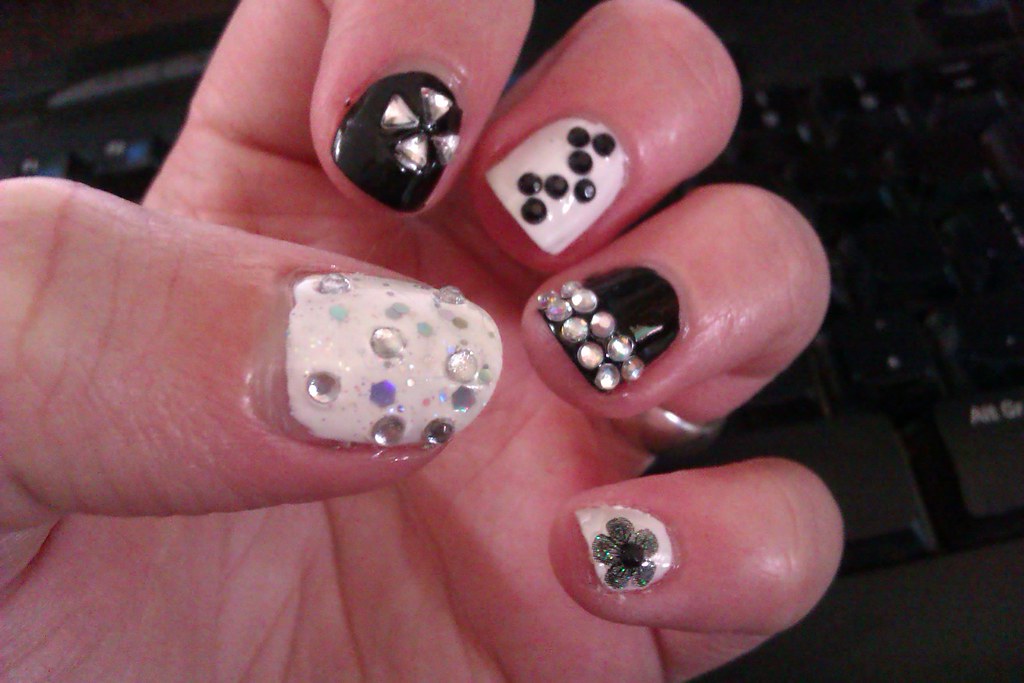


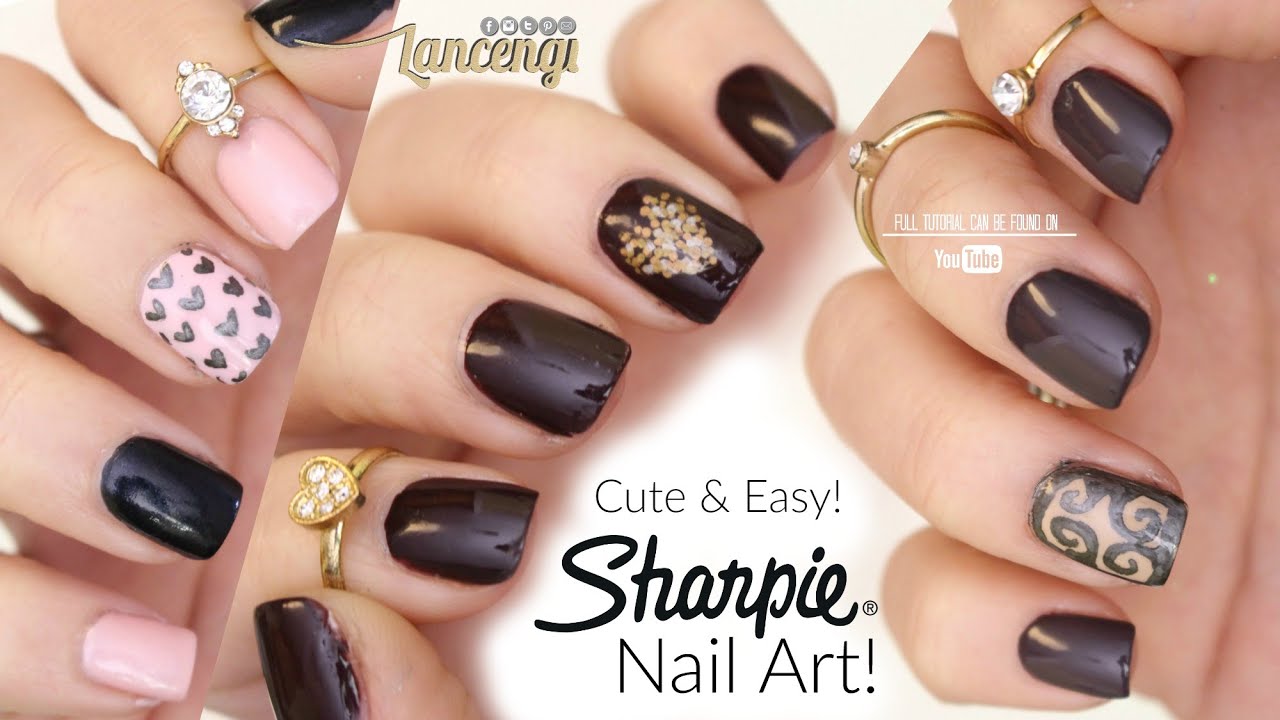
Who said that cute nail designs have to be complicated? These easy DIY nail designs are not only adorable but also effortless to achieve. Heart nails are perfect for any occasion, and they're super easy to create. Start by painting your nails with a base color, then using a toothpick or small brush, carefully draw a heart shape on each nail. You can either leave them as is or fill them in with a different color for a pop of color. For a playful and cute design, try animal print nails. You'll need a base color and a nail art pen or small brush. Simply draw on different animal print patterns such as leopard or zebra stripes for a fun and easy nail design. These cute DIY nail designs are perfect for when you want to add a little bit of fun to your nails.4. Cute and Easy DIY Nail Designs
4. Cute and Easy DIY Nail Designs


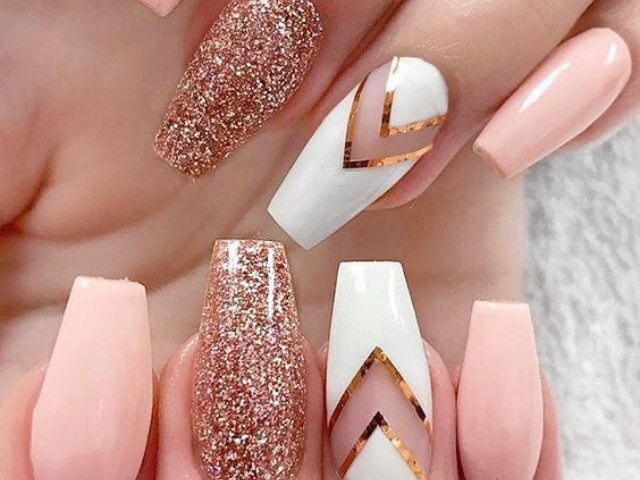
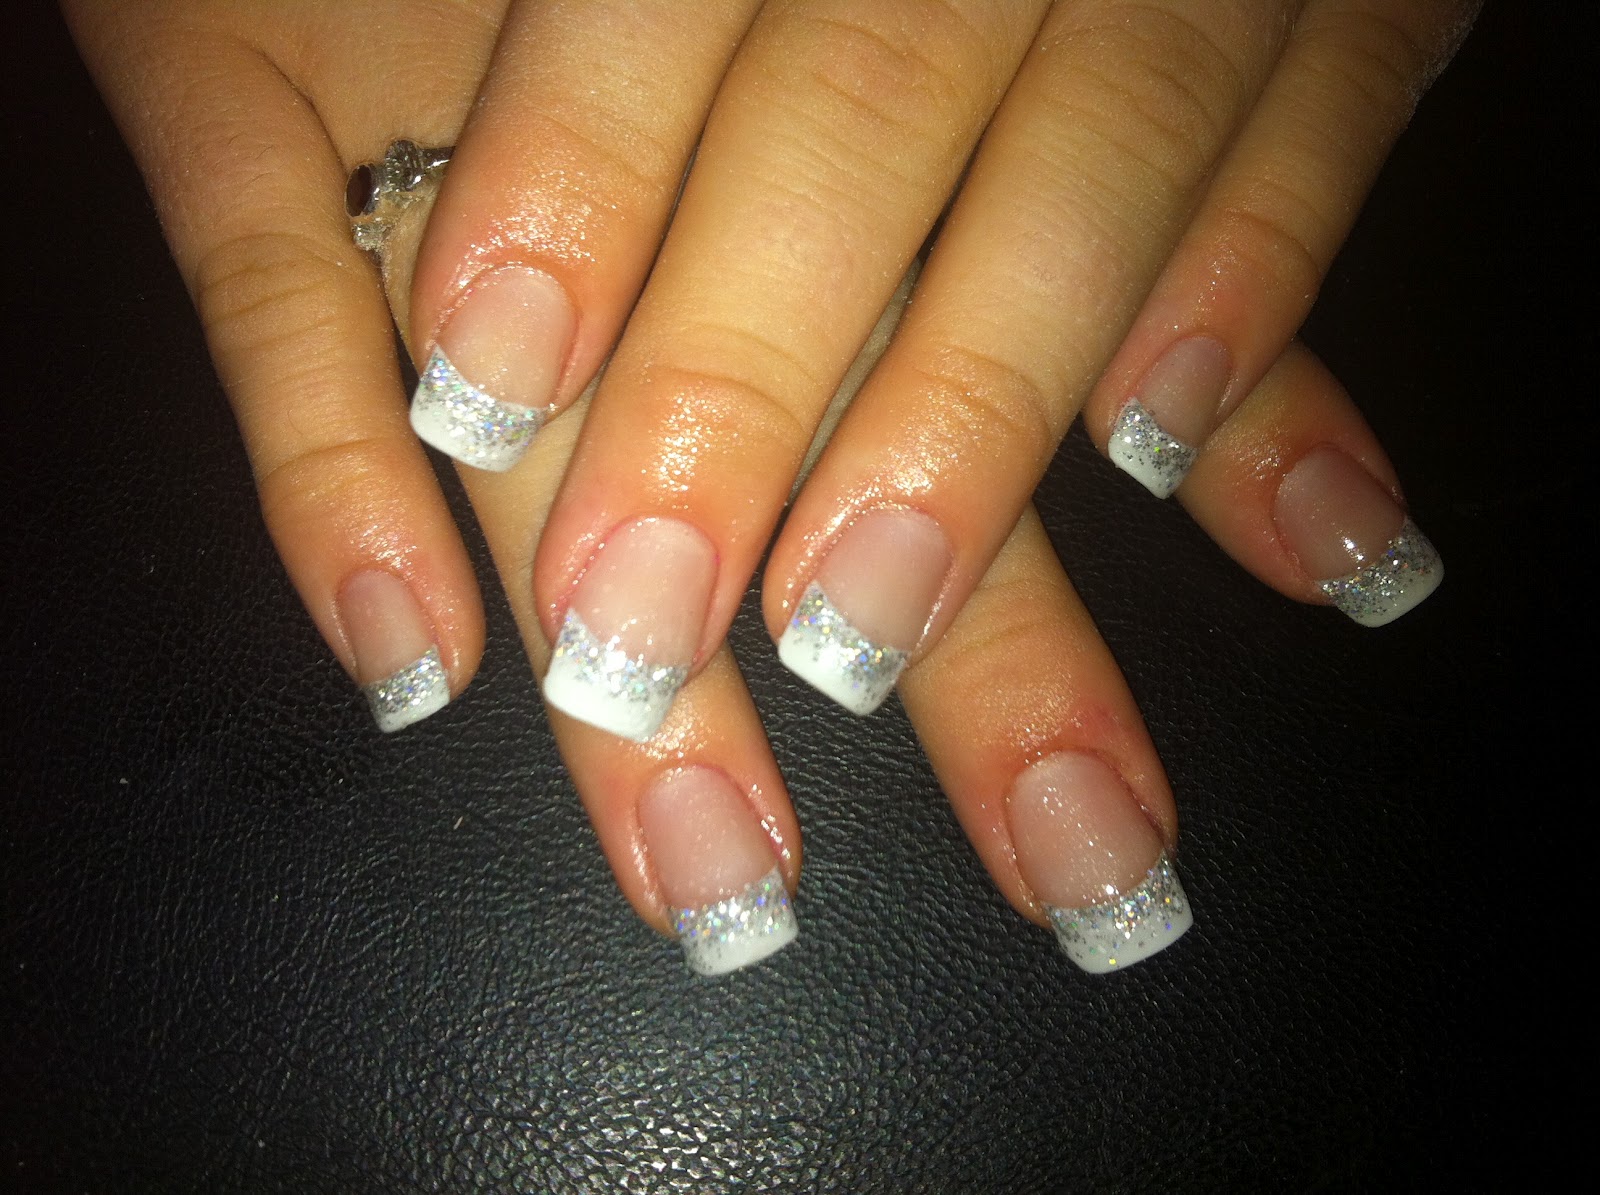
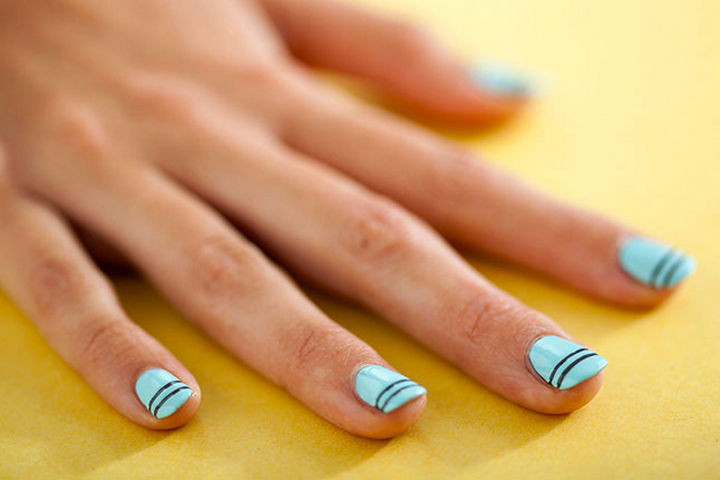
Who says you can't have fun nail designs on short nails? These easy DIY nail designs are perfect for those with shorter nails and will make them look just as stunning as longer nails. French tip nails are a classic and elegant design that is perfect for short nails. Use a nail tip guide or a small piece of tape to create a straight line at the tip of your nails. Then paint over the tip with white nail polish. Once it's dry, carefully remove the guide or tape to reveal a perfect French tip. If you want something a little more intricate, try geometric nails. Paint each nail a different color, then use a toothpick or small brush to create geometric shapes such as triangles or squares on each nail. This design is perfect for short nails as it doesn't require a lot of space. With these easy DIY nail designs, you'll never have to worry about having short nails again.5. DIY Nail Designs for Short Nails

5. DIY Nail Designs for Short Nails


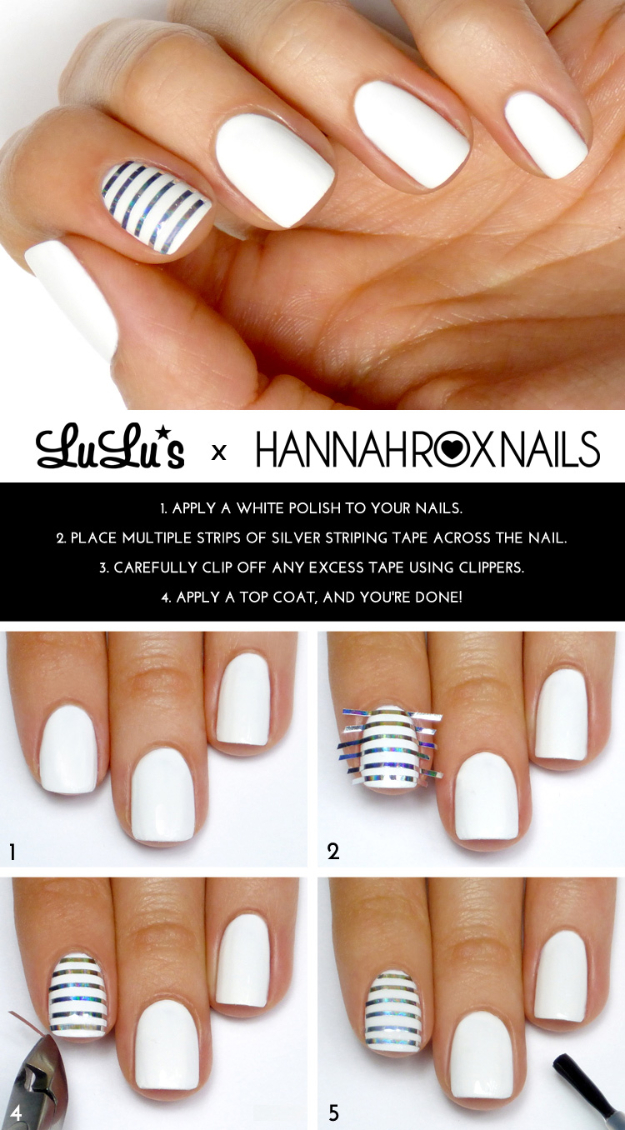
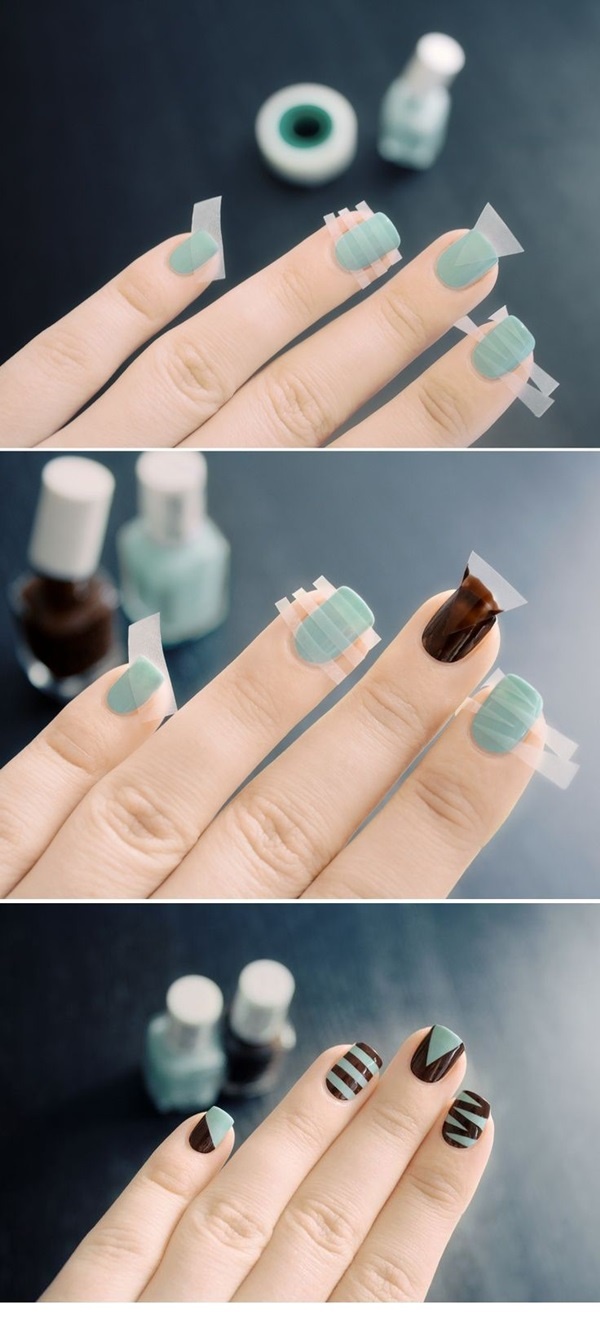
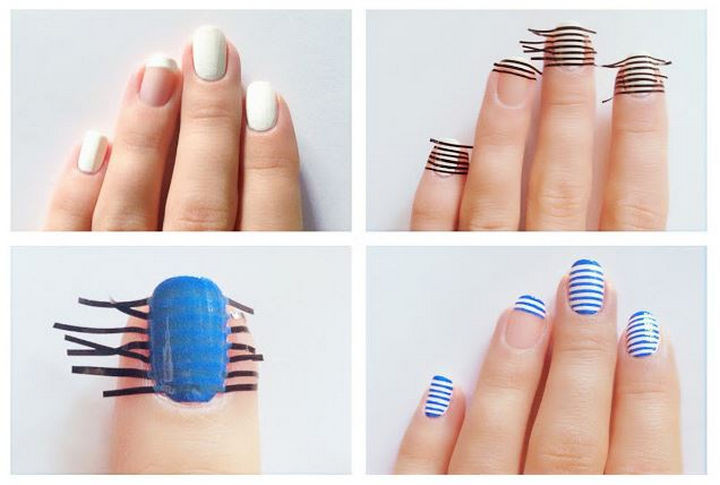
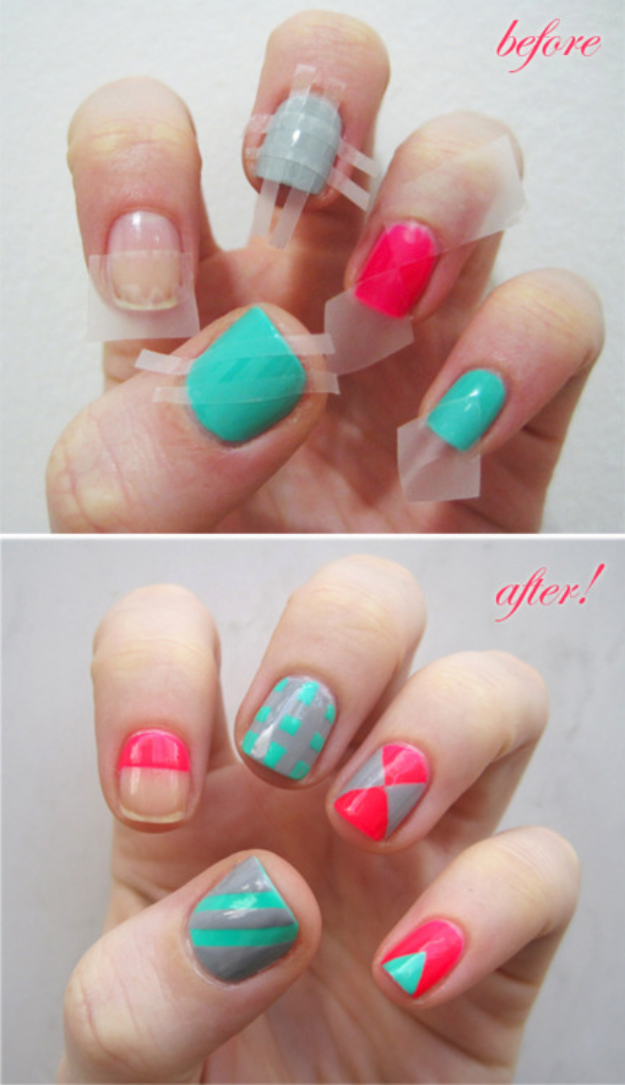
If you're looking for a simple way to create unique nail designs, try using tape. This easy DIY nail design method is perfect for creating clean lines and geometric shapes. Striped nails are a popular design that can easily be achieved with tape. Simply paint your nails with a base color, let it dry completely, then place strips of tape in different directions on your nail. Paint over the tape with a different color, then carefully remove the tape to reveal perfectly striped nails. If you want something a little more intricate, try plaid nails. Start by painting your nails with a base color, let it dry, then use thin strips of tape to create a plaid pattern. Paint over the tape with a different color, and once it's dry, carefully remove the tape to reveal a fun and unique plaid design. With tape, the possibilities for easy DIY nail designs are endless.6. Easy DIY Nail Designs with Tape
6. Easy DIY Nail Designs with Tape

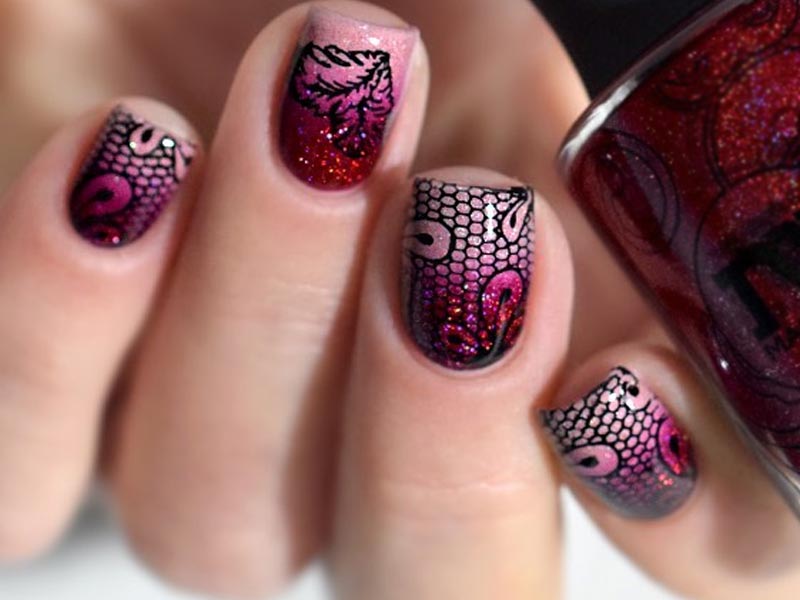
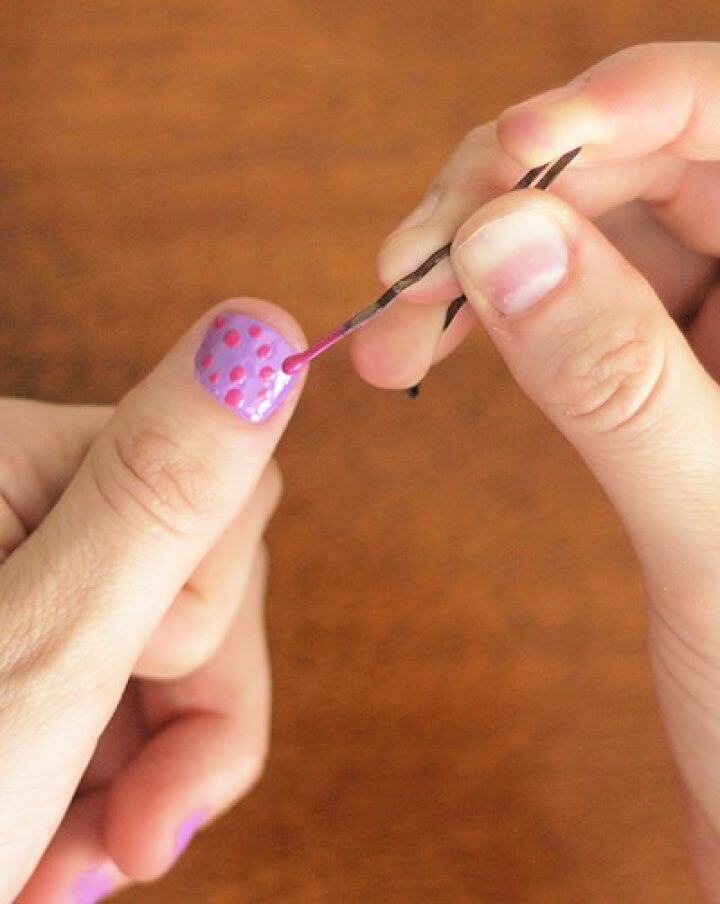
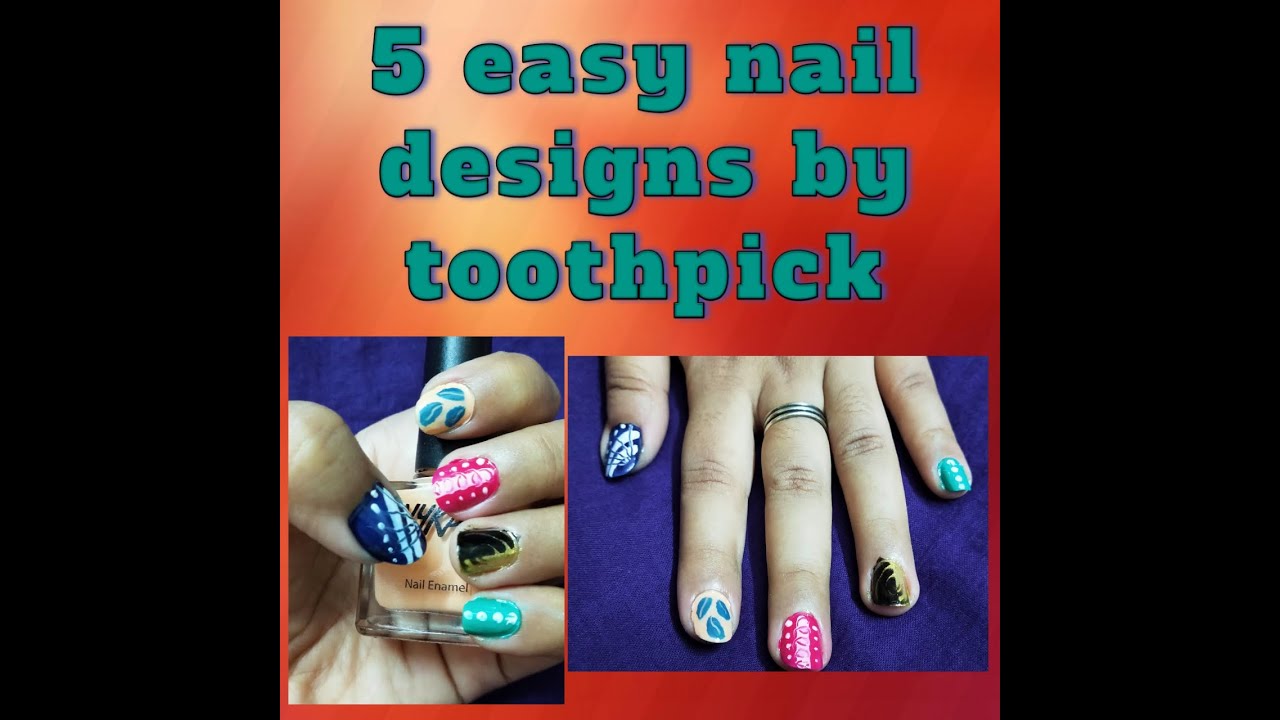
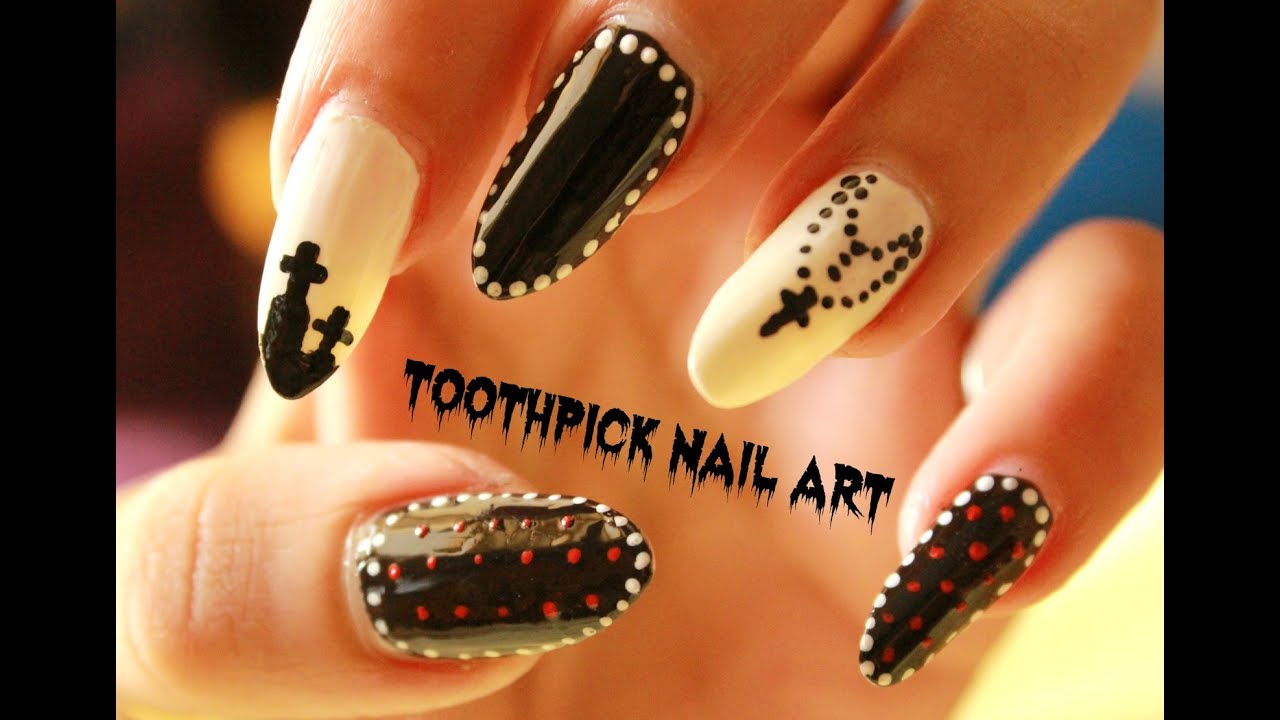
Did you know that a toothpick can be used for more than just picking food out of your teeth? It's also a great tool for creating intricate and detailed nail designs. Flower nails are a beautiful and easy DIY design that can be achieved with a toothpick. Start by painting your nails with a base color, then using the toothpick, create small dots in a circle to form a flower. You can use different colors for each flower or stick to one color for a more subtle look. If you want something a little more abstract, try marble ink nails. Paint your nails with a base color, then drop small drops of different colored nail polish onto your nail. Use a toothpick to swirl the colors together to create a marble effect. This design is perfect for those who want something unique and eye-catching. With a simple toothpick, you can achieve stunning and easy DIY nail designs.7. Easy DIY Nail Designs with Toothpick

7. Easy DIY Nail Designs with Toothpick


For those who want to achieve a gradient effect on their nails, using a sponge is the way to go. This easy DIY nail design technique is perfect for creating ombre or gradient nails. Start by painting your nails with a base color, then take a makeup sponge and paint stripes of different colors onto the sponge. Gently dab the sponge onto your nails, and the colors will blend together, creating a beautiful gradient effect. You can also use a sponge to create galaxy nails. Paint your nails with a dark base color, then use the sponge to dab on different shades of blue, purple, and pink to create a galaxy effect. You can even add some glitter for a touch of sparkle. With a simple sponge, you can achieve stunning and easy DIY nail designs.8. Easy DIY Nail Designs with Sponge
8. Easy DIY Nail Designs with Sponge
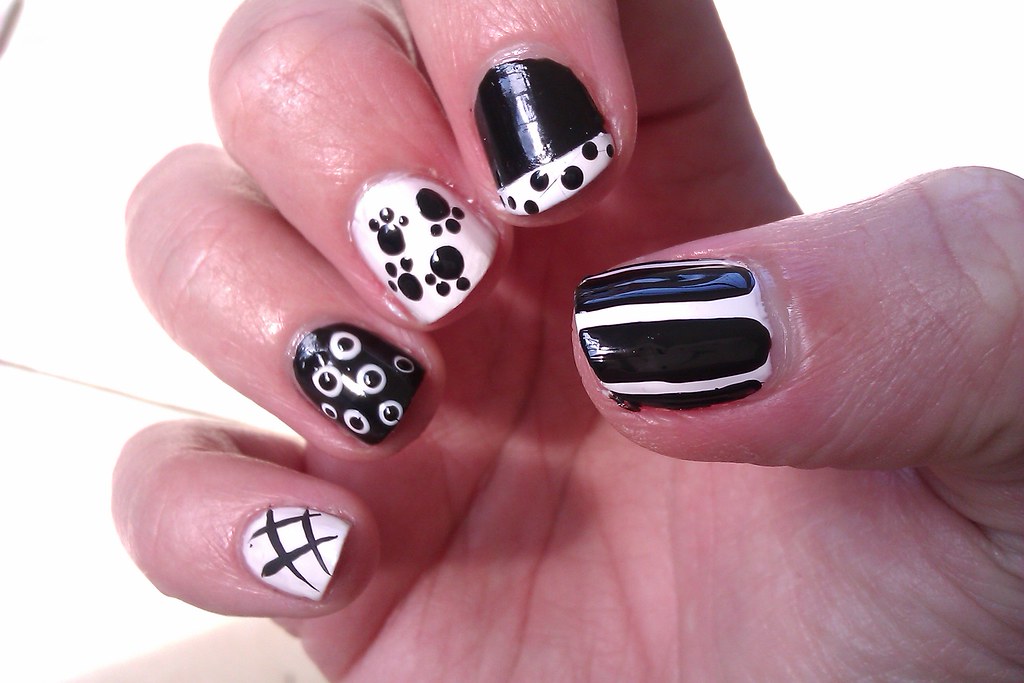
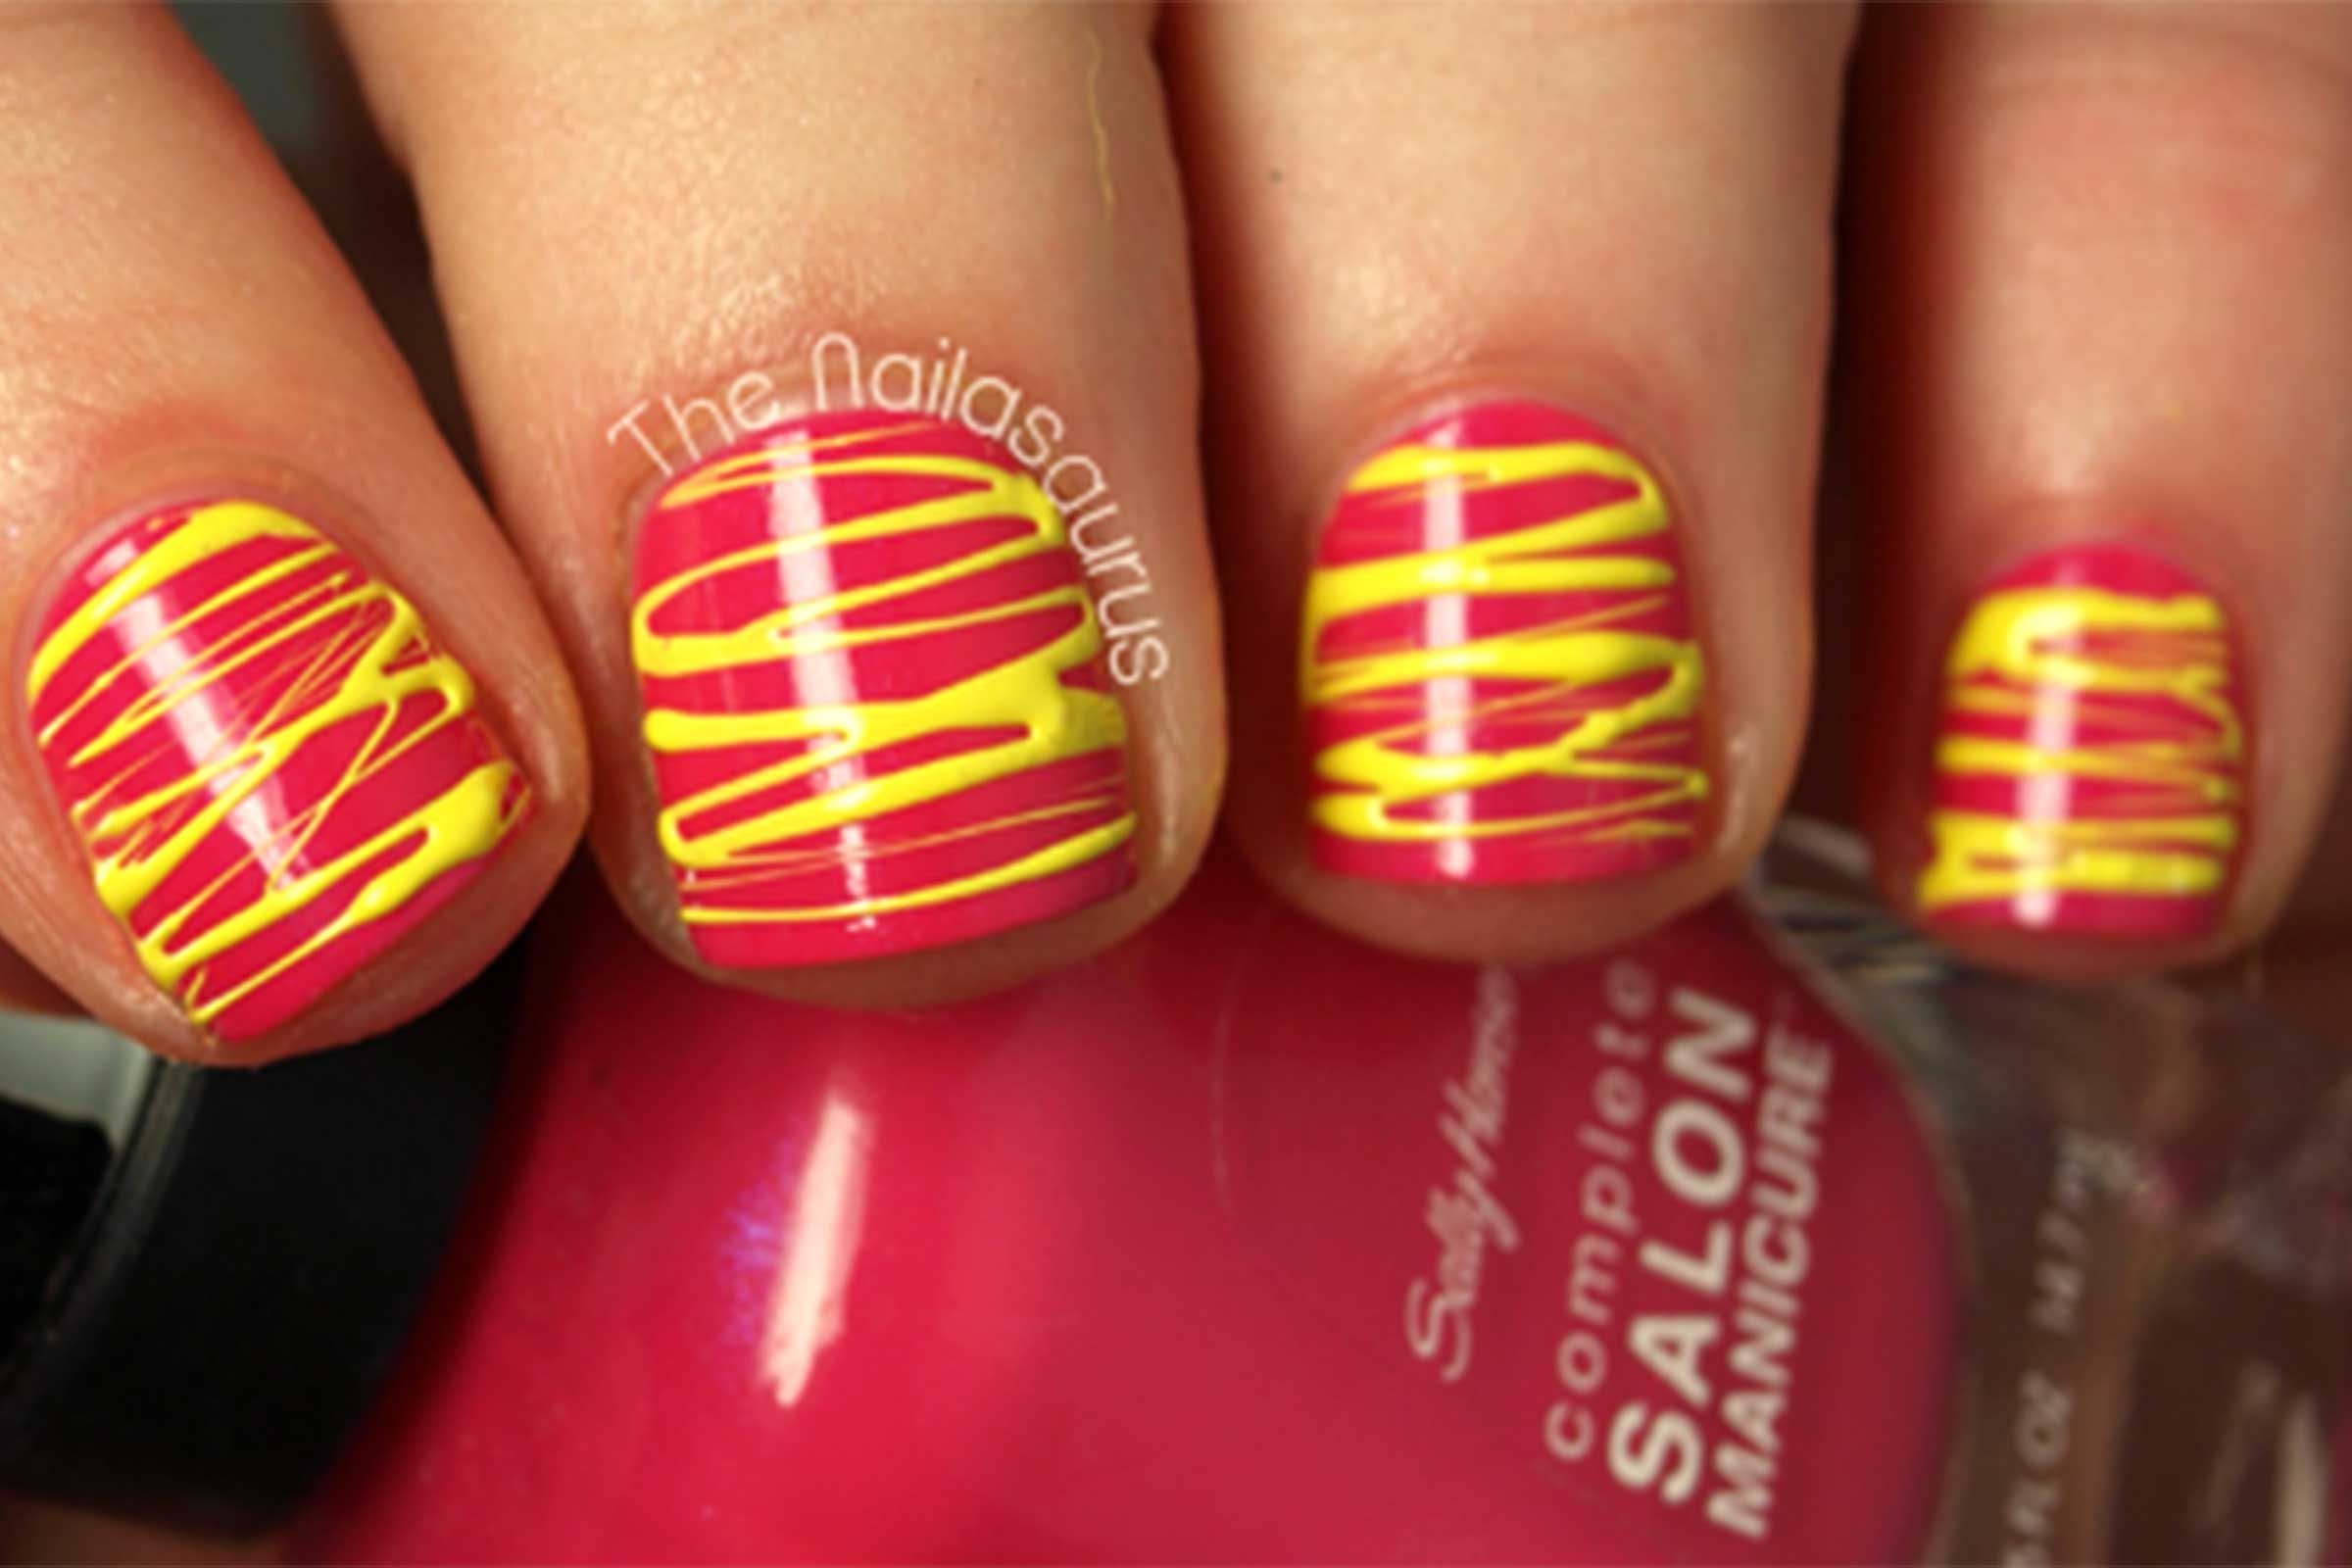
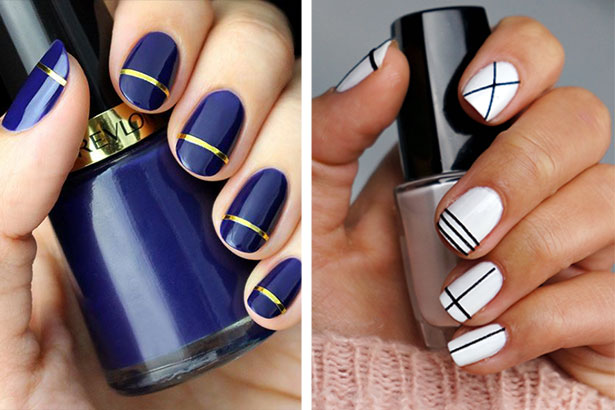
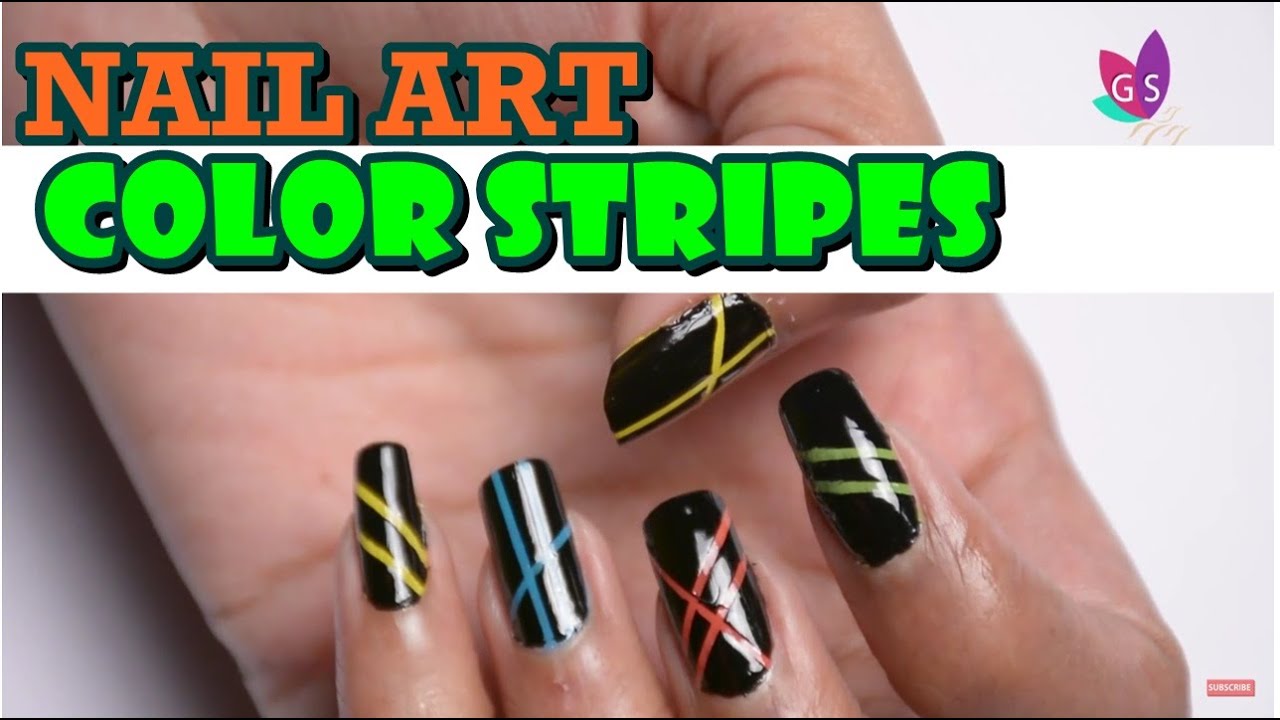
Stripes are a simple yet versatile design that can be achieved in many different ways. These easy DIY nail designs with stripes are perfect for those who want something quick and easy but still want to make a statement. Vertical stripes are a classic and elegant design that is perfect for any occasion. You can achieve this look by using a nail striping tape or a thin brush to paint straight lines on your nails. You can use one color or multiple colors for a fun and colorful look. To add a little bit of edge to your nails, try diagonal stripes. Follow the same process as vertical stripes, but instead of painting the lines straight, paint them at a diagonal angle for a unique and modern look. Stripes are an easy DIY nail design that will never go out of style.9. Easy DIY Nail Designs with Stripes

9. Easy DIY Nail Designs with Stripes


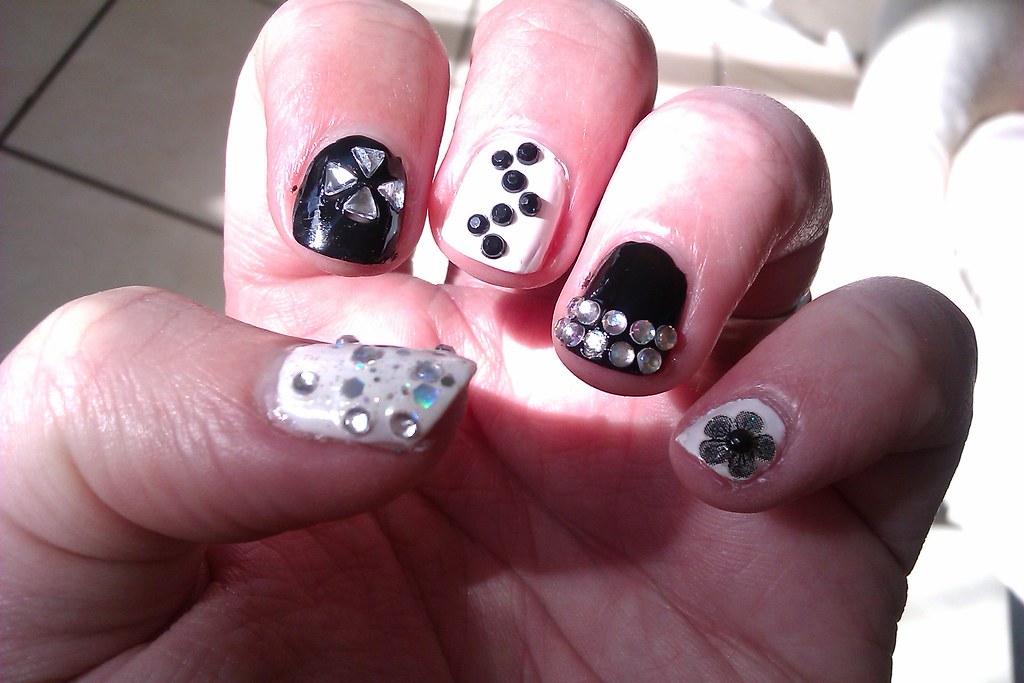
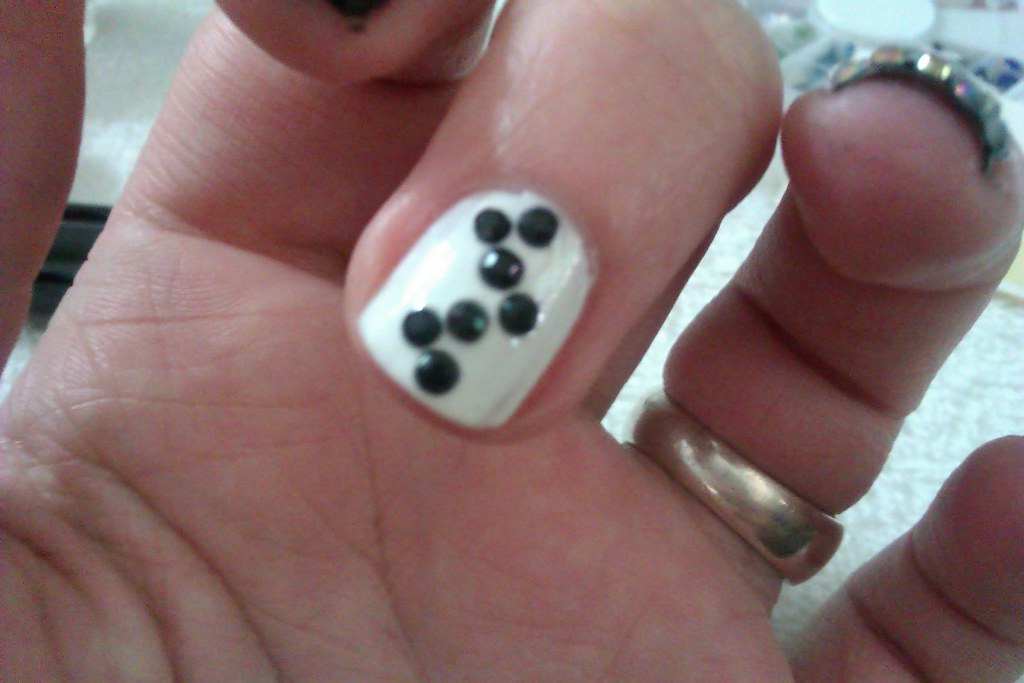
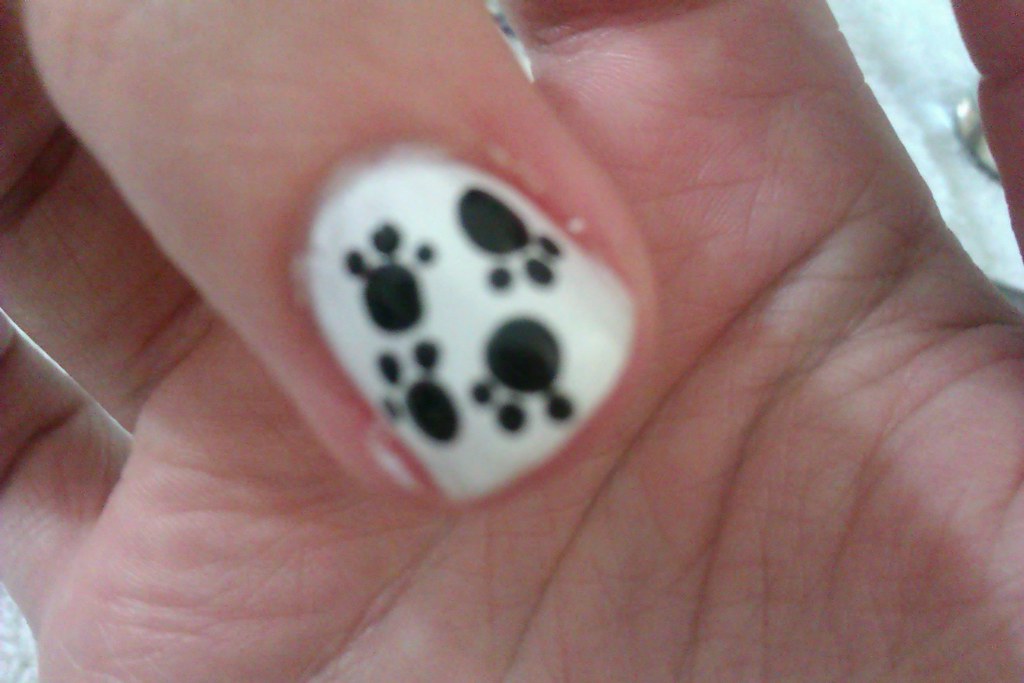
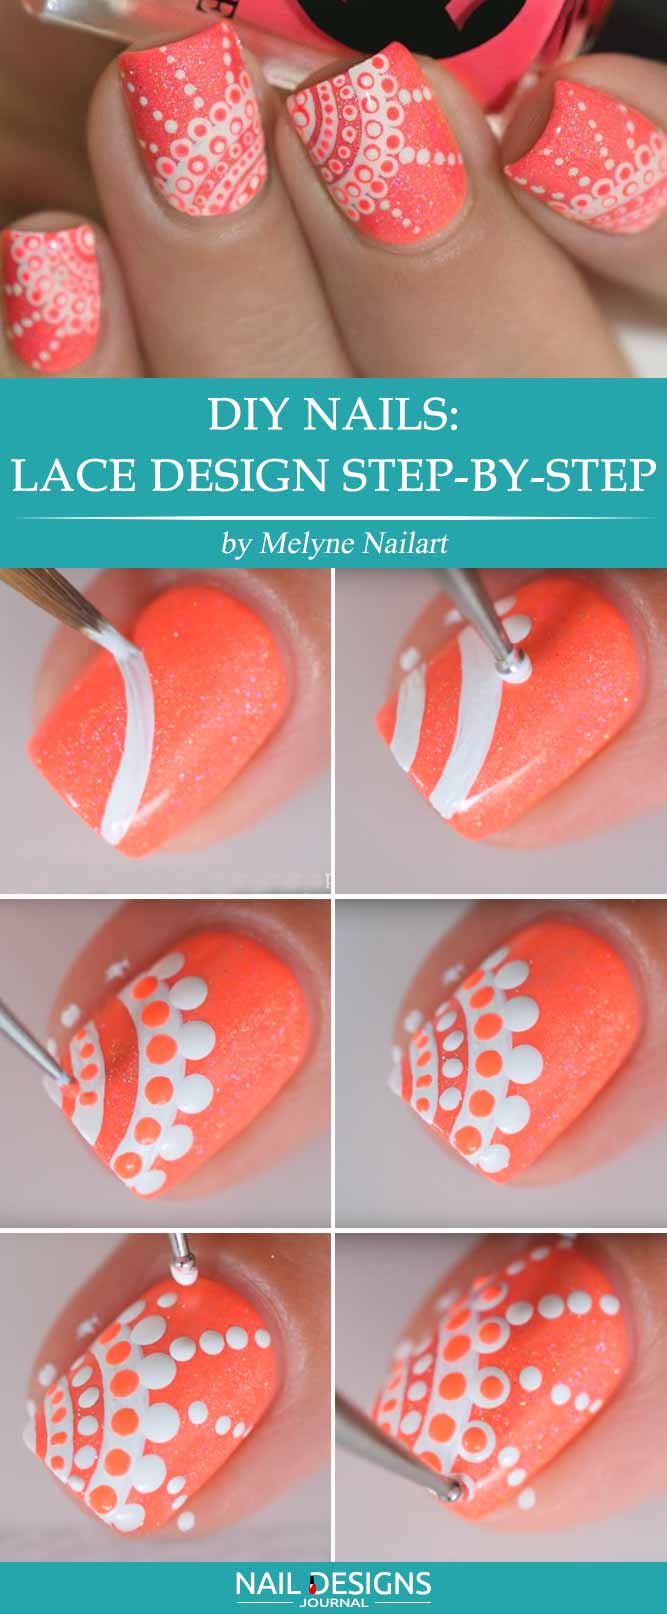
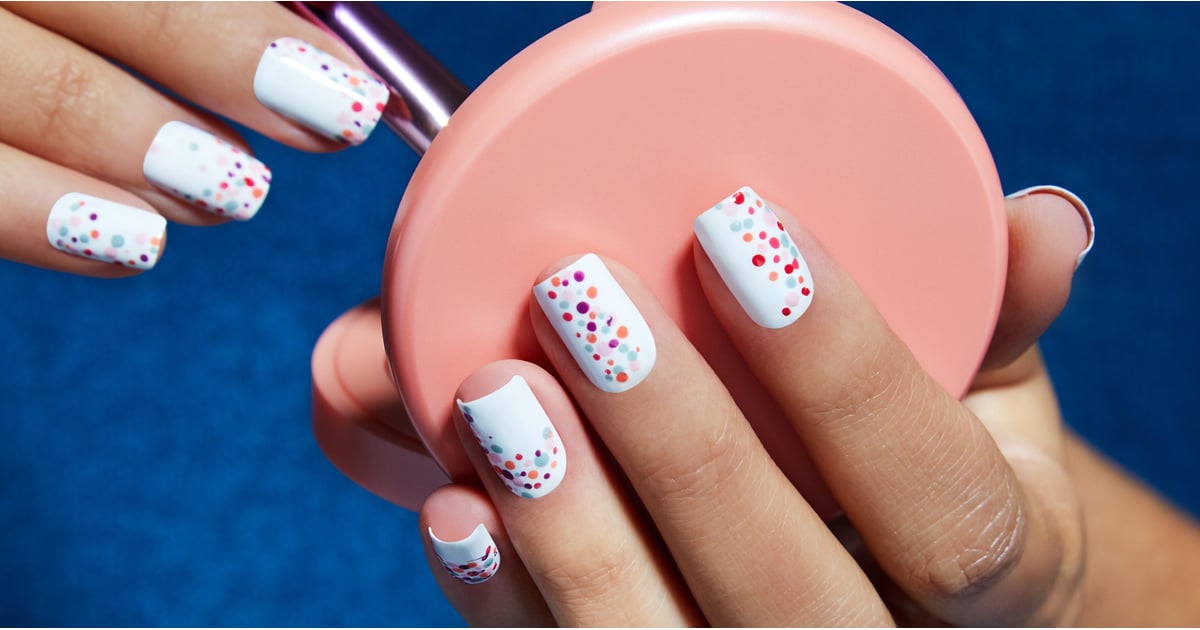
Polka dots are a playful and fun design that is perfect for those who want something simple yet eye-catching. These easy DIY nail designs with dots are perfect for any occasion. For a simple yet chic look, try single dot nails. Paint your nails with a base color, then use a dotting tool or toothpick to create a single dot on each nail. You can use a different color for each dot or stick to one color for a more subtle look. If you want something a little more intricate, try flower dot nails. Start by painting your nails with a base color, then use a dotting tool to create small dots in a circle to form a flower. You can use different colors for each flower or stick to one color for a more cohesive look. With dots, you can achieve easy DIY nail designs that are both playful and elegant.10. Easy DIY Nail Designs with Dots

10. Easy DIY Nail Designs with Dots

Introduction to Easy DIY Nail Design Ideas for Your Home

Transform Your Nails into a Work of Art with These Simple Tips
 Looking for a way to add a touch of creativity and personality to your home? Look no further than your own fingernails! With the rise of do-it-yourself (DIY) projects, it's easier than ever to achieve professional-looking
nail designs
without breaking the bank. Whether you're a beginner or a seasoned nail artist, these
easy DIY nail design ideas
will inspire you to create stunning designs that will make your friends and family envious.
Looking for a way to add a touch of creativity and personality to your home? Look no further than your own fingernails! With the rise of do-it-yourself (DIY) projects, it's easier than ever to achieve professional-looking
nail designs
without breaking the bank. Whether you're a beginner or a seasoned nail artist, these
easy DIY nail design ideas
will inspire you to create stunning designs that will make your friends and family envious.
Why Choose DIY Nail Designs?
 DIY
nail designs
are a fun and budget-friendly way to add a unique and personal touch to your home. They allow you to express your creativity and experiment with different colors, patterns, and techniques. Plus, with the right tools and techniques, you can achieve salon-quality results from the comfort of your own home.
DIY
nail designs
are a fun and budget-friendly way to add a unique and personal touch to your home. They allow you to express your creativity and experiment with different colors, patterns, and techniques. Plus, with the right tools and techniques, you can achieve salon-quality results from the comfort of your own home.
Step-by-Step Guide to Creating Easy DIY Nail Designs
 Before diving into the world of
DIY nail designs
, it's important to have the necessary tools on hand. These include a base coat, top coat,
nail polish
, nail art brushes, dotting tools, and nail stickers. Once you have your supplies ready, follow these simple steps to create your own
nail design
:
1. Start with a clean and dry nail surface. Remove any old nail polish and file your nails to your desired shape.
2. Apply a base coat to protect your nails and help the
nail polish
last longer.
3. Choose your base color and apply two coats for a solid and even coverage.
4. Use a dotting tool to create polka dots or other designs using a different color of
nail polish
.
5. Use a nail art brush to create intricate designs such as flowers, stripes, or abstract patterns.
6. Let the design dry completely before applying a top coat to seal and protect your
nail art
.
Before diving into the world of
DIY nail designs
, it's important to have the necessary tools on hand. These include a base coat, top coat,
nail polish
, nail art brushes, dotting tools, and nail stickers. Once you have your supplies ready, follow these simple steps to create your own
nail design
:
1. Start with a clean and dry nail surface. Remove any old nail polish and file your nails to your desired shape.
2. Apply a base coat to protect your nails and help the
nail polish
last longer.
3. Choose your base color and apply two coats for a solid and even coverage.
4. Use a dotting tool to create polka dots or other designs using a different color of
nail polish
.
5. Use a nail art brush to create intricate designs such as flowers, stripes, or abstract patterns.
6. Let the design dry completely before applying a top coat to seal and protect your
nail art
.
Get Creative with These Easy DIY Nail Design Ideas
 There are endless possibilities when it comes to
DIY nail designs
. Here are a few ideas to get you started:
- Create an ombre effect by using different shades of the same color.
- Use nail stickers or stencils for a quick and easy design.
- Add glitter or rhinestones for a touch of sparkle.
- Experiment with negative space by leaving parts of your nails bare and creating designs around it.
- Use
nail polish
to create a marble effect by swirling different colors together.
There are endless possibilities when it comes to
DIY nail designs
. Here are a few ideas to get you started:
- Create an ombre effect by using different shades of the same color.
- Use nail stickers or stencils for a quick and easy design.
- Add glitter or rhinestones for a touch of sparkle.
- Experiment with negative space by leaving parts of your nails bare and creating designs around it.
- Use
nail polish
to create a marble effect by swirling different colors together.
In Conclusion
 With these
easy DIY nail design ideas
, you can elevate your home decor and showcase your personal style through your nails. The best part is, you don't have to be a professional nail artist to achieve beautiful and unique designs. So grab your supplies and get creative! Your nails will thank you.
With these
easy DIY nail design ideas
, you can elevate your home decor and showcase your personal style through your nails. The best part is, you don't have to be a professional nail artist to achieve beautiful and unique designs. So grab your supplies and get creative! Your nails will thank you.


