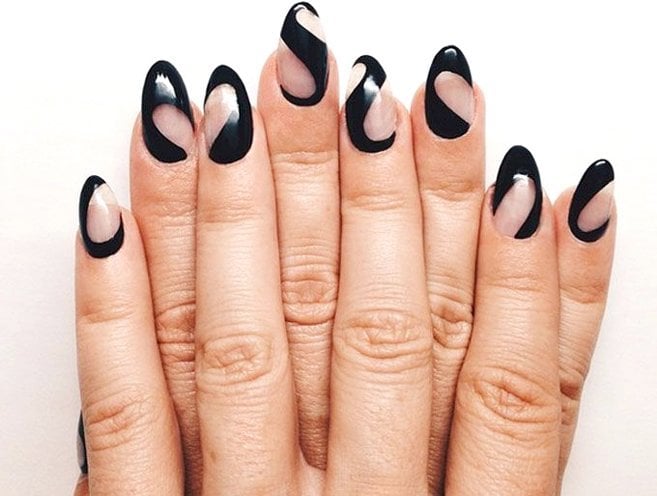
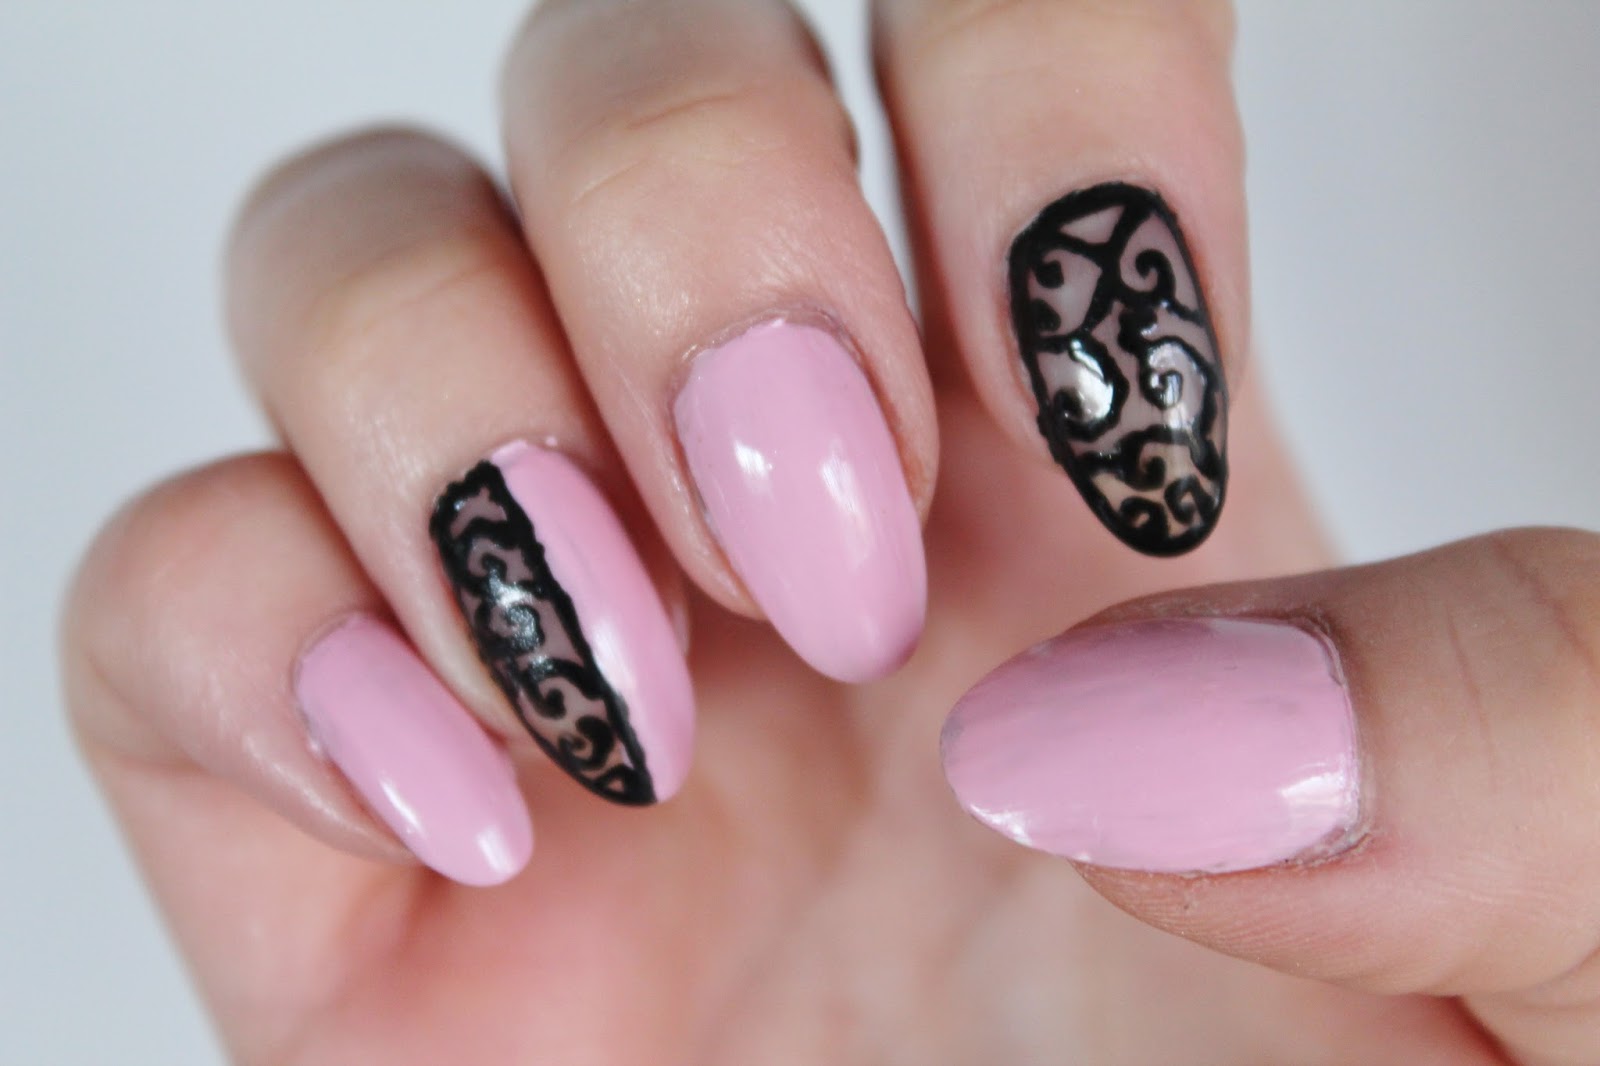
Looking for a trendy and chic nail design that you can do at home? Look no further than negative space nail art. This modern twist on the classic manicure is all the rage right now, and for good reason. Not only is it super easy to do, but it also adds a unique and eye-catching element to your nails. Read on to learn how to create 10 different negative space nail designs with our step-by-step tutorial.1. Easy DIY Negative Space Nail Design Tutorial
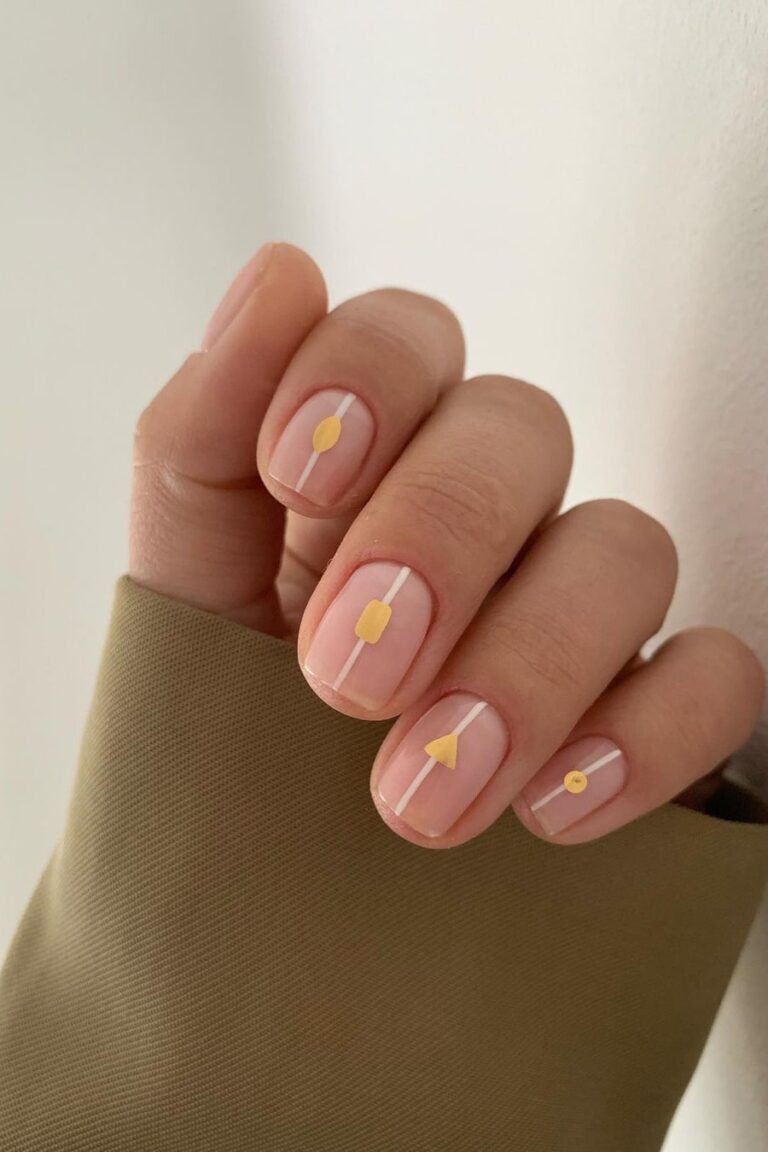

1. Easy DIY Negative Space Nail Design Tutorial


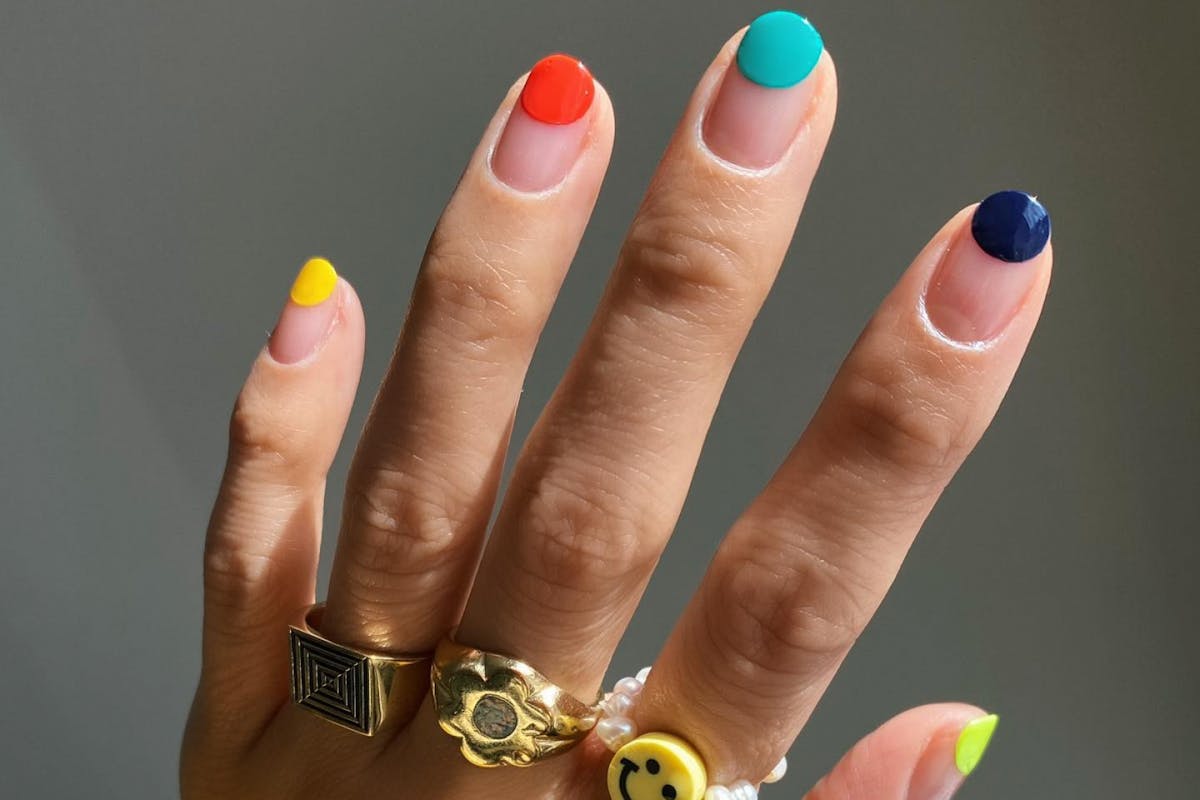
The beauty of negative space nail art is that it allows your natural nails to shine through, creating a minimalist and elegant look. To start, you'll need a base coat, a top coat, and your choice of nail polish colors. Pro tip: choose contrasting colors for a bold look or similar shades for a more subtle effect.2. Negative Space Nail Art Tutorial


2. Negative Space Nail Art Tutorial


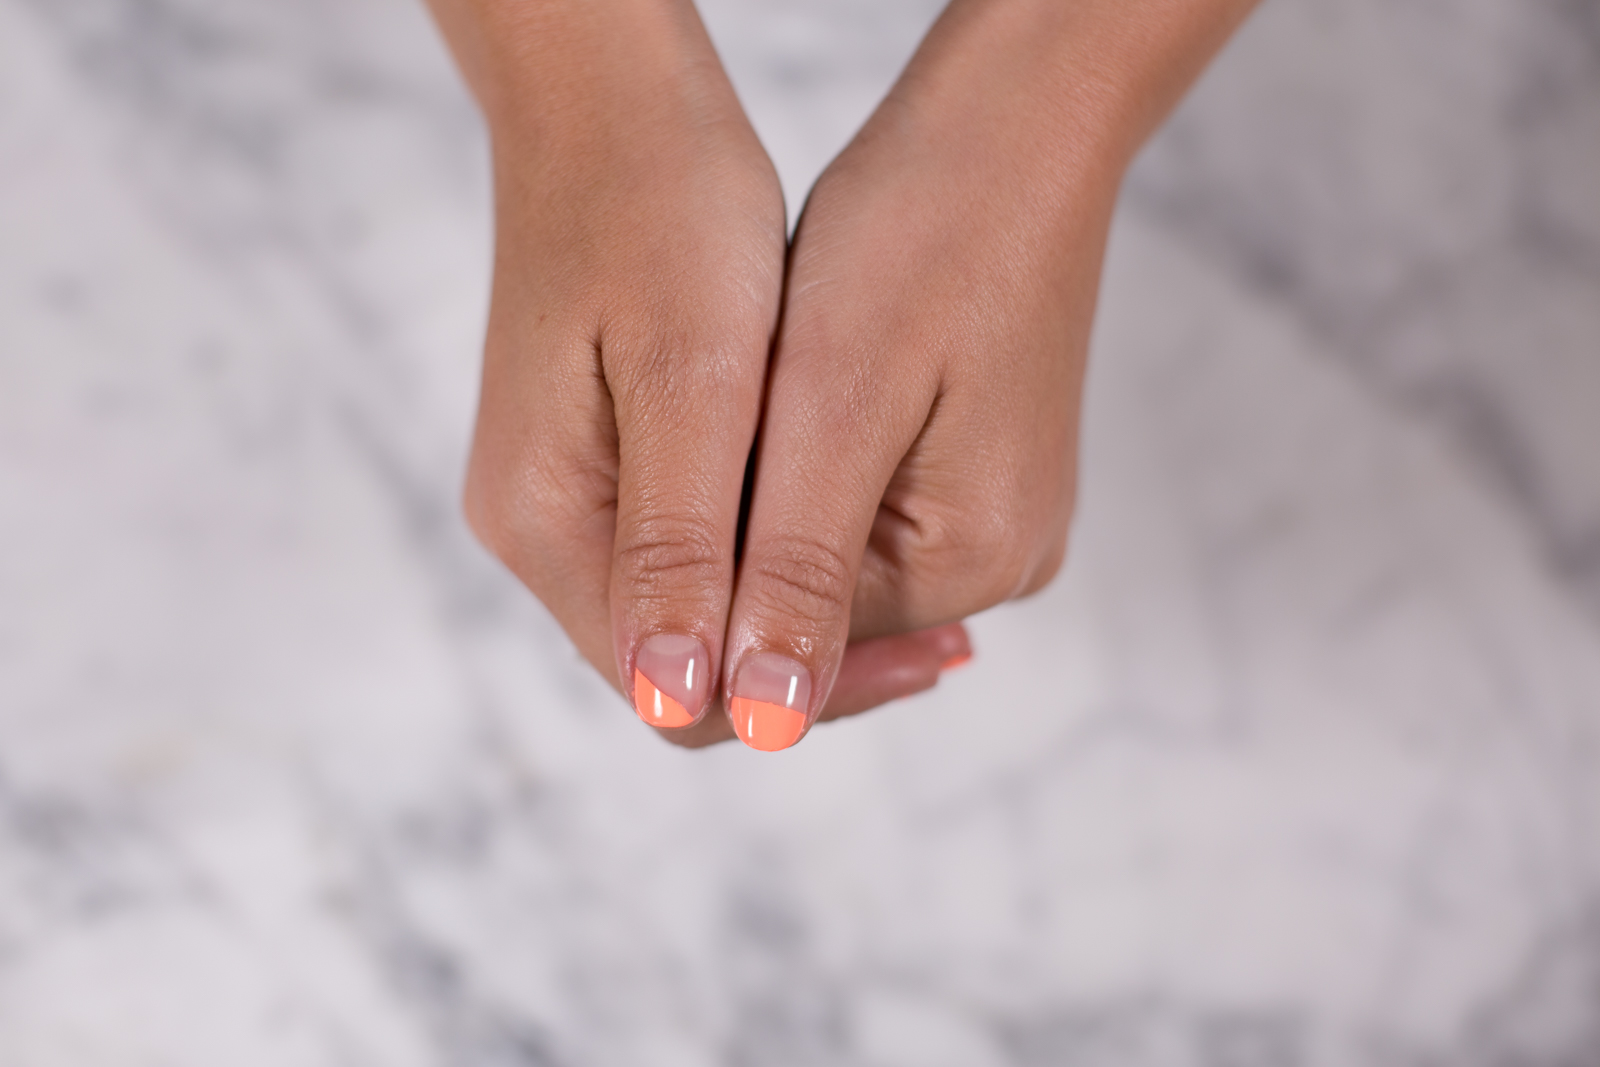
For a simple yet stunning negative space nail design, start by applying a base coat to protect your nails. Then, use a toothpick or a thin brush to create a negative space pattern on your nails. You can make stripes, triangles, or any other shape you desire. Allow the pattern to dry before applying a top coat to seal in your design.3. Simple DIY Negative Space Nails


3. Simple DIY Negative Space Nails

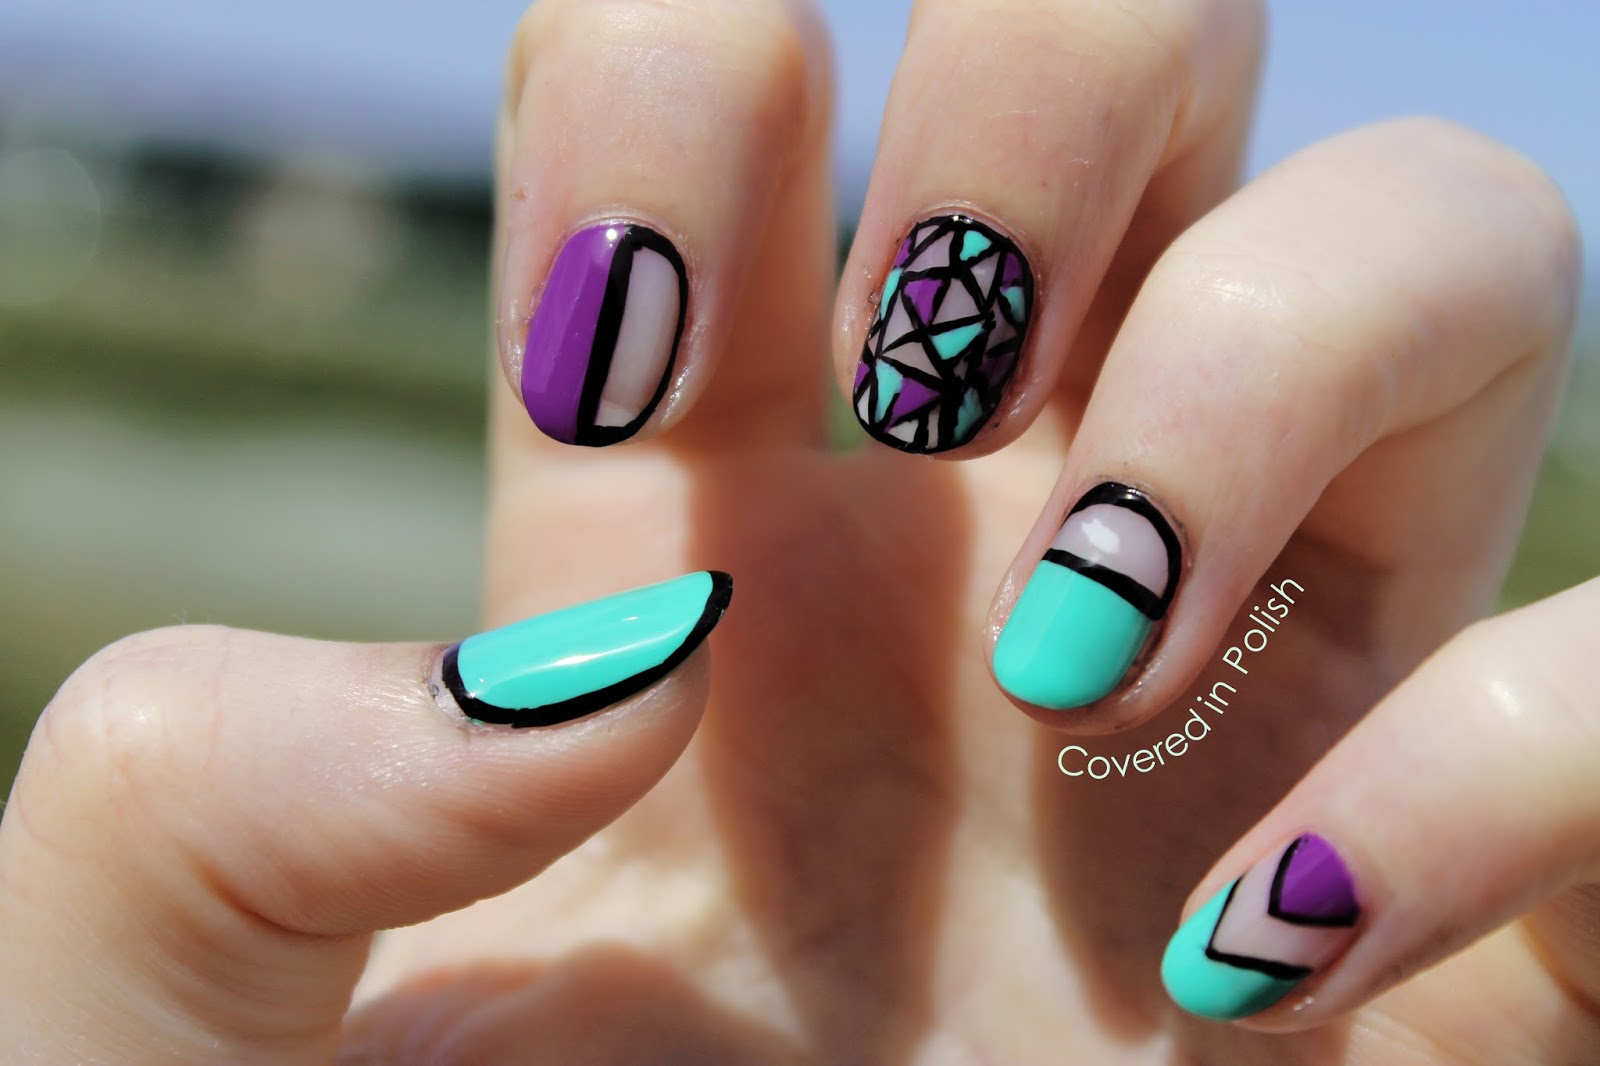
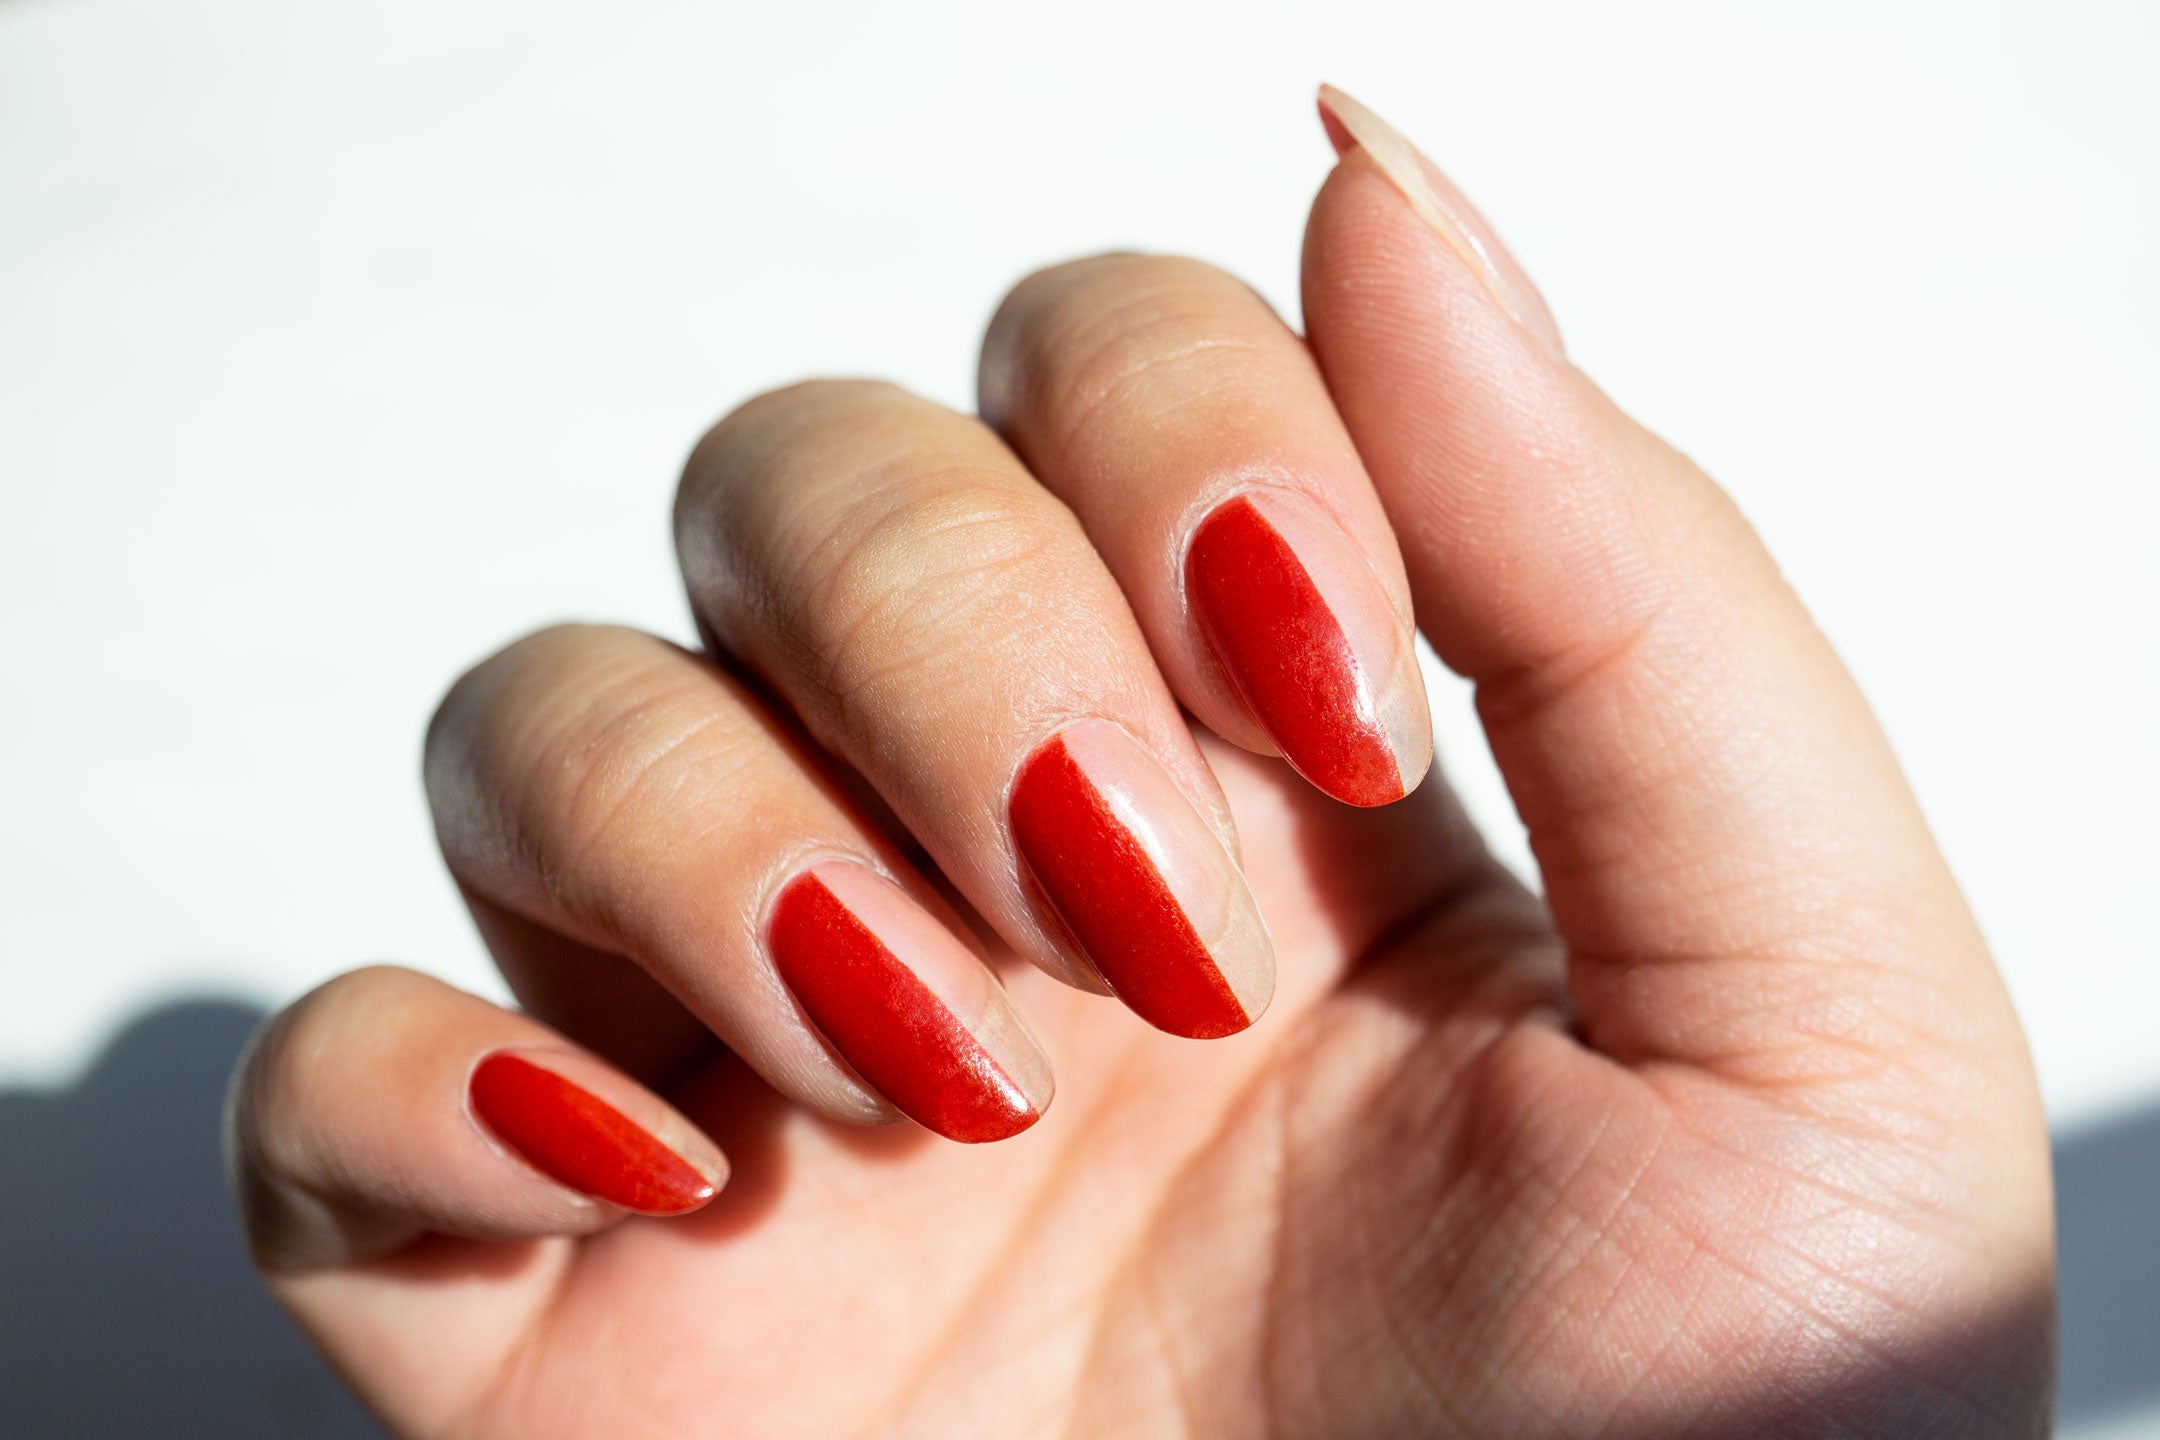


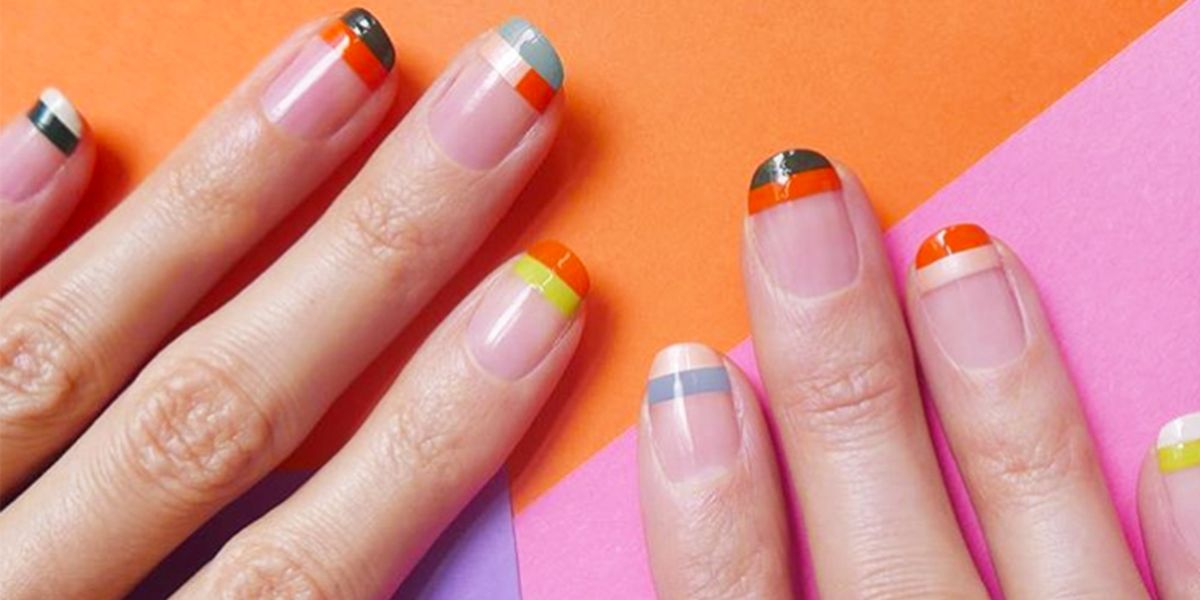
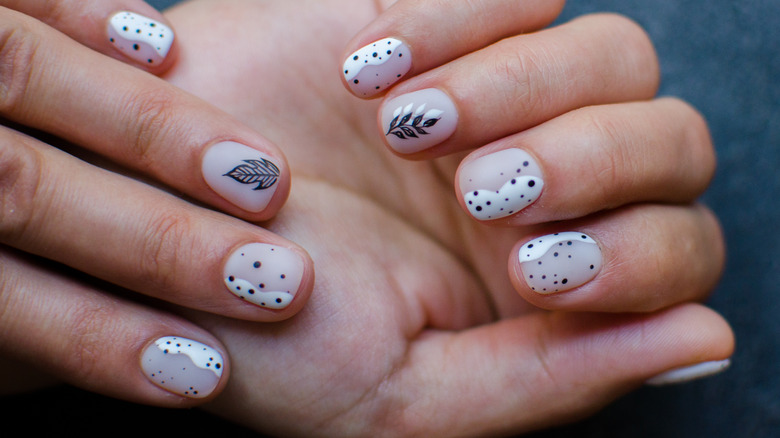
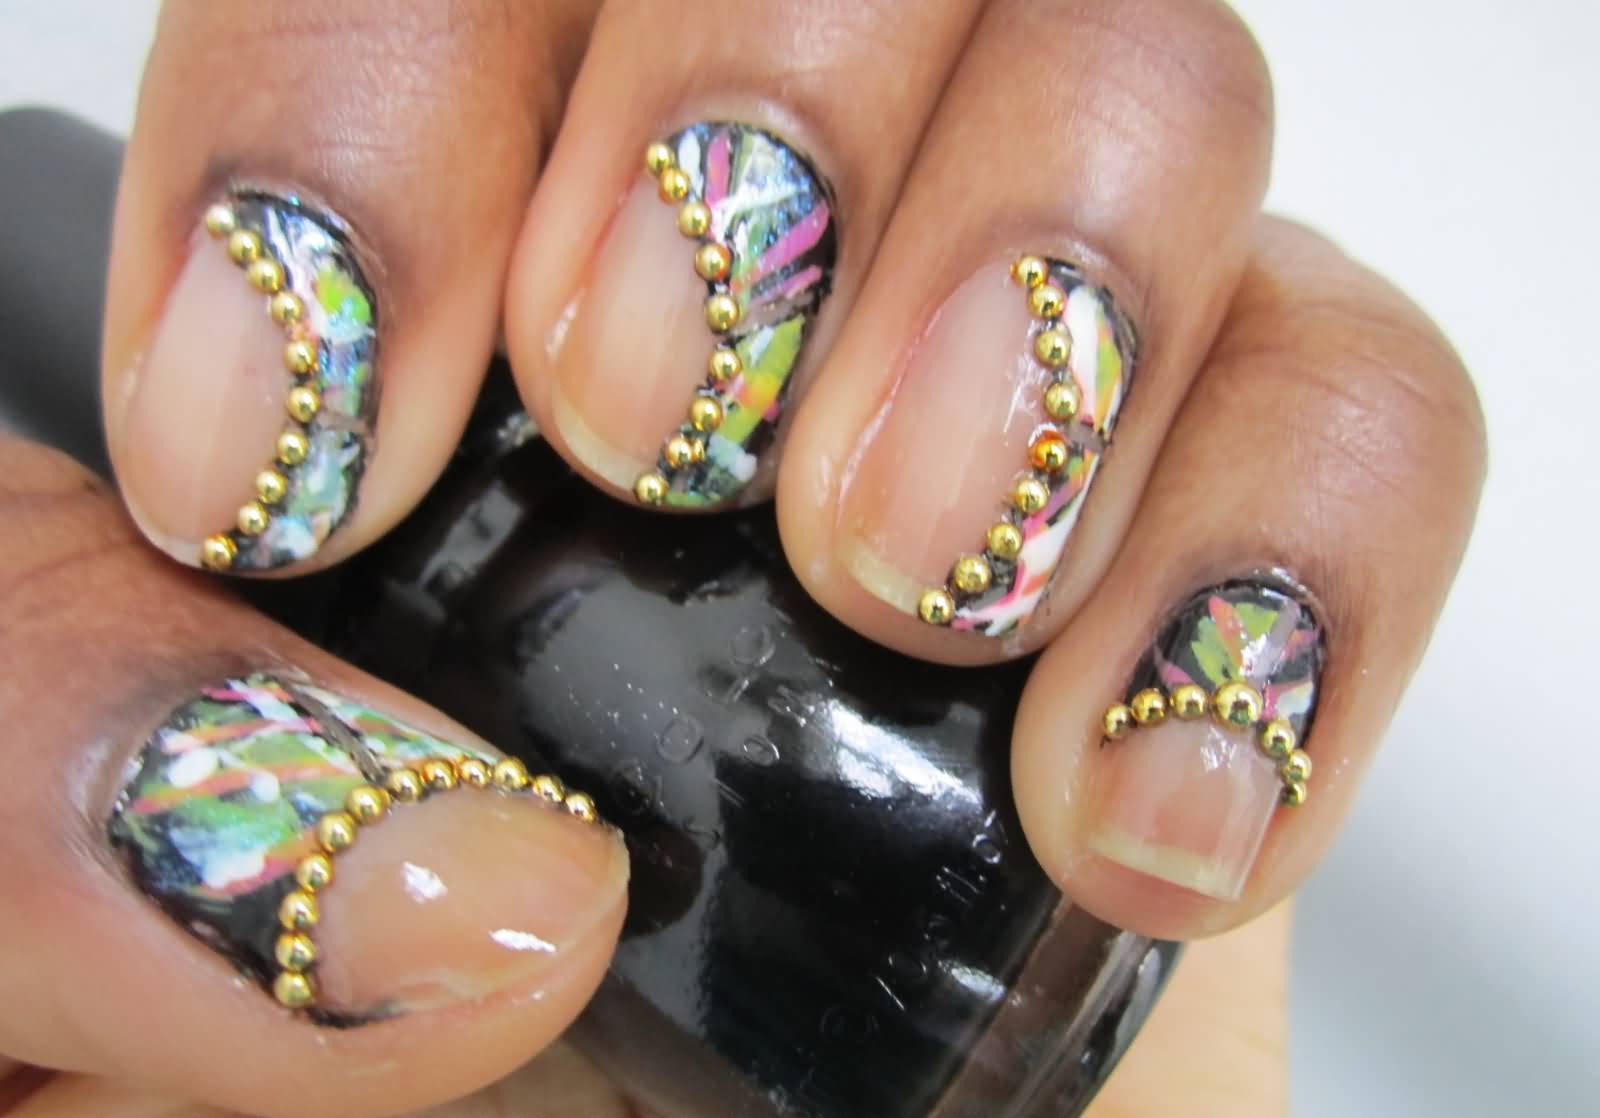
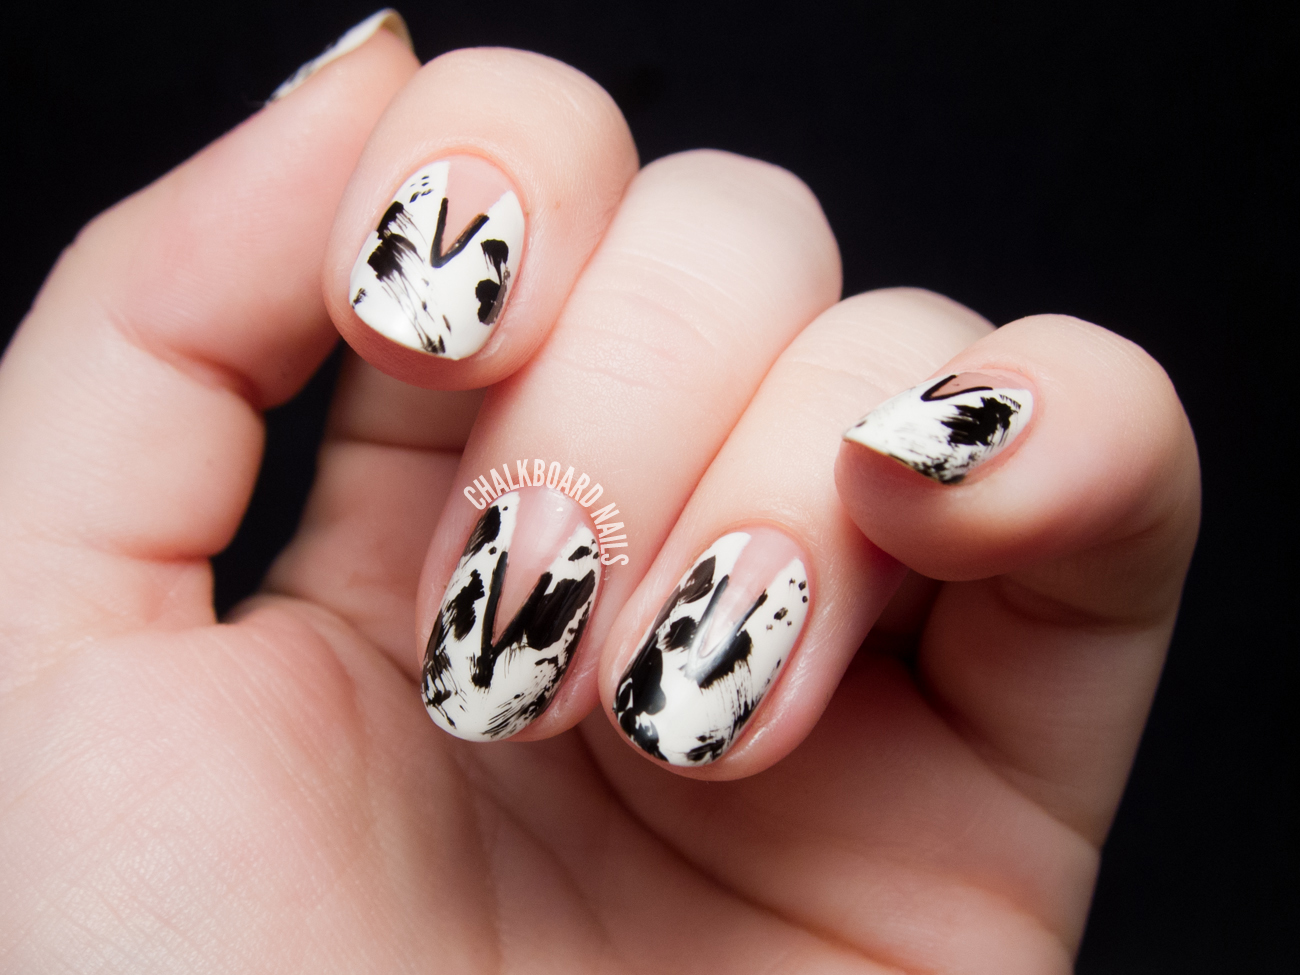
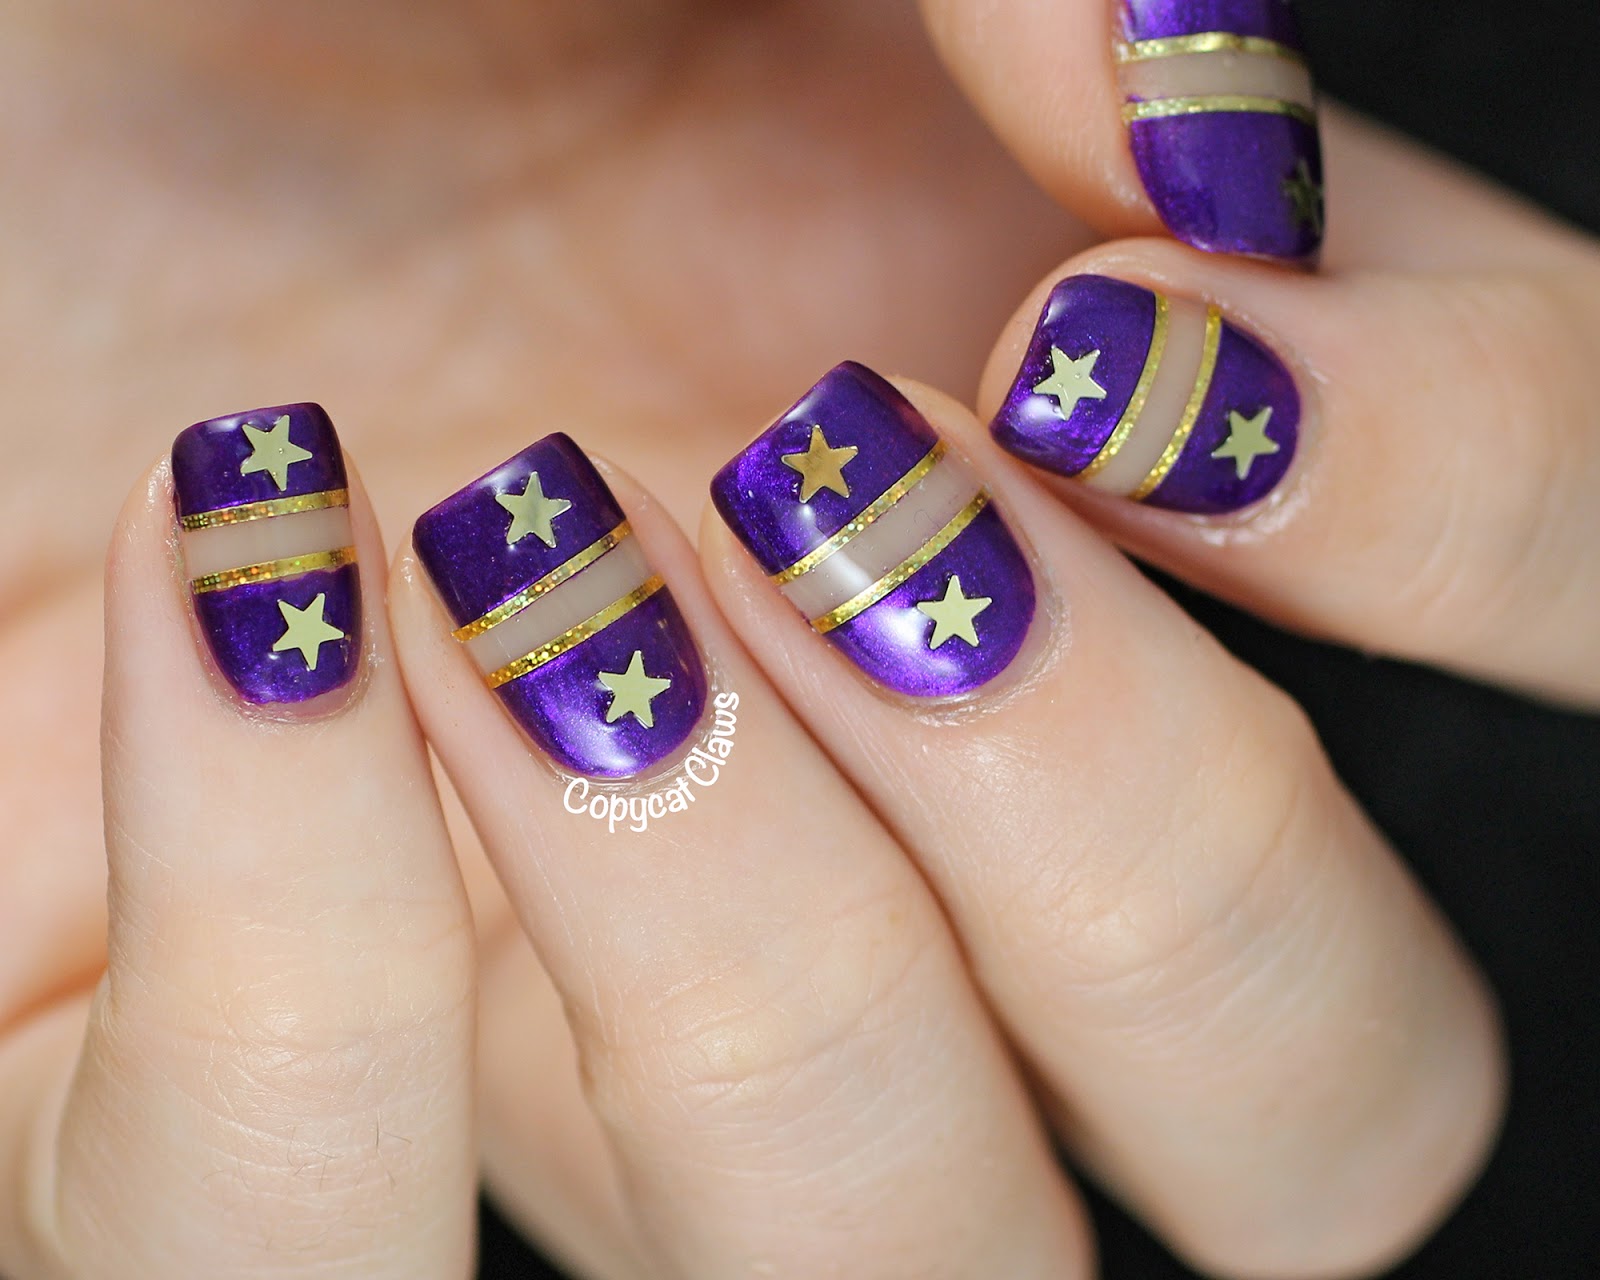
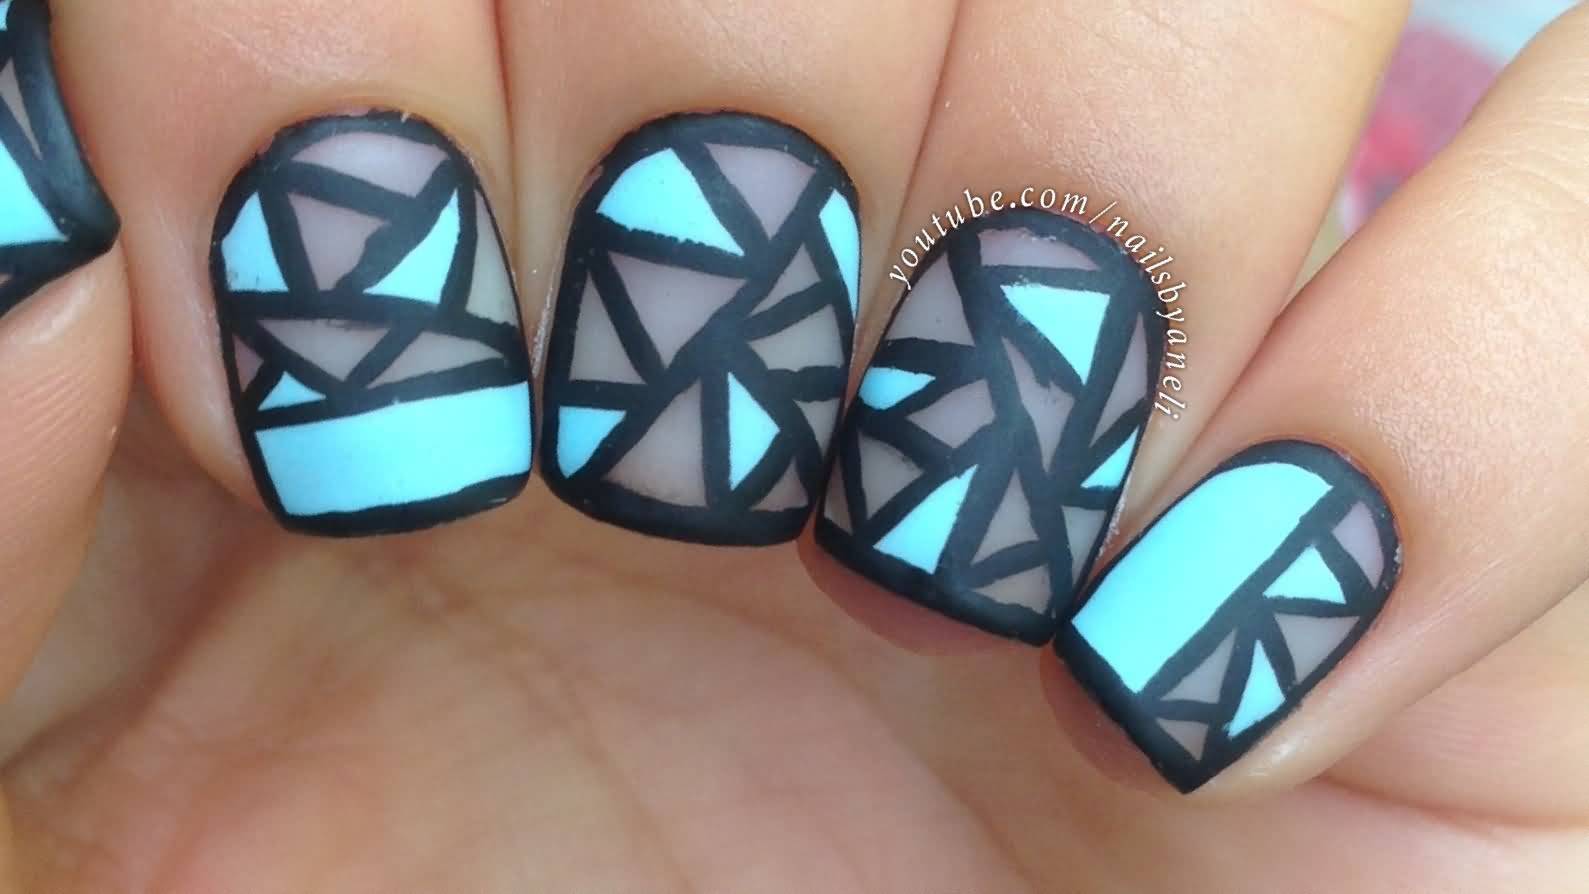
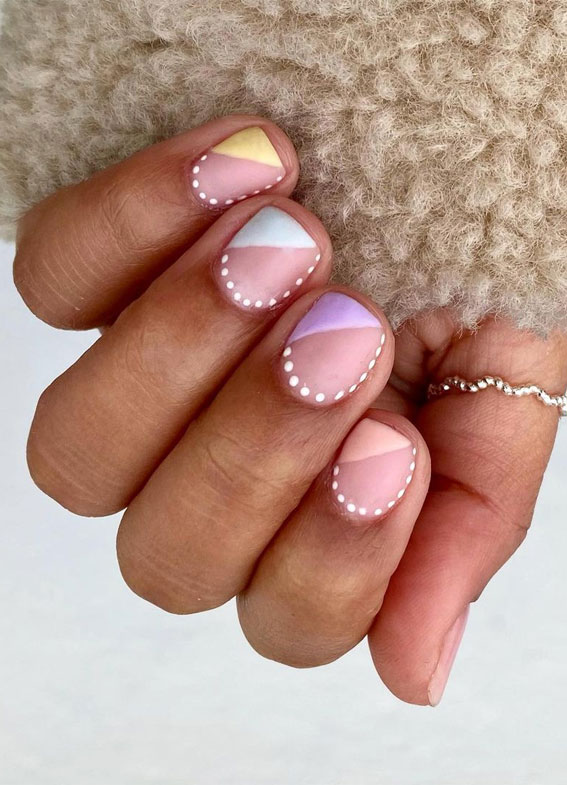
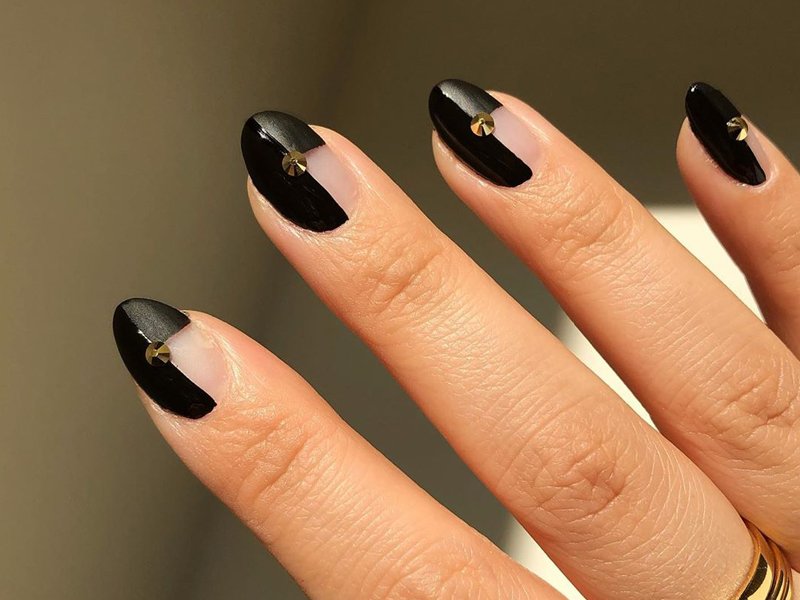
The possibilities for negative space nail designs are endless. Here are a few ideas to get you started: - Create a French manicure with a twist by leaving a negative space line instead of a white tip. - Use a glitter polish in the negative space for a subtle yet sparkly look. - Experiment with different shapes and patterns, such as chevrons, dots, or geometric designs. - Add a pop of color by painting a negative space shape in a bright hue.4. Negative Space Nail Design Ideas


4. Negative Space Nail Design Ideas

If you're new to negative space nail art, start with a simple design and gradually work your way up to more complex patterns. Don't worry if your lines aren't perfectly straight or your shapes aren't symmetrical – the beauty of this style is in its imperfections.5. Negative Space Nail Art for Beginners

5. Negative Space Nail Art for Beginners

Think you can't rock negative space nail art because you have short nails? Think again. This design looks just as stunning on shorter nails, and you can even use it to create the illusion of longer nails. Simply leave more negative space at the base of your nail and create a smaller design at the tip.6. DIY Negative Space Nail Tutorial for Short Nails

6. DIY Negative Space Nail Tutorial for Short Nails


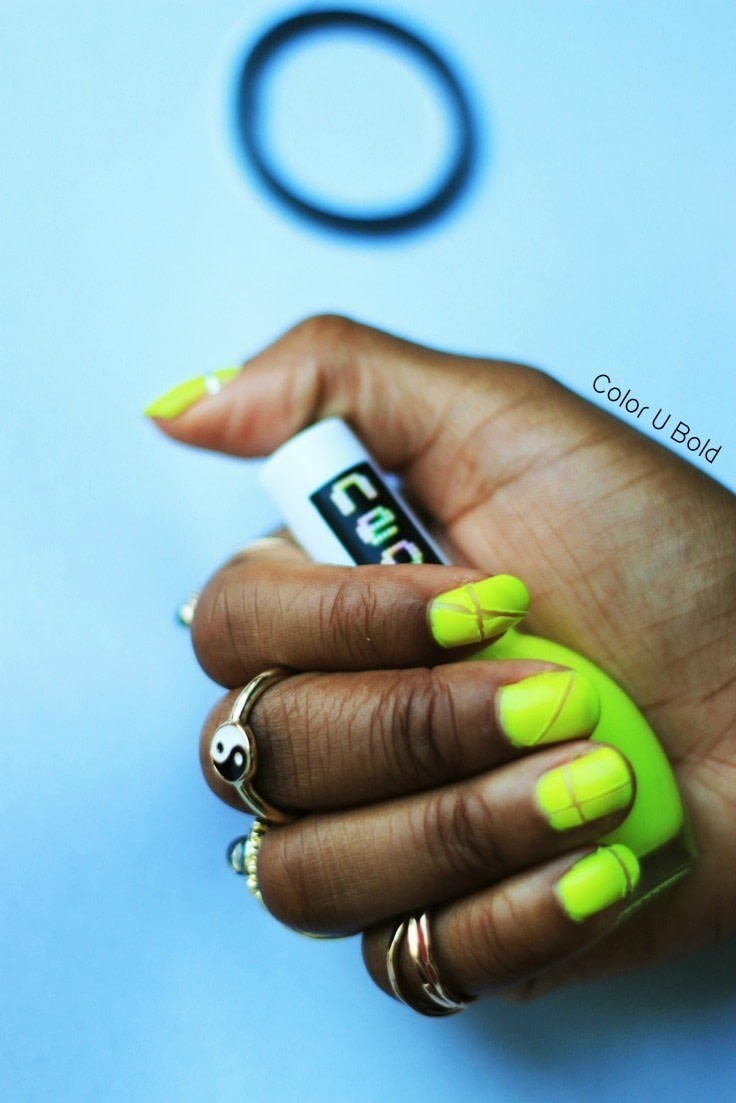
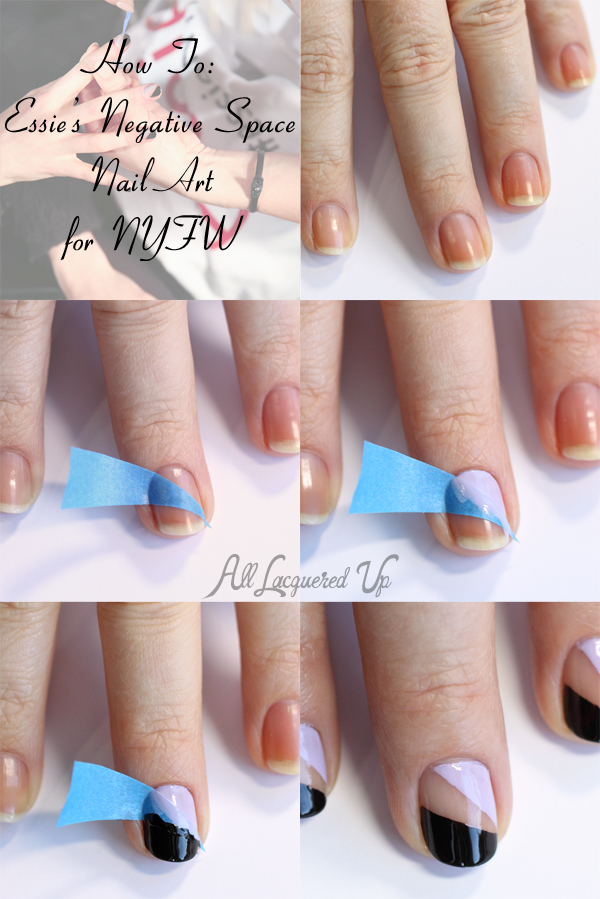
If you struggle with creating clean, straight lines, try using tape to help you out. Simply cut thin strips of tape and place them on your nails to create the negative space pattern. Make sure to press down the edges firmly to prevent any polish from bleeding under the tape. Once your design is complete, carefully remove the tape and seal it with a top coat.7. Negative Space Nail Designs with Tape


7. Negative Space Nail Designs with Tape


Still feeling unsure about how to create negative space nail art? Follow these simple steps: 1. Apply a base coat to protect your nails. 2. Choose your desired colors and let them dry completely. 3. Using a toothpick or thin brush, create your negative space design. 4. Allow the design to dry before applying a top coat. 5. Clean up any excess polish around your nails with a cotton swab dipped in nail polish remover.8. Negative Space Nail Art Step by Step

8. Negative Space Nail Art Step by Step


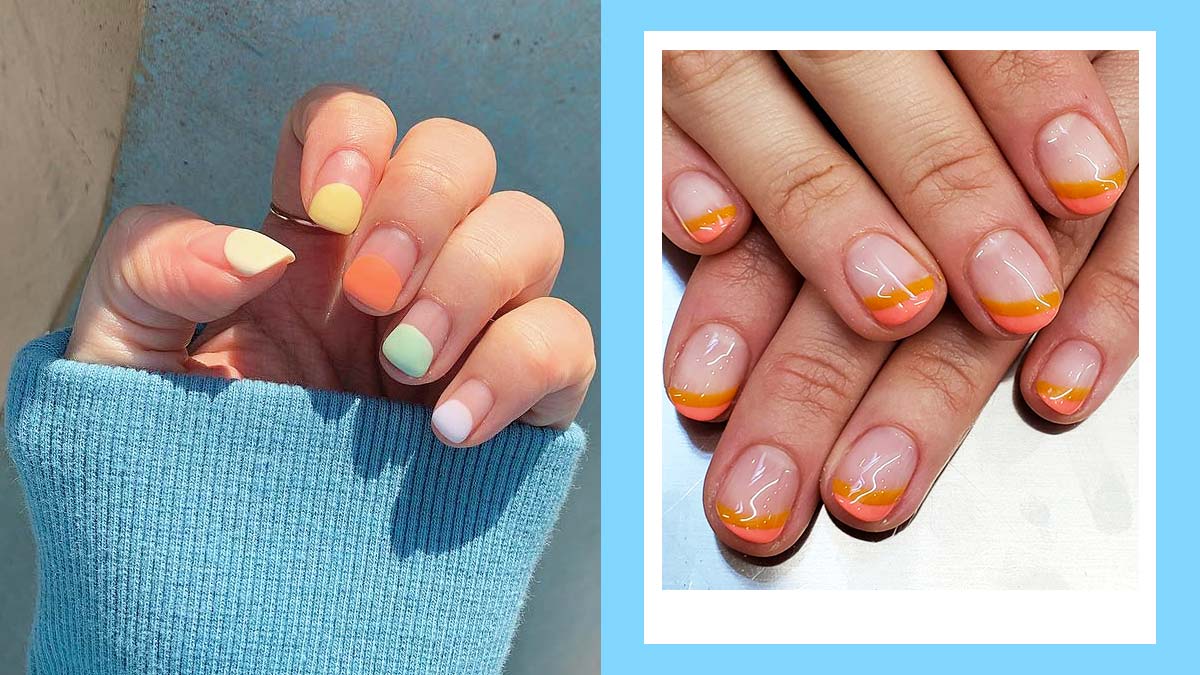
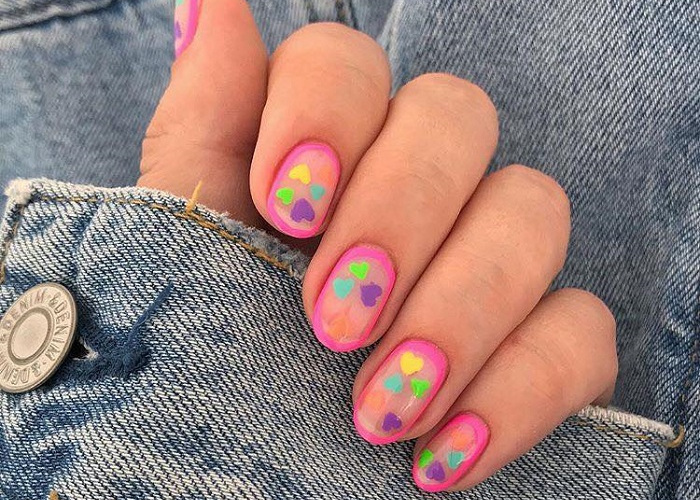
Negative space nail art is perfect for summer because it allows your nails to breathe and feel fresh. Try incorporating bright, vibrant colors and fun patterns to create the perfect summer look. You can even add some tropical elements, such as palm trees or pineapples, to really embrace the summer vibes.9. Negative Space Nail Designs for Summer
9. Negative Space Nail Designs for Summer
If you're looking for a quick and easy way to achieve a stunning negative space nail design, try using nail stickers. These pre-made designs come in a variety of shapes and patterns, making it easy to achieve a flawless look. Simply place the sticker on your nail, paint over it with your desired color, and remove the sticker to reveal your negative space design. With these 10 easy DIY negative space nail design tutorials, you'll be rocking trendy and chic nails in no time. So grab your nail polish and get creative – the possibilities are endless!10. Negative Space Nail Art Using Stickers

10. Negative Space Nail Art Using Stickers

Creating a Stunning Negative Space Nail Design at Home

The Power of Negative Space in Nail Design
 When it comes to nail design, negative space is a trend that has been gaining popularity in recent years. This technique involves leaving parts of the nail bare, creating a bold and unique look. Not only does it add an element of sophistication to your nails, but it also allows for endless creativity and experimentation. And the best part? You can easily achieve this look at home with just a few simple steps.
Gather Your Materials
 Before you begin, make sure you have all the necessary materials. This includes
nail polish remover
,
nail file
,
nail polish
in your desired colors,
scotch tape
, and a
top coat
. You can also add
rhinestones
,
glitter
, or any other
nail accessories
to enhance your design.
Before you begin, make sure you have all the necessary materials. This includes
nail polish remover
,
nail file
,
nail polish
in your desired colors,
scotch tape
, and a
top coat
. You can also add
rhinestones
,
glitter
, or any other
nail accessories
to enhance your design.
Prep Your Nails
 The key to achieving a flawless negative space nail design is to start with a clean canvas. Begin by removing any old nail polish and shaping your nails with a file. Next, apply a clear base coat to protect your nails and allow it to dry completely before moving on to the next step.
Get Creative with Scotch Tape
 Take a strip of scotch tape and cut it into small pieces. These will act as stencils to create different shapes and designs on your nails. Place the tape pieces on your nails, leaving some parts of your nail exposed. This will create the negative space effect. You can experiment with different shapes and patterns, or keep it simple with a classic French tip design.
Paint Away
 Now it's time to bring your design to life with your chosen nail polish colors. Carefully paint over the exposed parts of your nails, making sure to stay within the taped-off areas. You may need to apply a few coats to get the desired opacity. Once you're happy with the colors, carefully remove the tape before the polish dries.
Seal the Look
 To ensure your negative space nail design lasts, apply a top coat to seal and protect your nails. This will also give your design a glossy finish. You can also add rhinestones or glitter to add some extra sparkle and dimension to your nails.
Unleash Your Creativity
 The beauty of negative space nail design is that the possibilities are endless. You can mix and match colors, shapes, and patterns to create a unique and personalized look. Don't be afraid to experiment and have fun with it!
In Conclusion
 With just a few simple steps and some creativity, you can easily achieve a stunning negative space nail design at home. Whether you're looking for a subtle and elegant look or a bold and eye-catching design, this technique allows you to express yourself and stand out from the crowd. So why not give it a try and see where your imagination takes you?


