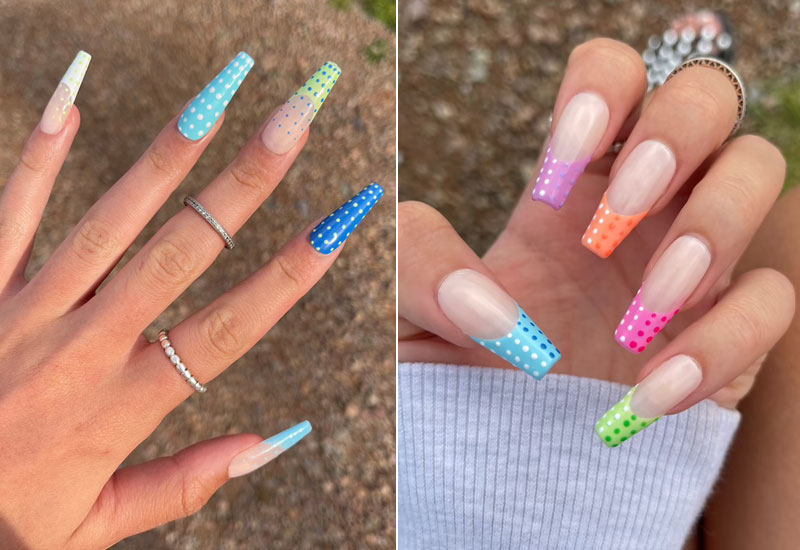
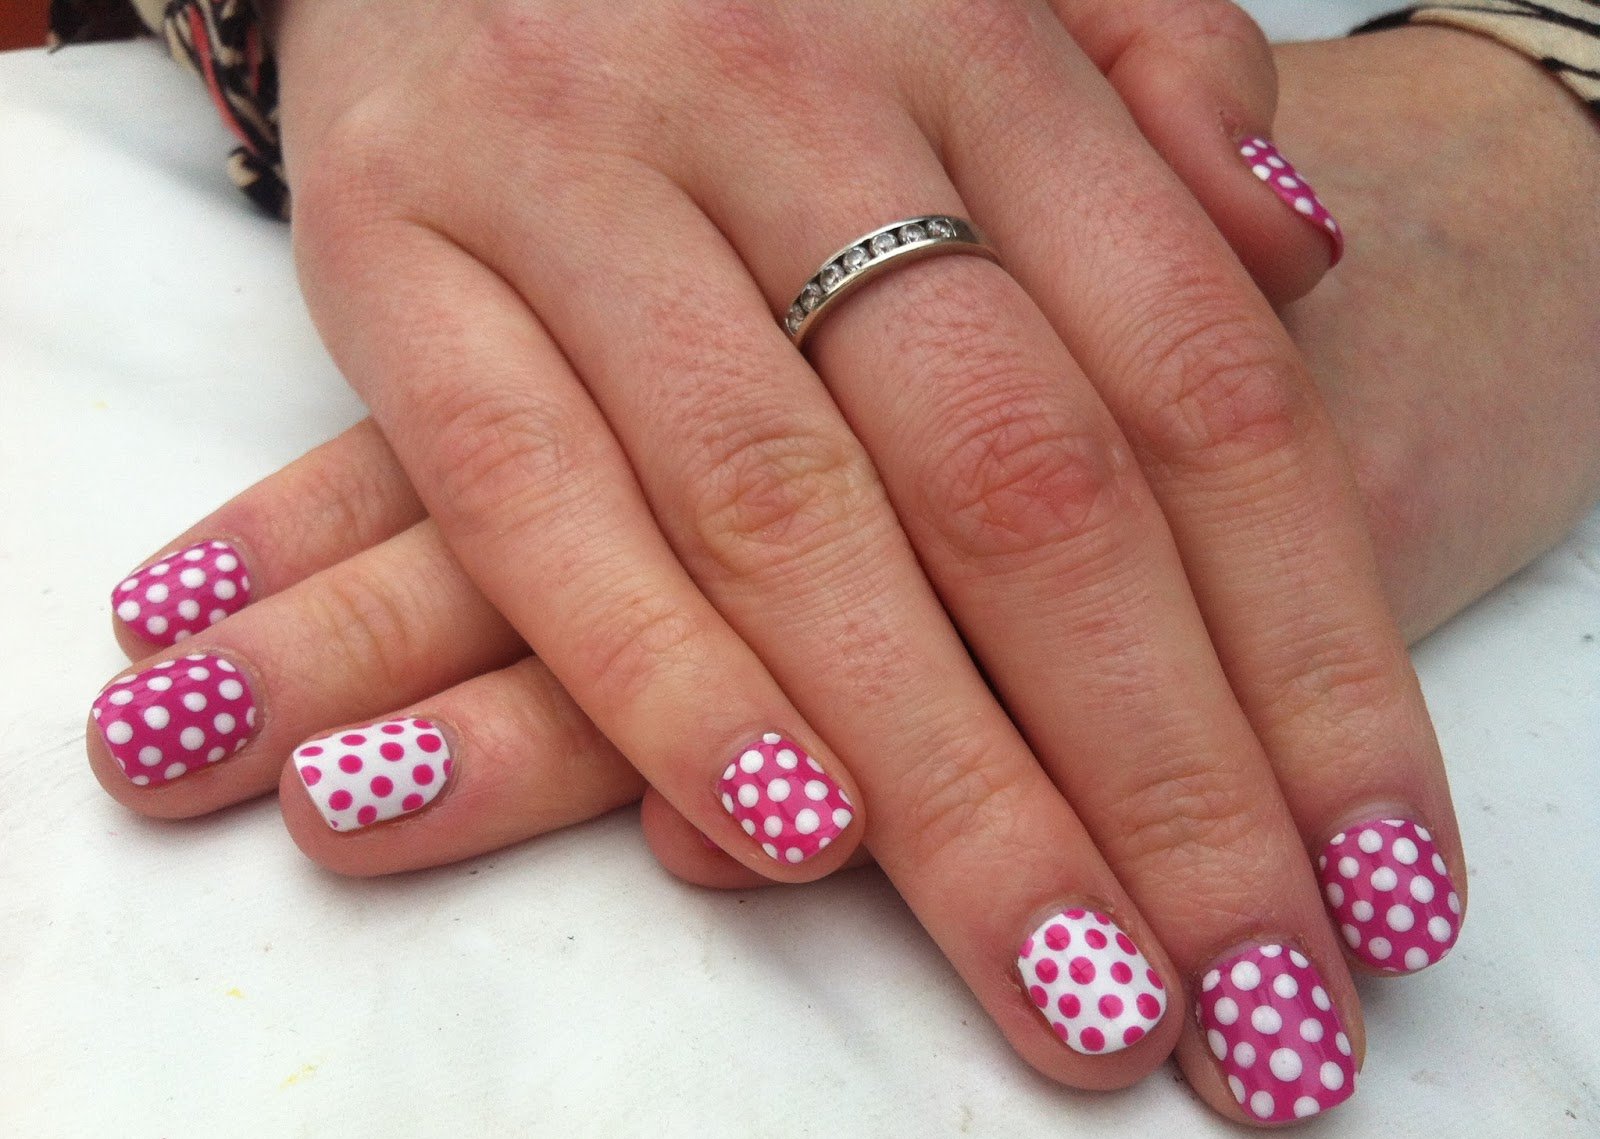
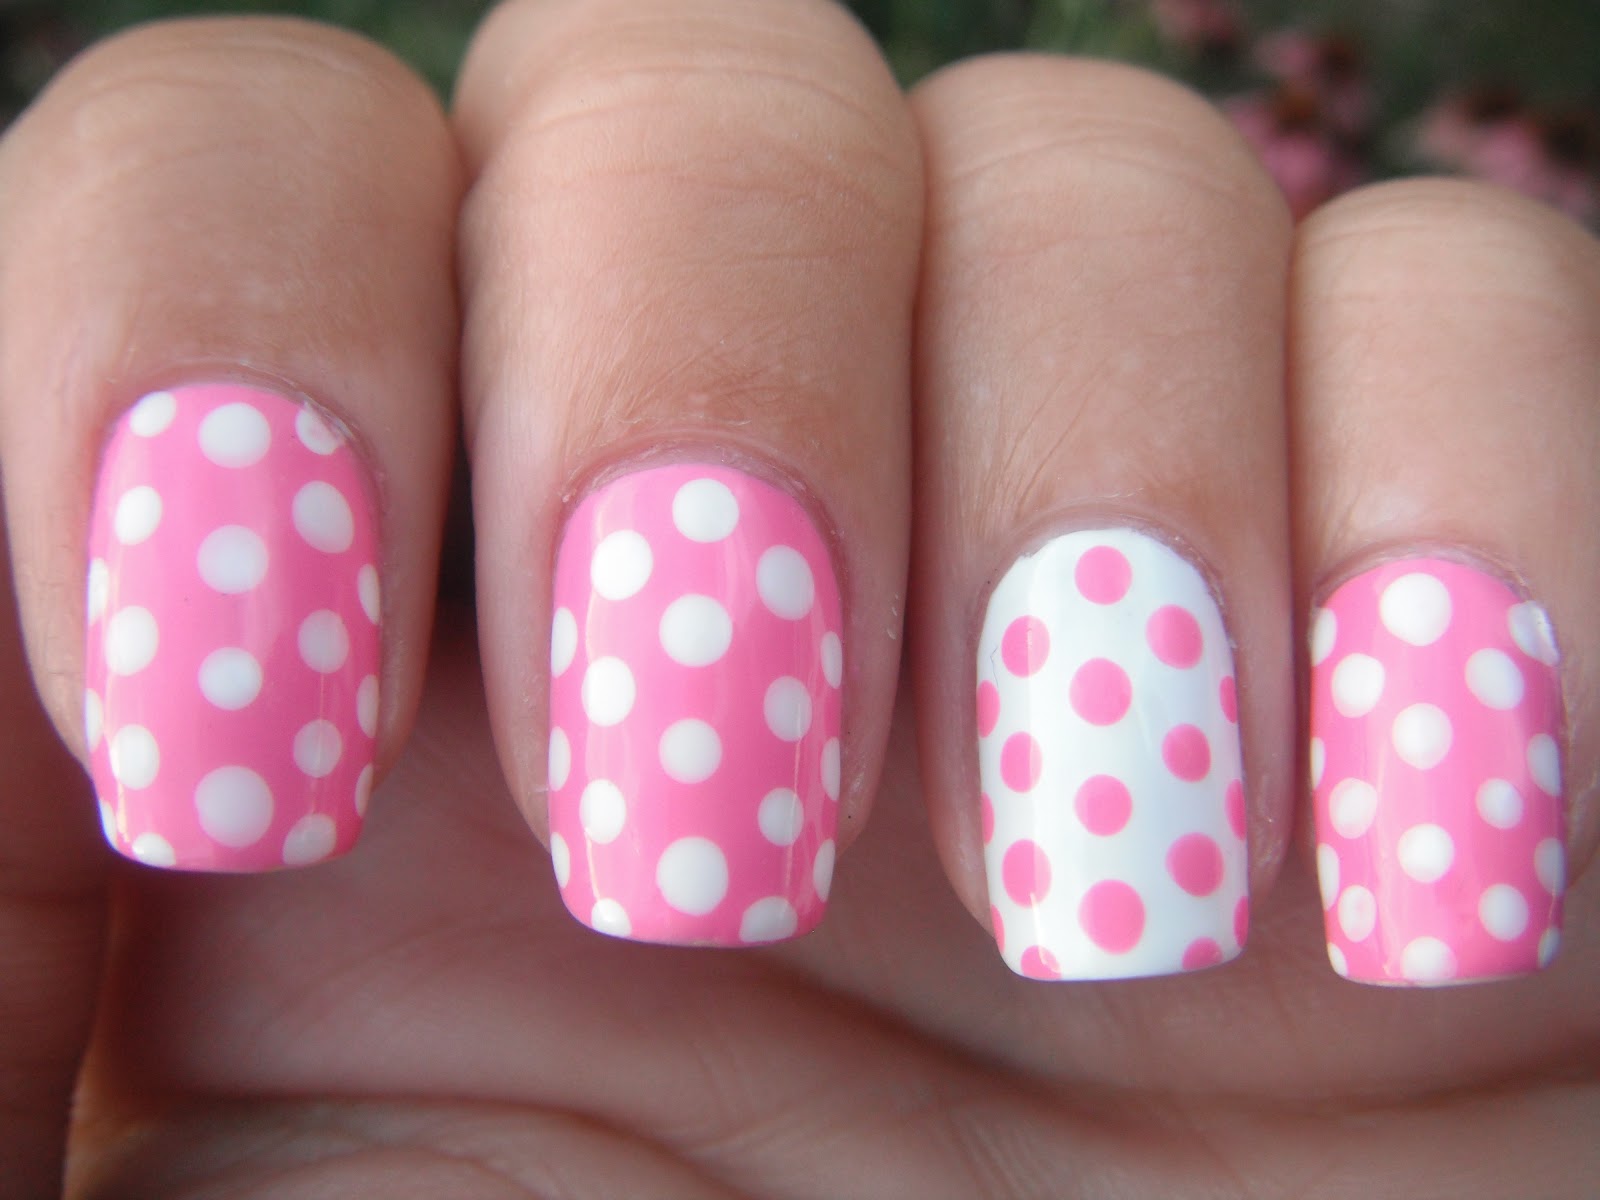
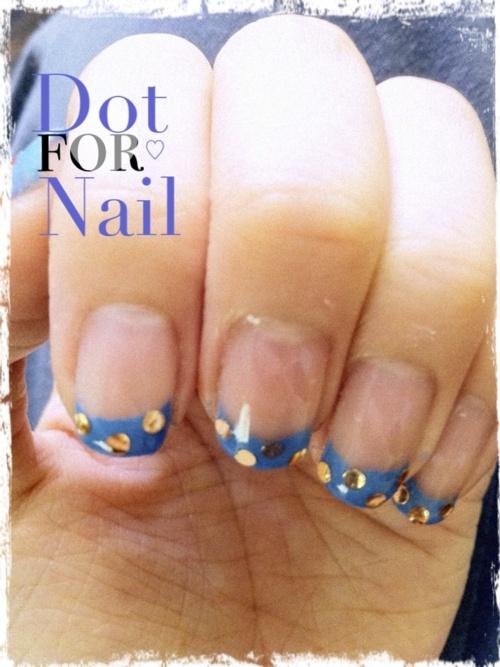
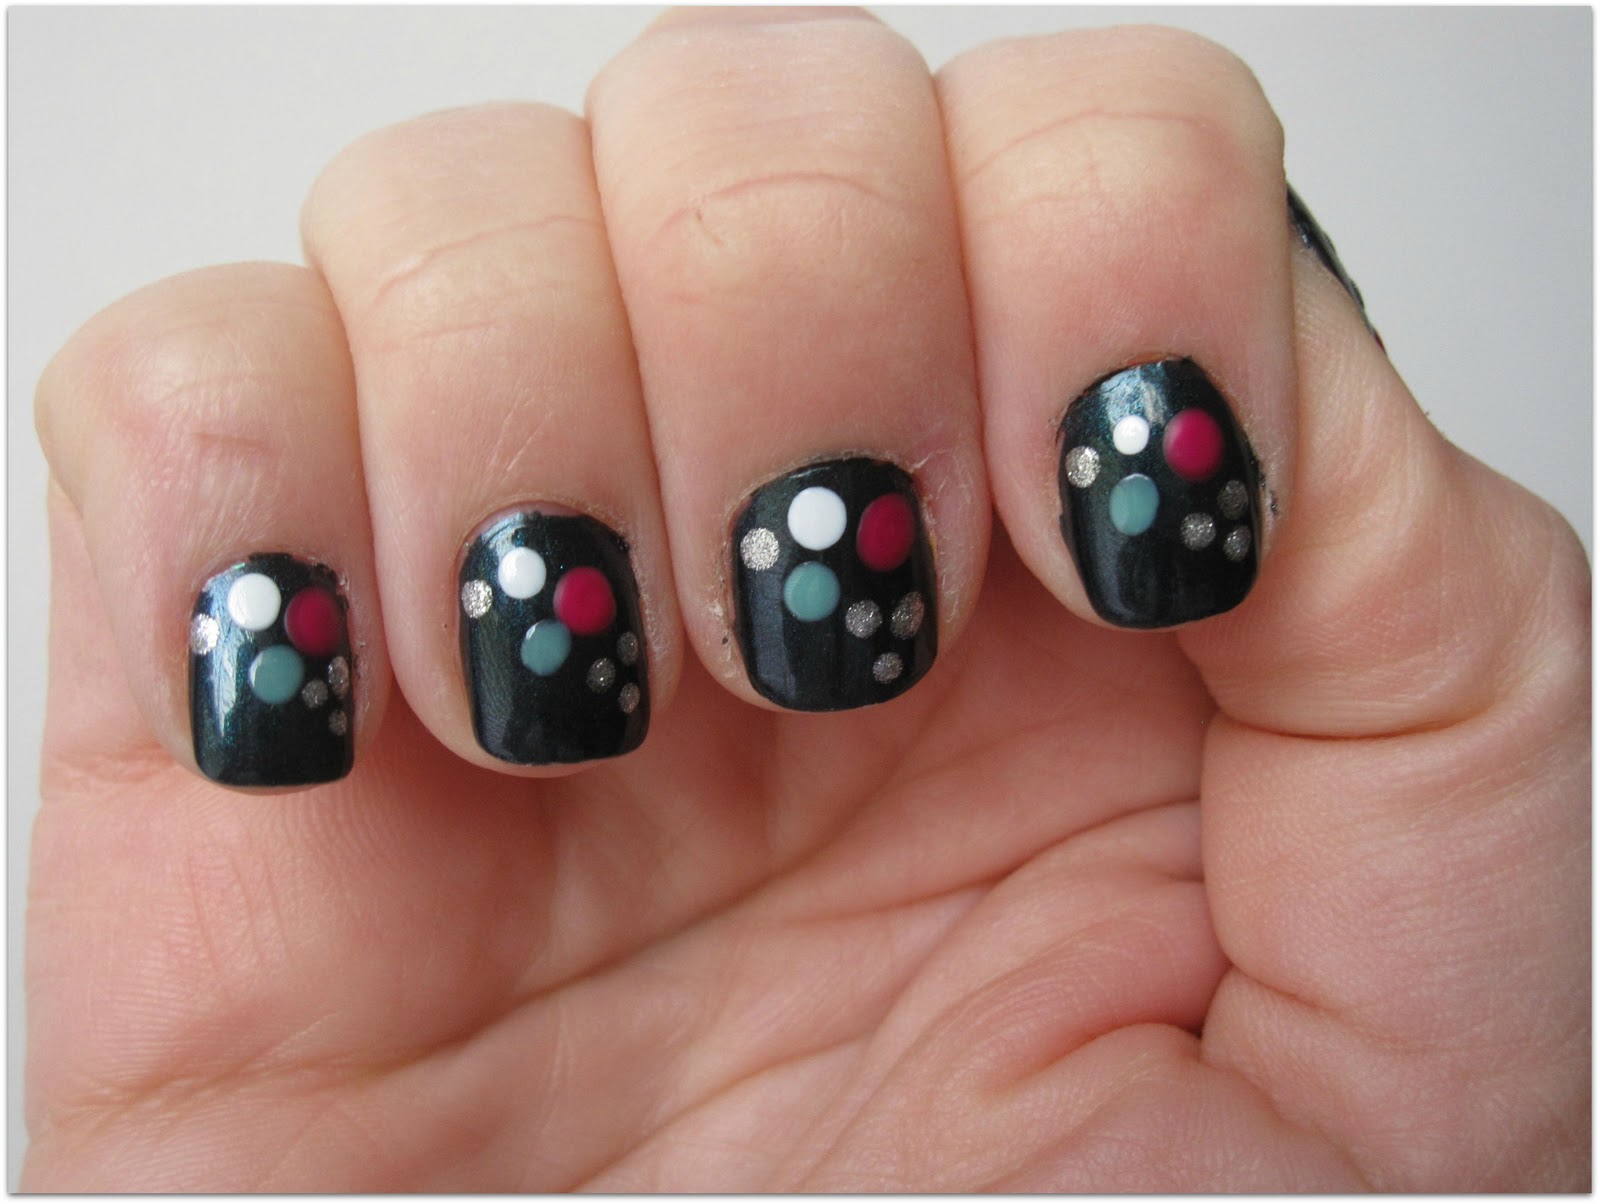
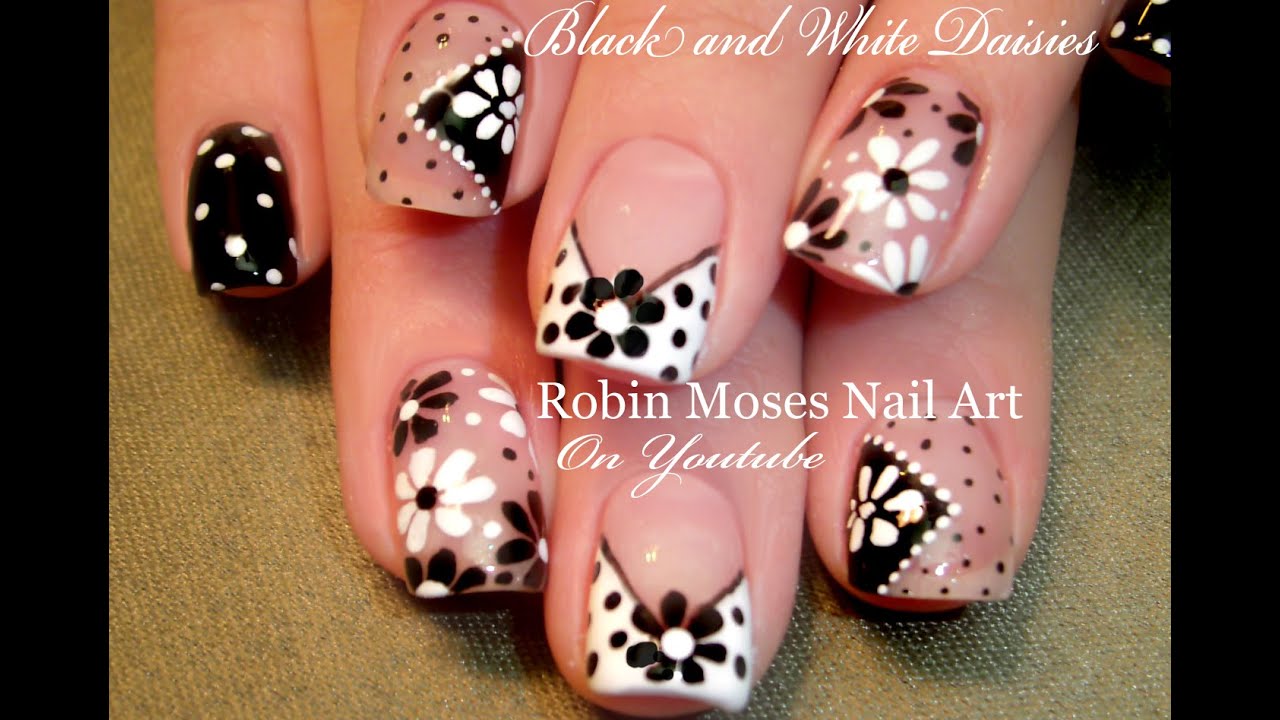
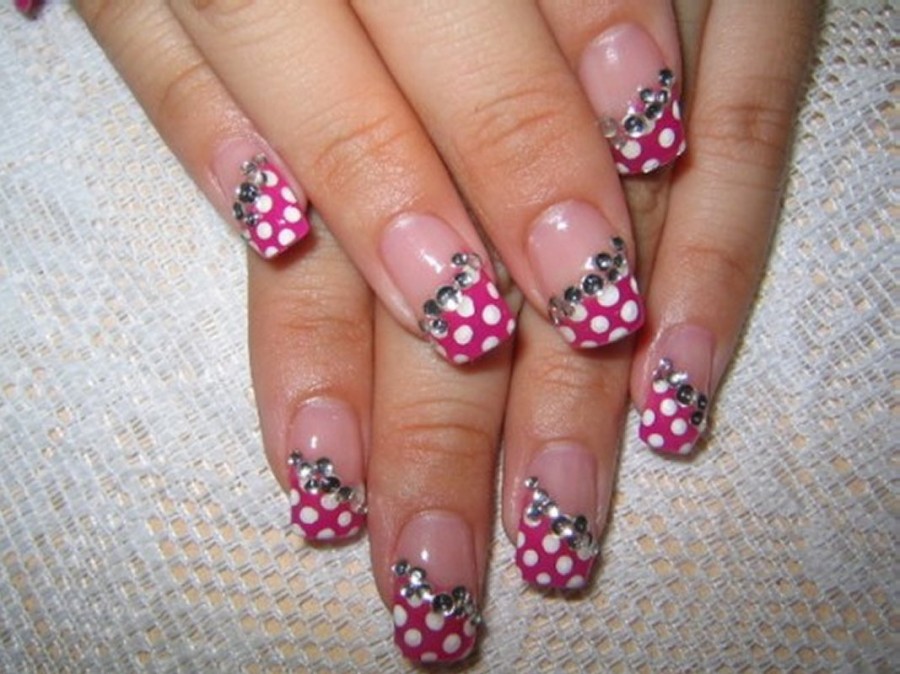
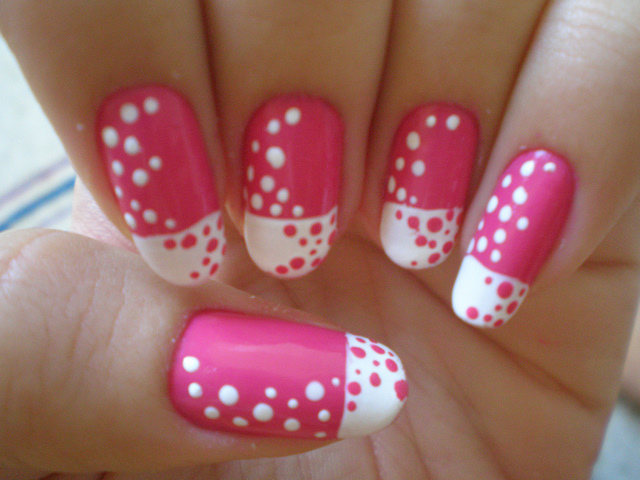
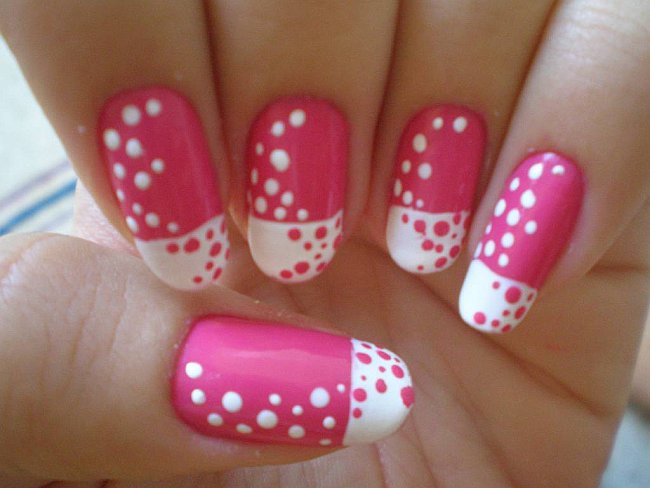
If you're tired of plain one-color nails but don't have the time or money to go to a salon, don't worry! Creating a polka dot nail design at home is easier than you think. With a few simple tools and techniques, you can have a fun and eye-catching manicure in no time. To start, gather your materials. You will need nail polish in your desired base color, a dotting tool (or a toothpick or bobby pin), and white nail polish for the dots. You may also want to have nail polish remover and cotton swabs on hand for any mistakes. Begin by applying your base color and allowing it to dry completely. This can take a few minutes, so be patient. Once your base color is dry, it's time to create the polka dots. Using your dotting tool, dip it into the white nail polish and carefully place dots onto your nails. You can create different sizes and patterns by varying the amount of pressure you apply with the tool. You can also use multiple colors for a more playful look. If you don't have a dotting tool, don't worry! You can use a toothpick or bobby pin instead. Simply dip the end into the white nail polish and use it to create the dots on your nails. Once you have finished creating your polka dots, allow them to dry completely before applying a top coat. This will help seal in your design and make it last longer. And there you have it, an easy and fun DIY polka dot nail design that you can do at home. Experiment with different colors and patterns to create your own unique look. Let your creativity run wild and have fun with it!1. Easy DIY Polka Dot Nail Design Tutorial


1. Easy DIY Polka Dot Nail Design Tutorial

.JPG)
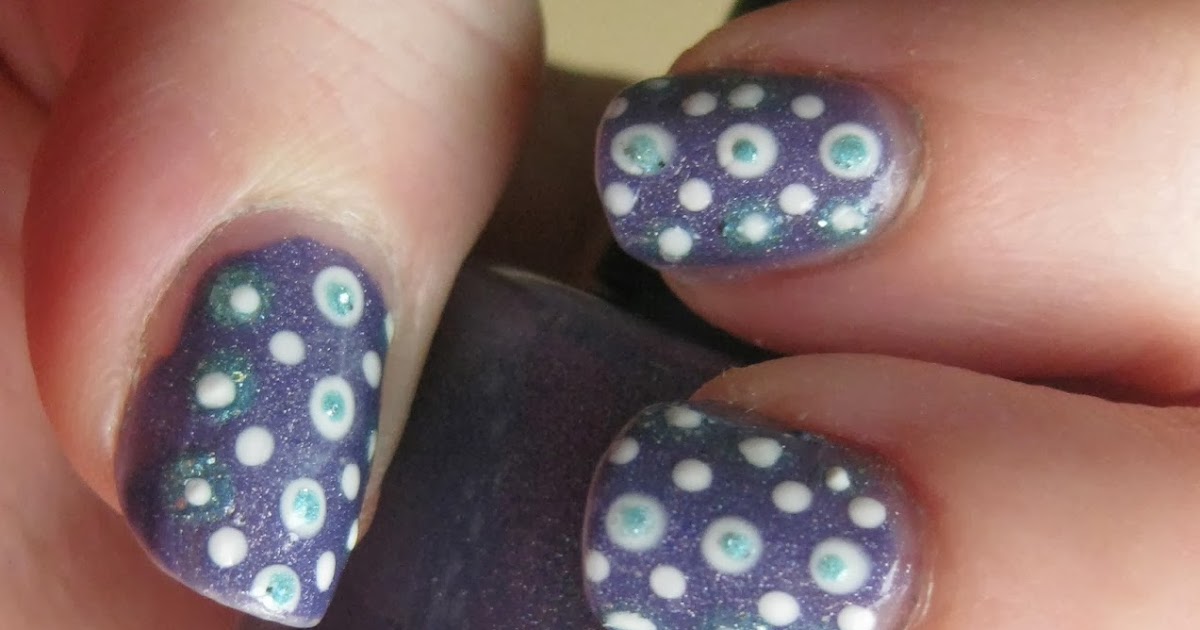
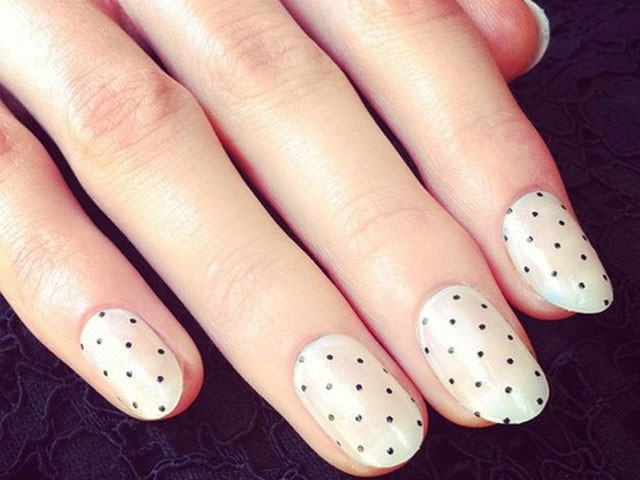
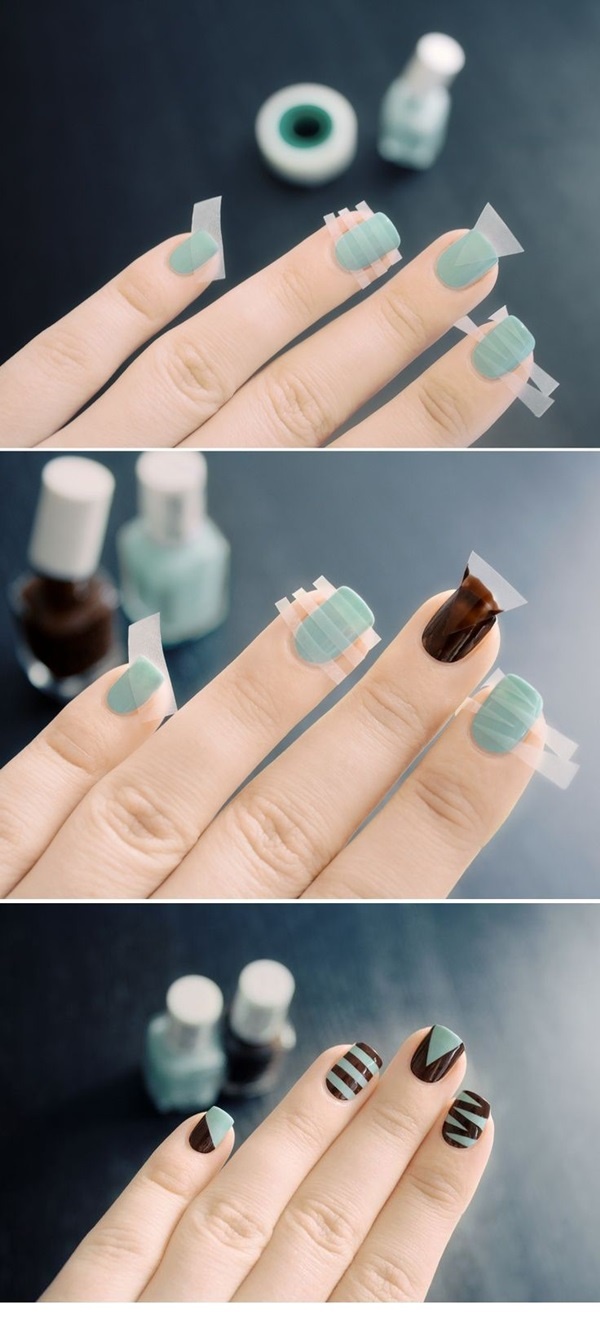
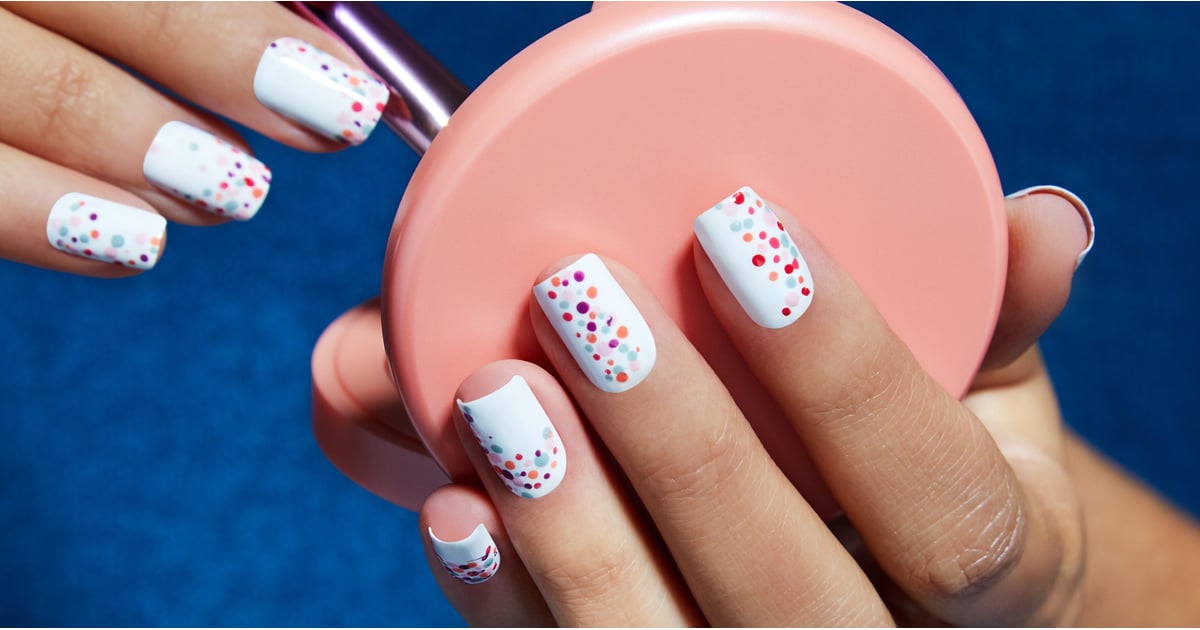
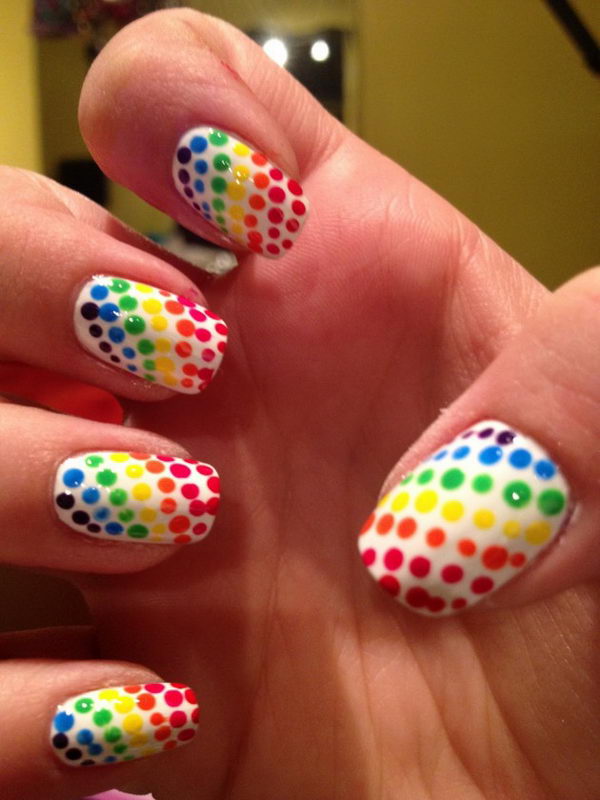
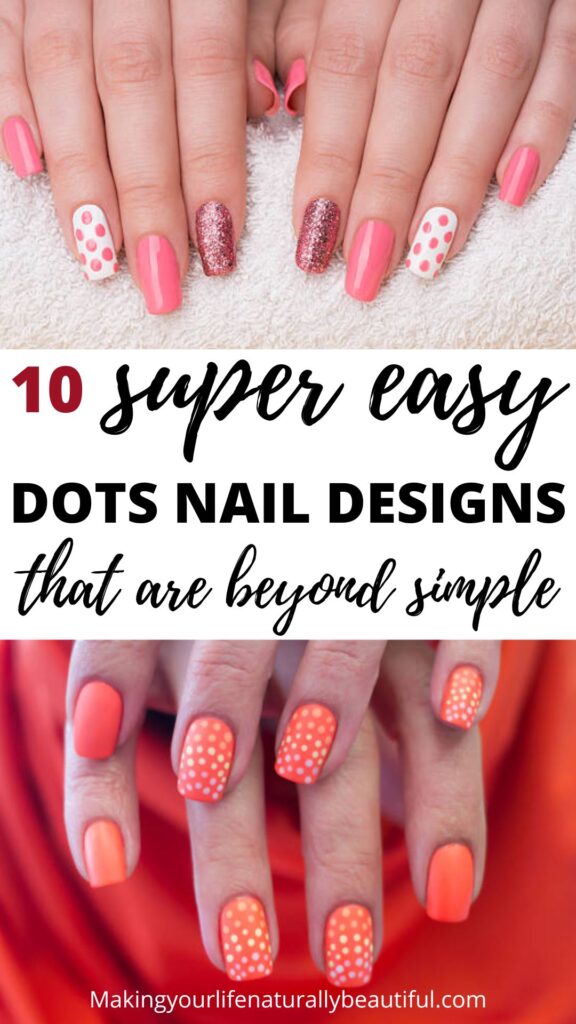
If you're looking for a simple and cute nail design, look no further than polka dots. This classic pattern is easy to create and can be customized to fit your personal style. Here are a few polka dot nail art ideas to inspire your next manicure. 1. Pastel Polka Dots For a soft and feminine look, try a pastel polka dot design. Start with a light base color, such as lavender or mint green. Then, use a dotting tool to create small dots in a contrasting pastel color, such as light pink or baby blue. This design is perfect for spring and summer and can be worn for any occasion. 2. Rainbow Dots If you want a fun and colorful manicure, try a rainbow polka dot design. Start with a white base and then use a dotting tool to create dots in every color of the rainbow. This design is perfect for music festivals or any event where you want to make a statement. 3. Metallic Dots For a chic and modern look, try a metallic polka dot design. Start with a metallic base color, such as gold or silver. Then, use a dotting tool to create small dots in a contrasting metallic color, such as rose gold or copper. This design is perfect for a night out or a special occasion. These are just a few ideas to get you started. Don't be afraid to experiment with different colors and patterns to create your own unique polka dot nail art.2. Simple Polka Dot Nail Art Ideas


2. Simple Polka Dot Nail Art Ideas

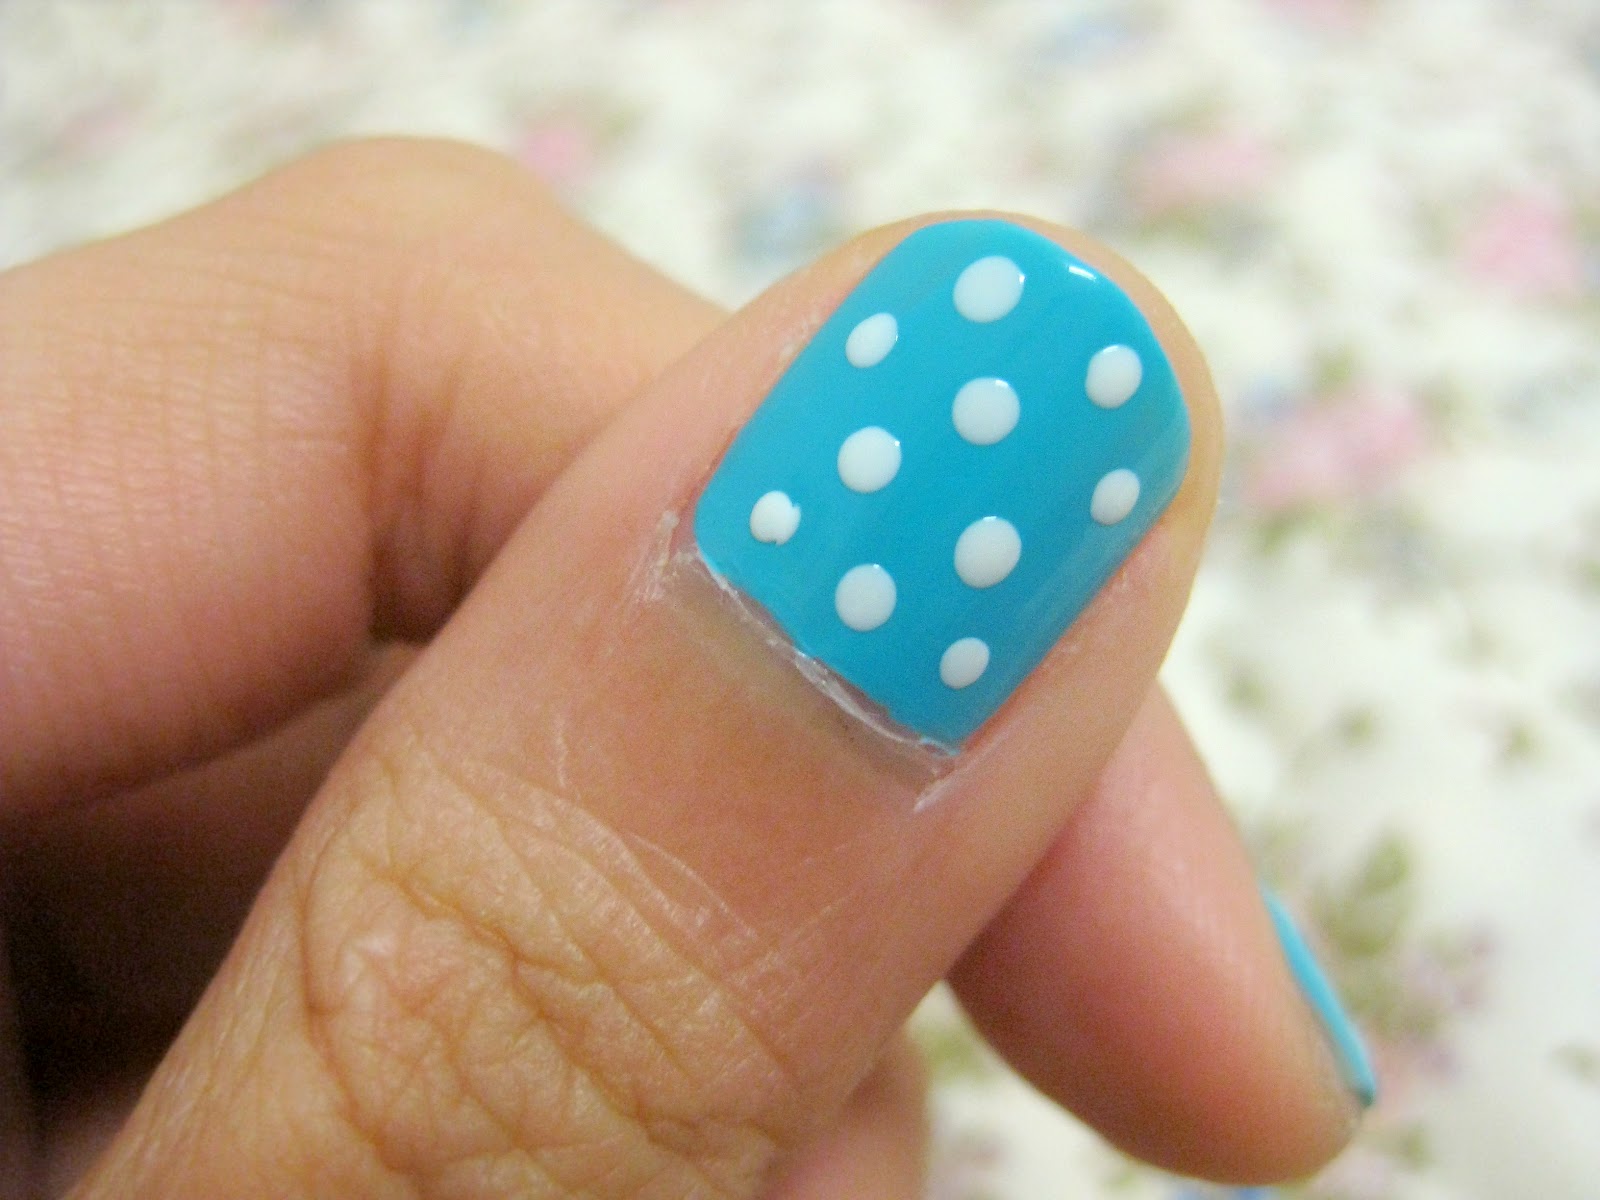
Creating a polka dot manicure at home is a simple and fun way to add some personality to your nails. Here is a step-by-step guide to help you achieve a flawless polka dot design. Step 1: Gather your materials As mentioned earlier, you will need nail polish in your desired base color, a dotting tool (or a toothpick or bobby pin), and white nail polish for the dots. Make sure you have all your materials ready before starting the process. Step 2: Prep your nails Start by removing any old nail polish and shaping your nails. Then, apply a base coat to protect your nails and help the polish last longer. Step 3: Apply your base color Apply 2-3 coats of your base color, allowing each coat to dry completely before applying the next one. This will ensure an even and opaque base for your polka dots. Step 4: Create the dots Using your dotting tool, dip it into the white nail polish and carefully place dots onto your nails. You can create different sizes and patterns by varying the amount of pressure you apply with the tool. Be creative and have fun with it! Step 5: Apply a top coat Once your polka dots are completely dry, apply a top coat to seal in your design and make it last longer. This will also give your nails a glossy finish. And there you have it, a beautiful polka dot manicure done at home! With a little bit of practice, you'll be able to create a flawless design in no time.3. How to Create a Polka Dot Manicure at Home
3. How to Create a Polka Dot Manicure at Home
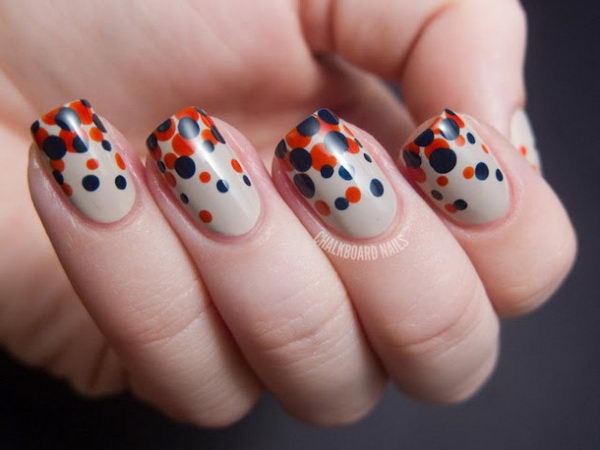
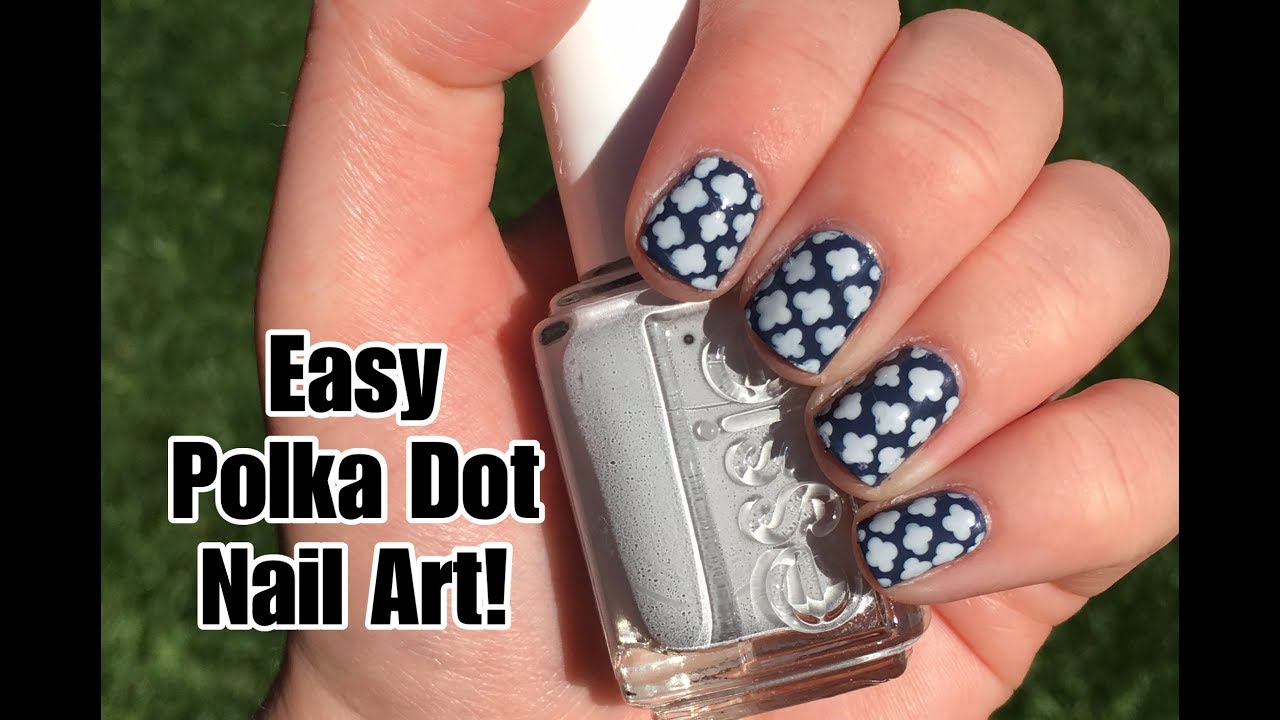
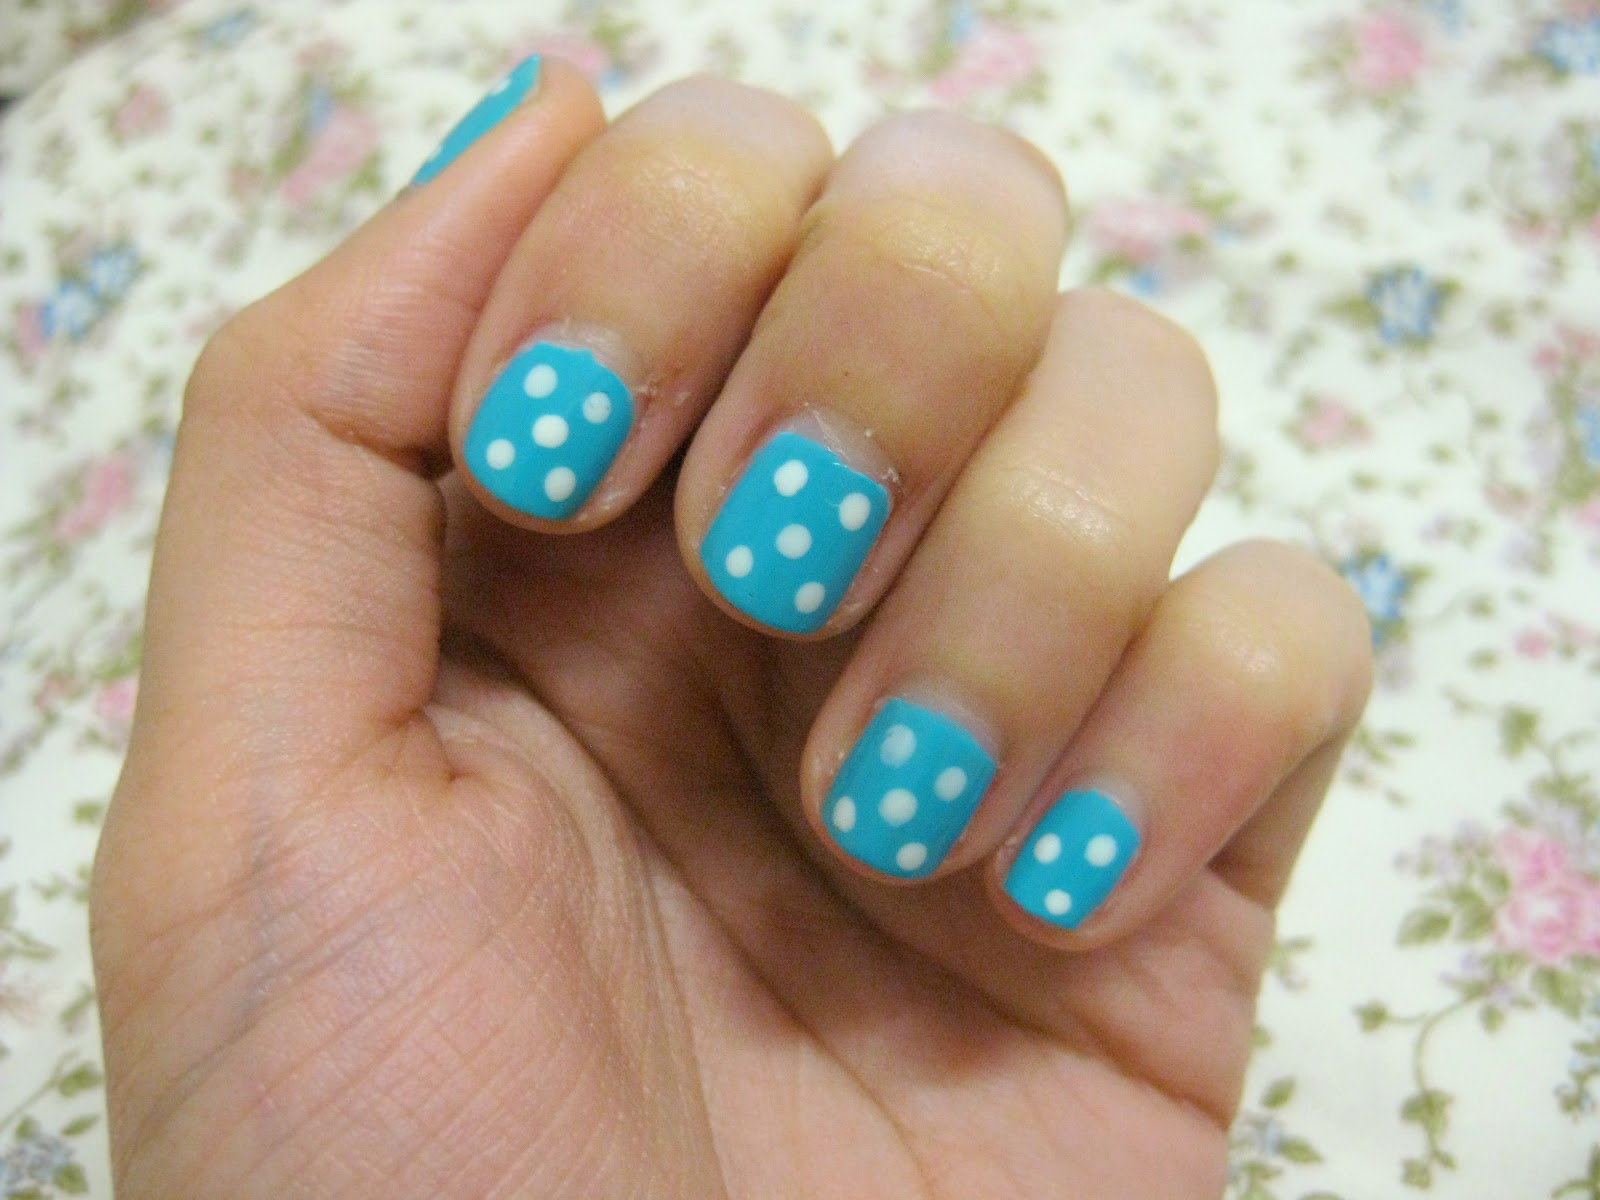
If you're new to nail art, starting with simple designs is the best way to go. Dots are a great way to add a pop of color and create cute and fun nail designs. Here are a few easy DIY nail designs with dots that anyone can do at home. 1. Polka Dot French Tips For a twist on the classic French manicure, try adding polka dots to the tips of your nails. Start with a nude or light pink base color and then use a dotting tool to create a row of dots along the tip of each nail. This design is simple yet chic and perfect for any occasion. 2. Dotted Ombre For a more subtle look, try a dotted ombre design. Start with a light base color and then use a dotting tool to create dots in a darker shade of the same color. As you move down the nail, gradually decrease the number of dots to create an ombre effect. Finish with a top coat for a smooth and glossy finish. 3. Polka Dot Accent Nail If you want to keep it simple, try adding polka dots to just one nail as an accent. This design works well with any base color and can be done on any nail. You can use different colors and sizes of dots to create a unique and eye-catching accent nail. These are just a few ideas to get you started. Don't be afraid to experiment and come up with your own fun and easy DIY nail designs with dots.4. Fun and Easy DIY Nail Designs with Dots


4. Fun and Easy DIY Nail Designs with Dots

/ScreenShot2020-03-13at1.50.44PM-ab49b0be5550419c991135fffd2cffa4.png)


Creating a perfect polka dot manicure may seem intimidating, but with the right tools and techniques, anyone can achieve it. Here is a step-by-step guide to help you create flawless polka dot nails. Step 1: Prep your nails Start by removing any old nail polish and shaping your nails. Then, apply a base coat to protect your nails and help the polish last longer. Step 2: Apply your base color Apply 2-3 coats of your base color, allowing each coat to dry completely before applying the next one. This will ensure an even and opaque base for your polka dots. Step 3: Gather your tools For creating polka dots, you can use a dotting tool, a toothpick, or a bobby pin. Whichever tool you choose, make sure it has a small and rounded tip for creating perfect dots. Step 4: Create the dots Dip your dotting tool into the white nail polish and carefully place dots onto your nails. You can create different sizes and patterns by varying the amount of pressure you apply with the tool. Be creative and have fun with it! Step 5: Clean up any mistakes If you make any mistakes or have excess polish around your nails, use a cotton swab dipped in nail polish remover to clean it up. Step 6: Apply a top coat Once your polka dots are completely dry, apply a top coat to seal in your design and make it last longer. This will also give your nails a glossy finish. And there you have it, perfect polka dot nails done at home. With a little bit of practice, you'll be able to create a flawless design in no time.5. Step-by-Step Guide to Polka Dot Nails


5. Step-by-Step Guide to Polka Dot Nails


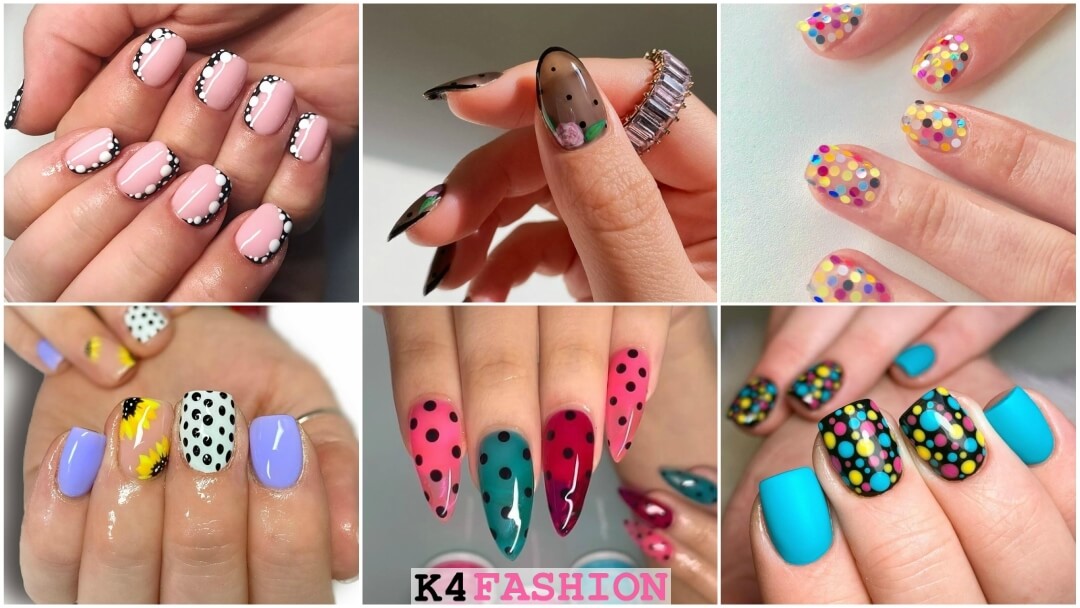
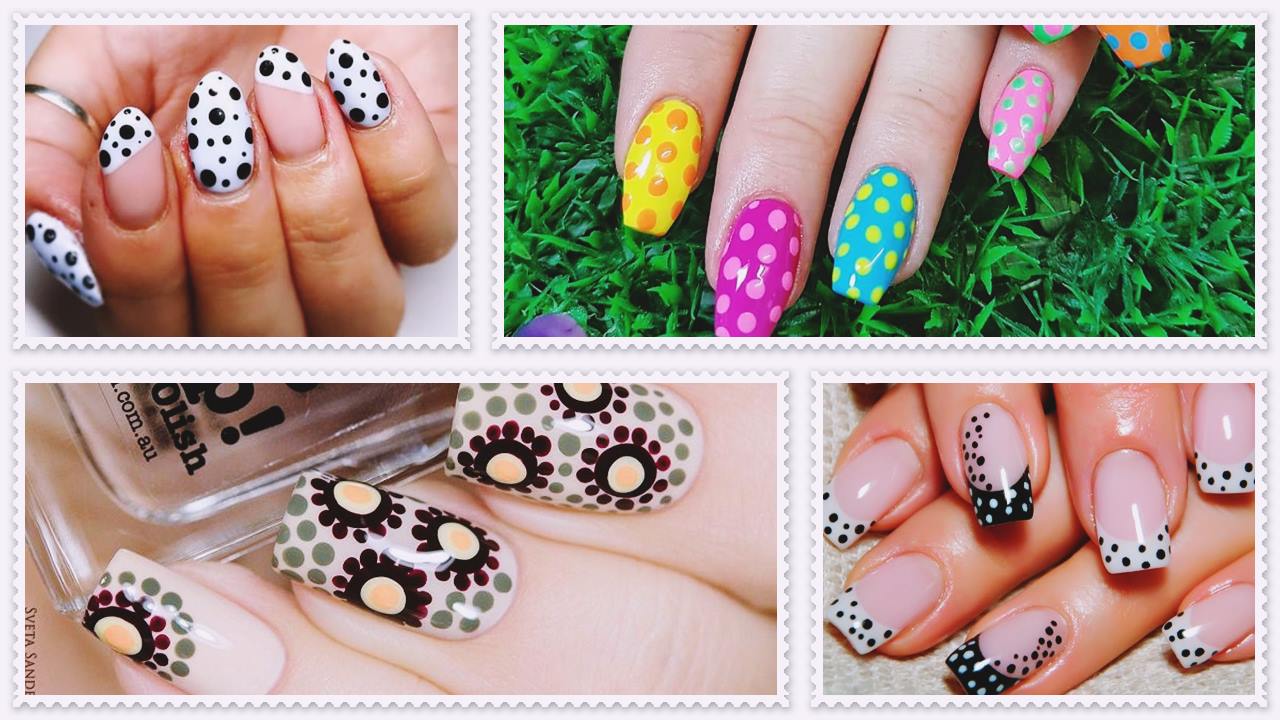
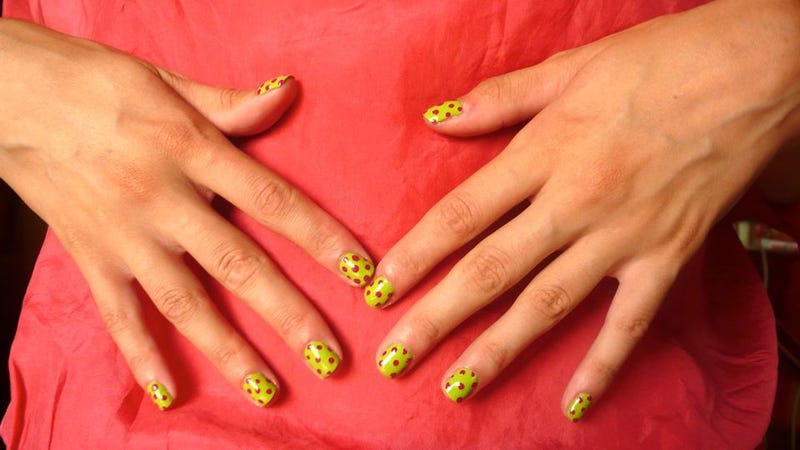
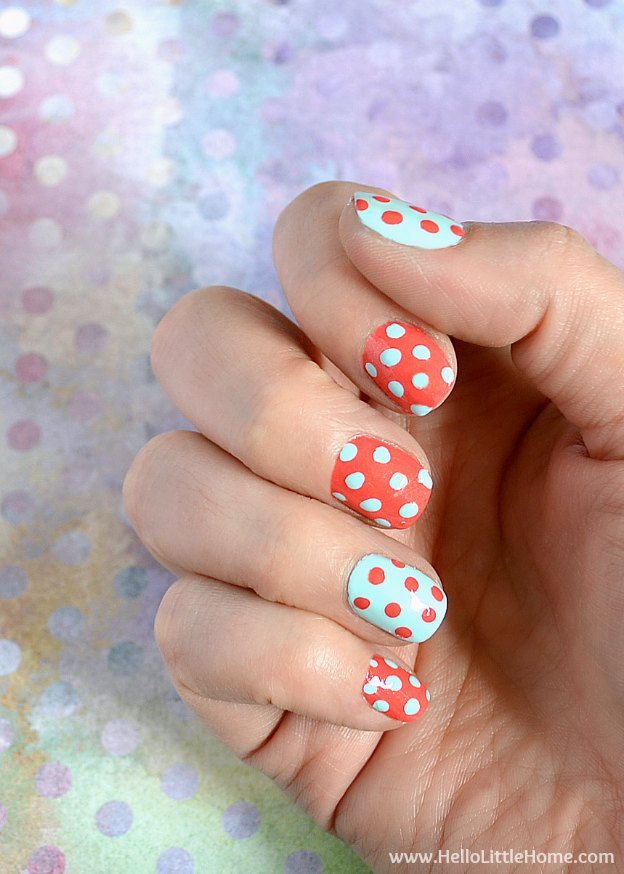
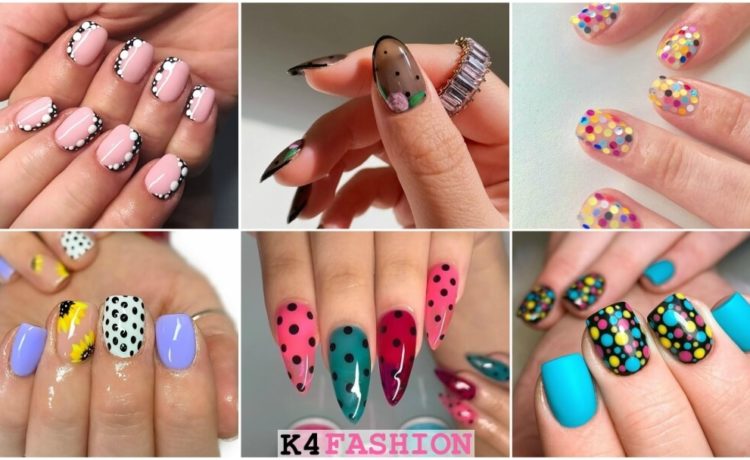
Polka dots are a classic and timeless pattern that can be customized to fit any style. Here are a few cute and colorful polka dot nail designs to inspire your next manicure. 1. Neon Polka Dots For a bold and eye-catching look, try a neon polka dot design. Start with a white base and then use a dotting tool to create dots in bright neon colors, such as hot pink or electric blue. This design is perfect for summer and will make your nails stand out. 2. Monochrome Dots If you prefer a more subtle look, try a monochrome polka dot design. Start with a black or dark base color and then use a dotting tool to create dots in a lighter shade of the same color. This design is perfect for any occasion and can be easily paired with any outfit. 3. Polka Dot French Manicure For a twist on the classic French manicure, try adding polka dots to the tips of your nails. Start with a nude or light pink base color and then use a dotting tool to create a row of dots along the tip of each nail. This design is simple yet chic and perfect for any occasion. These are just a few ideas to get you started. Don't be afraid to experiment with different colors and patterns to create your own cute and colorful polka dot nail designs.6. Cute and Colorful Polka Dot Nail Designs


6. Cute and Colorful Polka Dot Nail Designs


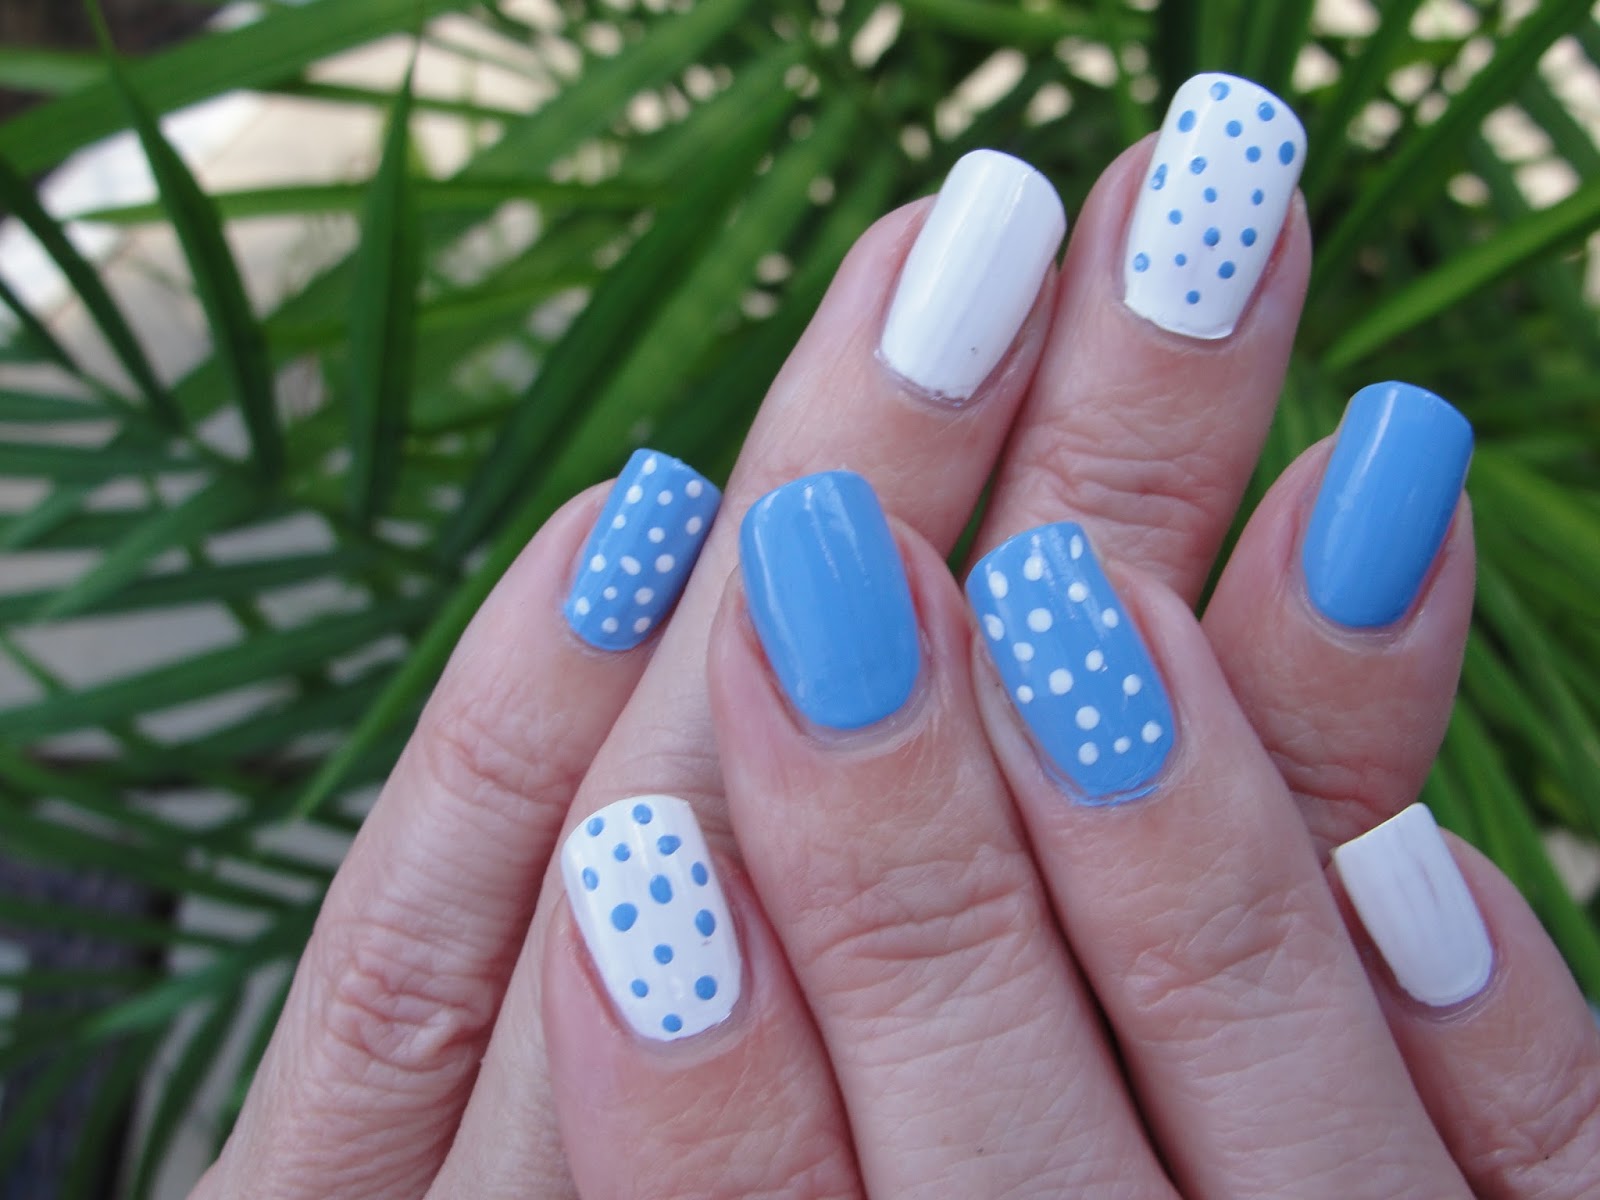
If you're new to nail art, starting with simple designs is the best way to go. Here are a few easy and fun polka dot nail art ideas for beginners. 1. Polka Dot Gradient For a subtle and elegant look, try a polka dot gradient design. Start with a light base color and then use a dotting tool to create small dots in a darker shade of the same color. Gradually decrease the number of dots as you move down the nail to create a gradient effect. 2. Dotted Half-Moon If you're feeling adventurous, try a dotted half-moon design. Start with a light base color and then use a dotting tool to create a row of dots along the bottom of your nail, leaving the top half bare. This design is chic and unique and can be done on any nail shape. 3. Polka Dot Accent Nail For a simple yet eye-catching look, try adding polka dots to just one nail as an accent. This design works well with any base color and can be done on any nail. You can use different colors and sizes of dots to create a unique accent nail. These are just a few ideas to get you started. Don't be afraid to experiment and come up with your own DIY polka dot nail art designs for beginners.7. DIY Polka Dot Nail Art for Beginners
7. DIY Polka Dot Nail Art for Beginners


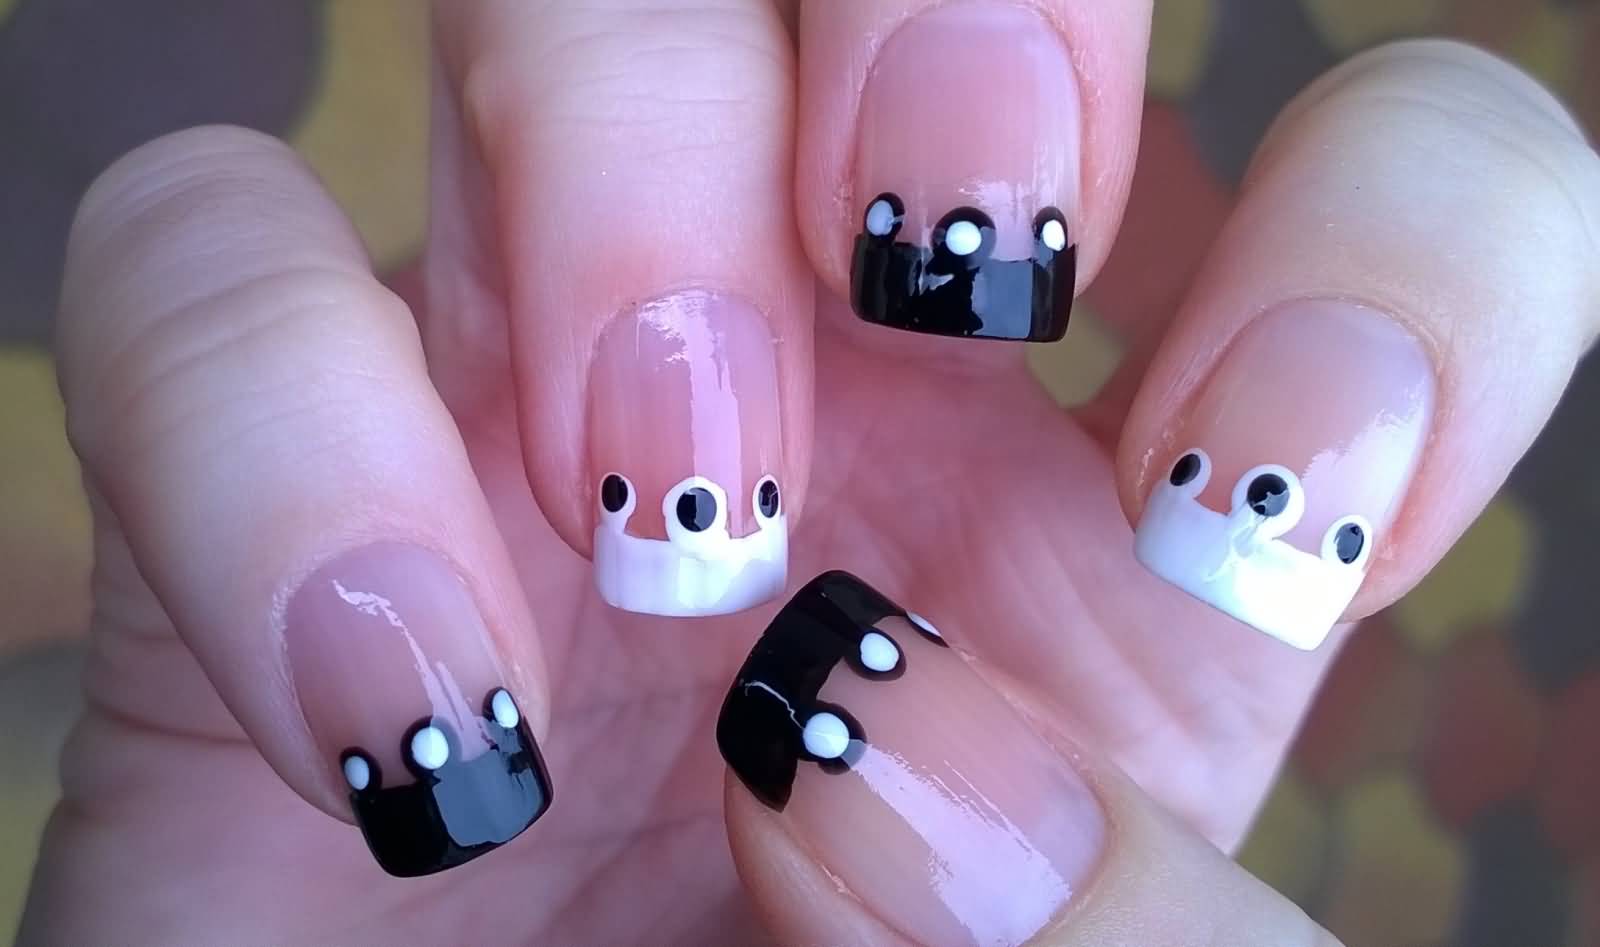
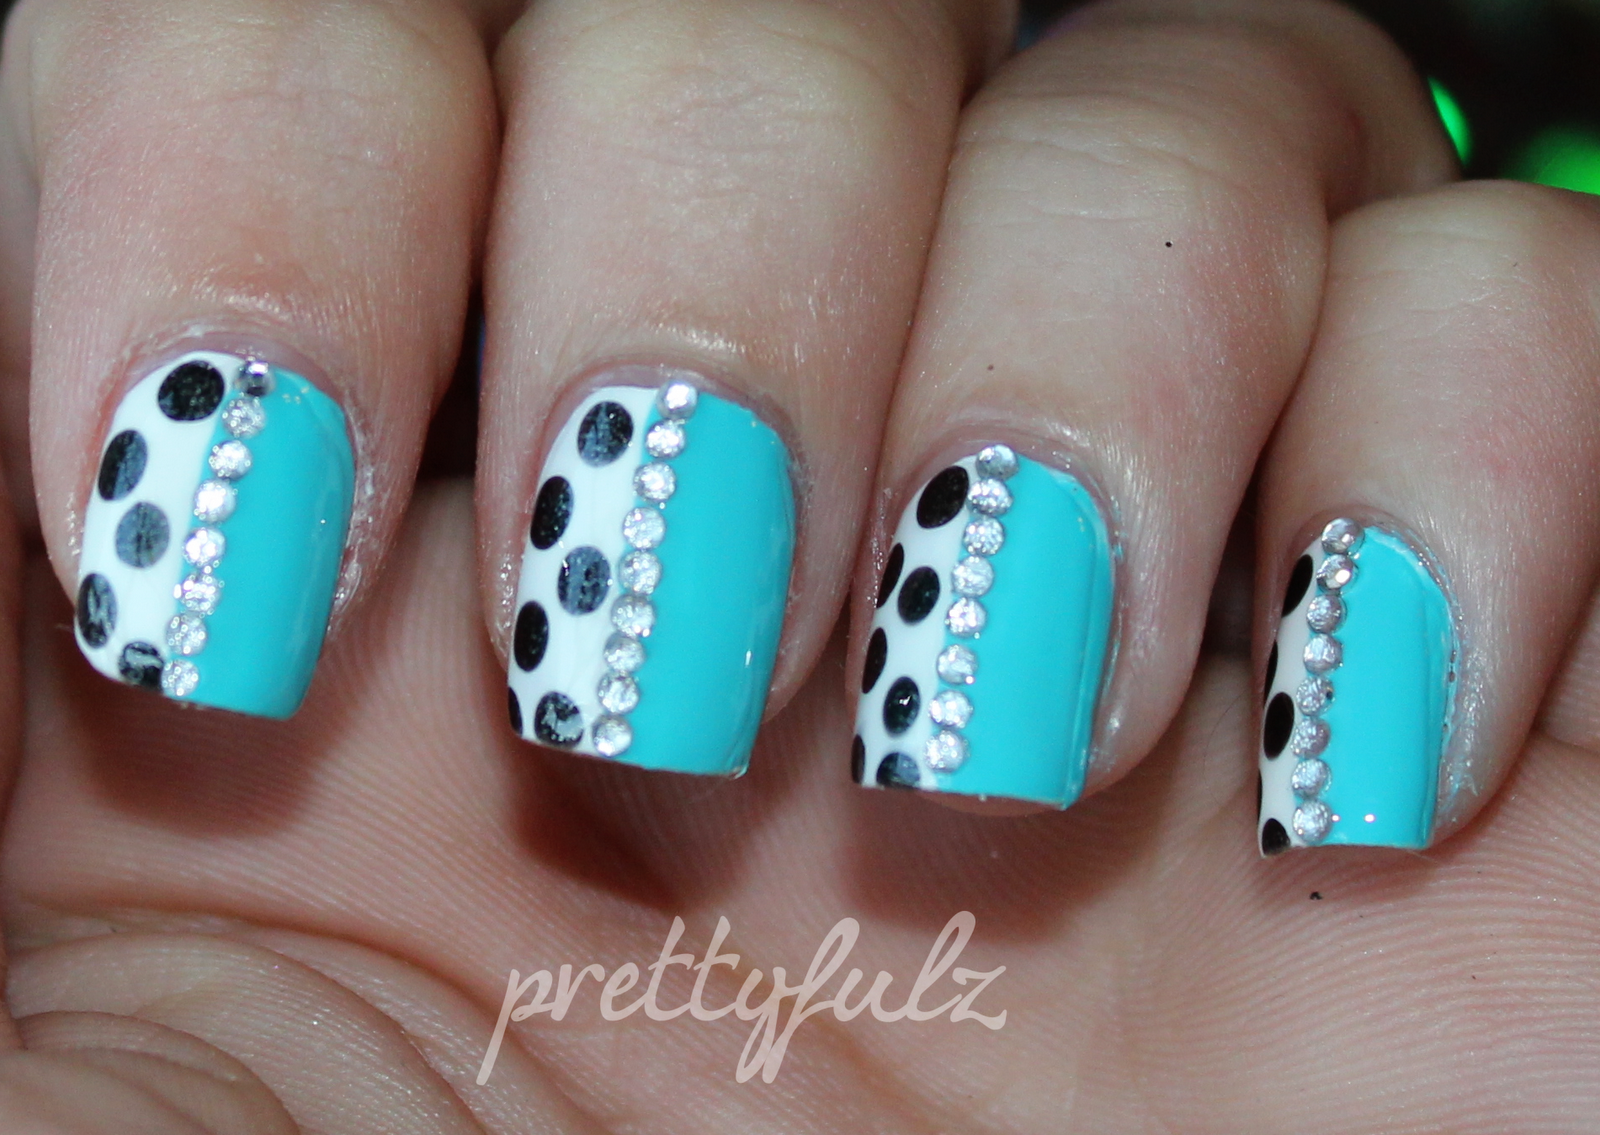
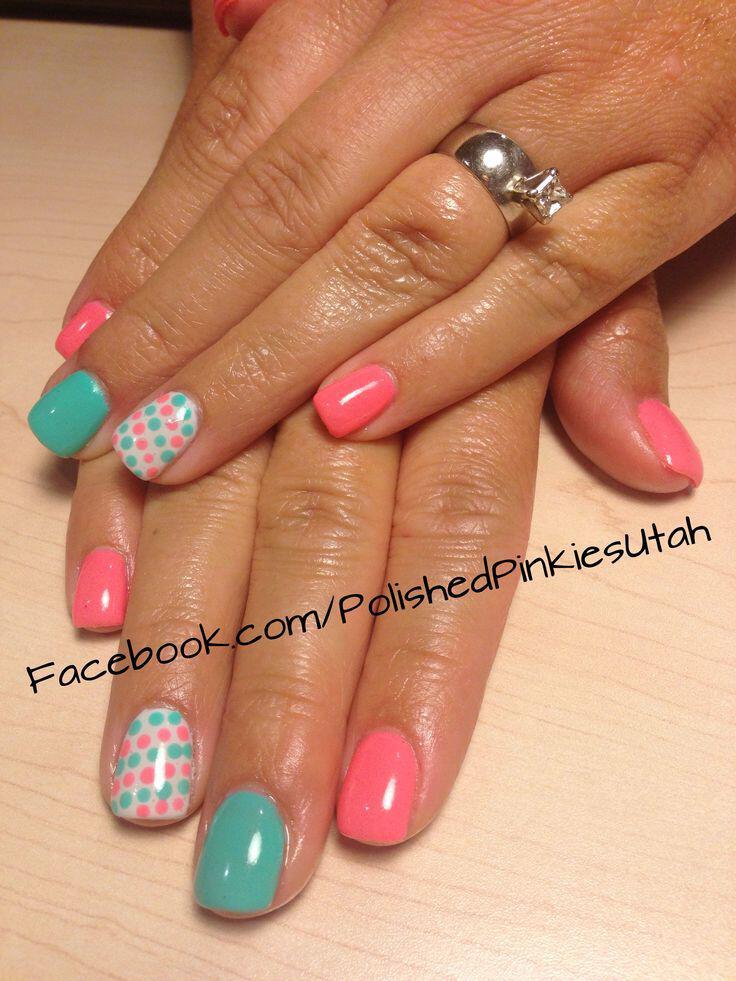
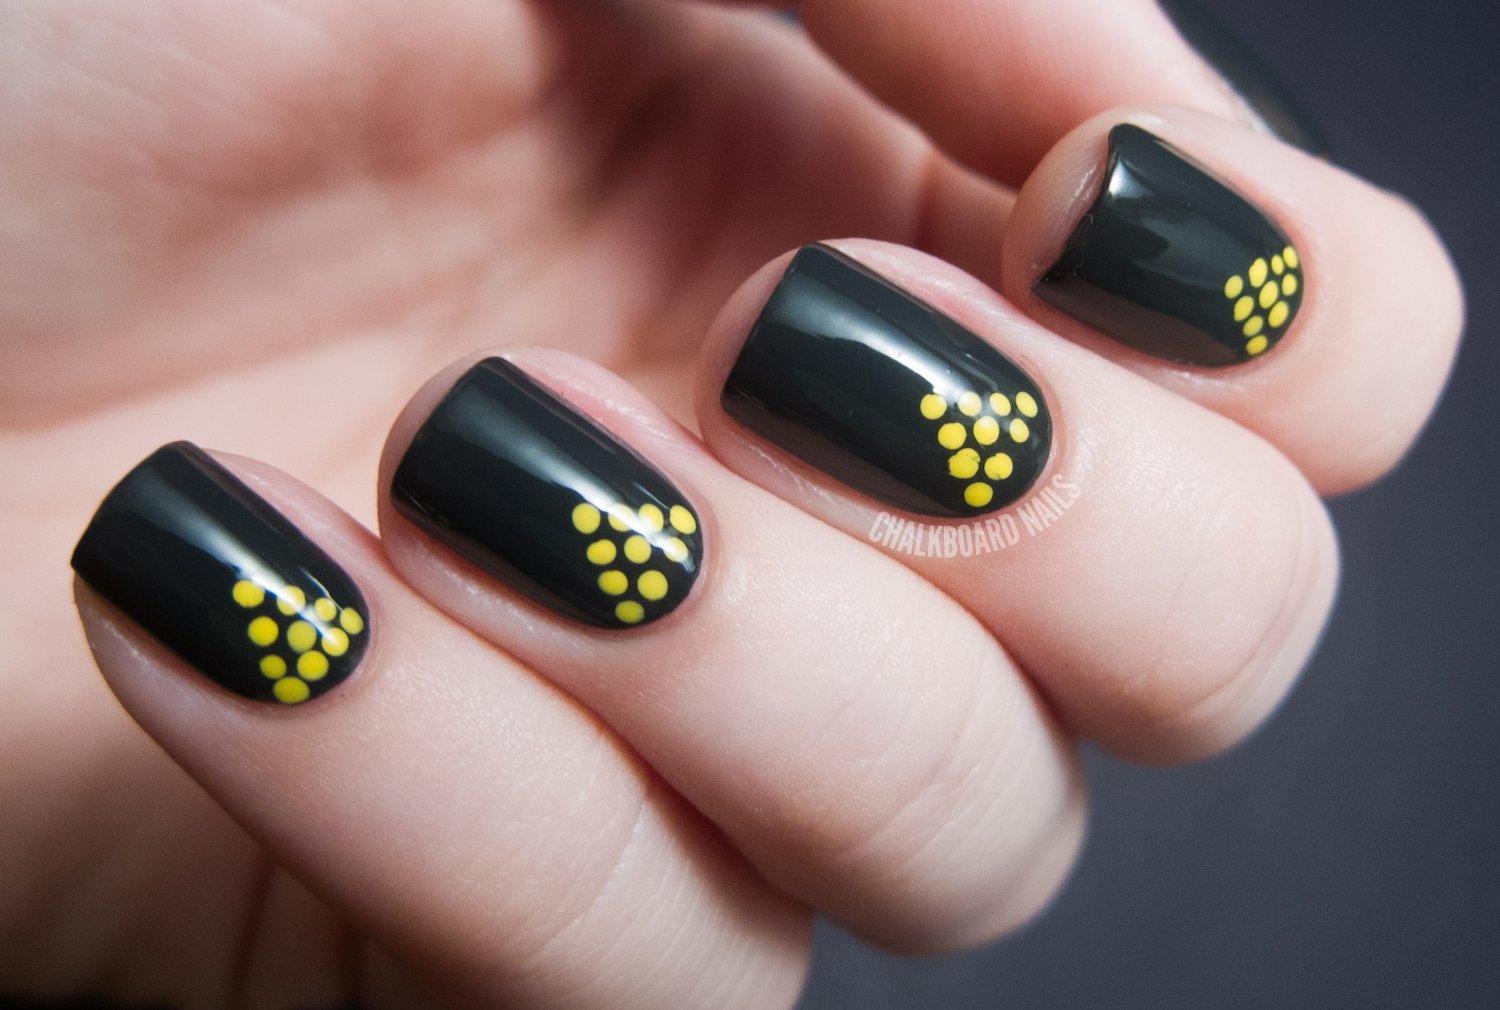
Polka dots are not just limited to creating simple patterns on your nails. Here are a few creative ways to use dots in your nail designs. 1. Negative Space Dots For a modern and edgy look, try a negative space dot design. Start with a light base color and then use a dotting tool to create dots in a darker shade of the same color. Leave some space between the dots to create a unique negative space effect. 2. Dotted Outline This design is perfect for those who like a subtle and delicate look. Start with a light base color and then use a dotting tool to create a dotted outline around the edges of your nails. This will add a touch of whimsy to your manicure. 3. Polka Dot Flowers Create a whimsical and feminine look by using dots to create flower designs on your nails. Start with a light base color and then use a dotting tool to create small dots in a circular pattern. Add a few larger dots in the center to create the flower effect. These are just a few ways to get creative with dots in your nail designs. Don't be afraid to think outside the box and come up with your own unique ways to use dots.8. Creative Ways to Use Dots in Your Nail Designs


8. Creative Ways to Use Dots in Your Nail Designs


Whether you're in a rush or just want a simple yet cute manicure, polka dot nails are the way to go. Here are a few quick and easy polka dot nail designs that are perfect for any occasion. 1. Minimalist Dots For a chic and understated look, try a minimalist polka dot design. Start with a light base color and then use a dotting tool to create small dots in a neutral color, such as black or white. This design is perfect for the workplace or any event where you want to keep it simple. 2. Glitter Dots9. Quick and Easy Polka Dot Nail Designs for Any Occasion
9. Quick and Easy Polka Dot Nail Designs for Any Occasion

Add Some Fun to Your Nails with an Easy DIY Polka Dot Nail Design
 Polka dots are a classic design that never goes out of style. They add a playful and fun touch to any outfit, and now, you can easily incorporate them into your nail art with a simple DIY technique. With just a few tools and
materials
, you can achieve a stunning polka dot nail design that will have everyone asking where you got your nails done.
Polka dots are a classic design that never goes out of style. They add a playful and fun touch to any outfit, and now, you can easily incorporate them into your nail art with a simple DIY technique. With just a few tools and
materials
, you can achieve a stunning polka dot nail design that will have everyone asking where you got your nails done.
Gather Your Supplies
 Before you start your DIY polka dot nail design, make sure you have all the necessary
supplies
. You will need a base coat, a top coat, your choice of nail polish colors, a dotting tool or bobby pin, and some cotton swabs or brushes for clean-up. You can also add some glitter or rhinestones for an extra touch of glam.
Before you start your DIY polka dot nail design, make sure you have all the necessary
supplies
. You will need a base coat, a top coat, your choice of nail polish colors, a dotting tool or bobby pin, and some cotton swabs or brushes for clean-up. You can also add some glitter or rhinestones for an extra touch of glam.
Prep Your Nails
 Start by prepping your nails for the design. Remove any old nail polish and shape your nails with a file. Apply a base coat to protect your nails and help the polish last longer. Let it dry completely before moving on to the next step.
Choose Your Colors
 Now comes the fun part – choosing your colors! Polka dot nail designs can be done with any color combination, so get creative and have fun with it. You can stick to one color for a classic look or use multiple colors for a more playful design.
Create Your Dots
 Once your base color is dry, it's time to create your polka dots. Dip your dotting tool or bobby pin into your chosen nail polish color and gently press it onto your nail. Start at the base of your nail and work your way up in a straight line, leaving some space between each dot.
Make it Your Own
 You can leave your design as is or add some personal touches to make it your own. You can use different sized dots, create a pattern, or even add a top coat with glitter for some extra sparkle. The possibilities are endless, and you can experiment with different designs until you find the perfect one for you.
In just a few simple steps, you can achieve a stunning polka dot nail design that will add a fun and unique touch to your look. So next time you want to add some flair to your nails, try this easy DIY technique and show off your new polka dot manicure with pride.
You can leave your design as is or add some personal touches to make it your own. You can use different sized dots, create a pattern, or even add a top coat with glitter for some extra sparkle. The possibilities are endless, and you can experiment with different designs until you find the perfect one for you.
In just a few simple steps, you can achieve a stunning polka dot nail design that will add a fun and unique touch to your look. So next time you want to add some flair to your nails, try this easy DIY technique and show off your new polka dot manicure with pride.


