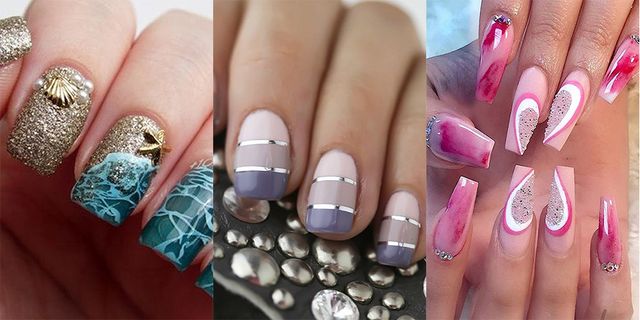
If you've been admiring the flawless and long-lasting results of gel nail designs but haven't tried them yet, don't worry! We've got you covered with this easy step by step tutorial. With a little practice and patience, you'll be able to create professional-looking gel nail designs at home in no time. Gel nails are a great option for those who want to have beautiful and durable nails without having to go to the salon every two weeks. Plus, with the wide range of colors and designs available, the possibilities are endless. So, let's get started on creating your very own easy gel nail designs!1. Easy Gel Nail Design Step by Step Tutorial


1. Easy Gel Nail Design Step by Step Tutorial


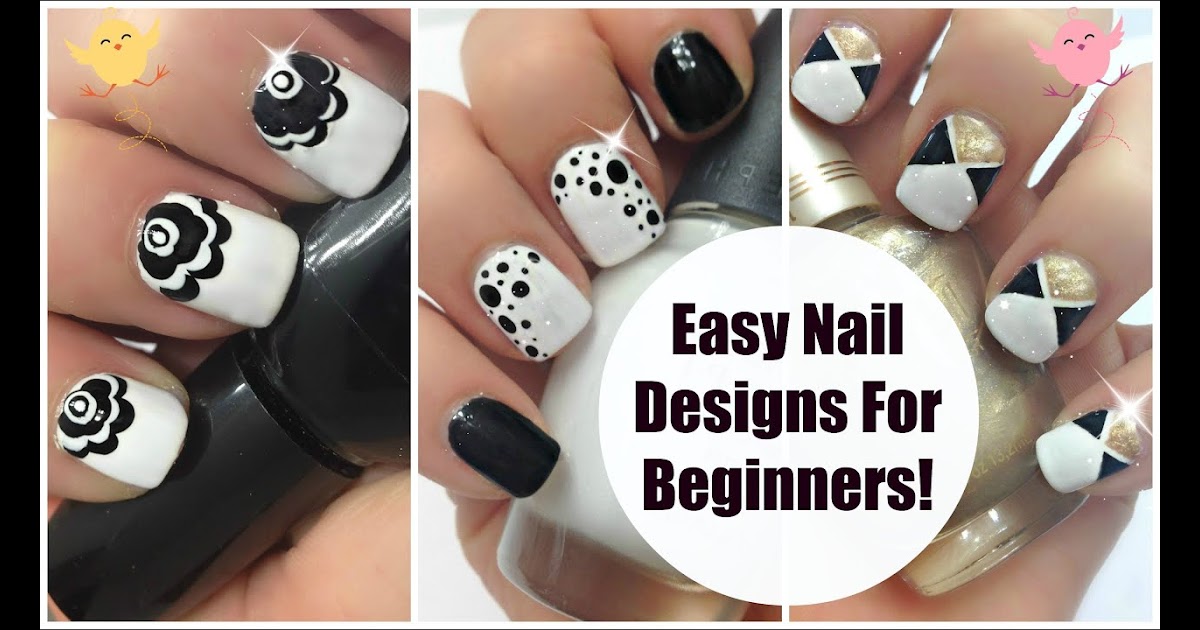
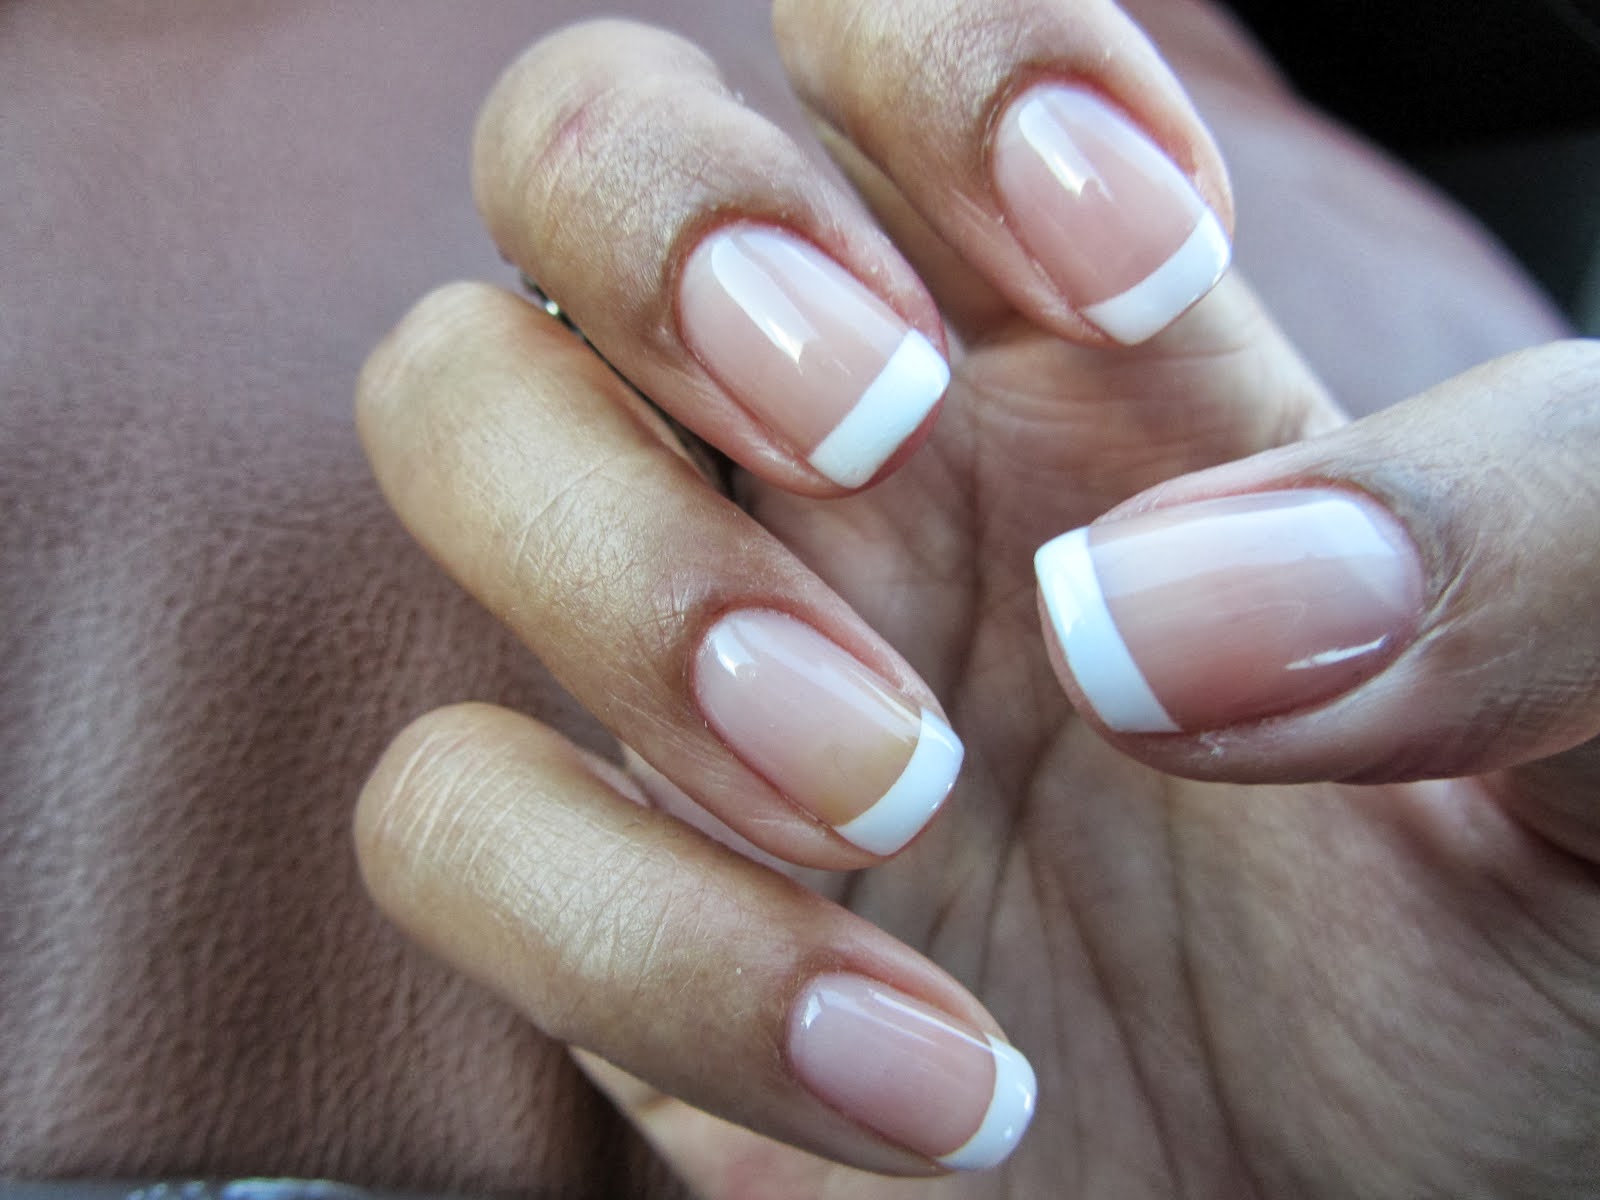
If you're new to gel nails, it's best to start with something simple and easy. A classic French manicure is a great option and can be easily achieved with gel polish. You'll need a base coat, a white gel polish for the tips, and a clear top coat. Apply the base coat and cure it under a UV or LED lamp. Then, using a small brush or nail art pen, carefully paint the tips with the white gel polish. Cure it again under the lamp and finish off with a layer of clear top coat for a glossy finish. Another simple design is a simple polka dot pattern. After applying the base coat and curing it, use a dotting tool or a toothpick to create dots with your chosen color. You can either create a uniform pattern or have different sizes and colors for a fun and playful look.2. Simple Gel Nail Designs for Beginners


2. Simple Gel Nail Designs for Beginners


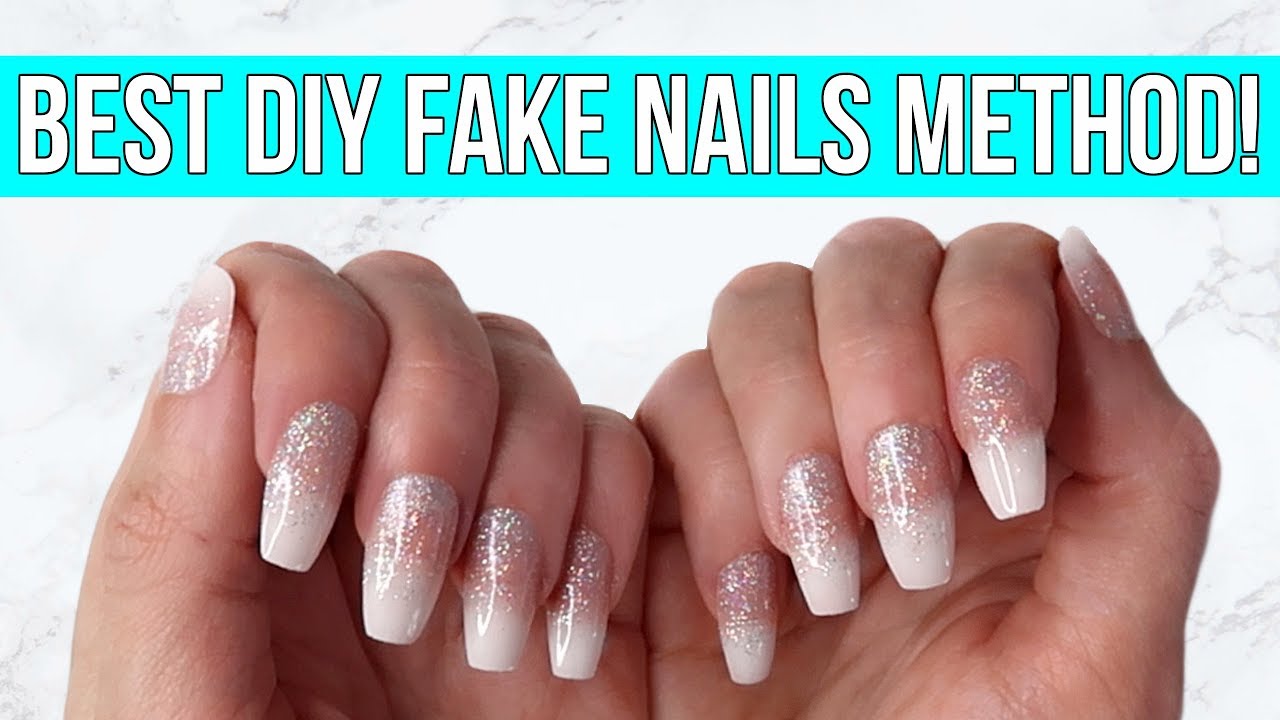
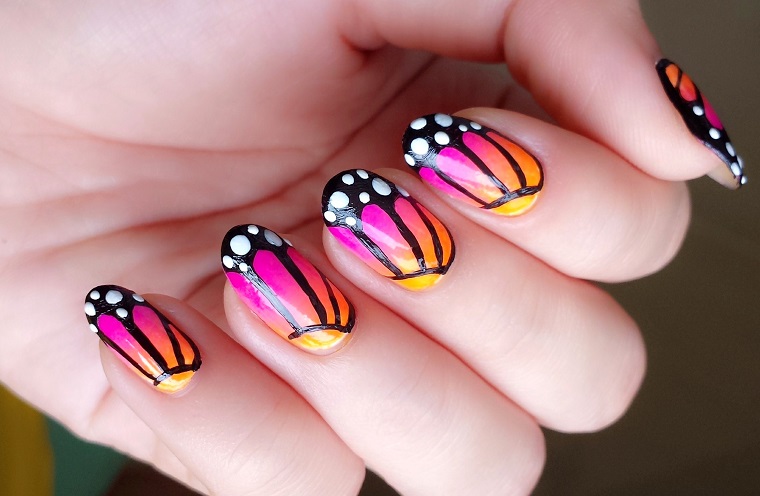
If you're short on time but still want to have stylish nails, there are plenty of quick and easy gel nail art ideas to try. One simple option is to use nail stickers or decals. These come in various designs and can instantly add a touch of elegance or fun to your nails. Just apply them on top of your cured base coat and seal it with a top coat. You can also try a gradient or ombre effect with gel polish. Apply a light color as the base and then use a makeup sponge to dab on a darker color on the tips. Blend the colors together and cure it under the lamp. Finish it off with a top coat and you'll have a trendy gradient nail design in no time.3. Quick and Easy Gel Nail Art Ideas


3. Quick and Easy Gel Nail Art Ideas


Ready to take your gel nail game to the next level? Here's a step by step guide to achieving a flawless gel nail design at home. Step 1: Prep your nails by pushing back your cuticles and gently buffing the surface to remove any shine and create a rough surface for the gel polish to adhere to. Step 2: Apply a thin layer of base coat and cure it under the lamp according to the manufacturer's instructions. Step 3: Apply your chosen gel polish color in thin and even coats, making sure to cap the edges of your nails. Cure each layer under the lamp before applying the next one. Step 4: Once you've achieved the desired opacity, apply a top coat and cure it under the lamp. This will seal in the color and give your nails a glossy finish. Step 5: If you want to add any designs or embellishments, do so before applying the top coat. Once you're done, seal it with a final layer of top coat and cure it under the lamp.4. Step by Step Guide to DIY Gel Nails


4. Step by Step Guide to DIY Gel Nails


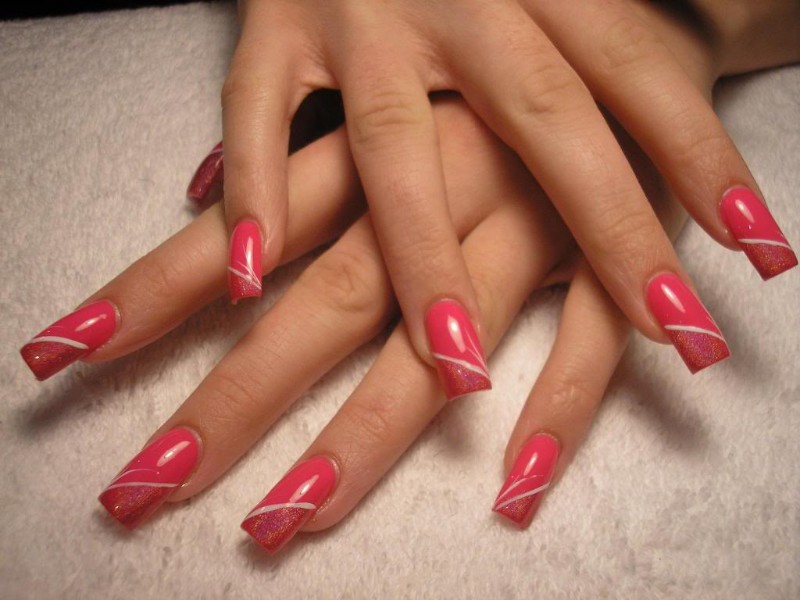
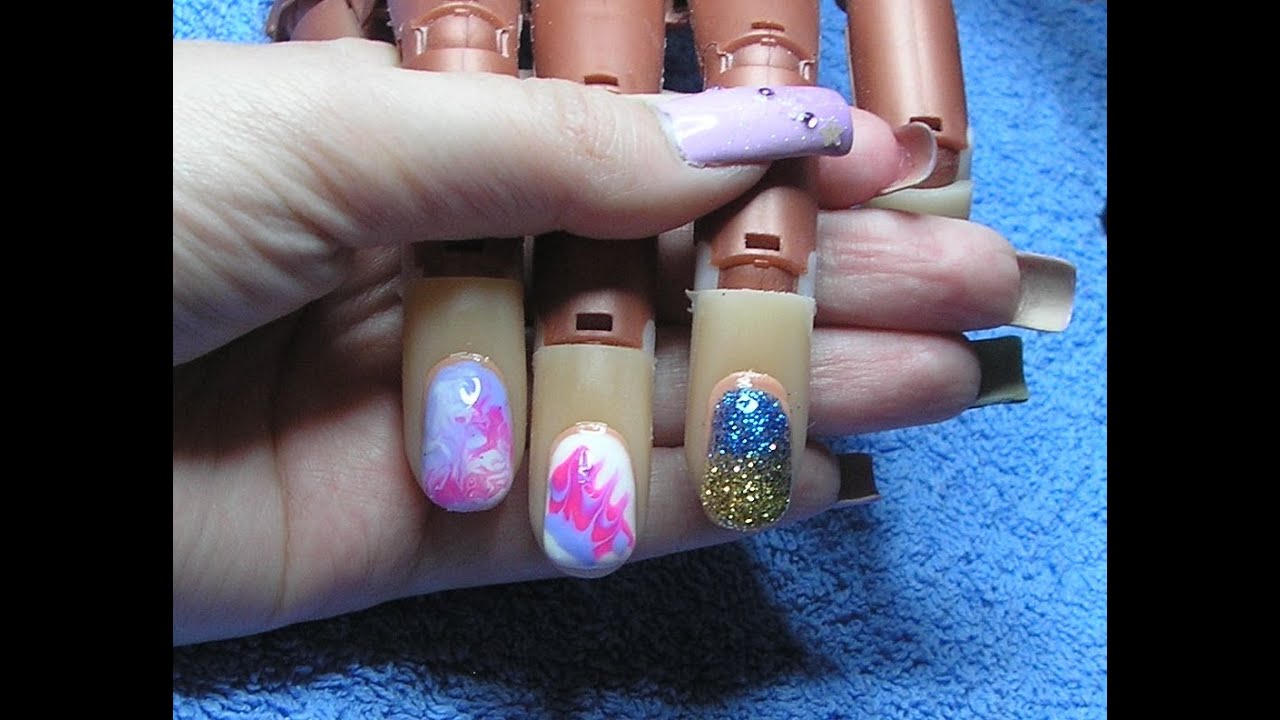
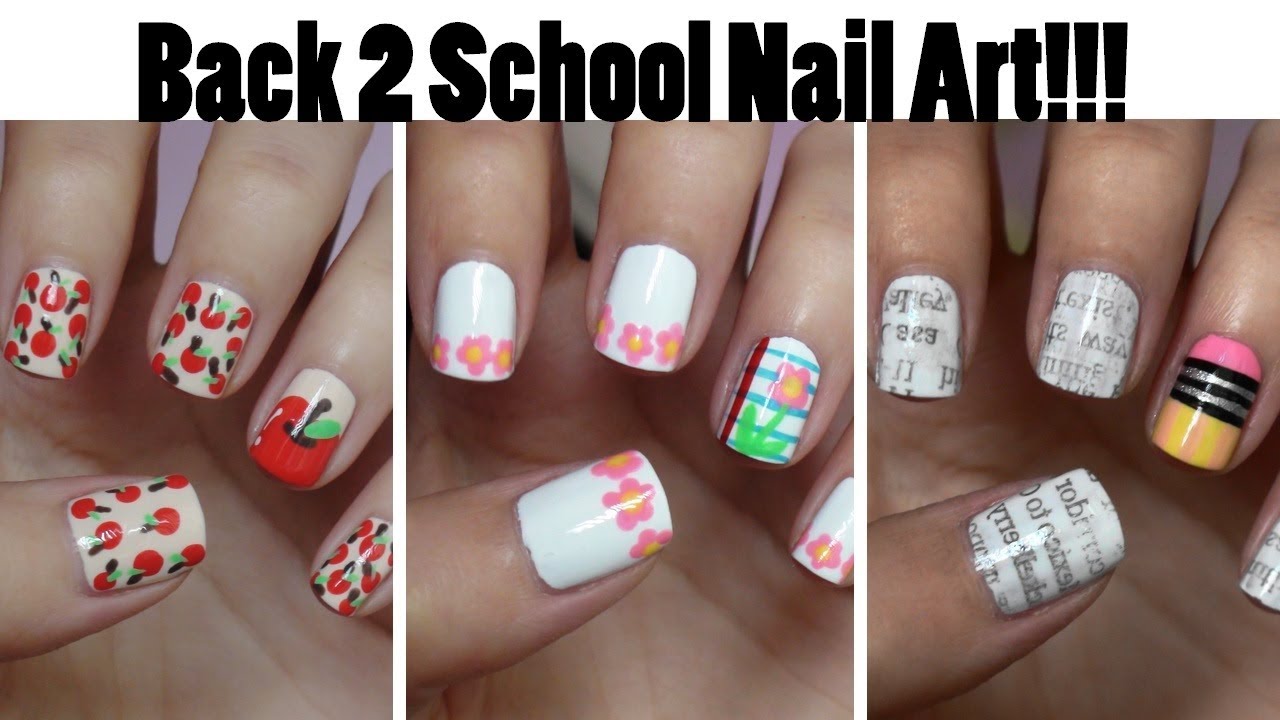
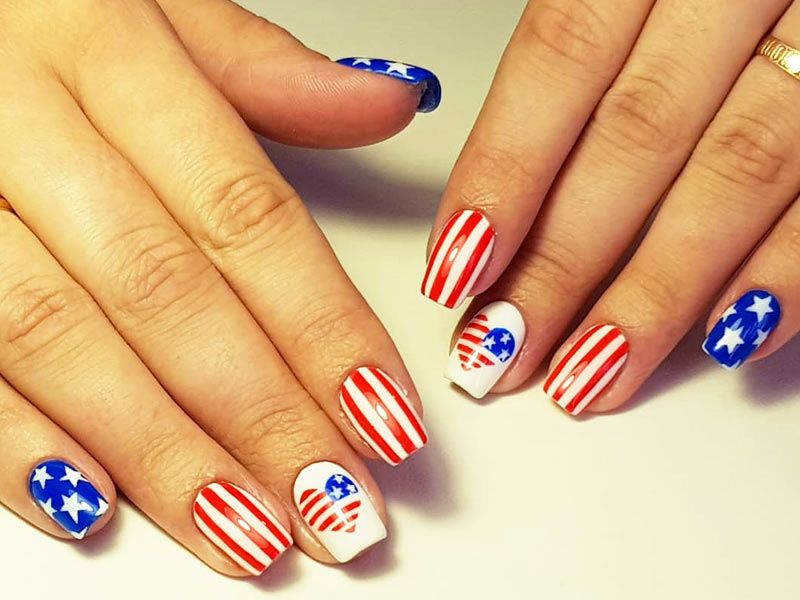
Who says you need long nails to have beautiful nail designs? Short nails can also rock cute and easy gel nail designs. One idea is to have a different color on each nail for a playful and colorful look. You can also try a half-moon design, where you paint the bottom half of your nails with a different color or add some glitter for a sparkly touch. If you want to elongate the look of your short nails, try a vertical stripe design. Use a striping brush or a thin nail art brush to create thin vertical lines on your nails with your chosen colors. This will create the illusion of longer nails.5. Cute and Easy Gel Nail Designs for Short Nails


5. Cute and Easy Gel Nail Designs for Short Nails


.jpg)


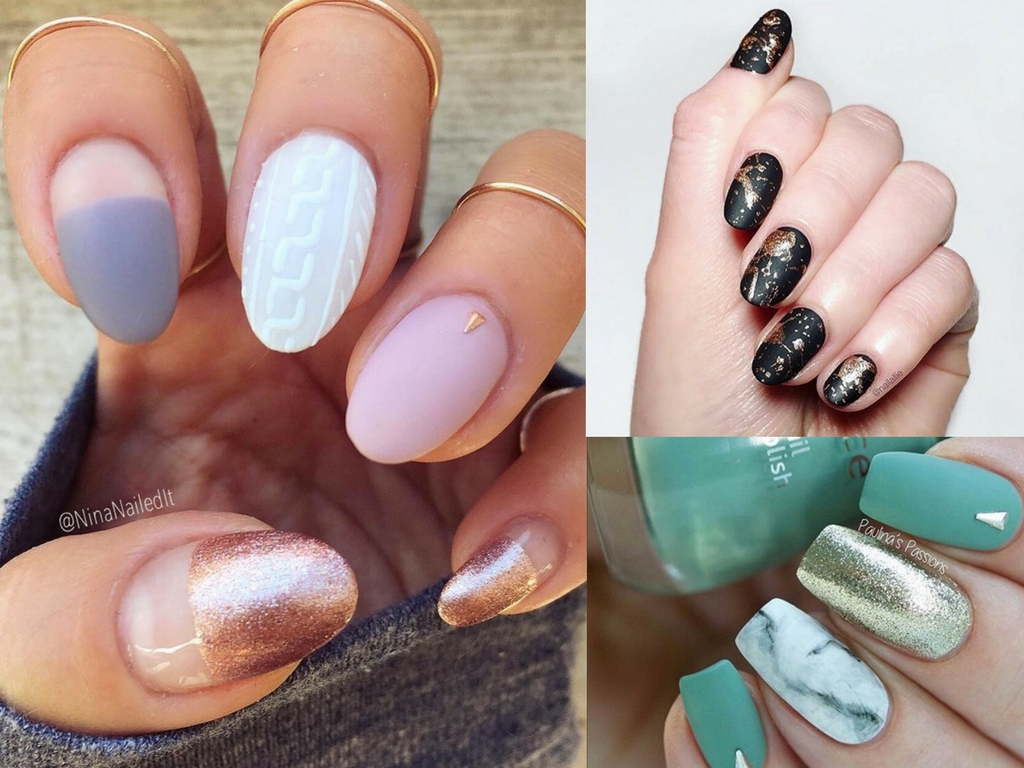
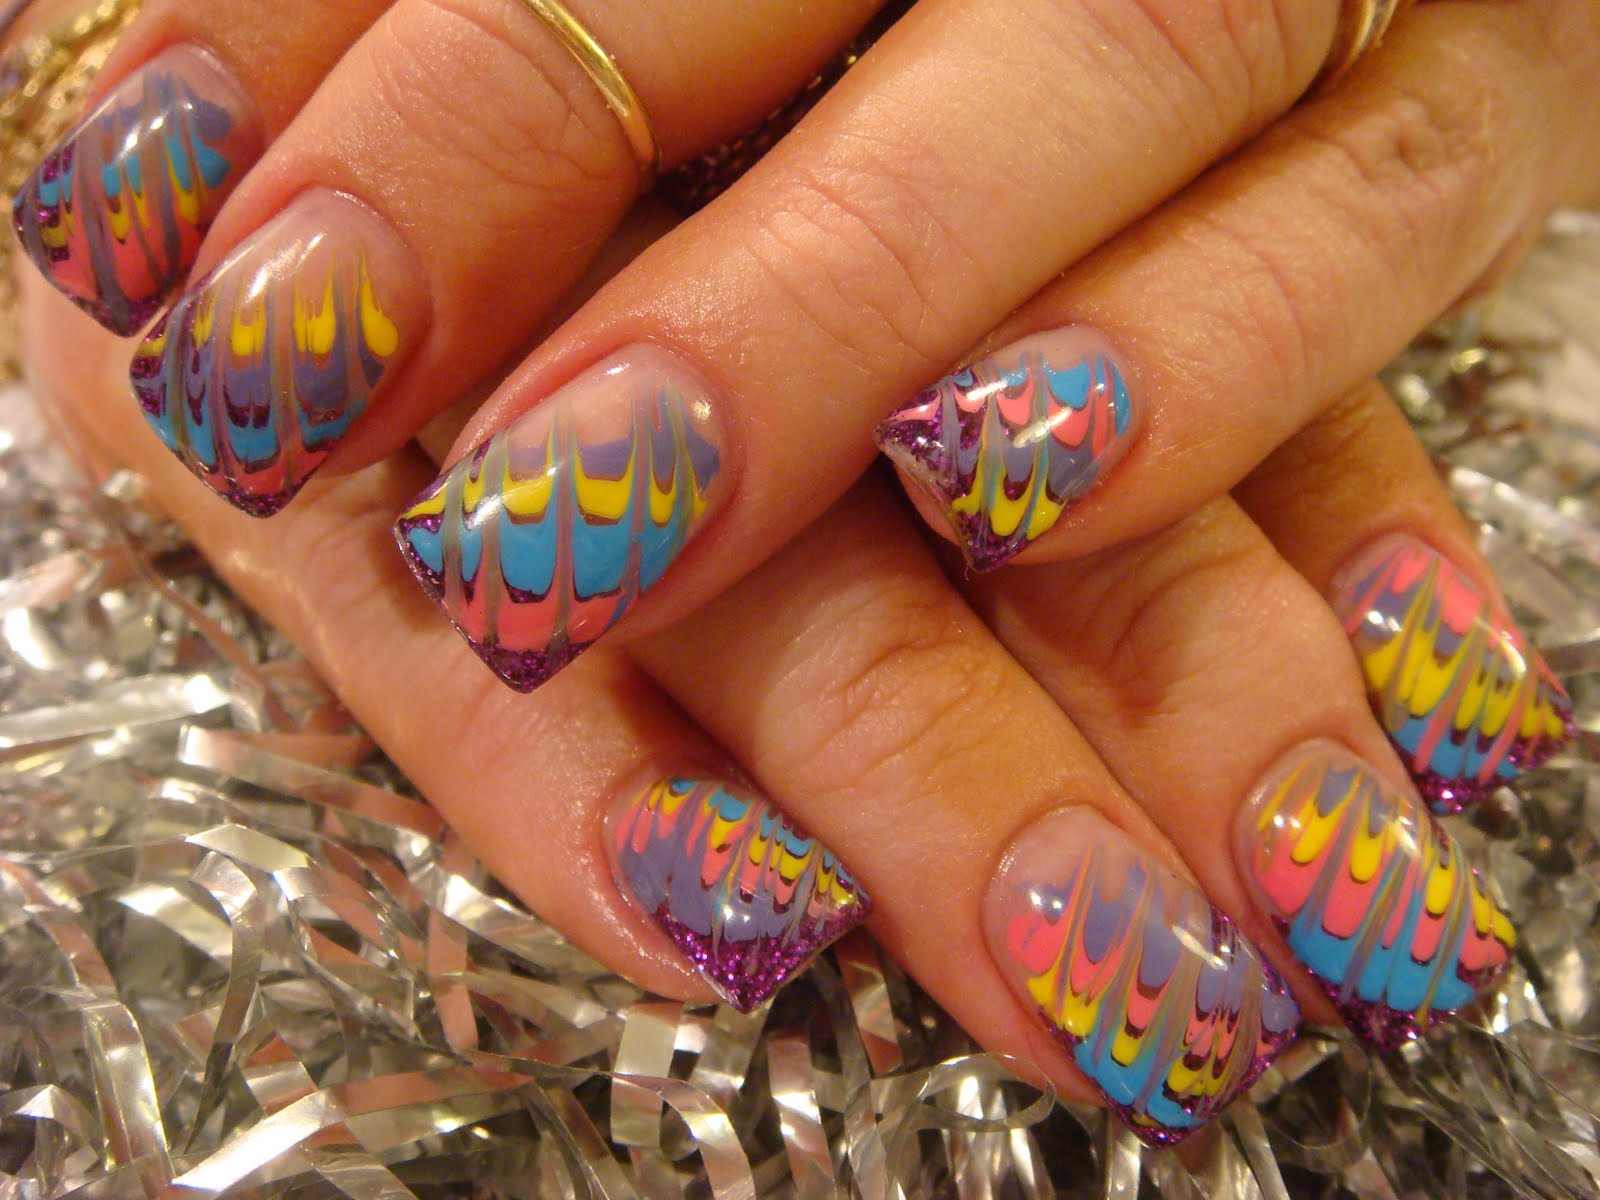
If you're just starting out with gel nails, it's best to stick with simple and beginner-friendly designs. One option is to use a gel nail stamping kit. These kits come with pre-designed stamping plates and a stamper to easily transfer the designs onto your nails. Plus, they come in a variety of cute and trendy designs to choose from. You can also try a marble nail design, which is achieved by swirling different colors together on the nail. This may take a bit of practice, but once you get the hang of it, it's a fun and easy design to create.6. Beginner-Friendly Gel Nail Designs
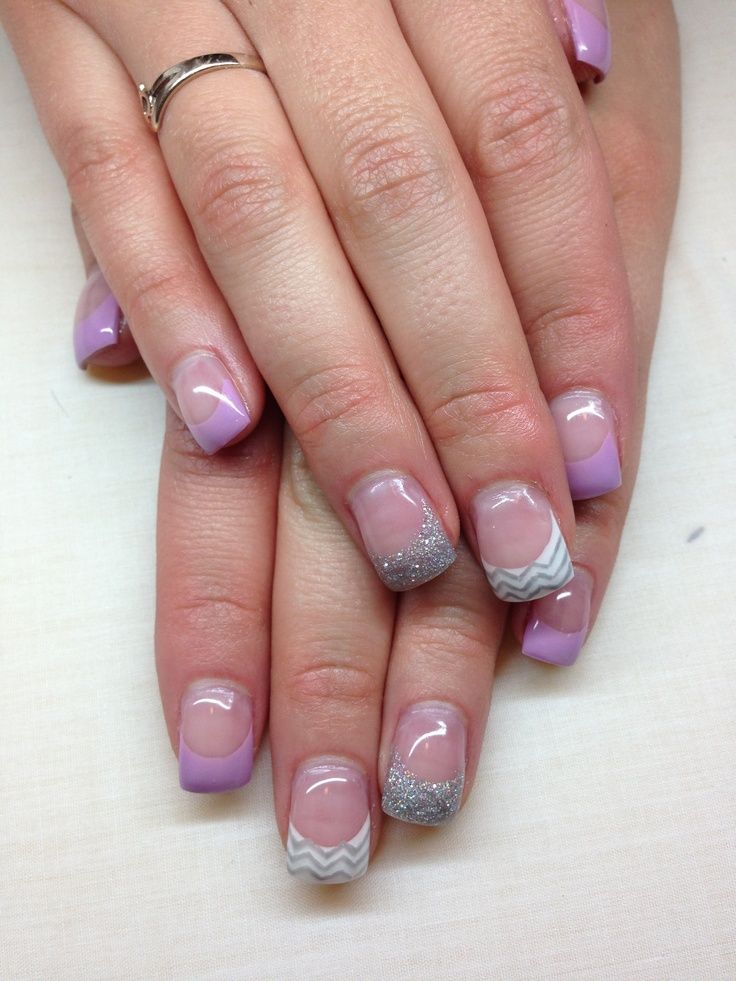

6. Beginner-Friendly Gel Nail Designs
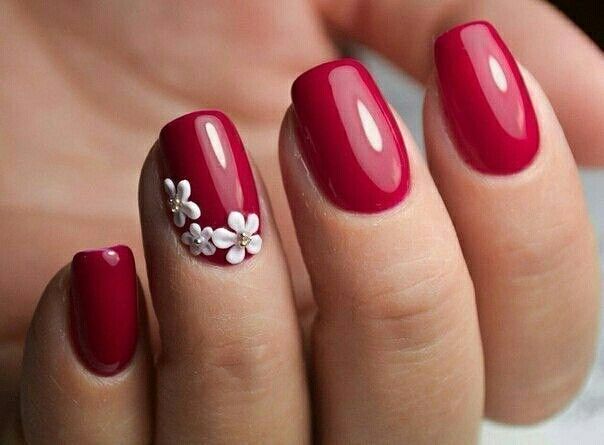

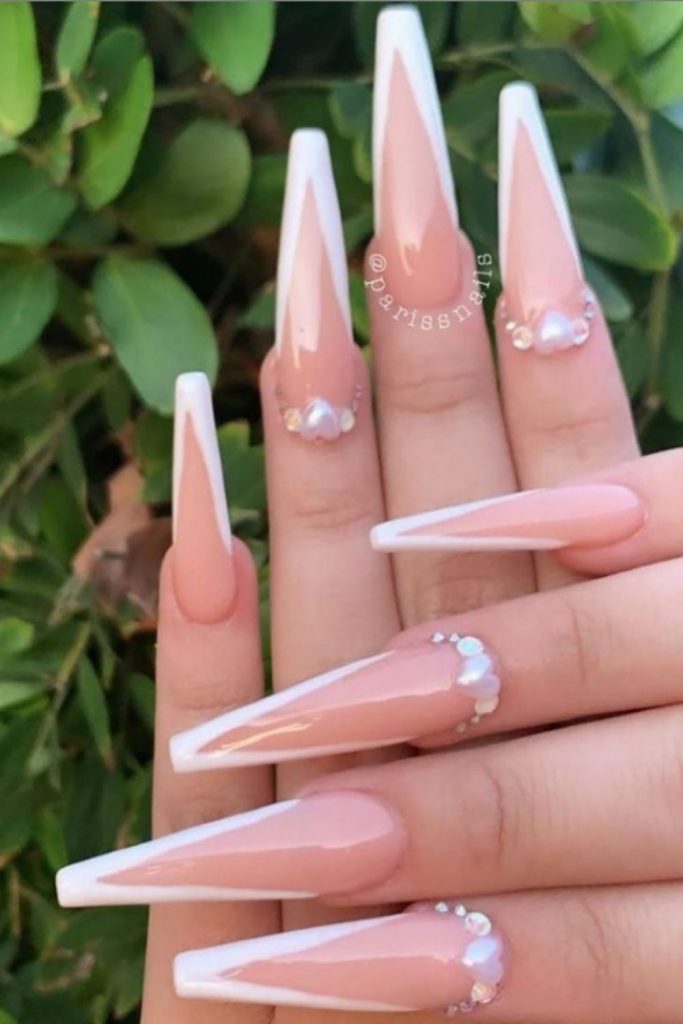
Whether you're going to a wedding, a party, or just want to add some glamour to your everyday look, there's a gel nail design for every occasion. For a wedding, you can opt for a classic French manicure with some added sparkle or a delicate lace design. For a party, go for a bold and vibrant color, or add some glitter and rhinestones for a statement look. And for everyday wear, you can't go wrong with a simple and chic nude or pastel color.7. Gel Nail Designs for Every Occasion

7. Gel Nail Designs for Every Occasion


Don't have any nail art tools at hand? No problem! There are still plenty of easy gel nail designs you can create with just your fingers. One fun idea is to create a splatter effect by dipping a straw into your chosen nail polish color and then blowing through the other end to splatter the color onto your nails. Another option is to use a bobby pin to create polka dots or a toothpick to create simple designs like hearts or stars.8. Easy Gel Nail Designs with No Tools Required
8. Easy Gel Nail Designs with No Tools Required


Still feeling unsure about creating gel nail designs at home? Here's a detailed step by step tutorial to guide you through the process. Step 1: Prep your nails by removing any old nail polish and pushing back your cuticles. Step 2: File your nails into your desired shape and buff the surface to create a rough surface for the gel polish to adhere to. Step 3: Apply a thin layer of base coat and cure it under the lamp. Step 4: For a simple design, apply a coat of your chosen gel polish color and cure it under the lamp. Then, using a nail art brush or toothpick, create your desired design with a different color. Cure it under the lamp again. Step 5: Apply a top coat and cure it under the lamp. This will seal in your design and give your nails a glossy finish.9. Step by Step Tutorial for Gel Nail Designs at Home
9. Step by Step Tutorial for Gel Nail Designs at Home

Don't forget about the little ones who love to have their nails done too! Gel nail designs for kids can be simple and fun. You can try a cartoon or animal design using different colors, or create a rainbow effect with a different color on each nail. You can also try a sugar sprinkles design by sprinkling some glitter or small beads onto the wet gel polish before curing it under the lamp. Now that you have these easy gel nail design ideas, it's time to get creative and have fun with your nails. Remember to always follow the manufacturer's instructions for the best results and to keep your nails healthy by giving them breaks in between gel manicures. Happy nail designing!10. Fun and Easy Gel Nail Designs for Kids


10. Fun and Easy Gel Nail Designs for Kids


Creating Stunning Gel Nail Designs Has Never Been Easier

One of the biggest trends in the world of nail art is gel nails. Not only do they last longer than traditional polish, but they also provide a high-gloss, professional finish that is hard to achieve with regular nail polish. However, many people are intimidated by the idea of creating gel nail designs at home. That's why we've put together this easy step-by-step guide to help you achieve gorgeous gel nails in no time.
Gel nail designs are perfect for any occasion, whether it's a special event or just your everyday look. With the right tools and techniques, you can create stunning designs that will make your nails stand out. Plus, with the convenience of doing it at home, you can save time and money by avoiding trips to the salon.
Gather Your Supplies
Before you begin, make sure you have all the necessary supplies. The main things you will need are gel polish, a UV or LED lamp, a base coat, a top coat, and some nail art tools . You can find gel nail polish and other supplies at your local beauty supply store or online.
Prep Your Nails
Start by properly prepping your nails. File them into your desired shape and push back your cuticles. Then, use a nail buffer to gently rough up the surface of your nails. This will help the gel polish adhere better and last longer.
Apply the Base Coat
Using your base coat, apply a thin layer to each nail. Make sure to cover the entire nail, including the edges. Then, cure your nails under the UV or LED lamp according to the instructions on your gel polish.
Add Your Design

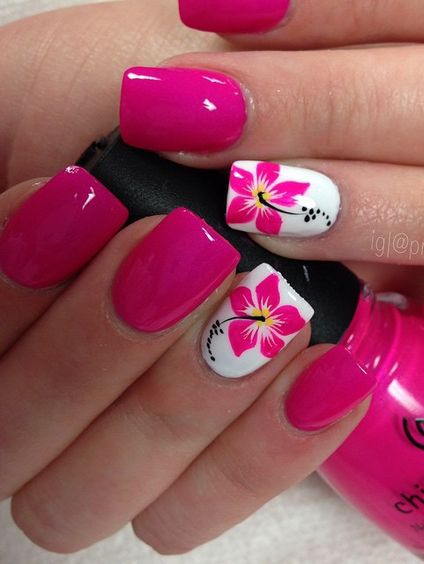
Now comes the fun part – adding your design! This is where you can get creative and let your personality shine. You can use nail art brushes, dotting tools, or even toothpicks to create different designs and patterns. Some popular designs include ombre, floral, and geometric patterns.
Cure and Seal

Once you are satisfied with your design, cure your nails under the lamp again. Then, apply a top coat to seal in your design and add shine to your nails. Cure your nails one final time and you're done!
With these simple steps, you can achieve professional-looking gel nail designs in the comfort of your own home. Experiment with different designs and have fun with it. Who knows, you might just discover a new passion for nail art! So go ahead, give it a try and rock those stunning gel nail designs wherever you go.


