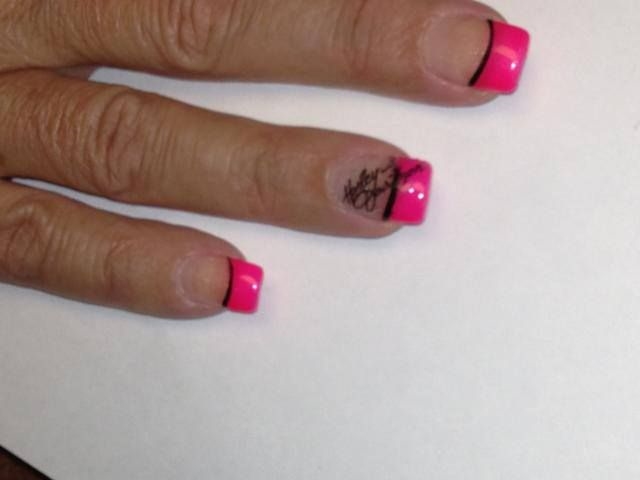
Looking to add some edgy and unique style to your nails? Why not try a Harley Davidson nail design? This tutorial will guide you through the steps to create a bold and eye-catching look that's perfect for any motorcycle enthusiast. The key to achieving a great Harley Davidson nail design is to start with a clean base. Make sure to remove any old polish and trim and shape your nails as desired. Then, apply a clear base coat to protect your natural nails. Next, it's time to add some color. Choose a bold black or deep red nail polish as your base color. Apply 2 coats for a solid, opaque finish. Let the polish dry completely before moving on to the next step. Now for the fun part – adding the Harley Davidson logo. You can either use a nail stamping kit or freehand the design. If using a stamping kit, follow the instructions and use a metallic silver or gold polish for the logo. If freehanding, use a small detail brush and white and orange polishes to create the iconic logo. Practice on a piece of paper before attempting on your nails. Once the logo is dry, add some extra details such as stripes or flames using a thin brush and metallic polish. Finish off with a top coat to seal in your design and add shine. Your Harley Davidson nail art is complete! Show off your unique and edgy style with this bold design.1. Harley Davidson Nail Art Tutorial


1. Harley Davidson Nail Art Tutorial


For those looking for a simpler version of a Harley Davidson nail design, there are plenty of easy ideas to try. One option is to use black and white nail polish to create a checkerboard pattern on your nails. Then, add the iconic logo in metallic or neon colors for a pop of contrast. Another idea is to keep the base color neutral with a light gray or taupe polish and add the logo in black or white. This creates a more subtle and understated look that is perfect for everyday wear. If you want to add some sparkle to your Harley Davidson nails, try using a glitter polish as your base color. Then, use a thin brush to add the logo in a solid color or metallic polish. This adds a touch of glam to the edgy design. Don't be afraid to get creative and experiment with different color combinations and designs. The possibilities are endless with a Harley Davidson nail design.2. Easy Harley Davidson Nail Design Ideas


2. Easy Harley Davidson Nail Design Ideas


Not everyone has the time or skill to create intricate nail designs. But that doesn't mean you can't rock a Harley Davidson look on your nails. A simple and easy option is to use sticker decals to add the logo and other designs to your nails. Start with a clean base and apply your chosen nail polish color. Then, carefully place the sticker decal onto your nail and press down firmly. You can also use tweezers to help with placement. Seal in the design with a top coat and you're all set. You can find sticker decals with a variety of Harley Davidson designs, such as the logo, flames, or motorcycle silhouettes. This is a great option for those who want to add a touch of Harley Davidson to their nails without the hassle of painting it on.3. Simple Harley Davidson Nail Art


3. Simple Harley Davidson Nail Art
If you're feeling crafty, why not create your own custom Harley Davidson nail decals? All you need is some clear nail polish, tattoo paper, and inkjet printer. First, print out your desired design onto the tattoo paper using your printer. Make sure to follow the instructions for your specific paper and printer. Then, apply a clear coat of polish onto your nails and let it dry completely. Next, cut out the design and place it onto your nail, pressing down firmly. Wet the paper with a damp cloth and hold for 30 seconds. Carefully peel off the paper and seal in the design with a top coat. This DIY method allows for endless possibilities and the ability to create your own unique and personalized Harley Davidson nail designs.4. DIY Harley Davidson Nails


4. DIY Harley Davidson Nails


Short on time but still want to rock a Harley Davidson nail design? Try this quick and easy option that only requires nail polish and toothpicks. Start with a clean base and paint your nails with your chosen base color. Then, use a toothpick to create the Harley Davidson logo. Dip the toothpick into a contrasting nail polish color and carefully create the outline of the logo on your nail. Then, use the toothpick to fill in the design with the same or different color. Seal in with a top coat and you're done!5. Quick and Easy Harley Davidson Nail Design

5. Quick and Easy Harley Davidson Nail Design


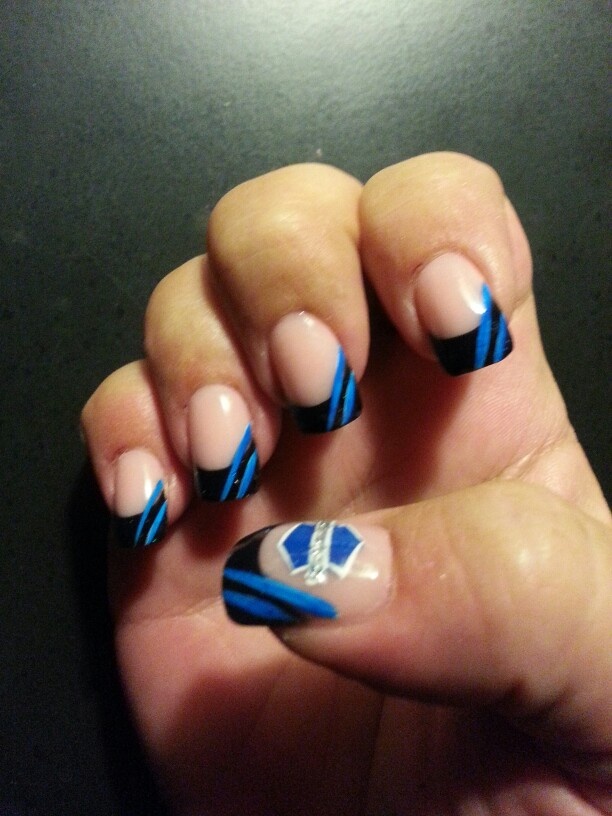
If you're a fan of nail stamping, why not try a Harley Davidson design? This tutorial will guide you through the steps to create a bold and unique look using a nail stamping kit. Start with a clean base and apply a clear polish to protect your nails. Next, choose a metallic or neon color for the logo and use a stamping plate with the Harley Davidson design. Carefully apply the polish onto the design, scrape off the excess, and press the stamp onto your nail. Repeat for all nails and seal in with a top coat. You can also use a stamping plate with other designs, such as flames or motorcycles, to create a more intricate and detailed Harley Davidson nail design.6. Harley Davidson Nail Stamping Tutorial

6. Harley Davidson Nail Stamping Tutorial


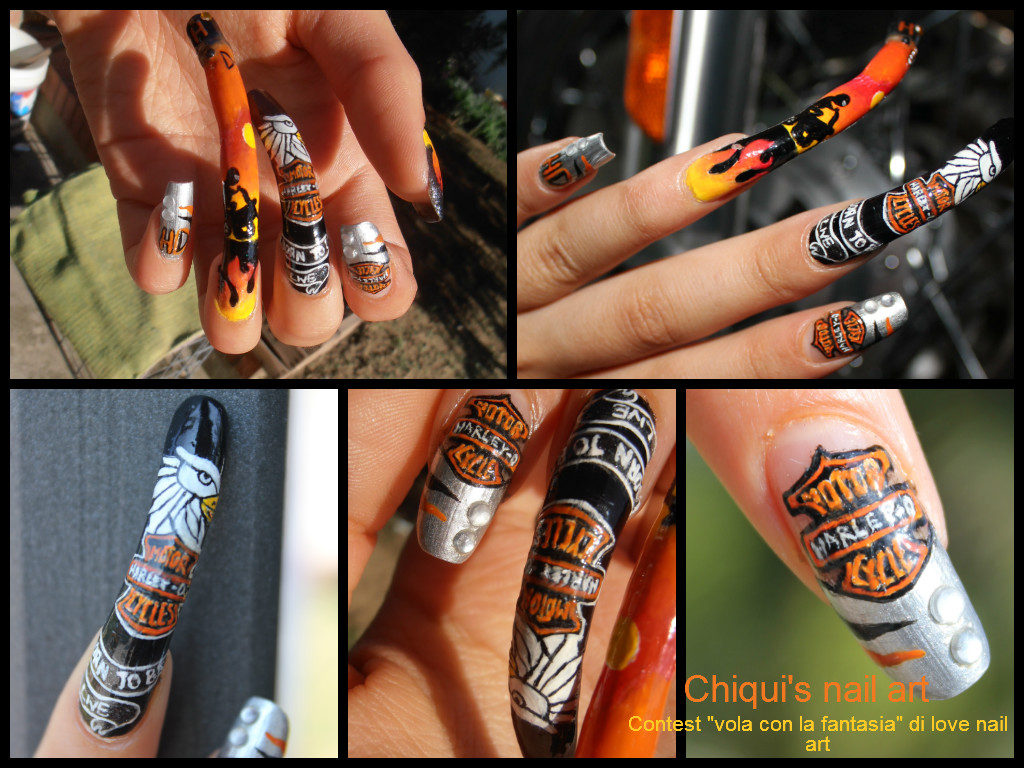
If you're feeling confident in your nail art skills, you can create a full Harley Davidson scene on your nails. This involves painting a motorcycle and adding other elements such as the logo, flames, and skulls. Start with a clear base and use a nail art brush to paint a motorcycle on your nail. Use different shades of brown and black polish for a realistic look. Then, add the logo, flames, and skulls using a thin brush and metallic or neon polishes. This may take some practice, so don't be discouraged if it doesn't turn out perfectly the first time. Seal in with a top coat for a long-lasting and unique Harley Davidson nail design.7. How to Create a Harley Davidson Nail Design

7. How to Create a Harley Davidson Nail Design
If you're not confident in your nail art skills or simply want an easier option, you can always opt for pre-made Harley Davidson nail decals. These are easy to apply and come in a variety of designs and styles. Simply start with a clean base and apply a clear coat of polish. Then, place the decal onto your nail and press down firmly. You can also use tweezers to help with placement. Seal in with a top coat and you're done!8. Harley Davidson Nail Decals

8. Harley Davidson Nail Decals

If you're new to nail art, don't worry – there are still plenty of options for you to create a stunning Harley Davidson nail design. One of the easiest options is to use nail wraps or stickers. Start with a clean base and apply a clear coat of polish. Then, simply place the wrap or sticker onto your nail and press down firmly. Trim off any excess and seal in with a top coat. This is a great option for those who want to add some Harley Davidson flair to their nails without the hassle of painting it on.9. Easy Harley Davidson Nail Art for Beginners

9. Easy Harley Davidson Nail Art for Beginners


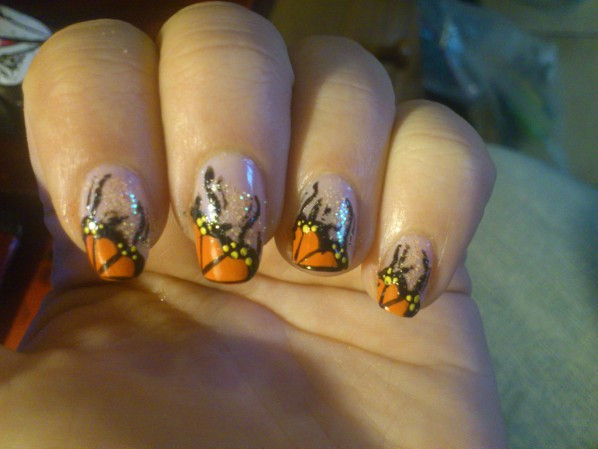
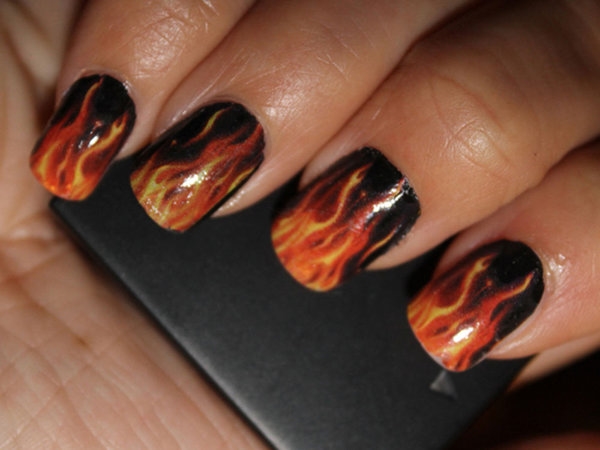
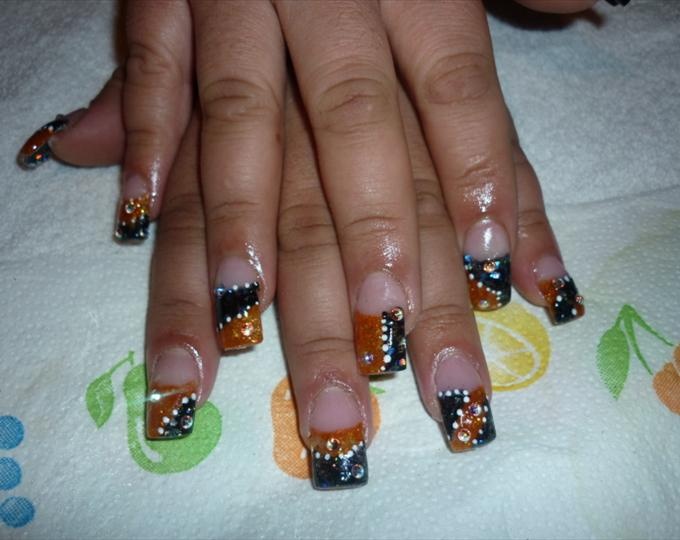
If you're a fan of the Harley Davidson brand but don't necessarily want the logo on your nails, there are still plenty of designs to try that are inspired by the brand. For example, you can use the classic colors of black and orange for a bold and edgy look. Or, try incorporating motorcycle chain or gear designs into your nail art for a unique twist. There are endless possibilities for creating a Harley Davidson inspired nail design, so don't be afraid to get creative and make it your own. In conclusion, a Harley Davidson nail design is a great way to show off your love for motorcycles and add some edgy style to your nails. Whether you're a beginner or an experienced nail artist, there are plenty of easy and creative ideas to try. So, rev up your nail game with a bold and unique Harley Davidson nail design. 10. Harley Davidson Inspired Nail Designs


10. Harley Davidson Inspired Nail Designs


Easy Harley Davidson Nail Design: A Unique Way to Show Your Love for Motorcycles

Hair, clothes, and accessories are not the only ways to express your personal style and interests. Your nails can also be a canvas for self-expression. If you're a motorcycle enthusiast, why not show off your love for Harley Davidson with a unique nail design? Here's a guide on how to achieve an easy Harley Davidson nail design that will surely make heads turn.
Gather Your Materials

The first step to creating a stunning Harley Davidson nail design is to gather all the necessary materials. You will need a base coat, top coat, black and orange nail polish, white nail polish, a thin paintbrush, and nail art stickers or decals with Harley Davidson logos or designs.
Prep Your Nails

Before starting, make sure your nails are clean and free from any old polish. Apply a base coat to protect your natural nails and allow it to dry completely. This will also help the nail polish adhere better.
Get Creative with Colors

Using the black nail polish, paint all your nails except for your ring finger. For the ring finger, use the orange nail polish as the base color. This will serve as the accent nail for your Harley Davidson design.
Creating the Harley Davidson Logo

Now it's time to get creative and draw the iconic Harley Davidson logo on your ring finger. Using the white nail polish and thin paintbrush, carefully draw a circle in the center of your nail. Then, draw a smaller circle inside the first one. Next, draw the iconic Harley Davidson wings on top of the circles. You can also use a decal or sticker for this step if you're not confident in your painting skills.
Add Some Finishing Touches

To complete the design, add some details like small black dots around the logo to represent the rivets on a motorcycle. You can also add some white lines to mimic the stitching on a leather jacket. Once you're happy with the design, let it dry completely.
Seal the Design
Finally, apply a top coat to seal your design and make it last longer. This will also give your nails a shiny finish.
There you have it, an easy and unique Harley Davidson nail design that will surely make a statement. Don't be afraid to get creative and add your own personal touch to the design. Now you can proudly show off your love for motorcycles through your stylish nails.


