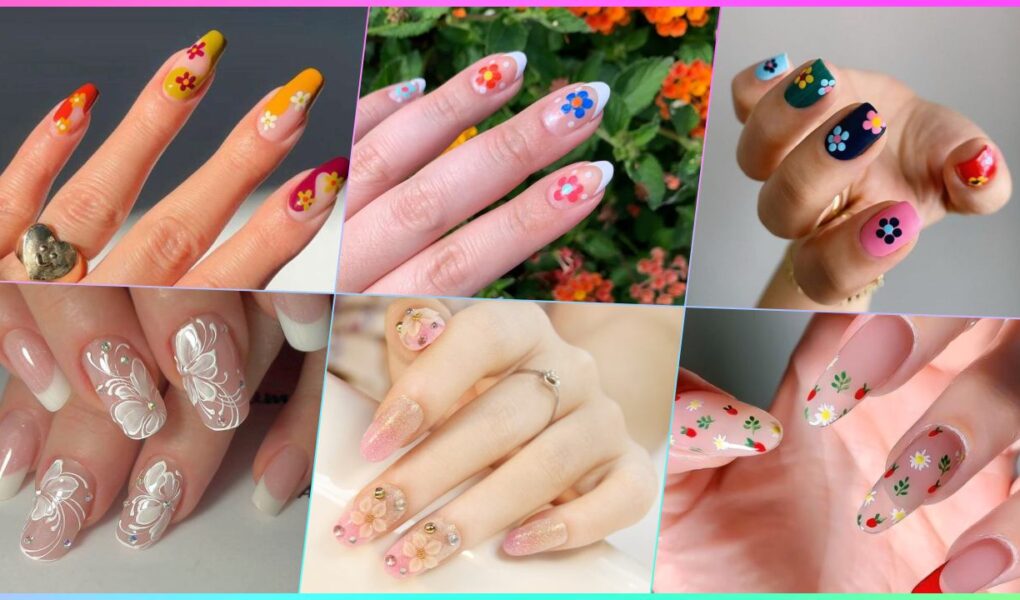
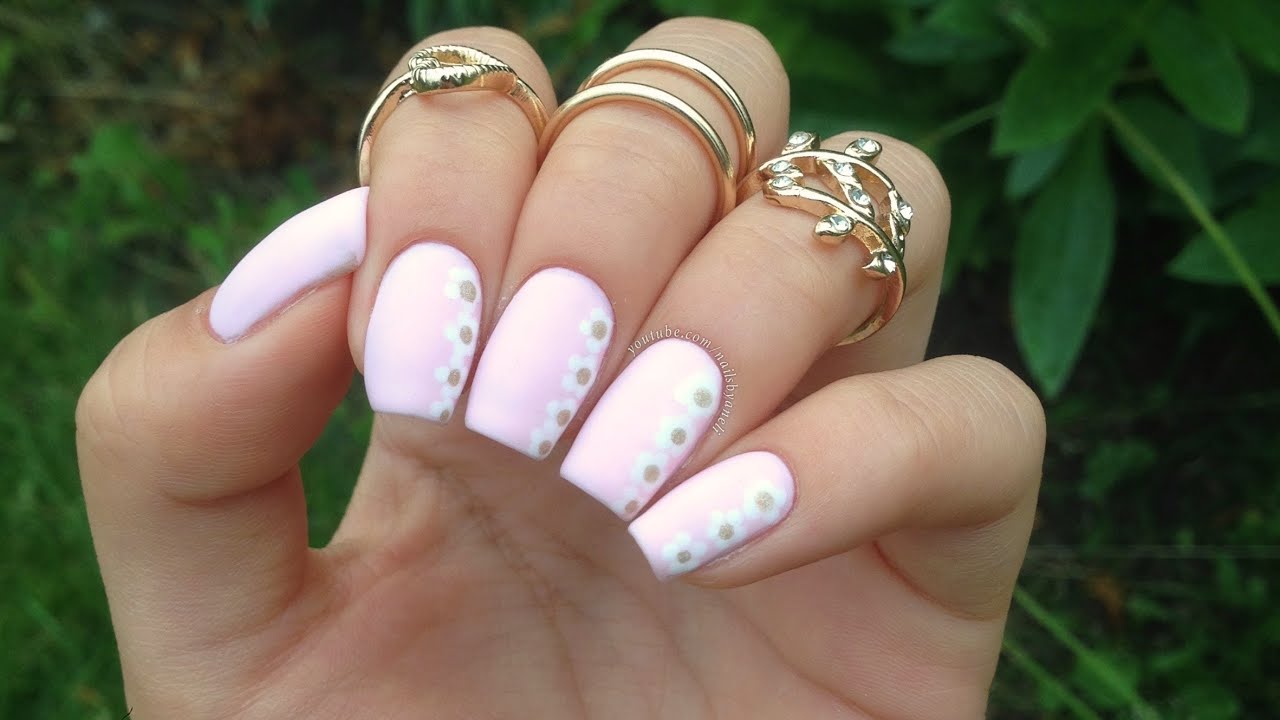
Are you dreaming of a tropical getaway? Bring the beauty of Hawaii to your nails with this easy Hawaiian flower nail art tutorial. With just a few simple steps, you can create a stunning and unique design that will transport you to the sandy beaches and lush landscapes of the Hawaiian islands. To start, you will need a few supplies. Make sure you have a base coat, nail polish in your desired colors, a thin brush or nail art pen, and a top coat. You may also want to have some nail decals or jewels on hand to add some extra flair to your design. First, apply a base coat to protect your nails and ensure long-lasting wear. Then, choose your desired nail polish colors. For a classic Hawaiian look, opt for bright floral shades like pink, yellow, orange, purple, and blue. You can also mix it up and choose colors that represent the tropical fruits and foliage of Hawaii, such as lime green or kiwi green. Next, using a thin brush or nail art pen, create small flower shapes on your nails. You can do this by making a series of small dots in a circular pattern and then using the brush or pen to drag the dots together to form a flower. Experiment with different sizes and shapes to create a variety of floral designs on each nail. Once you have created your flowers, you can add some extra detail with leaf shapes or dots for the center of the flowers. This step is where you can really let your creativity shine and make each nail unique. After the polish has dried, apply a top coat to seal in your design and add some shine. If you want to take your Hawaiian nail art to the next level, you can add some nail decals or jewels to your nails. Look for tropical or floral designs to complement your nail art. Now you have a beautiful and easy Hawaiian flower nail design that will make you feel like you're on vacation every time you look at your nails. Experiment with different colors and designs to create your own unique tropical look and bring some island vibes to your nail game.1. Hawaiian Flower Nail Art Tutorial


1. Hawaiian Flower Nail Art Tutorial


.jpg)


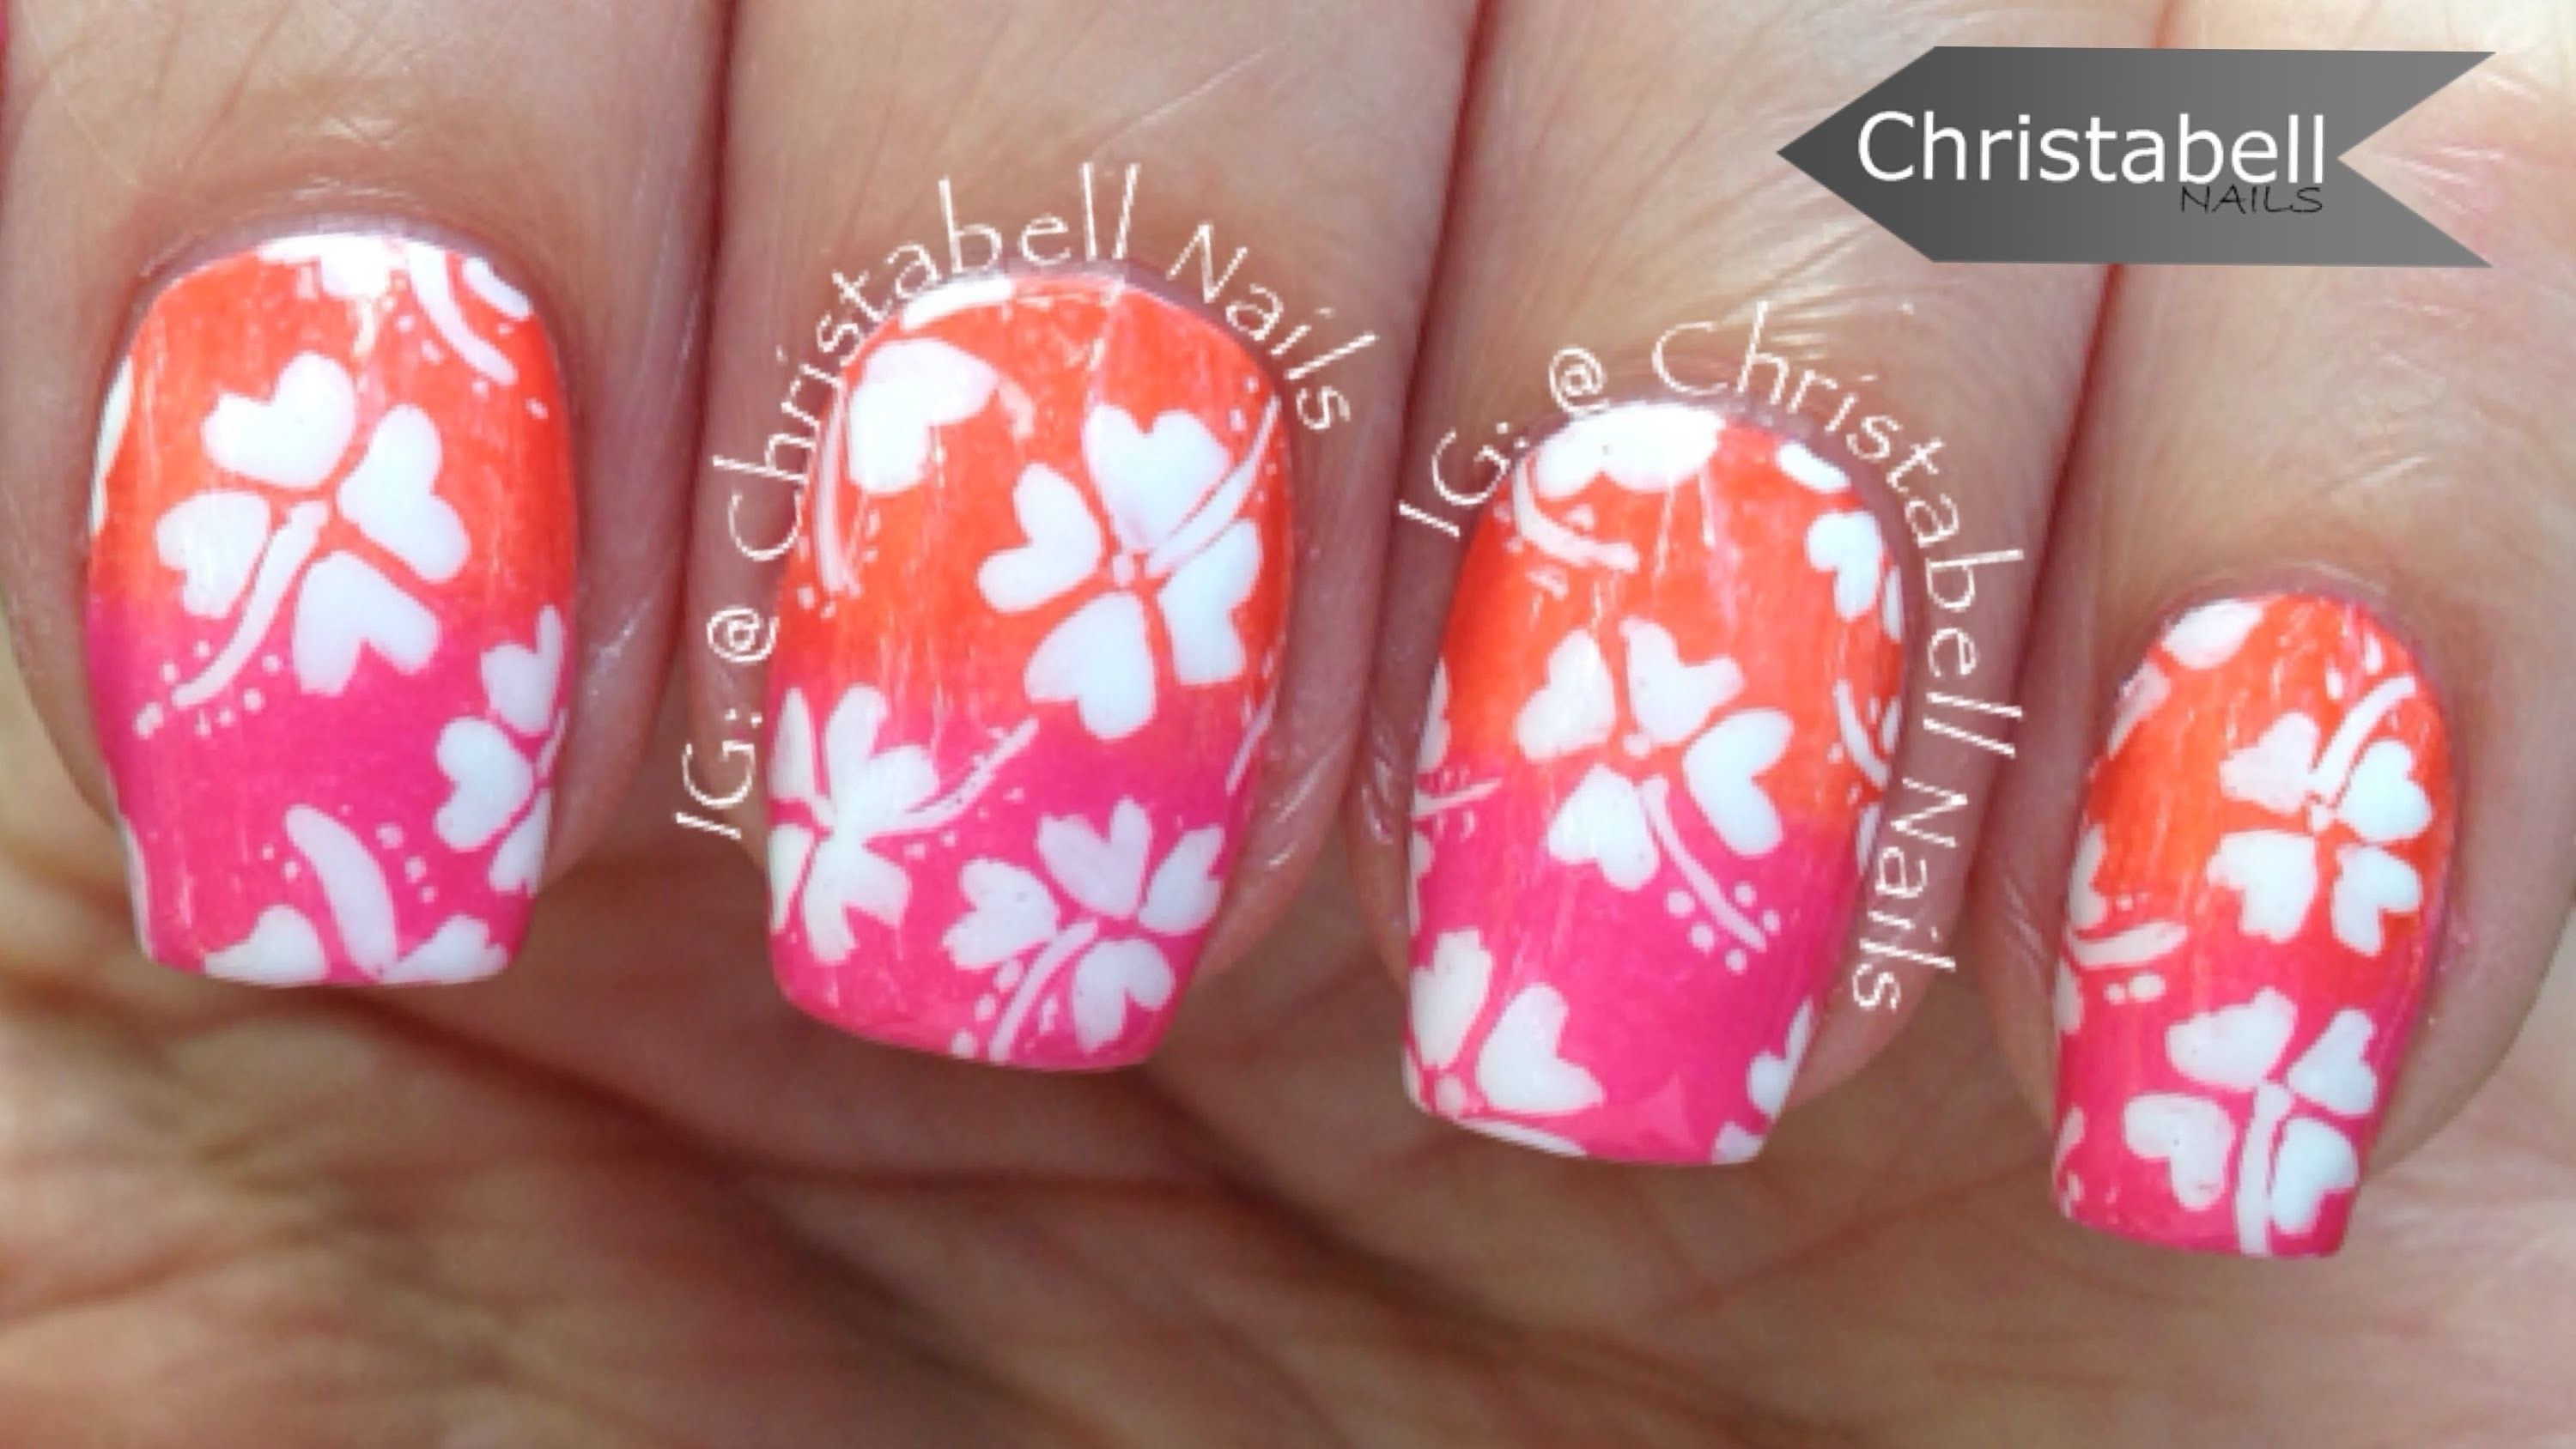
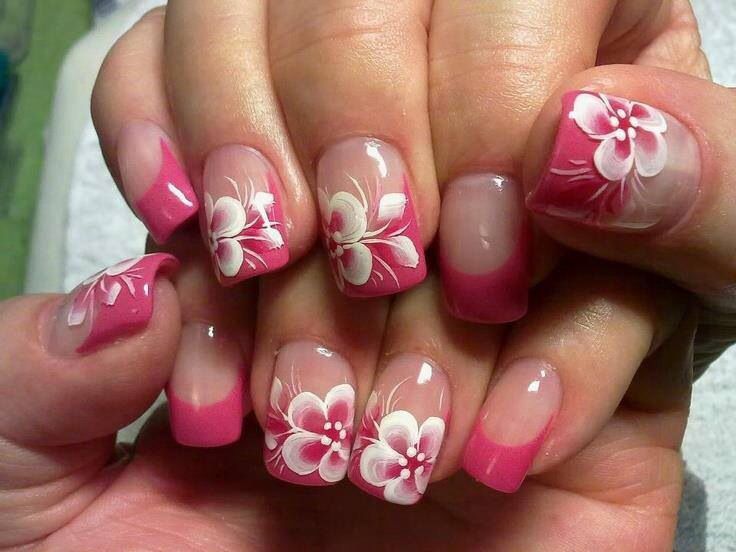
If you're looking for some tropical nail designs that are easy to recreate, look no further. From palm trees to pineapples, there are endless options to bring a touch of the tropics to your nails. A simple yet striking design is to create palm tree silhouettes on a blue or green base. You can use a thin brush or nail art pen to create the trunks and then add small branches with leaf shapes. For an extra pop of color, use a bright yellow or orange polish for the sunset in the background. Another fun and easy design is a pineapple nail art. Start by painting your nails with a yellow base and adding small triangles of green polish to represent the leaves of the pineapple. You can also add a few dots of brown polish for the texture of the pineapple skin. A flamingo nail design is also a fun and playful way to bring some tropical vibes to your nails. Start by painting your nails with a pink base and then create a flamingo shape with a nail art pen or thin brush. Add some black details for the eyes and beak and finish off with a top coat for a glossy finish. With these easy tropical nail designs, you can bring a touch of the islands to your everyday look. Don't be afraid to experiment with different colors and designs to create your own unique tropical nail art.2. Easy Tropical Nail Designs


2. Easy Tropical Nail Designs


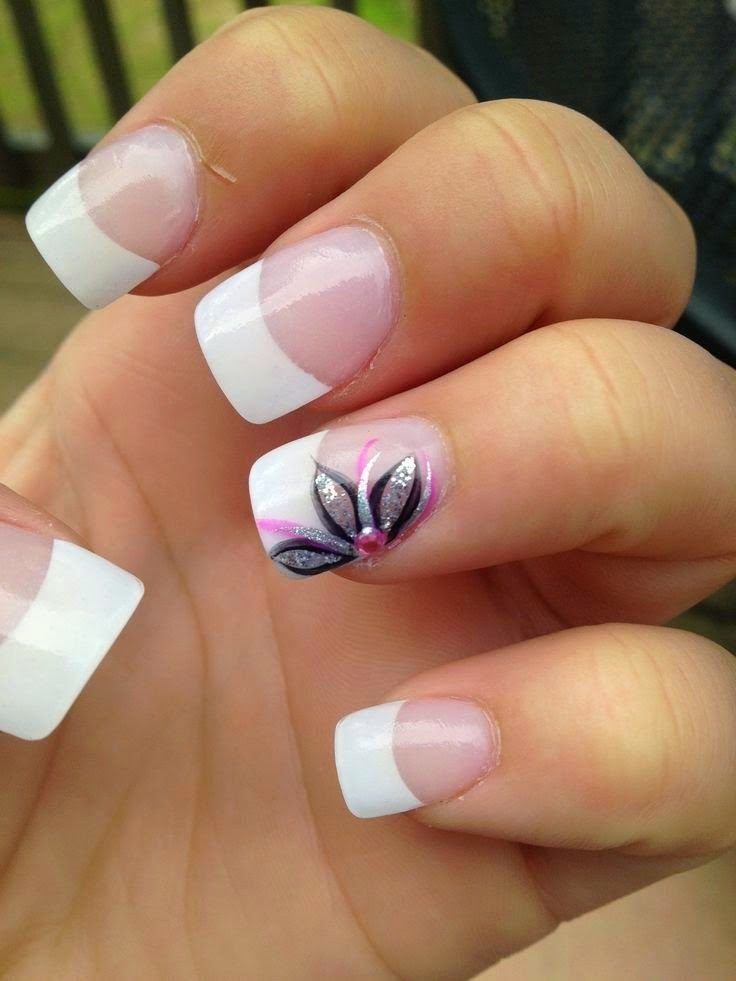
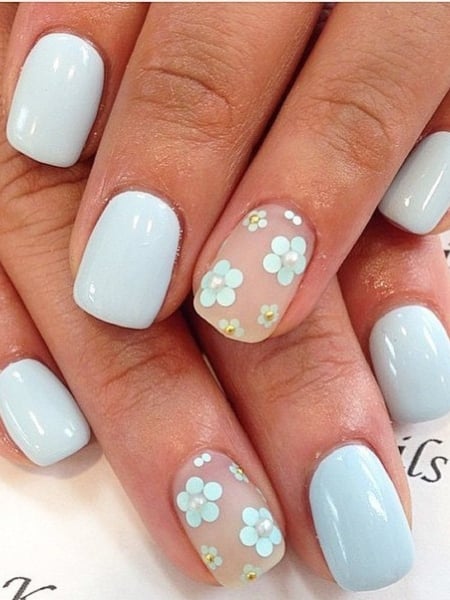
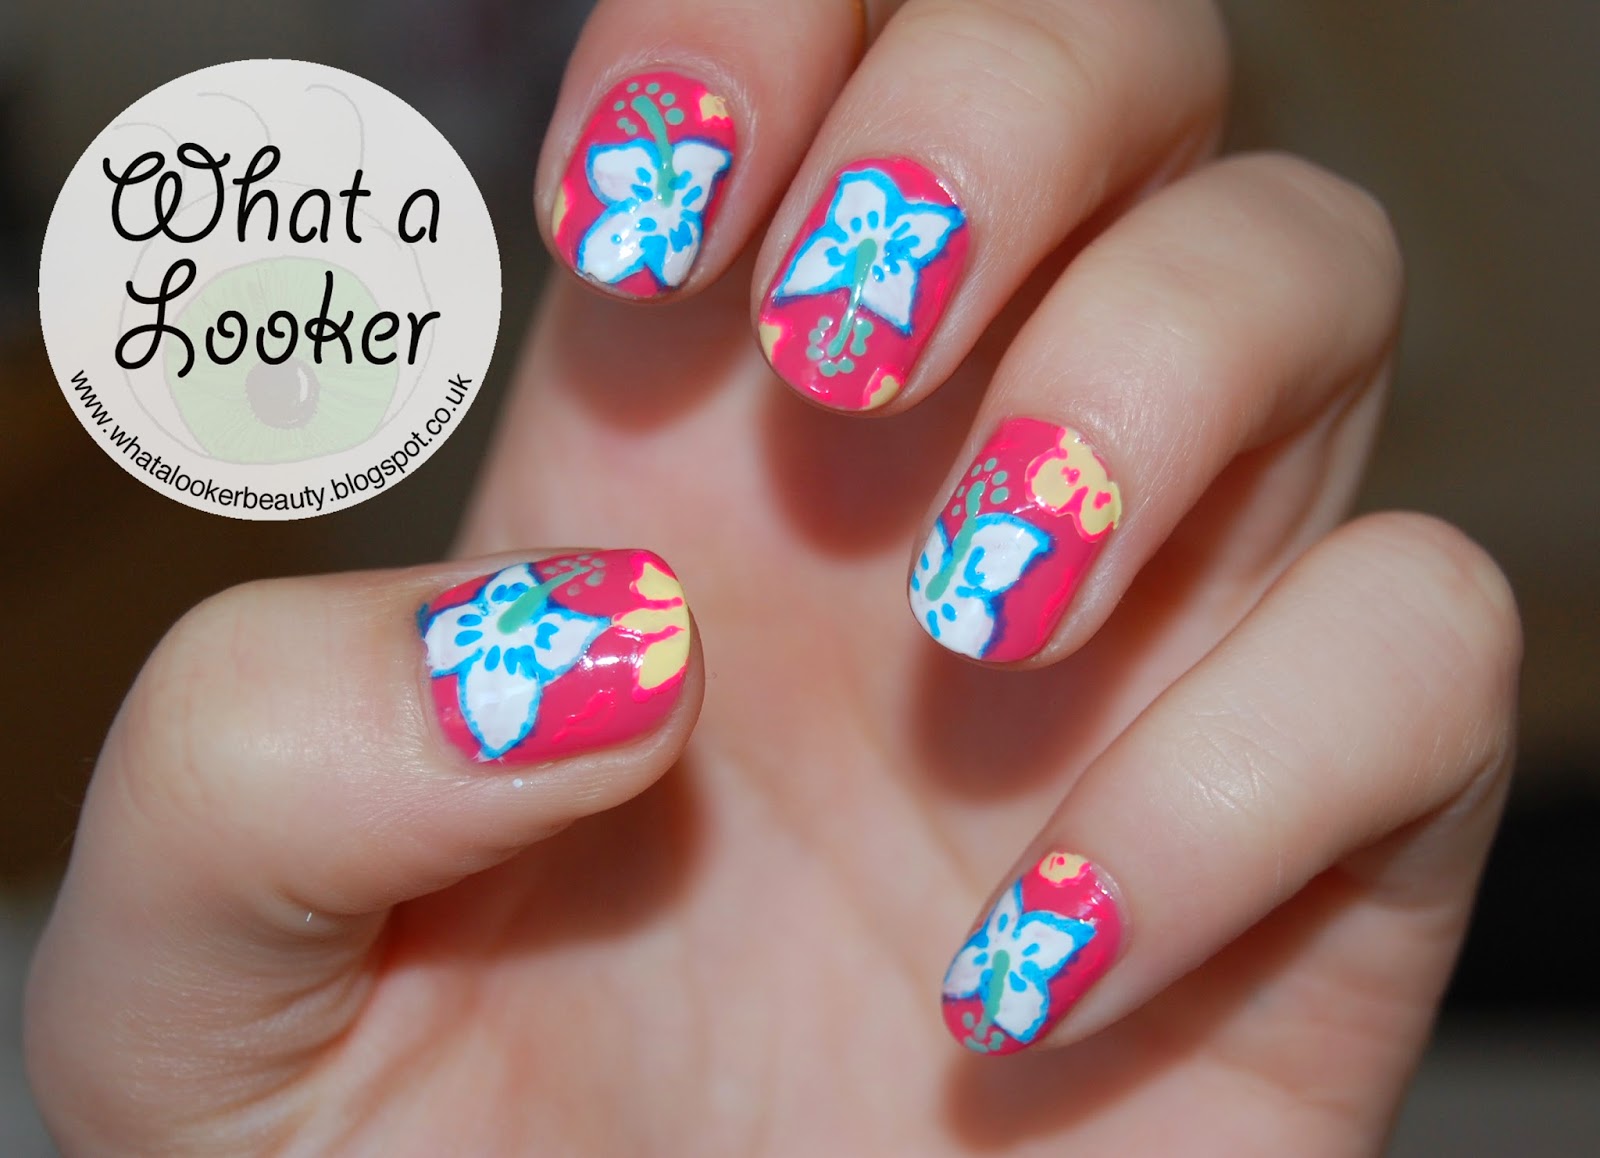
Creating a Hawaiian nail art does not have to be complicated. With a few simple steps, you can achieve a stunning and easy design that will make you feel like you're on a tropical vacation. A popular Hawaiian design is the hibiscus flower. Start by painting your nails with a light or pastel base color. Then, using a thin brush or nail art pen, create a five-petal flower shape in a bold color such as pink, red, or purple. You can also add some green leaf shapes to complete the flower. This design is simple yet eye-catching and perfect for those who want a touch of Hawaii on their nails. Another simple but stunning design is to create a gradient effect with blue and green polish to represent the ocean and lush greenery of the Hawaiian islands. You can also add some white waves using a thin brush or nail art pen to give the design some dimension. For a simple yet chic Hawaiian nail design, paint your nails with a natural or neutral base color and add a single flower decal or jewel on each nail. This minimalistic design is perfect for those who want to incorporate Hawaiian elements into their nail art without being too bold. With these simple Hawaiian nail art ideas, you can create a tropical look that is effortless yet beautiful. Don't be afraid to get creative and add your own personal touch to each design.3. Simple Hawaiian Nail Art


3. Simple Hawaiian Nail Art


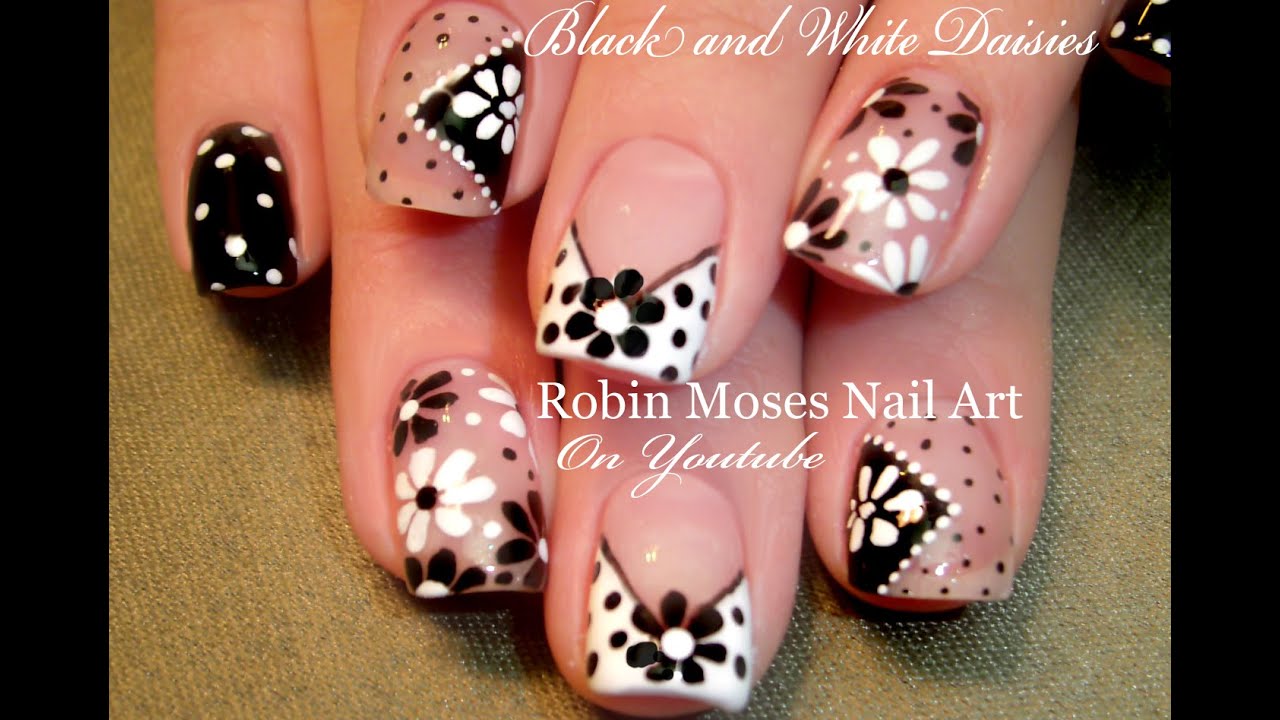
Looking for some DIY Hawaiian nail designs that you can create at home? With a little bit of patience and the right supplies, you can easily recreate tropical nail art in the comfort of your own home. A DIY Hawaiian nail design that is perfect for beginners is a leaf print. Start by painting your nails with a bright color such as green or blue. Then, using a small brush or nail art pen, create leaf shapes in a contrasting color such as white or black. You can also add some details like veins on the leaves for a more realistic look. Another DIY option is to create a tropical ombre effect on your nails. To do this, start by painting your nails with a light base color, such as white or light pink. Then, using a sponge or makeup brush, dab on different colors to create a gradient effect. For a tropical look, use bright colors like yellow, orange, and pink. If you want to try something more advanced, you can create a watercolor tropical design. Start by painting your nails with a light color and then blend different colors together using a brush or sponge. Then, using a thin brush or nail art pen, add tropical elements like flowers, palm trees, or pineapples in black or white for a watercolor effect. With these DIY Hawaiian nail designs, you can have a fun and creative at-home nail salon experience. Don't be afraid to try different techniques and add your own personal touch to each design.4. DIY Hawaiian Nail Designs

4. DIY Hawaiian Nail Designs


Flower nail art is a classic and timeless design that is perfect for any occasion. Whether you're going for a romantic look or just want to add a touch of nature to your nails, creating flower nail art can be quick and easy with the right techniques. A quick and easy way to create flower nail art is by using nail stamps. These handy tools allow you to easily transfer flower designs onto your nails without having to worry about using a brush or nail art pen. Simply apply your desired nail polish color, let it dry, and then use the nail stamp to transfer the flower design onto your nail. Finish off with a top coat for a glossy finish. If you want to try your hand at creating flower nail art without a stamp, you can use a dotting tool or the end of a small paintbrush to create flower shapes. Simply make dots in a circle and then use the tool to drag the dots together to create a flower shape. Add some detail with smaller dots or lines for the center of the flower. For a quick and easy flower nail design, you can also use nail decals. These are pre-made flower designs that you can simply apply onto your nails after painting them with a base color. You can also use nail jewels to add some extra sparkle and dimension to your flower nail art. With these quick and easy flower nail art ideas, you can have beautiful floral nails in no time. Experiment with different colors and designs to create your own unique flower nail art.5. Quick and Easy Flower Nail Art

5. Quick and Easy Flower Nail Art


If you're new to nail art and want to try your hand at some Hawaiian designs, don't worry – there are plenty of options that are perfect for beginners. With a little bit of practice and the right tools, you can create stunning tropical nail art that will make you feel like a pro.6. Hawaiian Nail Designs for Beginners

6. Hawaiian Nail Designs for Beginners


Taking Your Nail Game to the Tropics: Easy Hawaiian Flower Nail Design

Adding a Touch of Paradise to Your Nails
 Looking for a fun and unique way to spice up your nail game? Look no further than the beautiful and vibrant Hawaiian flower nail design. This tropical-inspired design is perfect for adding a touch of paradise to your nails, and is surprisingly easy to achieve at home. With a few simple steps, you can have a tropical oasis right at your fingertips.
Gather Your Supplies
 Before you get started, make sure you have all the necessary supplies. You will need a base coat, top coat, white nail polish, and your choice of colored polishes for the flowers. You can choose to use traditional Hawaiian flower colors such as yellow, pink, and orange, or mix it up and go for a more unique look.
Step-by-Step Guide
 1. Start by applying a base coat to your nails to protect them and ensure your polish lasts longer.
2.
Next, apply two coats of white nail polish to all of your nails. This will serve as the base for your flowers and make the colors pop.
3.
Once your white polish is dry, it's time to create the flowers. Using a small brush, create five small dots in a circular pattern on your nail. These will be the petals of your flower.
4.
Using a different color, create another set of five dots in the center of the first set. This will be the center of your flower.
5.
Repeat this process on all of your nails, using different colors for each flower.
6.
Once all of your flowers are complete, use a small brush to add green leaves to your design. This will give your nails a more tropical look.
7.
Allow your design to dry completely before applying a top coat to seal in your design and add shine.
1. Start by applying a base coat to your nails to protect them and ensure your polish lasts longer.
2.
Next, apply two coats of white nail polish to all of your nails. This will serve as the base for your flowers and make the colors pop.
3.
Once your white polish is dry, it's time to create the flowers. Using a small brush, create five small dots in a circular pattern on your nail. These will be the petals of your flower.
4.
Using a different color, create another set of five dots in the center of the first set. This will be the center of your flower.
5.
Repeat this process on all of your nails, using different colors for each flower.
6.
Once all of your flowers are complete, use a small brush to add green leaves to your design. This will give your nails a more tropical look.
7.
Allow your design to dry completely before applying a top coat to seal in your design and add shine.
Customize and Have Fun
 The best part about the Hawaiian flower nail design is that it's customizable. You can play with different colors and flower sizes to create a unique look that's perfect for you. You can even add in other tropical elements like palm trees or pineapples for a more festive look.
So why not bring a piece of paradise to your nails with this easy Hawaiian flower nail design? With a little bit of creativity and the right supplies, you can have a tropical vacation right at your fingertips. So go ahead and give it a try, and get ready to flaunt your beautiful and vibrant nails.
The best part about the Hawaiian flower nail design is that it's customizable. You can play with different colors and flower sizes to create a unique look that's perfect for you. You can even add in other tropical elements like palm trees or pineapples for a more festive look.
So why not bring a piece of paradise to your nails with this easy Hawaiian flower nail design? With a little bit of creativity and the right supplies, you can have a tropical vacation right at your fingertips. So go ahead and give it a try, and get ready to flaunt your beautiful and vibrant nails.


