Get into the holiday spirit with this simple and festive nail art design. Start by painting your nails with a green base color, then use a thin brush to create a triangle shape at the tip of your nails. Fill in the triangle with gold or silver nail polish to represent the Christmas tree. To add some sparkle, use a glittery top coat or rhinestones as ornaments. You can even add a small star on top of the tree for an extra touch.1. Simple Christmas Tree Nail Art
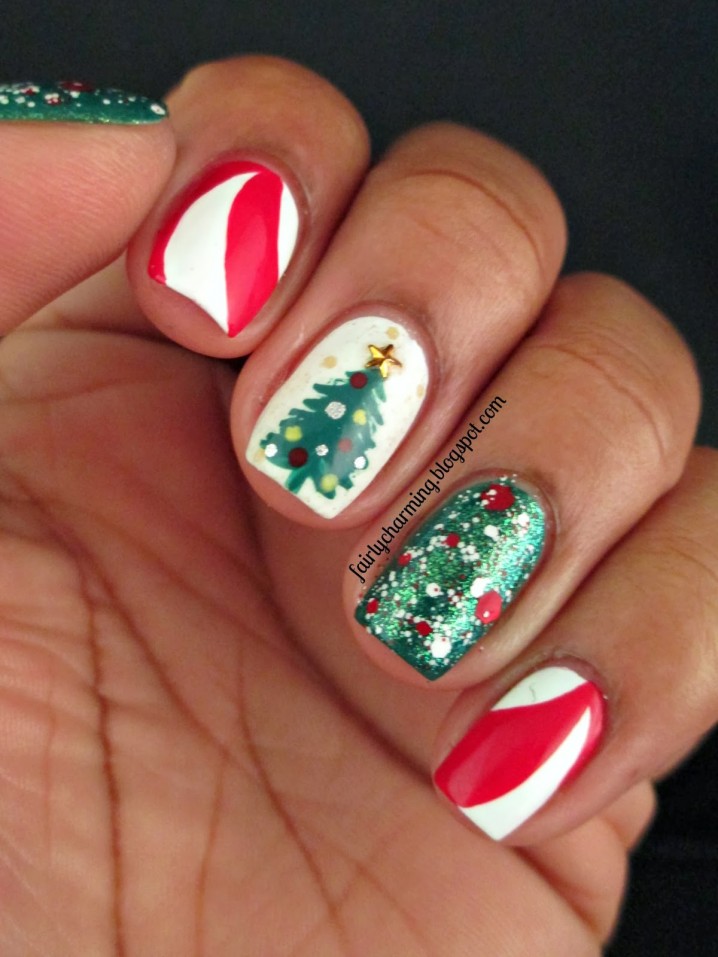

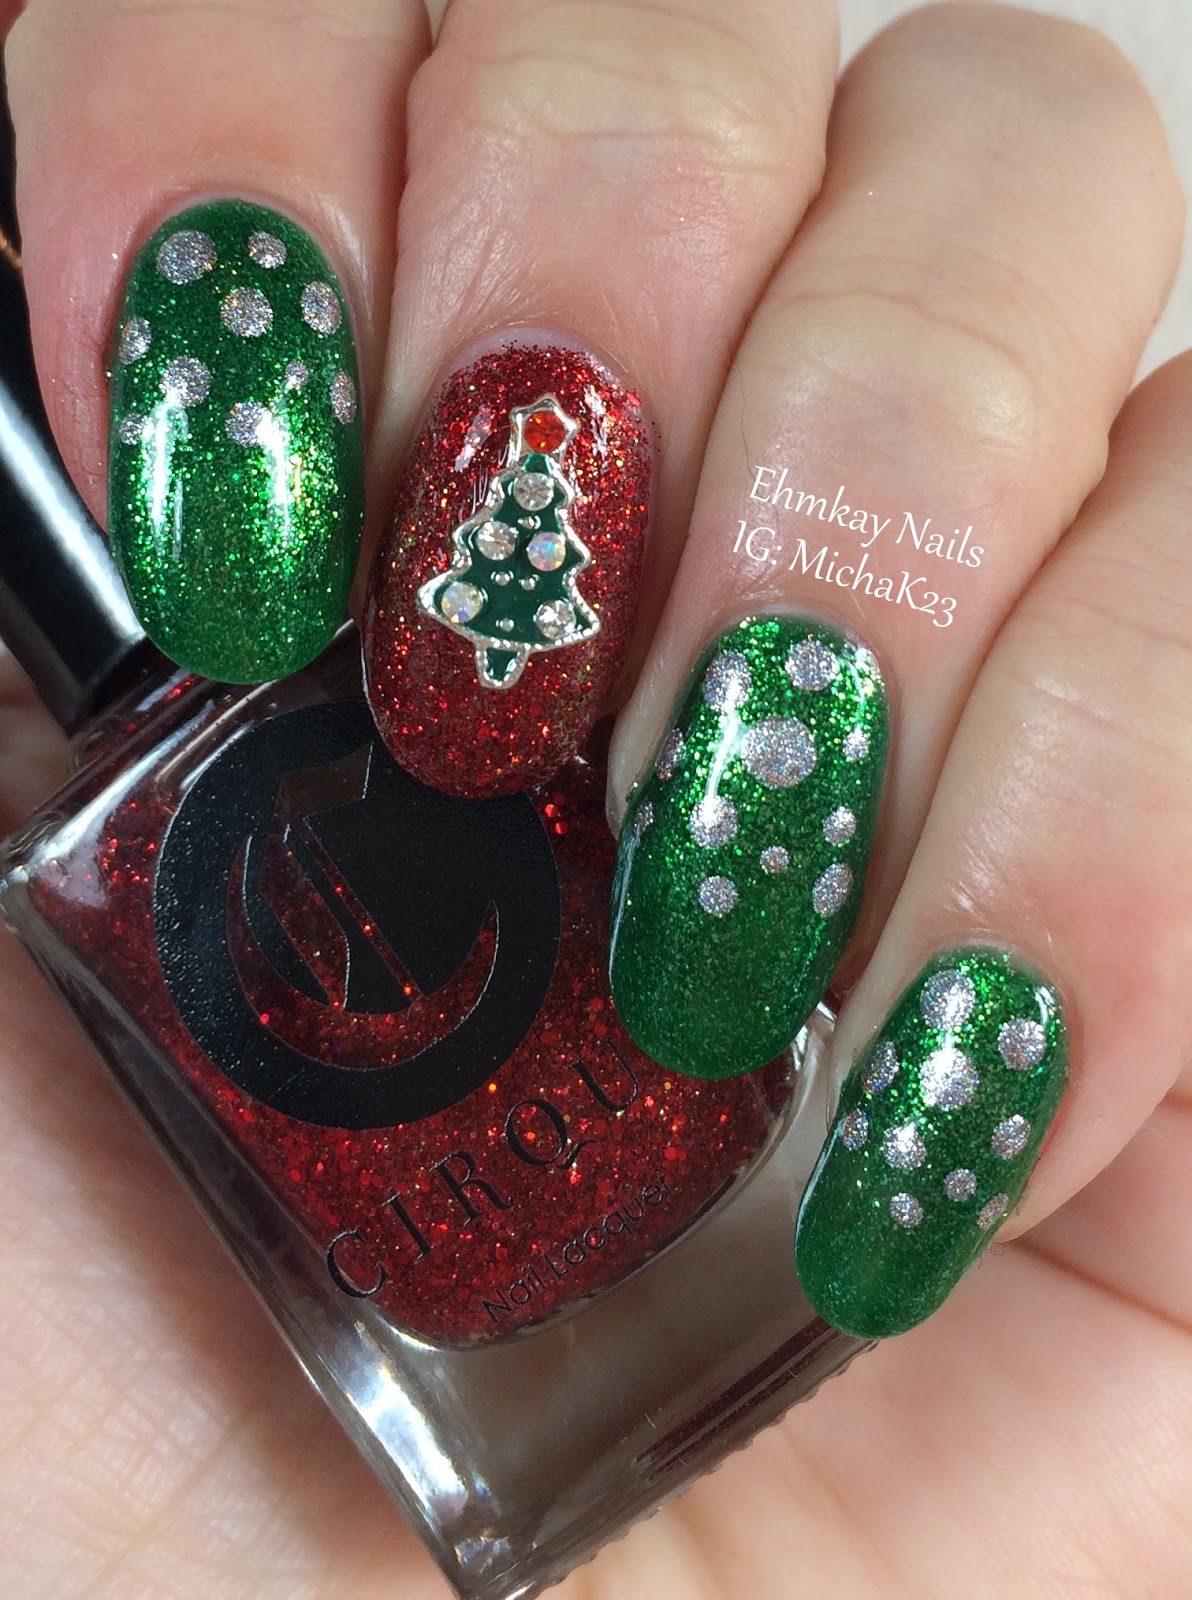
1. Simple Christmas Tree Nail Art


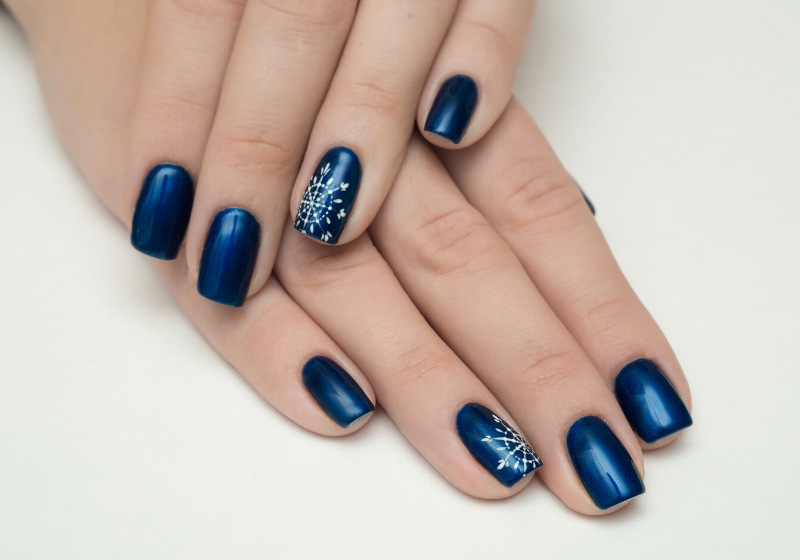
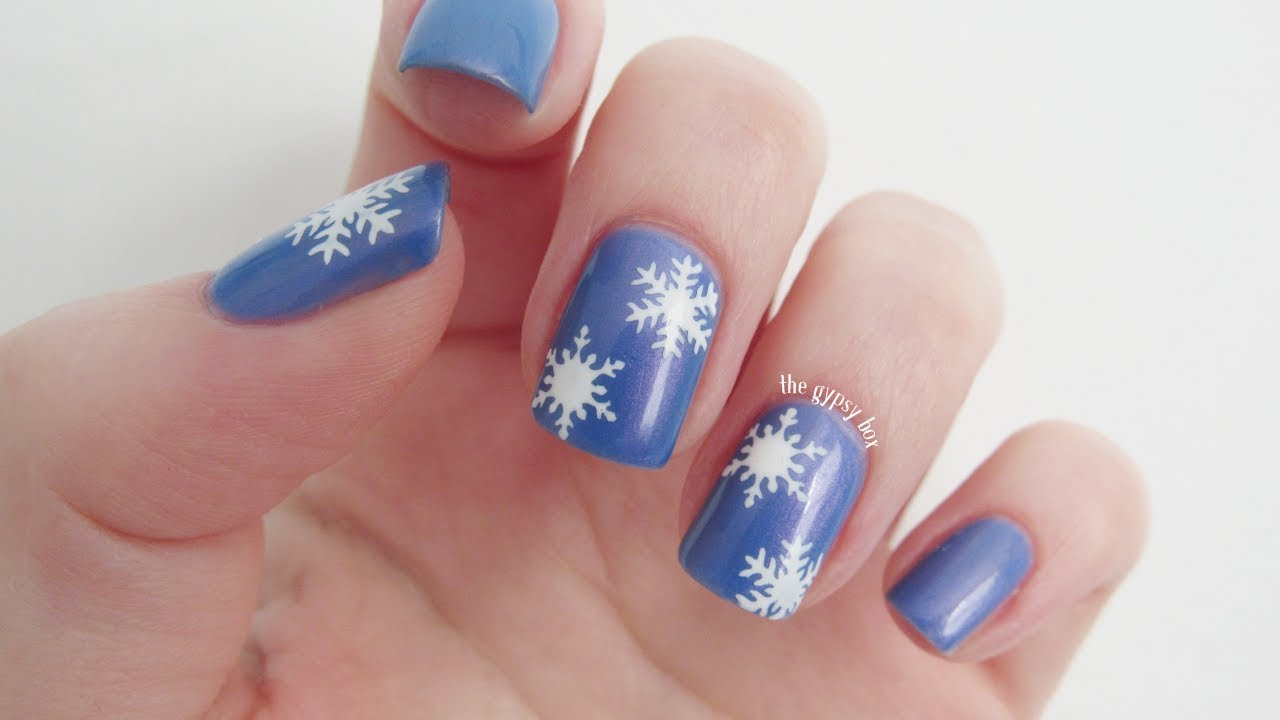
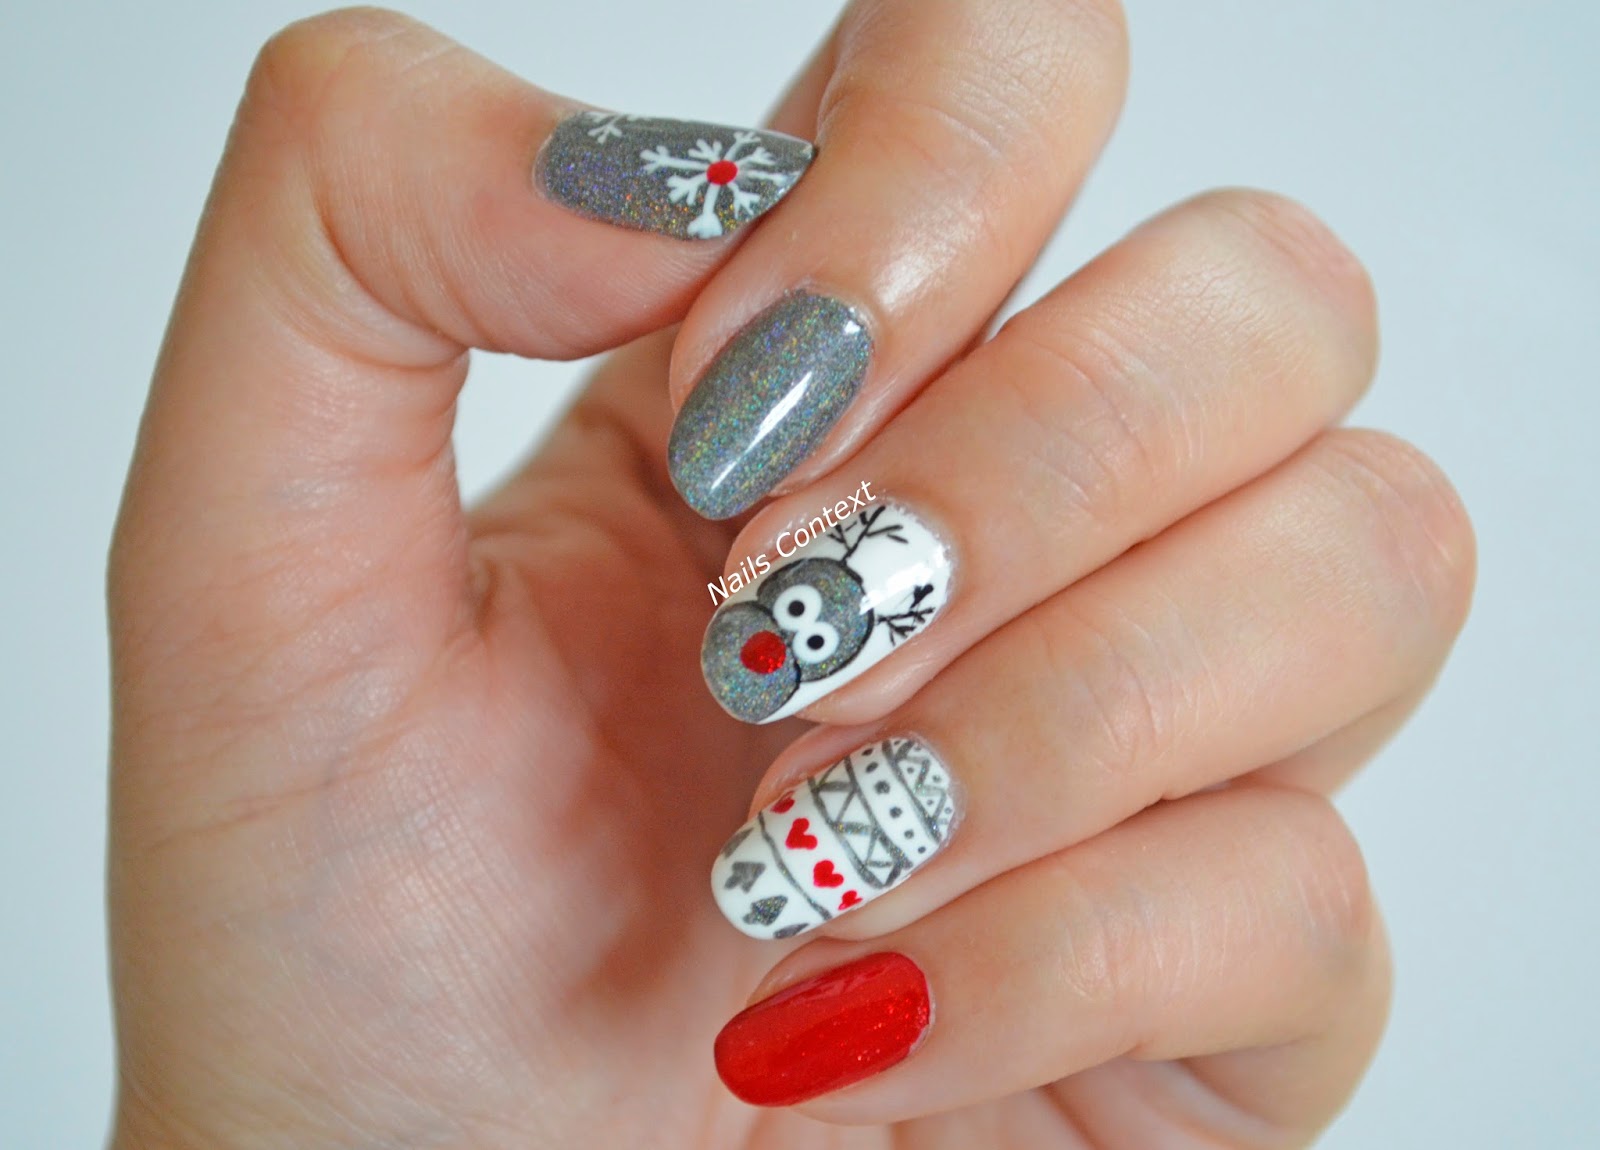
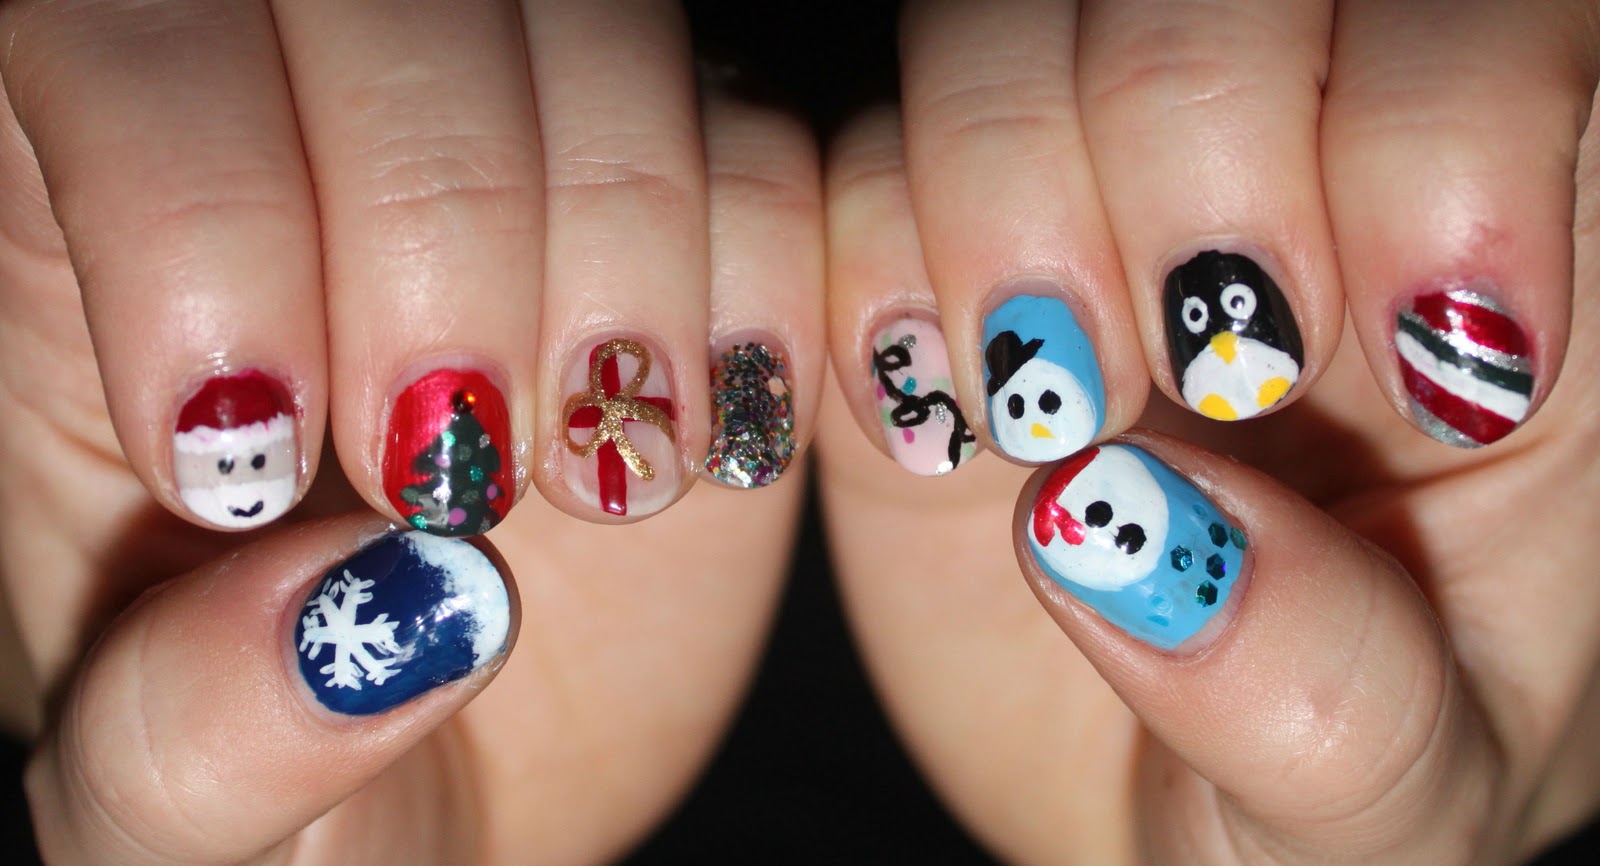
Let it snow on your nails with this easy snowflake design. Start by painting your nails with a light blue or white base color. Then, use a dotting tool or toothpick to create six lines that intersect in the center of your nail. Add small dots at the end of each line to create the snowflake shape. For a more intricate design, you can use white nail polish to create different sized dots and lines to make the snowflake look more realistic.2. Easy Snowflake Nail Design


2. Easy Snowflake Nail Design


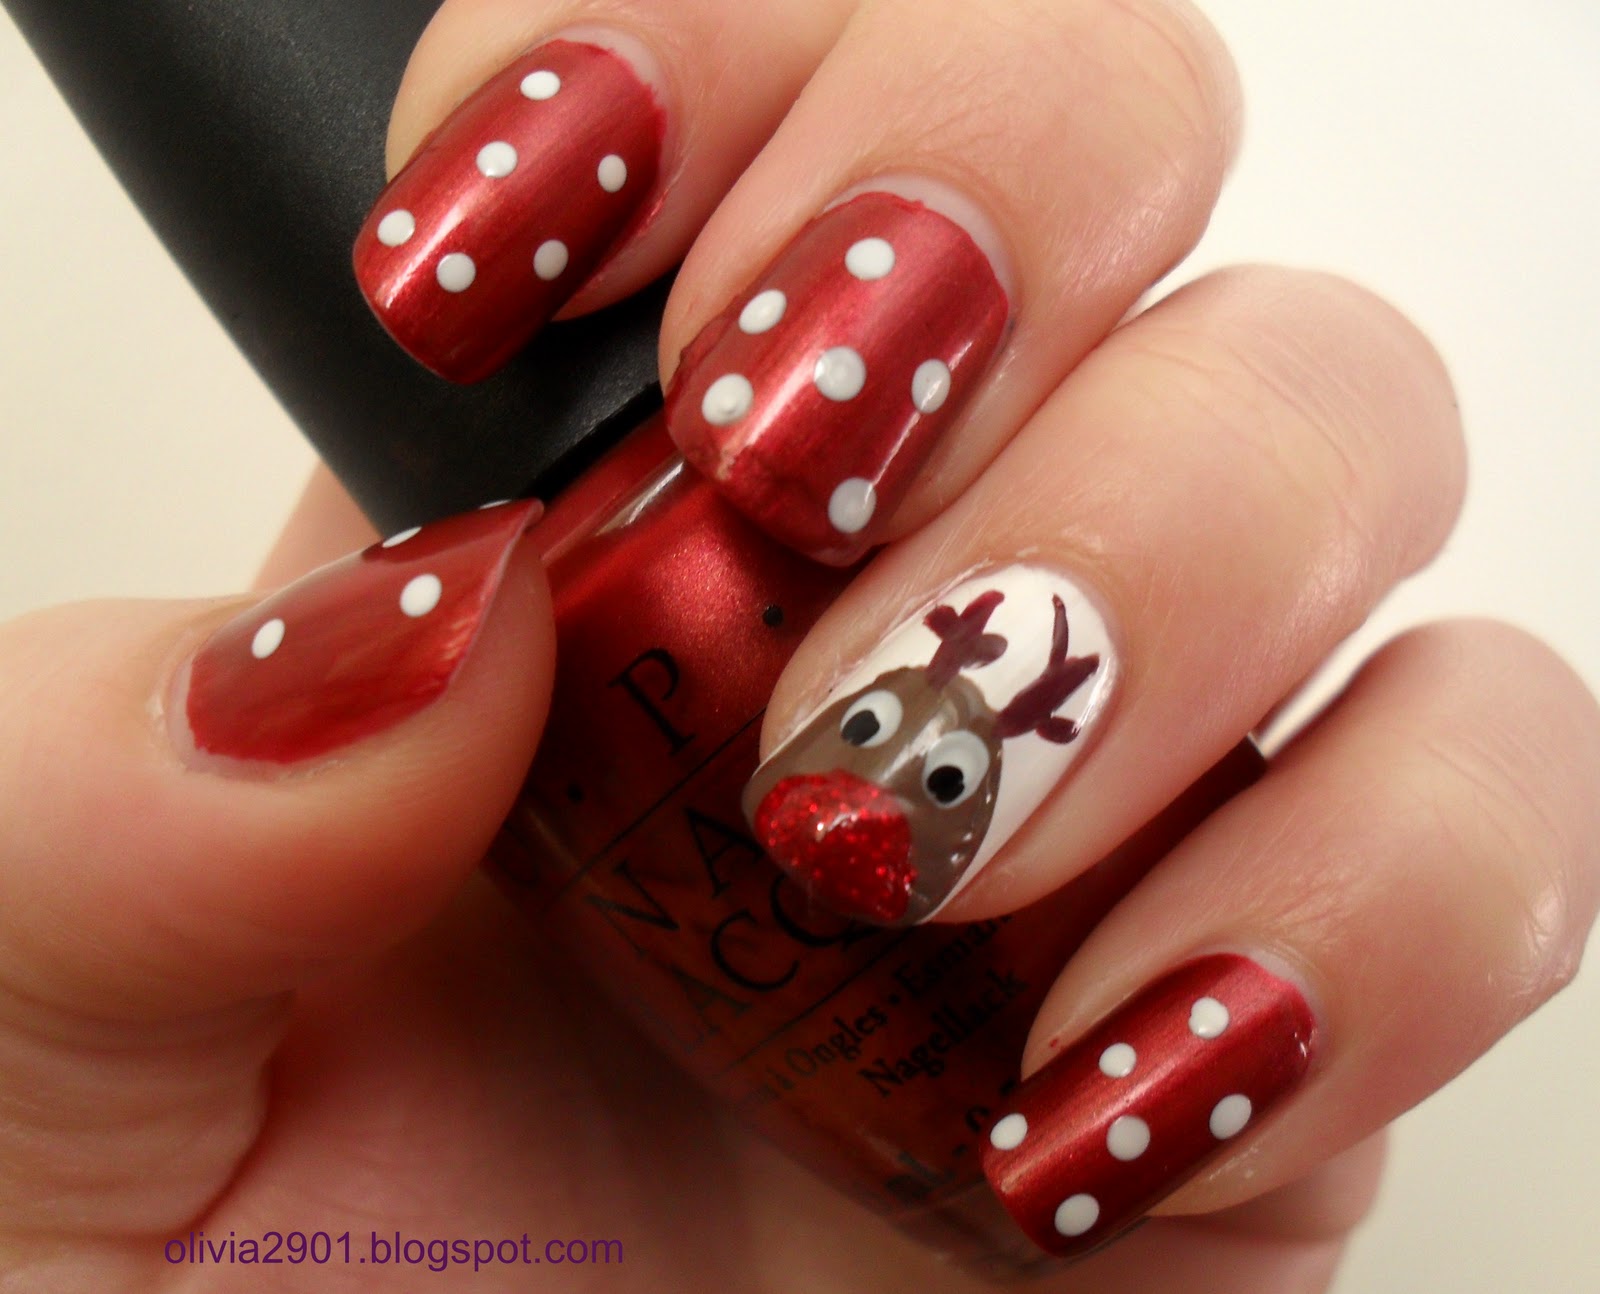
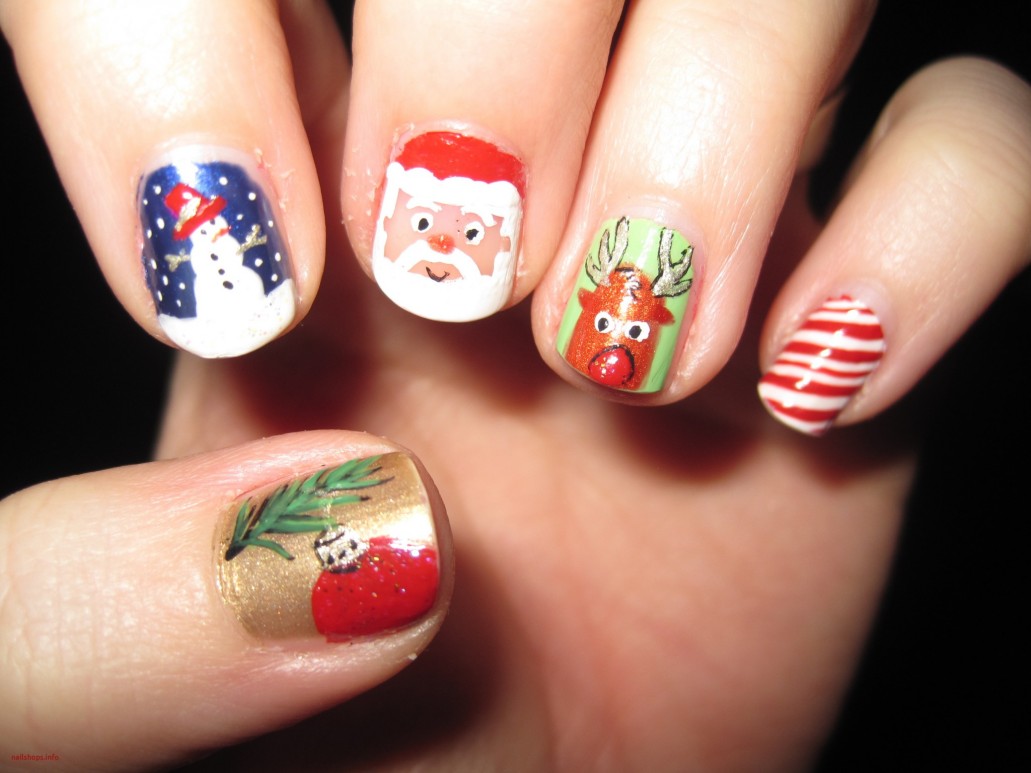
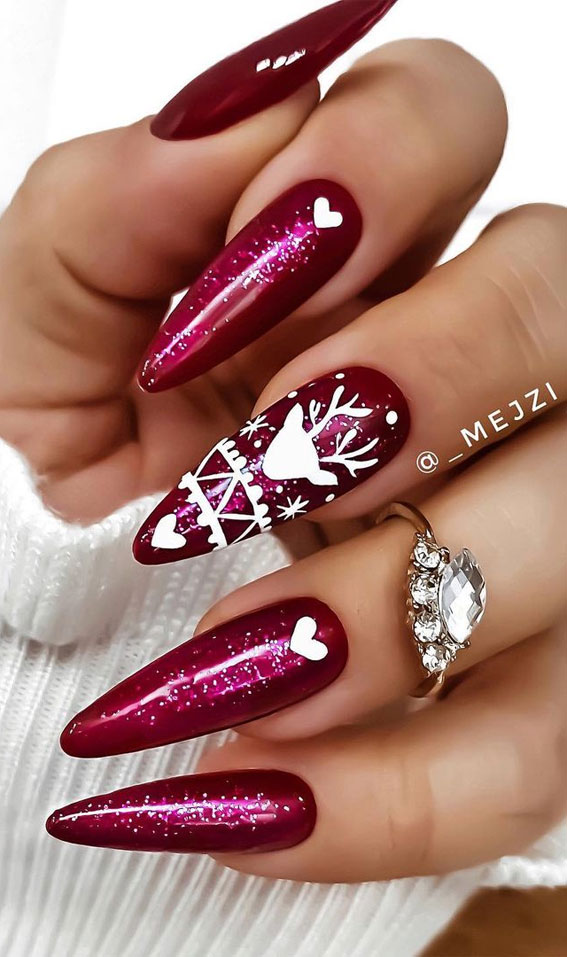
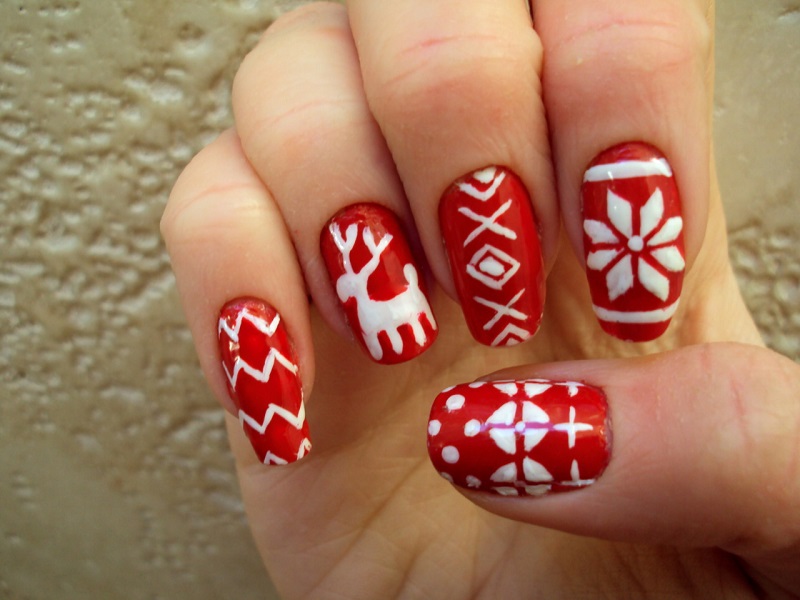
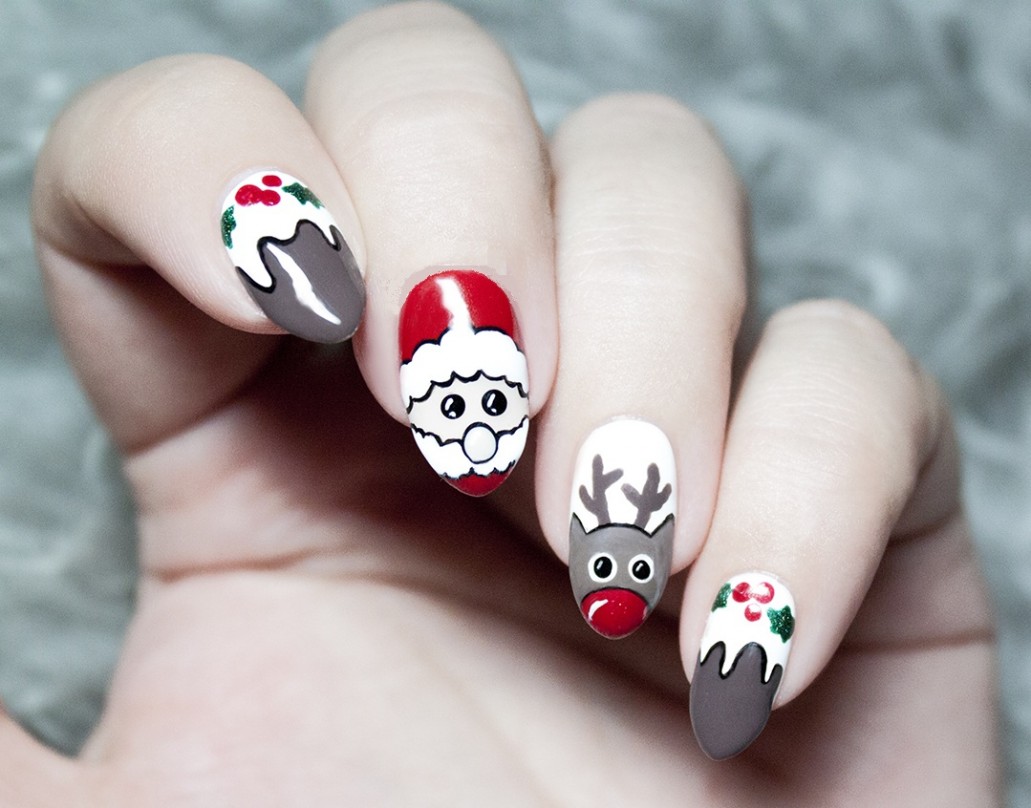
Get ready to sleigh the holiday season with these adorable reindeer nails. Start by painting your nails with a neutral color such as beige or light brown. Then, use a thin brush or toothpick to draw the antlers on your nails. Next, use a dotting tool or toothpick to create the eyes and nose of the reindeer. You can also add a red nose or green scarf to make your reindeer more festive.3. Festive Reindeer Nails


3. Festive Reindeer Nails


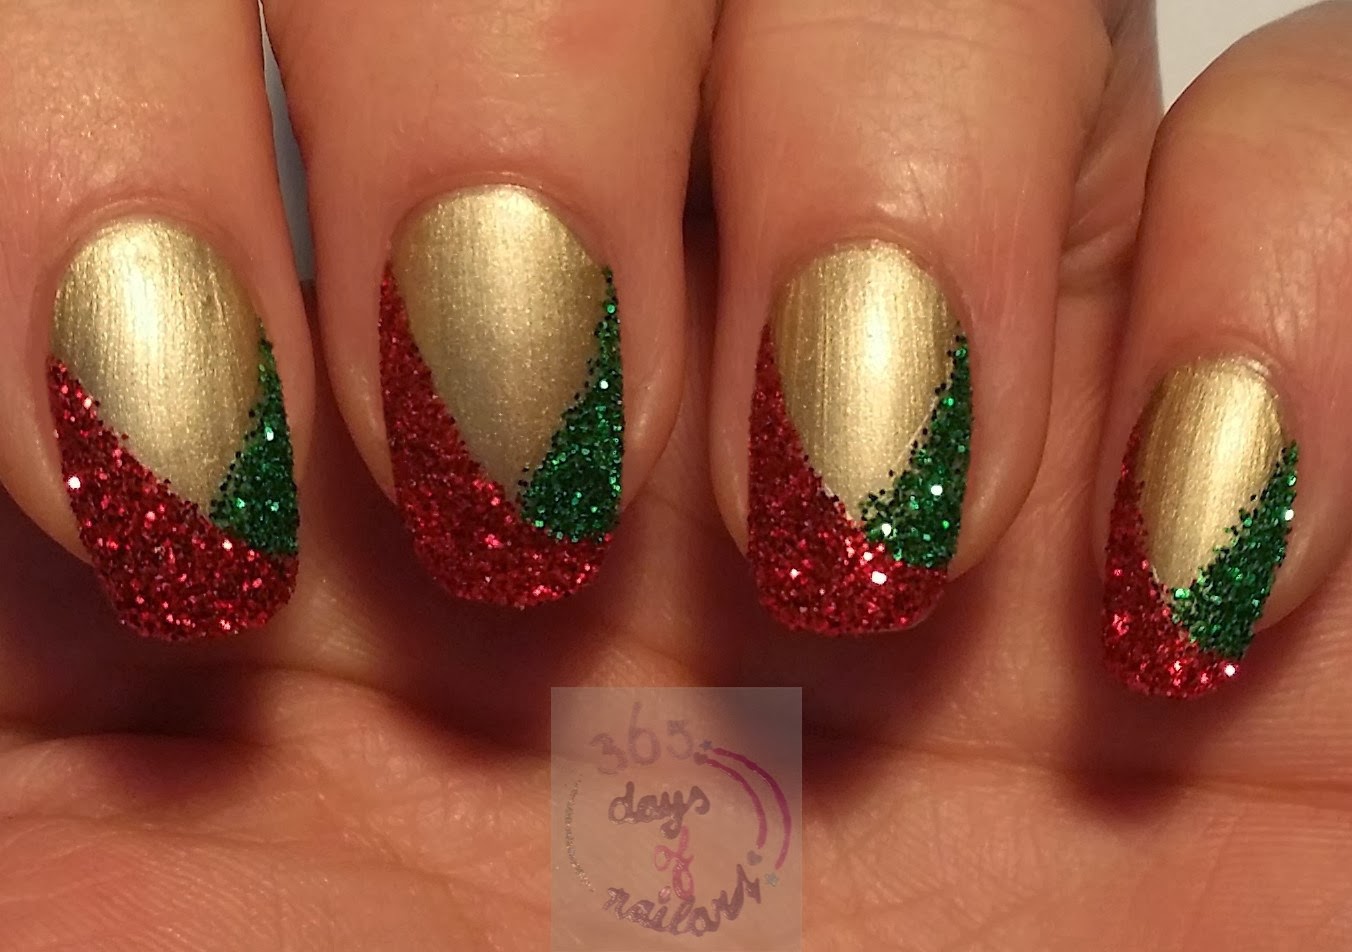
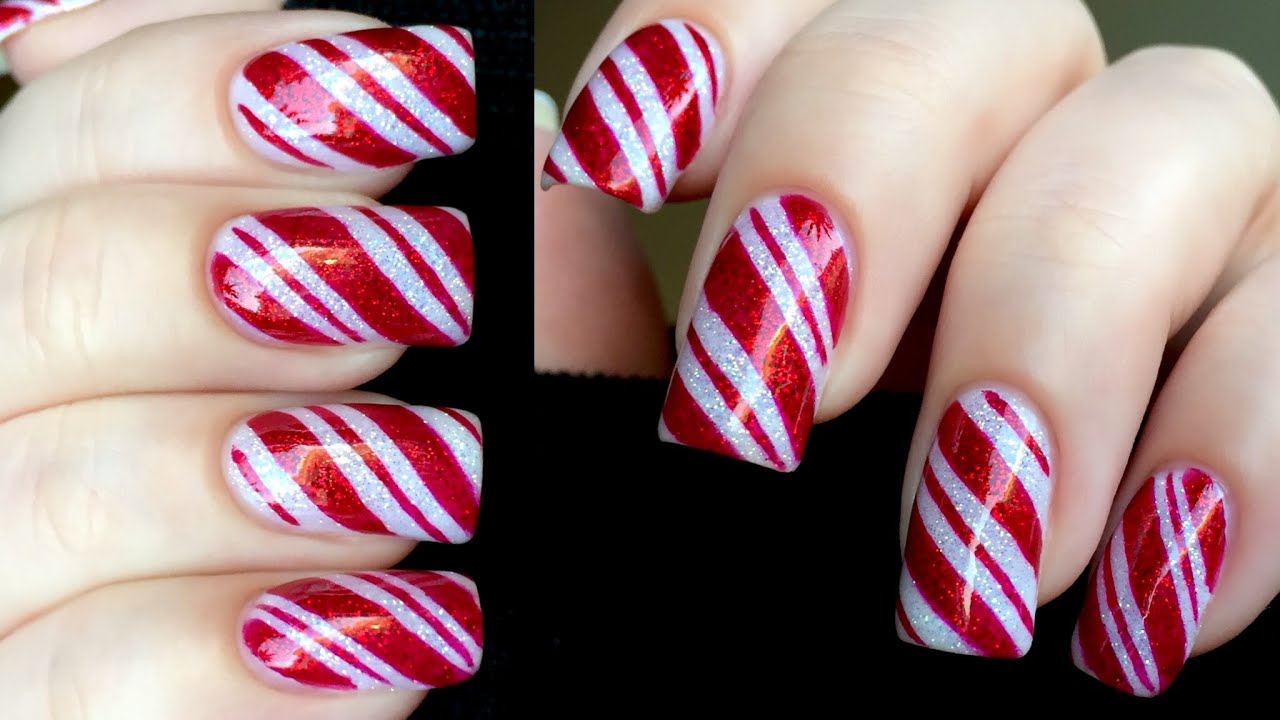
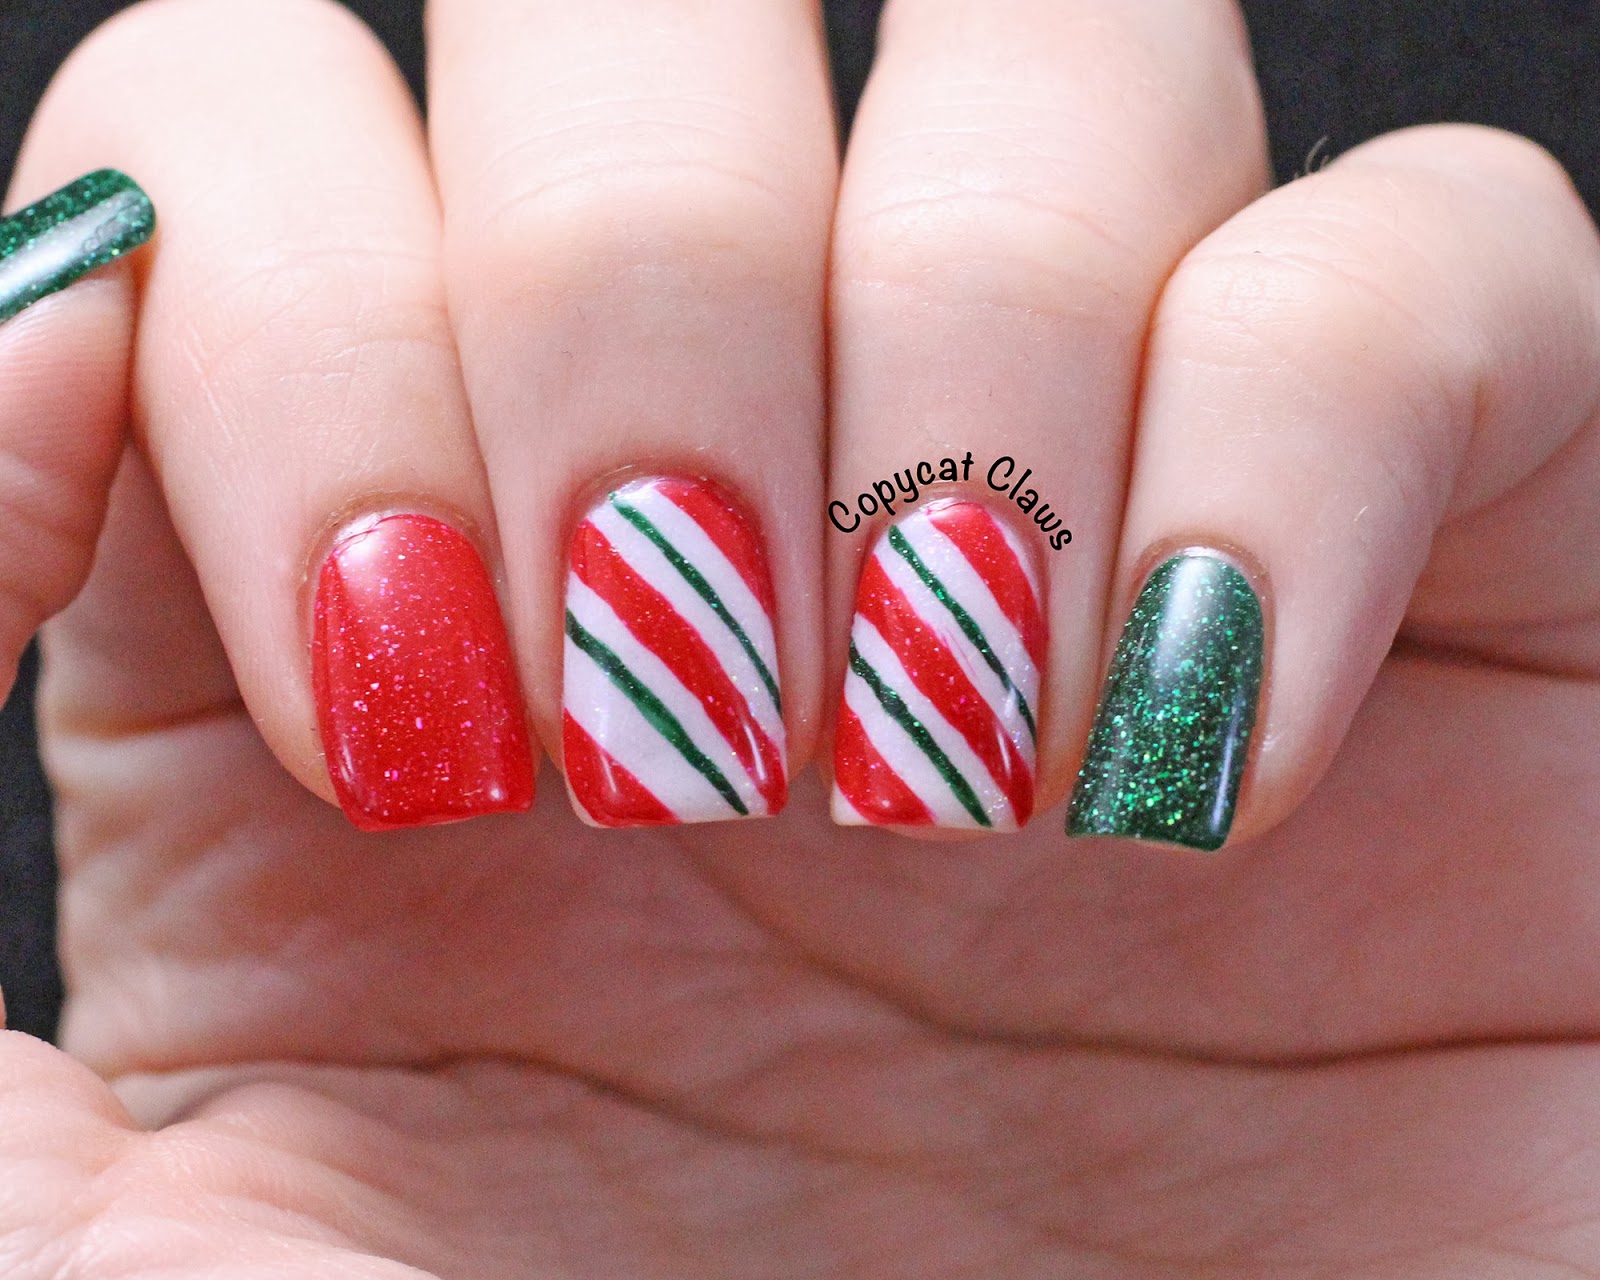
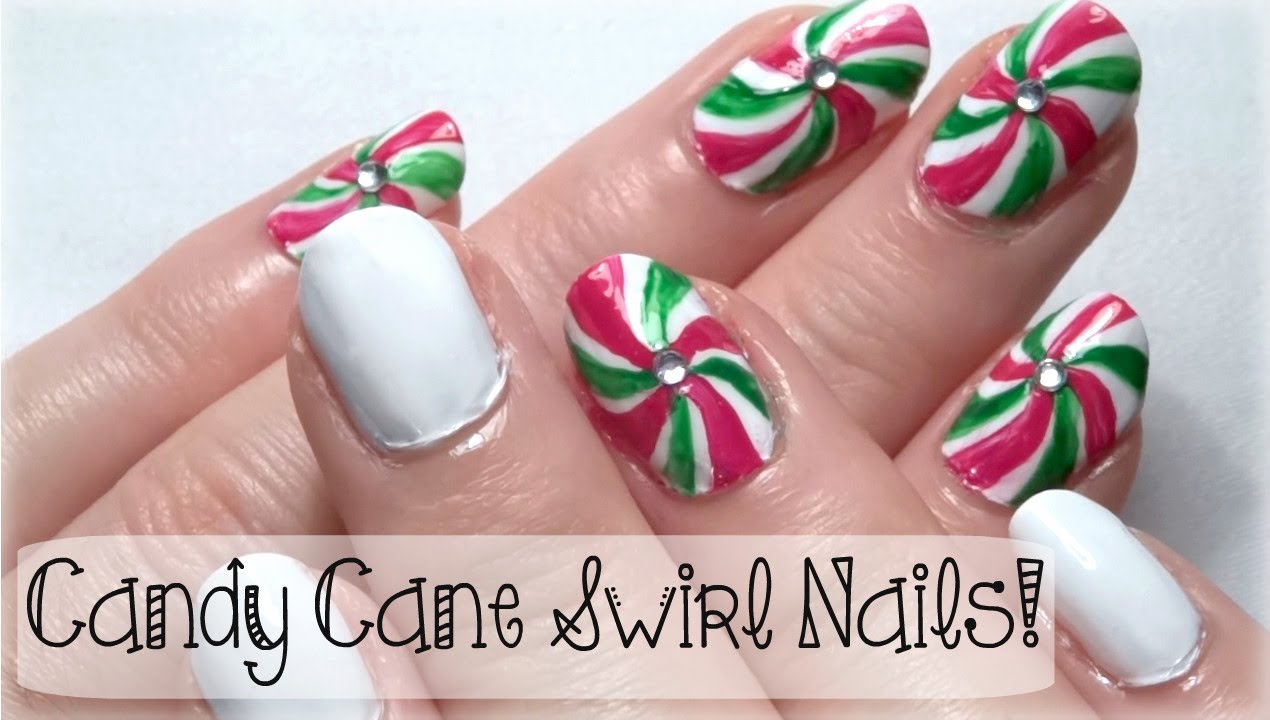
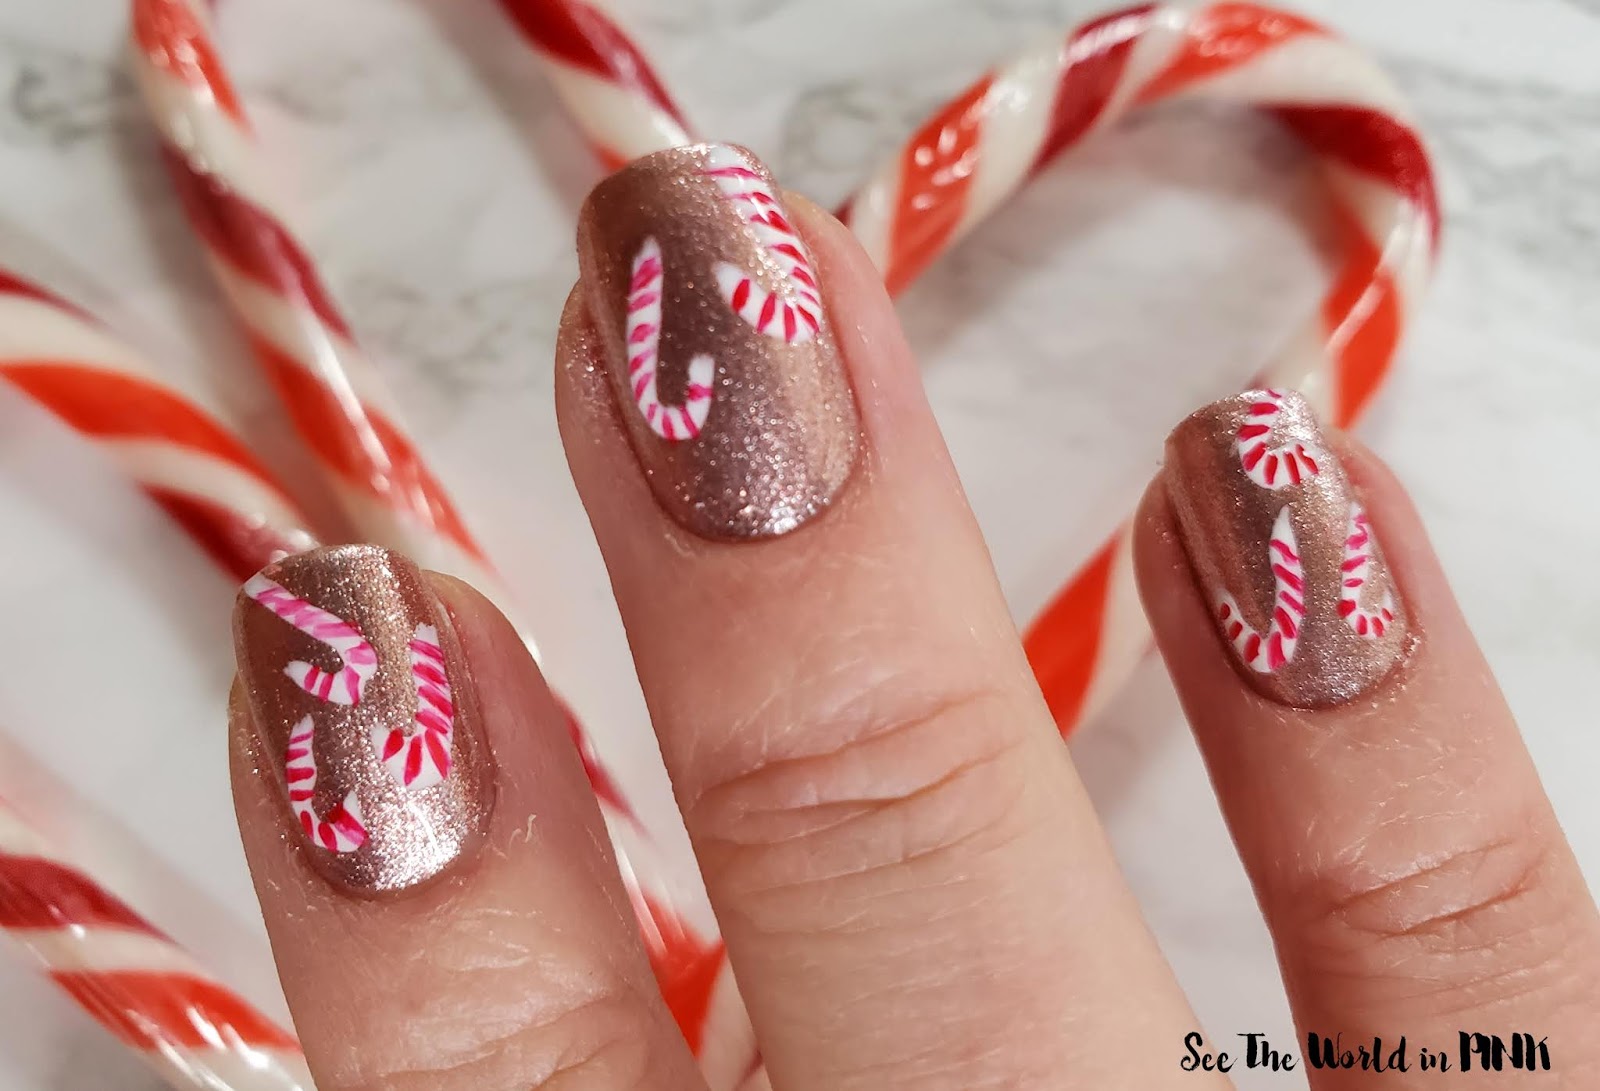
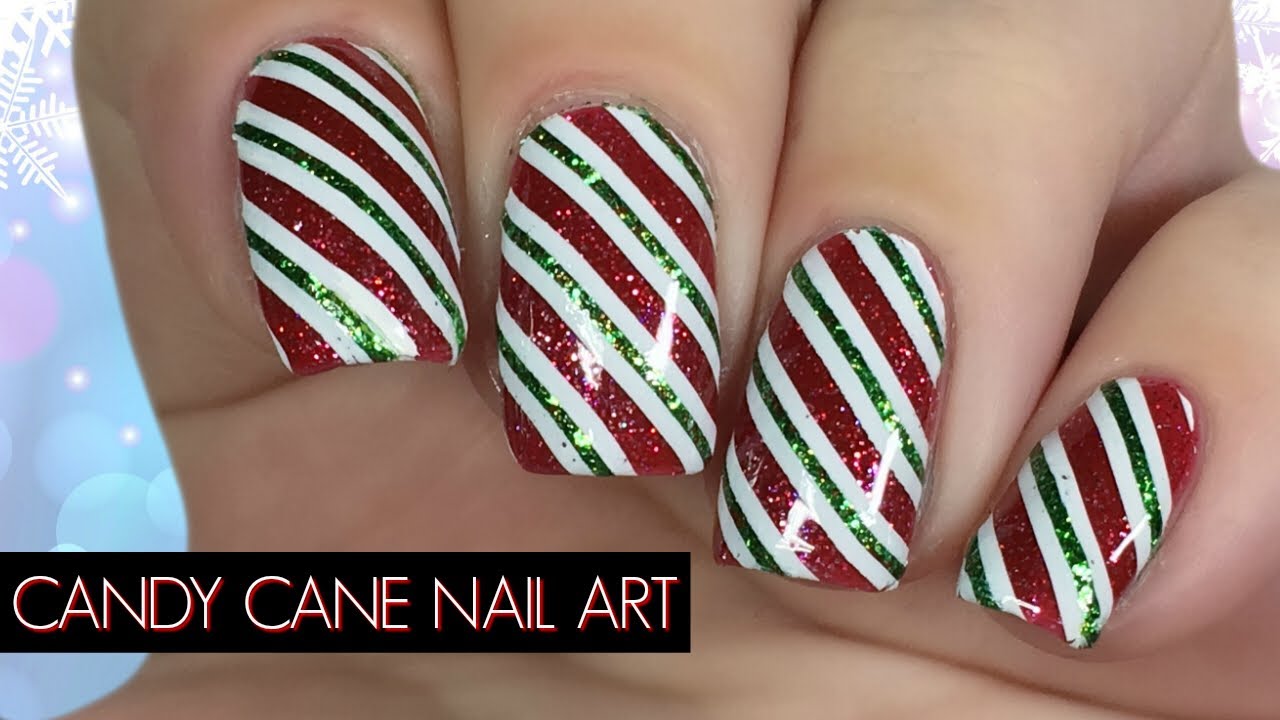
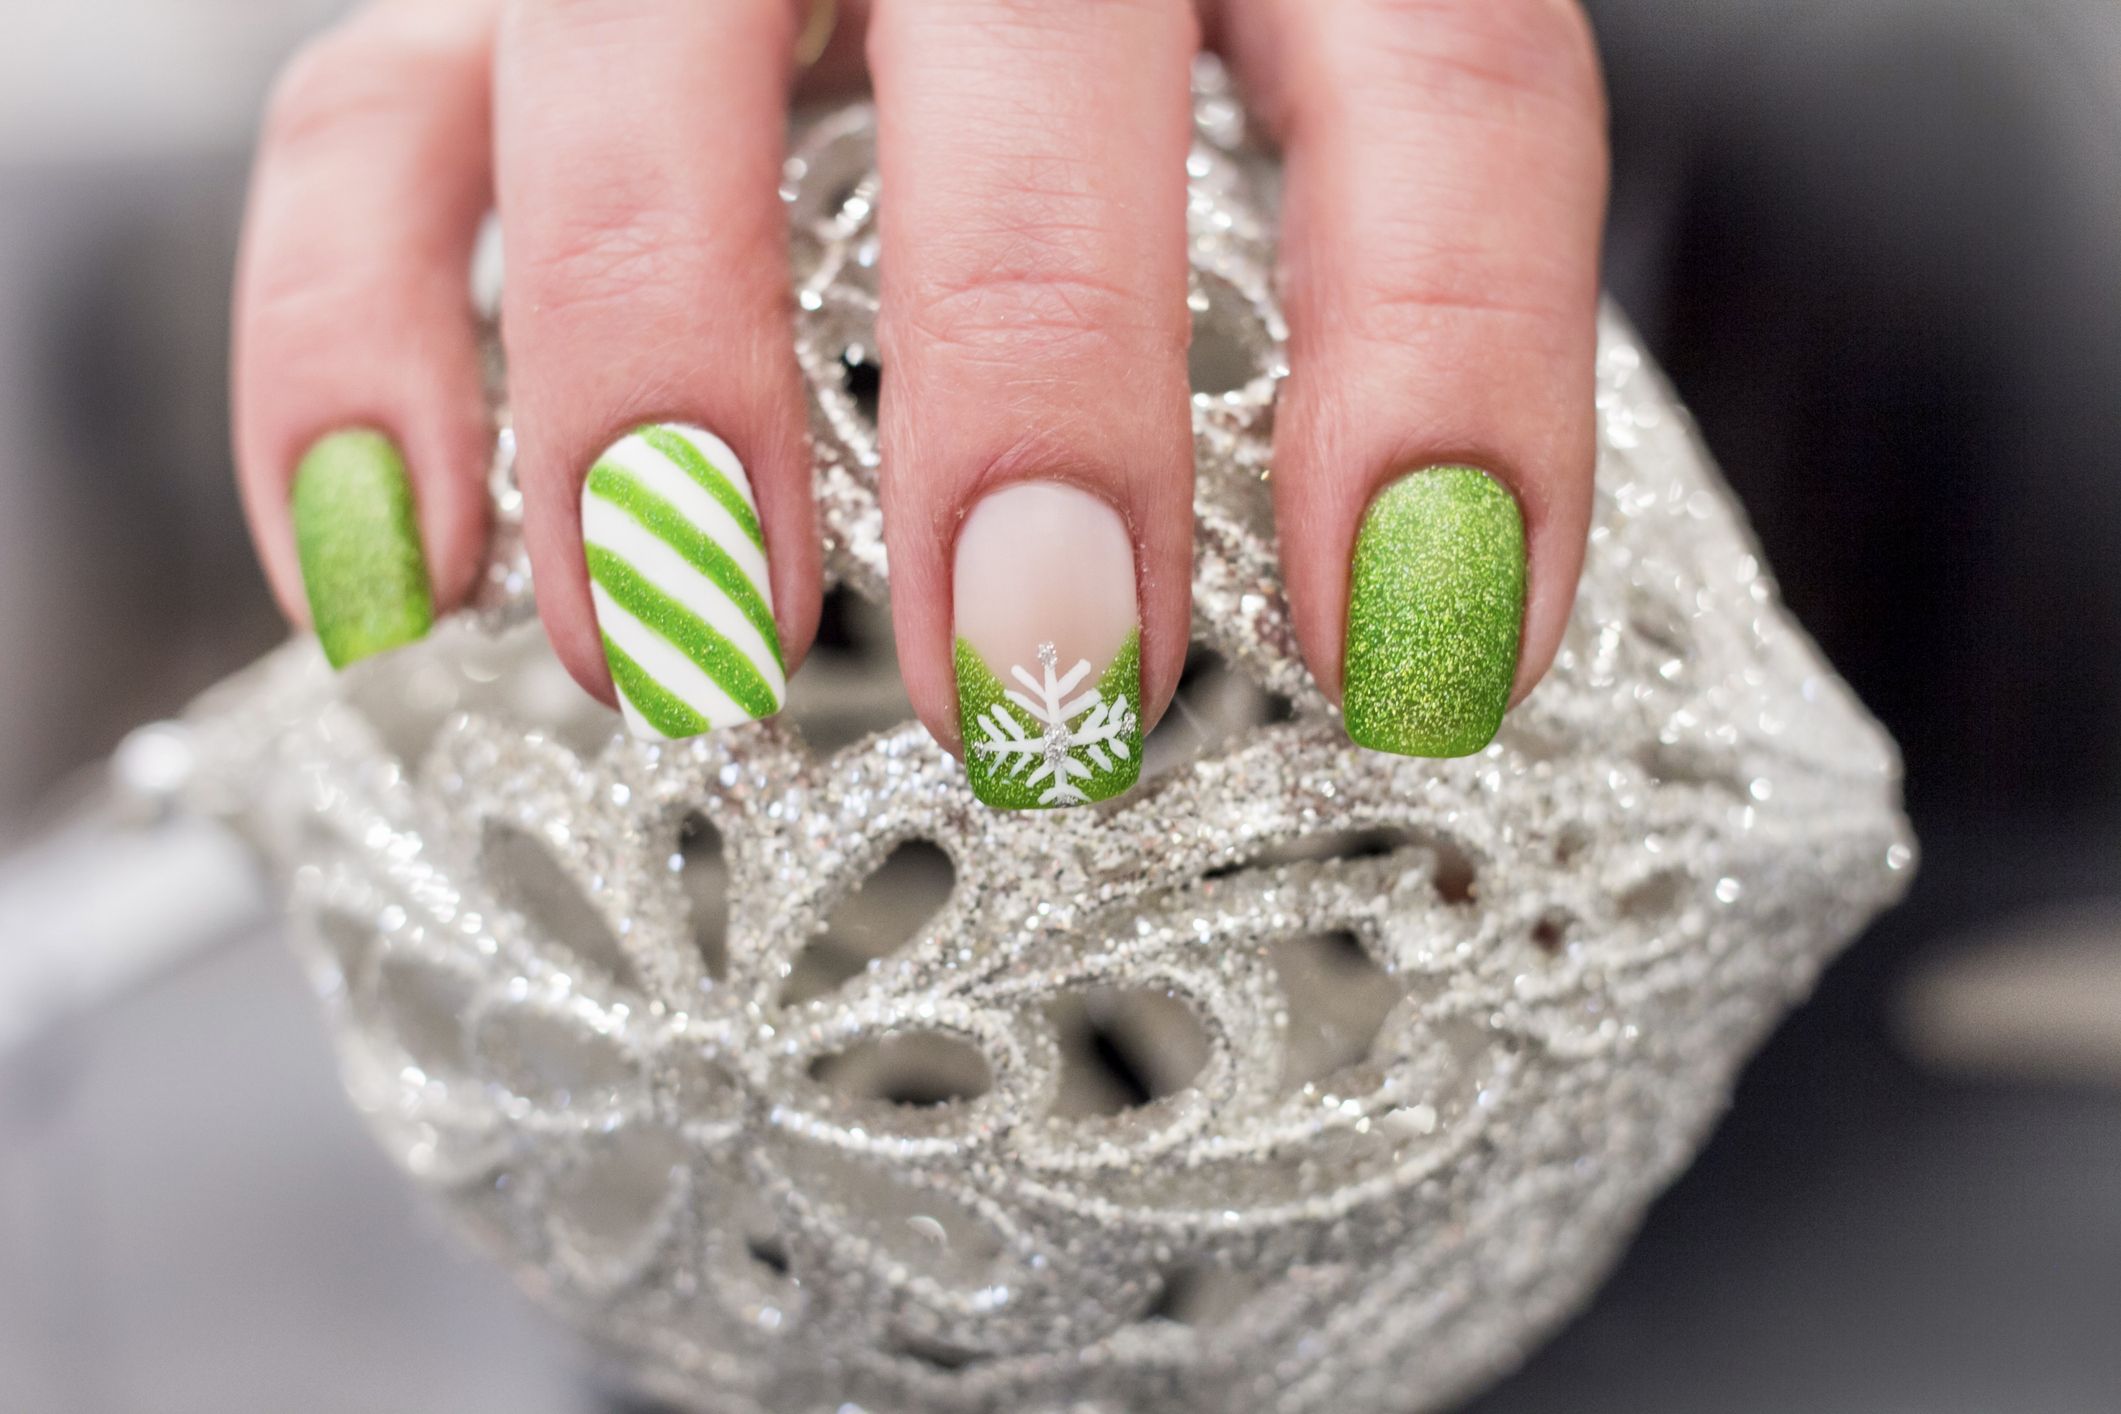
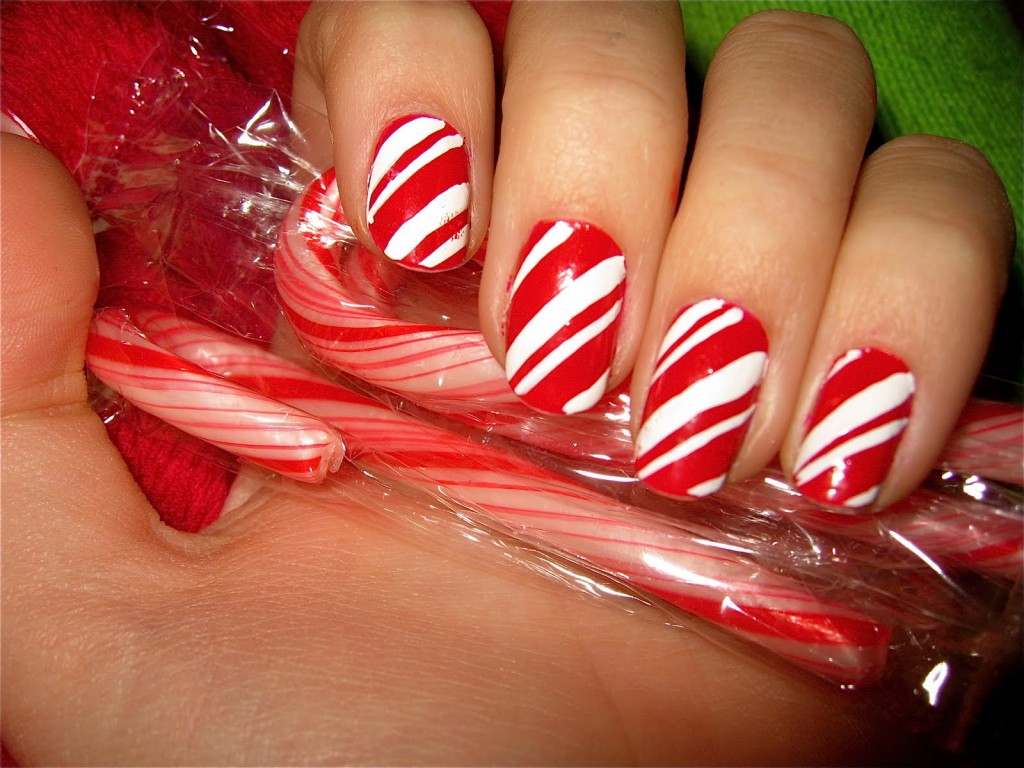
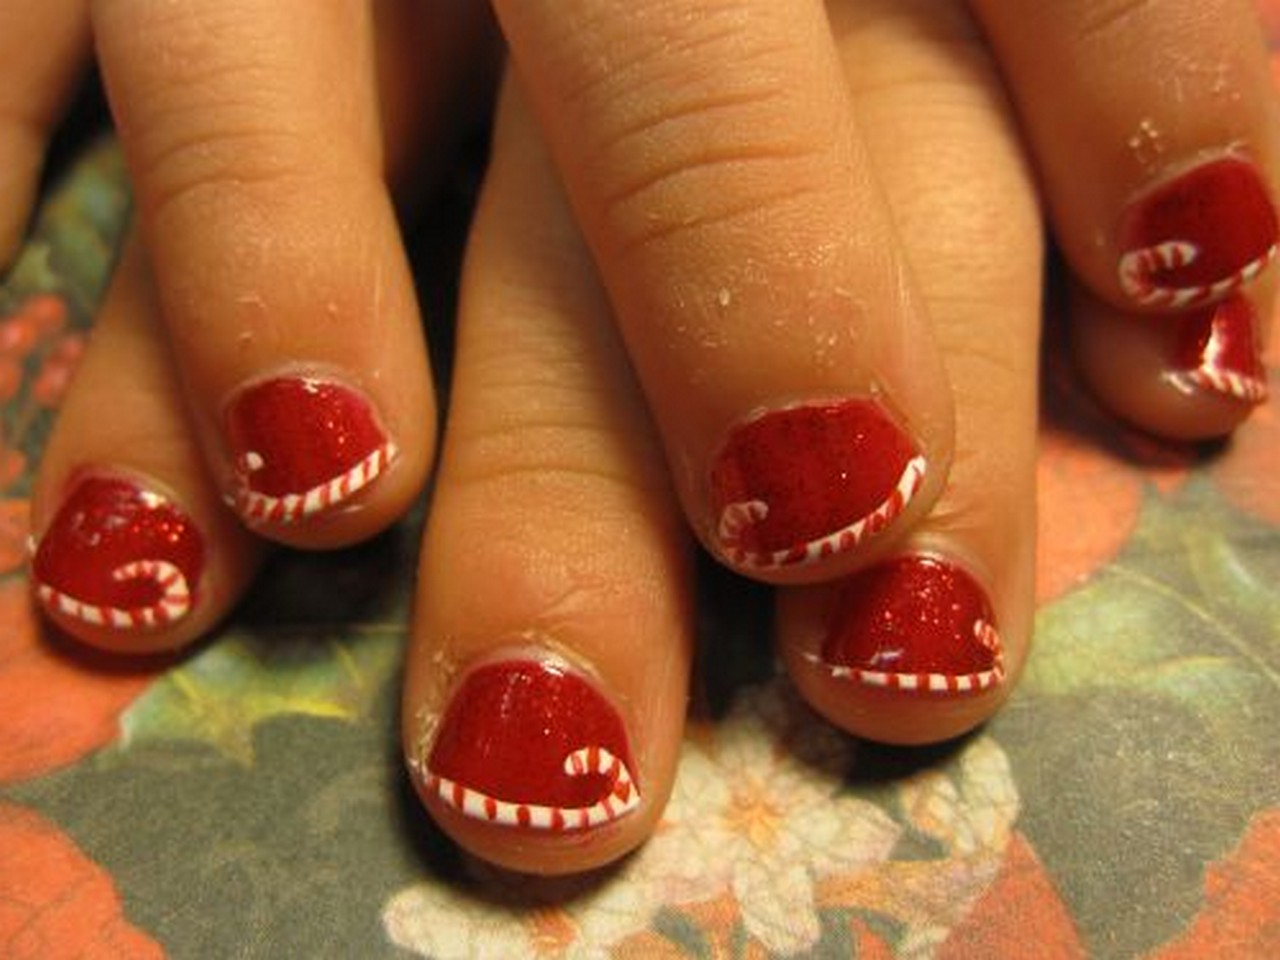
Satisfy your sweet tooth with this sparkly candy cane nail art design. Start by painting your nails with a white base color. Then, use a thin brush to create red diagonal stripes on your nails. Once the red stripes are dry, use a glittery top coat to add some sparkle to your nails. You can also add green stripes for a twist on the classic candy cane design.4. Glittery Candy Cane Nails


4. Glittery Candy Cane Nails


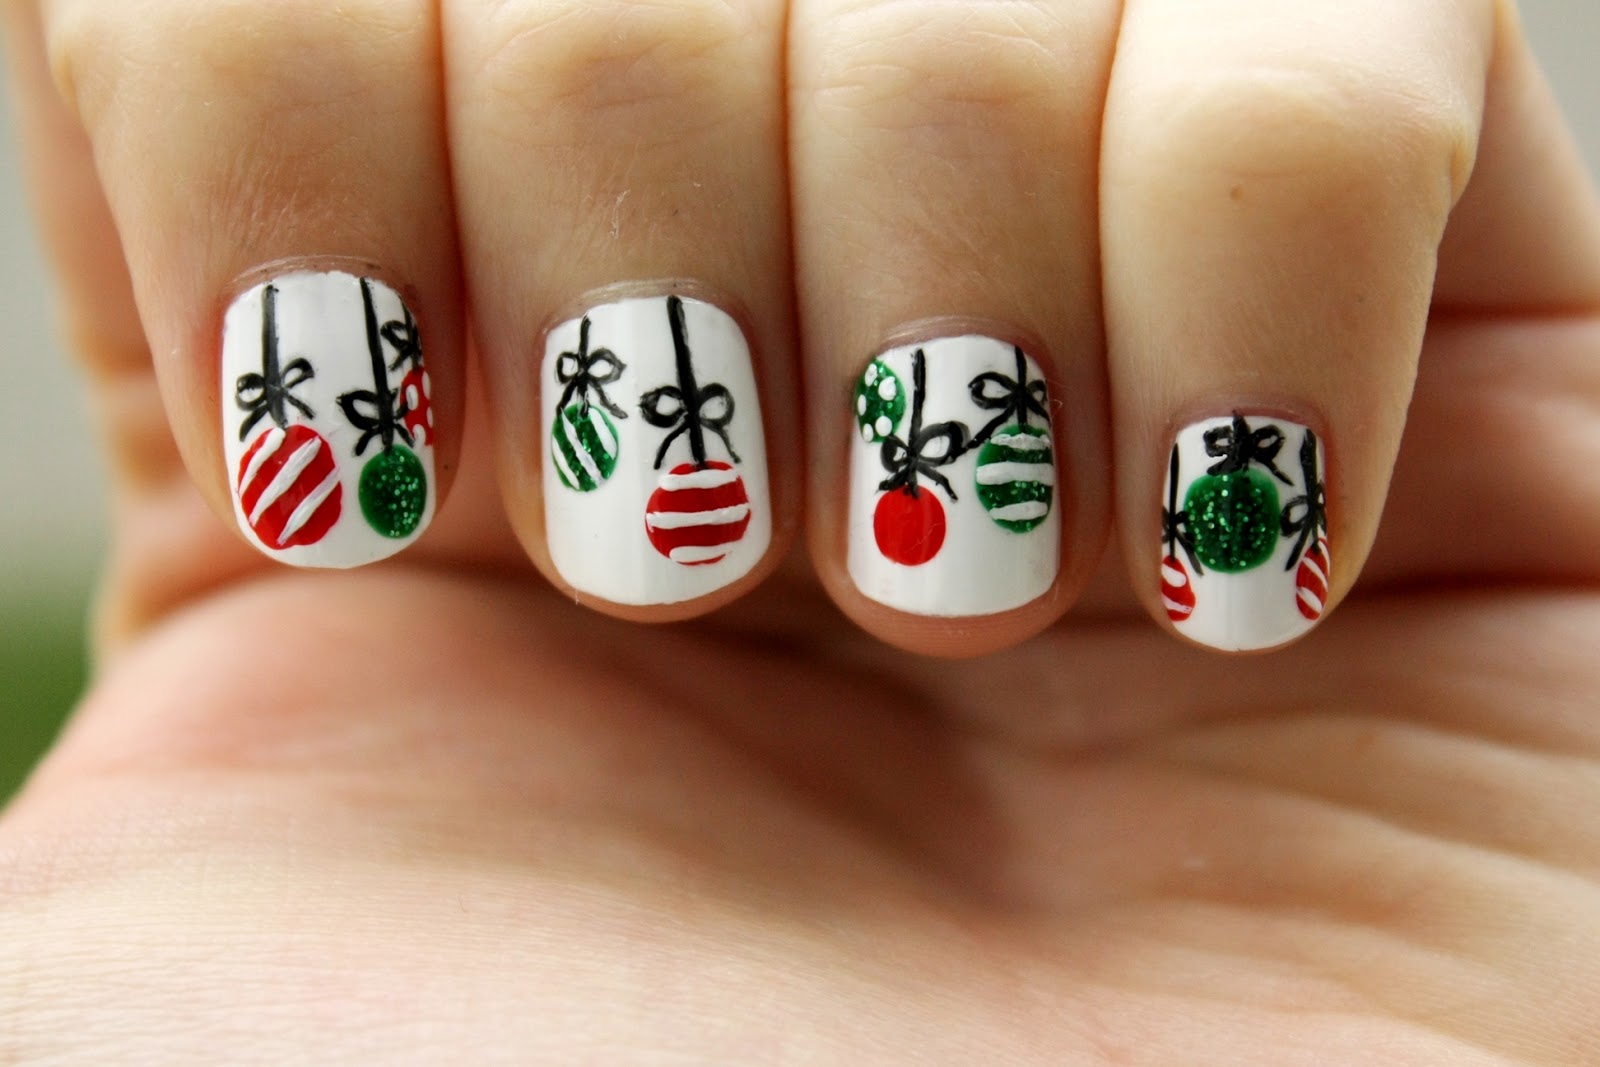
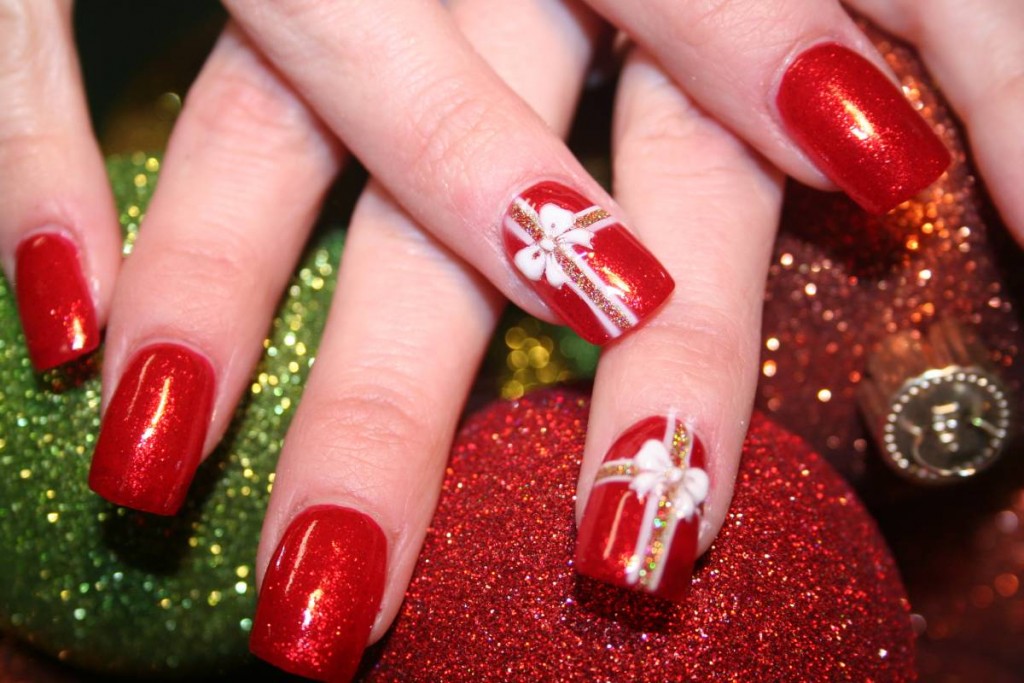
Add some holiday cheer to your nails with this holly and berries design. Start by painting your nails with a red base color. Then, use a thin brush or toothpick to create the holly leaves with green nail polish. Next, use a dotting tool or toothpick to create the red berries on top of the leaves. For an extra touch, you can add gold glitter on the leaves or rhinestones for the berries.5. Holly Jolly Nail Art


5. Holly Jolly Nail Art

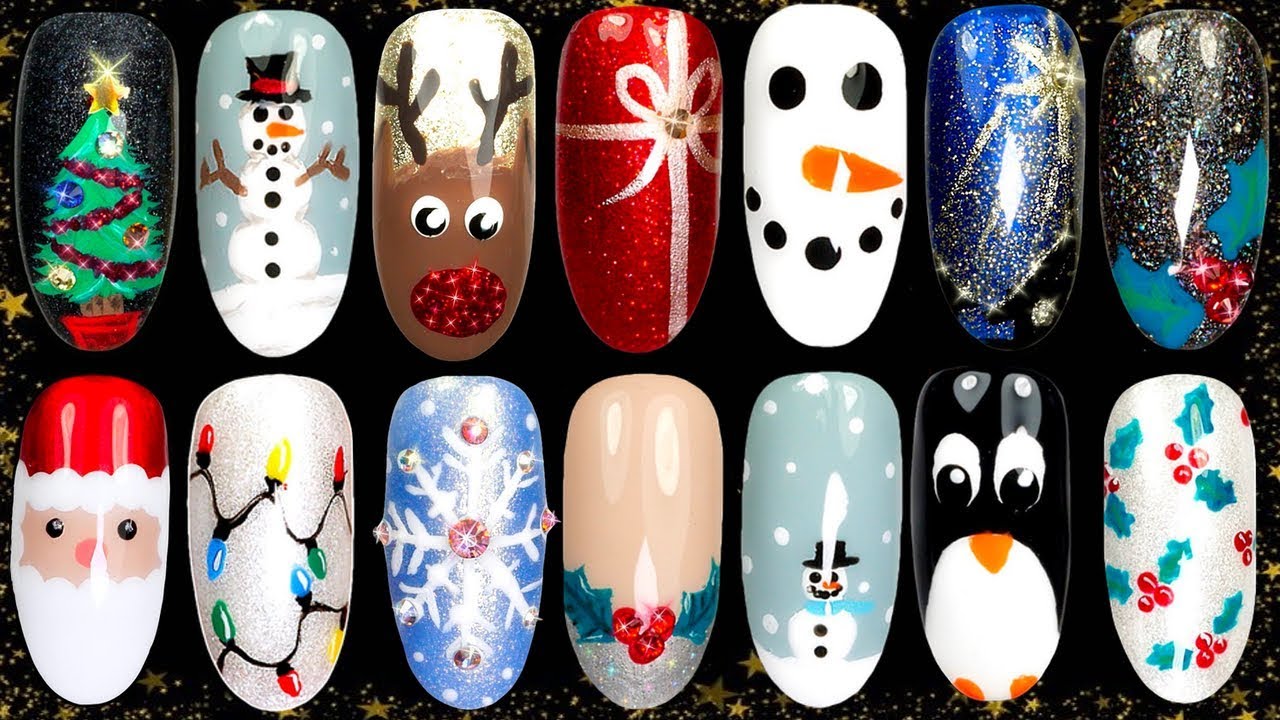

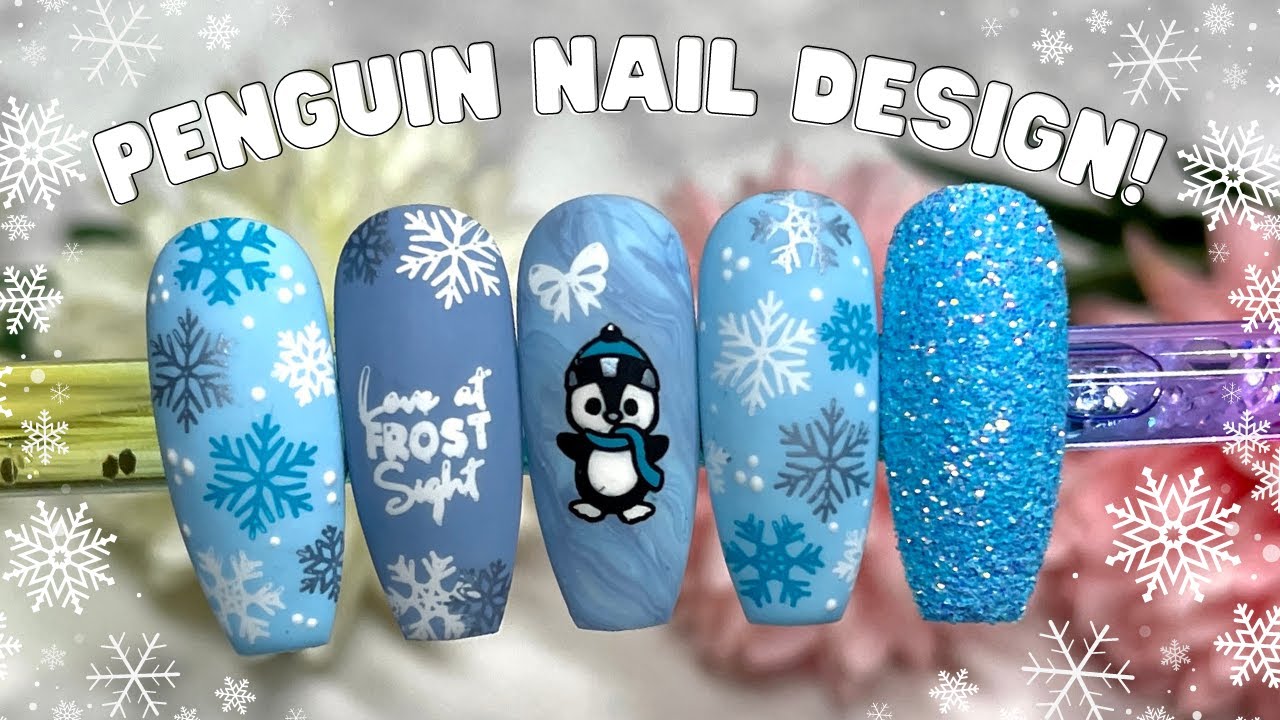
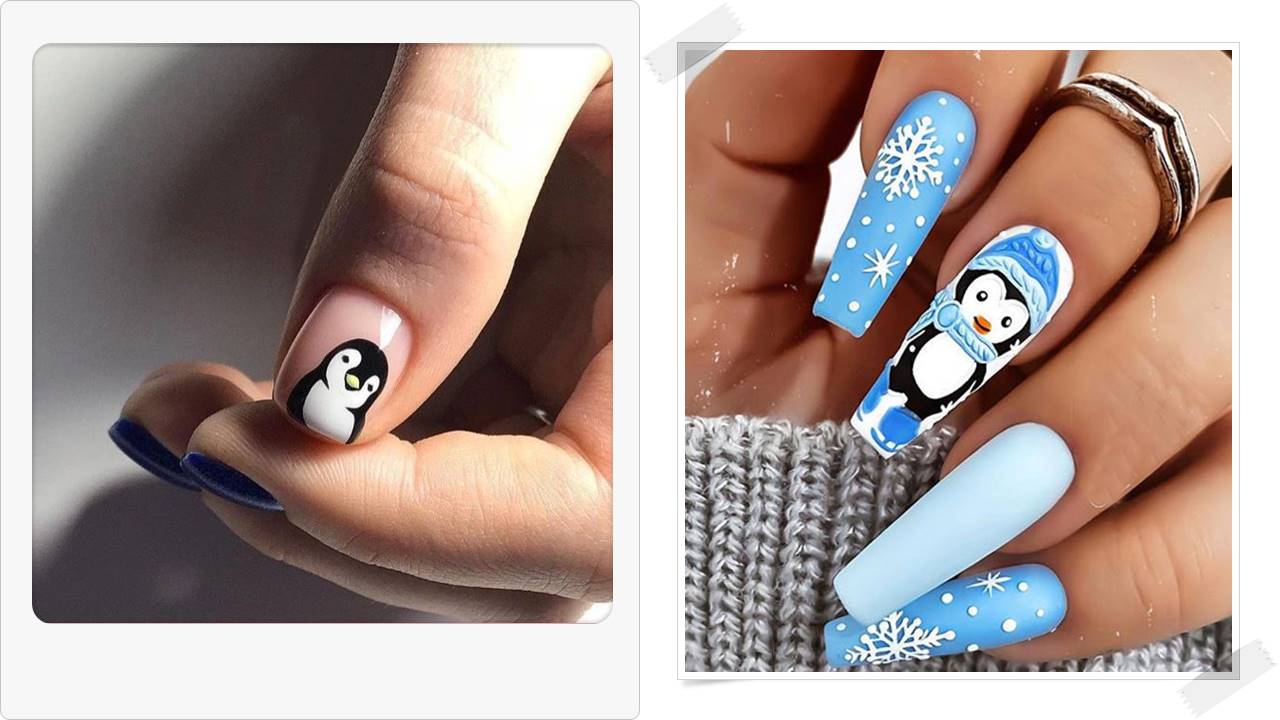
These cute penguin nails will make your heart melt. Start by painting your nails with a light blue base color. Then, use a thin brush or toothpick to create the white belly of the penguin. Next, use a dotting tool or toothpick to create the eyes and beak of the penguin with black nail polish. For an extra touch, you can add a santa hat on top of the penguin's head using red and white nail polish.6. Cute Penguin Nail Design


6. Cute Penguin Nail Design


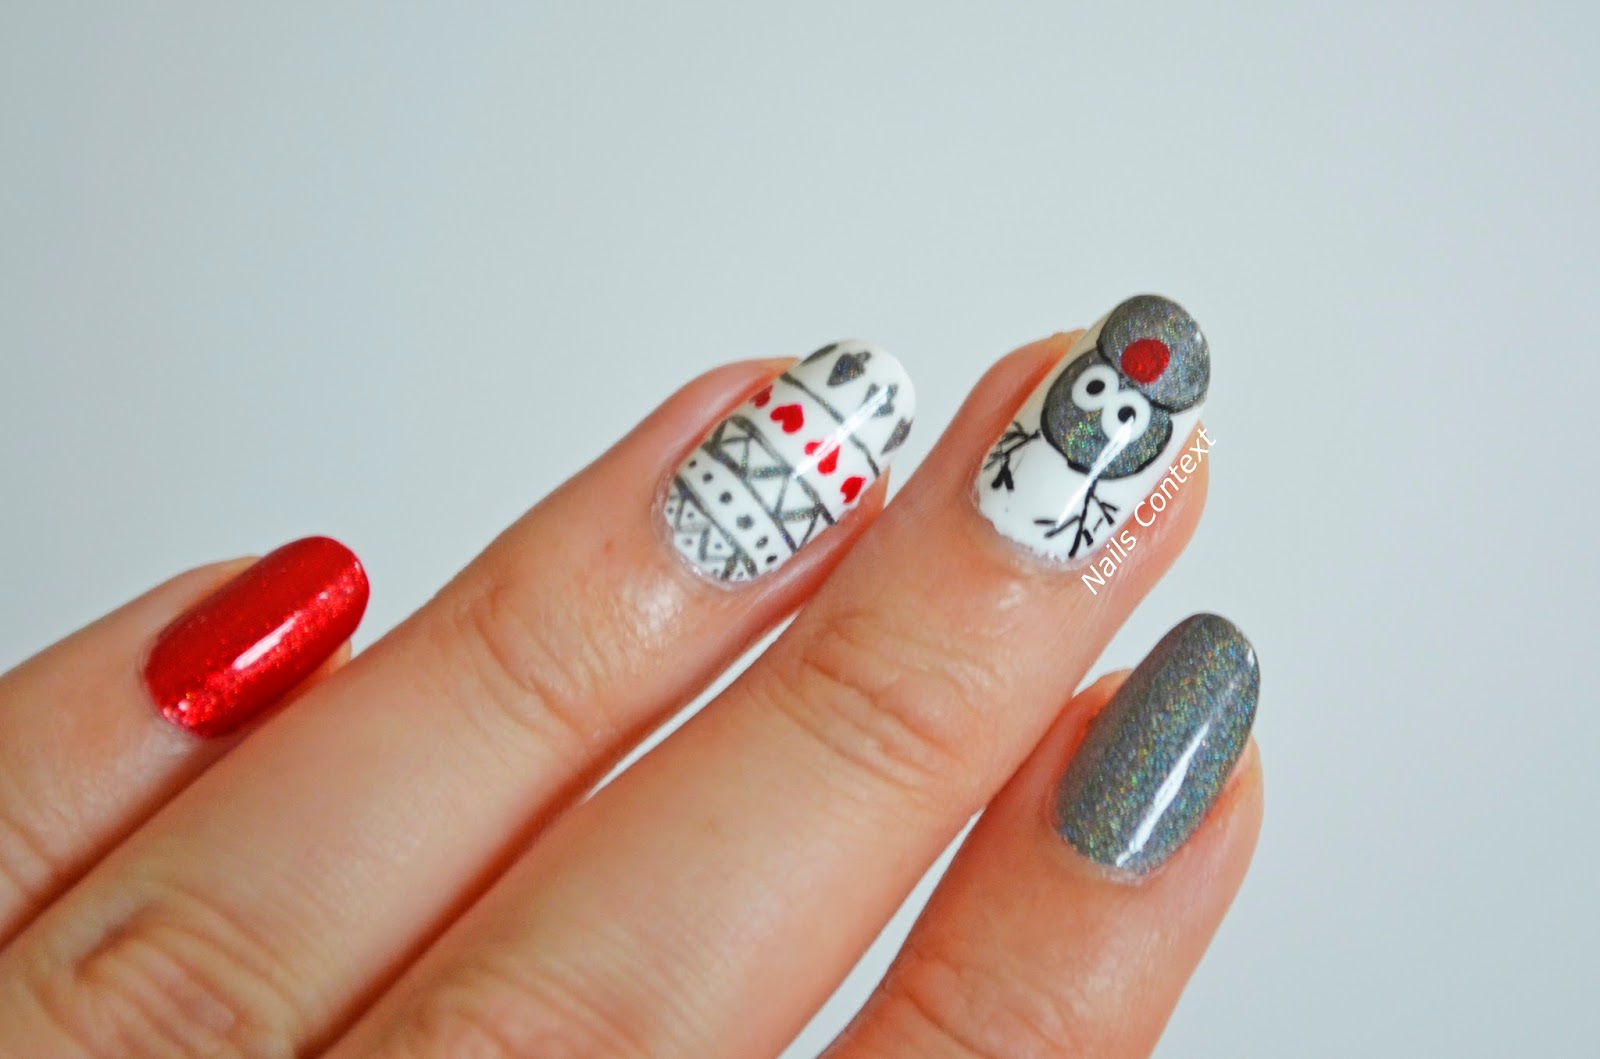
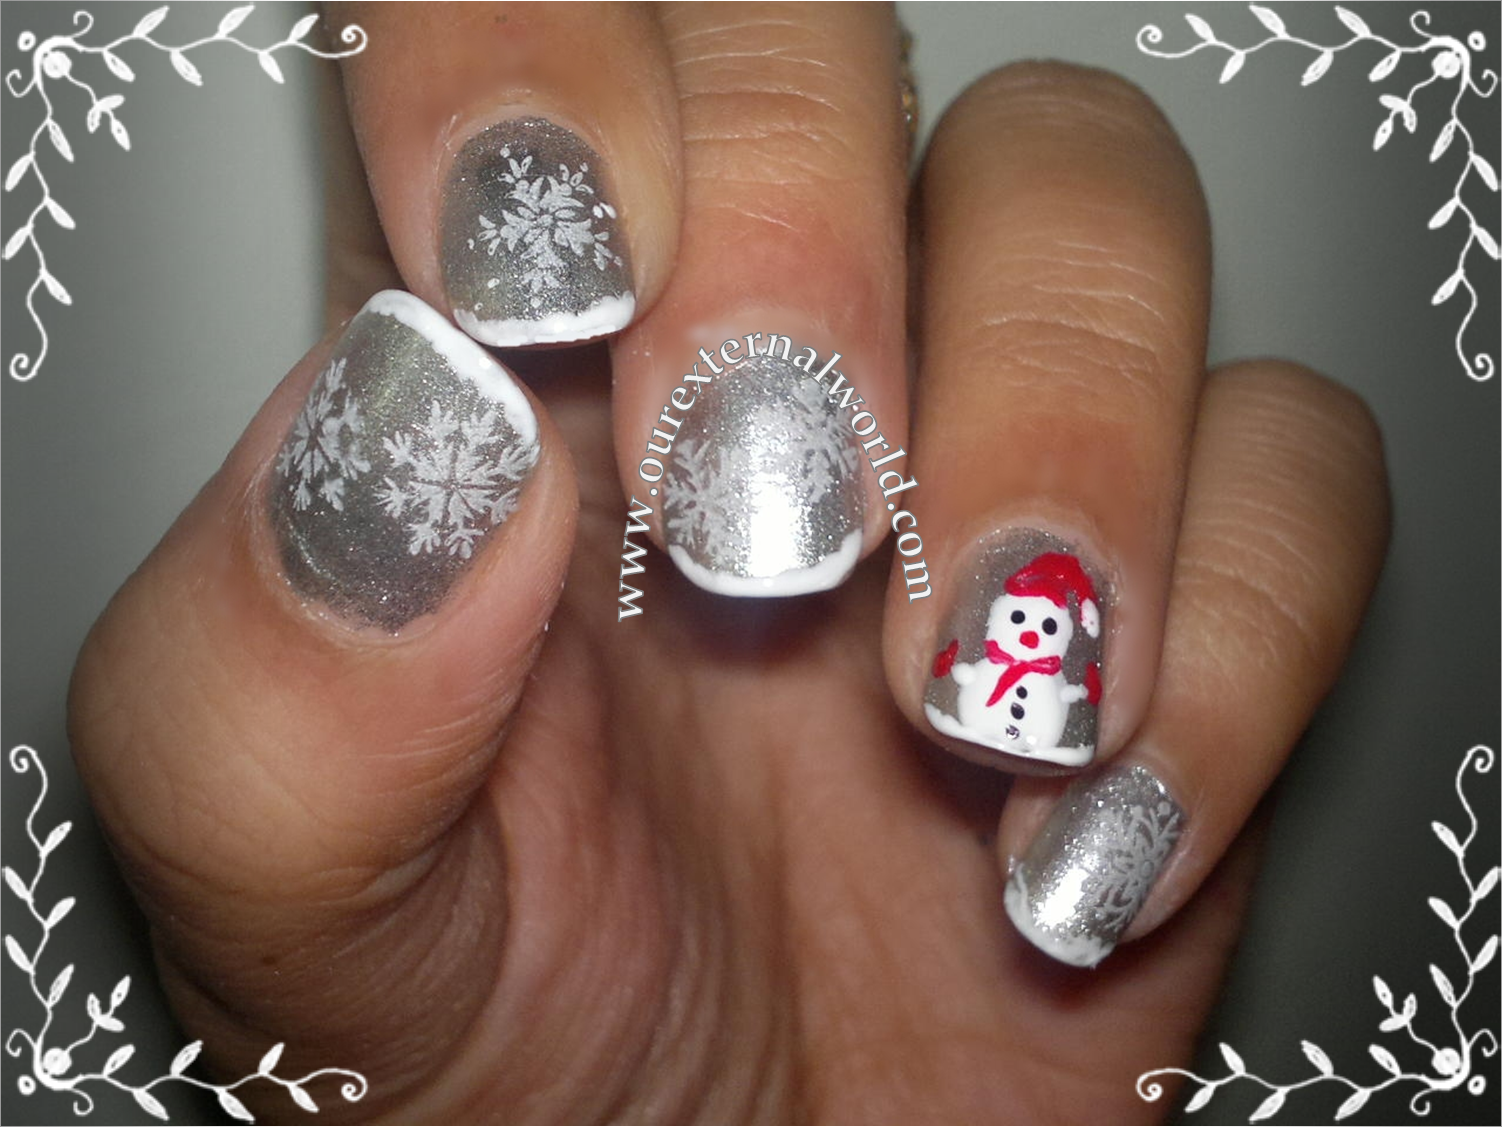
Get in the winter wonderland spirit with these sparkly snowman nails. Start by painting your nails with a light blue or white base color. Then, use a dotting tool or toothpick to create the body of the snowman with white nail polish. Next, use a thin brush or toothpick to create the scarf and hat using red and black nail polish. For an extra touch, add glitter or rhinestones for some winter sparkle.7. Sparkly Snowman Nails

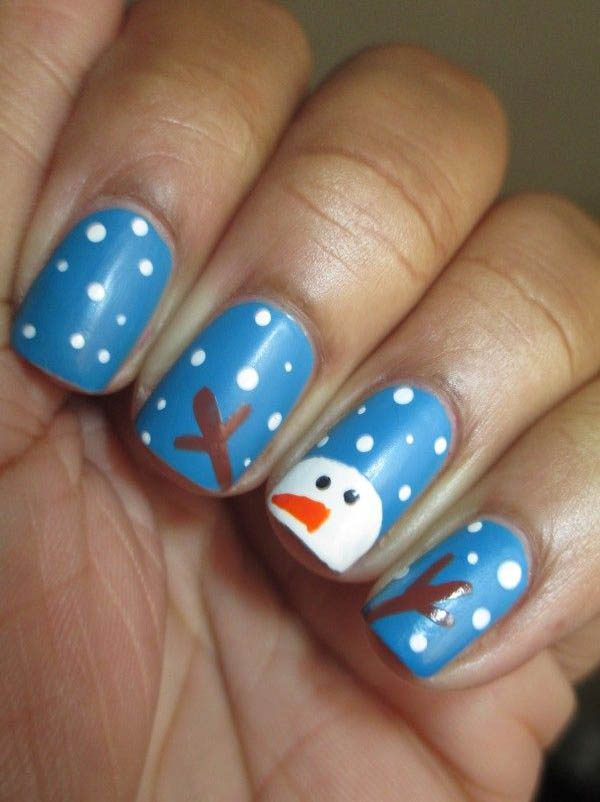

7. Sparkly Snowman Nails


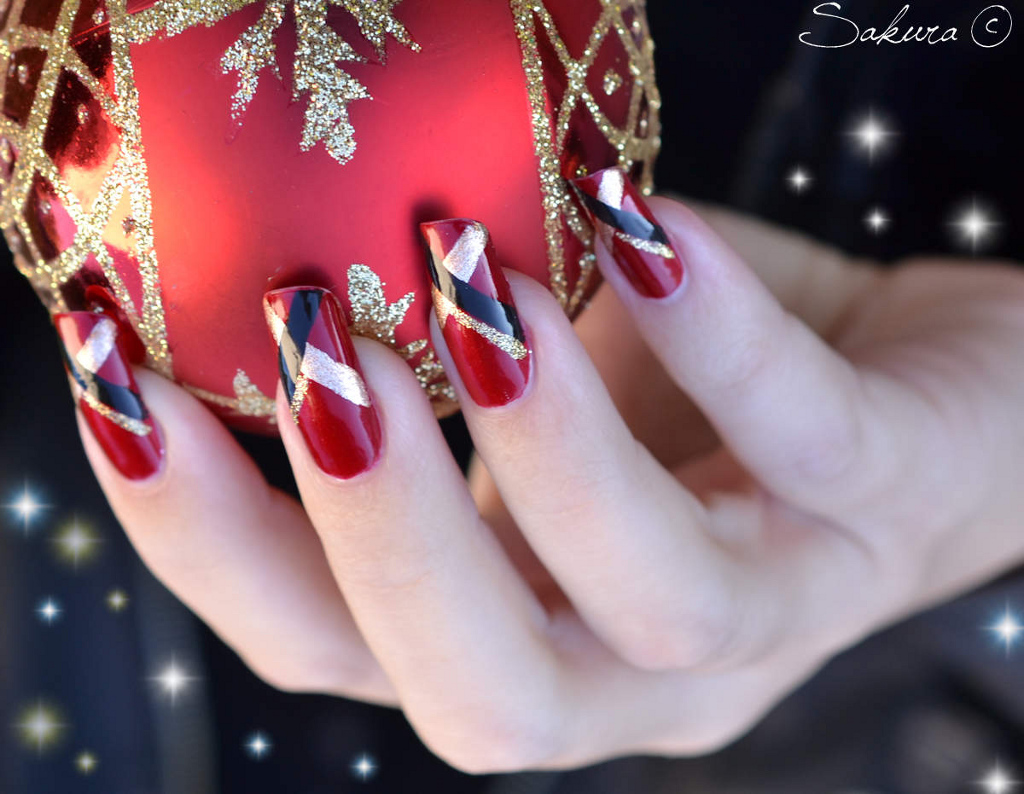
Channel your inner lumberjack with this festive plaid nail art design. Start by painting your nails with a red or green base color. Then, use a thin brush to create vertical and horizontal lines with black nail polish. Once the lines are dry, use a dotting tool or toothpick to create small squares with white nail polish. You can also add some glitter or rhinestones to make your plaid design stand out.8. Festive Plaid Nail Art


8. Festive Plaid Nail Art


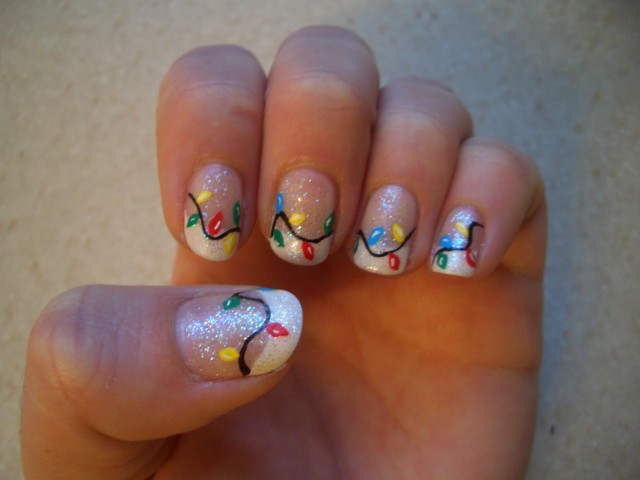
Add some twinkle to your nails with this Christmas lights design. Start by painting your nails with a dark blue or black base color. Then, use a thin brush or toothpick to create squiggly lines with different colored nail polish to represent the Christmas lights. You can also add a gold or silver glitter top coat for some extra sparkle.9. Christmas Lights Nail Design


9. Christmas Lights Nail Design


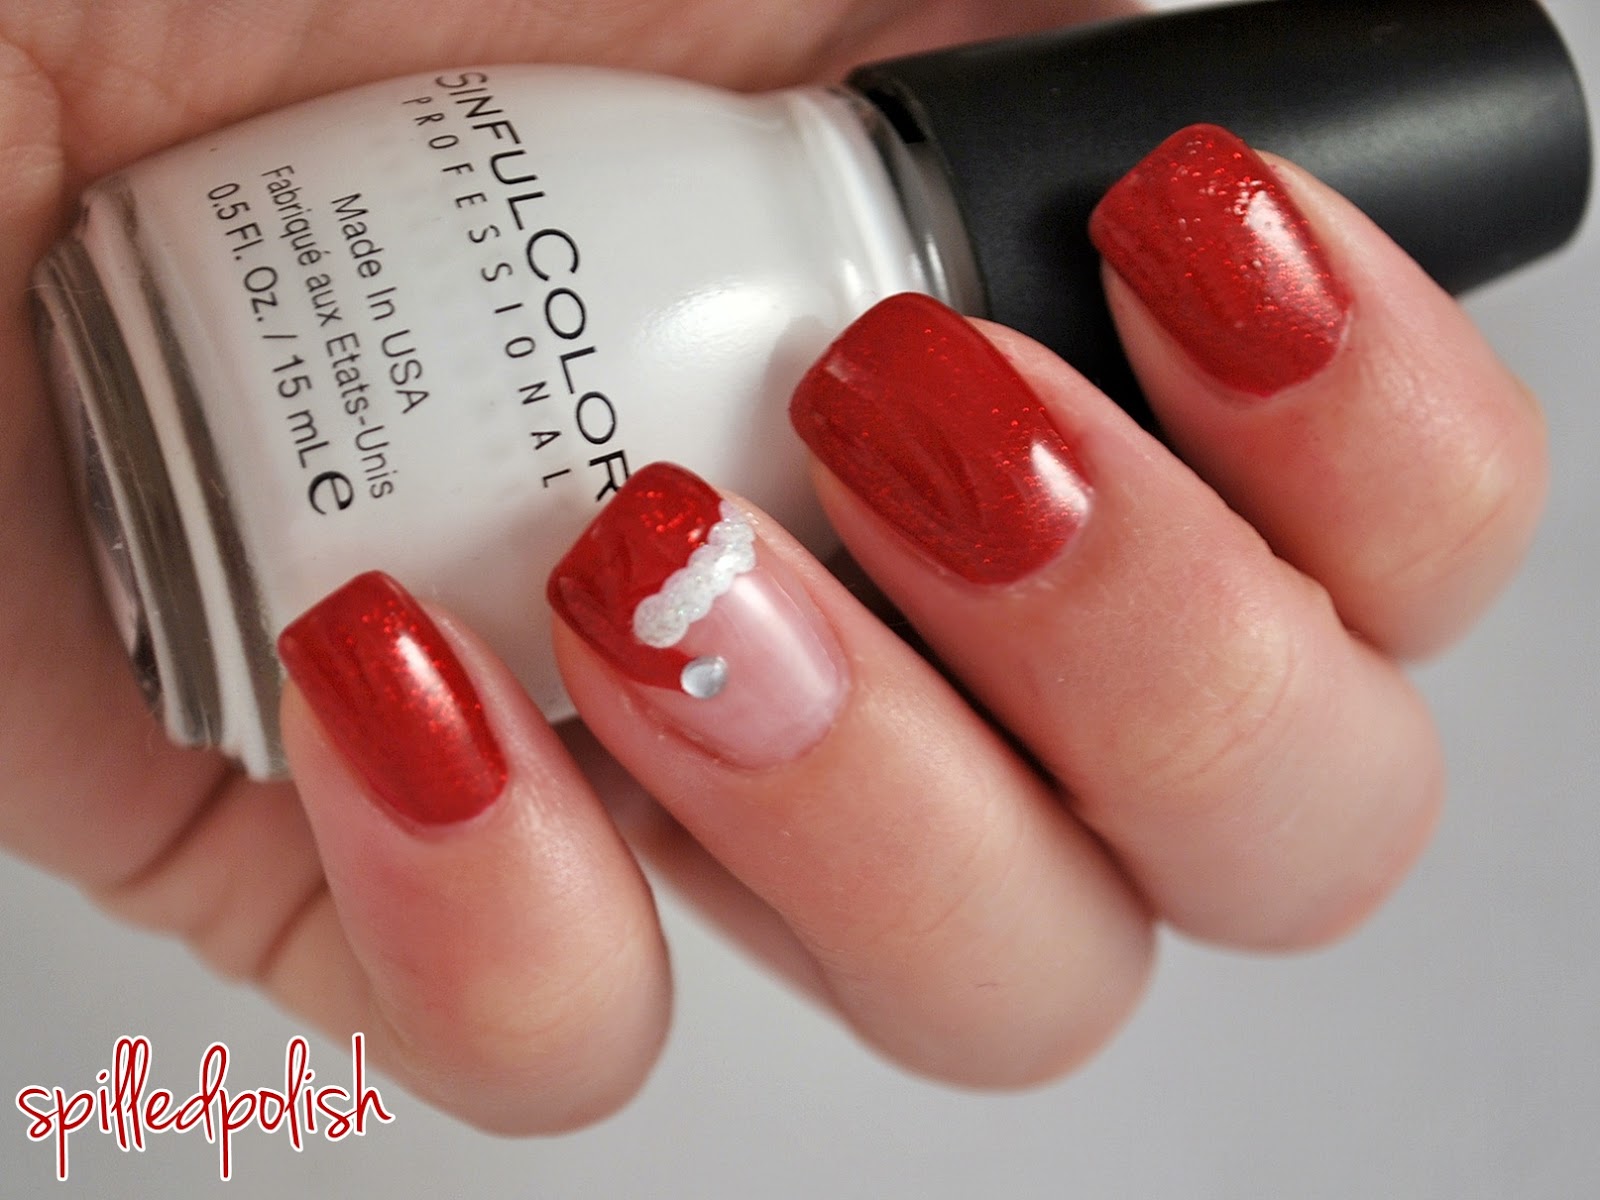
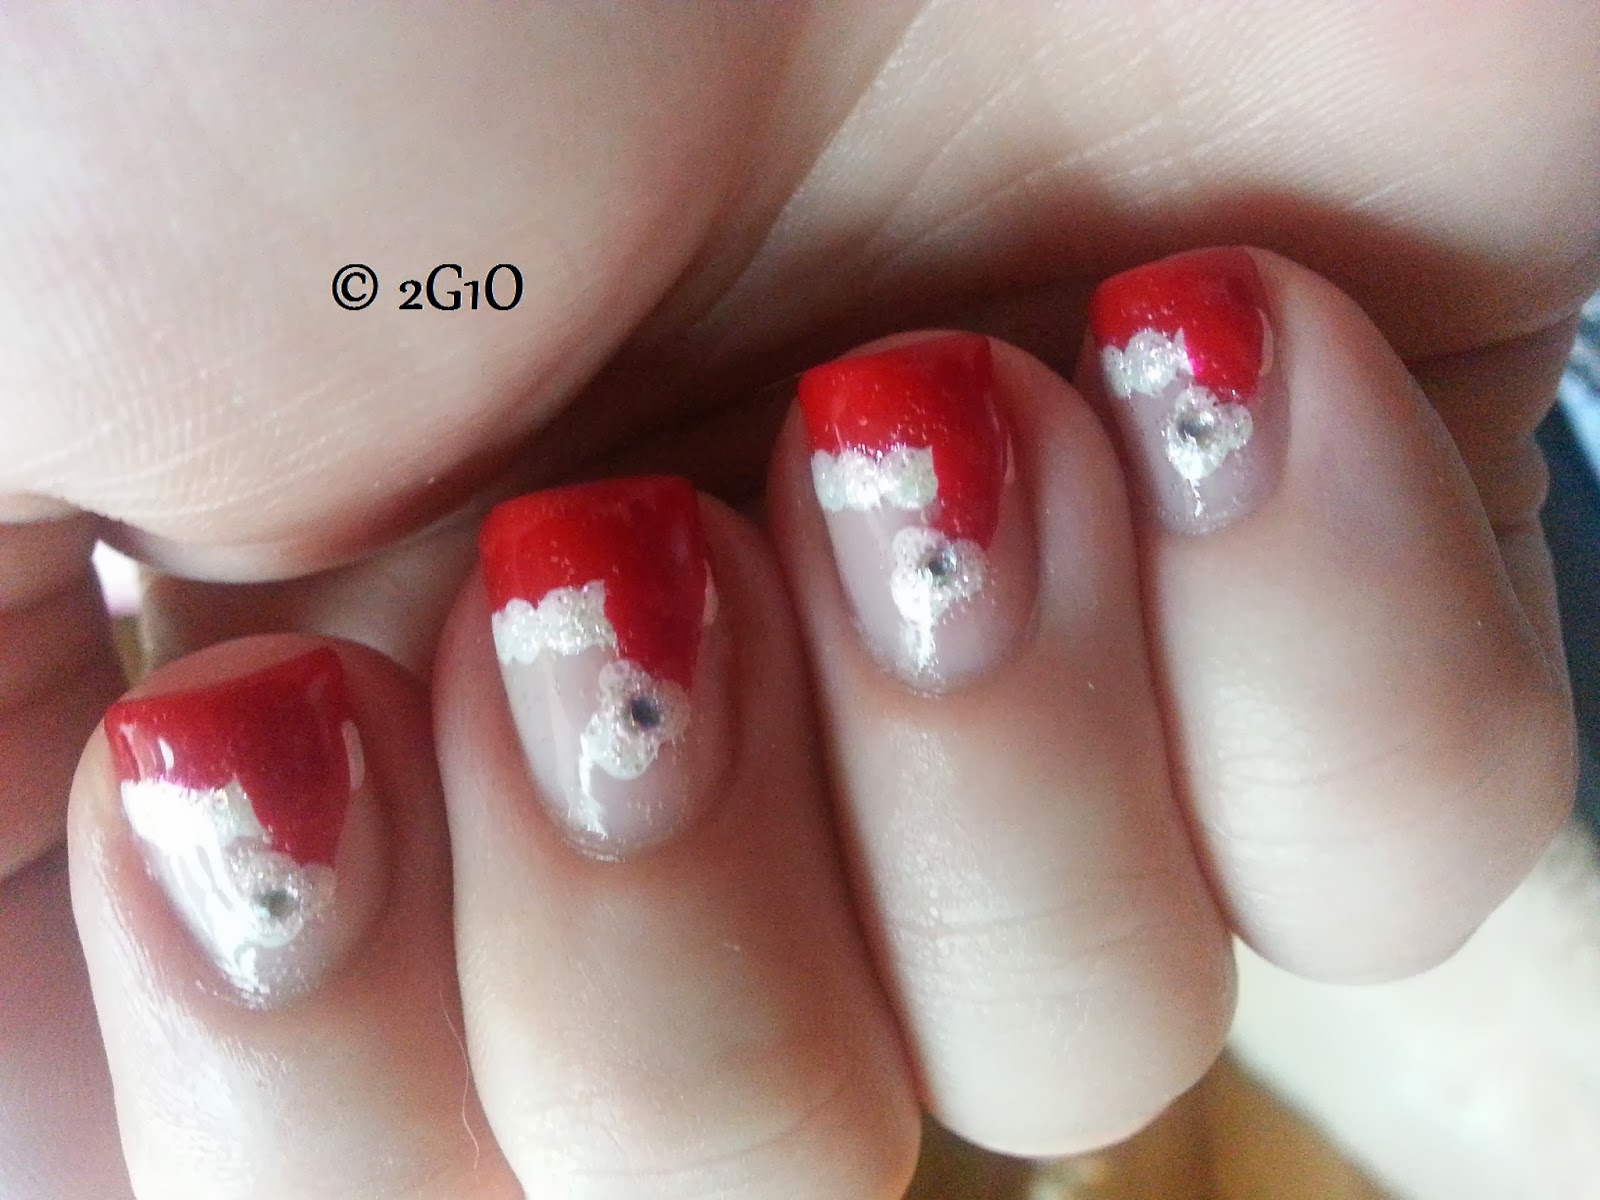
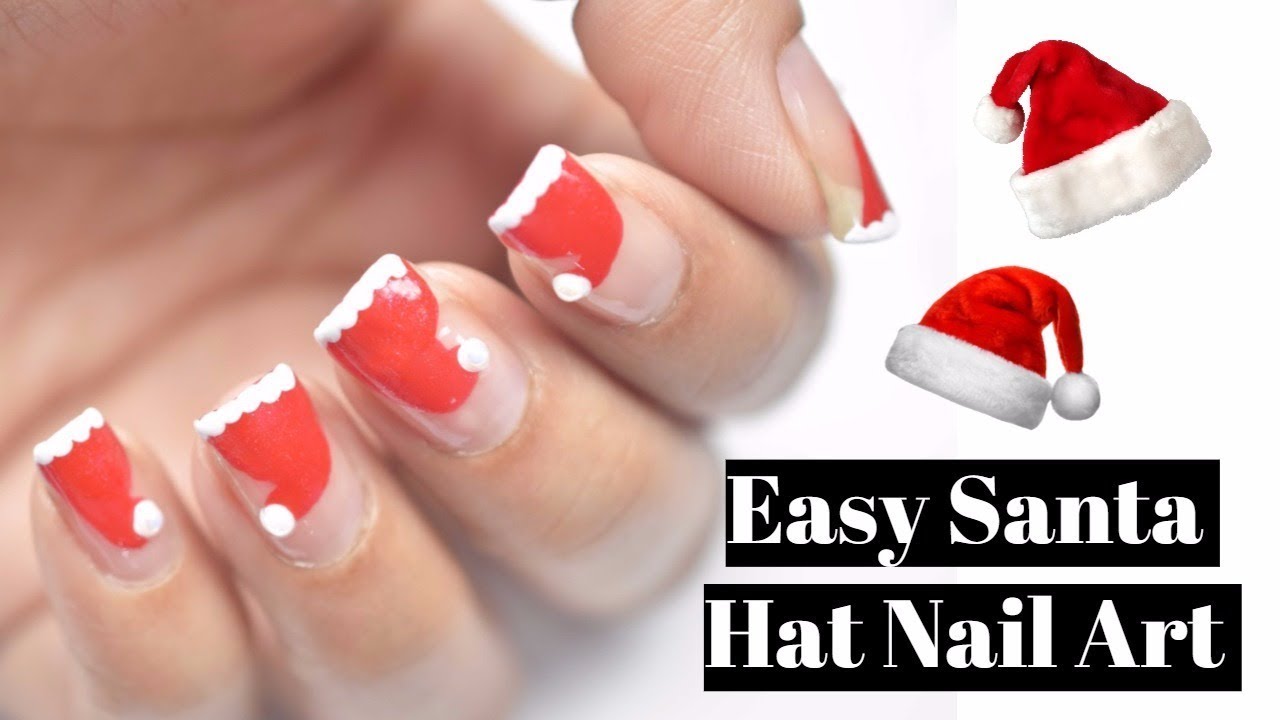
Ho ho ho! Get into the Christmas spirit with these easy Santa hat nails. Start by painting your nails with a red base color. Then, use a thin brush or toothpick to create the white trim of the hat with white nail polish. Next, use a dotting tool or toothpick to create the pompom on the hat with white nail polish. For an extra touch, you can add a small gold buckle on the hat using gold nail polish.10. Easy Santa Hat Nails


10. Easy Santa Hat Nails


Add Some Festive Flair to Your Nails with These Easy Christmas Nail Art Designs
Get Ready for the Holiday Season
 As the holiday season approaches, it's time to start thinking about ways to add some festive flair to your everyday look. One easy and fun way to do that is by trying out some Christmas nail art designs. Not only will it get you in the holiday spirit, but it will also make your nails stand out in a crowd. Plus, you don't have to be a professional nail artist to achieve these looks. With a few simple tools and some
creativity
, you can have stunning Christmas-themed nails in no time.
As the holiday season approaches, it's time to start thinking about ways to add some festive flair to your everyday look. One easy and fun way to do that is by trying out some Christmas nail art designs. Not only will it get you in the holiday spirit, but it will also make your nails stand out in a crowd. Plus, you don't have to be a professional nail artist to achieve these looks. With a few simple tools and some
creativity
, you can have stunning Christmas-themed nails in no time.
Choose a Design That Suits Your Style
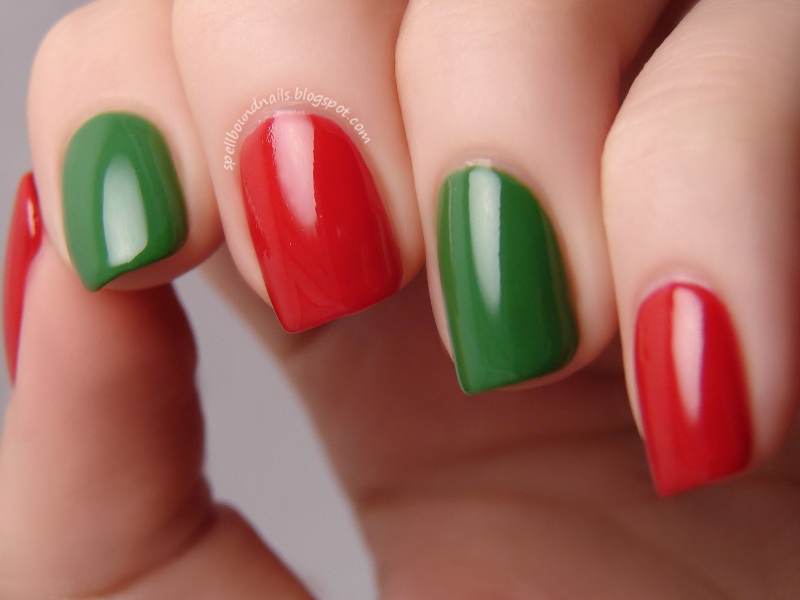
 When it comes to Christmas nail art, there are endless possibilities. You can go for a classic red and green color scheme, or opt for something more playful and colorful. You can also choose from a variety of designs, such as candy canes, snowflakes, Christmas trees, and more. The key is to
choose a design that suits your personal style
and makes you feel confident.
When it comes to Christmas nail art, there are endless possibilities. You can go for a classic red and green color scheme, or opt for something more playful and colorful. You can also choose from a variety of designs, such as candy canes, snowflakes, Christmas trees, and more. The key is to
choose a design that suits your personal style
and makes you feel confident.
Gather Your Supplies
 Before you start creating your Christmas nail art, make sure you have all the necessary supplies. This includes nail polish in the colors you want to use, as well as nail art tools like dotting tools, brushes, and tape. You can also get creative and use everyday items like toothpicks, bobby pins, and even q-tips to achieve different effects. Make sure you have a clear top coat to seal in your design and keep it looking fresh for longer.
Get Creative and Have Fun
 Now comes the fun part – creating your Christmas nail art. Start by painting your nails with a base color, and let it dry completely. Then, use your chosen tools and nail polishes to create your desired design. You can also
add some sparkle and shine
by using glitter or rhinestones. Don't be afraid to experiment and mix and match different designs and colors. The key is to have fun and enjoy the process.
Now comes the fun part – creating your Christmas nail art. Start by painting your nails with a base color, and let it dry completely. Then, use your chosen tools and nail polishes to create your desired design. You can also
add some sparkle and shine
by using glitter or rhinestones. Don't be afraid to experiment and mix and match different designs and colors. The key is to have fun and enjoy the process.
Seal and Show Off
 Once you're happy with your Christmas nail art, seal it with a top coat to protect it and make it last longer. Let it dry completely before going about your day. Then, get ready to show off your festive nails to your friends and family. You can also take some pictures and share them on social media to spread the holiday cheer.
In conclusion, adding some
easy Christmas nail art designs
to your holiday look is a great way to get into the festive spirit. With a little bit of
creativity
and the right tools, you can create stunning Christmas-themed nails that will make you stand out. So, gather your supplies and get ready to have some fun creating beautiful nail art for the holiday season.
Once you're happy with your Christmas nail art, seal it with a top coat to protect it and make it last longer. Let it dry completely before going about your day. Then, get ready to show off your festive nails to your friends and family. You can also take some pictures and share them on social media to spread the holiday cheer.
In conclusion, adding some
easy Christmas nail art designs
to your holiday look is a great way to get into the festive spirit. With a little bit of
creativity
and the right tools, you can create stunning Christmas-themed nails that will make you stand out. So, gather your supplies and get ready to have some fun creating beautiful nail art for the holiday season.


