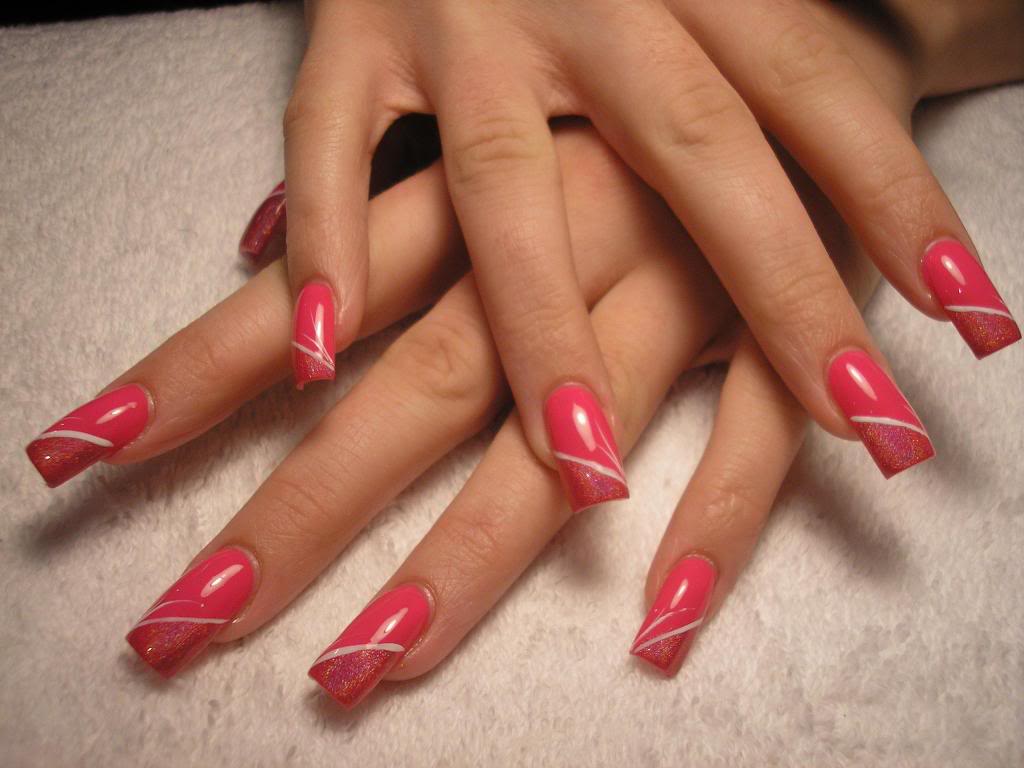
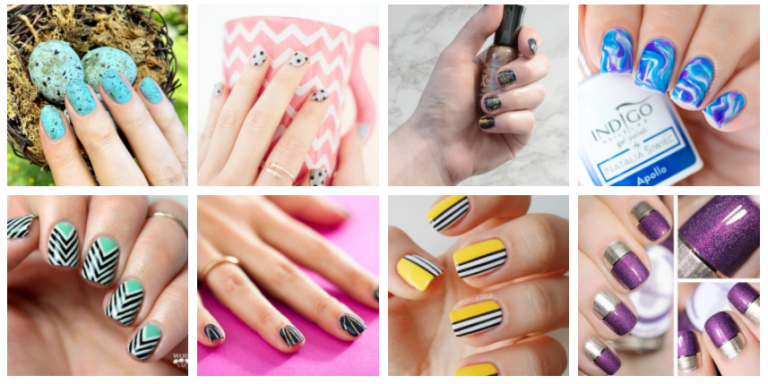
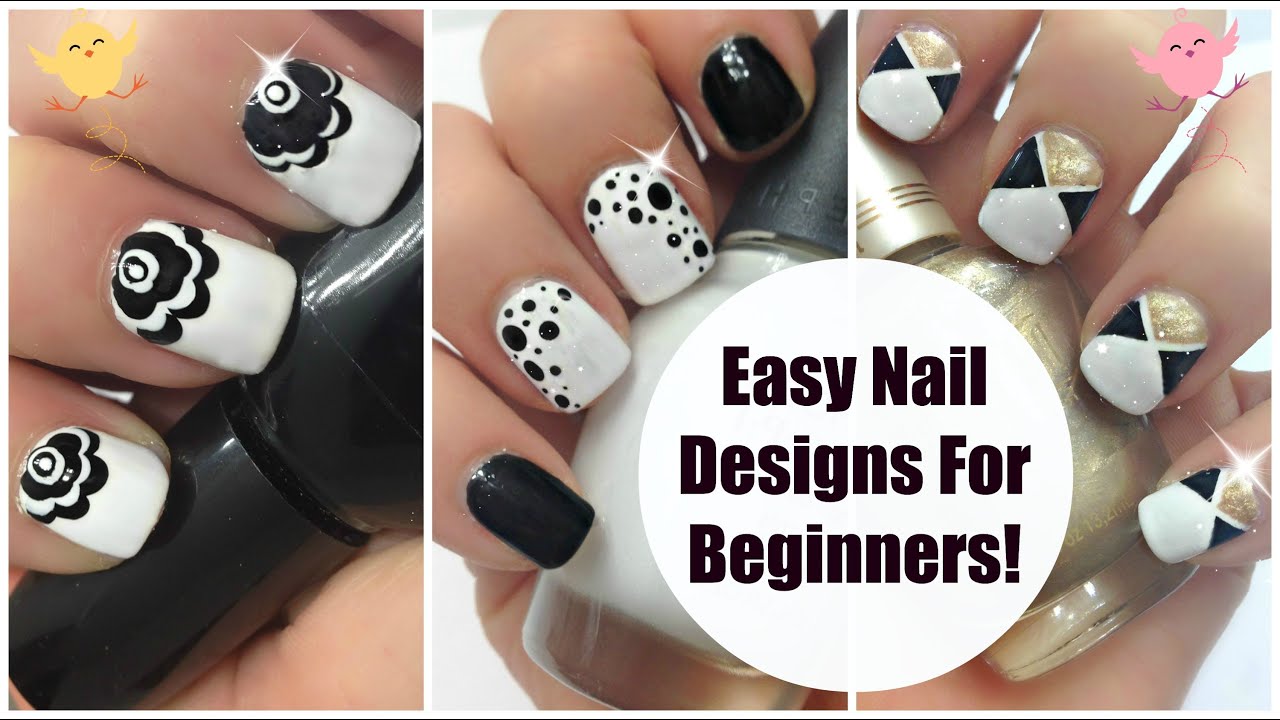
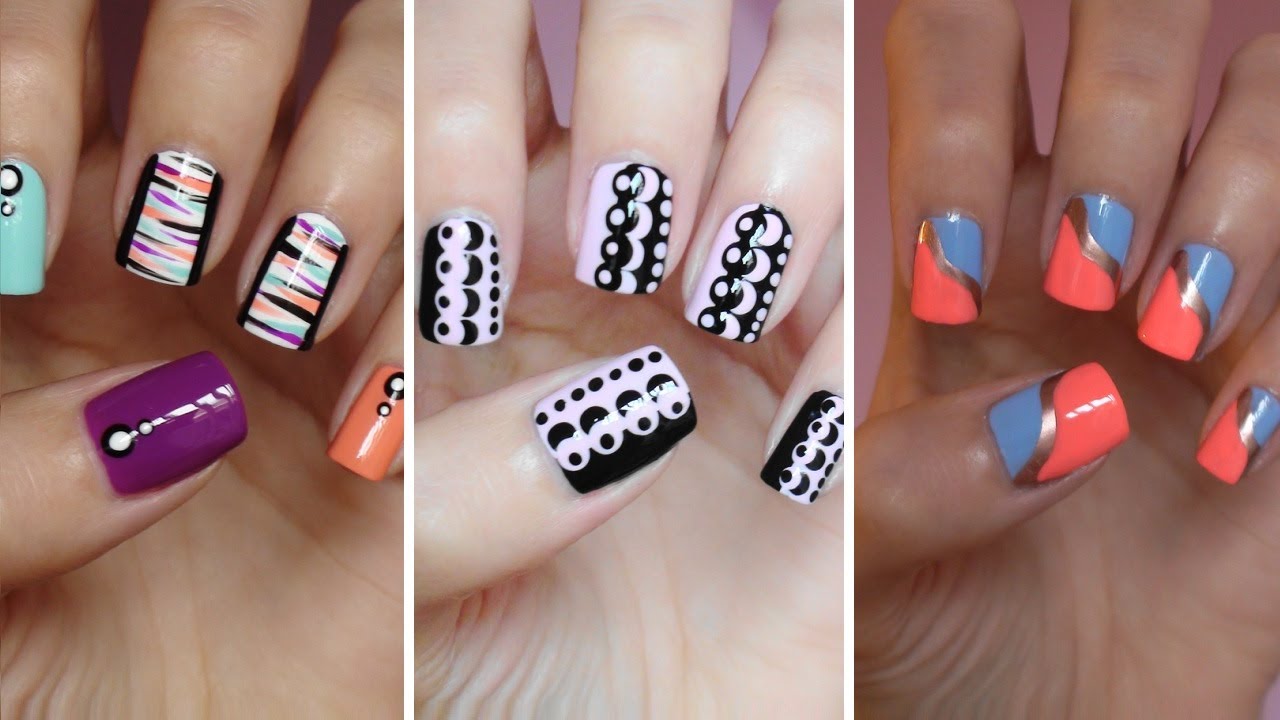
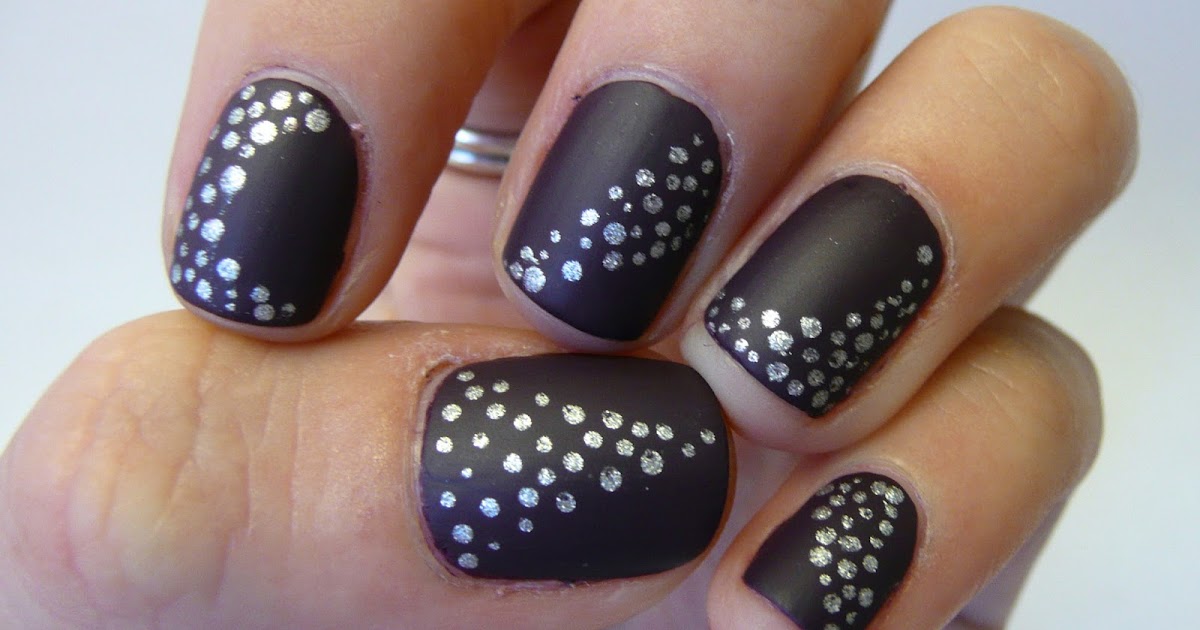
Nail art is a fun and creative way to express yourself through your nails. However, it can seem intimidating for beginners who may not have the skills or tools to create intricate designs. But don't worry, there are plenty of simple nail art designs that even the most inexperienced nail artists can achieve. Easy nail art designs for beginners are a great way to dip your toes into the world of nail art and unleash your inner artist. One simple and cute nail art design for beginners is a polka dot manicure. All you need is two different colored nail polishes and a toothpick. Start by painting your nails with one color and let them dry completely. Then, using the toothpick, dip the tip into the second color and create small dots all over your nails. You can create a uniform pattern or mix it up for a more playful look. If you're feeling a little more adventurous, try a striping tape design. This requires main keywords in the content some extra tools, but they can easily be found at your local drugstore or online. Start by painting your nails with a base color and letting it dry. Then, using the striping tape, create a design of your choice on top of the base color. Paint over the tape with a contrasting color and carefully remove the tape to reveal your design.1. Simple Nail Art Designs for Beginners

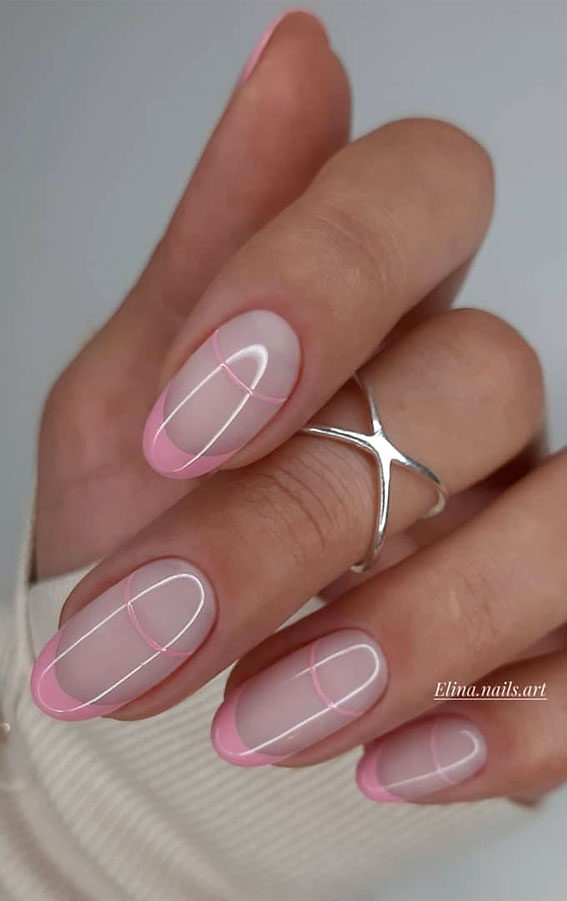
1. Simple Nail Art Designs for Beginners


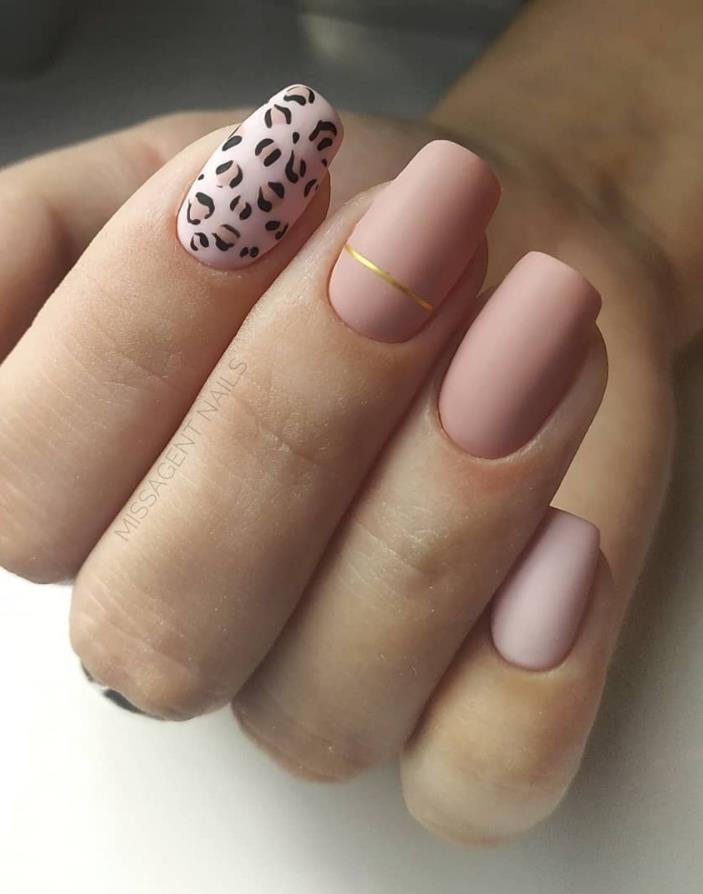
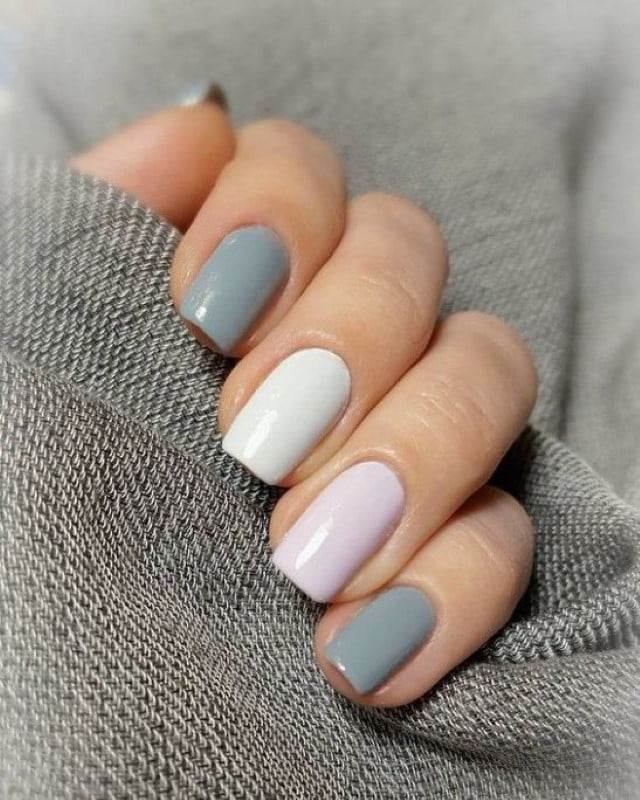
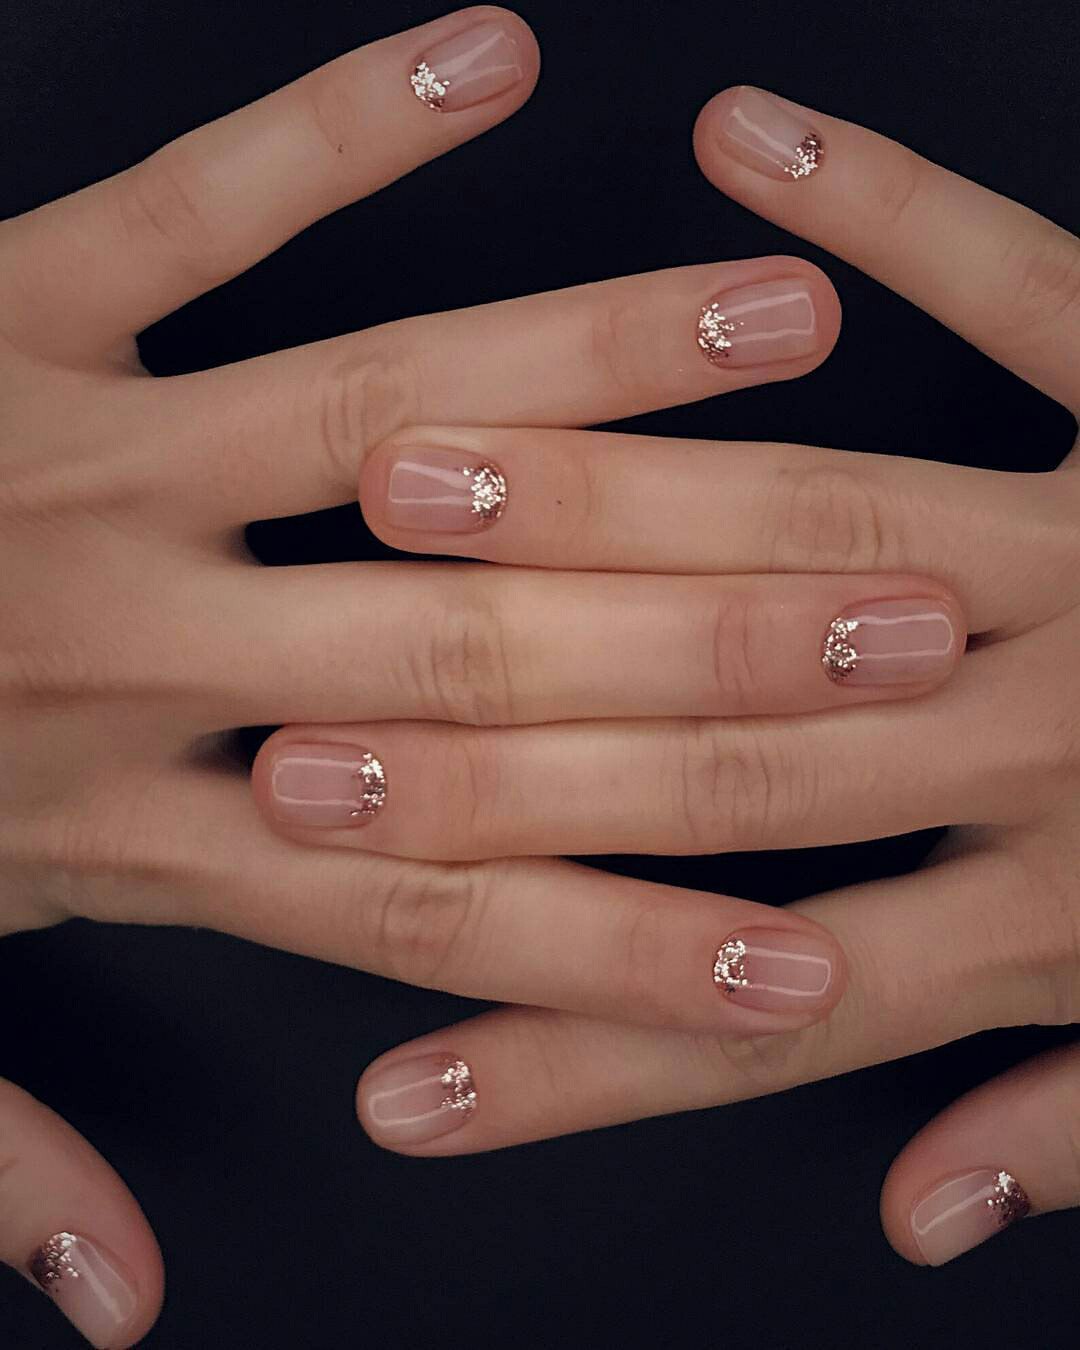
You may think that having short nails limits your options for nail art, but that is not the case at all. There are plenty of easy nail art ideas for short nails that are just as stunning as designs for longer nails. Short nails can still make a statement with the right design and color combination. One simple and chic nail art design for short nails is a half-moon manicure. This design requires two contrasting colors and some reinforcement stickers. Start by painting your nails with the base color and letting it dry. Then, place the reinforcement stickers at the base of your nails to create a half-moon shape. Paint over the stickers with the second color and carefully remove them to reveal your half-moon design. If you want to add a pop of color and texture to your short nails, try a glitter accent nail. This design is perfect for those who want a simple yet eye-catching look. Paint all your nails with a base color and let them dry. Then, on one nail, apply a clear top coat and dip it into glitter. You can use a small brush to clean up any excess glitter and seal it with another layer of top coat.2. Easy Nail Art Ideas for Short Nails


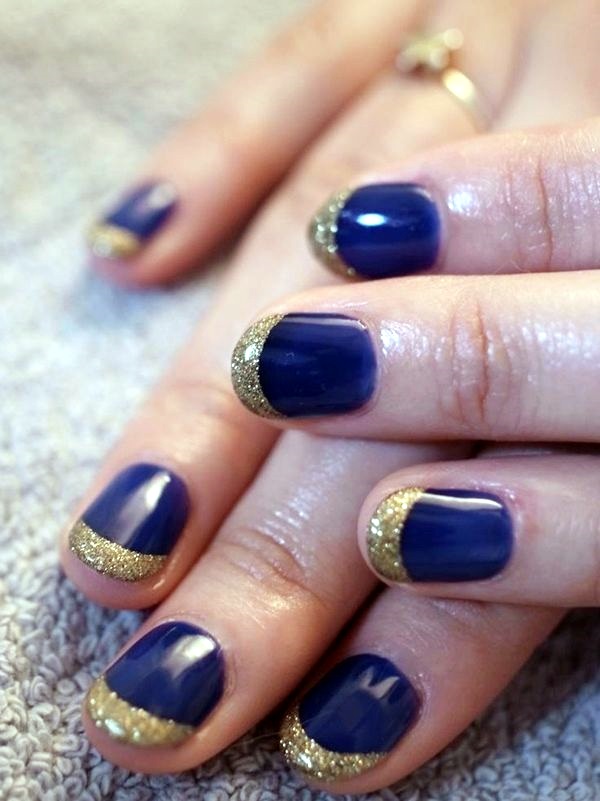
2. Easy Nail Art Ideas for Short Nails


.jpg)

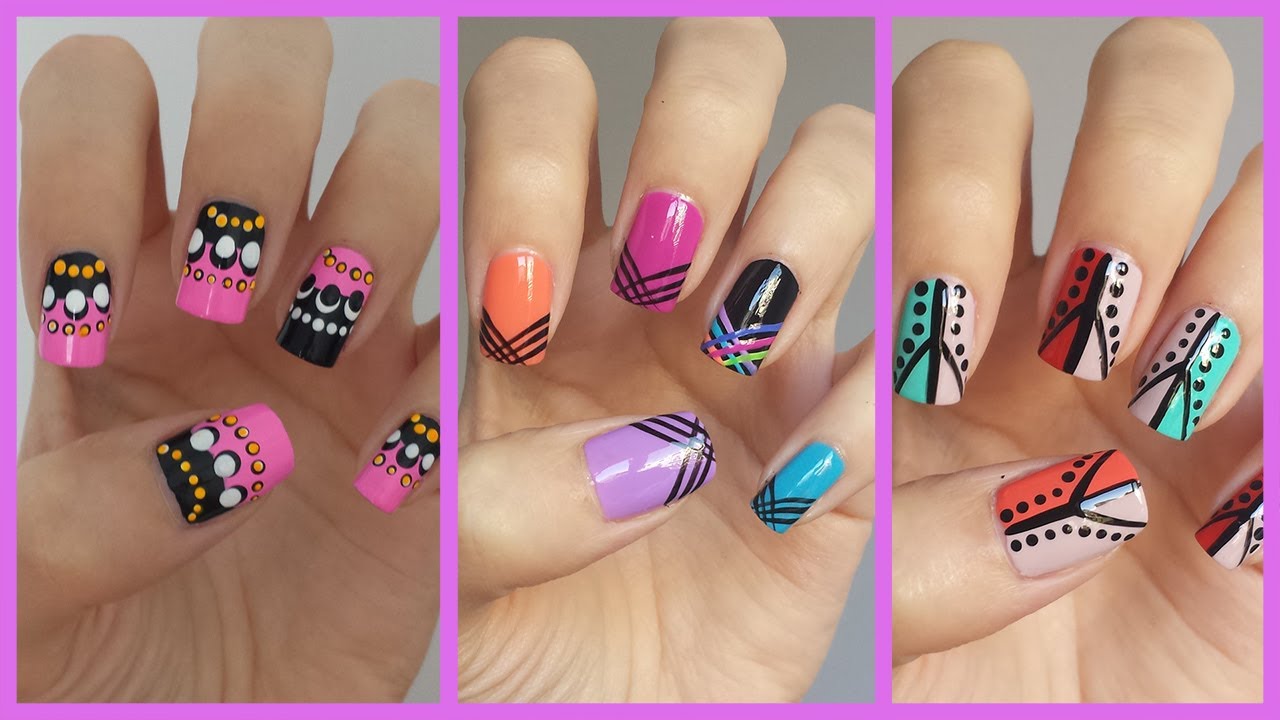
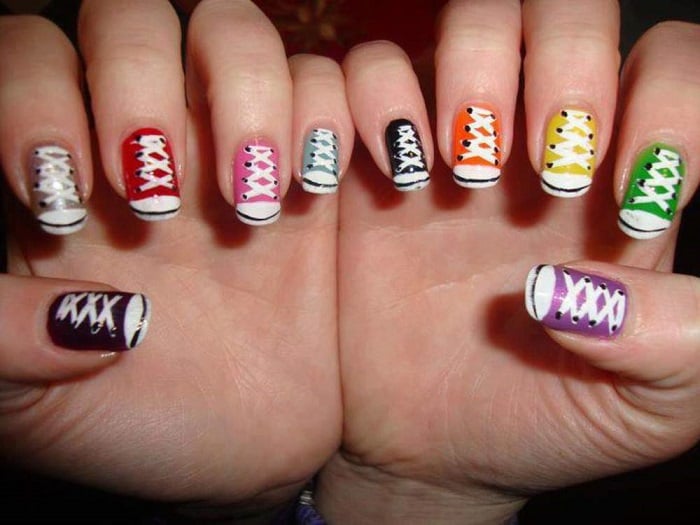
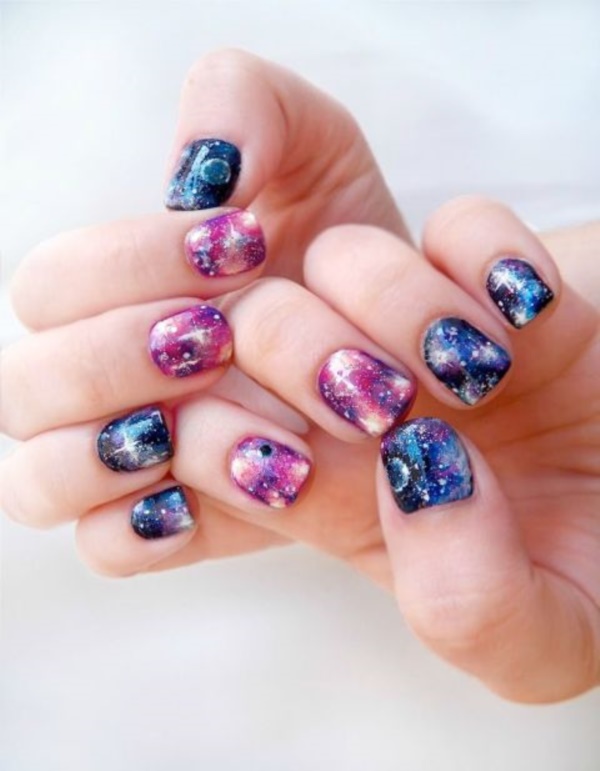
For those who are always on the go, quick and easy nail art tutorials are a lifesaver. These designs are perfect for those who don't have a lot of time to spend on their nails but still want to have a stylish look. With just a few steps, you can achieve a beautiful nail art design in no time. One quick and easy nail art tutorial is a chevron design. This design only requires two different colored nail polishes and some tape. Start by painting your nails with one color and letting it dry. Then, cut small strips of tape and place them on your nails in a chevron pattern. Paint over the tape with the second color and carefully remove them to reveal your chevron design. If you want to add a touch of elegance to your nails, try a pearl nail art design. This design requires white nail polish and small pearl embellishments. Start by painting your nails with the white polish and letting it dry. Then, using a clear top coat, place the pearls on your nails in any pattern you like. Seal it with another layer of top coat and you have a stunning pearl nail art design.3. Quick and Easy Nail Art Tutorials


3. Quick and Easy Nail Art Tutorials


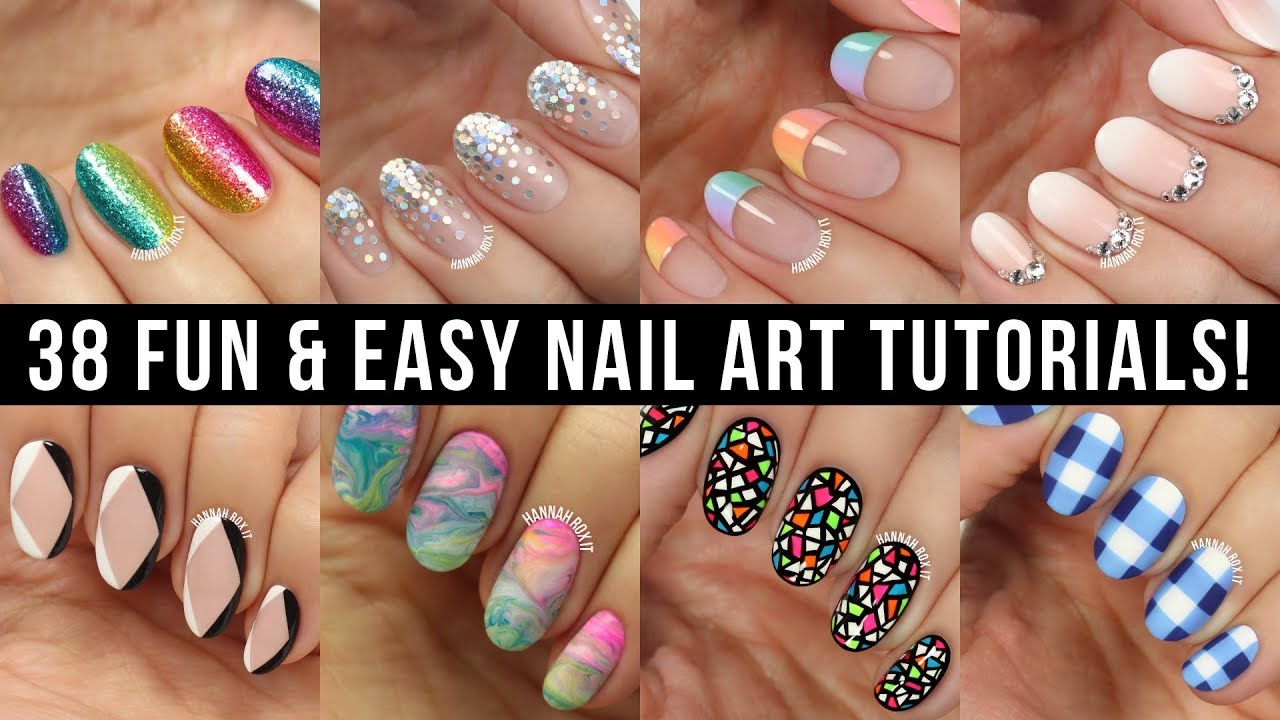
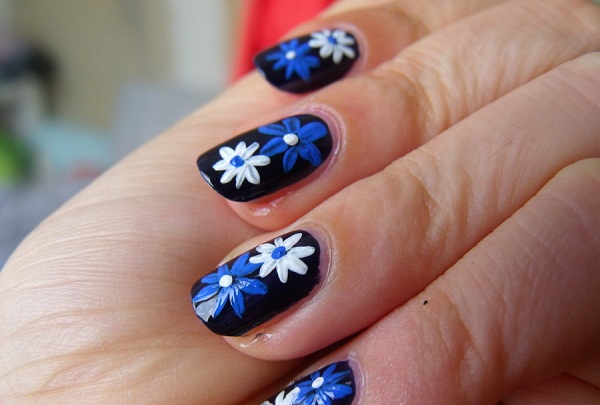
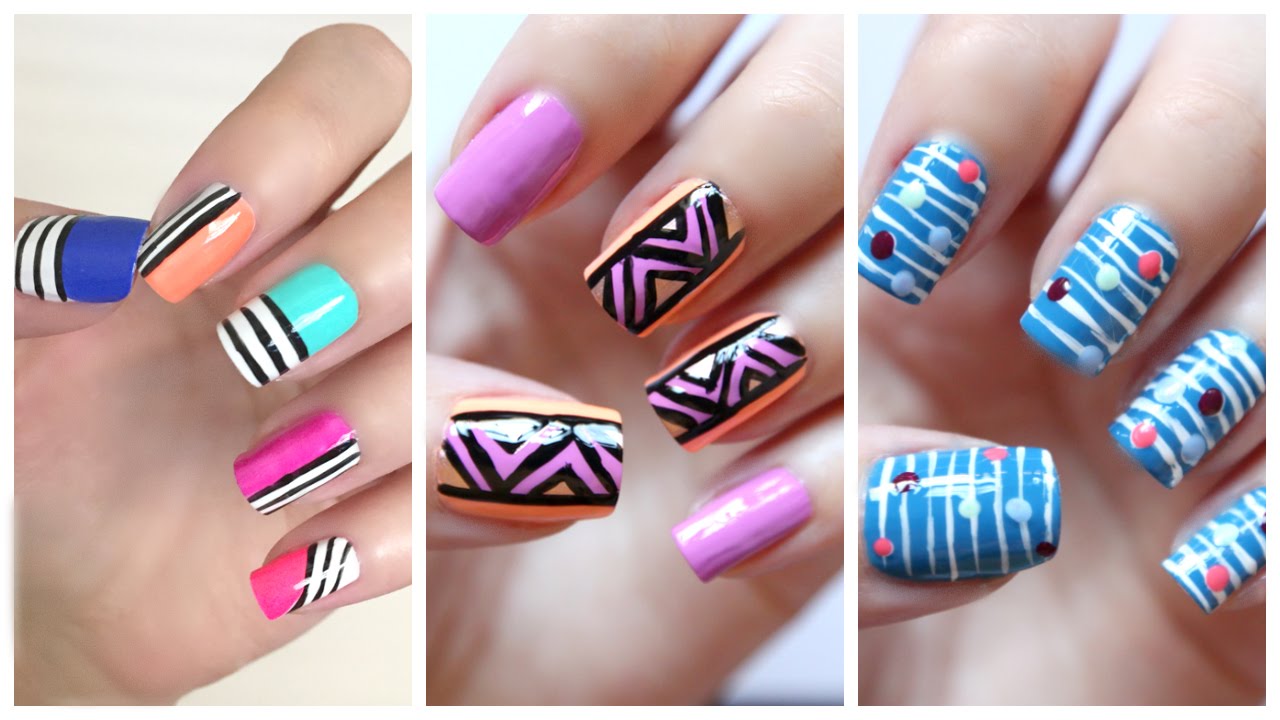
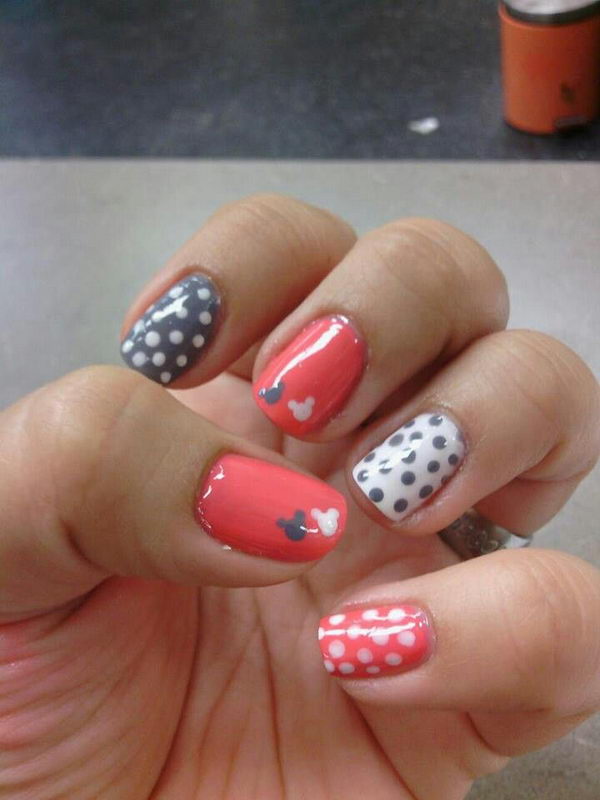
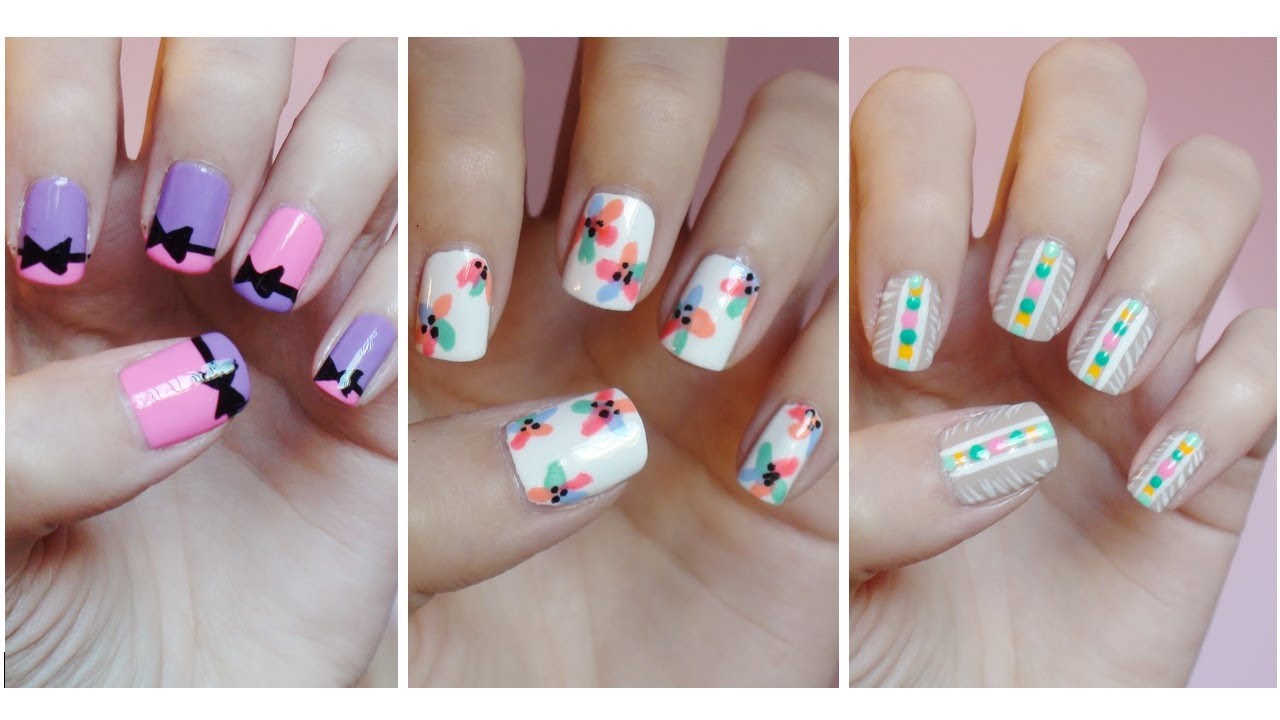
Who says nail art has to be complicated? Sometimes, the cutest designs are also the easiest to achieve. Cute and easy nail designs are perfect for those who want to add a playful touch to their nails without spending hours on them. A simple and cute nail design is a heart manicure. This design requires a base color of your choice and a small brush. Start by painting your nails with the base color and letting it dry. Then, using the brush, carefully create hearts on your nails. You can make them all uniform or mix up the sizes for a fun look. If you want to add a pop of color to your nails, try a rainbow manicure. This design is perfect for any season and only requires a base color and a few different colored nail polishes. Start by painting your nails with the base color and letting it dry. Then, using the other colors, create stripes or dots on your nails to resemble a rainbow. You can also use a small brush to create a gradient effect.4. Cute and Easy Nail Designs


4. Cute and Easy Nail Designs

Nail art isn't just for adults, kids can have fun with it too! Easy nail art designs for kids are a great way to introduce them to the world of nail art and let their creativity shine. A fun and easy nail art design for kids is a cartoon character manicure. All you need is a base color and a small brush. Start by painting your nails with the base color and letting it dry. Then, using the brush and some nail polish, create their favorite cartoon character on their nails. You can also use stickers or small gems to add more detail. If your child loves animals, try a zoo animal manicure. This design requires a base color and some animal nail stickers. Start by painting your nails with the base color and letting it dry. Then, place the stickers on their nails and seal it with a layer of top coat. They'll love showing off their cute animal nails!5. Easy Nail Art Designs for Kids
5. Easy Nail Art Designs for Kids


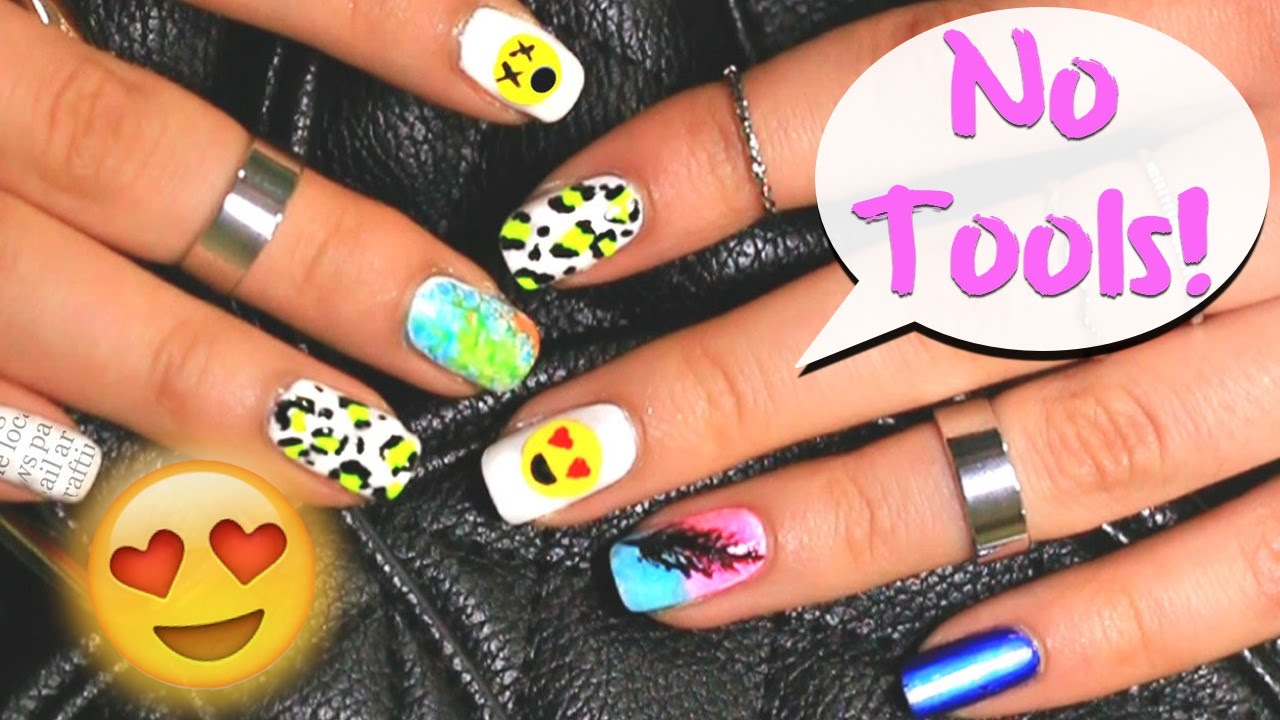
Don't have any nail art tools? No problem! There are plenty of easy nail art designs for beginners without tools that can still create a stunning look. One simple and stylish nail art design is a marble manicure. This design requires two different colored nail polishes and a plastic bag. Start by painting your nails with one color and letting it dry. Then, using the plastic bag, dab the second color onto your nails to create a marbled effect. You can also use a toothpick to swirl the colors together for a more defined look. If you want to add some sparkle to your nails, try a glitter gradient manicure. This design only requires a base color and some loose glitter. Start by painting your nails with the base color and letting it dry. Then, using a clear top coat, dab the glitter onto the tips of your nails and gradually fade it down towards the base. Seal it with another layer of top coat and you have a beautiful glitter gradient manicure.6. Easy Nail Art Designs for Beginners without Tools


6. Easy Nail Art Designs for Beginners without Tools


Summer is the perfect time to experiment with fun and bright nail art designs. Easy nail art designs for summer are all about colorful and playful designs that will make your nails stand out. A summery nail art design is a palm tree manicure. This design requires a base color and a small brush. Start by painting your nails with the base color and letting it dry. Then, using the brush and green nail polish, create palm leaves on your nails. You can also add some small dots or stripes to resemble coconuts. If you want to add some tropical vibes to your nails, try a pineapple nail art. This design only requires a base color and some yellow and green nail polish. Start by painting your nails with the base color and letting it dry. Then, using the yellow polish, create a pineapple shape on your nails. Use the green polish to create the leaves and add some small dots with a toothpick to resemble the texture of a pineapple.7. Easy Nail Art Designs for Summer
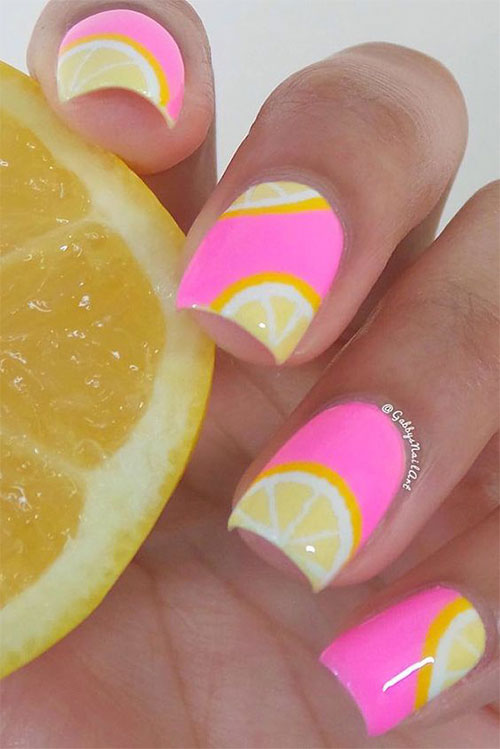

7. Easy Nail Art Designs for Summer


As the leaves change colors and the weather gets cooler, it's time to switch up your nail art designs. Easy nail art designs for fall are all about warm and cozy colors that will make you feel cozy on those chilly days. A simple and fall-inspired nail art design is a fall leaves manicure. This design requires a base color and some fall-colored nail polishes. Start by painting your nails with the base color and letting it dry. Then, using the other colors, create different shaped leaves on your nails. You can also add some small lines and dots with a toothpick to add more detail. If you want to add a touch of glam to your nails, try a metallic accent nail. This design only requires a base color and a metallic nail polish. Start by painting your nails with the base color and letting it dry. Then, on one nail, use the metallic polish to create a design of your choice, such as a geometric shape or a simple stripe. This will add some shimmer and shine to your fall nail art.8. Easy Nail Art Designs for Fall

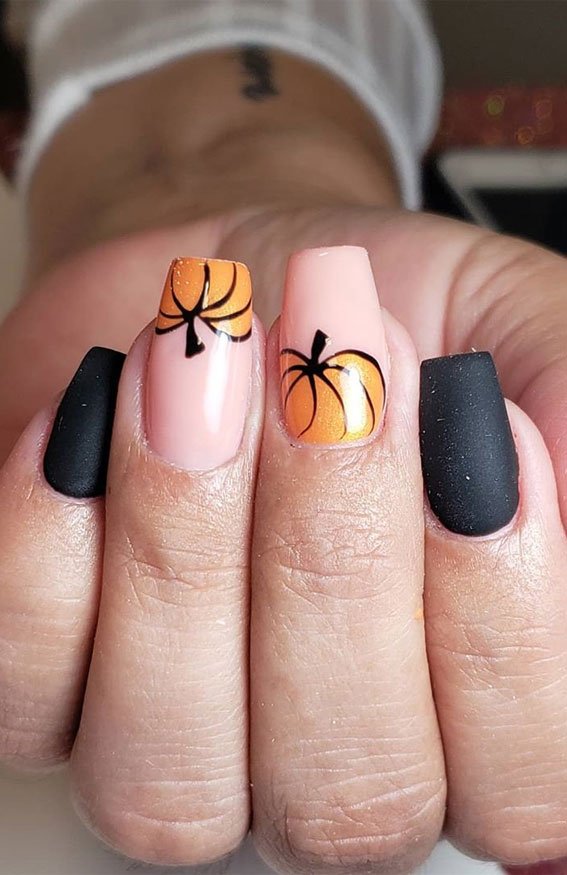

8. Easy Nail Art Designs for Fall


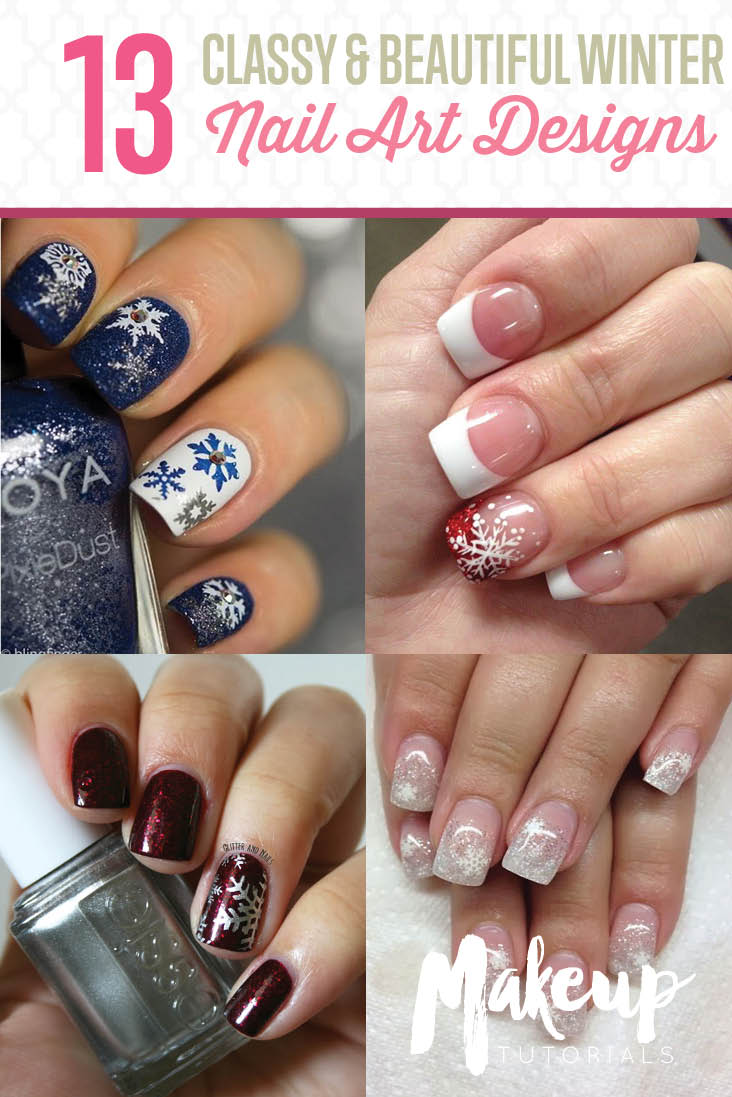
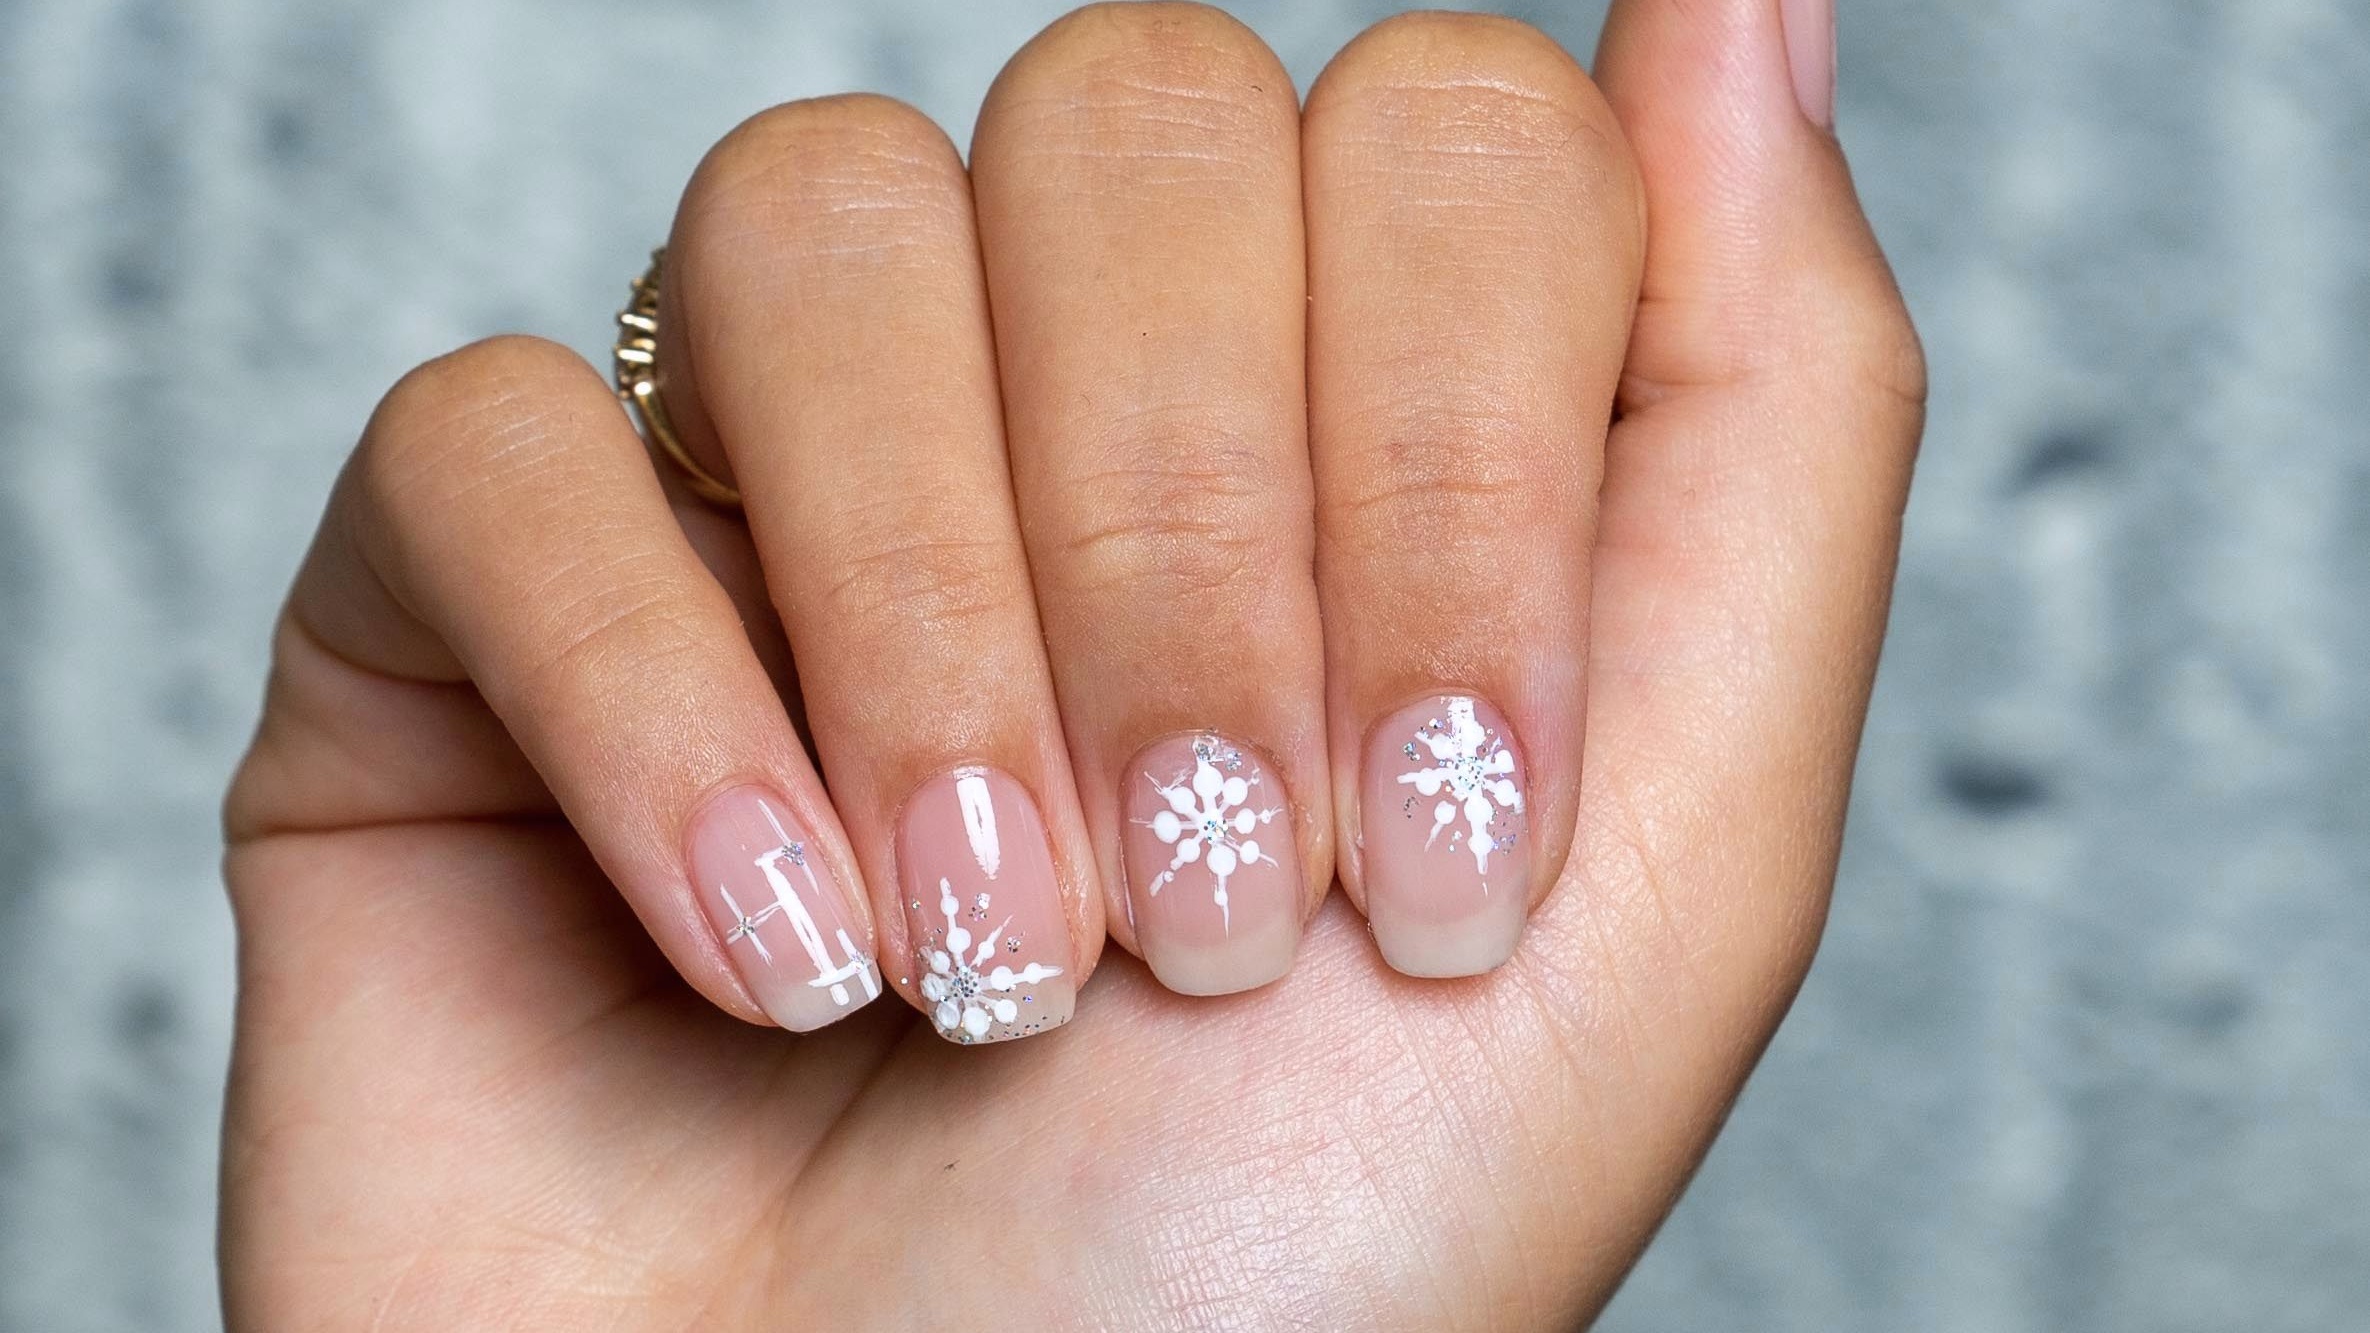
When the weather gets colder and the holidays are approaching, it's time to switch up your nail art designs to something more festive. Easy nail art designs for winter are all about sparkle and holiday spirit. A winter-inspired nail art design is a snowflake manicure. This design only requires a base color and a white nail polish. Start by painting your nails with the base color and letting it dry. Then, using the white polish, create different sized snowflakes on your nails. You can also add some small dots or lines with a toothpick to resemble snow falling. If you want to add some holiday cheer to your nails, try a red and gold glitter manicure. This design requires a base color, red and gold nail polish, and some loose glitter. Start by painting your nails with the base color and letting it dry. Then, using the red polish, create a diagonal stripe on your nails. On top of the stripe, add some gold glitter for a festive touch.9. Easy Nail Art Designs for Winter


9. Easy Nail Art Designs for Winter
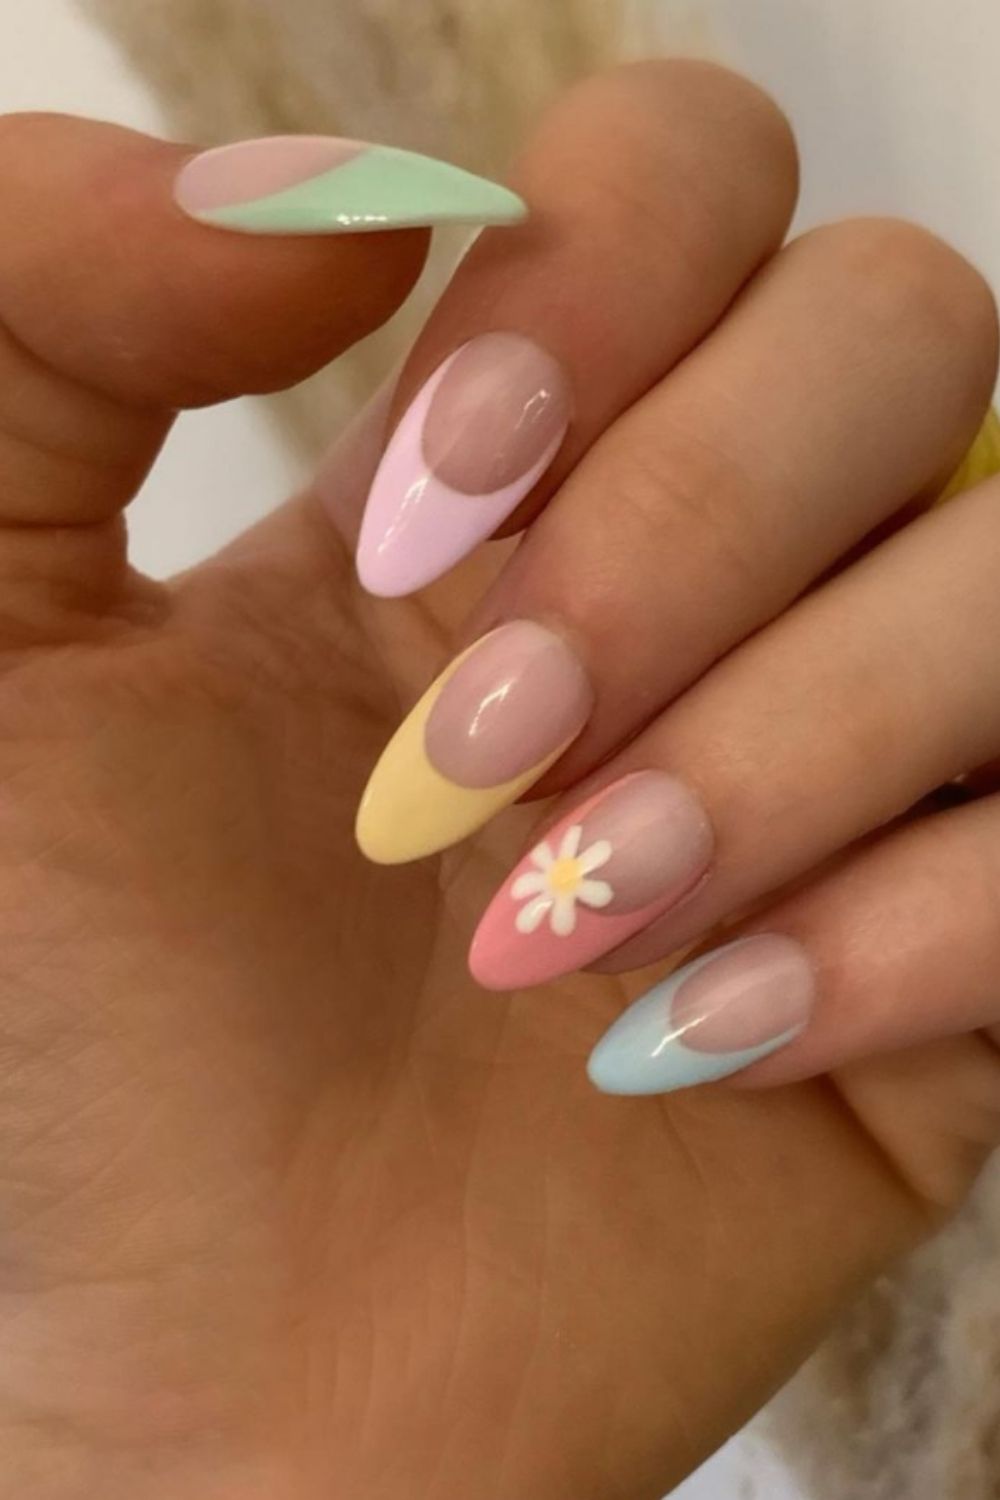
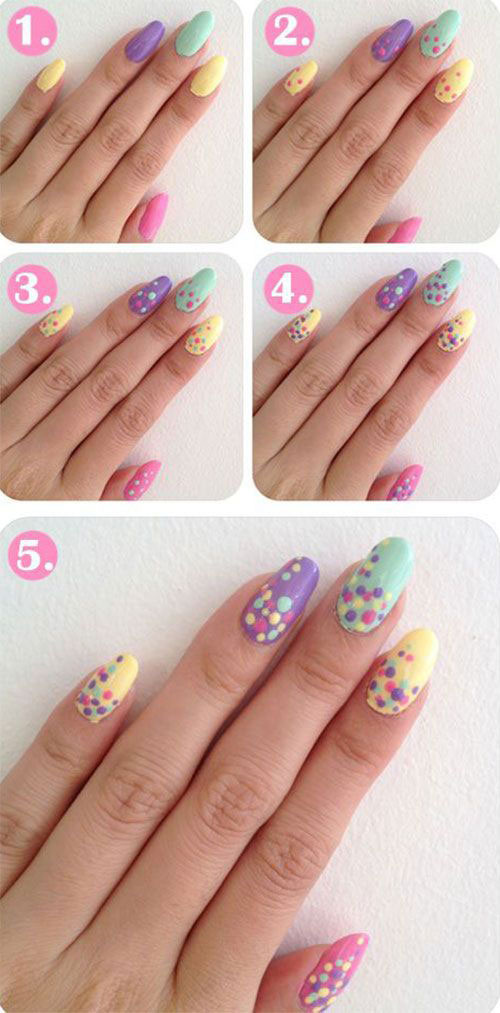
As the flowers start to bloom and the weather gets warmer, it's time to switch up your nail art designs to something more colorful and playful. Easy nail art designs for spring are all about pastel colors and floral designs. A spring-inspired nail art design is a watercolor floral manicure. This design requires a base color and some pastel nail polishes. Start by painting your nails with the base color and letting it dry. Then, using the pastel polishes, create small dots or strokes on your nails to resemble watercolor flowers. You can also add some small leaves or vines with a toothpick. If you want to add some texture to your nails, try a dry brush manicure. This design only requires a base color and a contrasting color. Start by painting your nails with the base color and letting it dry. Then, using the contrasting color, wipe off most of the polish from the brush and lightly brush over your nails to create a dry brush effect. This will give your nails a unique and textured look.10. Easy Nail Art Designs for Spring

10. Easy Nail Art Designs for Spring


Creating Beautiful Nail Art Designs Has Never Been Easier

Elevate Your Nail Game with These Easy Nail Art Designs
 Are you tired of settling for plain, single-color nails? Do you want to add a touch of creativity and flair to your manicures? Look no further than our easy nail art design gallery. With a few simple tools and techniques, you can transform your nails into works of art.
Nail art
has become increasingly popular in recent years, and for good reason. It allows you to express your personal style and add a unique touch to your overall look. But the thought of creating intricate designs on your nails may seem daunting and time-consuming. That's where our easy nail art designs come in – perfect for beginners and experts alike.
From simple geometric patterns to delicate floral designs, the possibilities are endless
. Our gallery features a wide range of
nail art designs
that are easy to recreate at home. All you need is a few
nail polishes
, a
dotting tool
, and some
nail tape
, and you're ready to unleash your creativity.
One of the easiest designs to start with is the
half-moon manicure
. This design involves painting half of your nails with one color and the other half with another color. You can use
nail tape
to create a clean and precise line between the two colors. This design is perfect for those who want a subtle yet stylish look.
For a more playful and fun design, try out
polka dots
. You can use a
dotting tool
or a toothpick to create perfect dots on your nails. Experiment with different colors and sizes to create a unique look that will surely catch the eye.
If you're feeling more adventurous, why not try a
marble effect
? This design may seem complicated, but it's actually quite easy to achieve. Simply swirl different colored
nail polishes
together on a piece of paper, then dip your nail in the mixture. This will create a beautiful and unique marble effect on your nails.
In addition to adding a pop of color,
nail art
can also be used to create intricate and detailed designs. From
floral
to
animal prints
, our gallery has something for everyone. And with our step-by-step guides, you'll be able to recreate these designs with ease.
In conclusion,
easy nail art designs
are a great way to elevate your nail game and add a touch of creativity to your manicures. With our gallery as your guide, you'll be able to create stunning designs in no time. So go ahead and unleash your inner artist – your nails will thank you.
Are you tired of settling for plain, single-color nails? Do you want to add a touch of creativity and flair to your manicures? Look no further than our easy nail art design gallery. With a few simple tools and techniques, you can transform your nails into works of art.
Nail art
has become increasingly popular in recent years, and for good reason. It allows you to express your personal style and add a unique touch to your overall look. But the thought of creating intricate designs on your nails may seem daunting and time-consuming. That's where our easy nail art designs come in – perfect for beginners and experts alike.
From simple geometric patterns to delicate floral designs, the possibilities are endless
. Our gallery features a wide range of
nail art designs
that are easy to recreate at home. All you need is a few
nail polishes
, a
dotting tool
, and some
nail tape
, and you're ready to unleash your creativity.
One of the easiest designs to start with is the
half-moon manicure
. This design involves painting half of your nails with one color and the other half with another color. You can use
nail tape
to create a clean and precise line between the two colors. This design is perfect for those who want a subtle yet stylish look.
For a more playful and fun design, try out
polka dots
. You can use a
dotting tool
or a toothpick to create perfect dots on your nails. Experiment with different colors and sizes to create a unique look that will surely catch the eye.
If you're feeling more adventurous, why not try a
marble effect
? This design may seem complicated, but it's actually quite easy to achieve. Simply swirl different colored
nail polishes
together on a piece of paper, then dip your nail in the mixture. This will create a beautiful and unique marble effect on your nails.
In addition to adding a pop of color,
nail art
can also be used to create intricate and detailed designs. From
floral
to
animal prints
, our gallery has something for everyone. And with our step-by-step guides, you'll be able to recreate these designs with ease.
In conclusion,
easy nail art designs
are a great way to elevate your nail game and add a touch of creativity to your manicures. With our gallery as your guide, you'll be able to create stunning designs in no time. So go ahead and unleash your inner artist – your nails will thank you.


