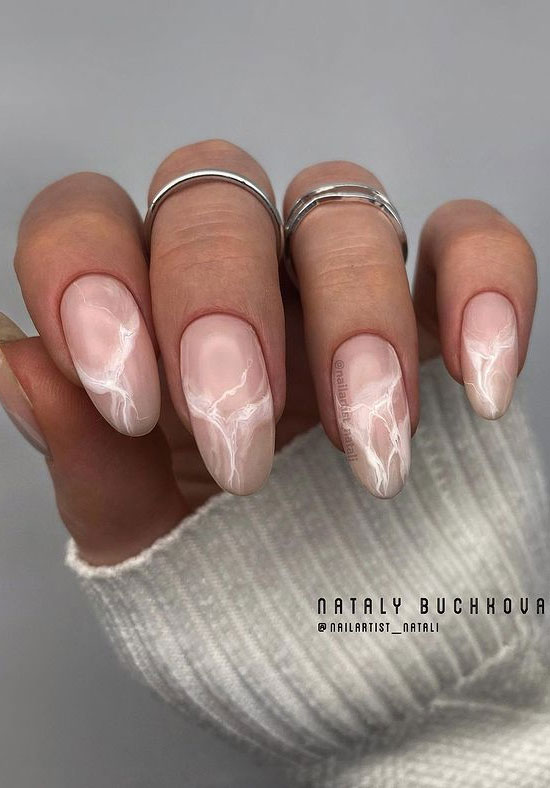
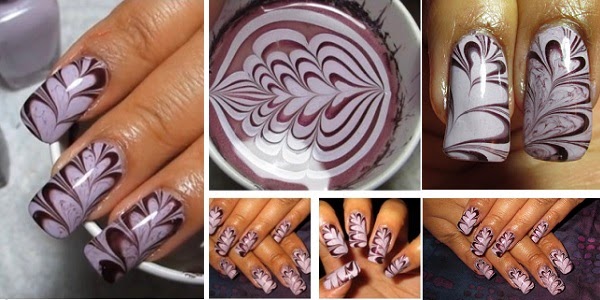
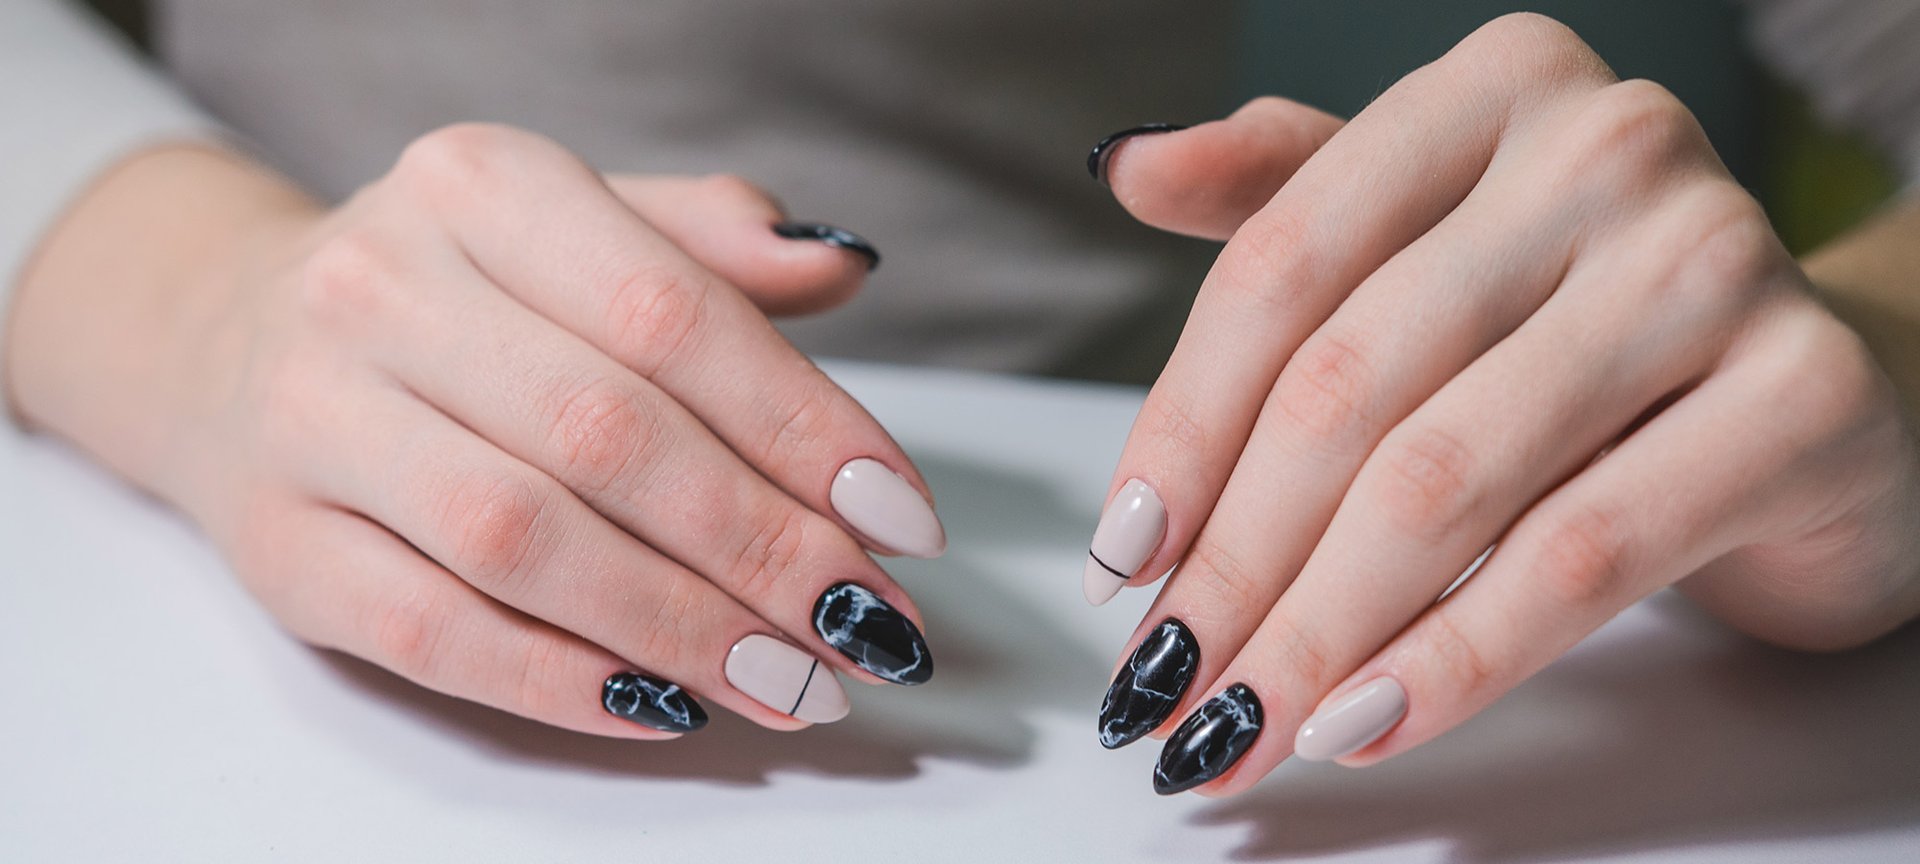
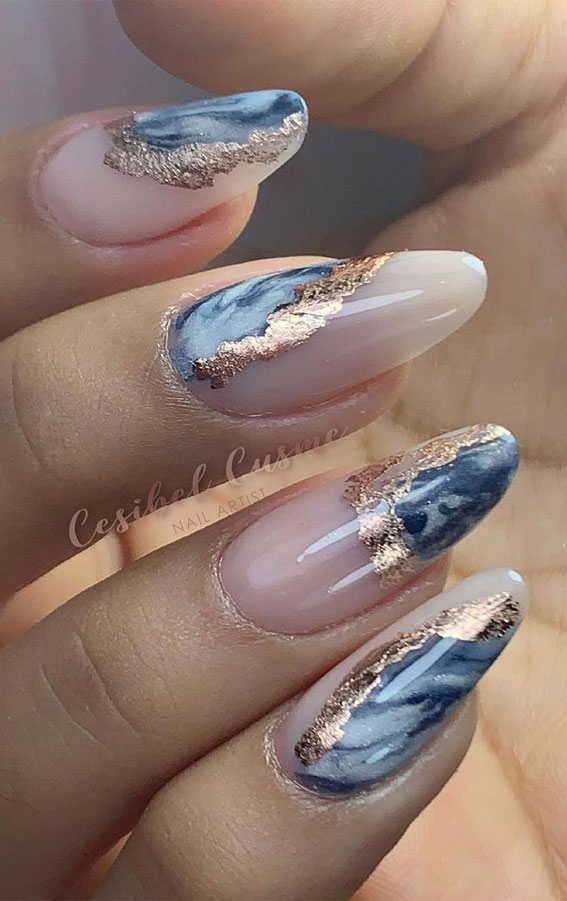
Are you looking for a unique and eye-catching nail art design? Look no further than the beautiful and mesmerizing marble nail art! This trend has been taking the beauty world by storm and it's not hard to see why. With its swirls of color and marble-like texture, it's a perfect way to add a touch of sophistication to your nails. To help you achieve this stunning look, we've put together an easy marble nail art tutorial. Even if you're a beginner, you'll be able to create beautiful marble nails in no time! To start off, you'll need a few basic supplies:1. Easy Marble Nail Art Tutorial


1. Easy Marble Nail Art Tutorial
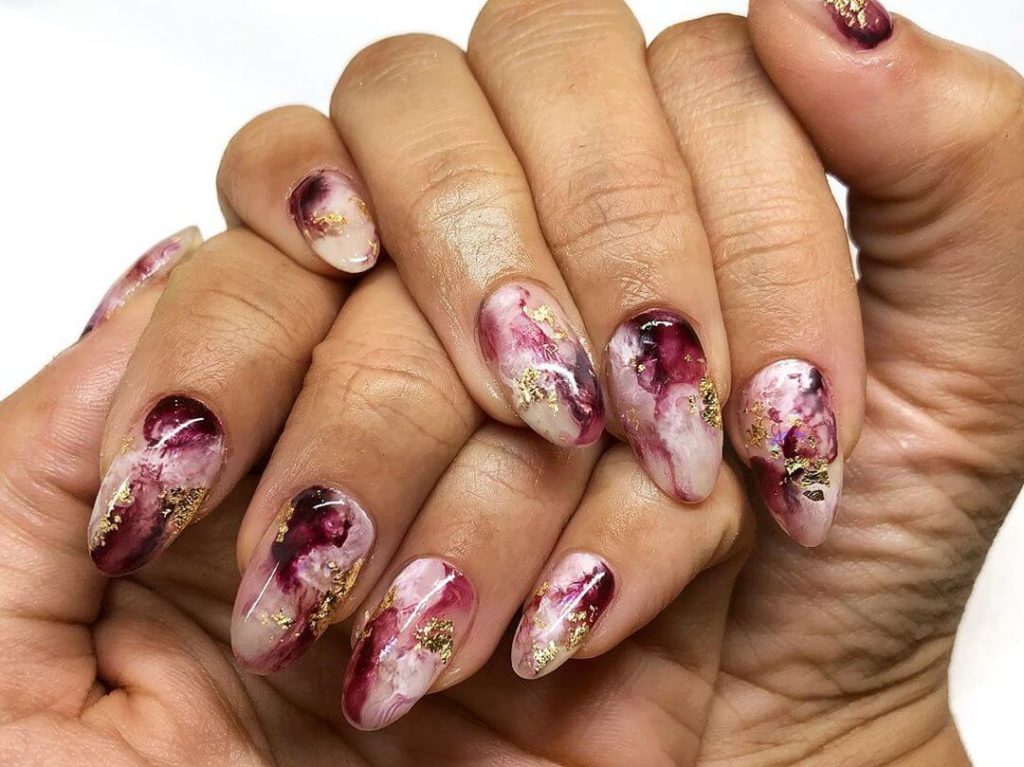
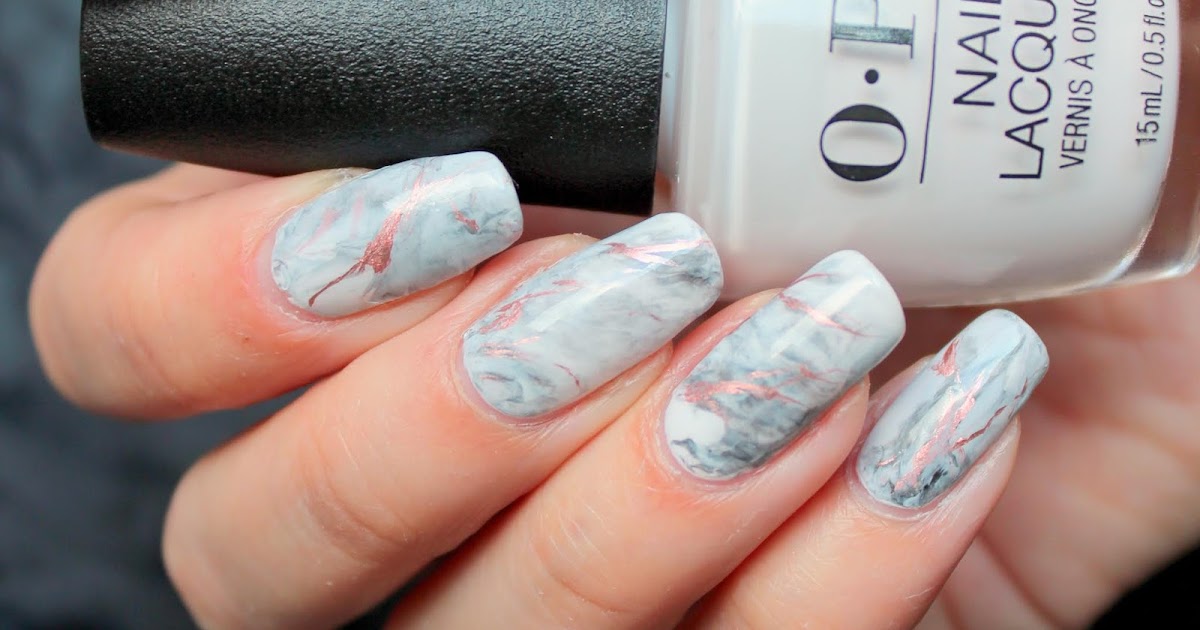


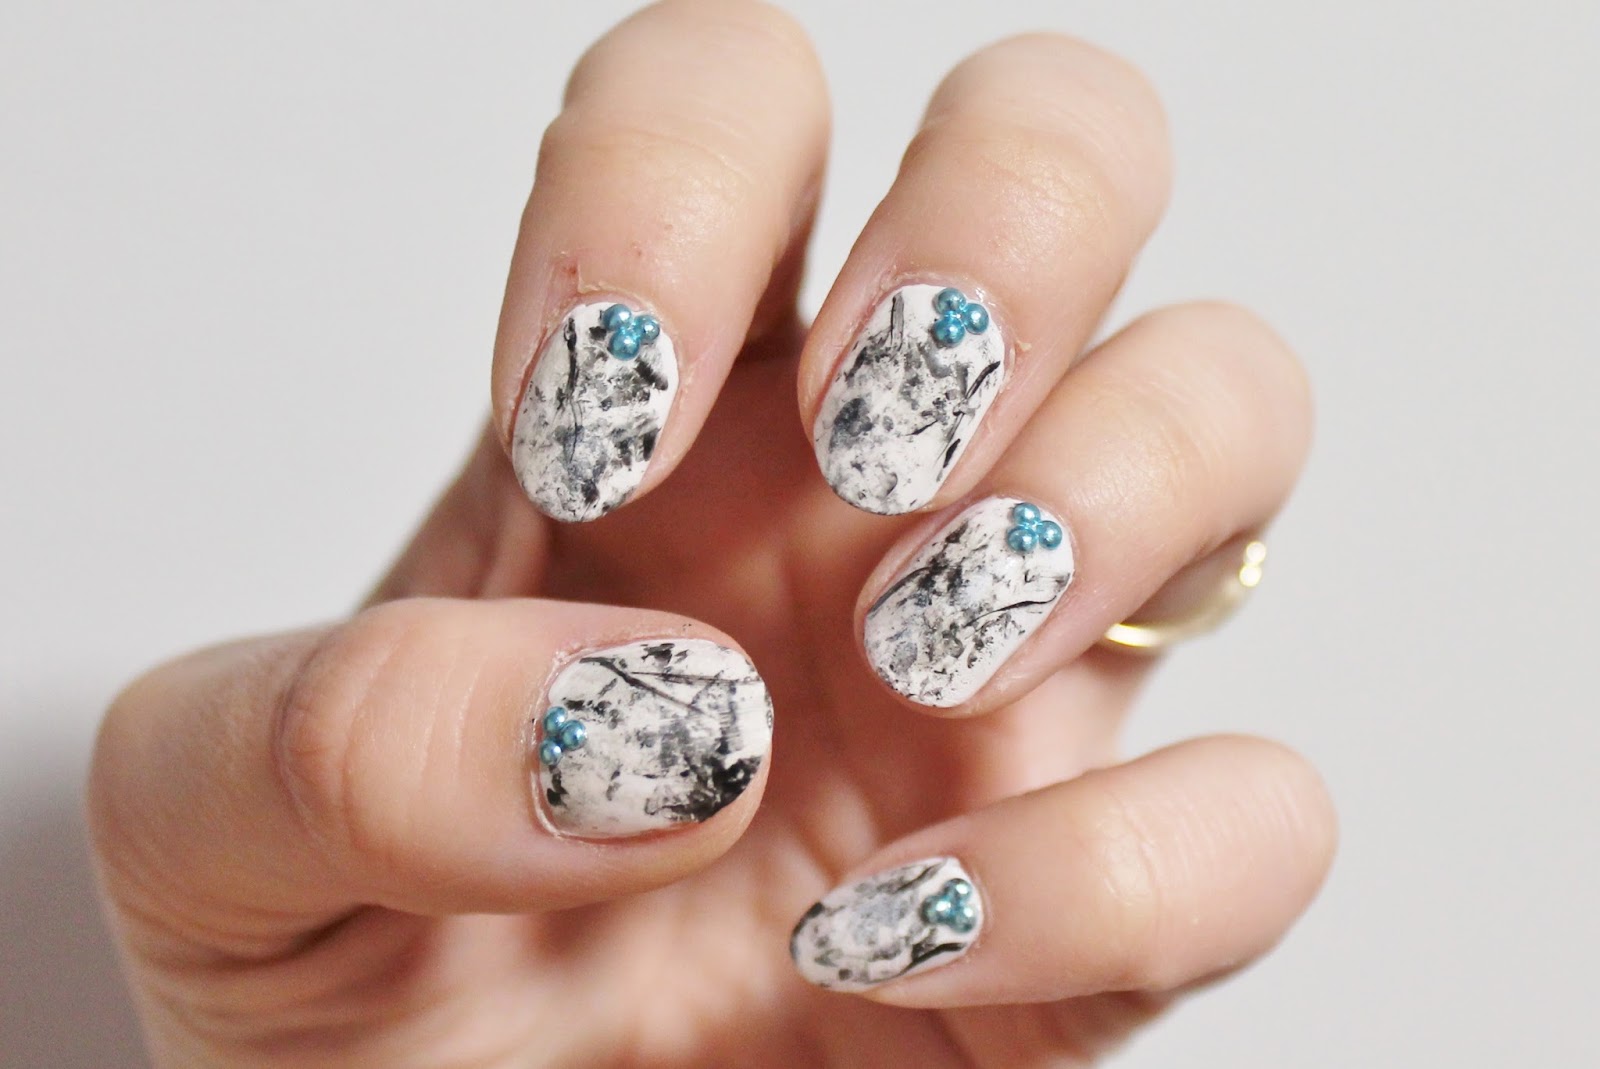
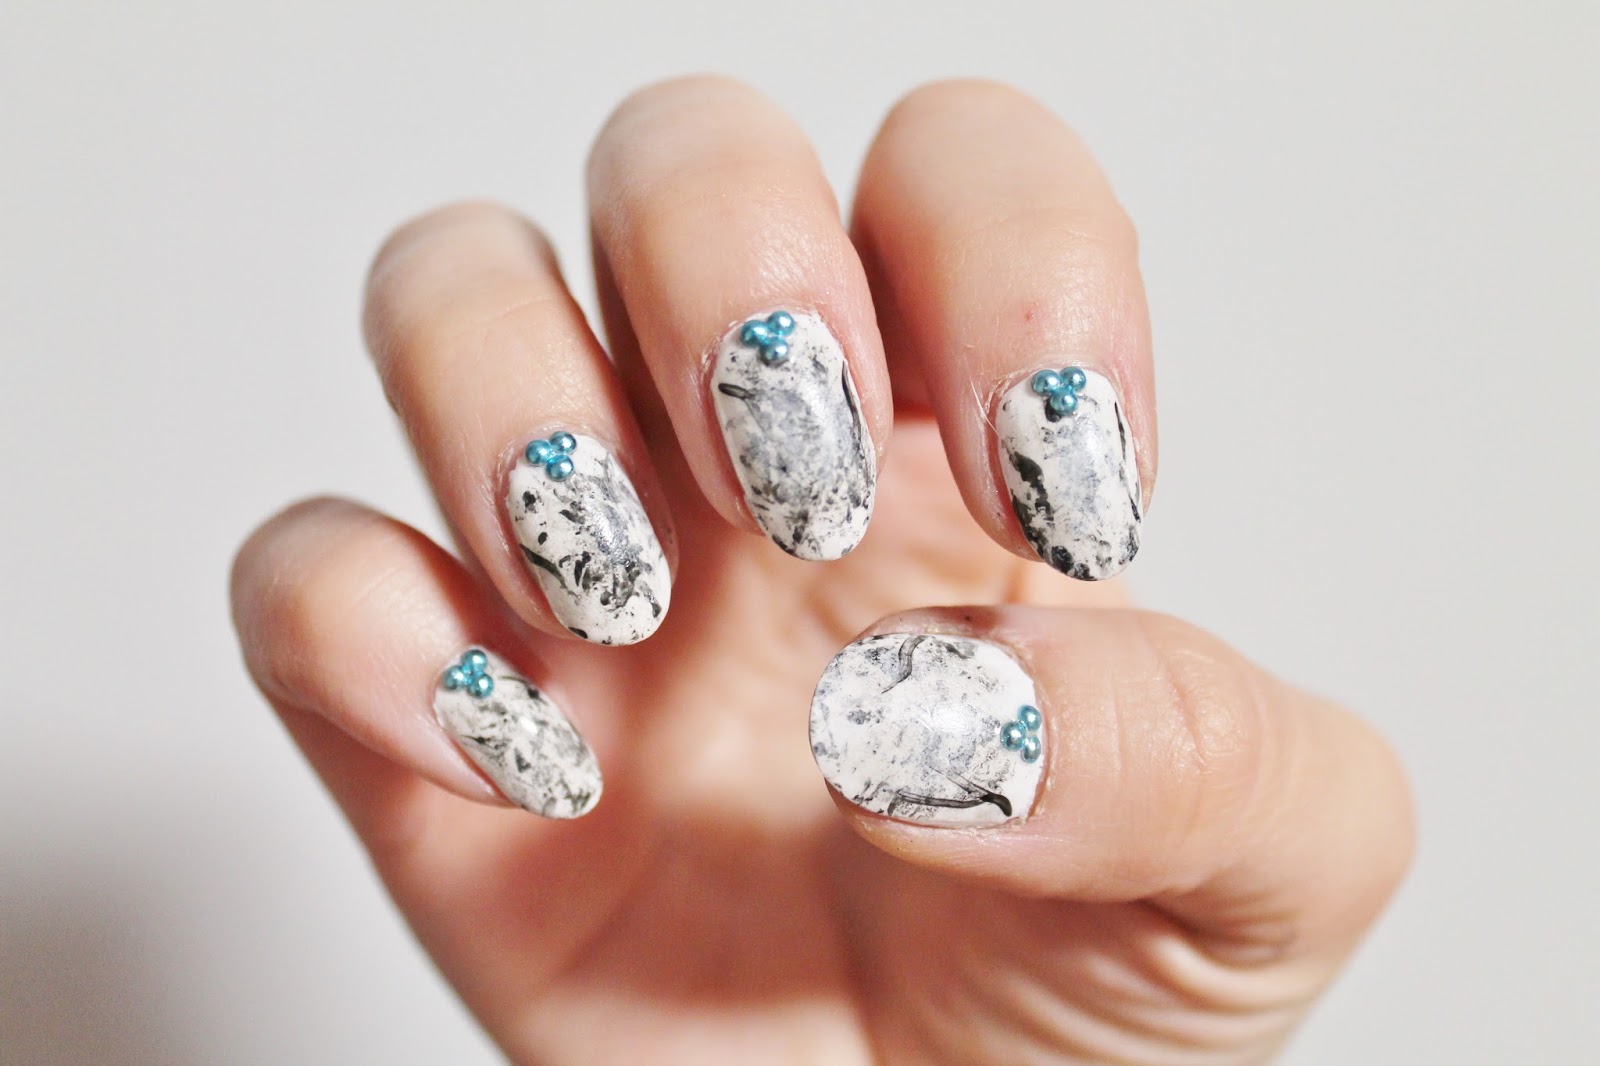
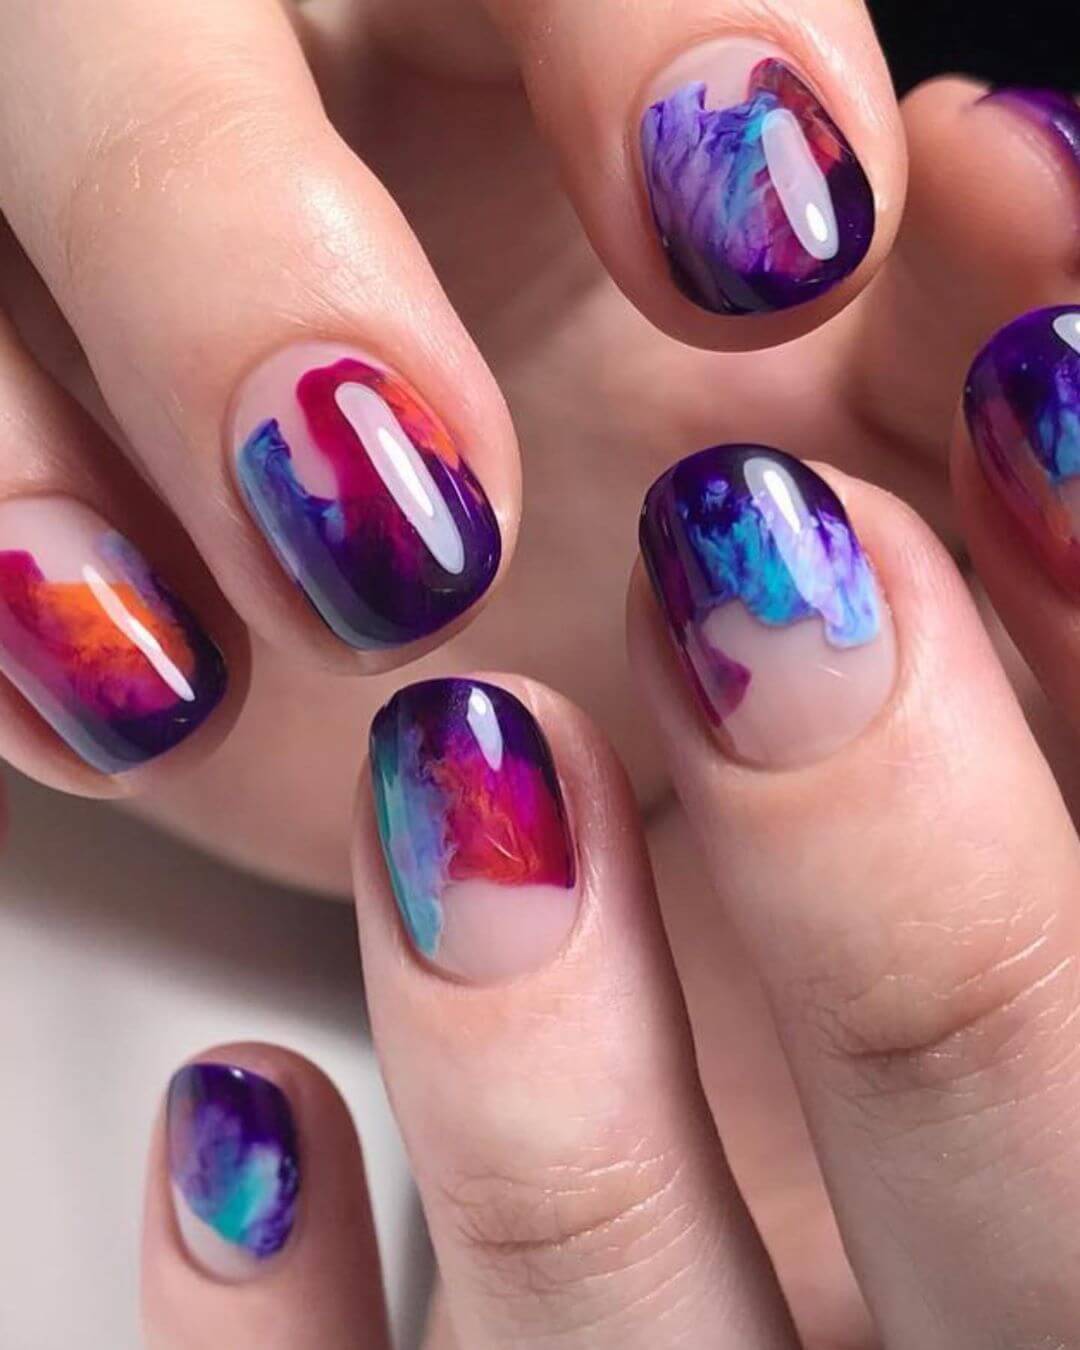
There are endless possibilities when it comes to marble nail designs. You can experiment with different color combinations, techniques, and even add some glitter for a touch of glam. Here are a few simple marble nail design ideas to get you started:2. Simple Marble Nail Design Ideas

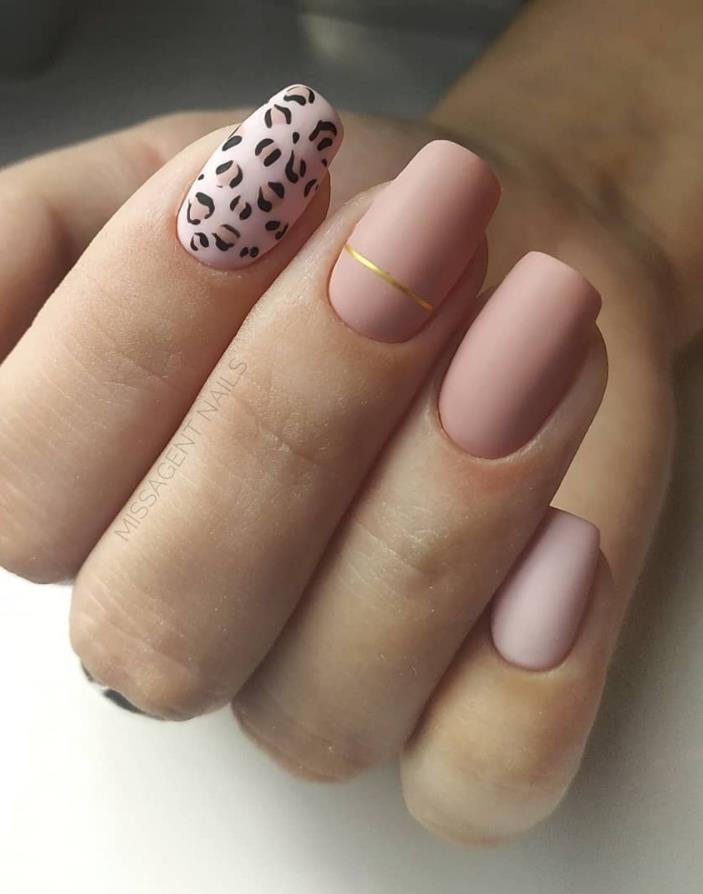

2. Simple Marble Nail Design Ideas

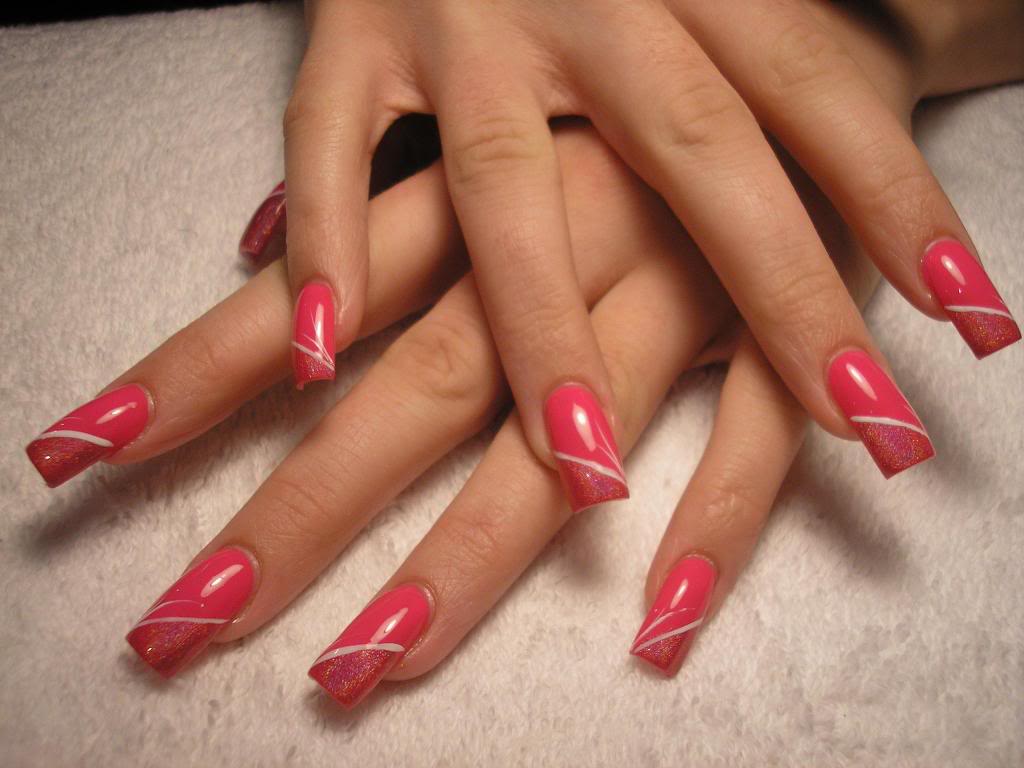


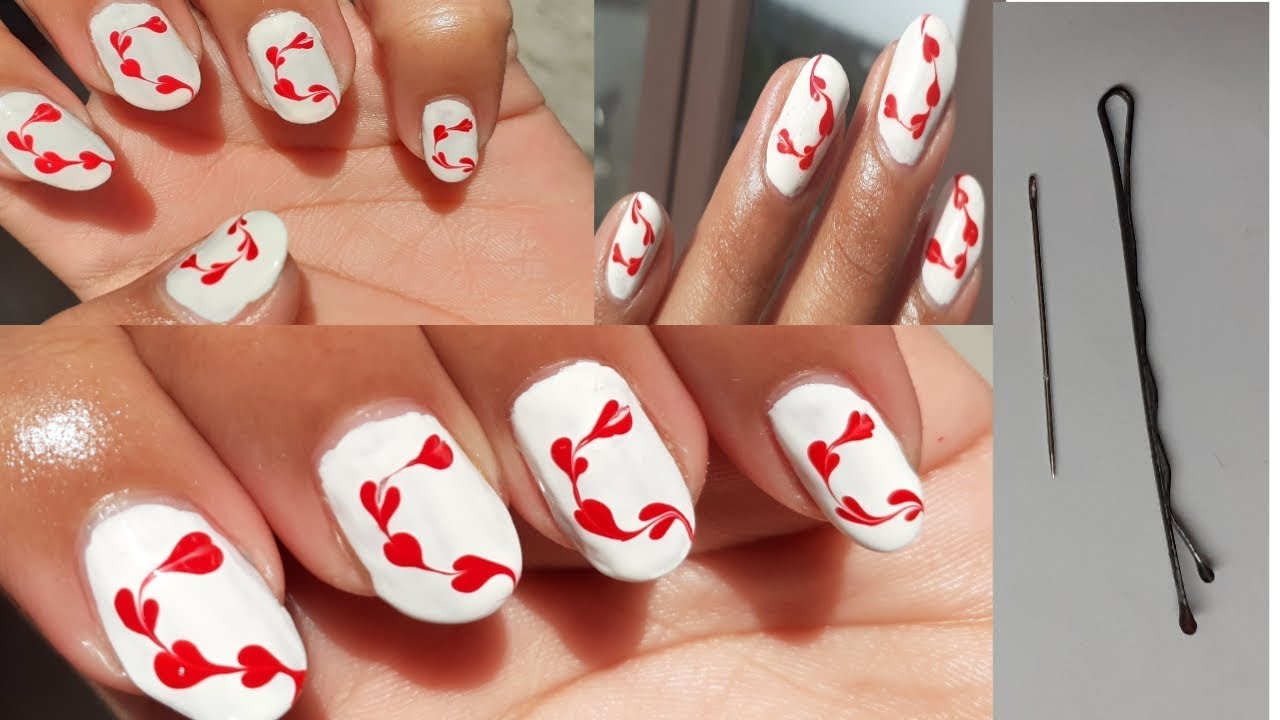
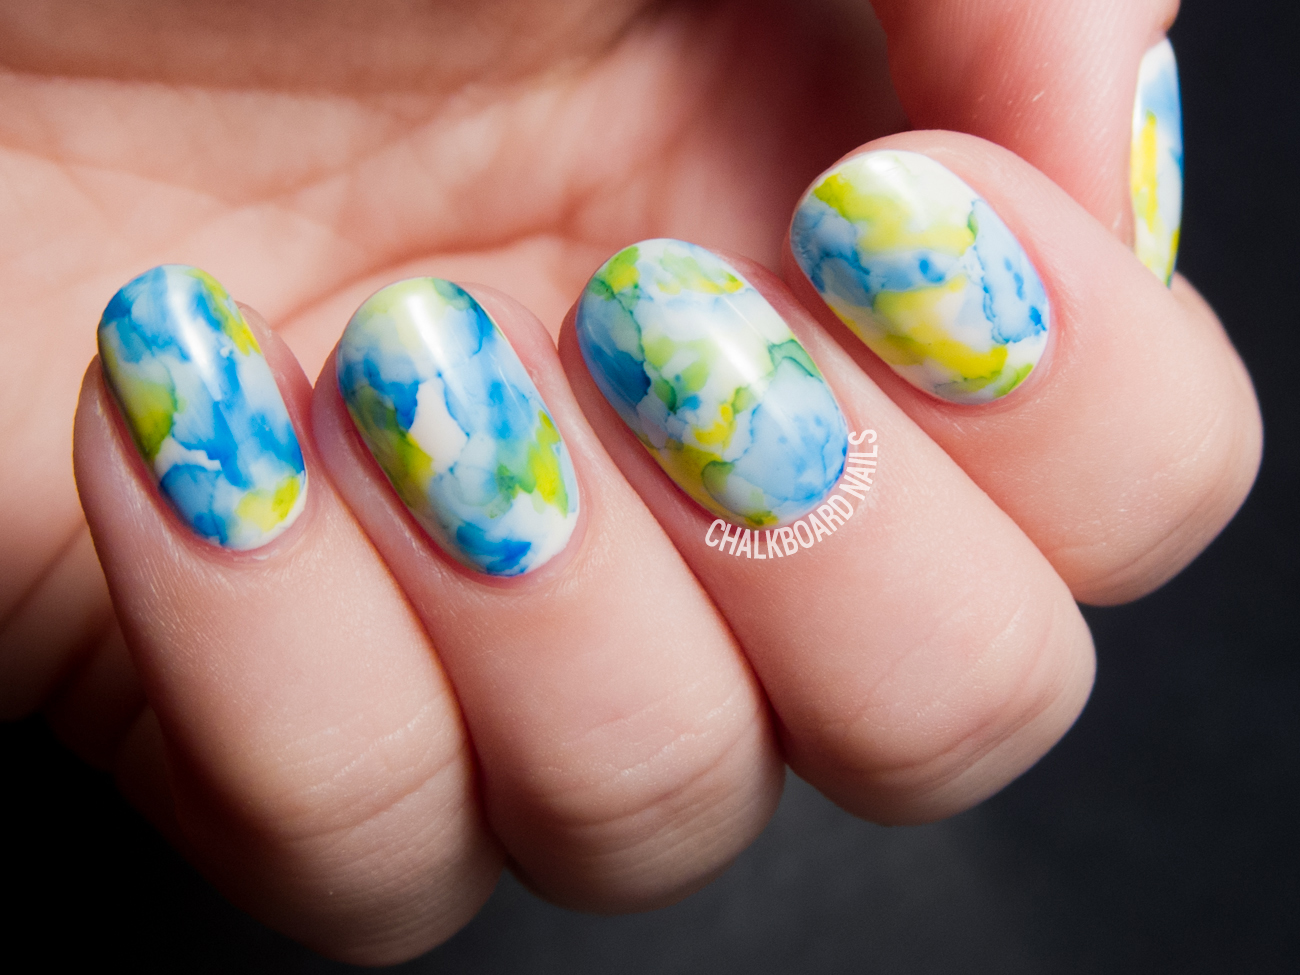
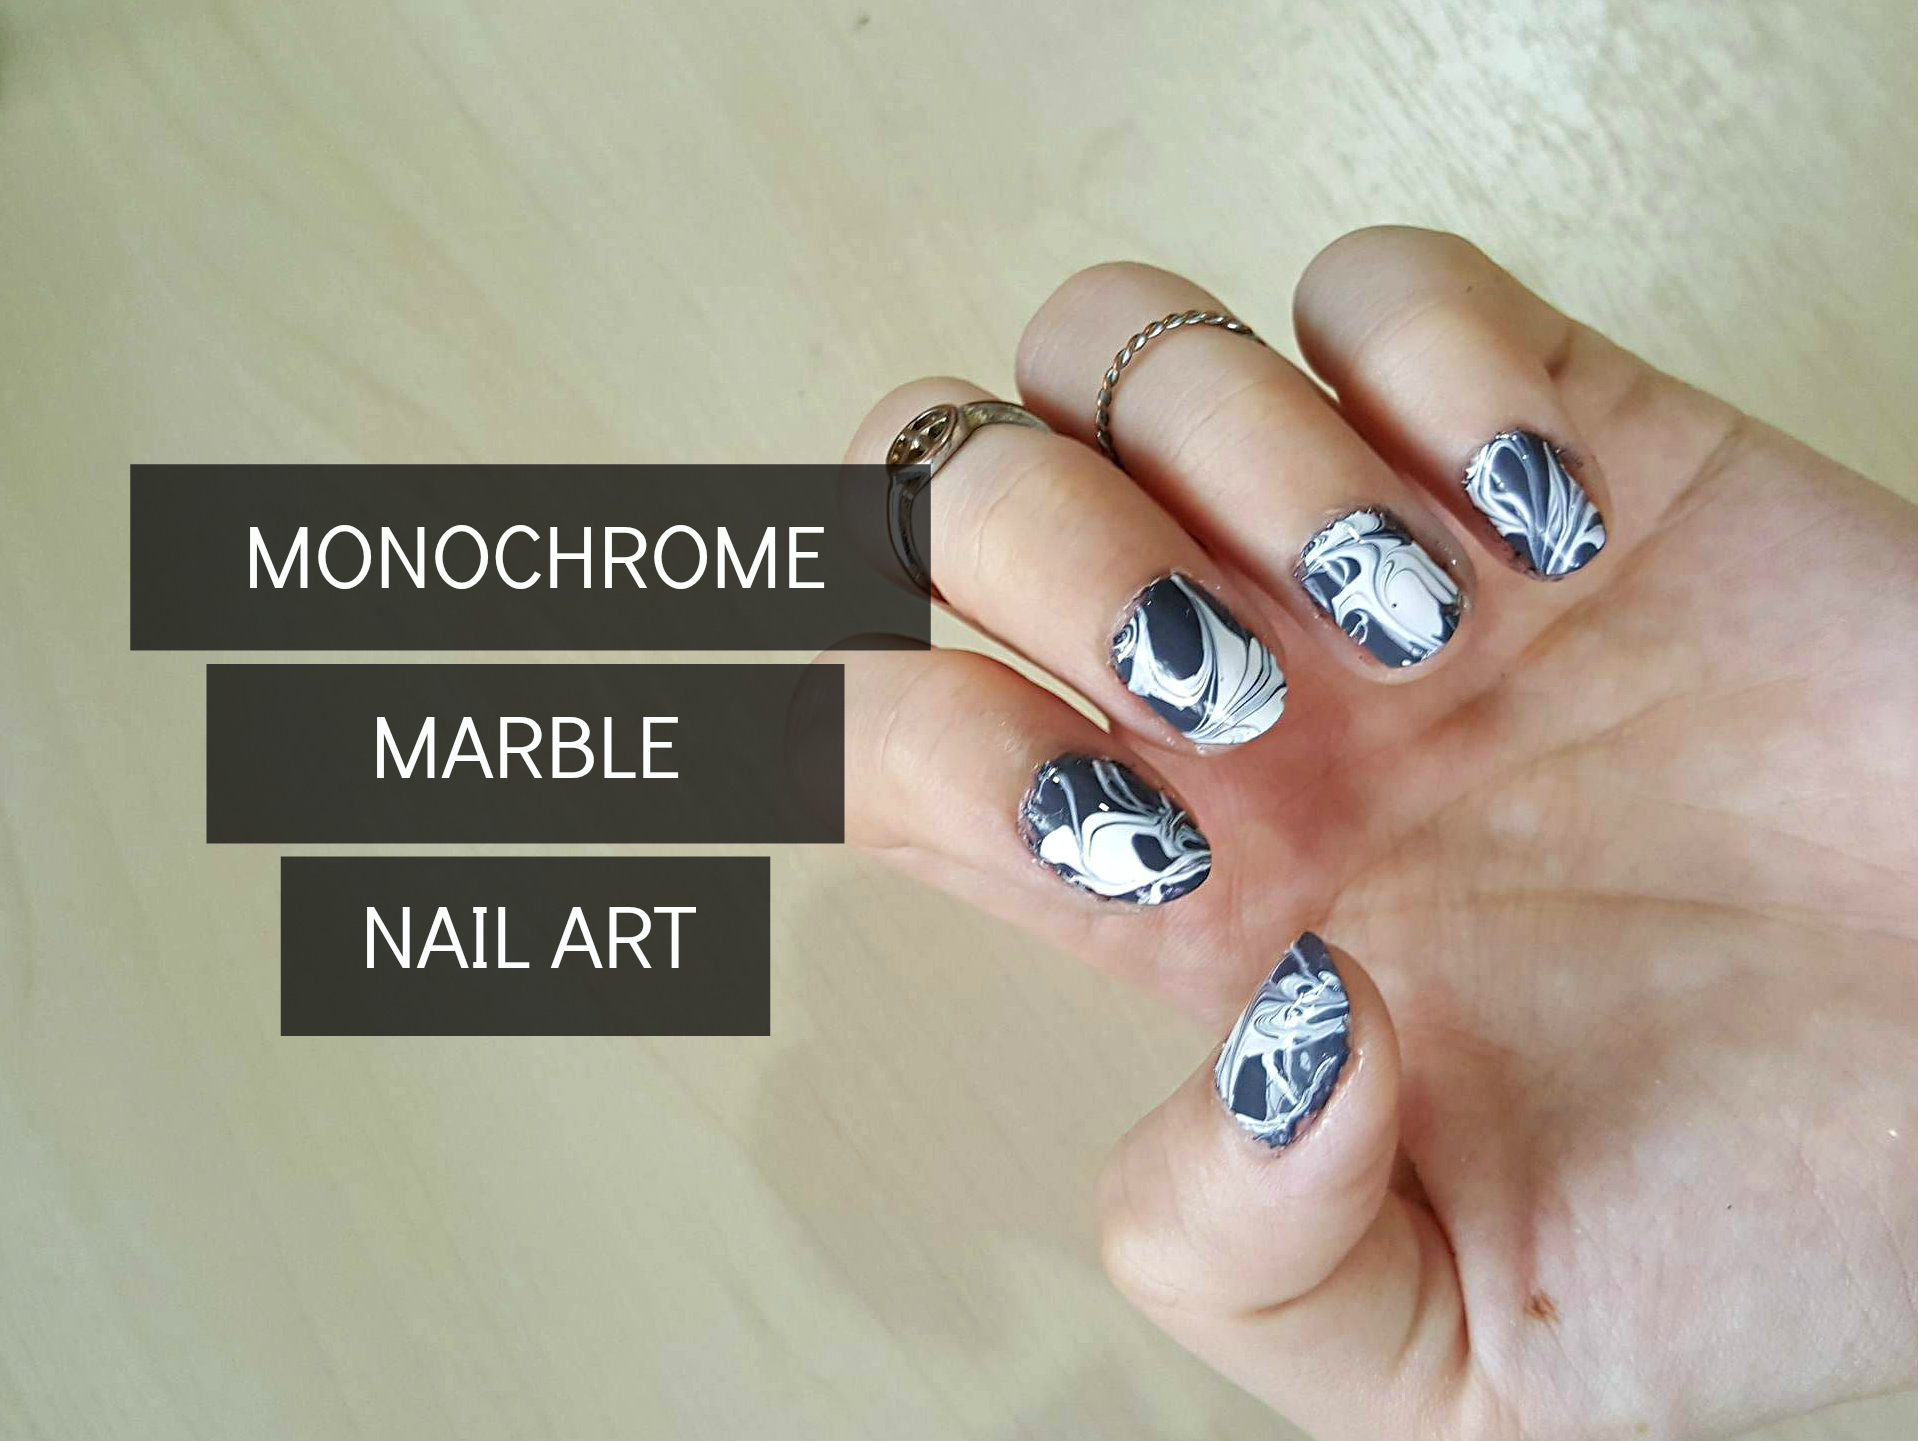
If you're a beginner, don't worry - creating marble nails may seem intimidating, but it's actually quite easy with the right technique. Here's a step-by-step guide for a simple DIY marble nail art:3. DIY Marble Nail Art for Beginners


3. DIY Marble Nail Art for Beginners


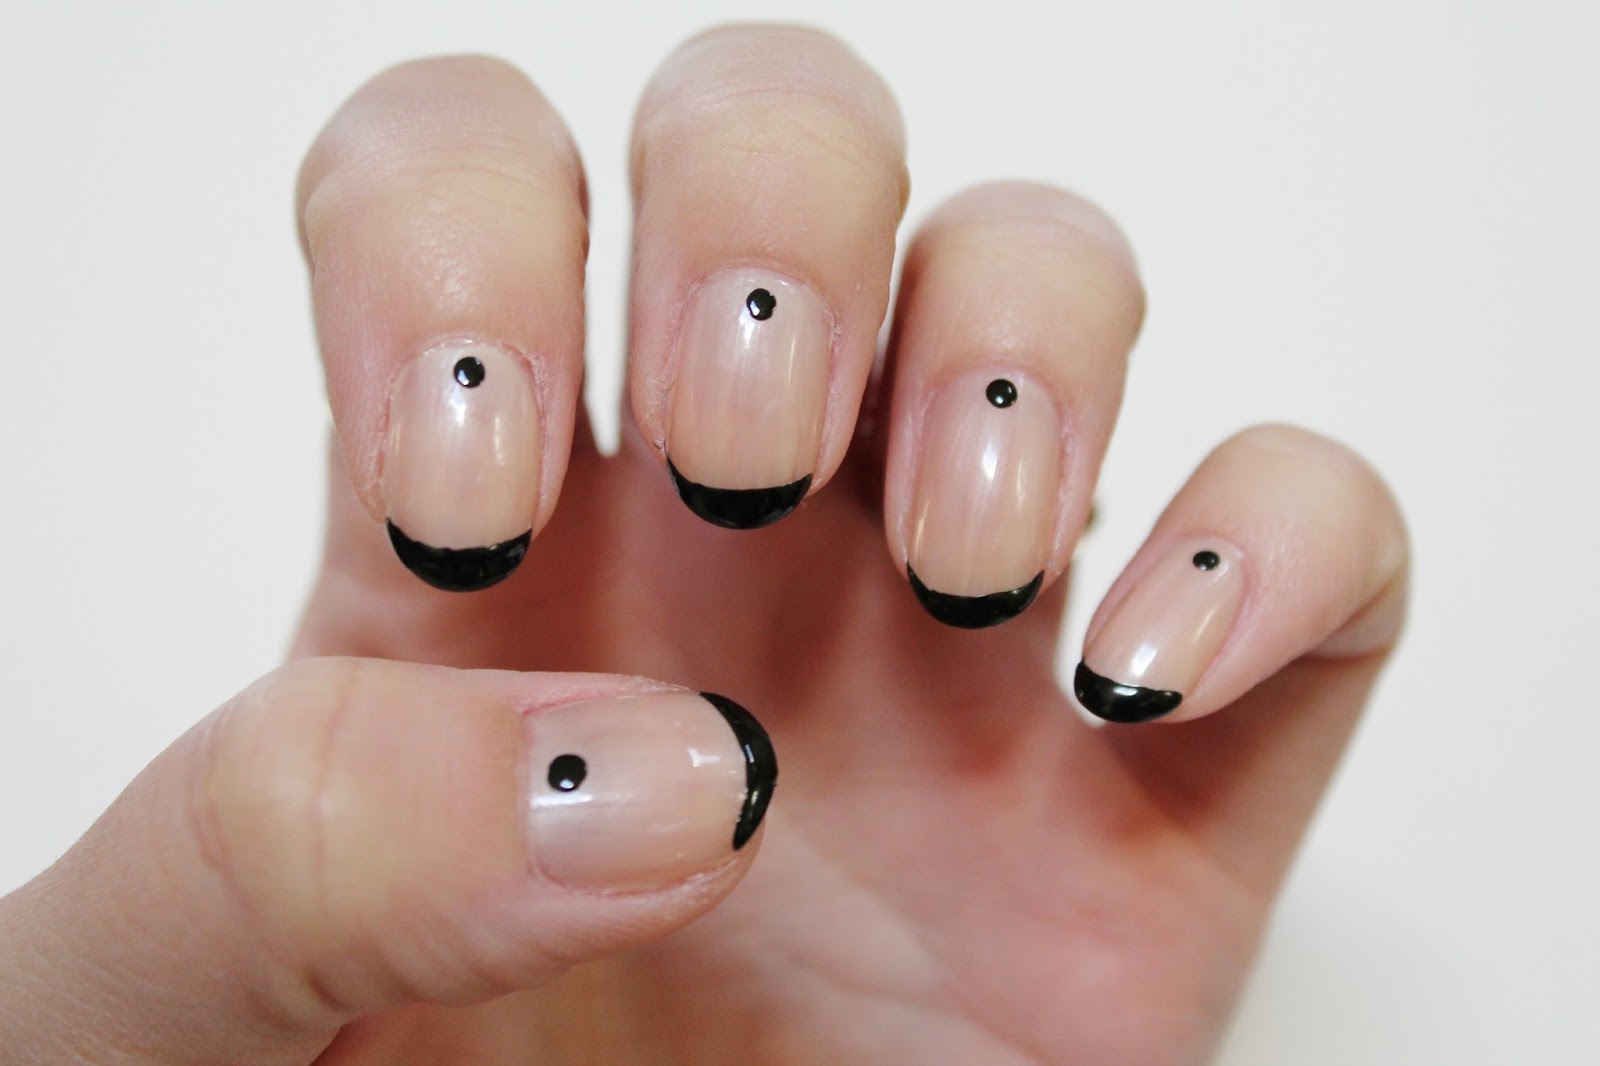
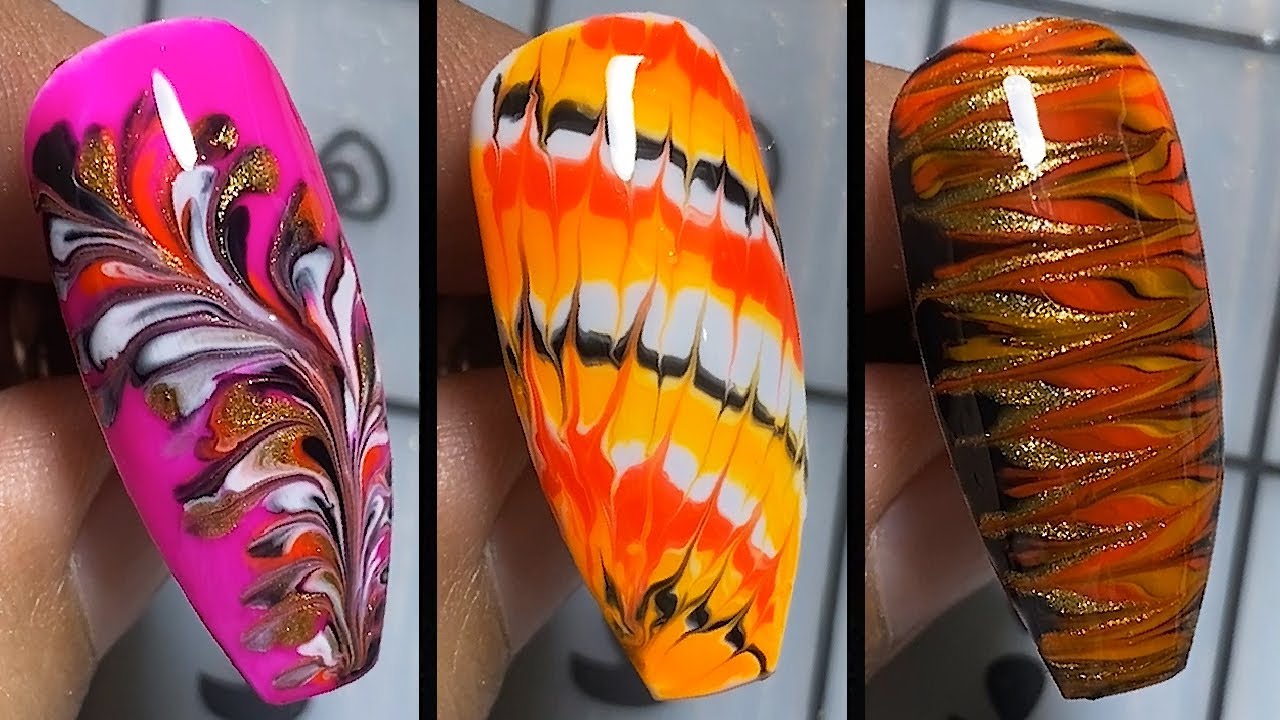
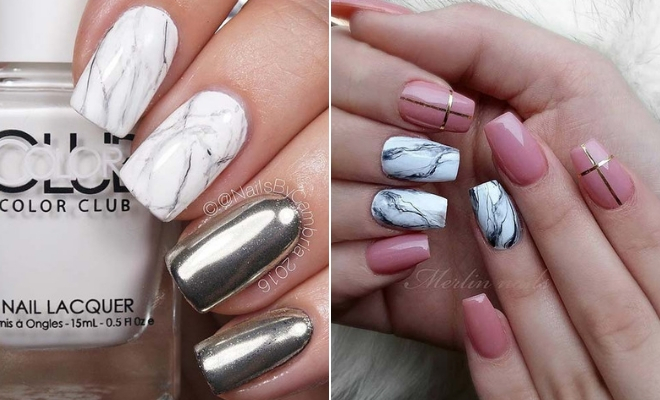
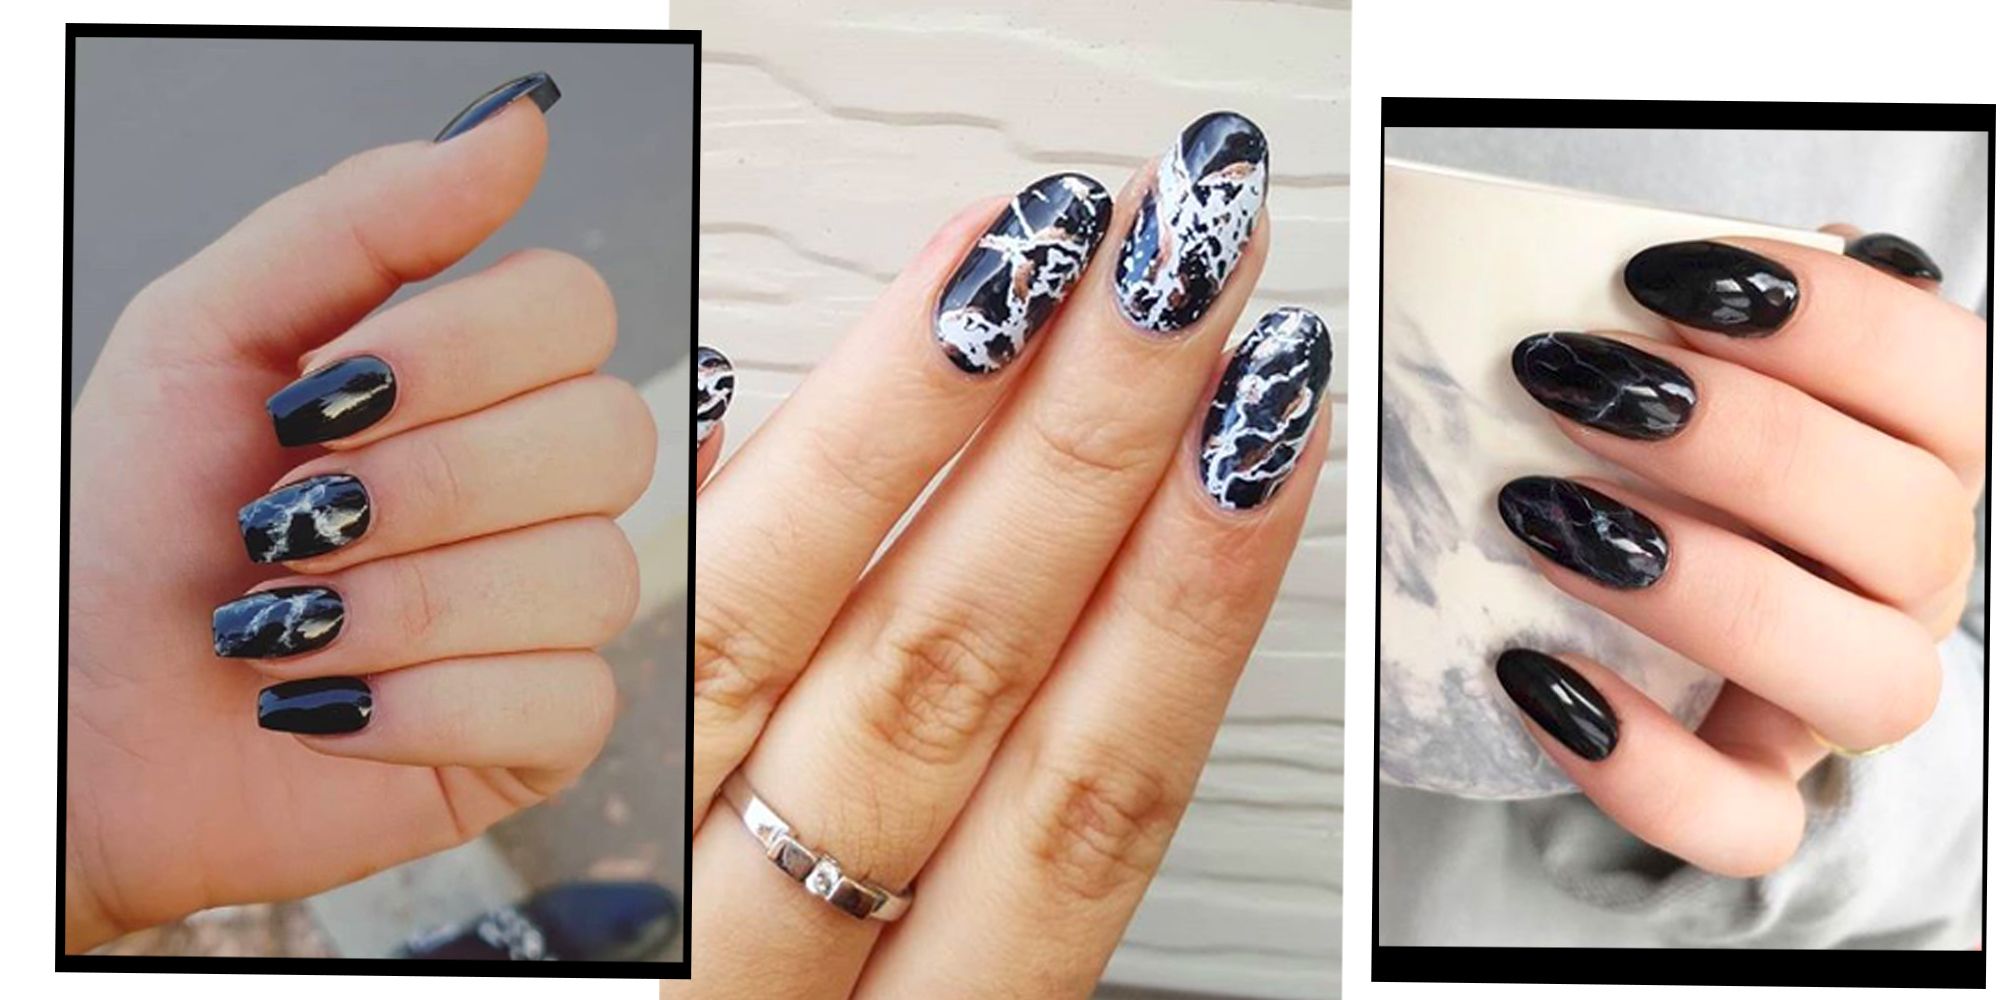
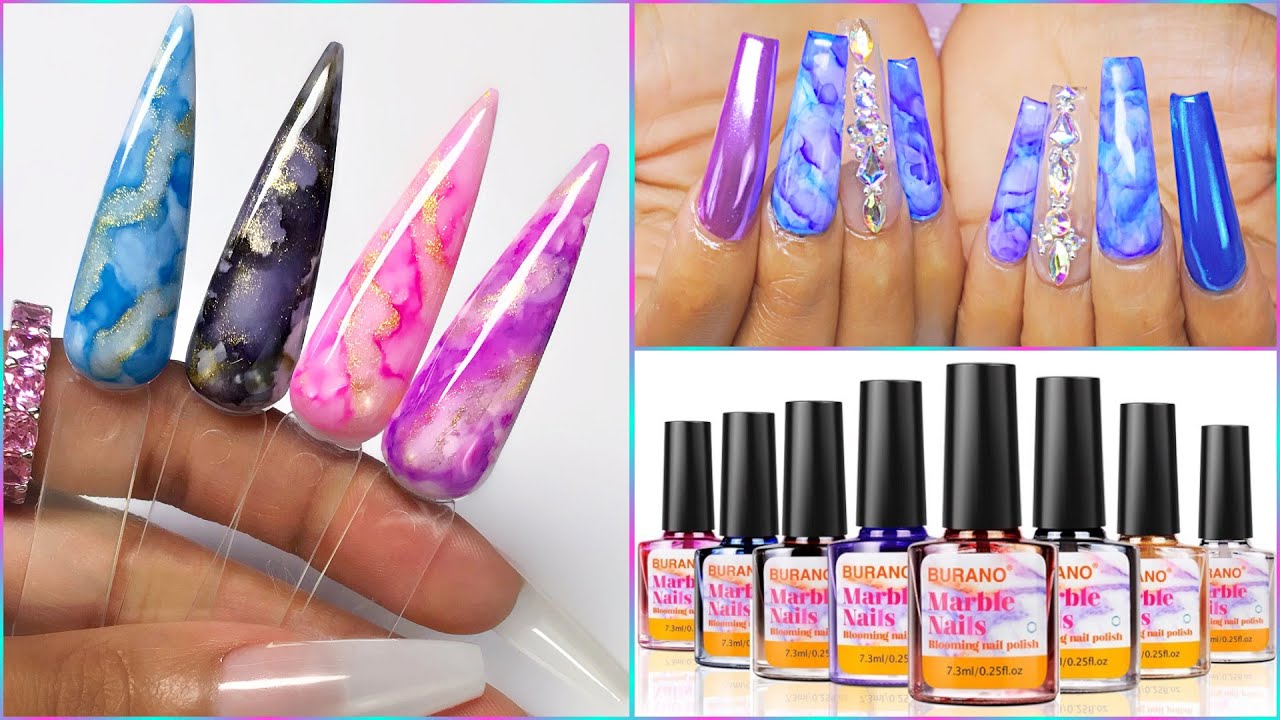
If you're short on time but still want to rock a marble nail design, here are a few quick and easy techniques you can try:4. Quick and Easy Marble Nail Designs

4. Quick and Easy Marble Nail Designs


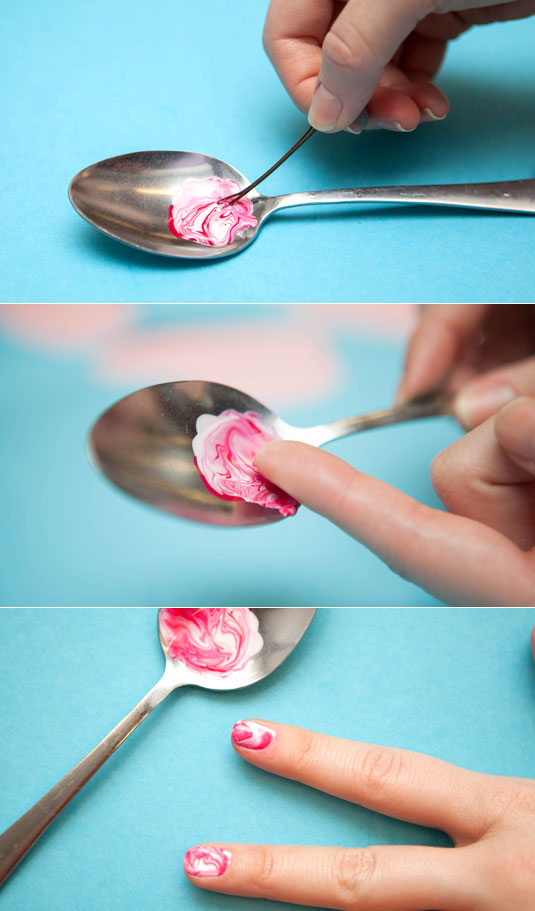
As we mentioned earlier, this is the classic marble nail art technique. Here's a more detailed guide for achieving this look:5. Marble Nail Art with Water and Nail Polish


5. Marble Nail Art with Water and Nail Polish


If you don't have nail polish on hand, this is a great alternative for creating a marble nail design. Here's how to do it:6. Marble Nail Art with Sharpie Markers

6. Marble Nail Art with Sharpie Markers


If you want to achieve a marble effect without using water, this technique is perfect for you. Here's how to do it:7. Easy Marble Nail Art with Plastic Wrap

7. Easy Marble Nail Art with Plastic Wrap


If you want more control over the design, using a toothpick is a great option. Here's how to do it:8. Marble Nail Art with Toothpick

8. Marble Nail Art with Toothpick


If you want to add some dimension to your marble nails, using a sponge is a great option. Here's how to do it:9. Easy Marble Nail Art with Sponge

9. Easy Marble Nail Art with Sponge


If you want a more precise and intricate marble design, using a nail stamping plate is a great option. Here's how to do it:10. Marble Nail Art with Nail Stamping
10. Marble Nail Art with Nail Stamping
Creating Eye-Catching Nails: Easy Marble Nail Art Designs

Unleash Your Creativity with Marble Nail Art
 Looking for a unique and eye-catching way to style your nails? Look no further than marble nail art designs. This trend has taken the beauty world by storm and for good reason. Not only is it easy to achieve, but it also allows for endless creativity and customization. With a few simple steps, you can have salon-worthy marble nails right at home.
What You'll Need
 Before diving into the steps, let's go over the supplies you'll need to create your own marble nail art. You'll need a base coat,
nail polish
in your desired colors, a
toothpick
or
nail art brush
, and
nail polish remover
for clean-up.
Before diving into the steps, let's go over the supplies you'll need to create your own marble nail art. You'll need a base coat,
nail polish
in your desired colors, a
toothpick
or
nail art brush
, and
nail polish remover
for clean-up.
Step 1: Apply a Base Coat
 Start by applying a base coat to your nails. This will not only protect your nails from staining, but it will also help the
nail polish
adhere better.
Start by applying a base coat to your nails. This will not only protect your nails from staining, but it will also help the
nail polish
adhere better.
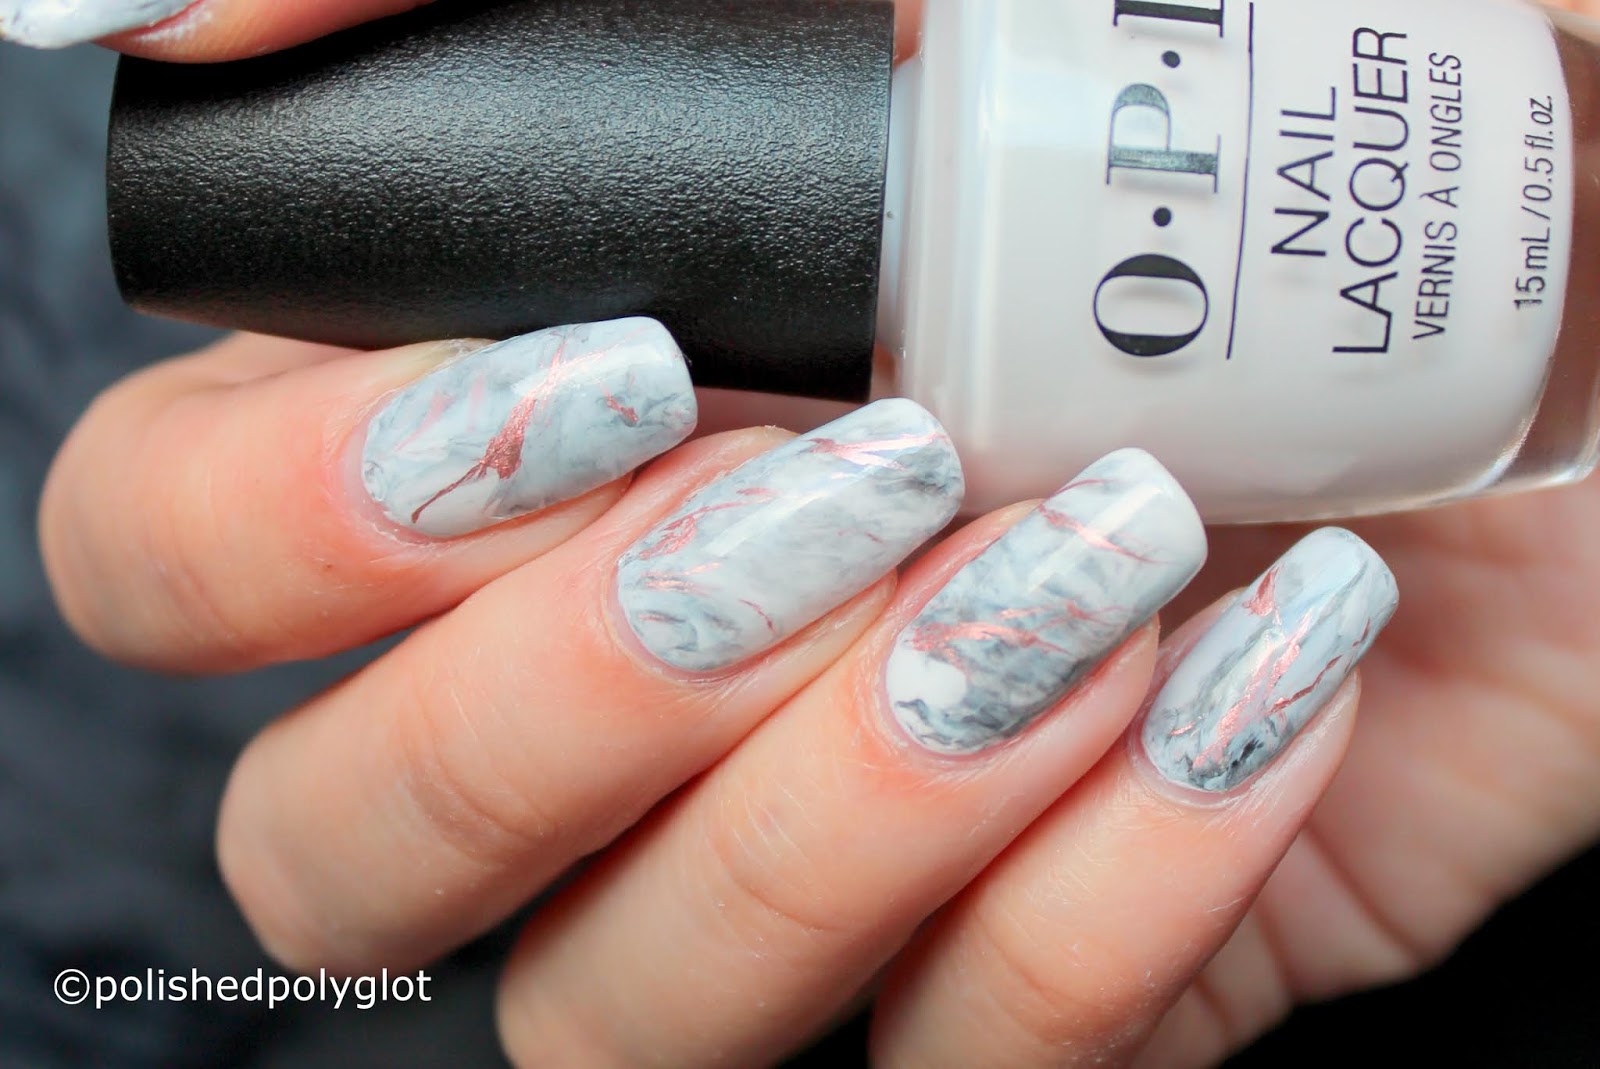
Step 2: Choose Your Colors
 Choose two or three
nail polish
colors that you want to use for your marble design. These can be complementary colors or a mix of light and dark shades for contrast.
Choose two or three
nail polish
colors that you want to use for your marble design. These can be complementary colors or a mix of light and dark shades for contrast.
Step 3: Create a Base Color
 Apply your lightest color as a base coat and let it dry completely. This will serve as the base for your marble design.
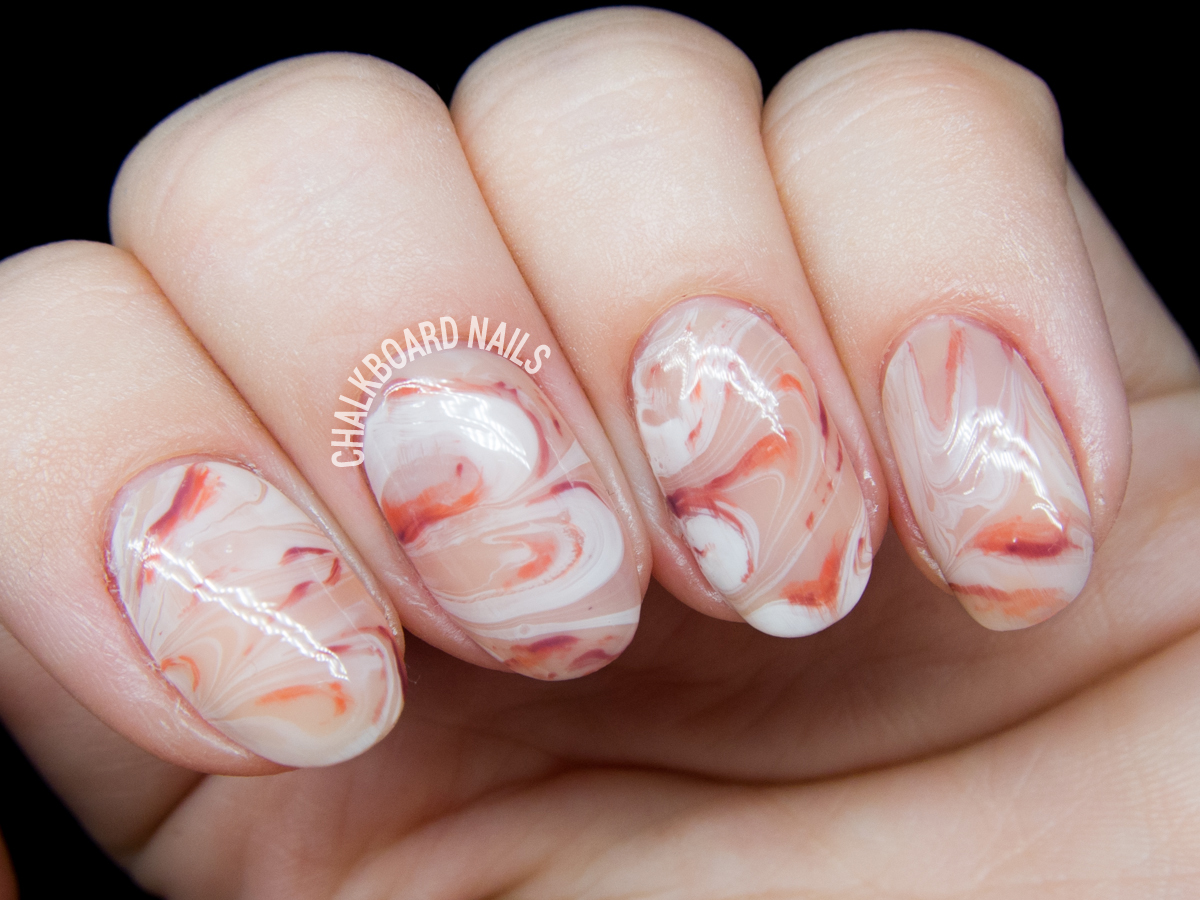
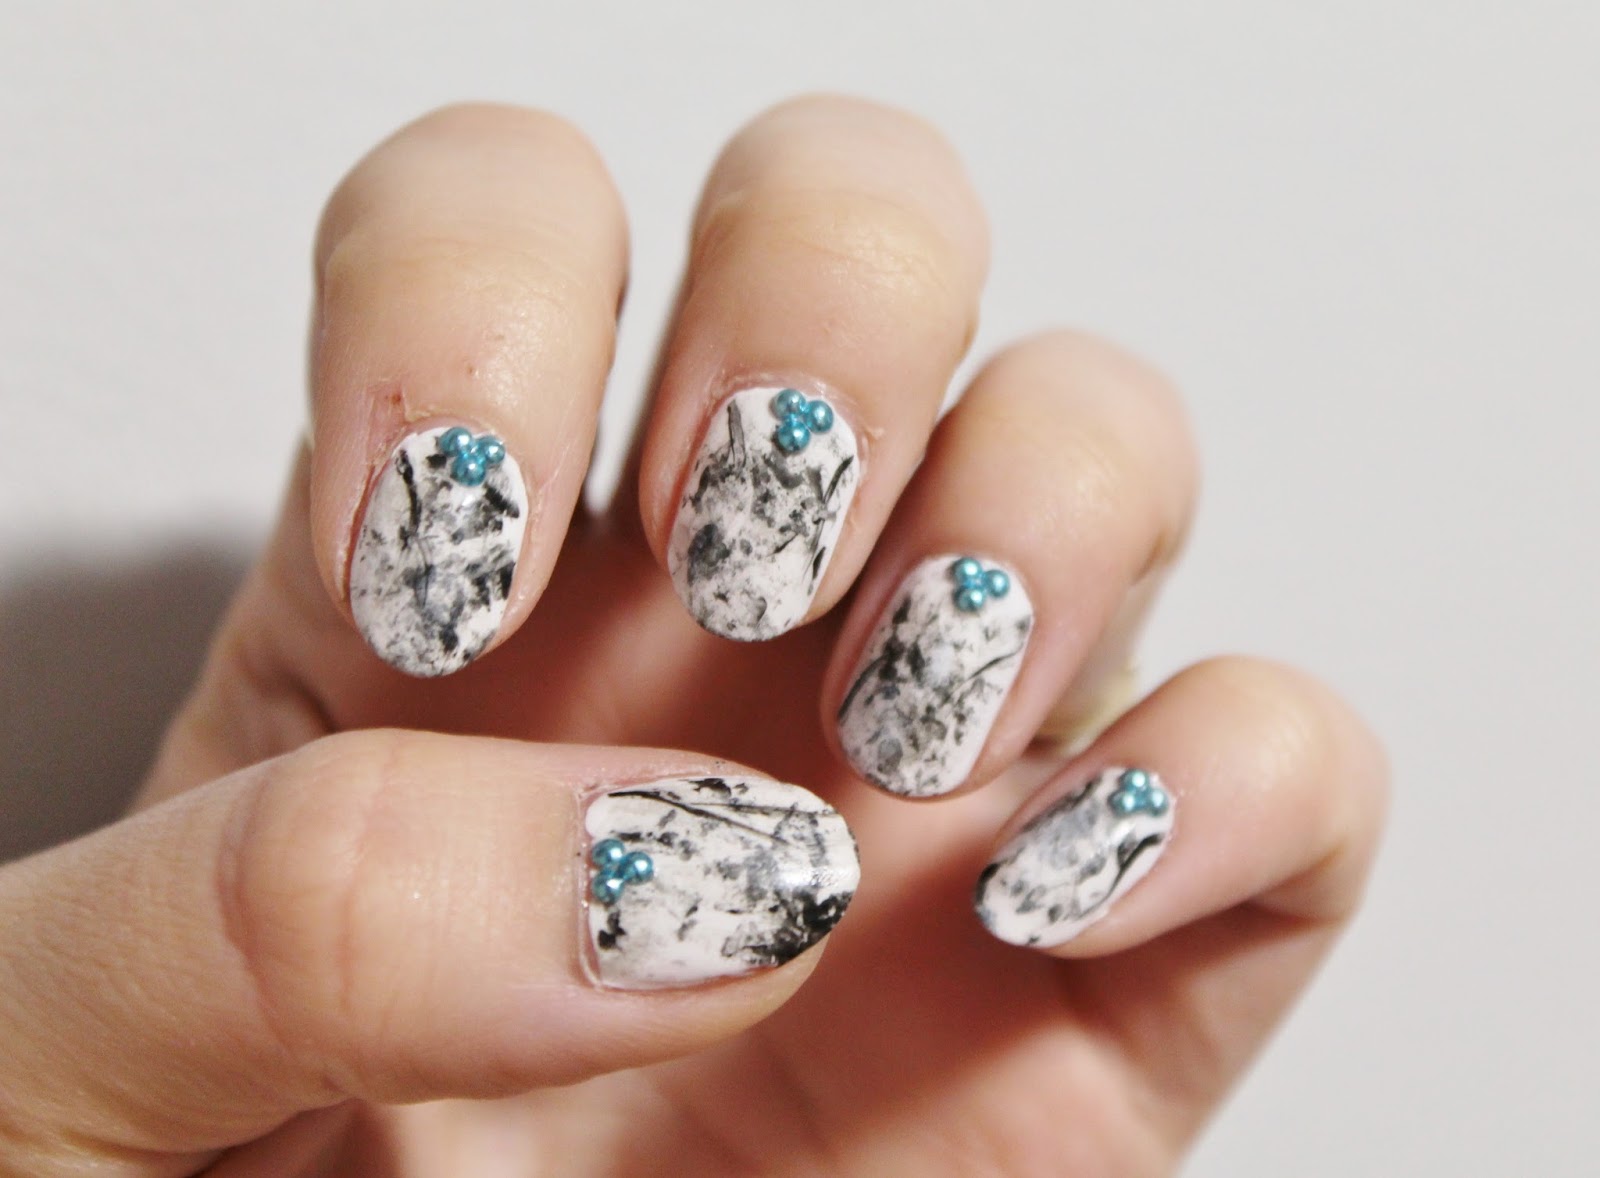
Step 4: Create the Marble Effect
 Take your second color and apply small drops onto your
nail
. Use a toothpick or nail art brush to swirl the colors together, creating a marble effect. Don't worry about making it perfect, as the imperfections add to the design.
Take your second color and apply small drops onto your
nail
. Use a toothpick or nail art brush to swirl the colors together, creating a marble effect. Don't worry about making it perfect, as the imperfections add to the design.
Step 5: Repeat and Experiment
 Repeat this process with your third color, if desired, or experiment with different color combinations. You can also try different swirling techniques to achieve different looks.
Step 6: Clean Up
 Once your design is complete, use a cotton swab and
nail polish remover
to clean up any excess polish on your skin.
Once your design is complete, use a cotton swab and
nail polish remover
to clean up any excess polish on your skin.
Step 7: Seal with a Top Coat
 Finally, apply a top coat to seal and protect your design.
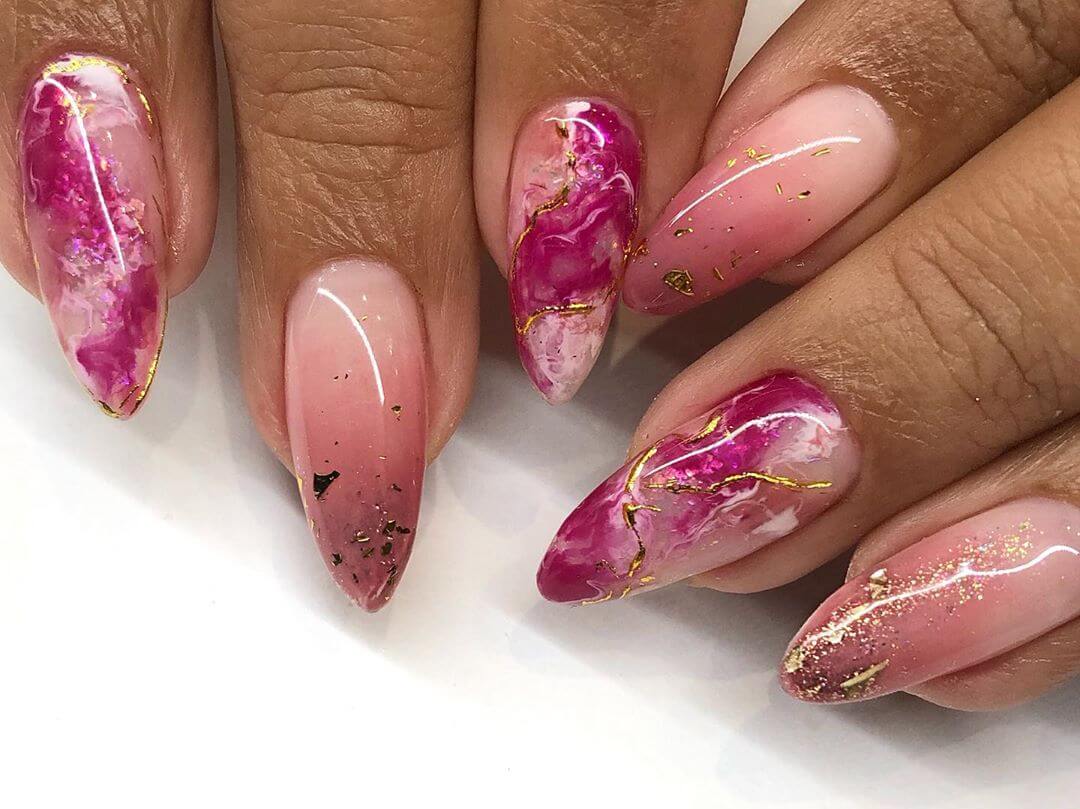
Customize Your Marble Nail Art
 The beauty of marble nail art is that it can be customized to your liking. You can play with different colors, swirling techniques, and even add
rhinestones
or
glitter
for added sparkle. The possibilities are endless.
Now that you know how to create easy marble nail art, you can elevate your nail game and impress your friends with your unique and eye-catching designs. So go ahead and unleash your creativity with this easy and fun nail trend.
The beauty of marble nail art is that it can be customized to your liking. You can play with different colors, swirling techniques, and even add
rhinestones
or
glitter
for added sparkle. The possibilities are endless.
Now that you know how to create easy marble nail art, you can elevate your nail game and impress your friends with your unique and eye-catching designs. So go ahead and unleash your creativity with this easy and fun nail trend.


