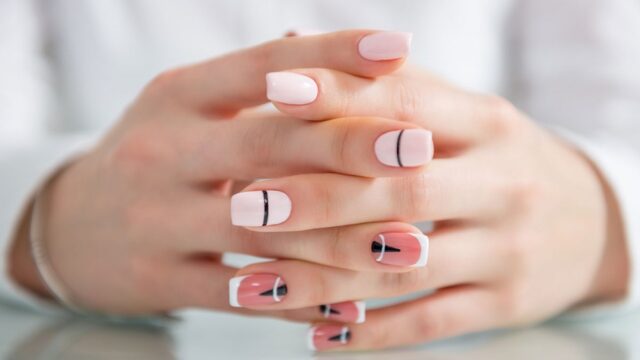
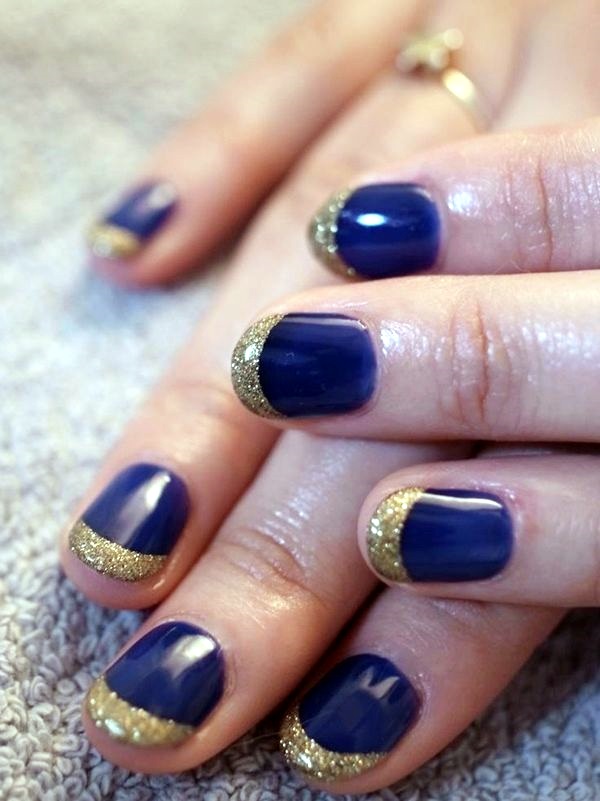
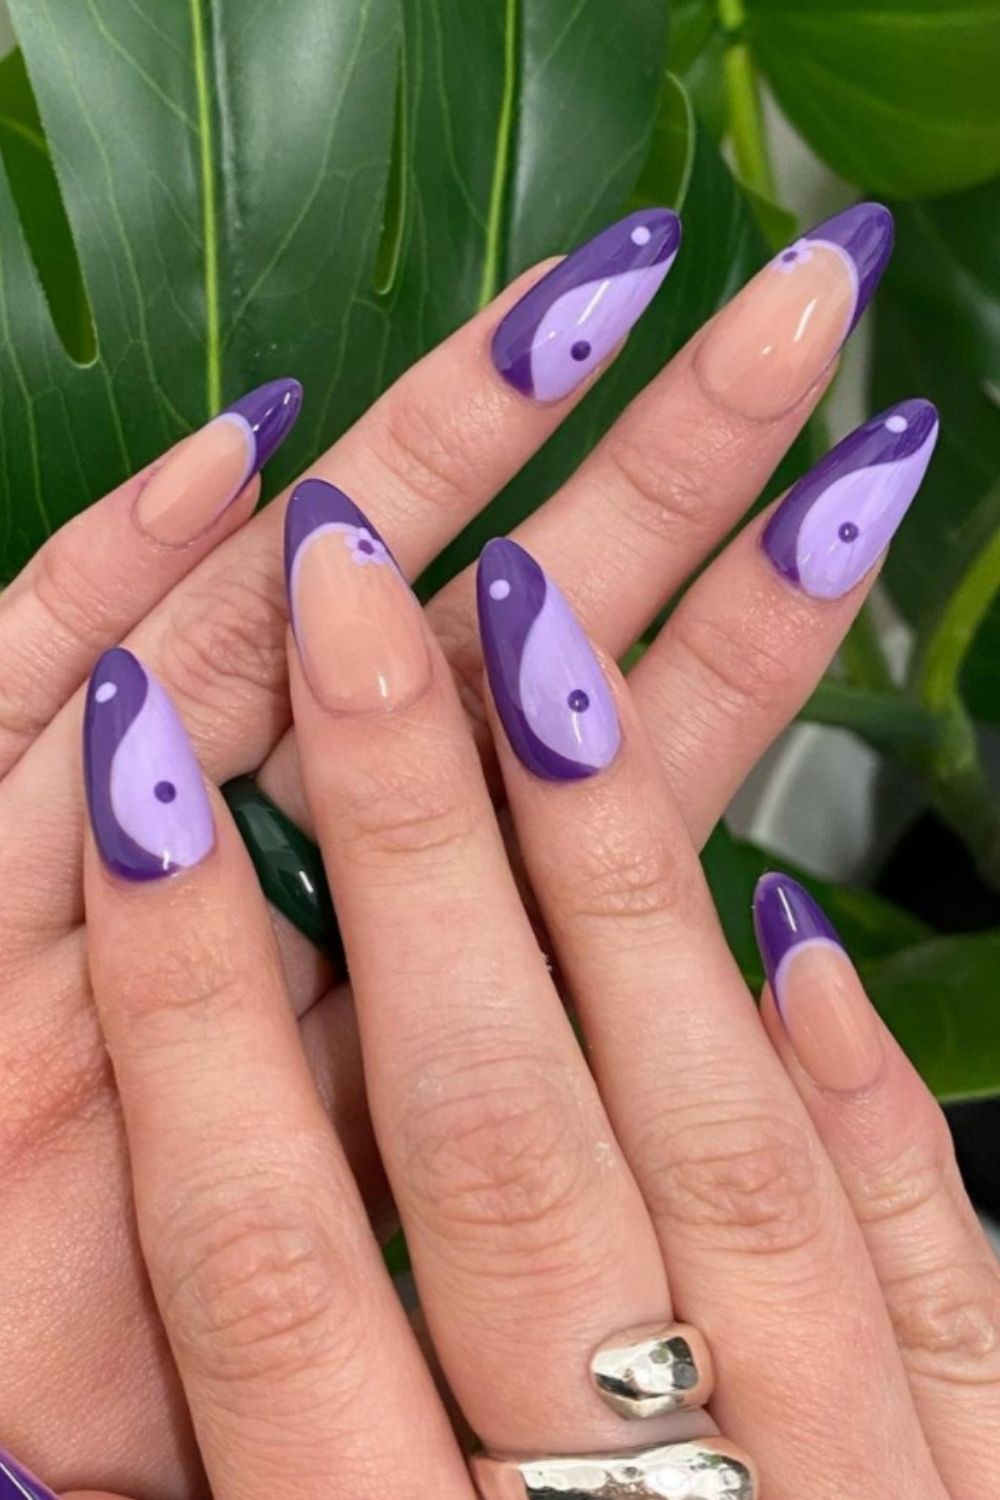
Creating beautiful nail art doesn't have to be complicated or expensive. In fact, with just a few basic supplies and a little bit of creativity, you can achieve stunning designs right at home. One of the simplest and most versatile tools for creating nail art is tape. Yes, you read that right - tape! In this tutorial, we'll show you how to use tape to create 10 easy and eye-catching nail art designs.1. Easy Nail Art Design Using Tape: Step-by-Step Tutorial


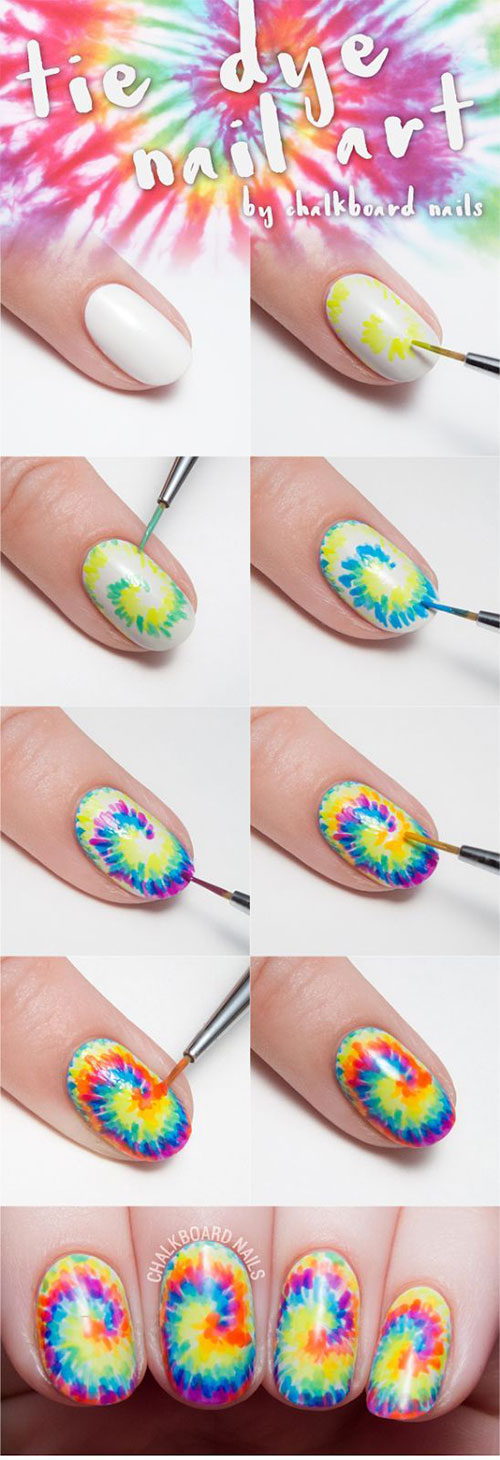
1. Easy Nail Art Design Using Tape: Step-by-Step Tutorial


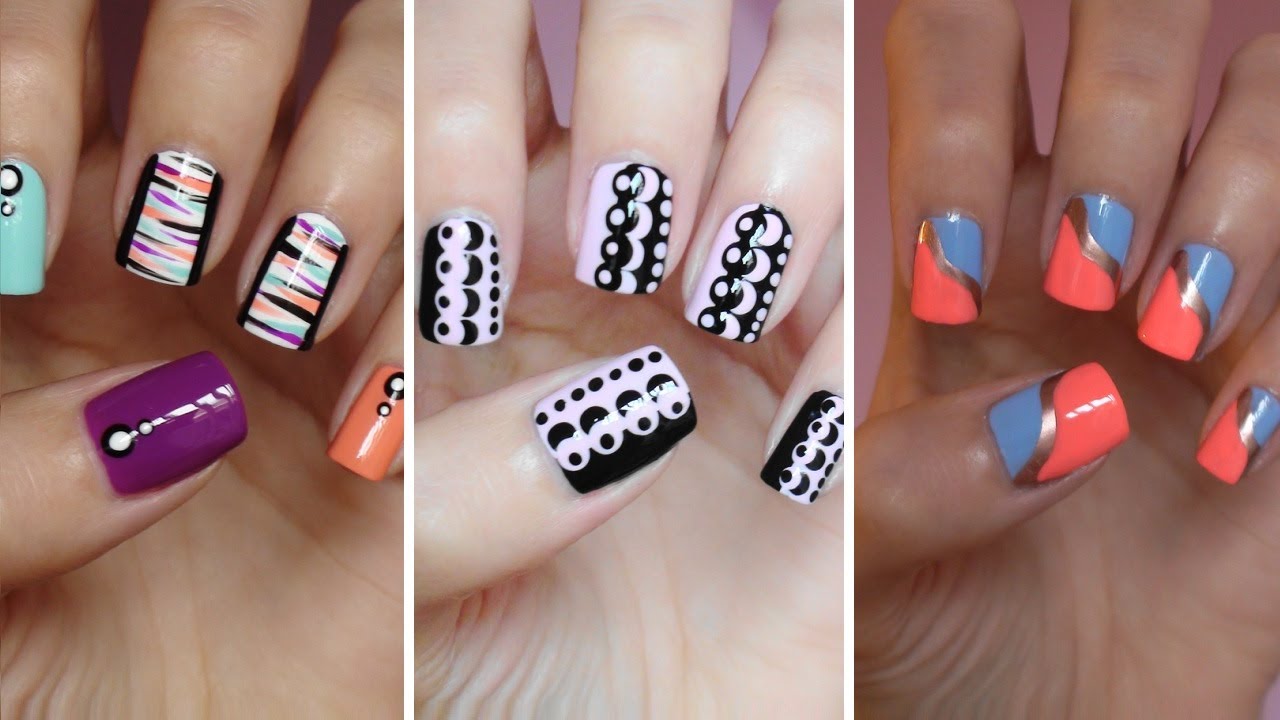
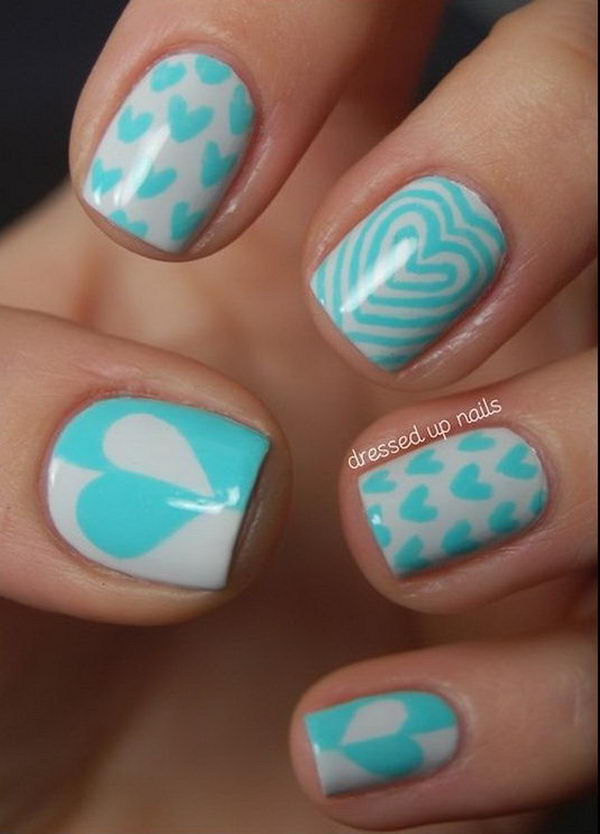
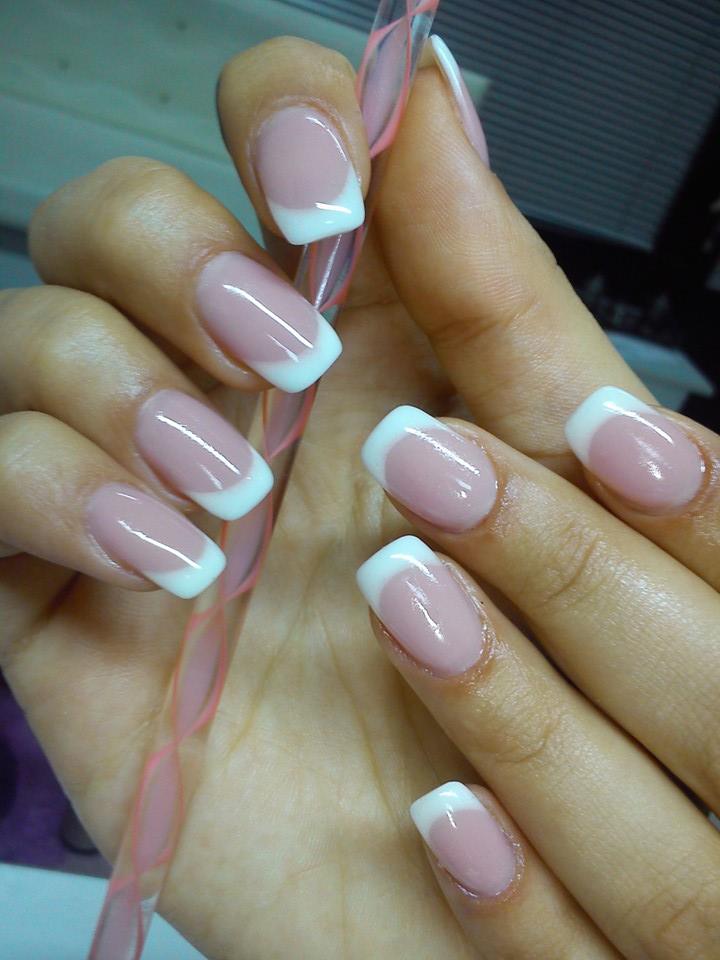
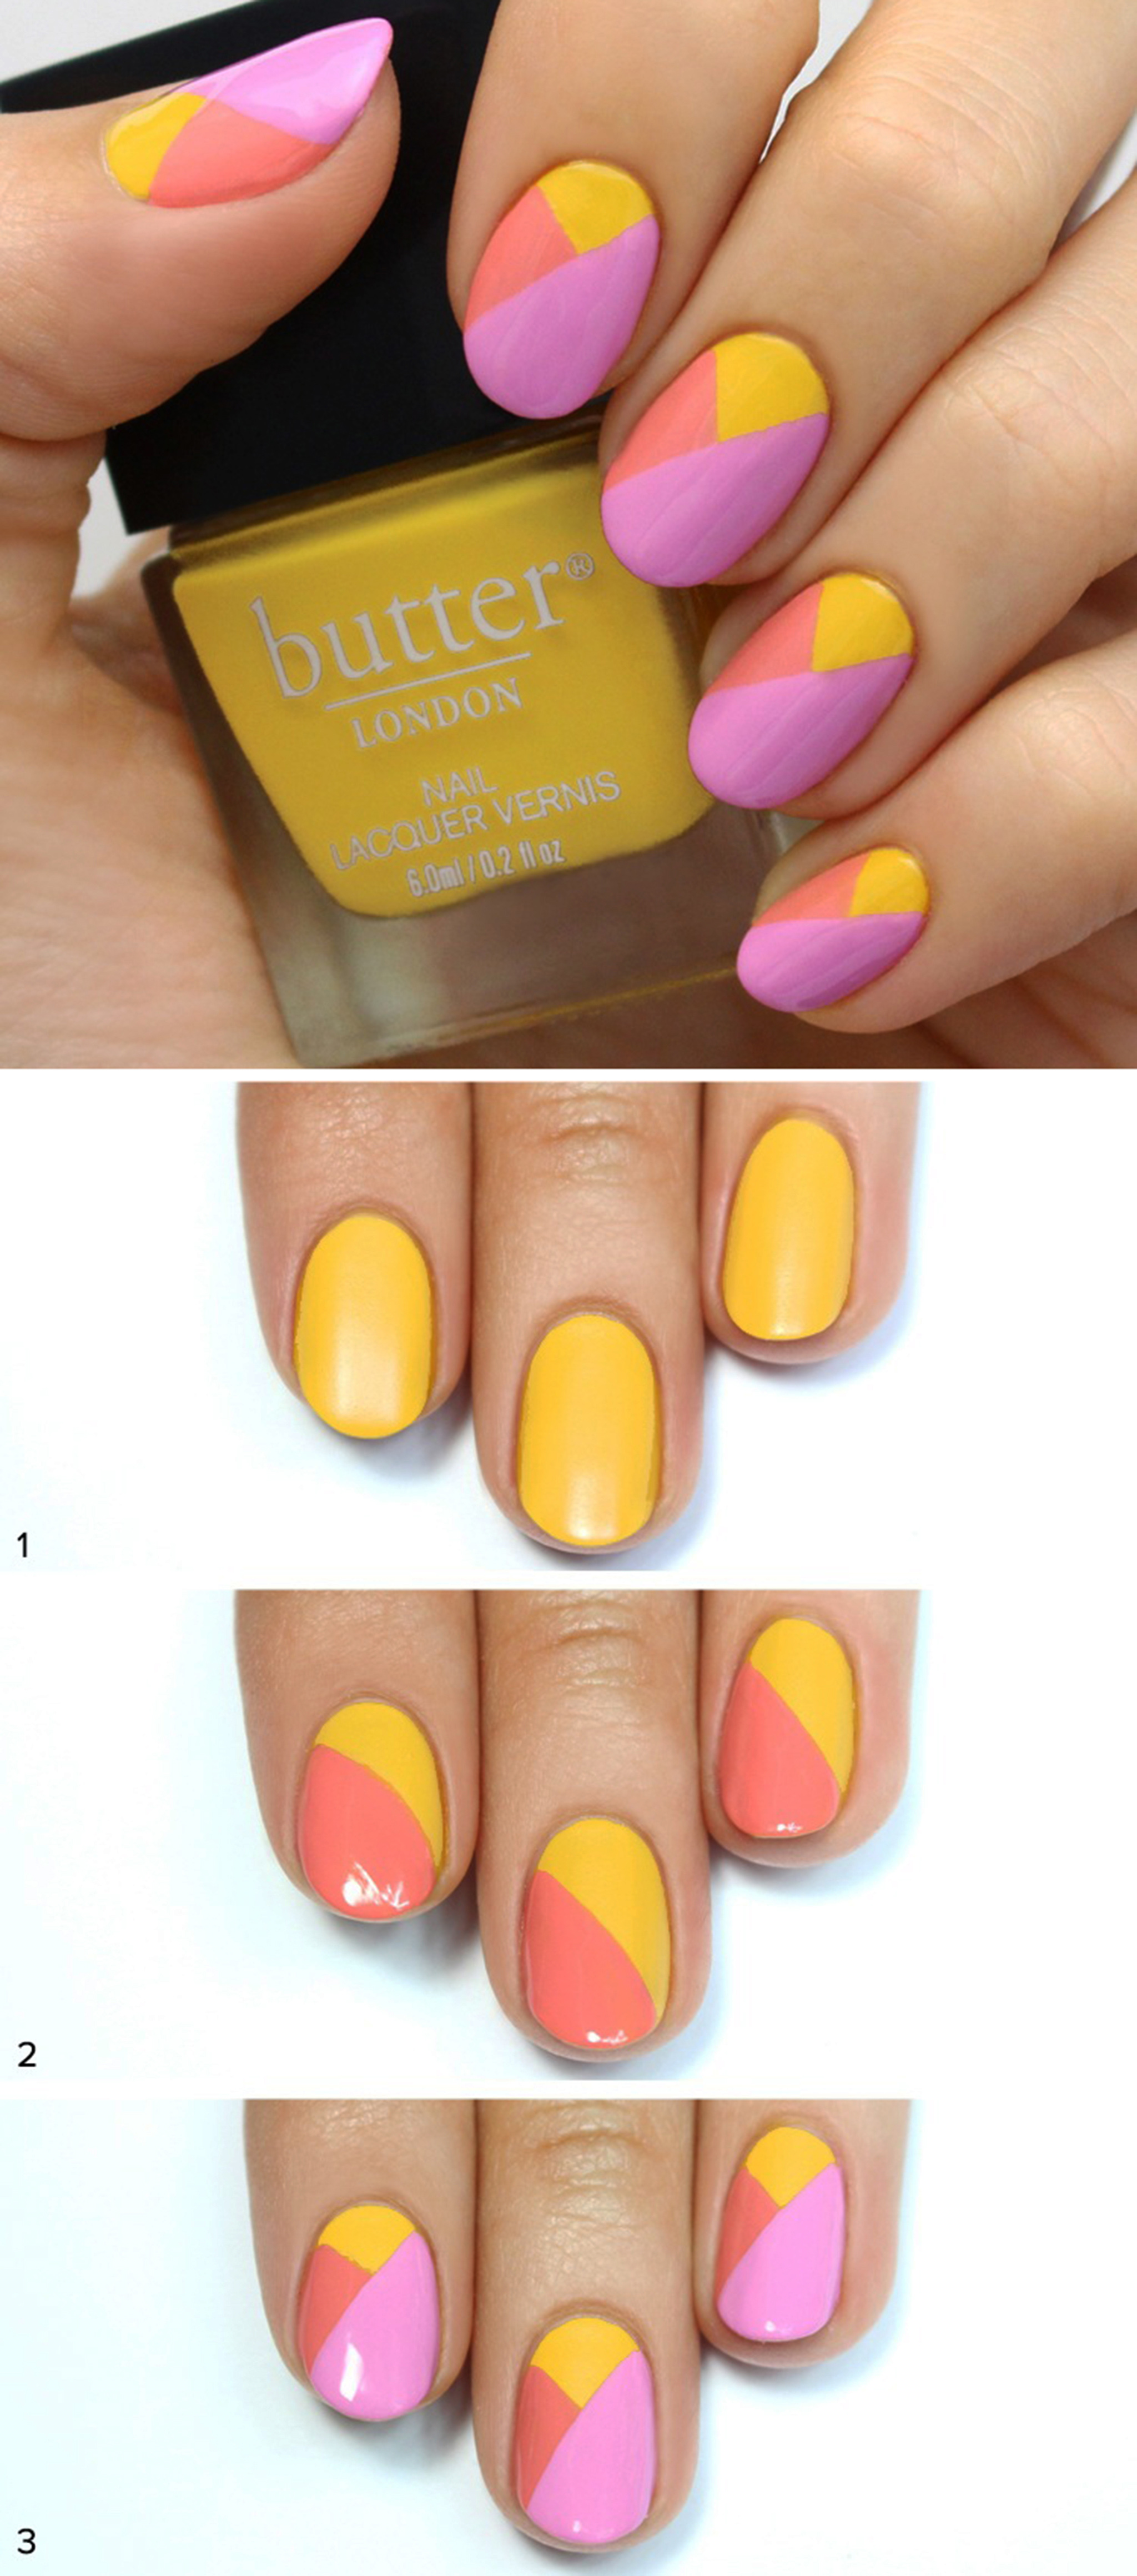
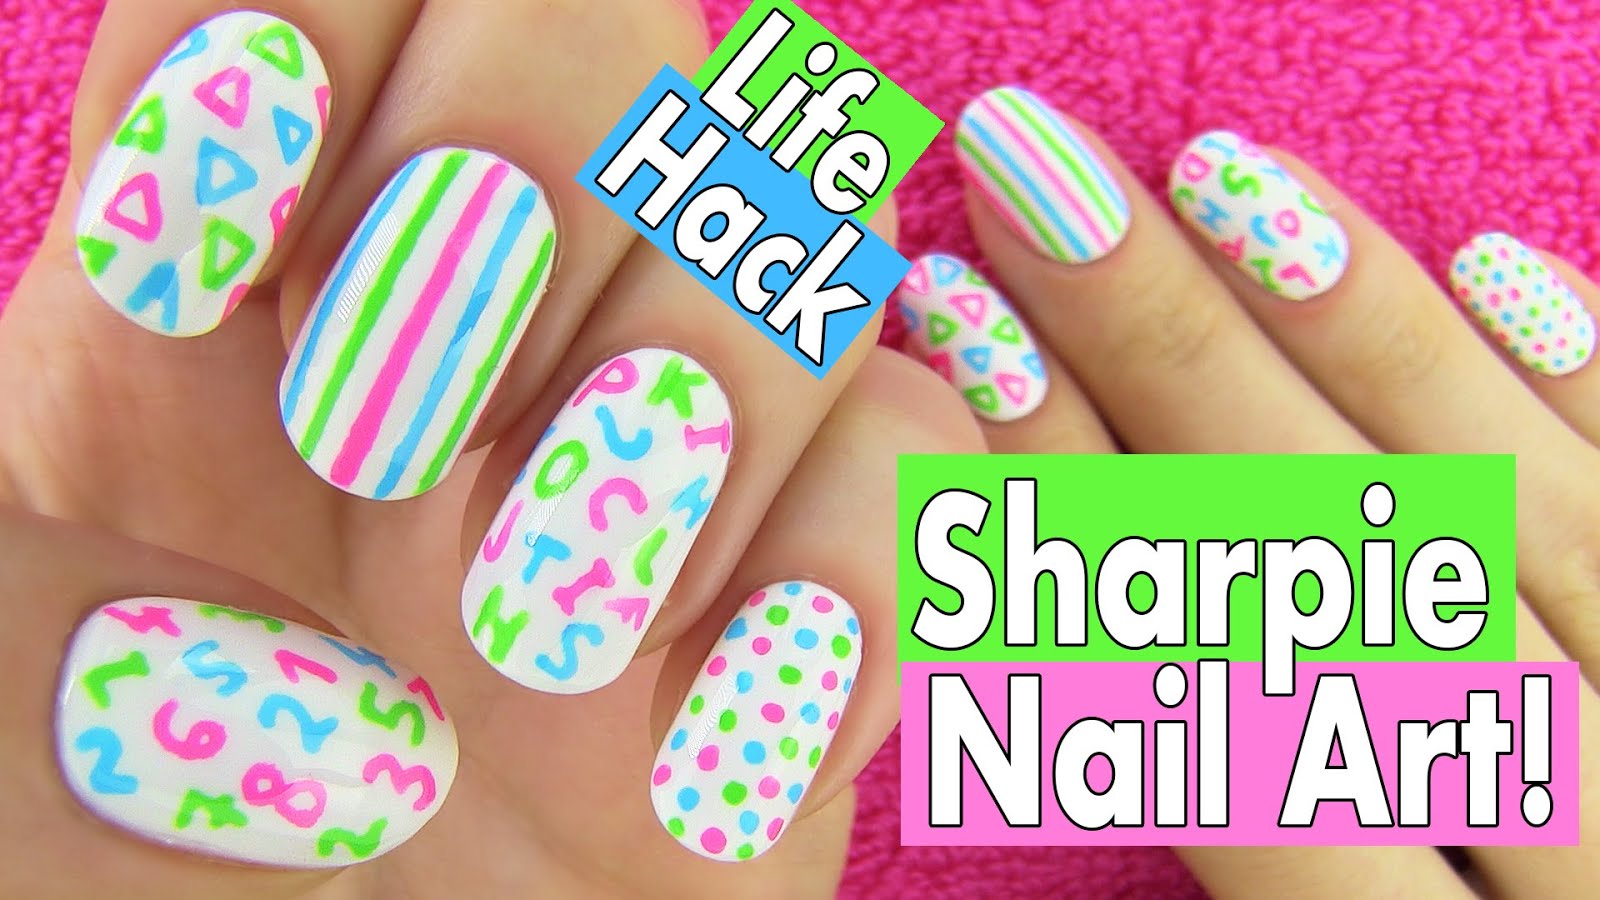
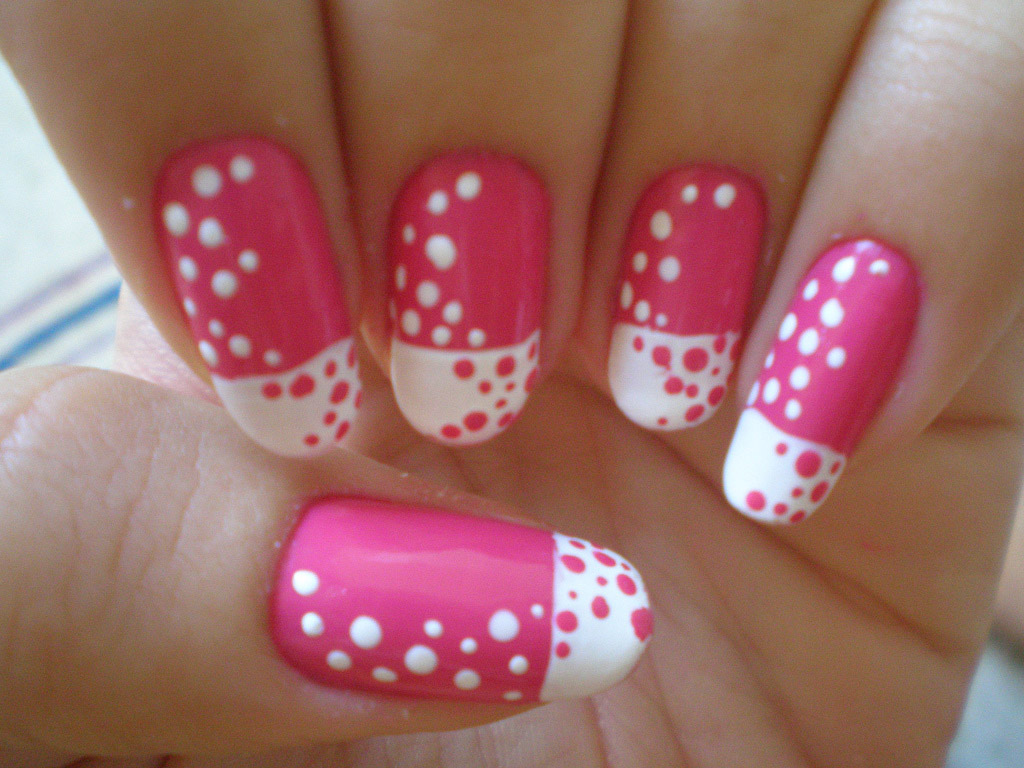
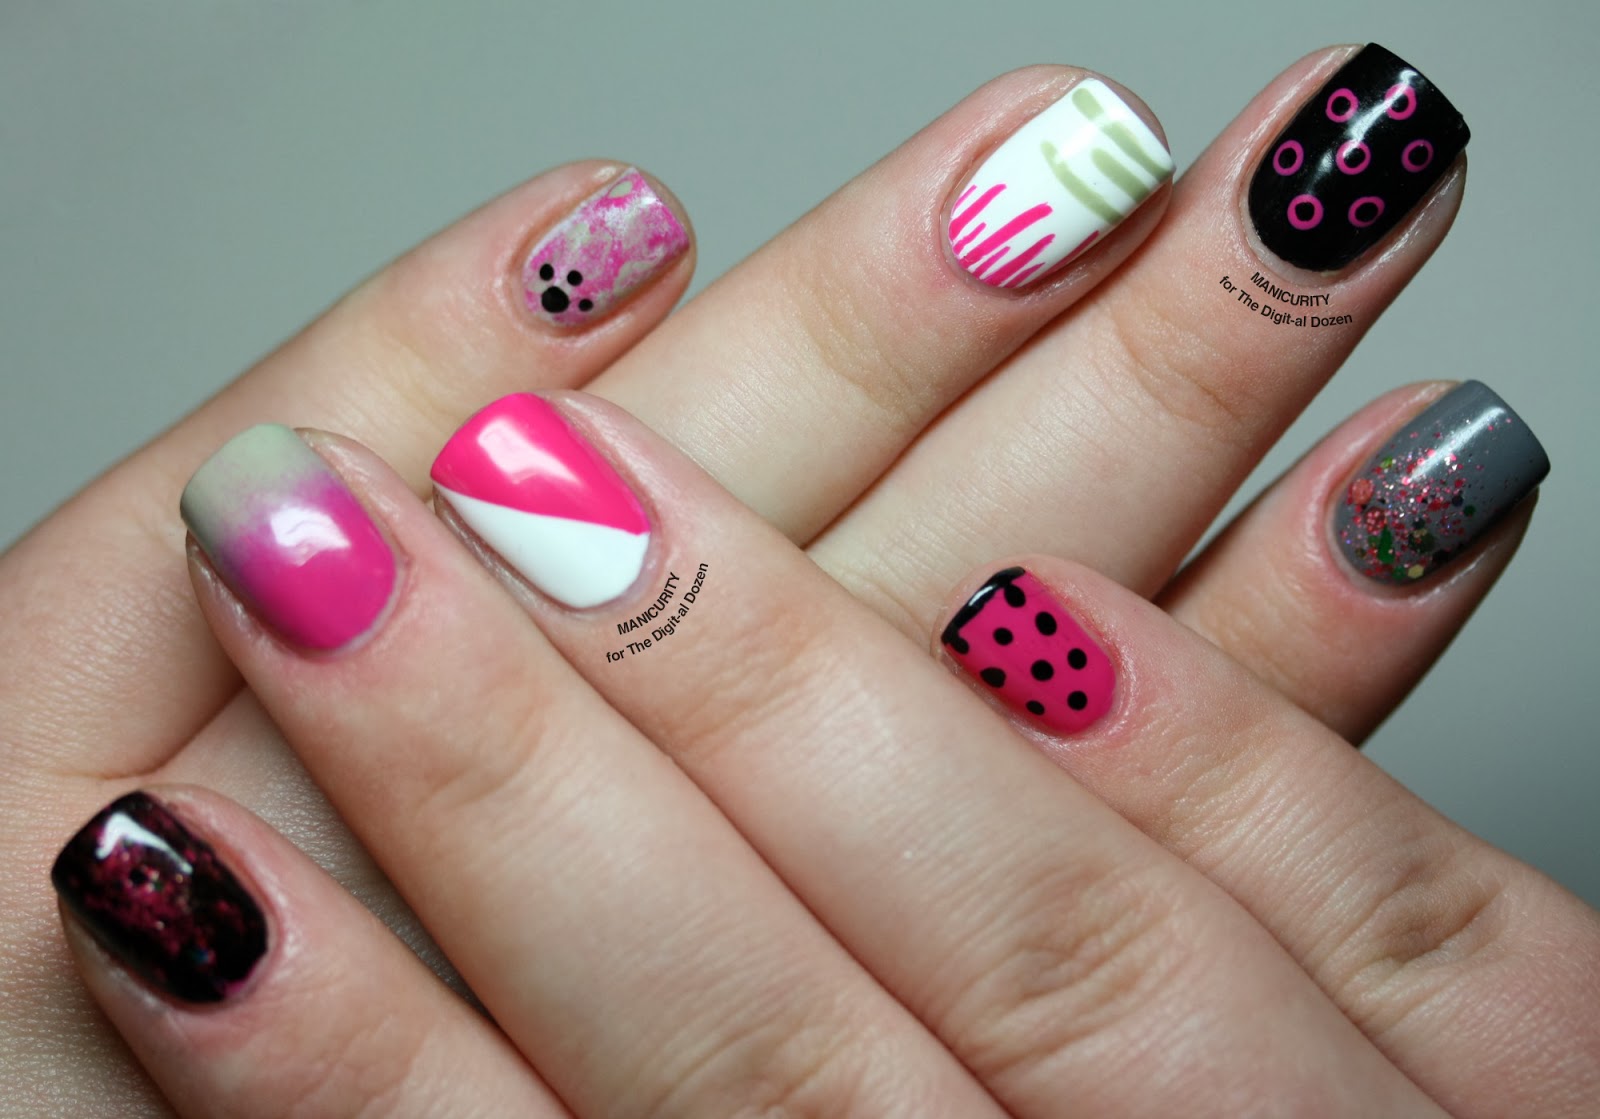
Here's a quick rundown of the 10 nail art designs we'll be covering in this article: I. Striped Nails II. Chevron Nails III. Color Block Nails IV. Half-Moon Nails V. Geometric Nails VI. Gradient Nails VII. Negative Space Nails VIII. French Tips IX. Polka Dot Nails X. Heart Nails2. 10 Easy Nail Art Designs Using Tape


2. 10 Easy Nail Art Designs Using Tape


If you're new to nail art, using tape is a great way to start. It's easy to work with and allows for precise designs. And the best part? You probably already have some tape lying around at home. For these designs, you can use regular scotch tape, washi tape, or even painter's tape. Let's dive into the tutorials!3. Simple Tape Nail Art Ideas for Beginners

3. Simple Tape Nail Art Ideas for Beginners


Before we get into the specific designs, let's go over some basic tips for using tape for nail art: - Make sure your base coat is completely dry before applying tape. - Press down firmly on the tape to ensure it sticks to the nail. - For cleaner lines, remove the tape while the polish is still wet. - Use a pair of tweezers to help remove the tape from your nails.4. DIY Nail Art: How to Use Tape for Cool Designs

4. DIY Nail Art: How to Use Tape for Cool Designs


Now, let's get into the fun part - the nail art designs! These hacks will help you achieve beautiful and professional-looking nails in no time: - Use tape to create negative space designs by placing tape on your nails before painting them. - Cut out small strips of tape to create intricate designs like chevrons or stripes. - Use different widths of tape to create unique designs. - Combine tape with other nail art techniques, such as stamping or glitter, for a more complex look.5. Tape Nail Art Hacks You Need to Try


5. Tape Nail Art Hacks You Need to Try


Do your kids love playing with nail polish? Let them join in on the fun by trying out these simple and colorful nail art designs: - Use tape to create their favorite cartoon or superhero characters on their nails. - Let them experiment with different colors and patterns using tape as a guide. - Create a fun and interactive game by having them match shapes or colors on their nails using tape.6. Fun and Easy Tape Nail Art Designs for Kids

6. Fun and Easy Tape Nail Art Designs for Kids


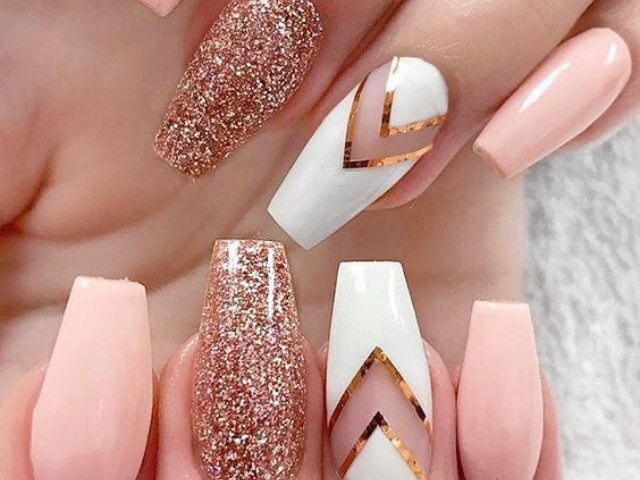

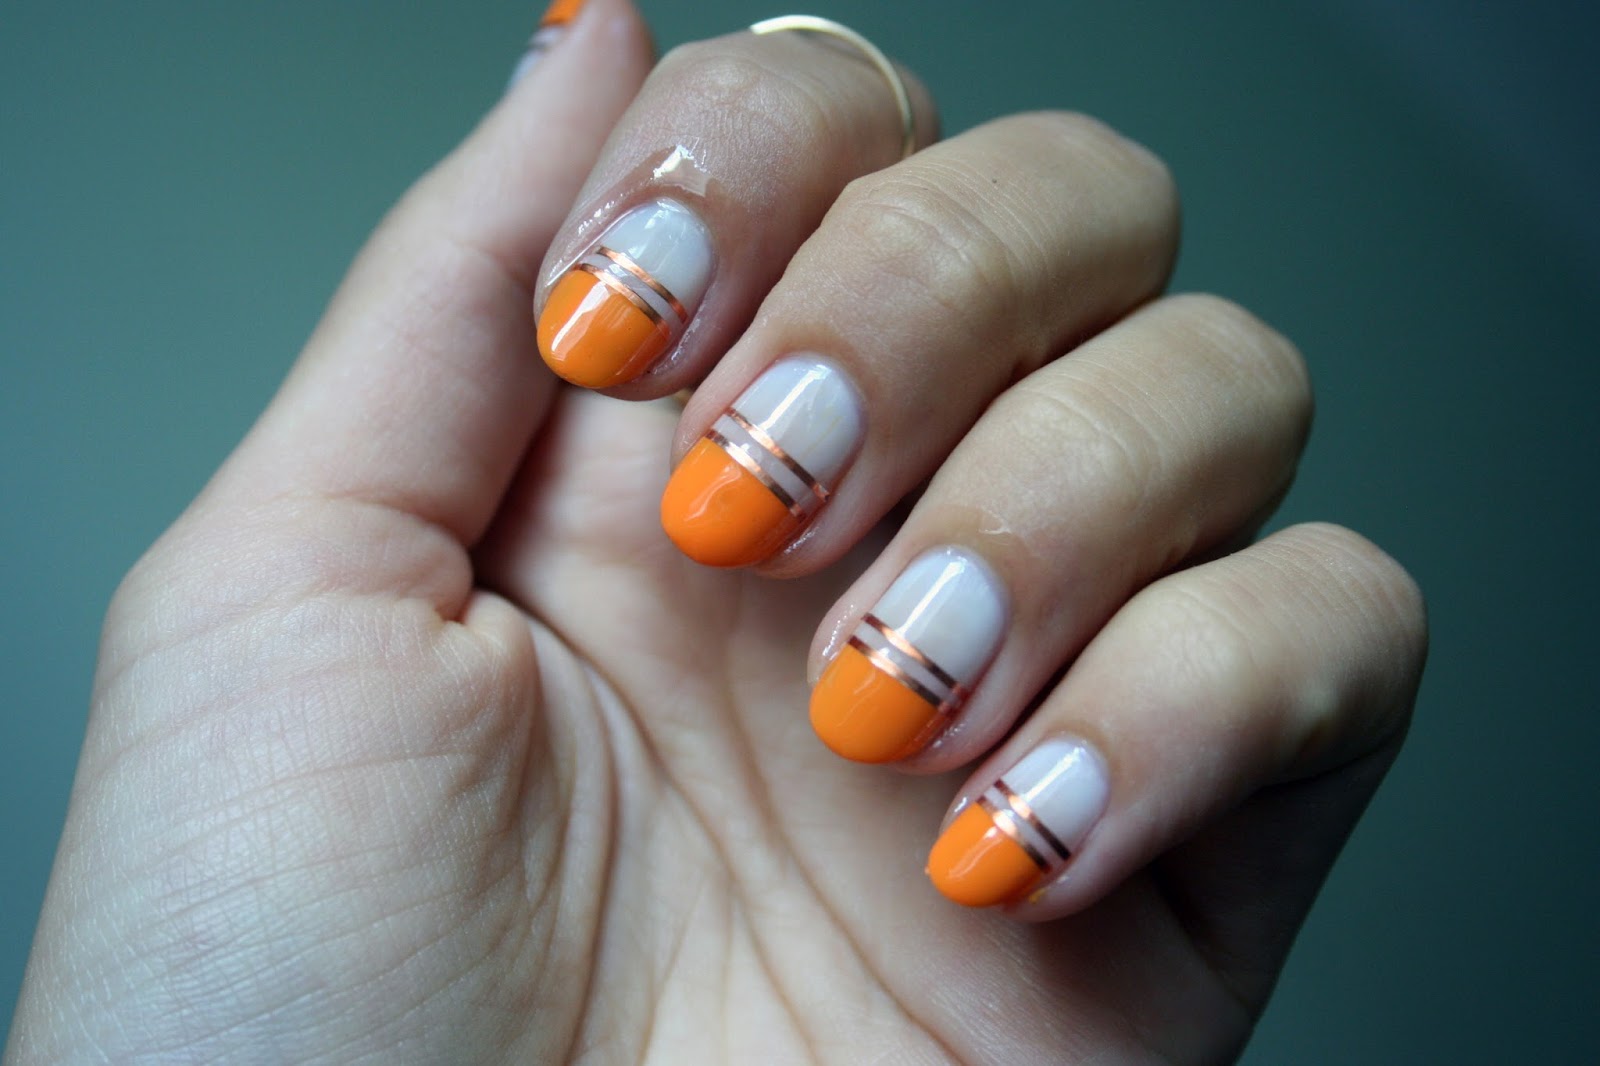
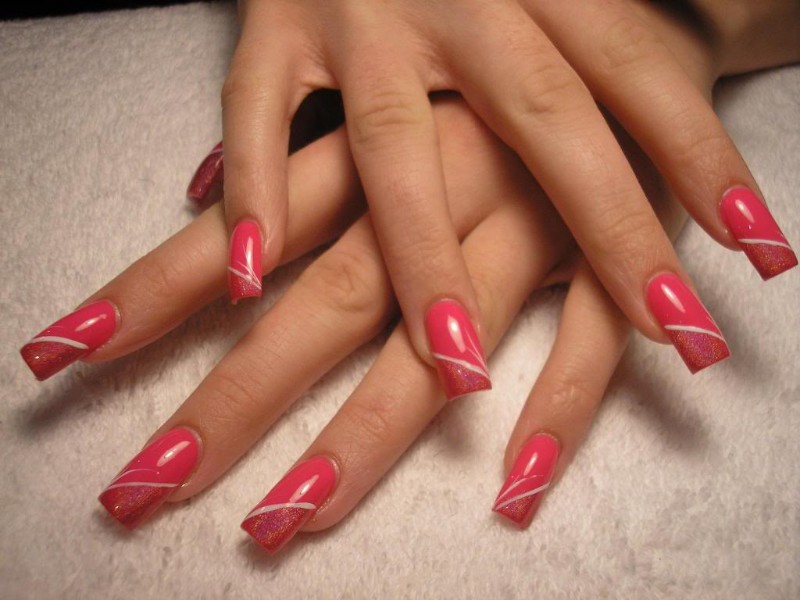
One of the best things about using tape for nail art is that it allows you to create clean and precise geometric designs. Here's a tutorial for a simple and trendy geometric design using tape: I. Apply a base coat and let it dry. II. Cut thin strips of tape and place them on your nails in a criss-cross pattern. III. Paint over the tape with a contrasting color. IV. Wait a few seconds and then carefully remove the tape. V. Finish with a top coat for extra shine and longevity. You can also get creative and experiment with different shapes and colors to create your own unique geometric designs.7. Geometric Nail Art Using Tape: Tutorial and Inspiration


7. Geometric Nail Art Using Tape: Tutorial and Inspiration


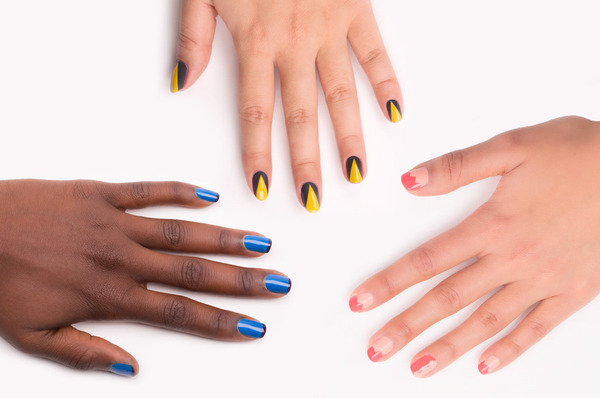
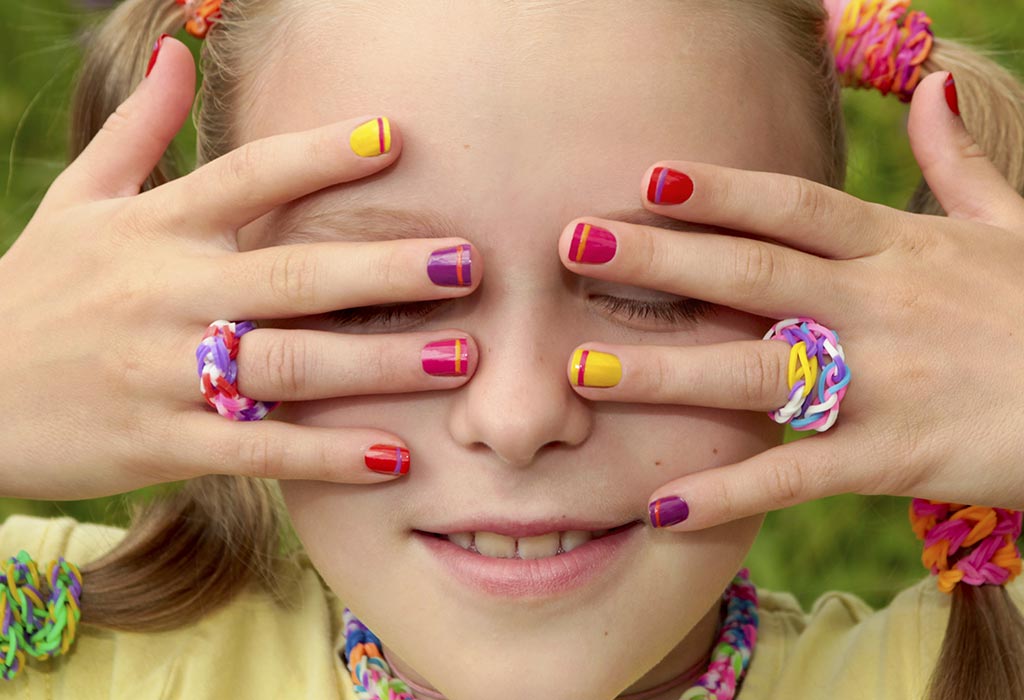
Short nails don't have to limit your nail art options. In fact, using tape can make it easier to create designs on shorter nails. Here are some ideas to get you started: - Use tape to create a diagonal or vertical stripe on your nails. - Create a geometric pattern on one or two nails and leave the rest bare for a modern look. - Try out different color combinations and patterns to make your short nails stand out.8. Creative Tape Nail Art Designs for Short Nails

8. Creative Tape Nail Art Designs for Short Nails


Now that you have some inspiration and ideas for using tape in your nail art, here are a few additional tips and tricks to ensure your manicure looks perfect: - Use a cotton swab dipped in nail polish remover to clean up any mistakes or excess polish. - Apply a thin layer of top coat over your design to prevent chipping. - Use matte top coat or glitter polish over your tape designs for added texture and dimension.9. Tape Nail Art: Tips and Tricks for a Flawless Manicure


9. Tape Nail Art: Tips and Tricks for a Flawless Manicure

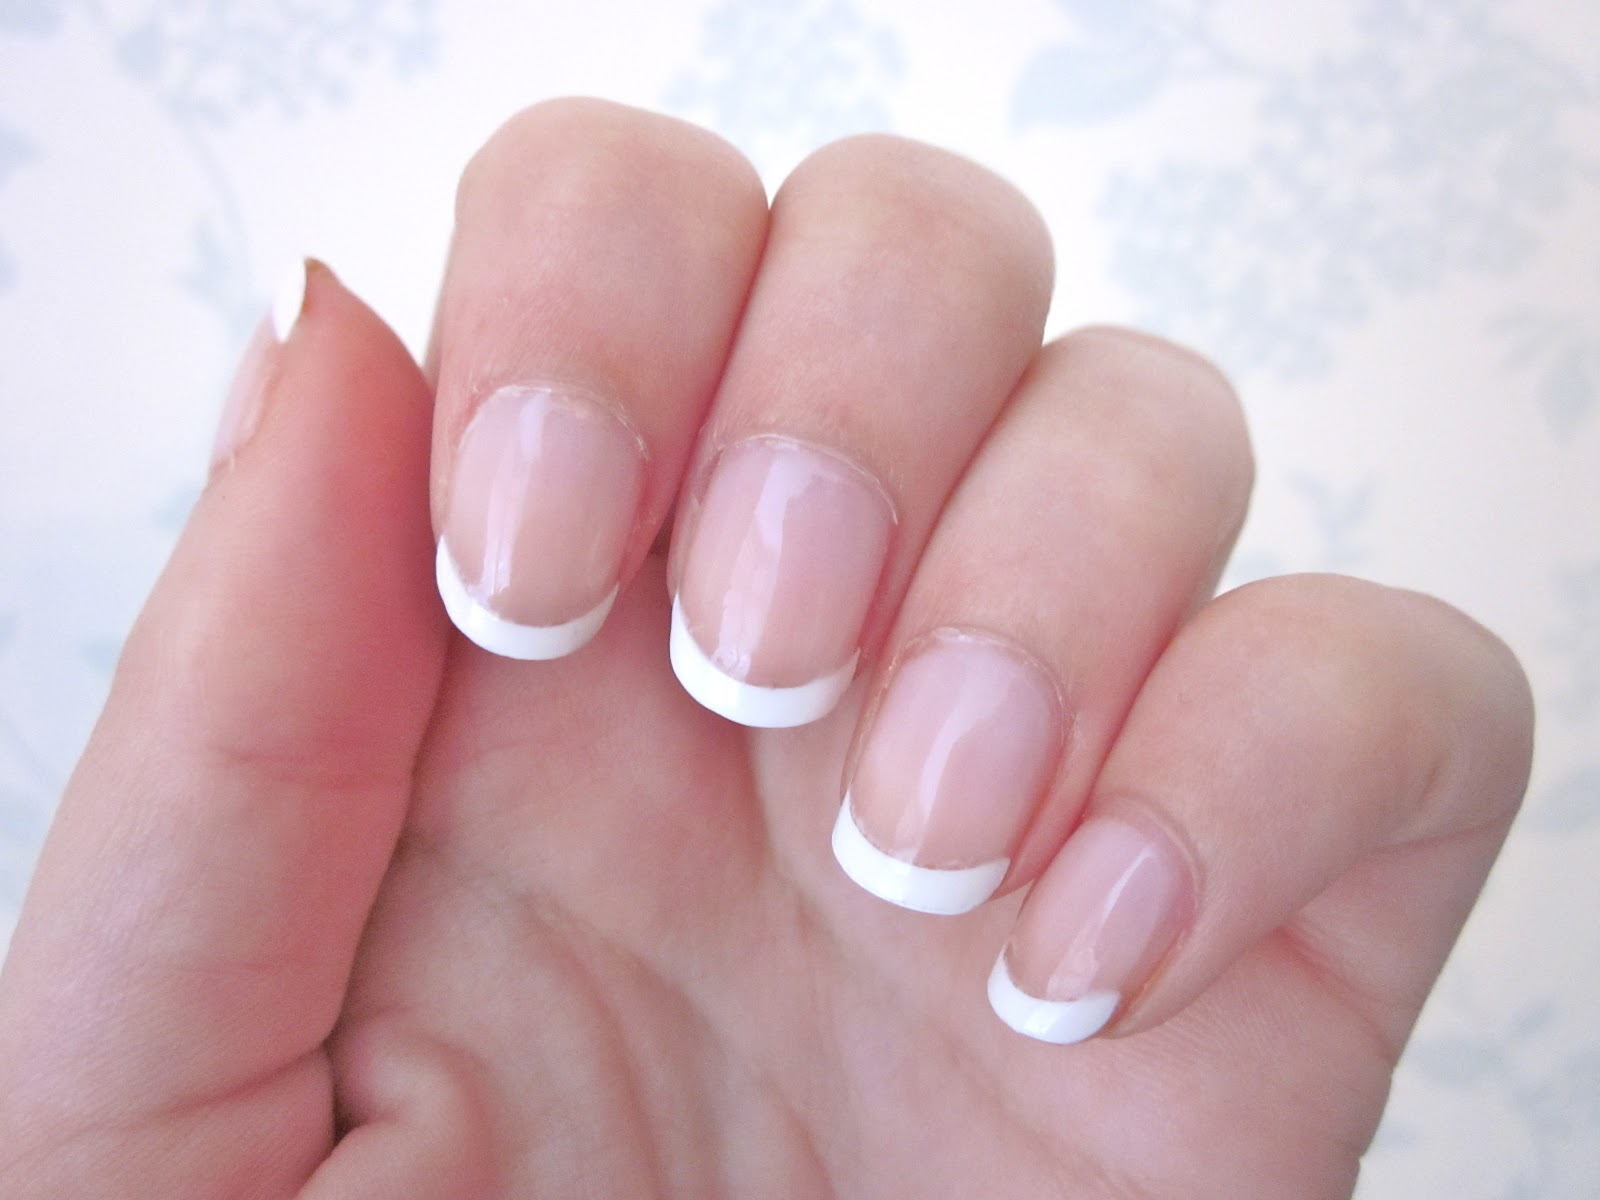


Lastly, let's talk about incorporating tape nail art into your everyday look. These designs are perfect for any occasion, whether it's a casual day at the office or a fancy night out: - Use metallic tape to create a chic and edgy look for a night out. - Create a simple and elegant French tip with the help of tape. - Try out different colors and patterns to match your outfit or mood. And there you have it - 10 easy and versatile nail art designs using tape. So go ahead and raid your office supplies or craft drawer, and get creative with your nails! Remember to have fun and experiment with different techniques and designs. Happy nail art-ing!10. Easy and Chic Tape Nail Art Ideas for Every Occasion

10. Easy and Chic Tape Nail Art Ideas for Every Occasion

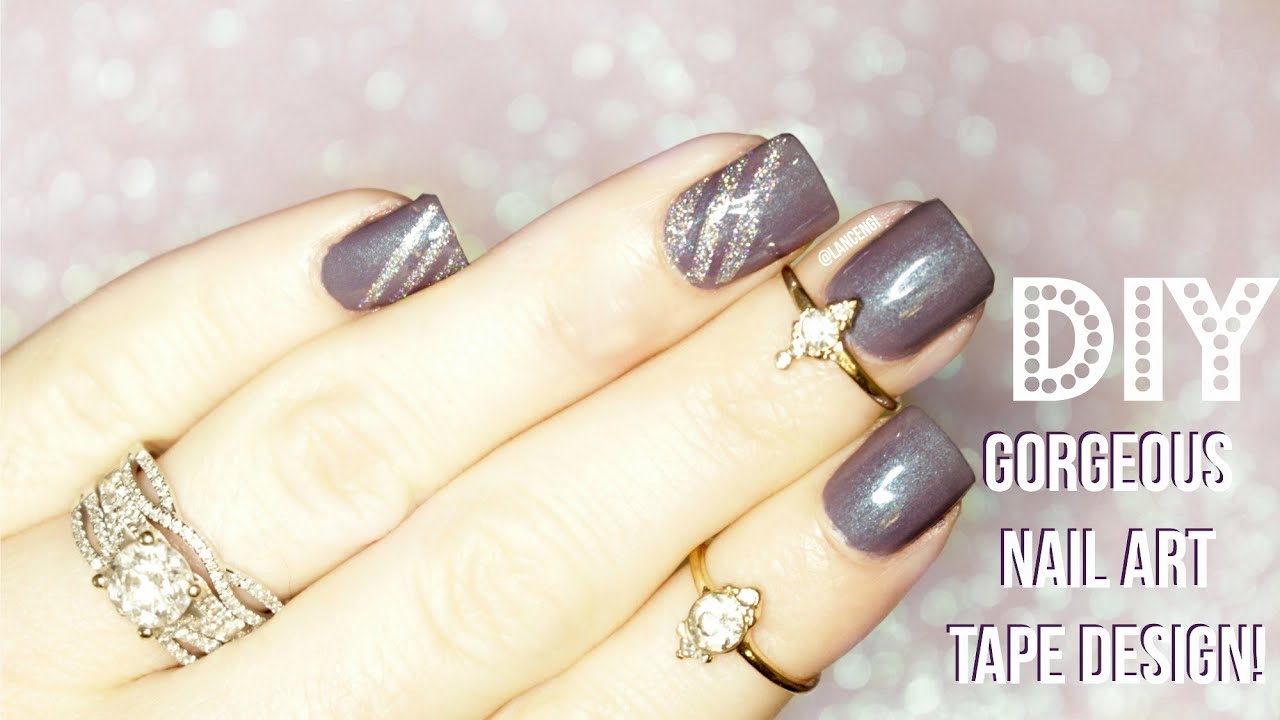
An Easy and Stylish Way to Spice Up Your Nails: Tape Nail Art Design
Get Creative with Tape for a Unique Nail Design
 If you're tired of the same old plain nails and are looking for a fun and easy way to upgrade your manicure, look no further than tape nail art design. This simple yet stylish technique allows you to create unique and eye-catching designs on your nails using just tape and nail polish. Not only is it a budget-friendly option, but it also gives you endless possibilities to let your creativity run wild. Let's dive into the world of tape nail art design and learn how to achieve this trendy look in just a few simple steps.
Step 1: Gather Your Supplies
 Before getting started, make sure you have all the necessary supplies. You will need a base coat, your desired nail polish colors, a top coat, and of course, tape. You can use regular scotch tape, washi tape, or even painter's tape for a wider design. Make sure to have a pair of scissors on hand as well.
Step 2: Prepare Your Nails
 As with any manicure, it's crucial to start with clean and trimmed nails. Apply a base coat to protect your nails and help the polish adhere better. Once it's dry, apply two coats of your chosen base color and let it dry completely.
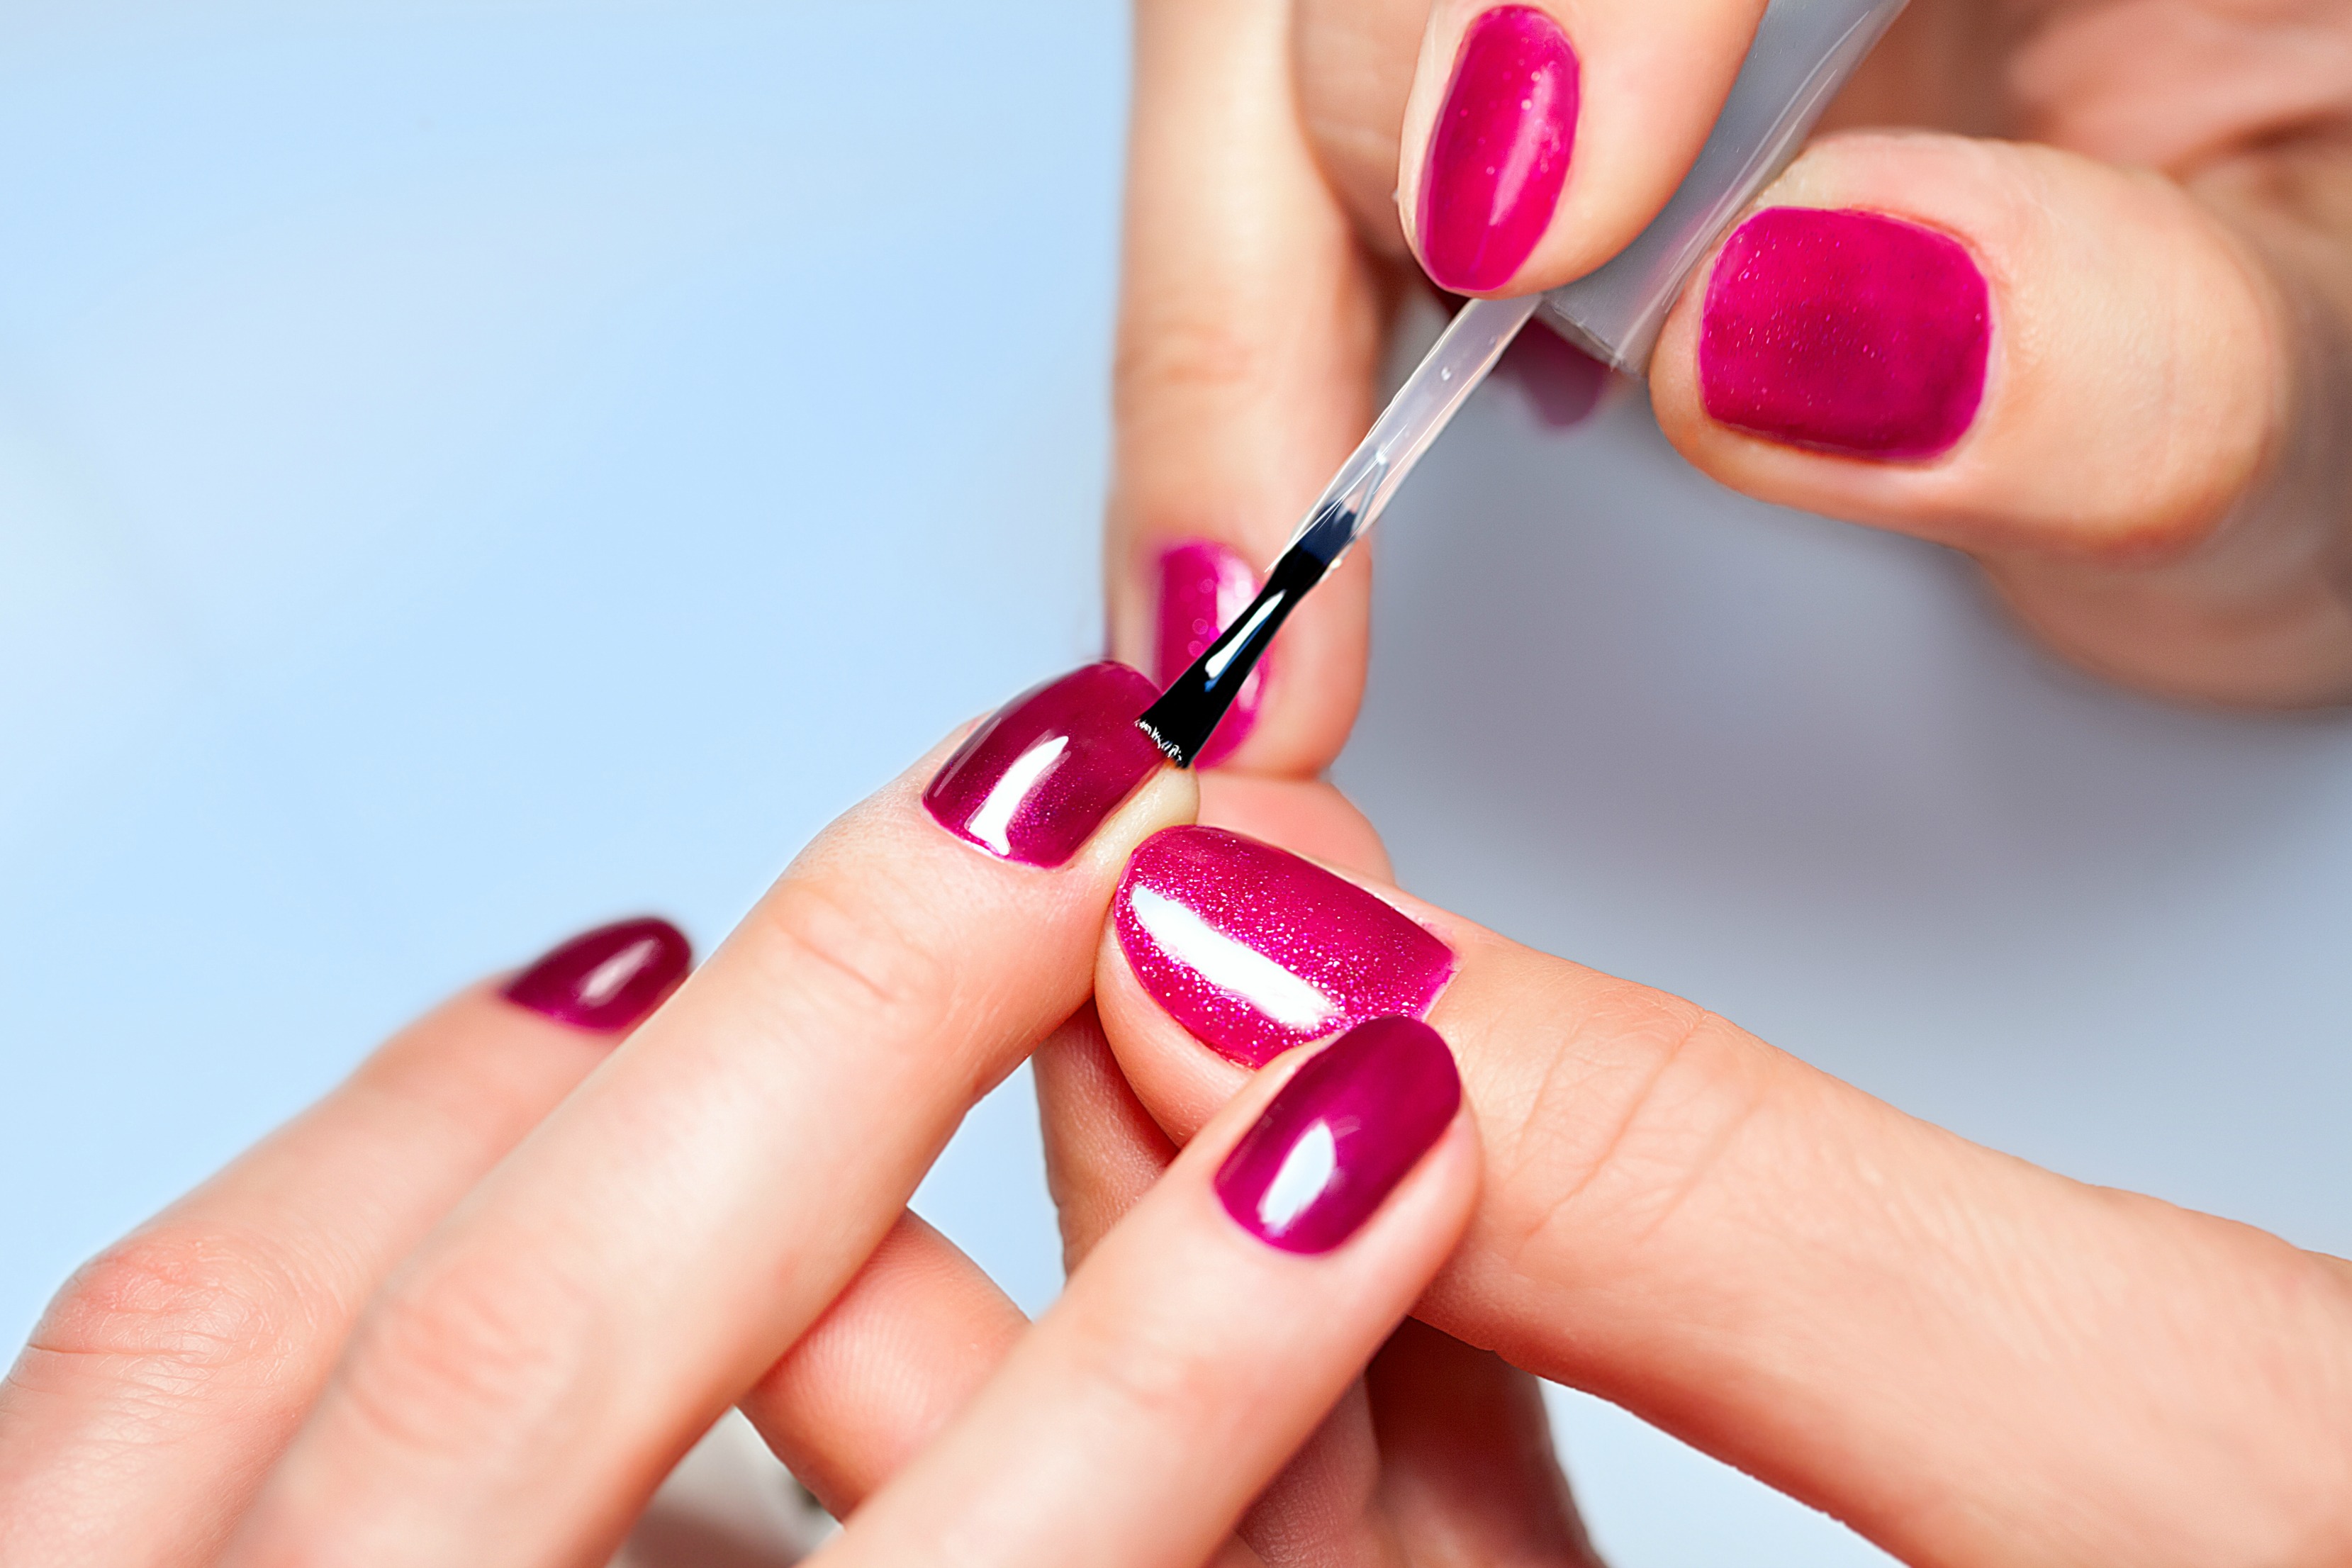
Step 3: Get Creative with Tape
 This is where the fun begins. Cut pieces of tape in your desired width and length, and stick them onto your nails in any pattern you like. You can create geometric shapes, stripes, or even a checkerboard design. The possibilities are endless, so let your imagination guide you. Make sure the tape is firmly pressed onto your nails to prevent any polish from seeping through.
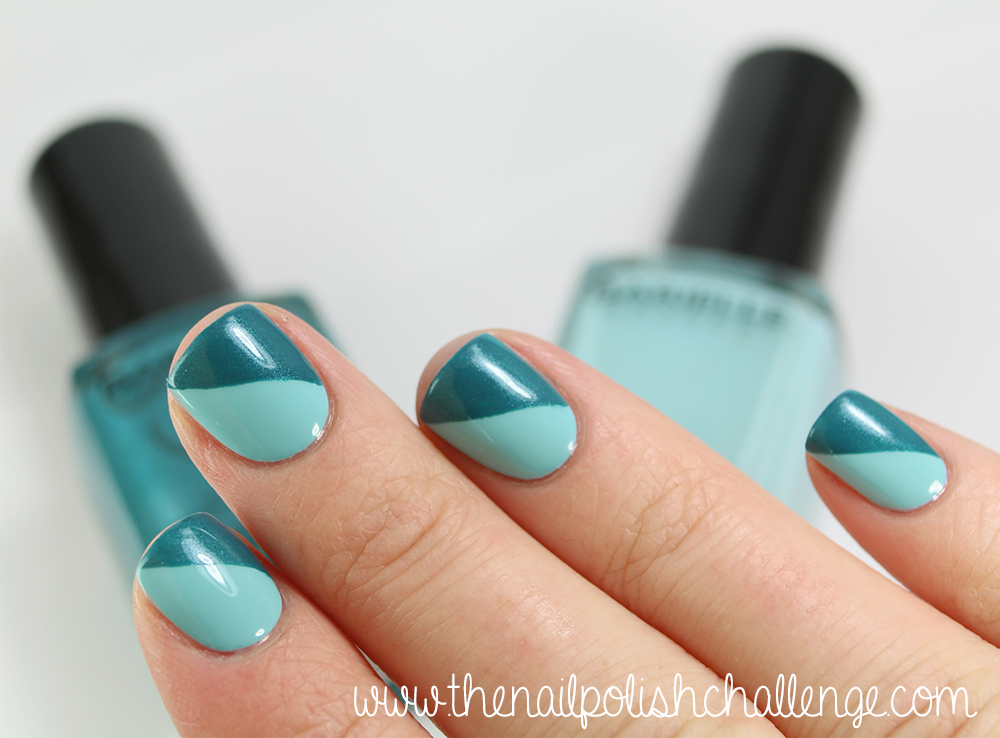
Step 4: Paint Over the Tape
 Now it's time to add color to your design. Choose a contrasting or complementary color and paint over the tape, making sure to cover the edges. You can also use multiple colors for a more vibrant look. Don't worry about any polish getting on the tape; it will be removed in the next step.
Step 5: Remove the Tape
 After the polish is dry, carefully remove the tape to reveal your unique nail design. If there are any imperfections, you can use a small brush dipped in nail polish remover to clean up the edges.
Step 6: Seal the Design with a Top Coat
 To ensure your design lasts longer, apply a top coat to seal and protect it. This will also give your nails a glossy finish.
With these simple steps, you can achieve a trendy and stylish nail design using just tape. Experiment with different colors and patterns to create a new look every time. So next time you want to add some flair to your nails, don't hesitate to try tape nail art design for a quick and easy way to elevate your manicure game.
To ensure your design lasts longer, apply a top coat to seal and protect it. This will also give your nails a glossy finish.
With these simple steps, you can achieve a trendy and stylish nail design using just tape. Experiment with different colors and patterns to create a new look every time. So next time you want to add some flair to your nails, don't hesitate to try tape nail art design for a quick and easy way to elevate your manicure game.


