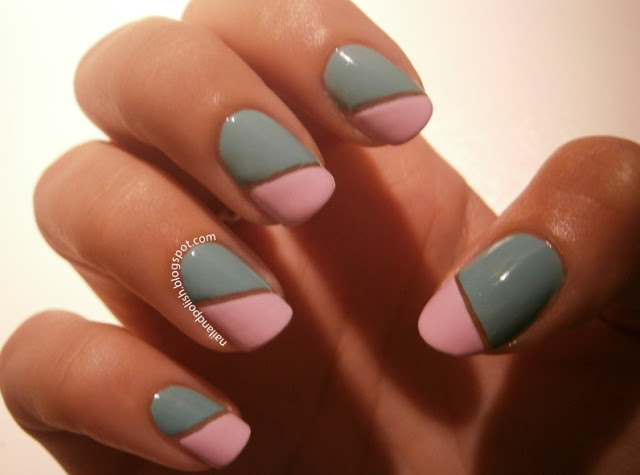
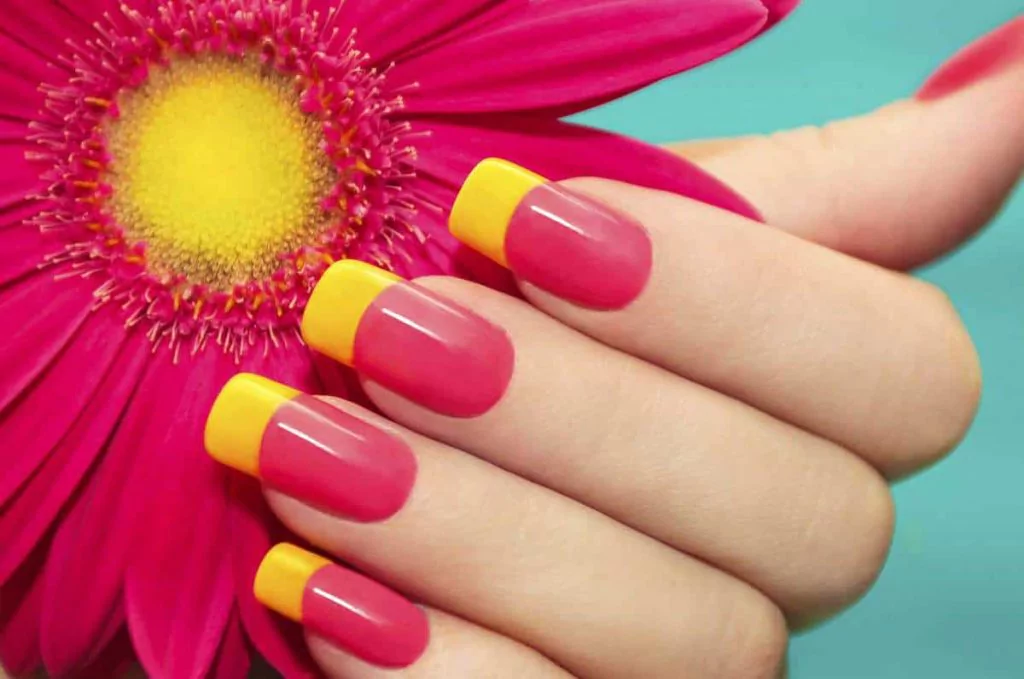
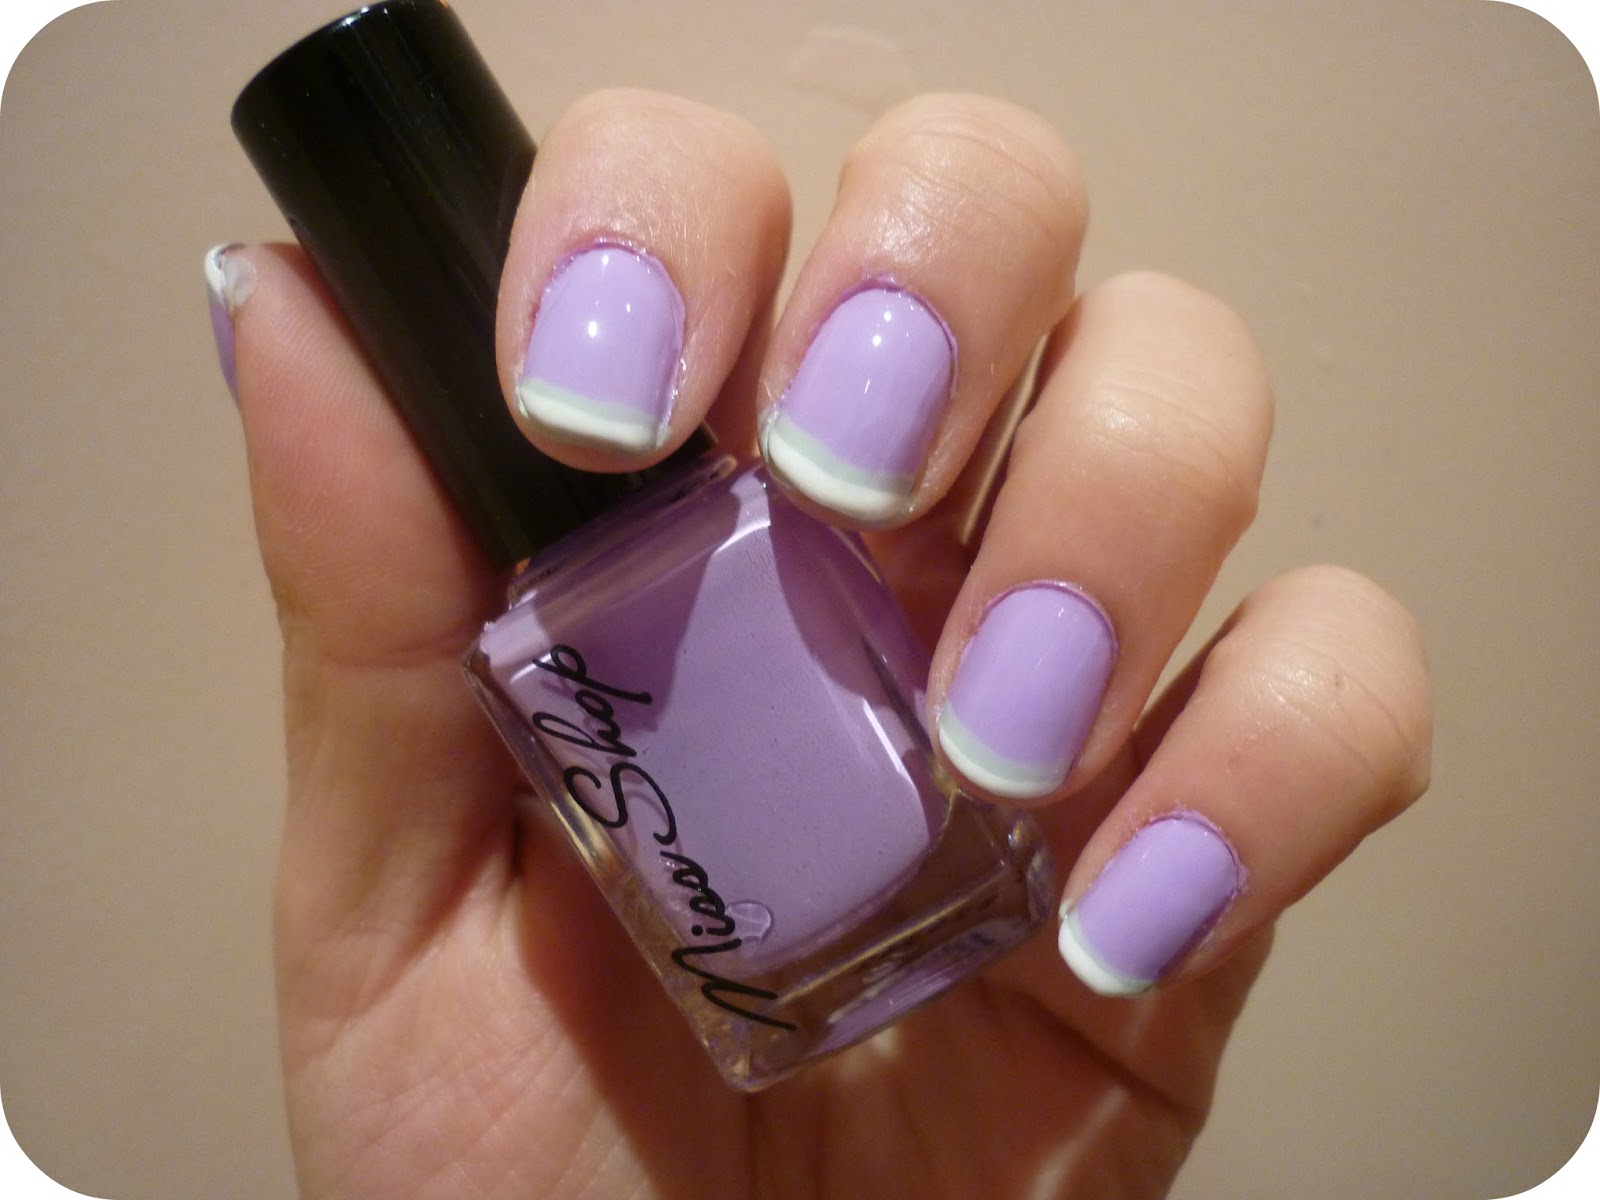
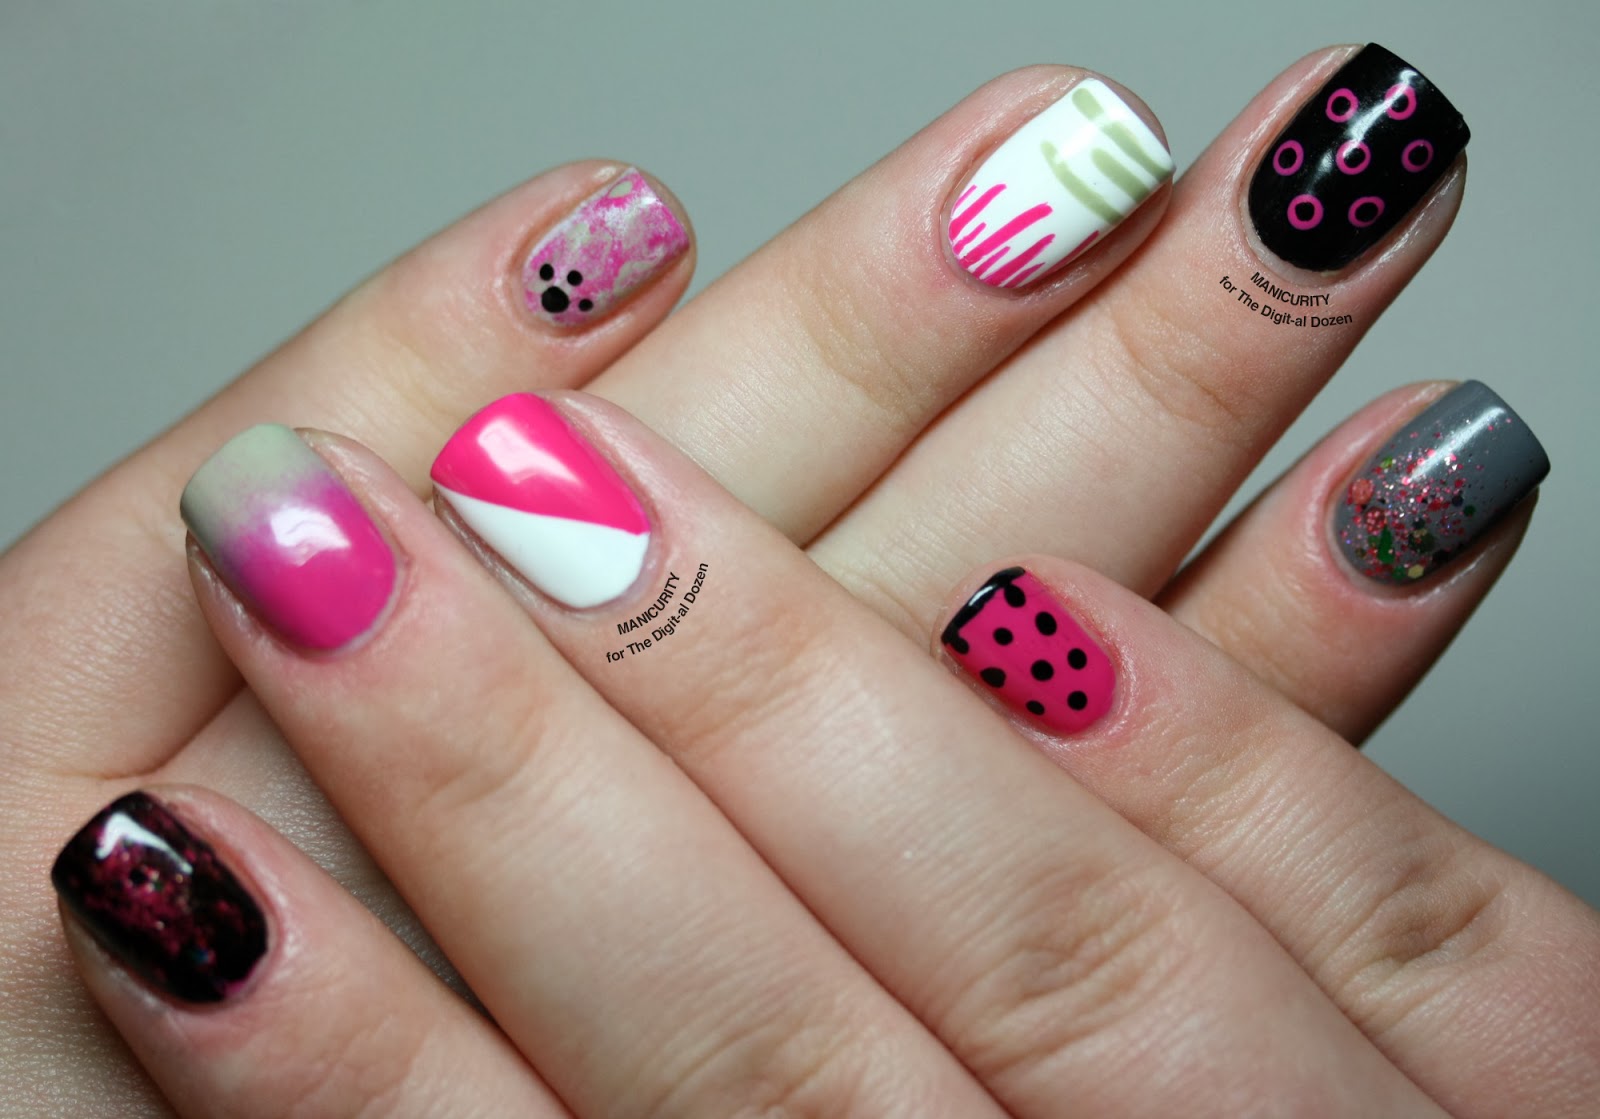
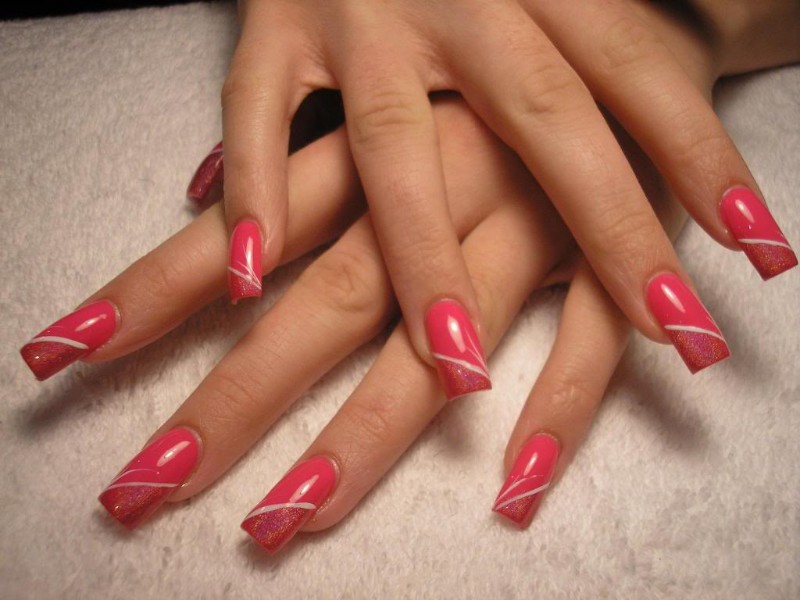
Looking for an easy way to add some pizzazz to your nails? Look no further than the simple two-tone nail art design. This classic design is perfect for beginners and can be achieved with just two colors of your choice. Just follow these simple steps to achieve a chic and stylish look for your nails. To start, gather your nail polish in two complementary colors. This could be two shades of the same color or two completely different colors, depending on your preference. You will also need a base coat and top coat to protect your nails and make the design last longer. Begin by applying a base coat to your nails and letting it dry completely. Next, take the first color and paint your entire nail, leaving a small space at the base of your nail unpainted. This will create a french tip effect. Once the first color is dry, take the second color and paint the base of your nail, slightly overlapping the first color. Use a steady hand or nail tape to create a clean line between the two colors. Let this dry completely before adding a top coat to seal in the design and add shine. And there you have it, a simple two-tone nail art design that is both easy and stylish. Experiment with different color combinations and have fun with this versatile design.1. Simple Two-Tone Nail Art Design


1. Simple Two-Tone Nail Art Design


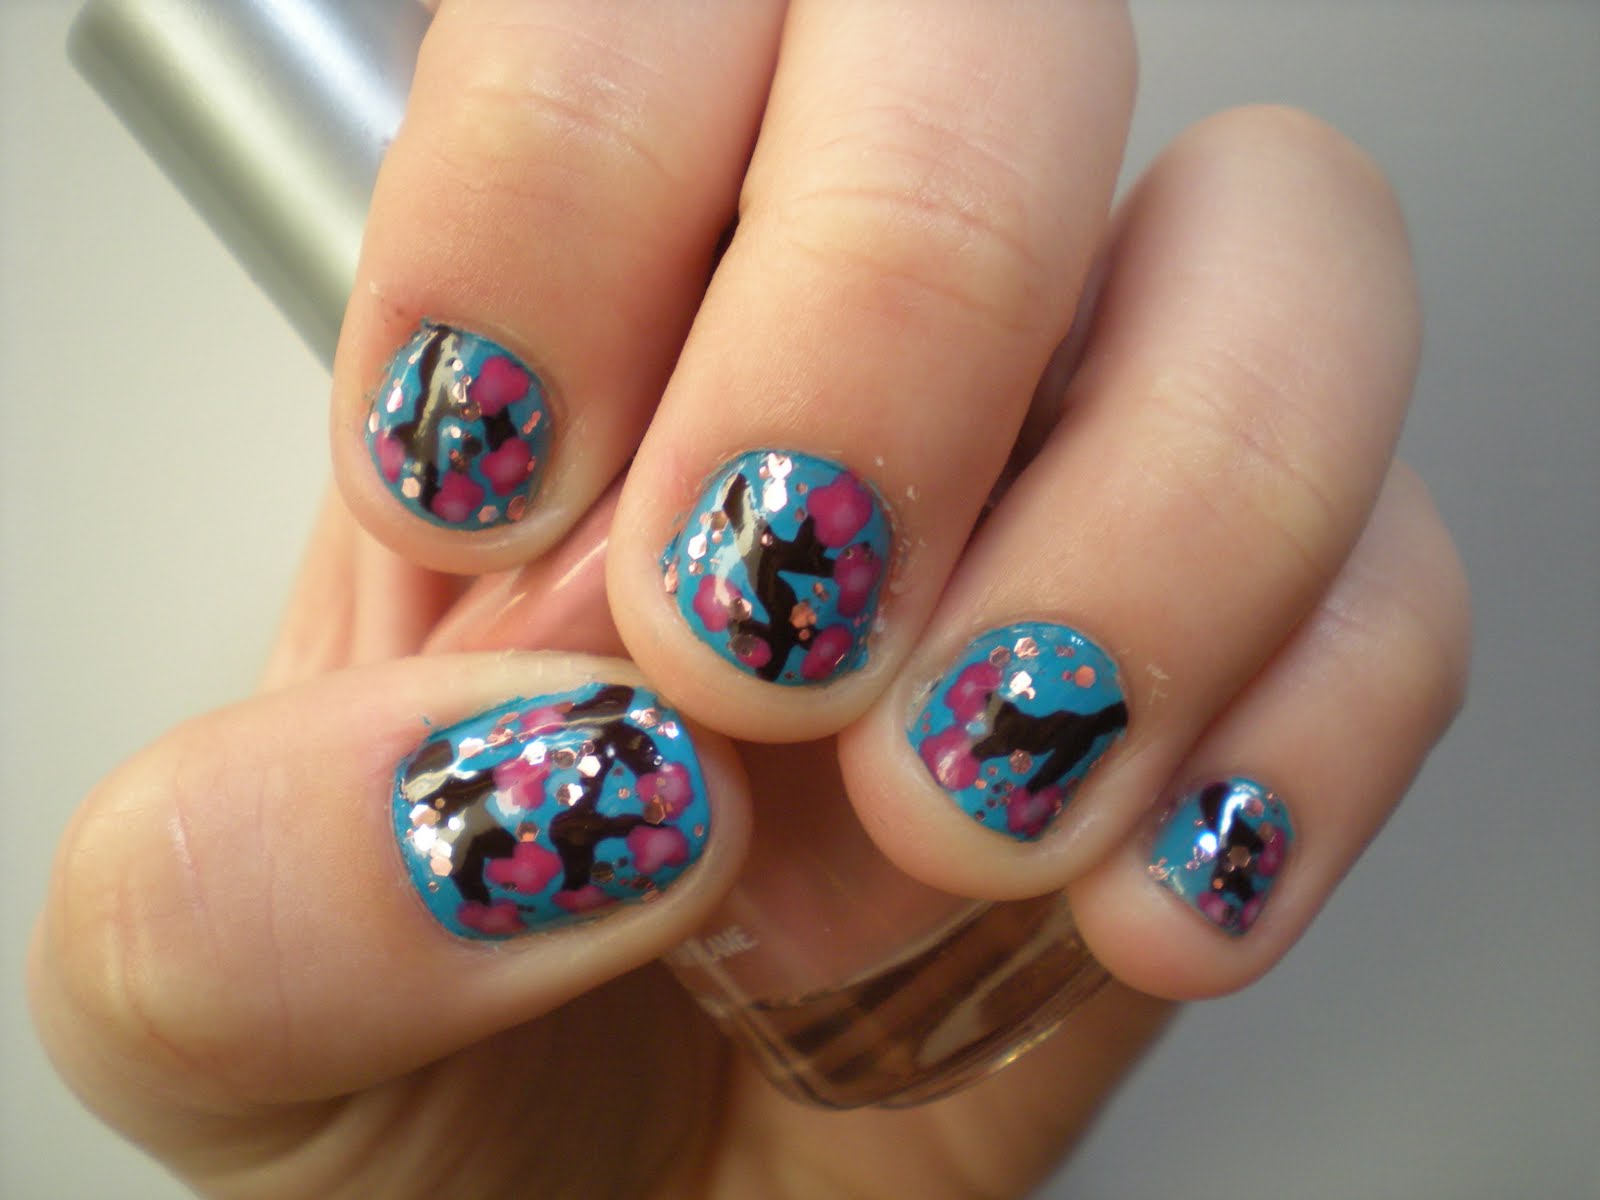
If you're new to nail art, it can seem intimidating to try out different designs. But with this easy two-color nail art tutorial, you'll be creating stunning designs in no time. First, gather your supplies: two complementary nail polish colors, a base coat, a top coat, and a small brush or nail art pen. You can also use tape or nail stencils to create clean lines and shapes. Start by applying a base coat to protect your nails. Then, take the first color and paint your entire nail. Once it's dry, use the second color to add dots, stripes, or geometric shapes to your nails. You can also use the small brush or nail art pen to create floral or abstract designs. Let the design dry completely before adding a top coat to seal it in and give it a glossy finish. And just like that, you have an easy two-color nail art design that is sure to turn heads.2. Easy Two-Color Nail Art Tutorial


2. Easy Two-Color Nail Art Tutorial


If you're short on time but still want to add some flair to your nails, these quick and easy two-color nail designs are perfect for you. Start by choosing two complementary colors and applying a base coat to your nails. Then, take the first color and paint your entire nail. Let it dry completely before using the second color to add dots, stripes, or shapes to your nails. For a more edgy and modern look, try painting one half of your nail with one color and the other half with the second color. You can also use nail stickers or rhinestones to add some extra sparkle to your design. Once your design is complete, add a top coat to seal it in and give it a glossy finish. These quick and easy two-color nail designs are perfect for those who want to switch up their look without spending too much time on their nails.3. Quick and Easy Two-Color Nail Designs

3. Quick and Easy Two-Color Nail Designs


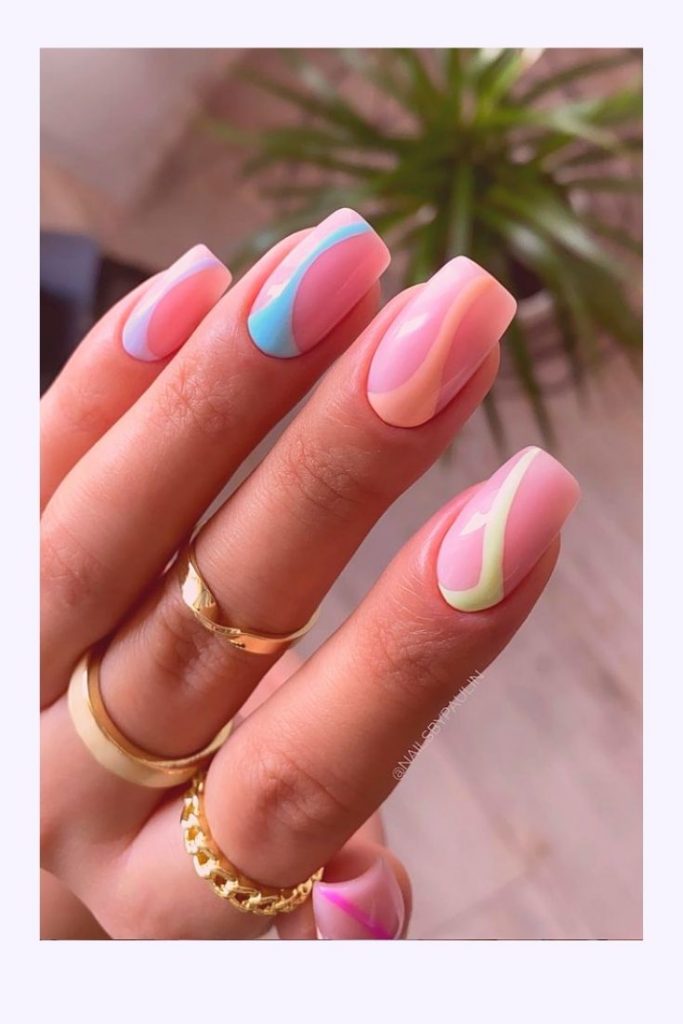
If you're new to nail art, it can be overwhelming to see all the intricate and complex designs out there. But don't worry, these two-color nail art ideas are perfect for beginners. Start with a base coat and two complementary colors of your choice. You can also use nail stencils or tape to create clean lines and shapes. Begin by painting your entire nail with one color and letting it dry completely. Next, use the second color to create dots, stripes, or shapes on your nails. You can also use a small brush or nail art pen to create floral or abstract designs. Once your design is complete, add a top coat to seal it in and give it a glossy finish. These two-color nail art ideas are perfect for beginners and are sure to impress.4. Two-Color Nail Art Ideas for Beginners
4. Two-Color Nail Art Ideas for Beginners


Short nails can be just as stylish as long nails, and these easy two-color nail designs are perfect for those with shorter nails. Start with a base coat and two complementary colors of your choice. Then, paint your entire nail with one color and let it dry completely. Next, use the second color to add dots, stripes, or shapes to your nails. You can also use a small brush or nail art pen to create floral or abstract designs. If you have trouble painting intricate designs on your short nails, try using nail stickers or rhinestones to add some extra flair. Finish off with a top coat to seal in your design and give it a glossy finish.5. Easy Two-Color Nail Designs for Short Nails

5. Easy Two-Color Nail Designs for Short Nails


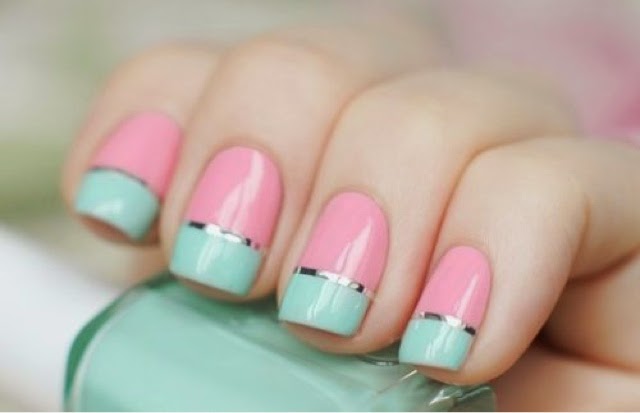
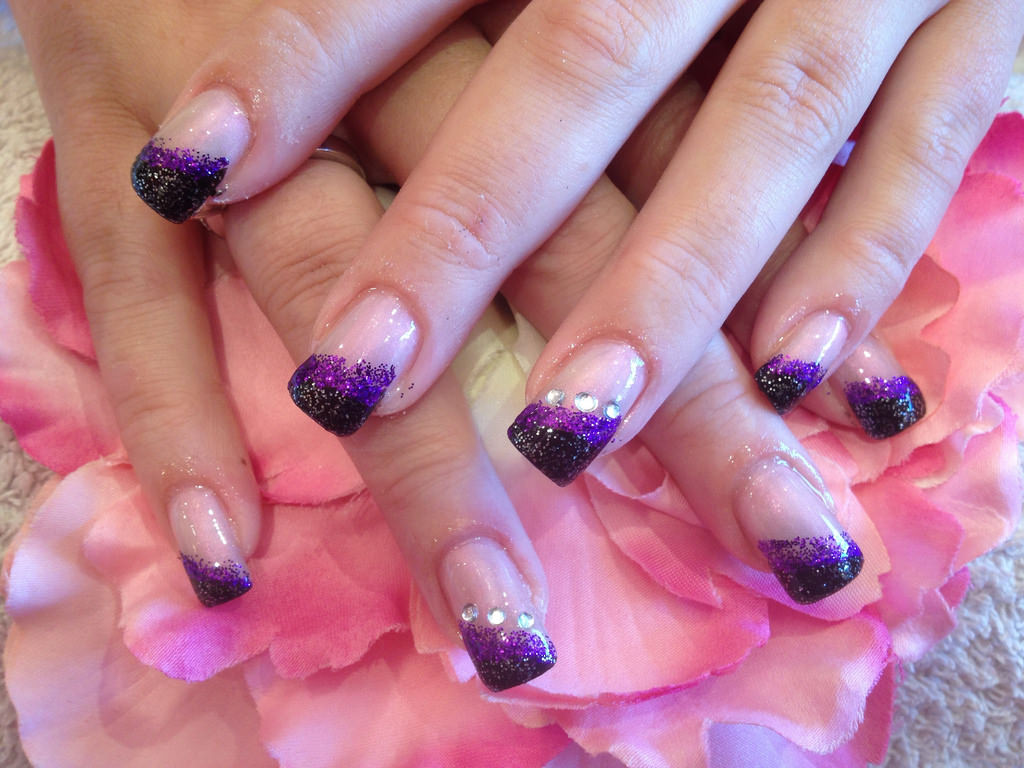
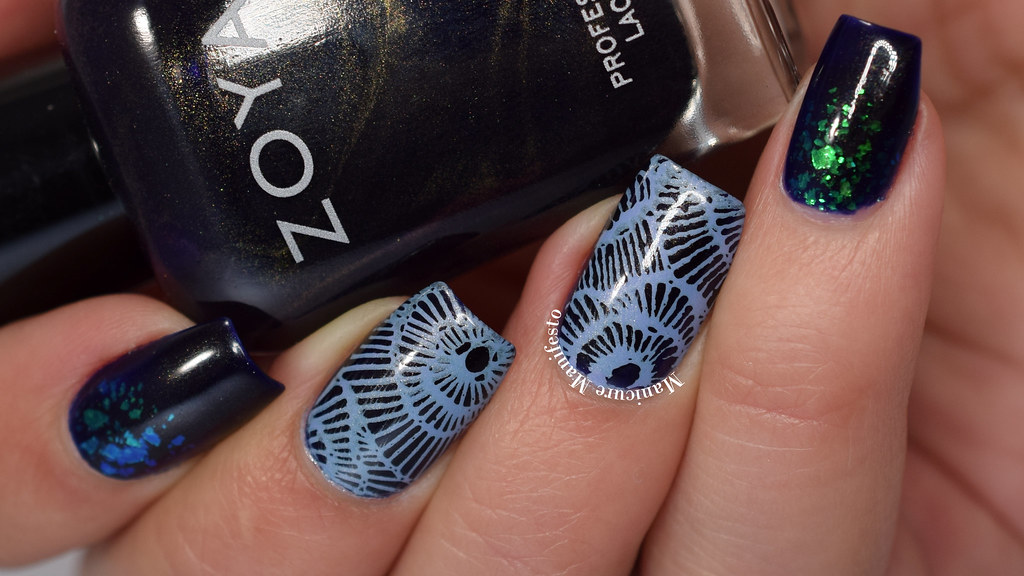
Using tape in your nail art is a great way to create clean and precise lines. These two-color nail art designs with tape are perfect for those who want a more polished look. Start with a base coat and two complementary colors of your choice. Once your base color is dry, cut thin strips of tape and place them on your nails in any pattern you desire. You can also use nail stencils to create different shapes. Paint your nails with the second color and let it dry completely. Once dry, carefully remove the tape to reveal clean and precise lines. Finish off with a top coat to seal in your design and give it a glossy finish.6. Two-Color Nail Art Designs with Tape


6. Two-Color Nail Art Designs with Tape

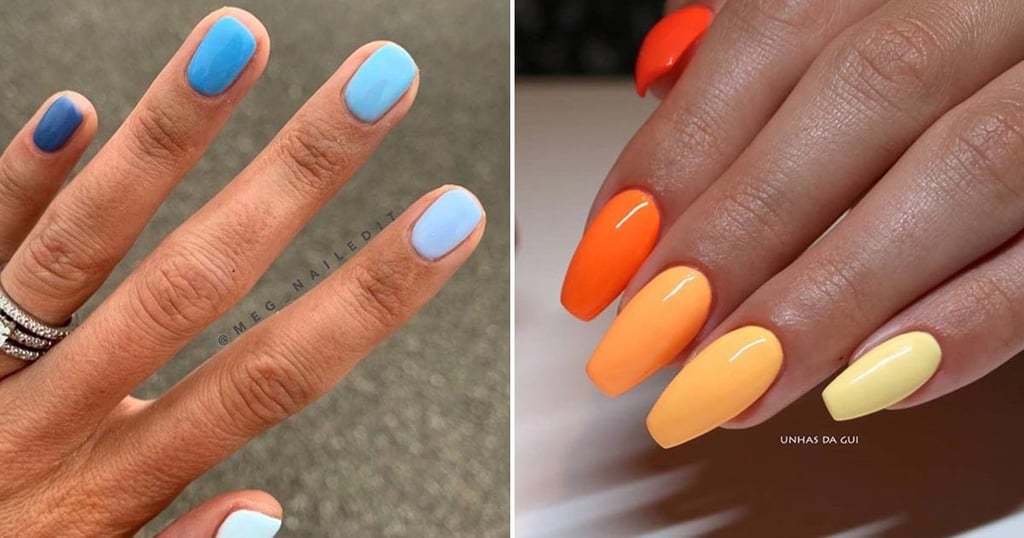
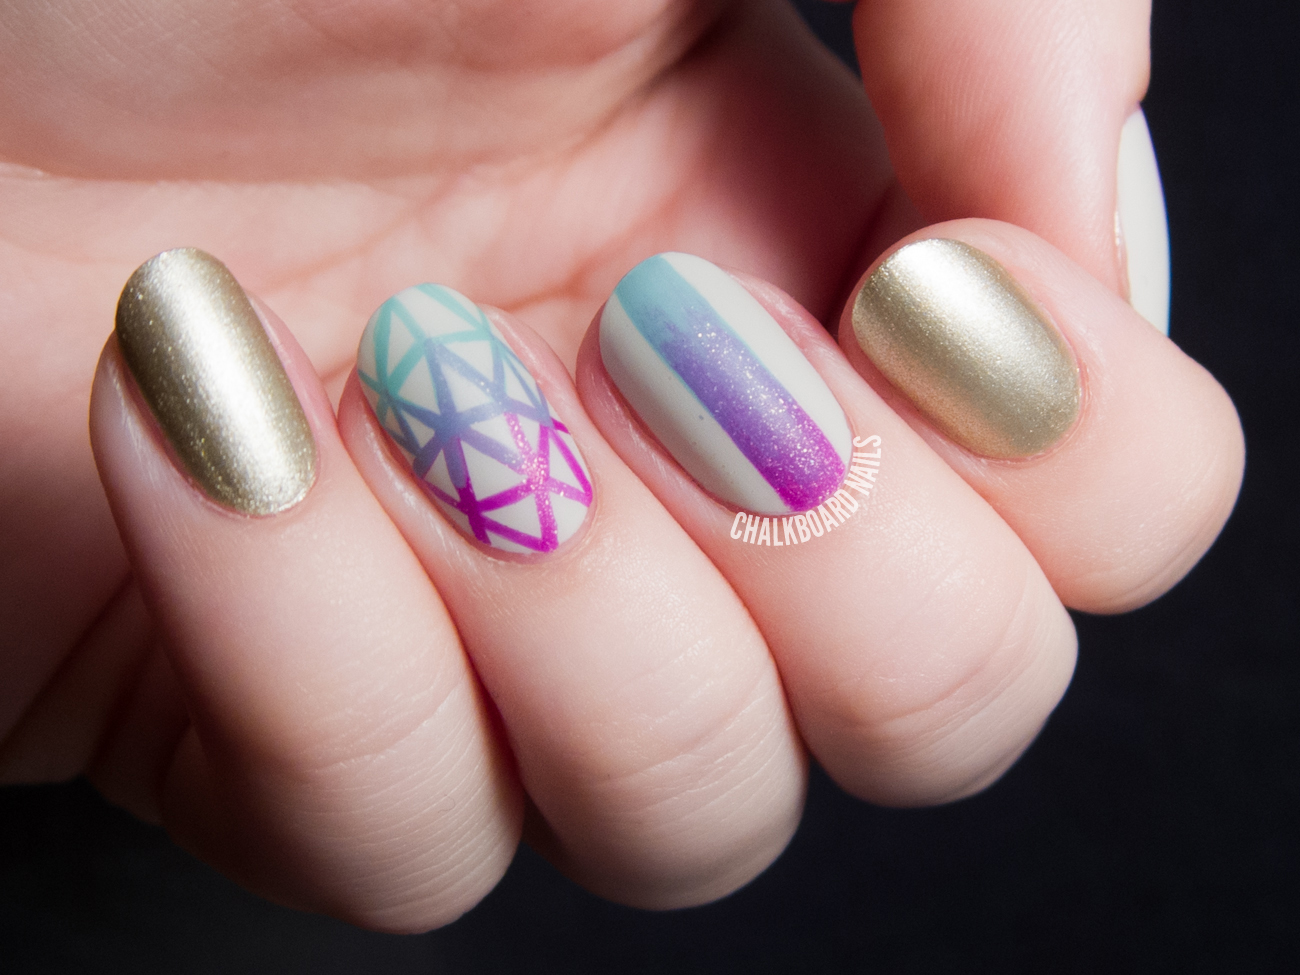
Gradient nail art is a popular and easy way to add some dimension to your nails. These easy two-color gradient nail art designs are perfect for those who want a subtle and seamless look. Start with a base coat and two complementary colors of your choice. Paint your nails with the lighter color and let it dry completely. Next, take a makeup sponge and paint the two colors next to each other on the sponge. Press the sponge onto your nails, moving it from side to side to create a gradient effect. Once the design is dry, add a top coat to seal it in and give it a glossy finish. This easy two-color gradient nail art is perfect for any occasion.7. Easy Two-Color Gradient Nail Art

7. Easy Two-Color Gradient Nail Art


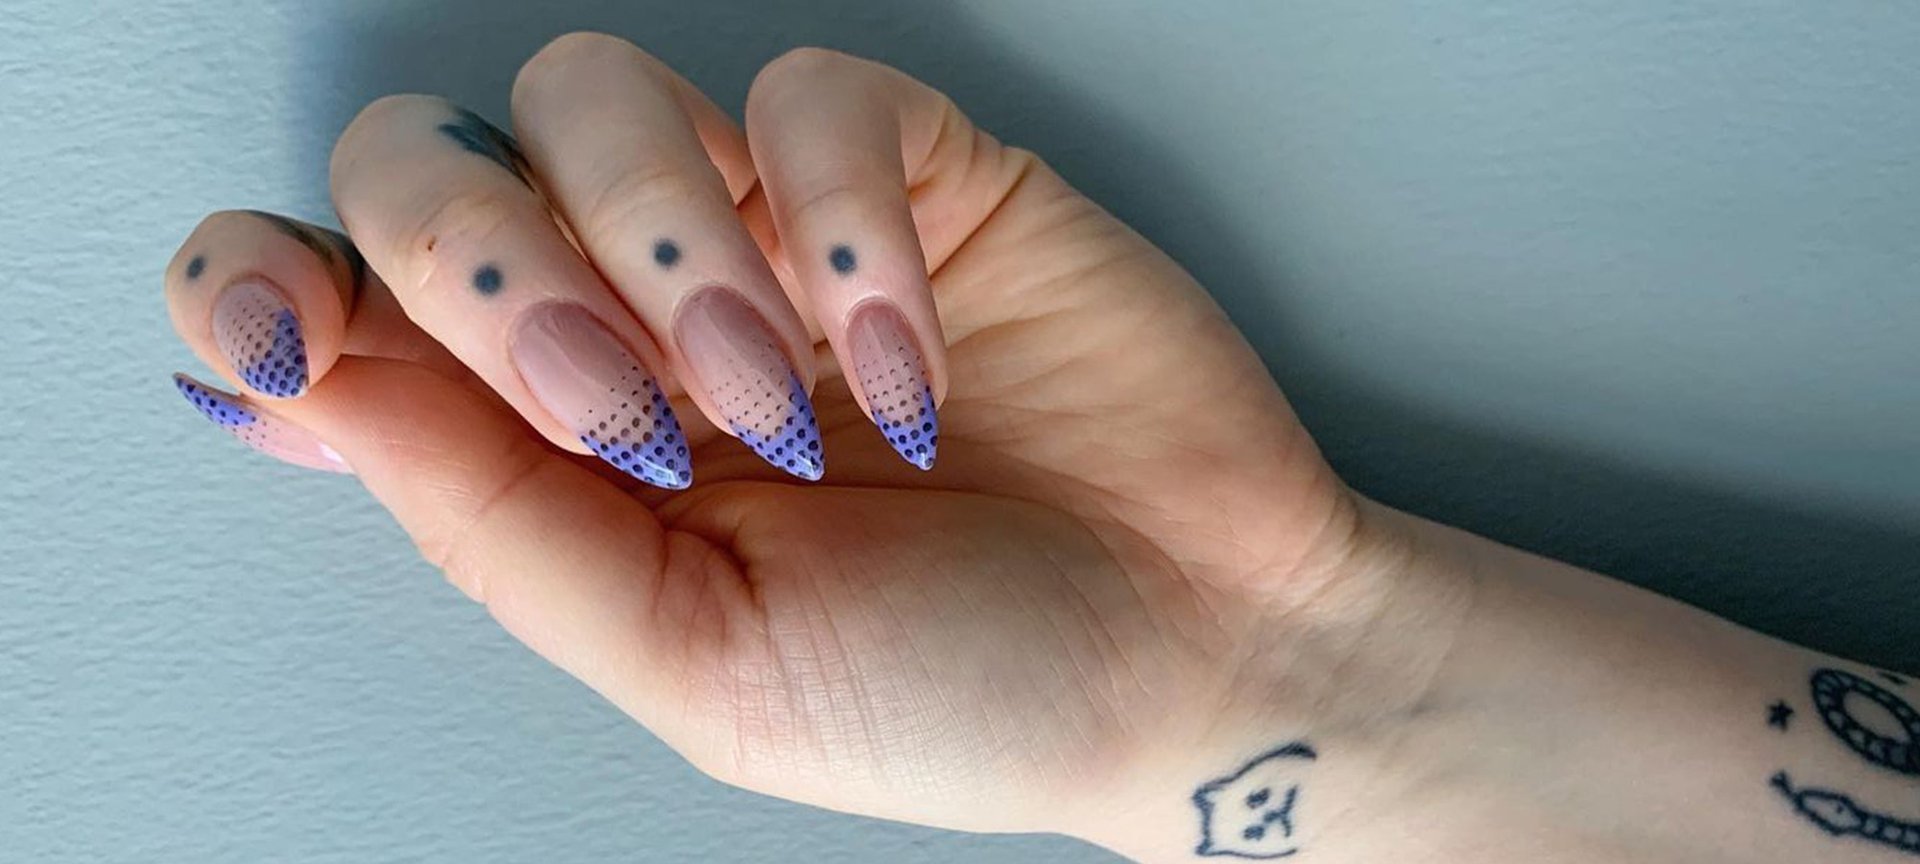
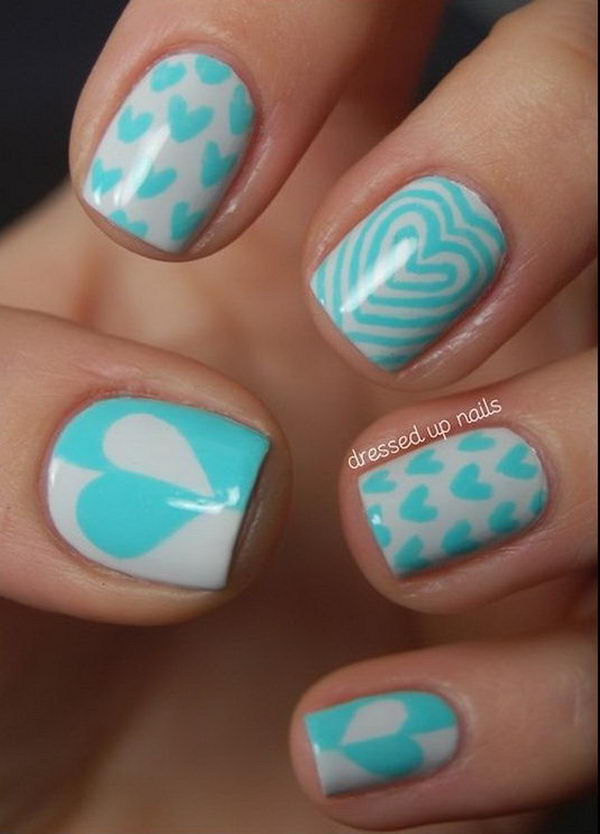
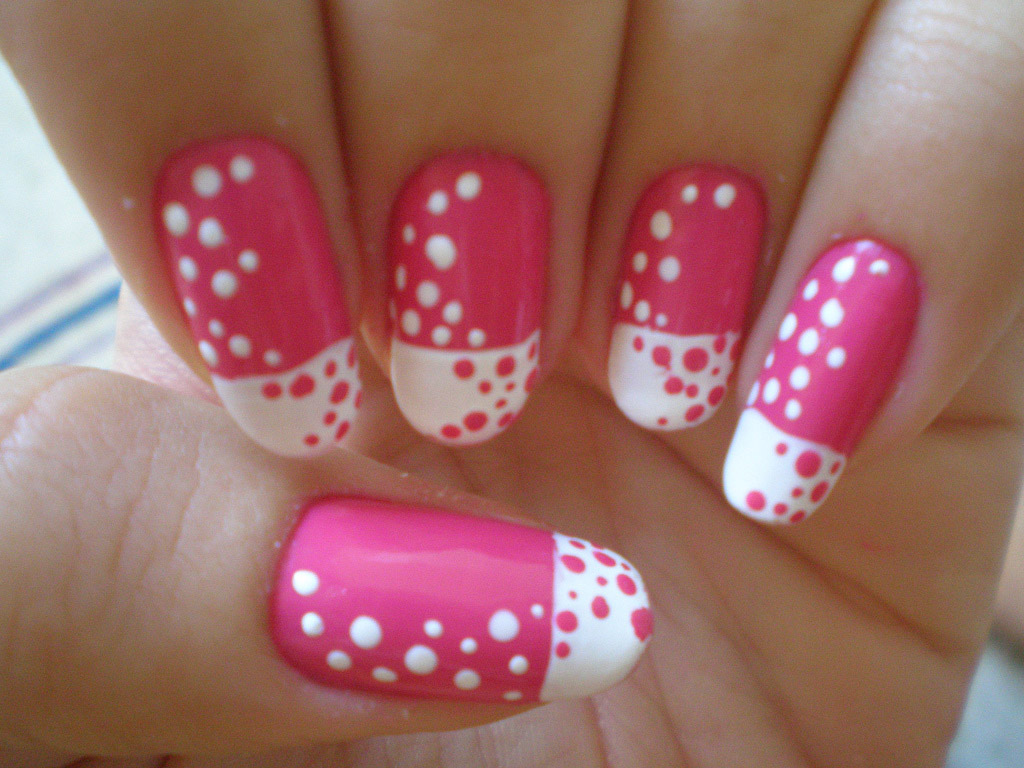
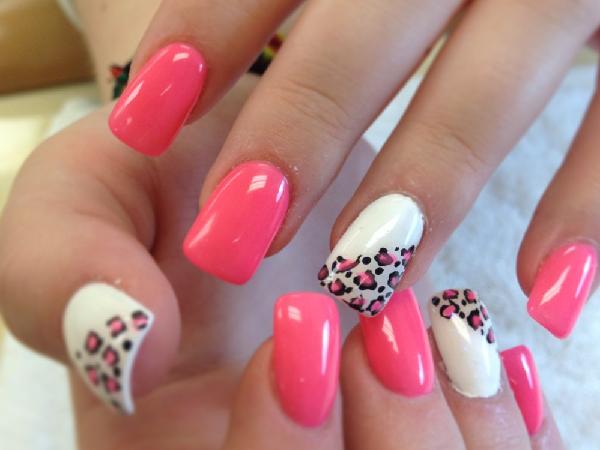
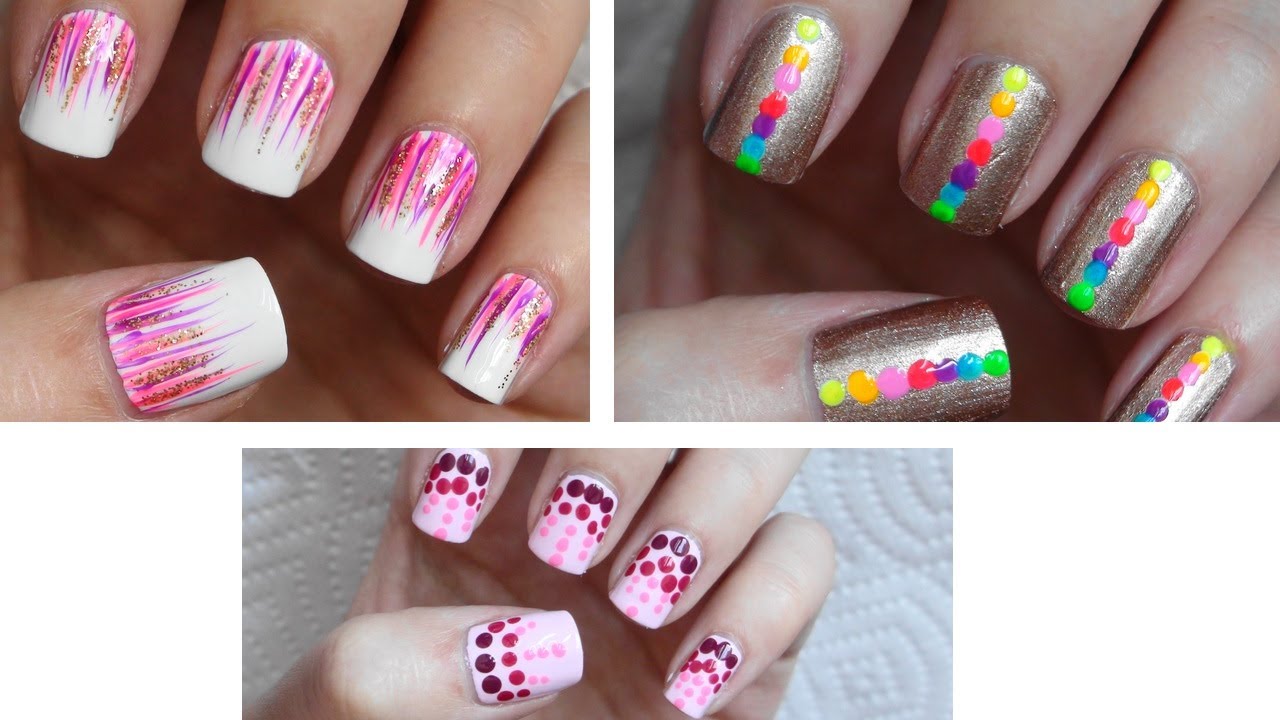
Dots are a simple and easy way to add some fun to your nails. These two-color nail art designs with dots are perfect for those who want a playful and whimsical look. Start with a base coat and two complementary colors of your choice. Paint your nails with one color and let it dry completely. Next, use the second color to create dots of various sizes on your nails. You can use a dotting tool or the end of a bobby pin to create the dots. You can also use multiple colors and create a polka dot effect. Once your design is complete, add a top coat to seal it in and give it a glossy finish.8. Two-Color Nail Art Designs with Dots

8. Two-Color Nail Art Designs with Dots


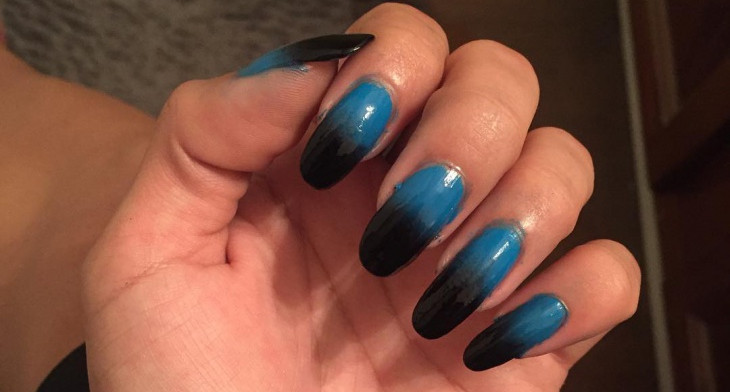
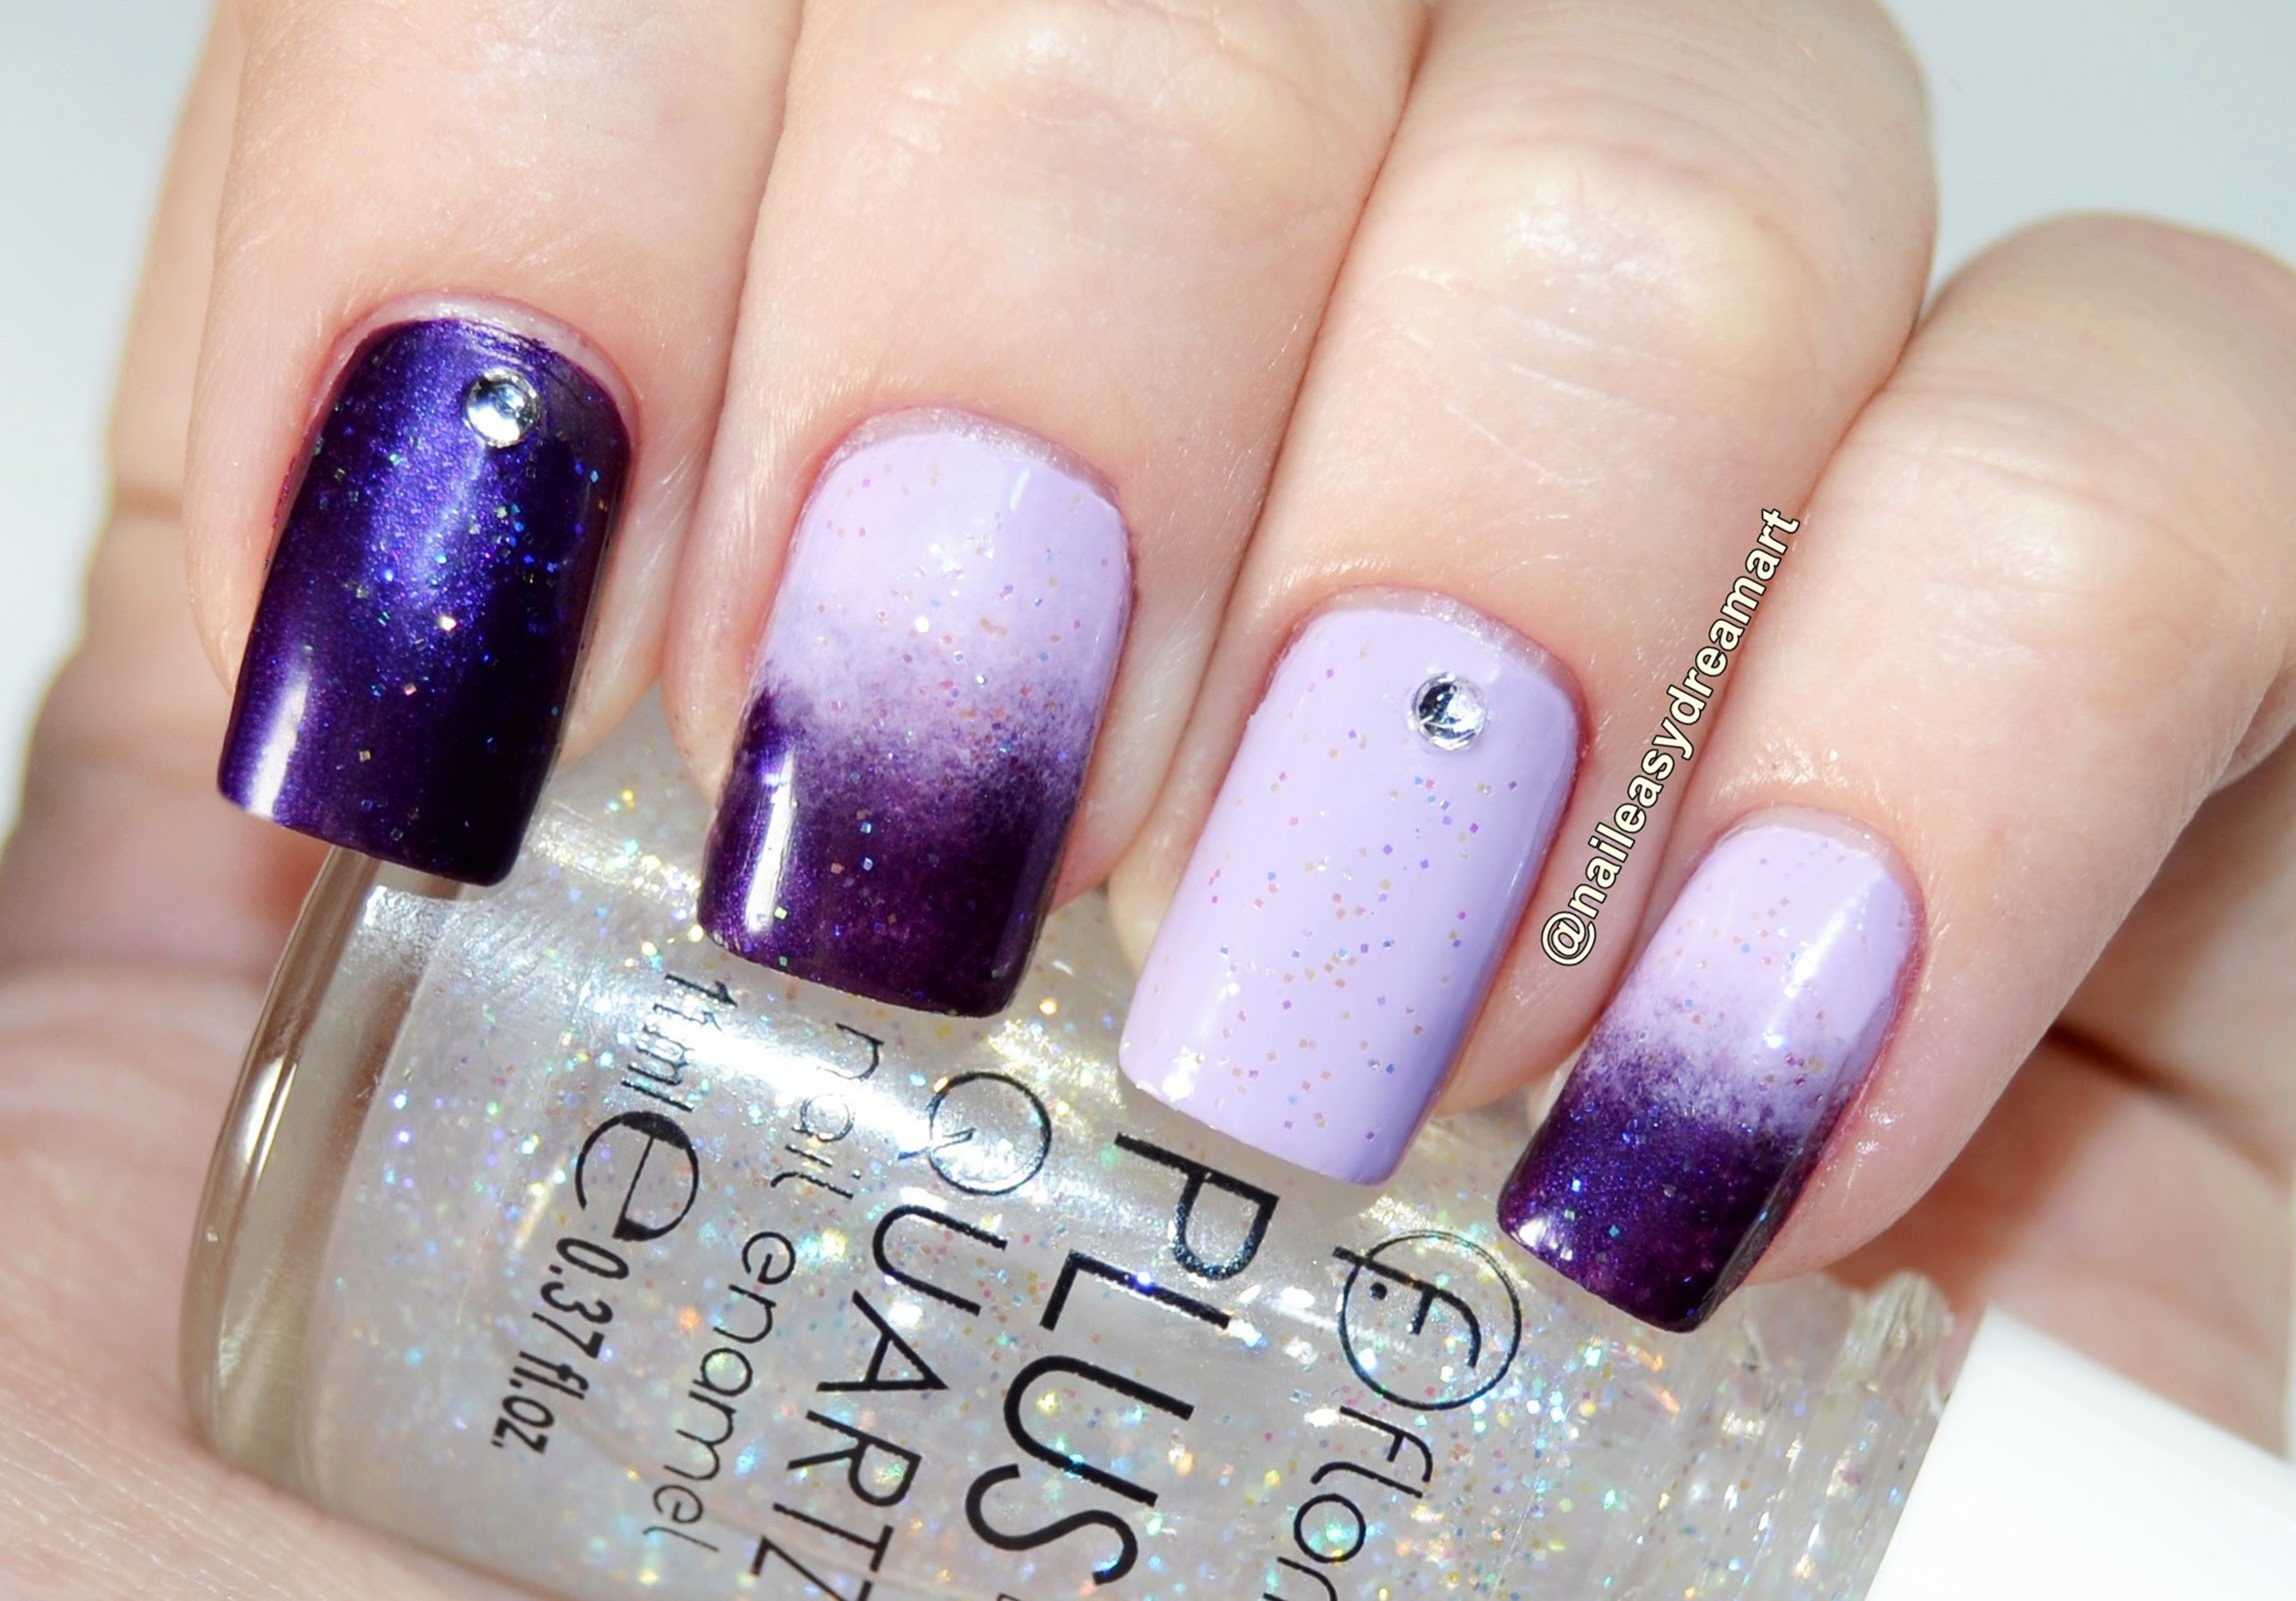
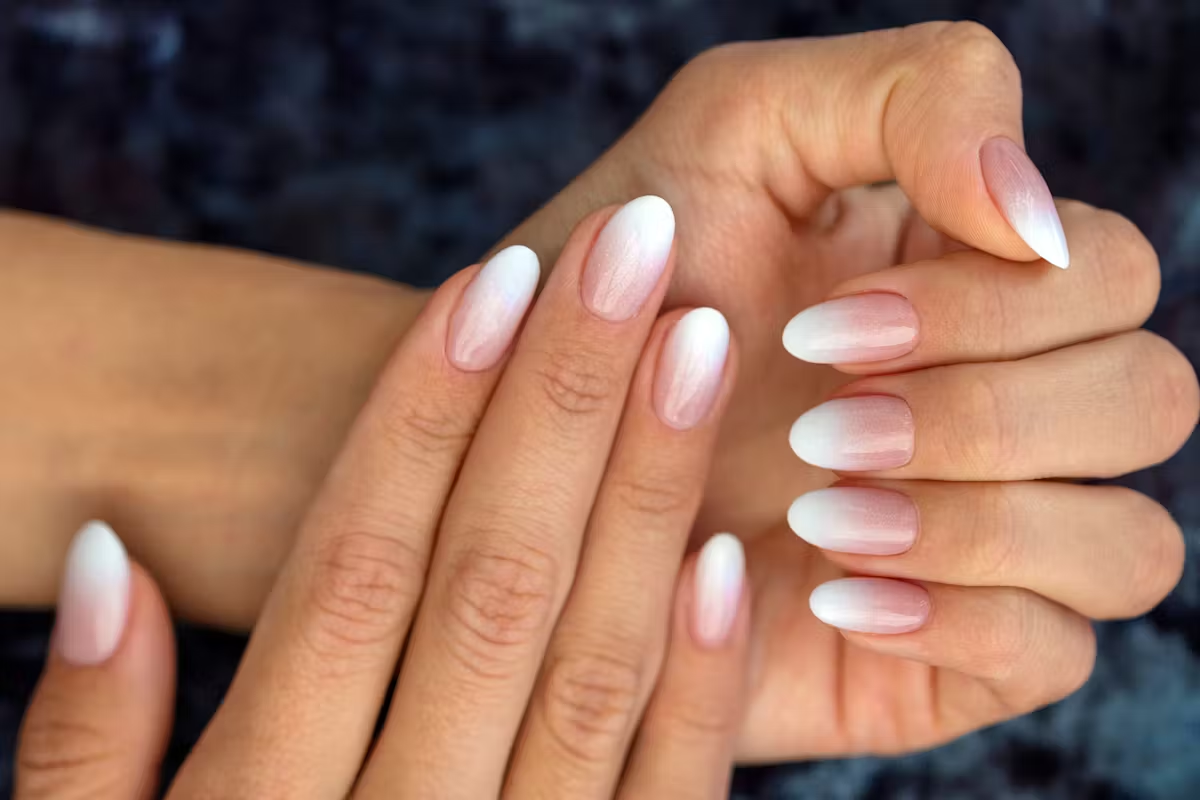
Ombre is a popular and easy way to add some ombre effect to your nails. These simple two-color ombre nail art designs are perfect for those who want a subtle and chic look. Start with a base coat and two complementary colors of your choice. Paint your nails with the lighter color and let it dry completely. Then, take a makeup sponge and paint the two colors next to each other on the sponge. Press the sponge onto your nails, moving it from side to side to create an ombre effect. You can also use a nail polish brush to blend the two colors together. Finish off with a top coat to seal in your design and give it a glossy finish.9. Simple Two-Color Ombre Nail Art


9. Simple Two-Color Ombre Nail Art


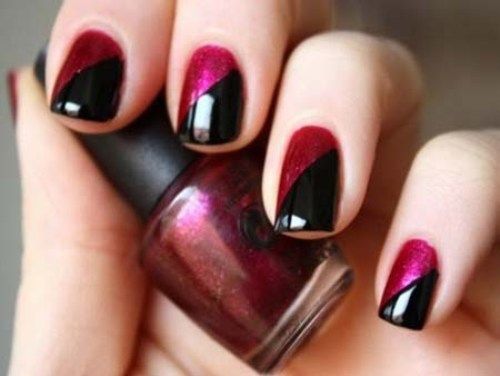
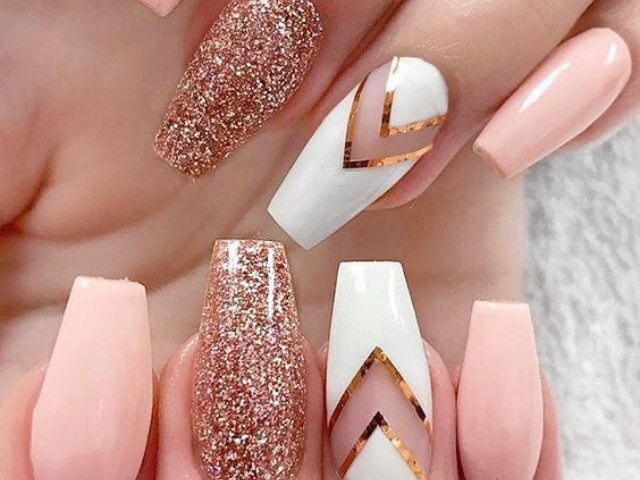
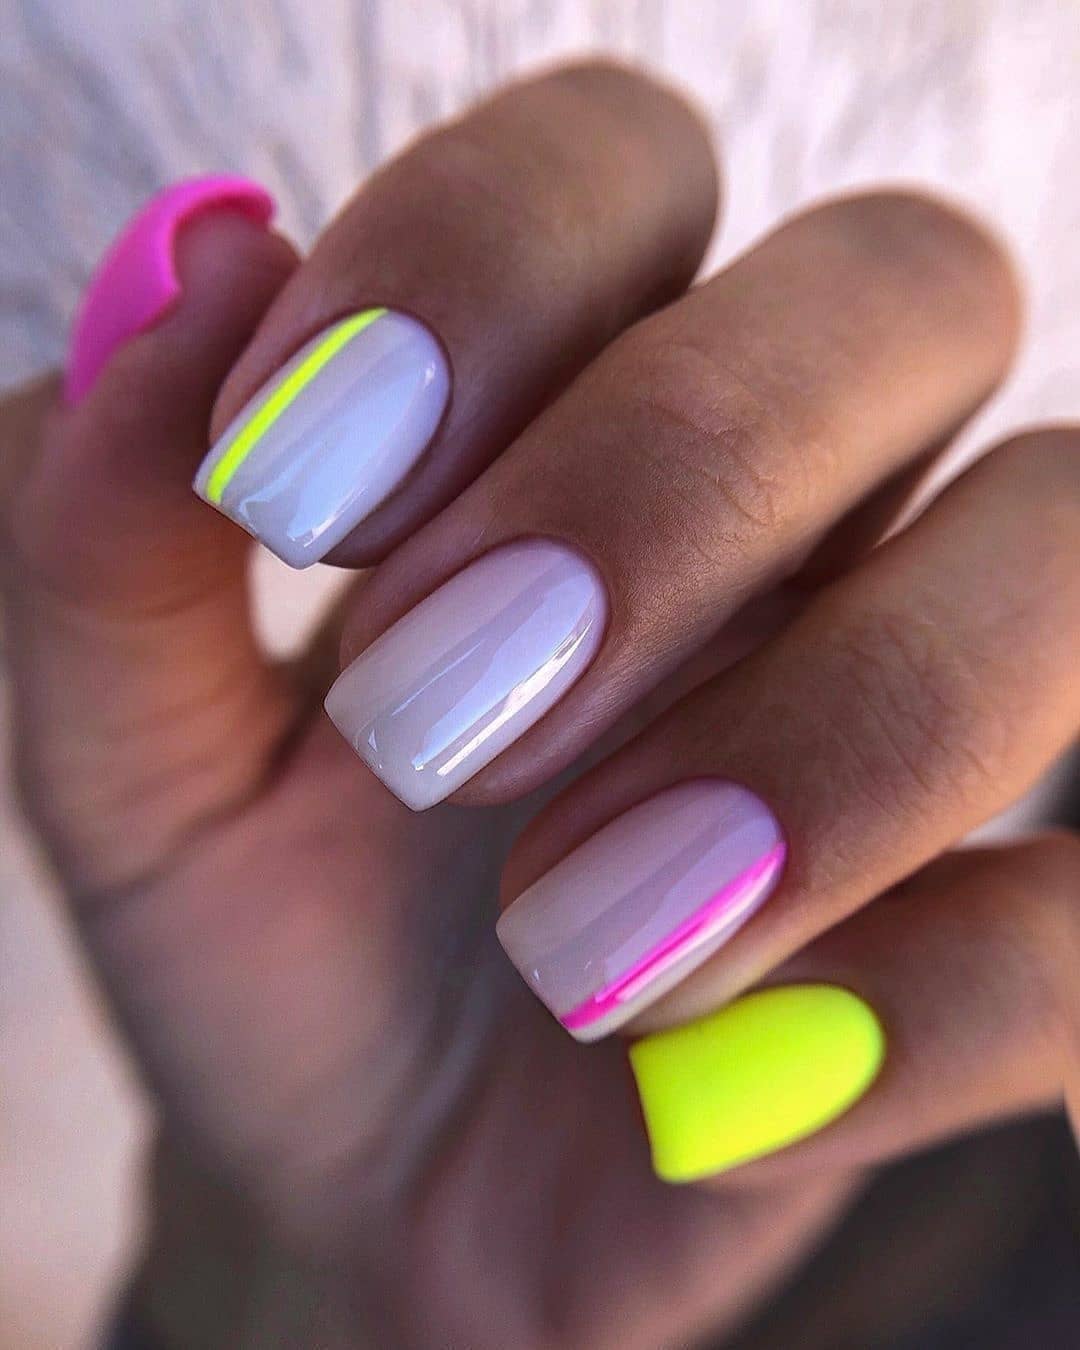
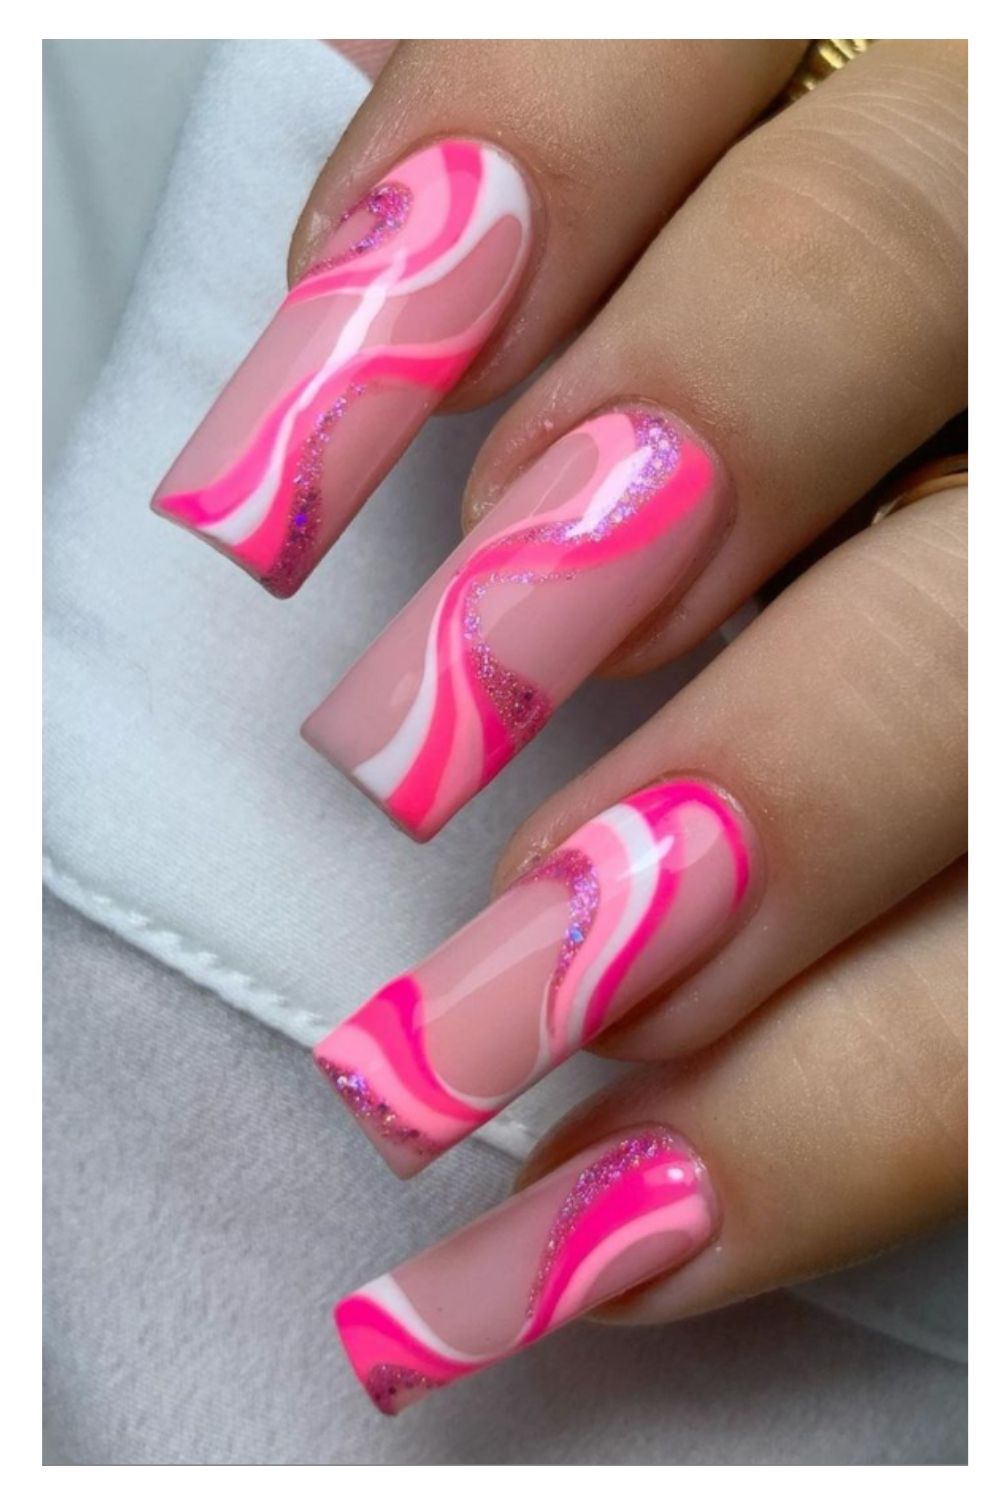
Stripes are a classic and easy way to add some striking design to your nails. These easy two-color nail art designs with stripes are perfect for those who want a bold and modern look. Start with a base coat and two complementary colors of your choice. Paint your nails with one color and let it dry completely. Next, use nail tape or a small brush to create stripes on your nails with the second color. You can create vertical, horizontal, or diagonal stripes, depending on your preference. Once your design is complete, add a top coat to seal it in and give it a glossy finish. These easy two-color nail art designs with stripes are sure to make a statement.10. Easy Two-Color Nail Art Designs with Stripes
10. Easy Two-Color Nail Art Designs with Stripes


The Popularity of Easy Nail Art Design with Two Colors
:max_bytes(150000):strip_icc()/072922-beauty-nail-art-lead-2000-21de3481261e48a995c855269f9846ad.jpg)
The Rise of Easy Nail Art
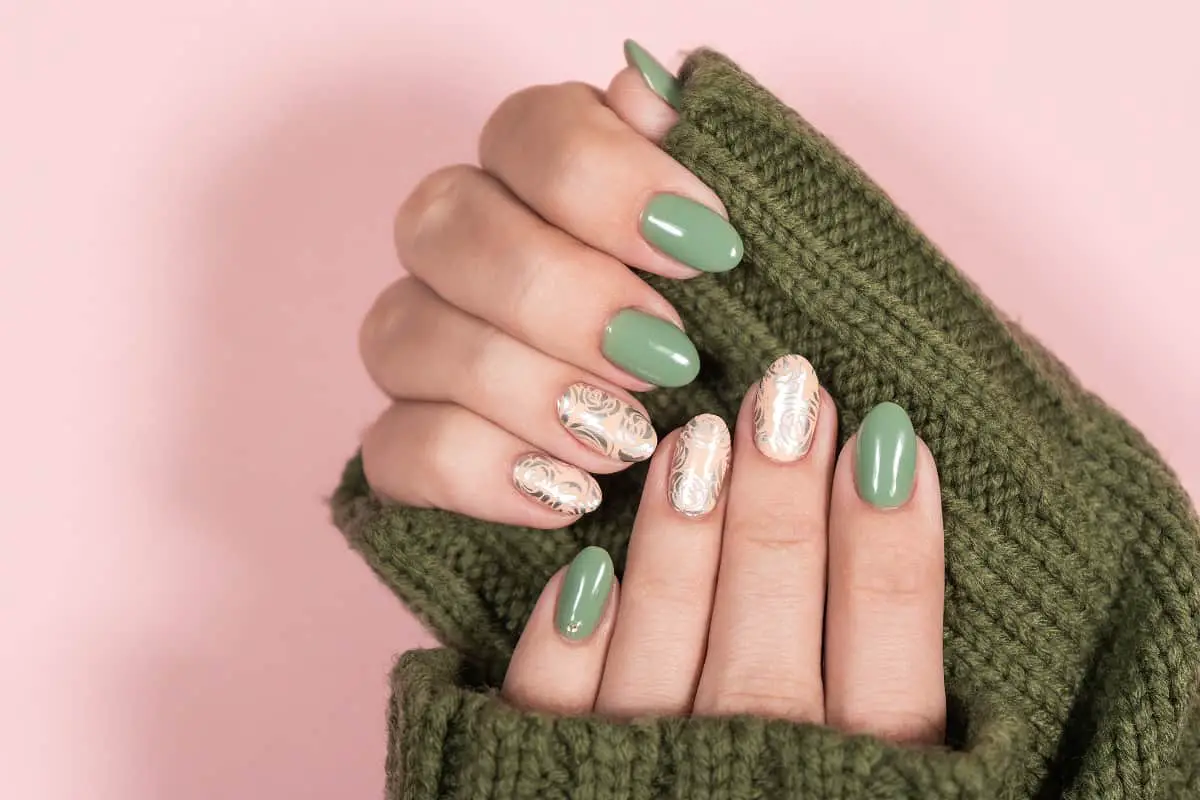
 In recent years, there has been a surge in the popularity of nail art. From simple designs to intricate patterns, people are using their nails as a canvas to express their creativity and style. One trend that has taken the nail art world by storm is easy nail art design with two colors. This trend has gained a loyal following due to its simplicity and versatility, making it a favorite among nail art enthusiasts.
The Appeal of Two-Color Nail Art
 One of the main reasons for the popularity of easy nail art design with two colors is its ability to create a bold and eye-catching look with minimal effort. By using just two colors, you can achieve a stunning and sophisticated design that will make your nails stand out. This makes it a great option for those who are new to nail art or those who don't have the time or skills for more complex designs.
How to Create Easy Nail Art with Two Colors
 Creating easy nail art with two colors is not as daunting as it may seem. All you need are two complementary nail polishes and a few simple tools like a dotting tool or a striping brush. Start by applying a base coat to protect your nails and ensure a smooth application. Then, using your chosen colors, create simple designs such as stripes, dots, or even a half-moon design. The possibilities are endless, and you can let your creativity run wild.
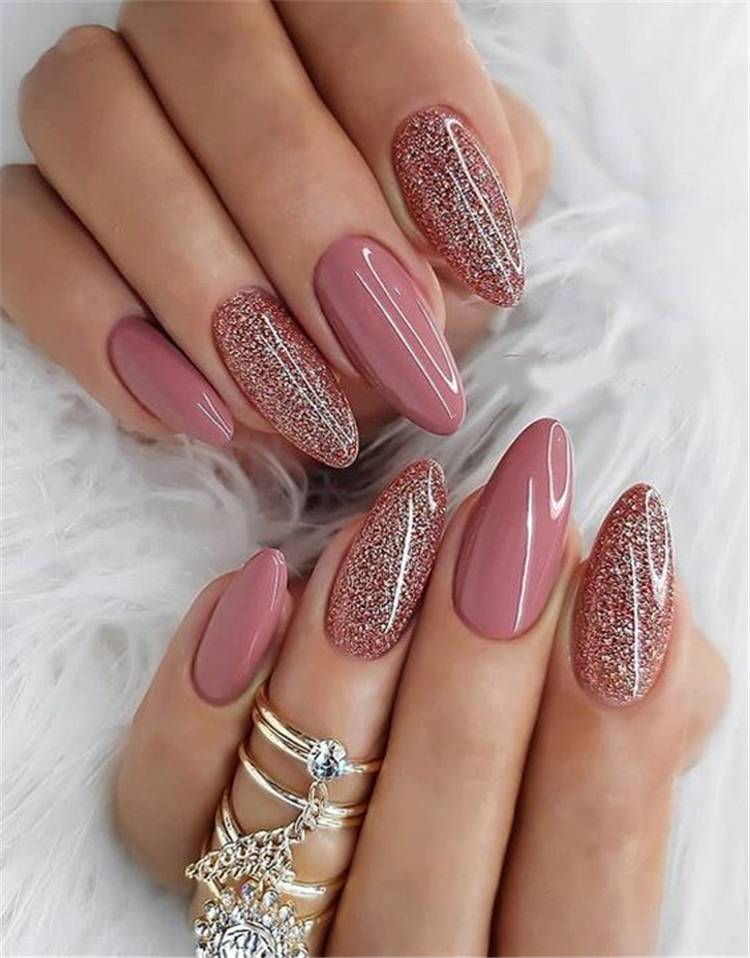
The Versatility of Two-Color Nail Art
 Another reason for the popularity of easy nail art design with two colors is its versatility. You can create a different look every time by simply changing the color combination or the placement of the design. You can also mix and match different patterns or use different finishes like glitter or metallic for a unique and personalized look.
In Conclusion
 Easy nail art design with two colors has become a go-to for those looking for a simple yet stylish way to elevate their nail game. With its ease of application, endless possibilities, and ability to create a bold statement, it's no wonder that this trend has become a favorite among nail art enthusiasts. So go ahead and try it out for yourself, and let your nails do the talking with this trendy and effortless nail art design.


