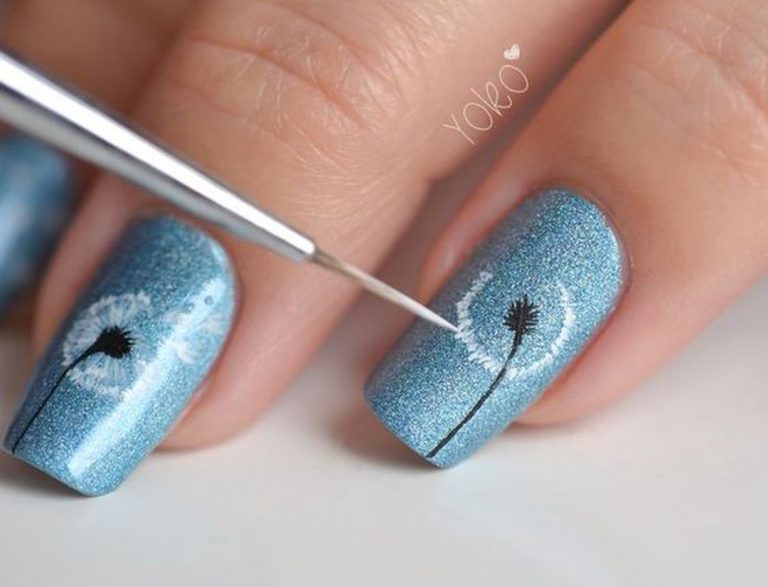
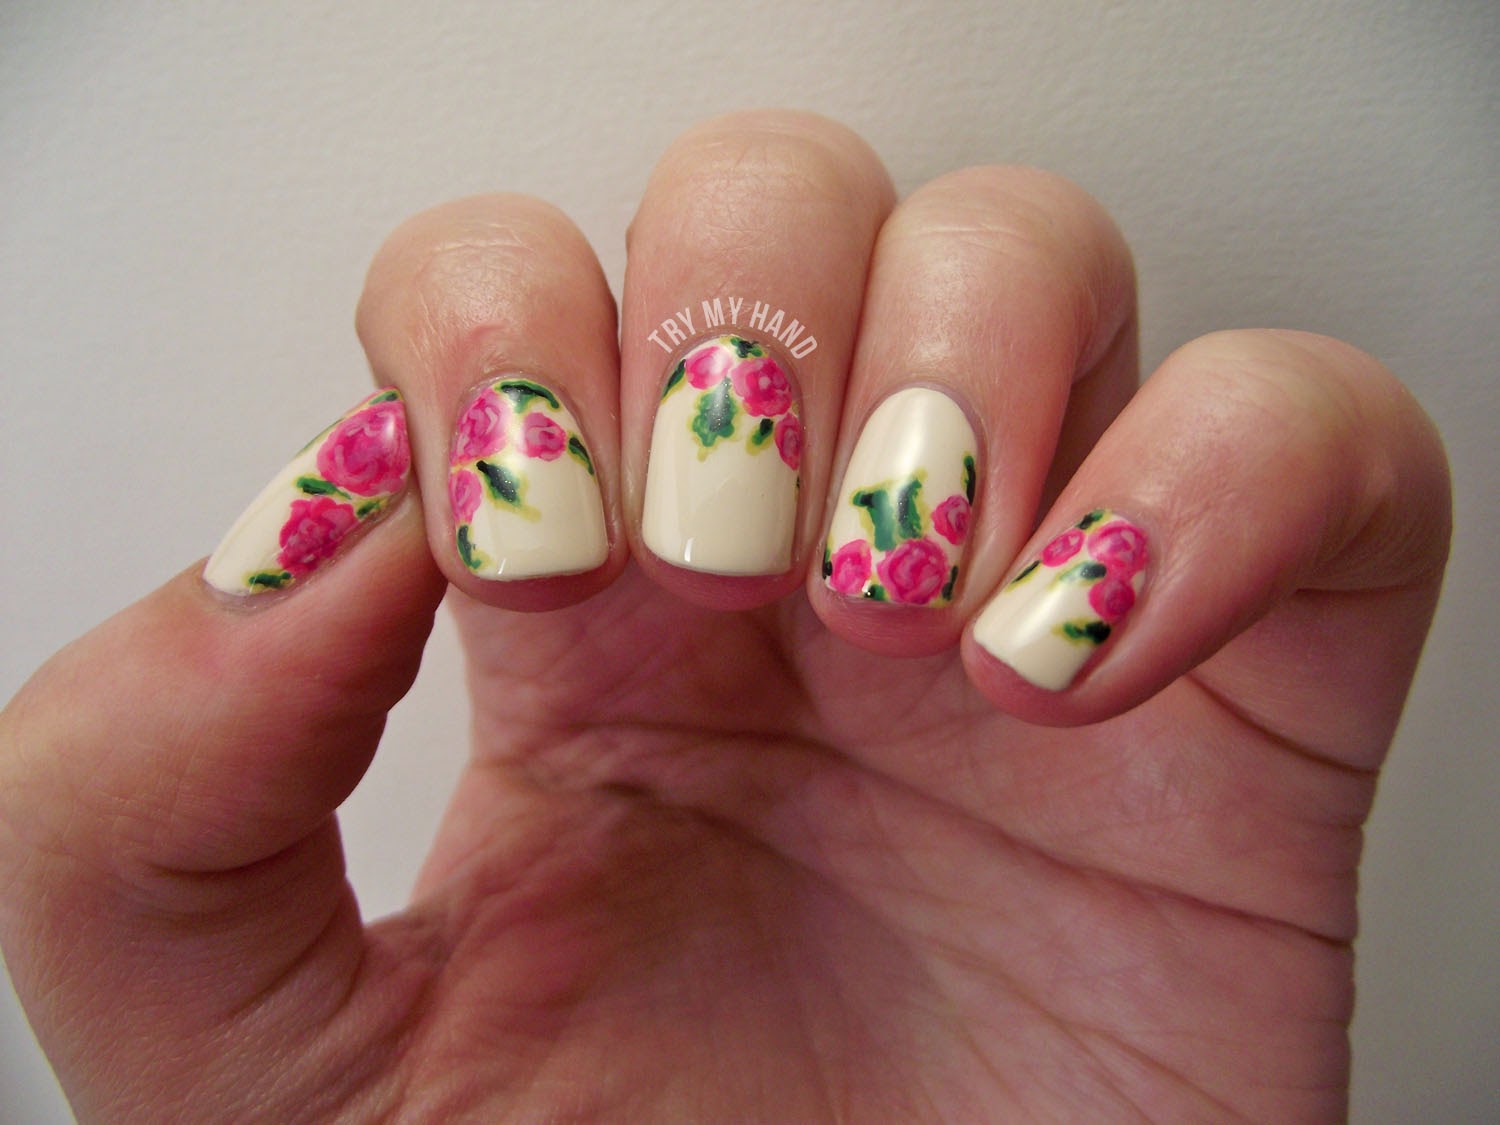
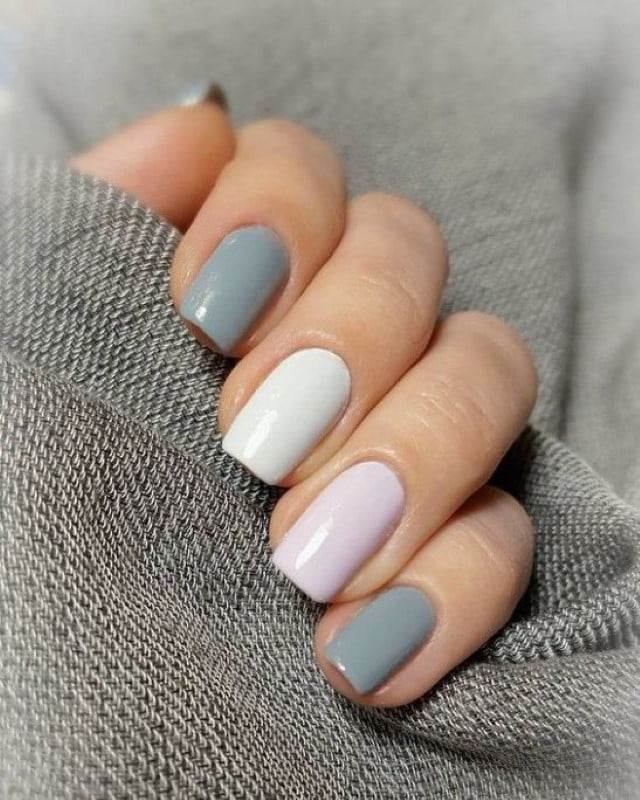
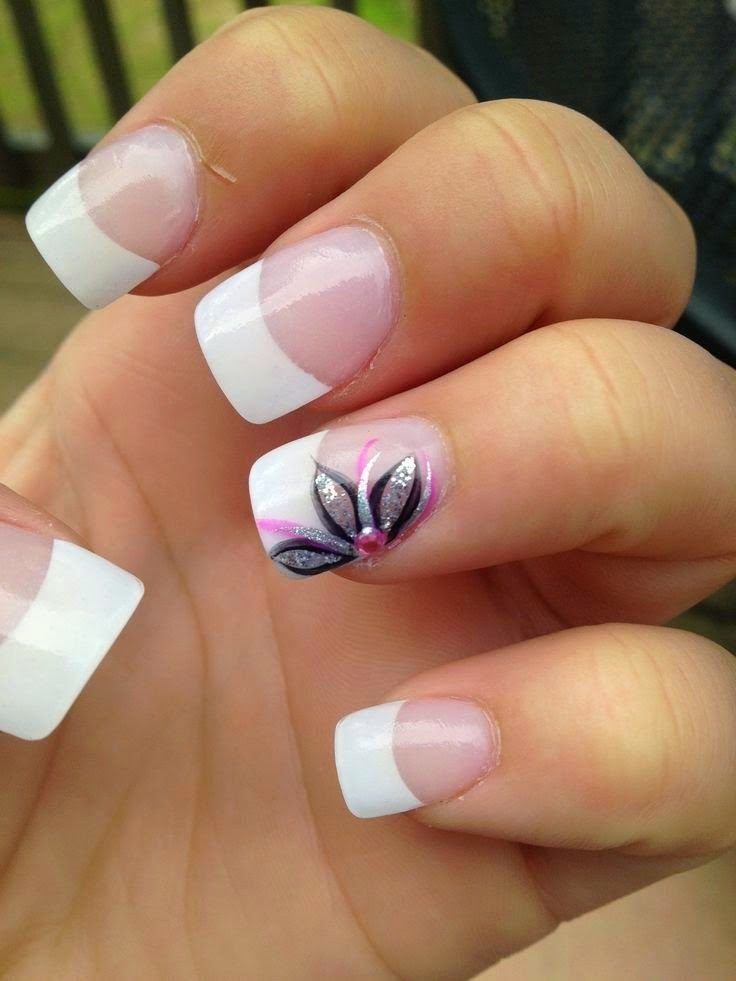
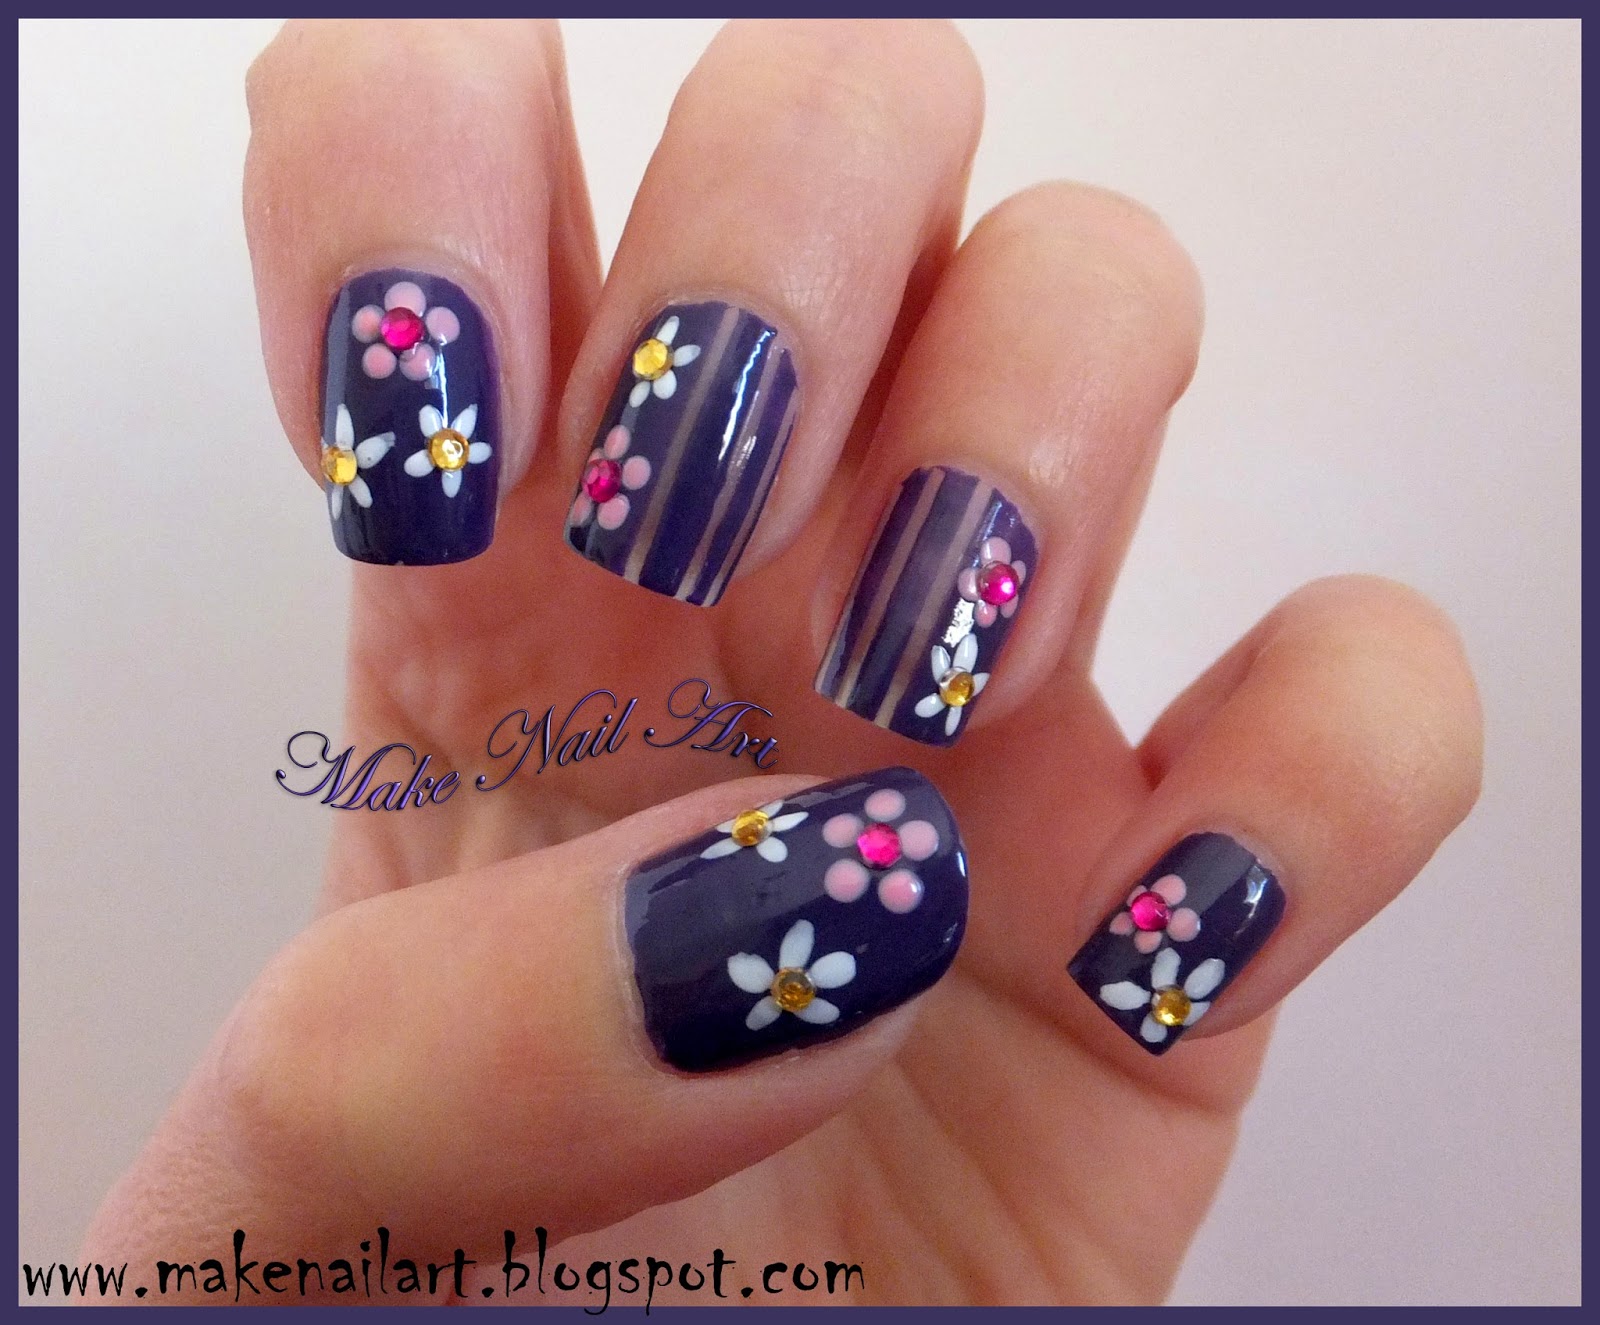
If you're new to the world of nail art, trying out intricate designs may seem intimidating. But don't worry, we've got you covered! This easy flower nail design is perfect for beginners, and the step by step tutorial will guide you through the process. Start by applying a base coat to protect your nails and help the design last longer. Then, use a light pink nail polish as the base color for your flower design. Let it dry completely before moving on to the next step. Next, take a white nail polish and create five small dots in a circle in the center of your nail. These will be the petals of your flower. Use a toothpick or a dotting tool to make the dots if you don't have a thin brush. Using a green nail polish, draw a small line from each dot to the edge of your nail. This will be the stem of your flower. Make sure to leave enough space for the other flowers you will be adding to your nail. To add more dimension to your design, you can also use a yellow nail polish to add small dots in the center of your flower. This will mimic the pollen and make your flower look more realistic. Finish off by sealing your design with a top coat for a shiny and long-lasting finish. And just like that, you have a beautiful flower nail design that is perfect for beginners.1. Easy Flower Nail Design for Beginners
1. Easy Flower Nail Design for Beginners

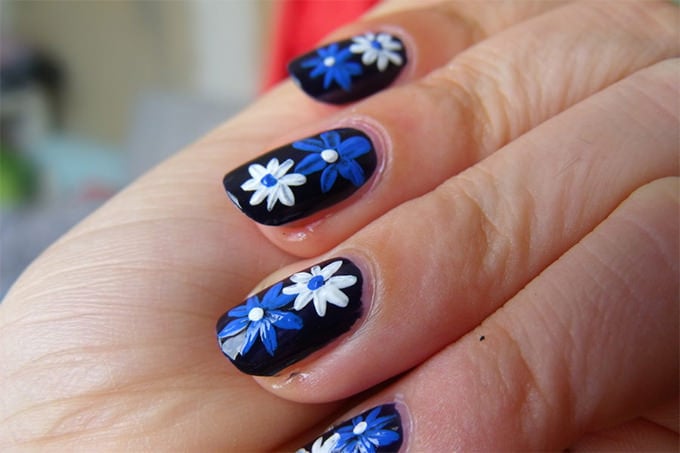


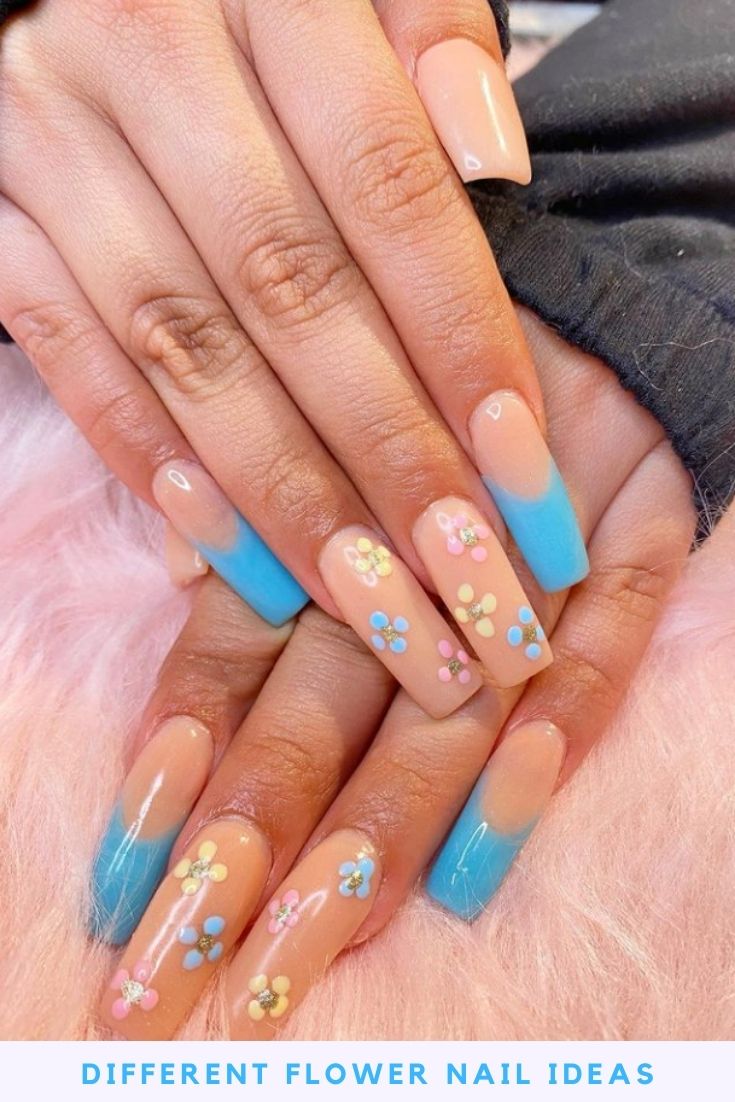
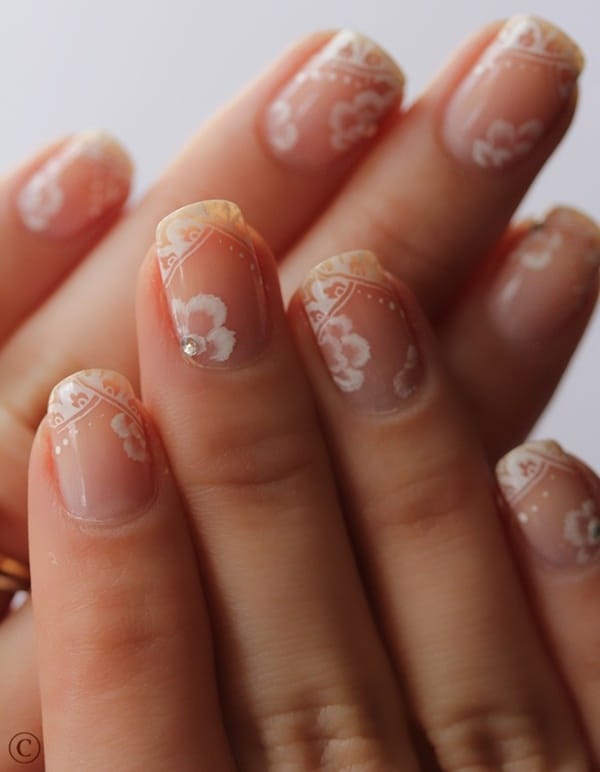
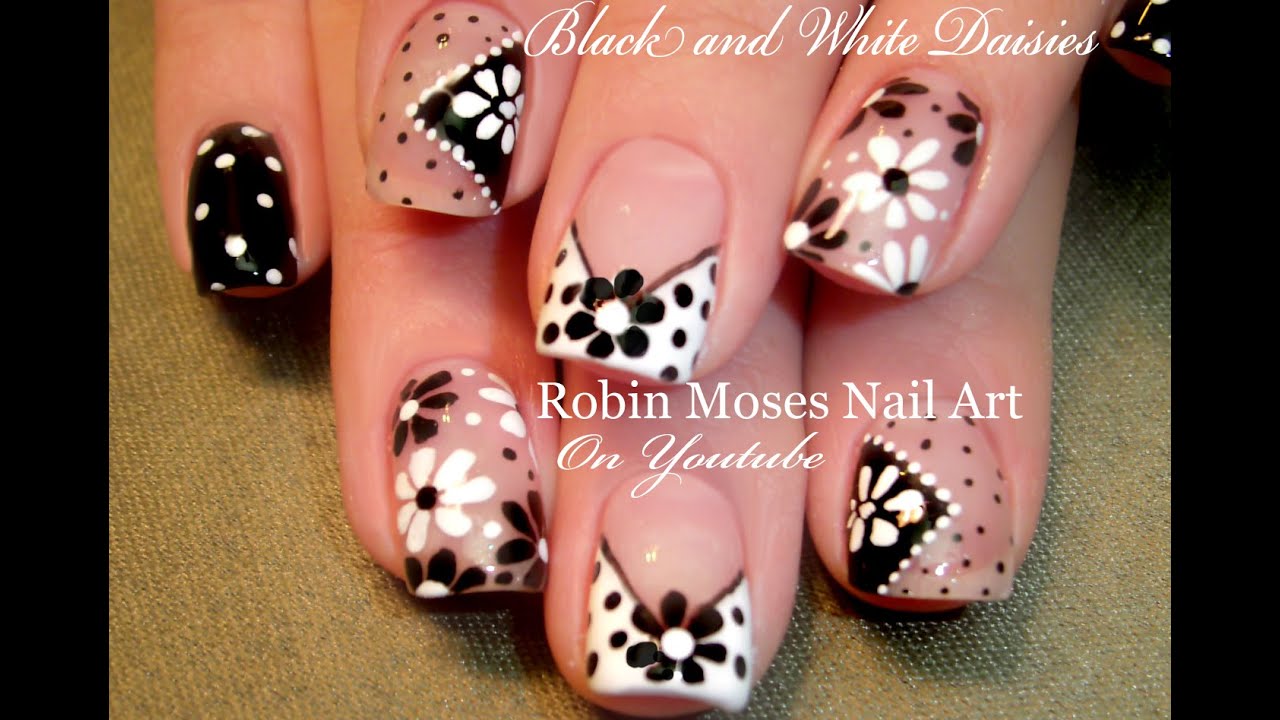
If you love the look of floral nails but think they are too complicated to recreate, this step by step tutorial is here to prove you wrong. With a little practice and patience, you can easily achieve this stunning flower nail art design. Start by applying a base coat to protect your nails and create a smooth canvas for your design. Once it dries, apply a light blue nail polish as the base color for your design. This will serve as the background for your flowers. Next, take a dark pink nail polish and create small dots in a circle on your nail. These will be the base of your flowers. Use a thin brush or a toothpick to make the dots if you don't have a dotting tool. Using a light pink nail polish, create slightly larger dots on top of the dark pink ones. This will add dimension and make your flowers look more realistic. Then, use a white nail polish to create small dots in the center of your flowers. For the leaves, use a green nail polish to create small lines coming out from the base of your flowers. You can also add some small dots for extra detail. Once your design is complete, seal it with a top coat for a glossy finish. With this step by step tutorial, you'll have gorgeous flower nails in no time, and people will be asking you where you got them done.2. Step by Step Flower Nail Art Tutorial


2. Step by Step Flower Nail Art Tutorial


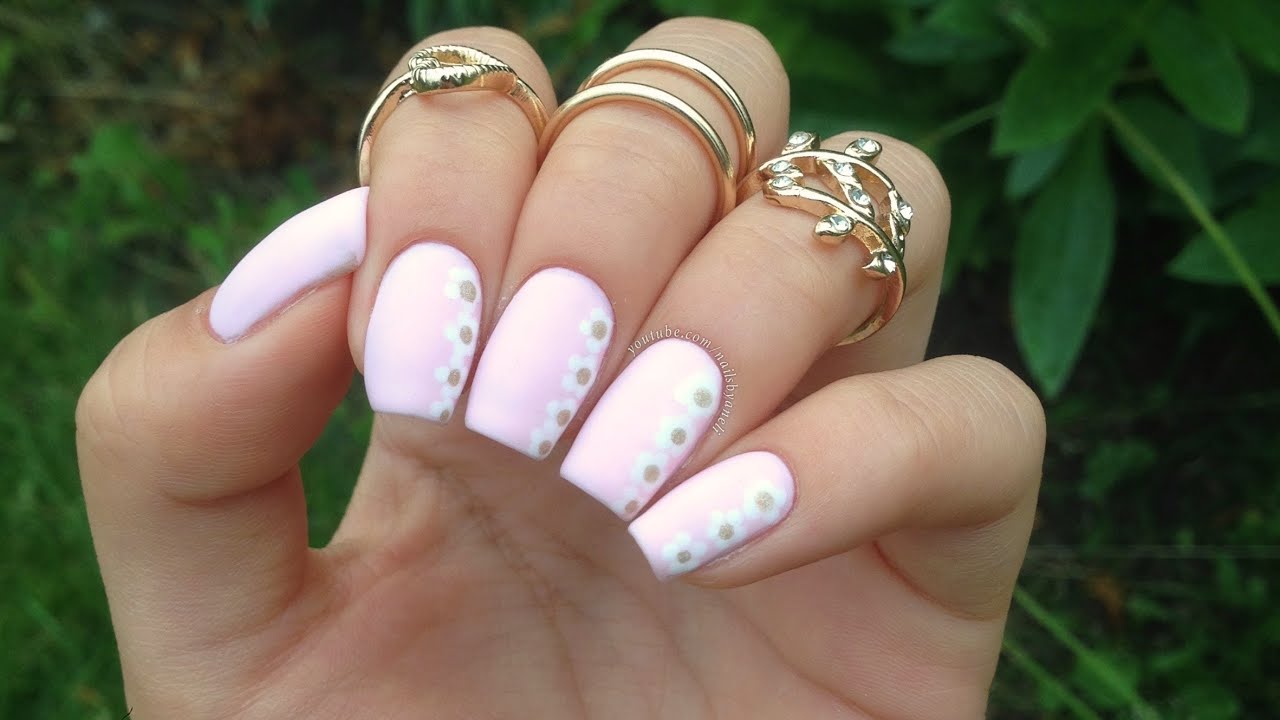
If you're a beginner in the world of nail art, it can be challenging to know where to start. But don't worry, this simple floral nail design is perfect for beginners and will give you a taste of what you can achieve with a little practice. Start by applying a base coat to protect your nails and create a smooth base. Then, choose a light purple nail polish as the base color for your design. This will be the background for your flowers. Next, take a thin brush and a white nail polish to create small petals on your nail. You can use a dotting tool or a toothpick if you don't have a thin brush. Make sure to leave enough space for the other flowers you will be adding to your nail. Using a light pink nail polish, create slightly larger petals on top of the white ones. This will add dimension and make your flowers look more realistic. Then, create small dots in the center of your flowers using a yellow nail polish. For the leaves, use a green nail polish to create small lines coming out from the base of your flowers. You can also add some small dots for extra detail. Finish off with a top coat to seal your design and give it a glossy finish. This simple floral nail design is perfect for beginners and will leave your nails looking fresh and pretty.3. Simple Floral Nail Design for Beginners
3. Simple Floral Nail Design for Beginners


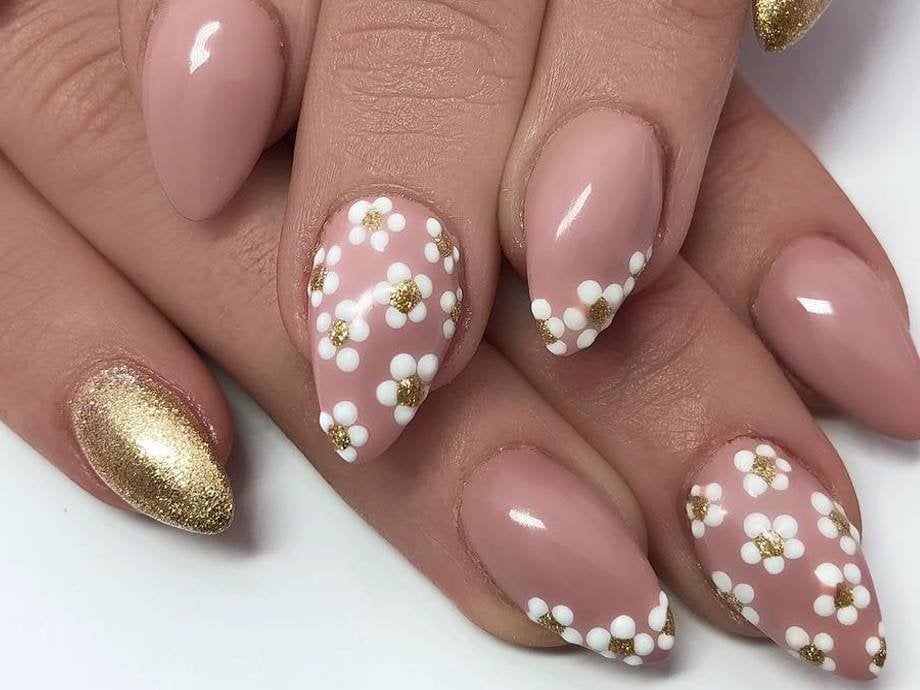
Creating beautiful nail art doesn't always have to be expensive or done by a professional. With this easy DIY flower nail art tutorial, you can achieve stunning floral nails in the comfort of your own home without breaking the bank. Start by applying a base coat to protect your nails and create a smooth base. Then, choose a light yellow nail polish as the base color for your design. This will be the background for your flowers. Next, take a thin brush and a light pink nail polish to create small petals on your nail. You can use a dotting tool or a toothpick if you don't have a thin brush. Make sure to leave enough space for the other flowers you will be adding to your nail. Using a dark pink nail polish, create slightly larger petals on top of the light pink ones. This will add dimension and make your flowers look more realistic. Then, create small dots in the center of your flowers using a white nail polish. For the leaves, use a green nail polish to create small lines coming out from the base of your flowers. You can also add some small dots for extra detail. Finish off with a top coat to seal your design and give it a glossy finish. With this easy DIY flower nail art tutorial, you can have beautiful floral nails without spending a fortune at the salon.4. Easy DIY Flower Nail Art Tutorial
4. Easy DIY Flower Nail Art Tutorial
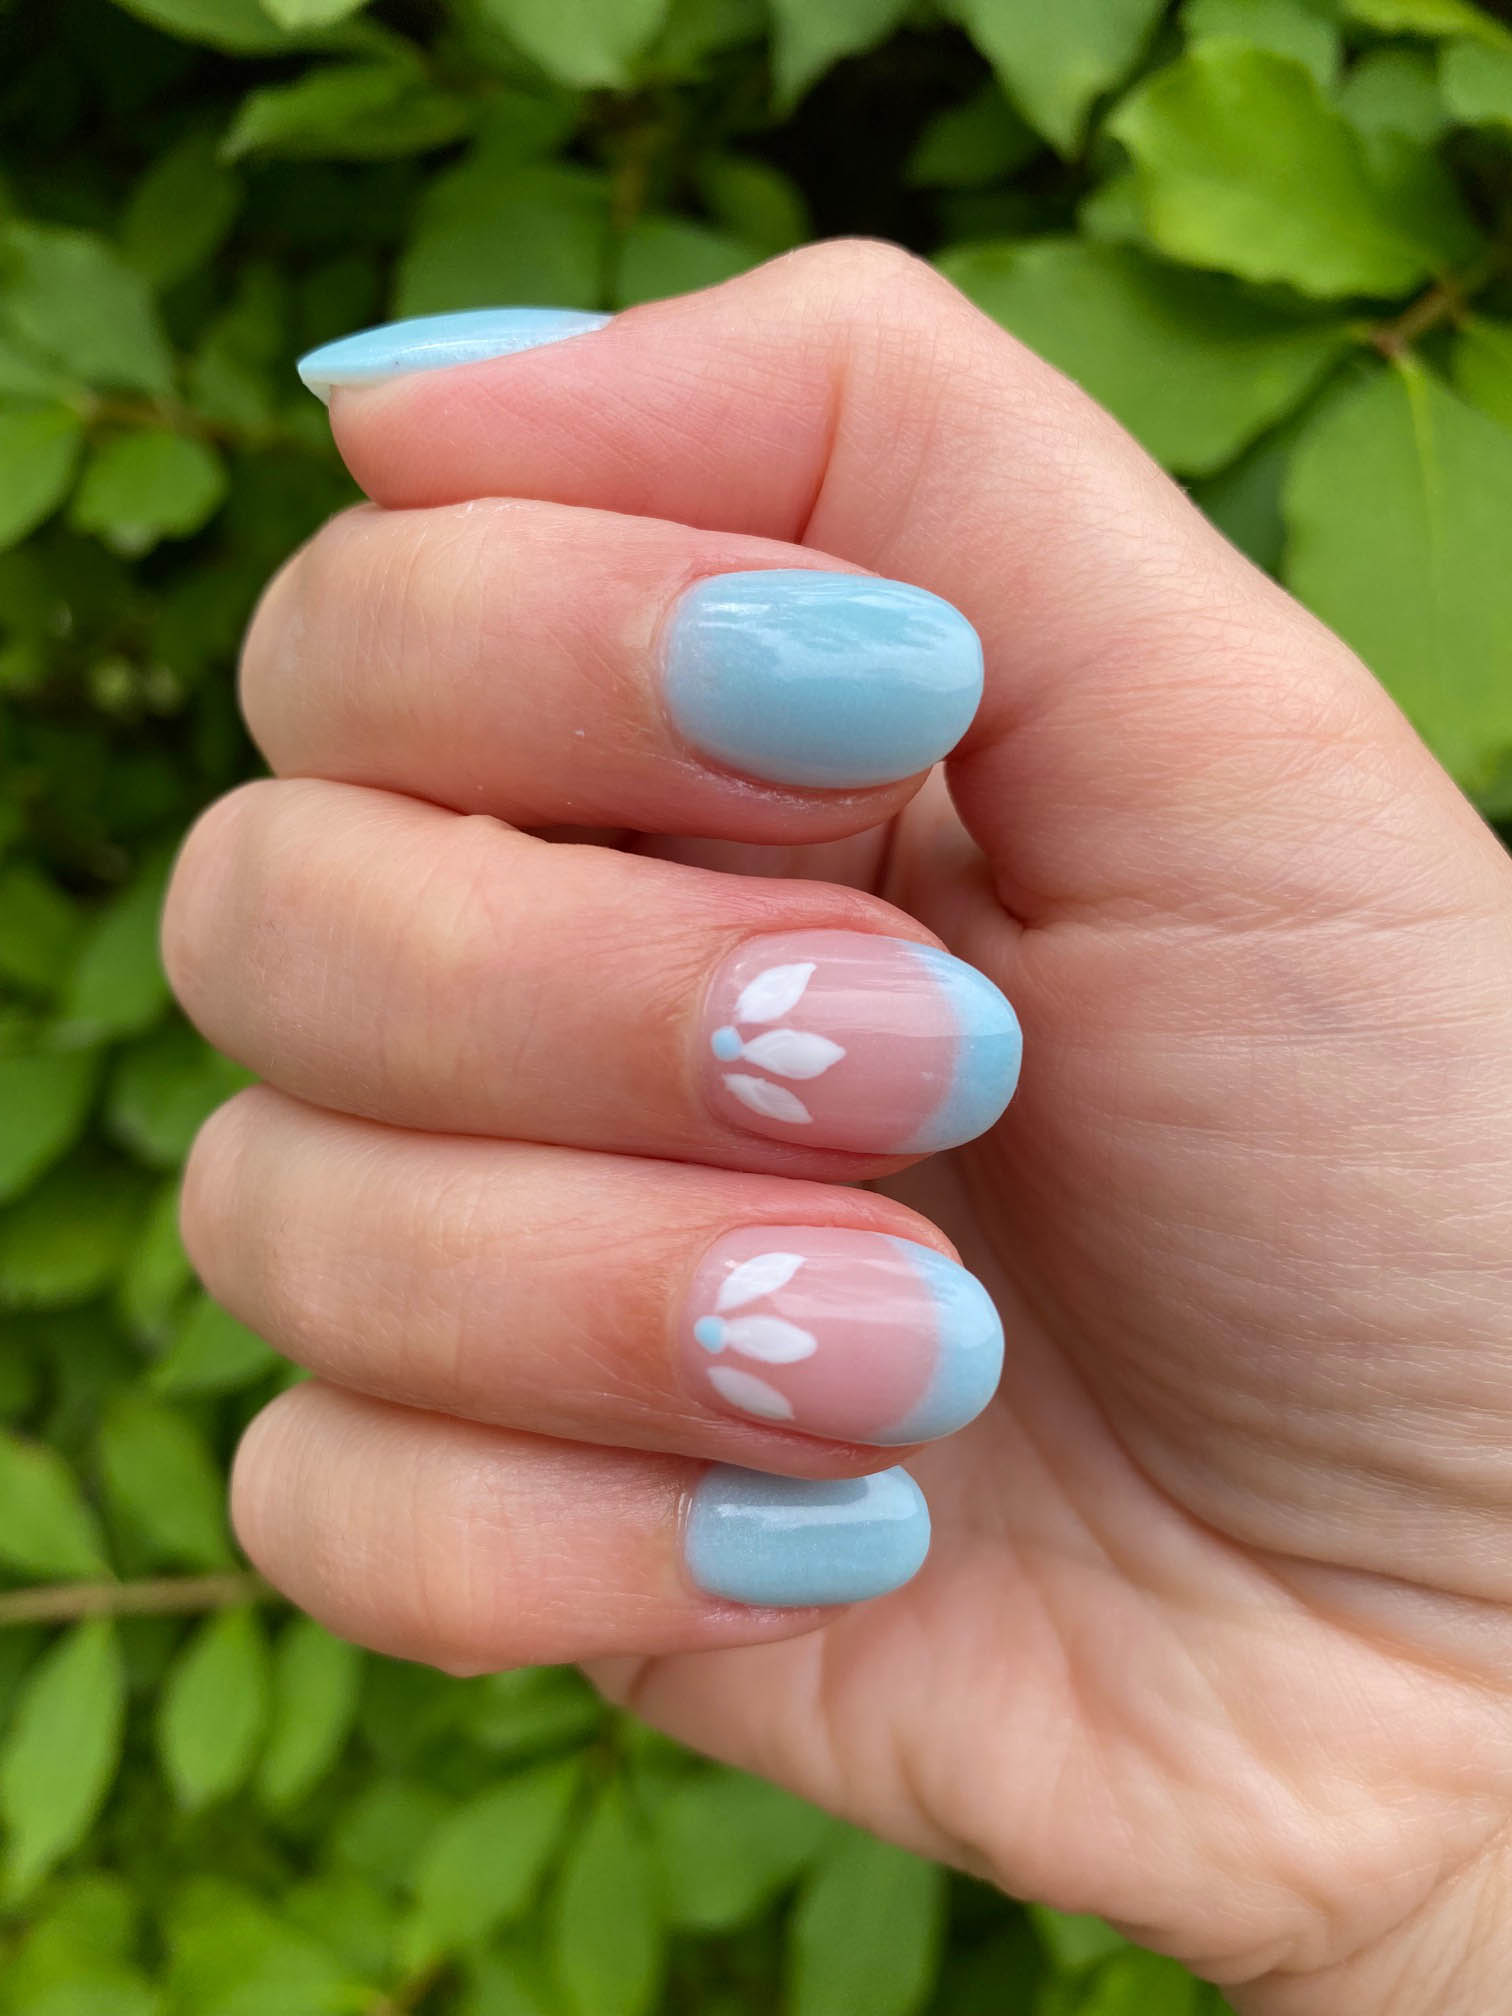
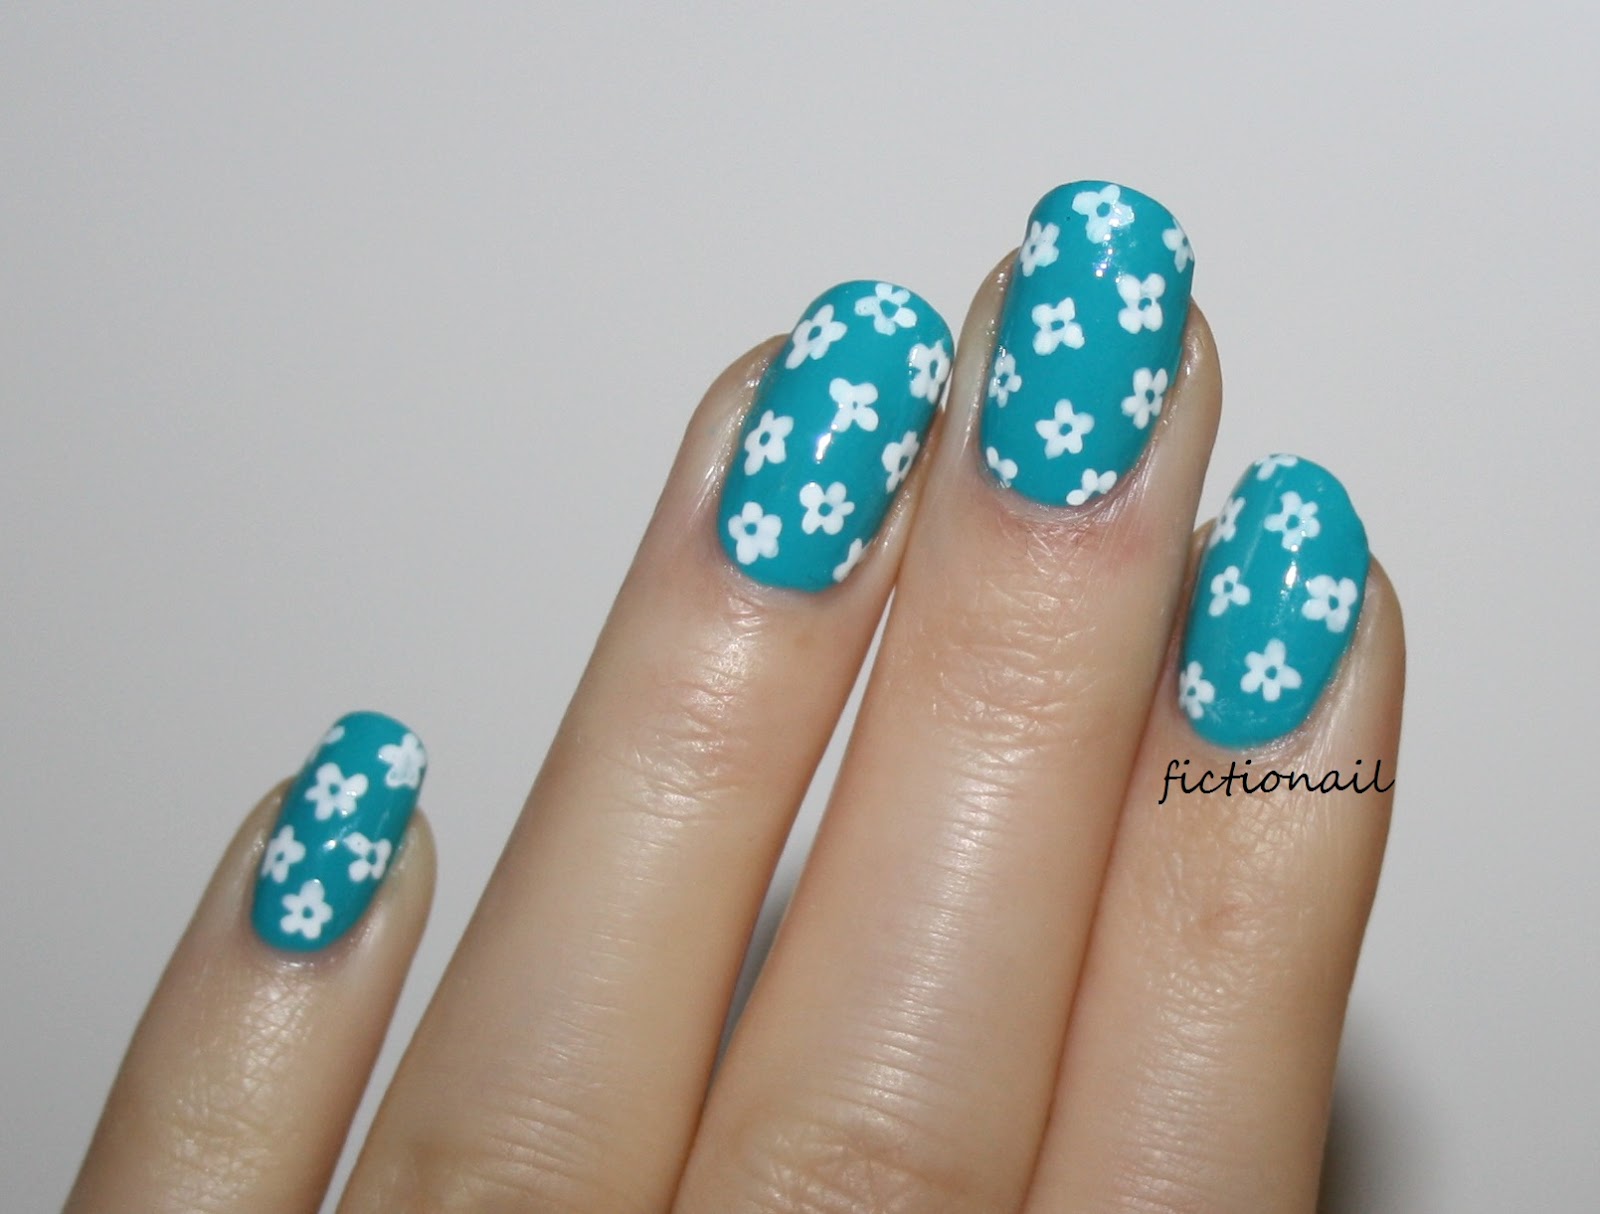
If you're new to the world of nail art, it can be intimidating to try out complex designs. But this beginner-friendly flower nail design is perfect for those just starting and will give you a taste of what you can achieve with a little practice. Start by applying a base coat to protect your nails and create a smooth base. Then, choose a light blue nail polish as the base color for your design. This will be the background for your flowers. Next, take a thin brush and a white nail polish to create small petals on your nail. You can use a dotting tool or a toothpick if you don't have a thin brush. Make sure to leave enough space for the other flowers you will be adding to your nail. Using a light pink nail polish, create slightly larger petals on top of the white ones. This will add dimension and make your flowers look more realistic. Then, create small dots in the center of your flowers using a yellow nail polish. For the leaves, use a green nail polish to create small lines coming out from the base of your flowers. You can also add some small dots for extra detail. Finish off with a top coat to seal your design and give it a glossy finish. This beginner-friendly flower nail design is perfect for those just starting in the world of nail art and will leave your nails looking beautiful and sophisticated.5. Beginner-Friendly Flower Nail Design


5. Beginner-Friendly Flower Nail Design


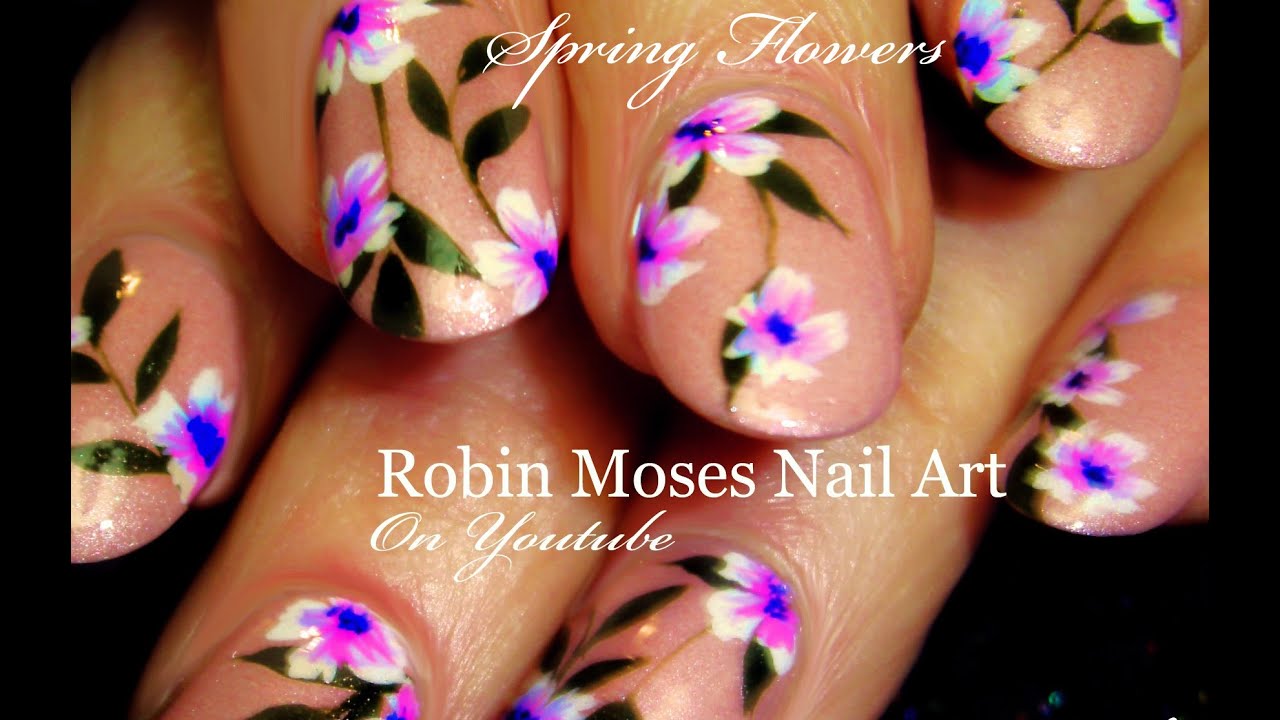
Creating intricate designs on your nails can be a daunting task, but with this step by step guide to creating flower nails, you'll be a pro in no time. Follow these simple steps to achieve stunning floral nails. Start by applying a base coat to protect your nails and create a smooth base. Then, choose a light pink nail polish as the base color for your design. This will be the background for your flowers. Next, take a thin brush and a light purple nail polish to create small petals on your nail. You can use a dotting tool or a toothpick if you don't have a thin brush. Make sure to leave enough space for the other flowers you will be adding to your nail. Using a dark purple nail polish, create slightly larger petals on top of the light purple ones. This will add dimension and make your flowers look more realistic. Then, create small dots in the center of your flowers using a white nail polish. For the leaves, use a green nail polish to create small lines coming out from the base of your flowers. You can also add some small dots for extra detail. Finish off with a top coat to seal your design and give it a glossy finish. With this step by step guide, you can achieve beautiful and intricate flower nails without any hassle.6. Step by Step Guide to Creating Flower Nails


6. Step by Step Guide to Creating Flower Nails


If you're short on time but still want to add a touch of floral to your nails, this quick and easy flower nail design is perfect for you. It requires minimal effort and is beginner-friendly, making it perfect for those who are new to nail art. Start by applying a base coat to protect your nails and create a smooth base. Then, choose a light green nail polish as the base color for your design. This will be the background for your flowers. Next, take a thin brush and a white nail polish to create small petals on your nail. You can use a dotting tool or a toothpick if you don't have a thin brush. Make sure to leave enough space for the other flowers you will be adding to your nail. Using a light pink nail polish, create slightly larger petals on top of the white ones. This will add dimension and make your flowers look more realistic. Then, create small dots in the center of your flowers using a yellow nail polish. For the leaves, use a green nail polish to create small lines coming out from the base of your flowers. You can also add some small dots for extra detail. Finish off with a top coat to seal your design and give it a glossy finish. This quick and easy flower nail design is perfect for those who are short on time but still want to add a touch of floral to their nails.7. Quick and Easy Flower Nail Design for Beginners

7. Quick and Easy Flower Nail Design for Beginners
Floral nail art is a popular trend that adds a touch of elegance and femininity to your nails. But if you're new to the world of nail art, it can be challenging to know where to start. This beginner's guide to floral nail art will help you achieve beautiful floral designs in no time. Start by applying a base coat to protect your nails and create a smooth base. Then, choose a light blue nail polish as the base color for your design. This will be the background for your flowers. Next, take a thin brush and a white nail polish to create small petals on your nail. You can use a dotting tool or a toothpick if you don't have a thin brush. Make sure to leave enough space for the other flowers you will be adding to your nail. Using a light pink nail polish, create slightly larger petals on top of the white ones. This will add dimension and make your flowers look more realistic. Then, create small dots in the center of your flowers using a yellow nail polish. For the leaves, use a green nail polish to create small lines coming out from the base of your flowers. You can also add some small dots for extra detail. Finish off with a top coat to seal your design and give it a glossy finish. With this beginner's guide, you'll be able to achieve beautiful floral nail art designs and show off your creative side.8. Beginner's Guide to Floral Nail Art

8. Beginner's Guide to Floral Nail Art
If you're new to the world of nail art, it can be challenging to know where to start. But with this step by step flower nail design, you'll be able to achieve gorgeous floral nails in no time. Follow these easy steps to recreate this stunning design. Start by applying a base coat to protect your nails and create a smooth base. Then, choose a light pink nail polish as the base color for your design. This will be the background for your flowers. Next, take a thin brush and a white nail polish to create small petals on your nail. You can use a dotting tool or a toothpick if you don't have a thin brush. Make sure to leave enough space for the other flowers you will be adding to your nail. Using a light purple nail polish, create slightly larger petals on top of the white ones. This will add dimension and make your flowers look more realistic. Then, create small dots in the center of your flowers using a yellow nail polish. For the leaves, use a green nail polish to create small lines coming out from the base of your flowers. You can also add some small dots for extra detail. Finish off with a top coat to seal your design and give it a glossy finish. With this step by step tutorial, even newbies can achieve beautiful and intricate flower nails.9. Step by Step Flower Nail Design for Newbies


9. Step by Step Flower Nail Design for Newbies


If you're a beginner in the world of nail art, creating intricate designs may seem daunting. But with this easy flower nail art, you'll be able to achieve stunning floral designs with minimal effort. Follow these simple steps to recreate this beautiful design. Start by applying a base coat to protect your nails and create a smooth base. Then, choose a light yellow nail polish as the base color for your design. This will be the background for your flowers.10. Easy Flower Nail Art for Beginners
10. Easy Flower Nail Art for Beginners

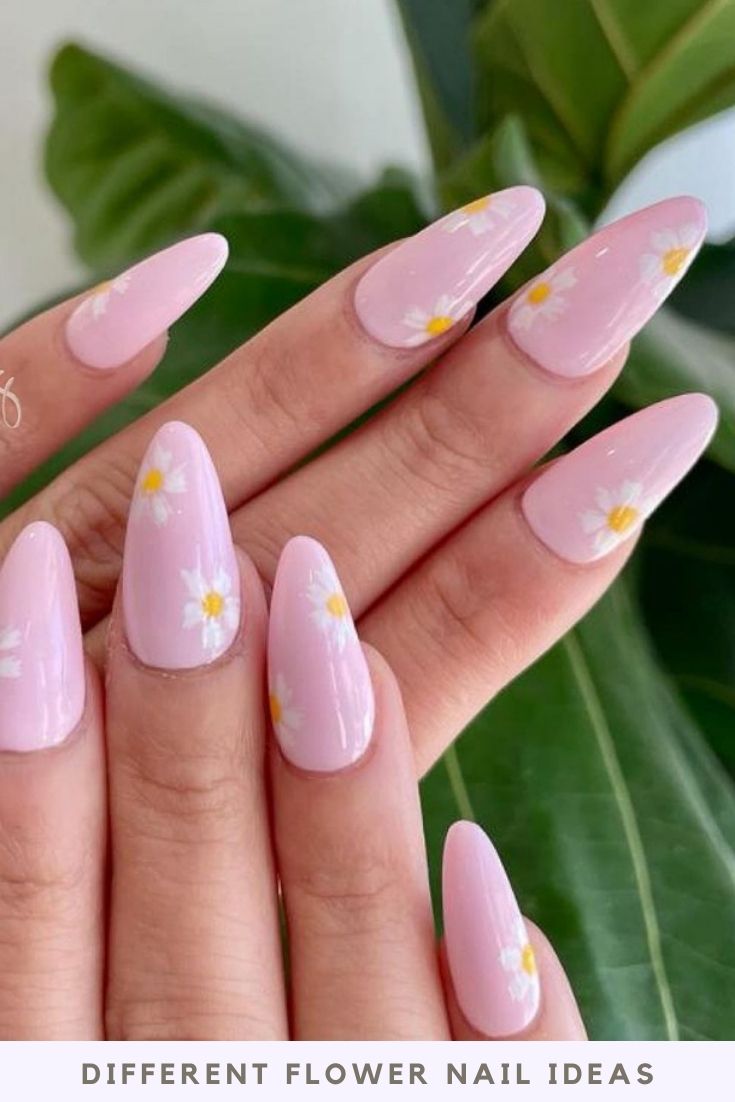
Easy Nail Design for Beginners: Step by Step Flower
 Nail art has become increasingly popular in recent years, with more and more people taking an interest in designing their own nails. However, for beginners, the thought of creating intricate designs can be intimidating. But fear not, because we have the perfect step-by-step guide for creating a beautiful flower nail design that is simple and easy to follow.
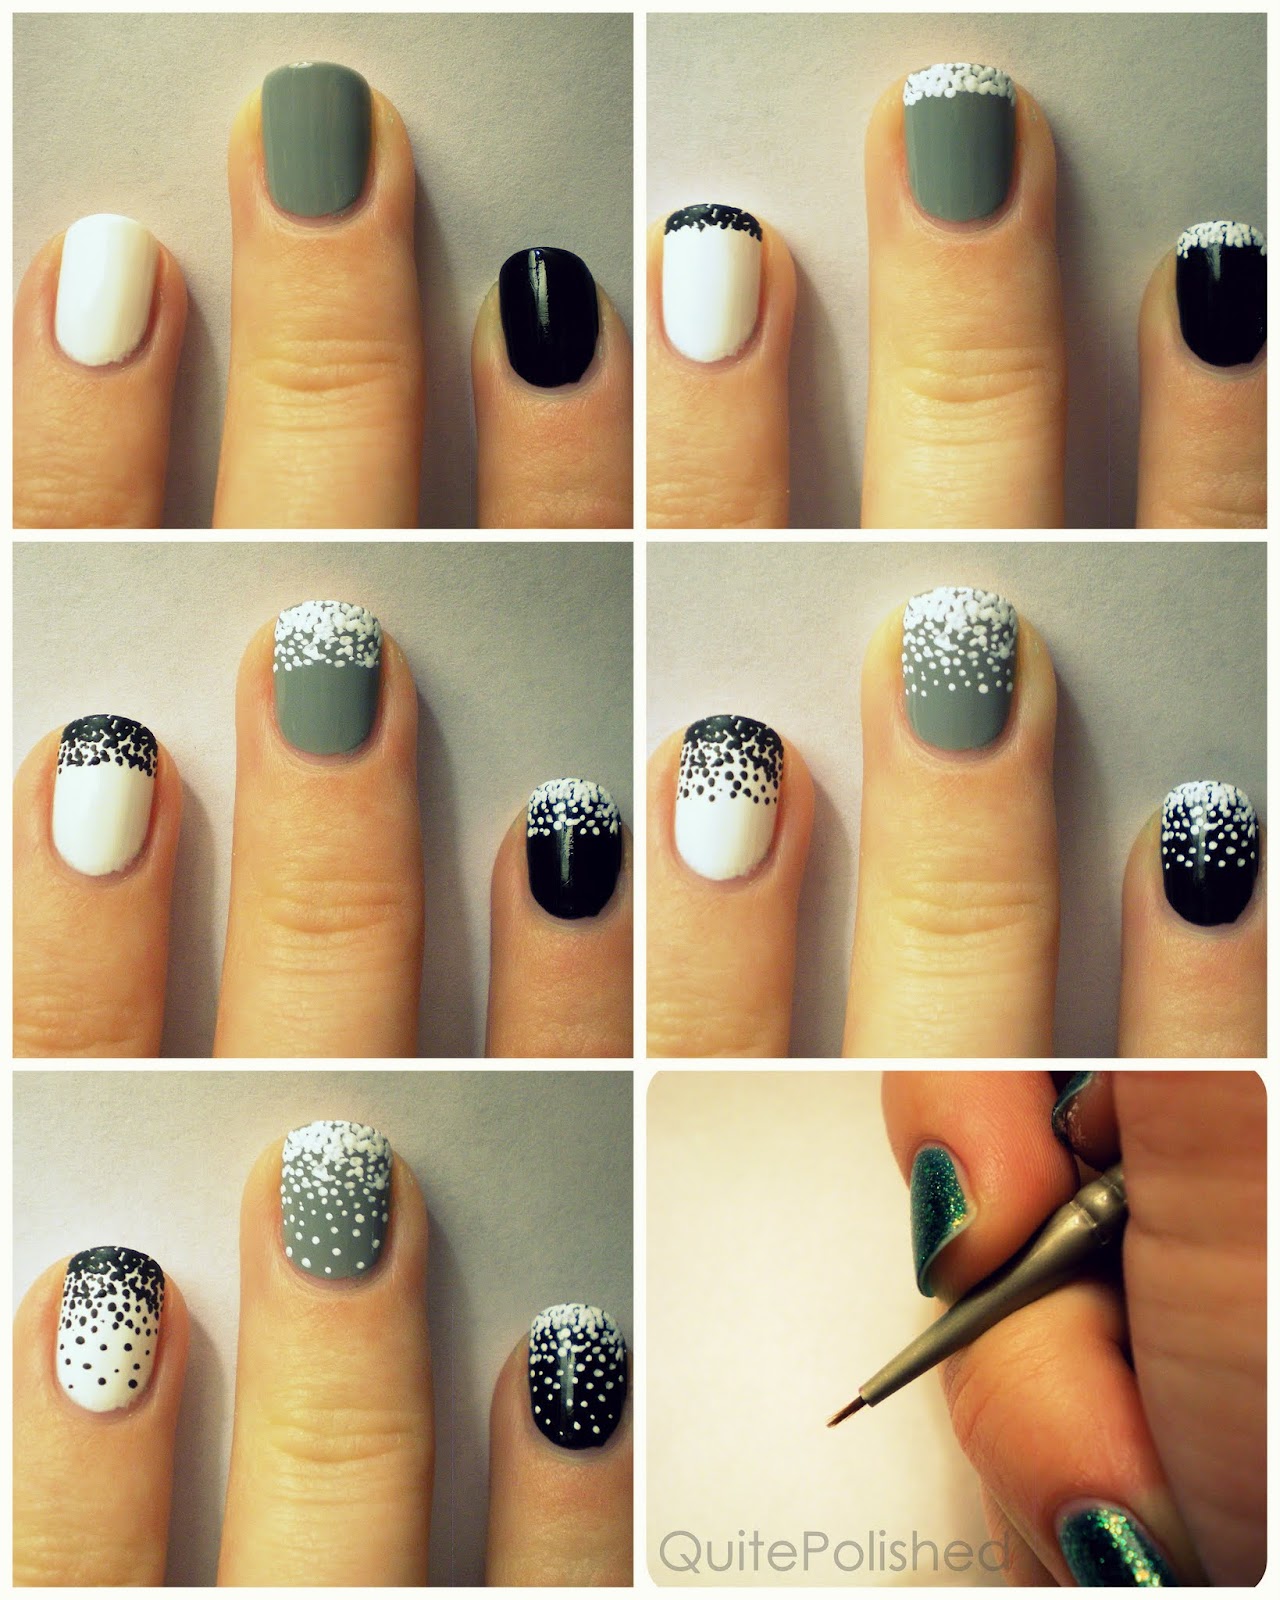
Gather Your Materials
 Before you begin, make sure you have all the necessary materials. This includes a base coat, a light pink nail polish, a darker pink nail polish, a green nail polish, a dotting tool, and a top coat. Having all these tools and supplies at hand will make the process much smoother.
Step 1: Apply the Base Coat
 Start by applying a base coat to your nails. This will not only protect your nails but also help the nail polish to last longer. Let the base coat dry completely before moving on to the next step.
Step 2: Paint Your Nails Light Pink
 Once the base coat is dry, paint your nails with a light pink nail polish. This will serve as the base color for your flower design. Apply two coats for a more vibrant color and let it dry completely.
Step 3: Create the Flower Petals
 Take your dotting tool and dip it into the darker pink nail polish. Using the dotting tool, create five dots in a circle on your nail. These dots will serve as the flower petals. Repeat this step on all your nails.
Step 4: Add the Center of the Flower
 Using the same dotting tool, dip it in the green nail polish and create a dot in the center of each flower. This dot will serve as the center of the flower. Make sure to leave some space between the petals and the center dot.
Step 5: Create the Leaves
 Finally, take the dotting tool and dip it in the green nail polish again. Create two small dots on either side of the flower, slightly below the center dot. These dots will serve as the leaves. Repeat this step on all your nails.
Step 6: Apply Top Coat
 Once you are satisfied with your flower design, let it dry for a few minutes and then apply a top coat to seal the design and make it last longer.
With these easy steps, you can create a beautiful flower nail design that is perfect for beginners. Practice makes perfect, so don't be afraid to experiment with different colors and designs. Happy nail designing!
For more easy nail designs, check out our website for step-by-step tutorials and tips for beginners.
Once you are satisfied with your flower design, let it dry for a few minutes and then apply a top coat to seal the design and make it last longer.
With these easy steps, you can create a beautiful flower nail design that is perfect for beginners. Practice makes perfect, so don't be afraid to experiment with different colors and designs. Happy nail designing!
For more easy nail designs, check out our website for step-by-step tutorials and tips for beginners.


