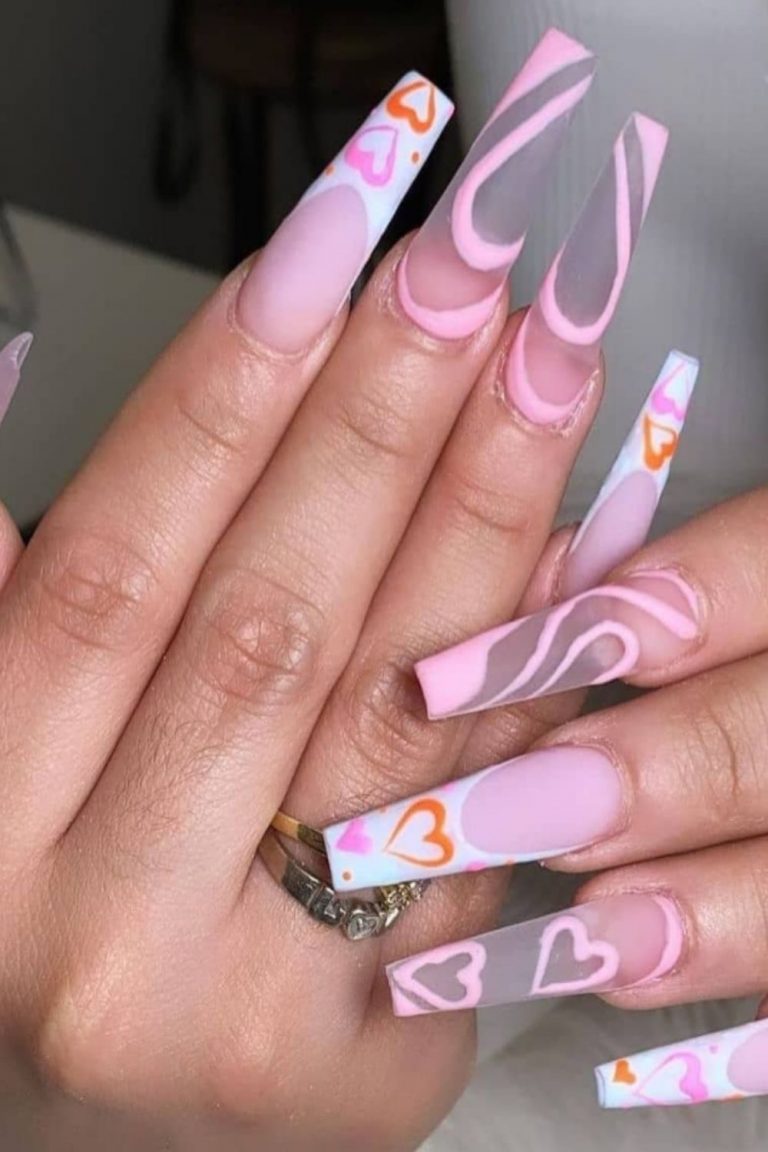
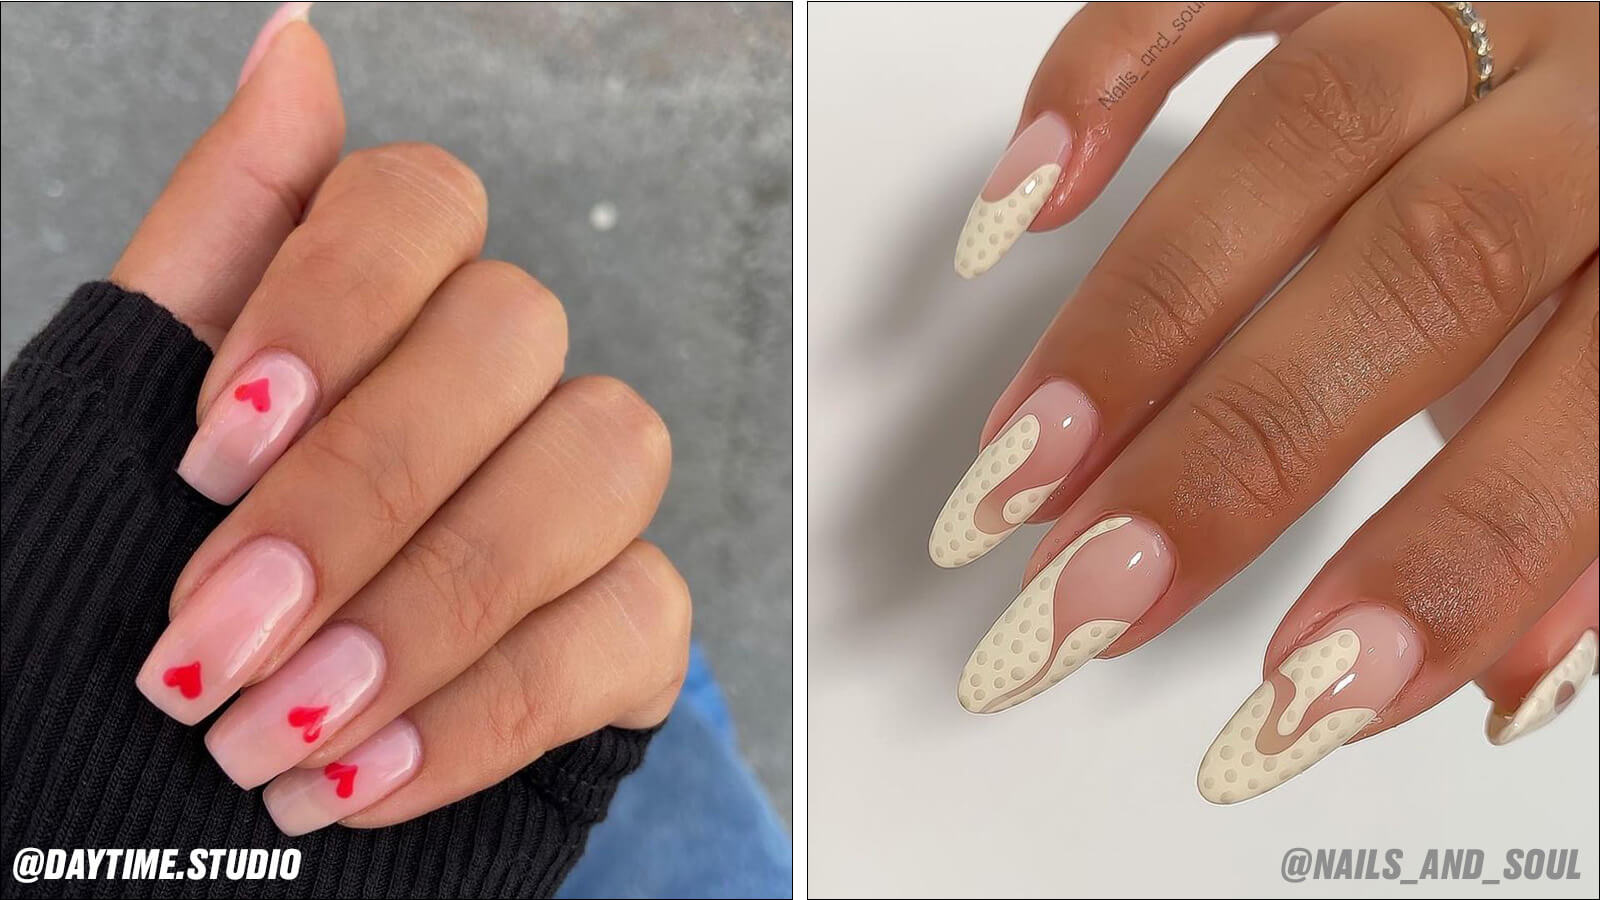
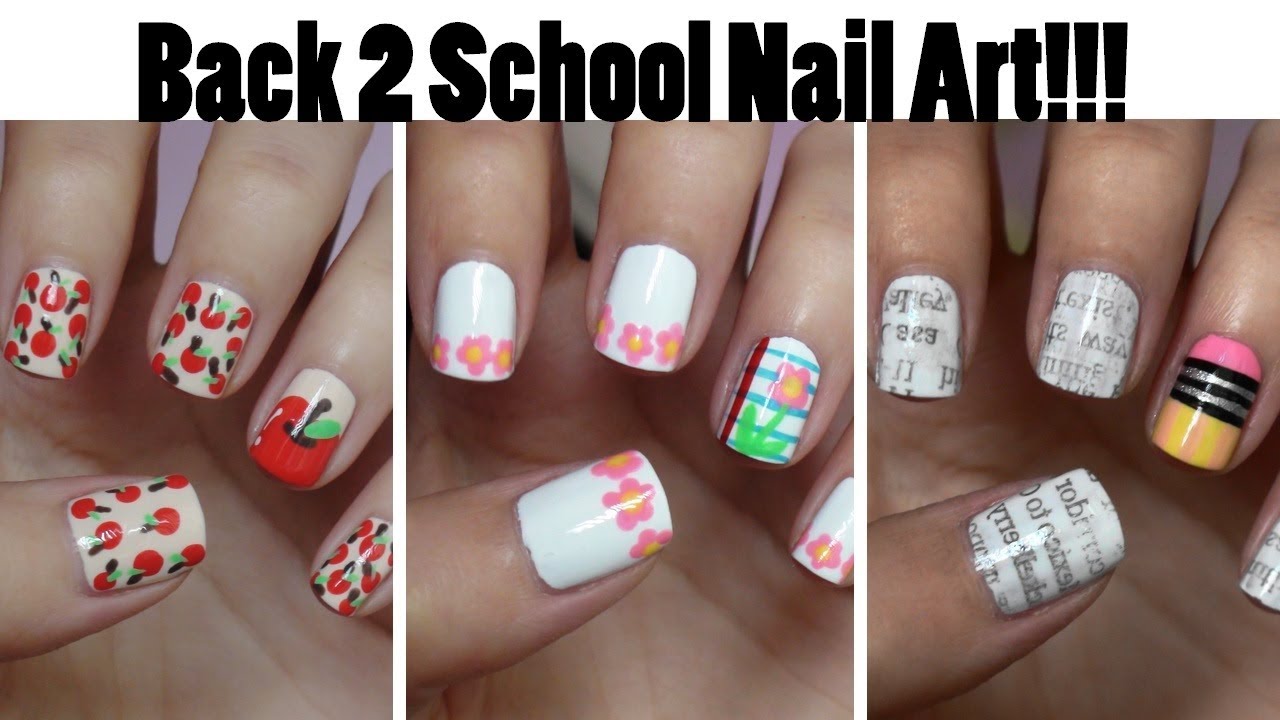
Floral nail designs are always a popular choice for long nails. They add a touch of femininity and elegance to any look. To create this easy floral nail design, start by applying a base coat to your long nails. Then, using a thin brush, create small flower patterns with pastel-colored nail polishes. You can also use a dotting tool to create the center of the flowers. Finish off with a top coat to seal in your design and give your nails a glossy finish.1. Easy Floral Nail Design for Long Nails


1. Easy Floral Nail Design for Long Nails


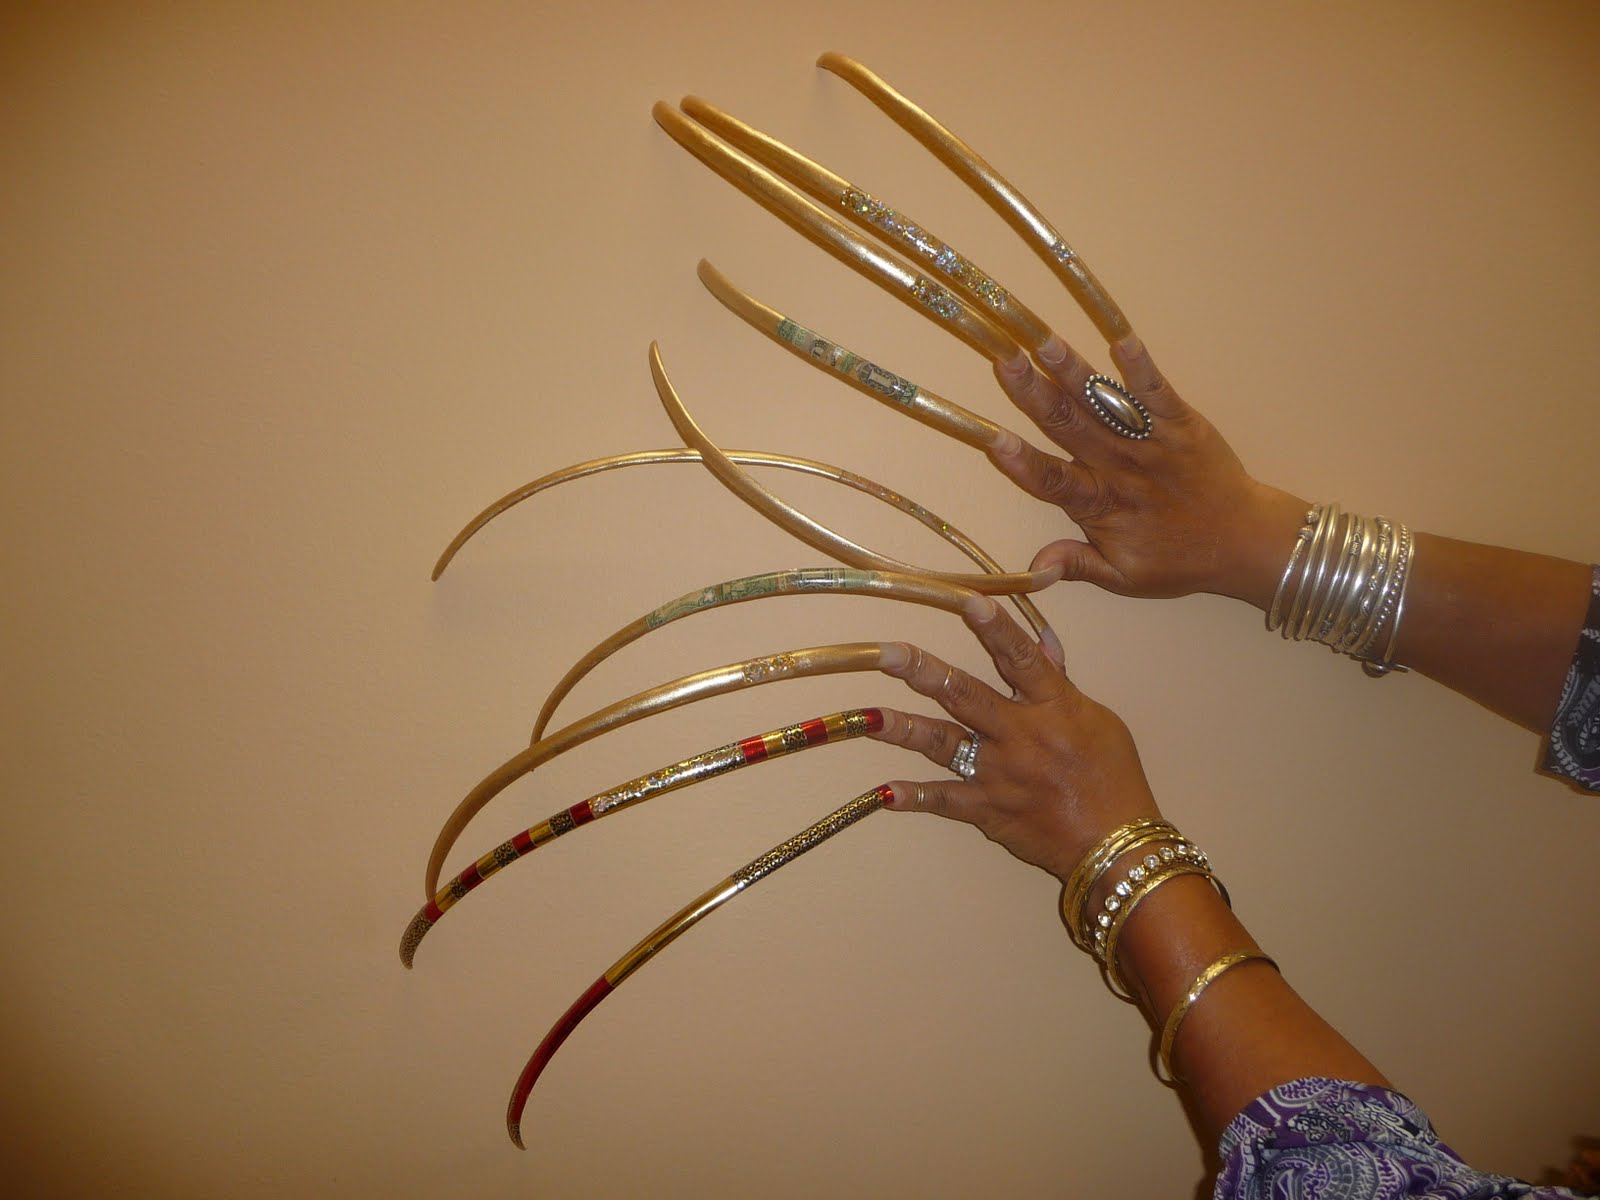
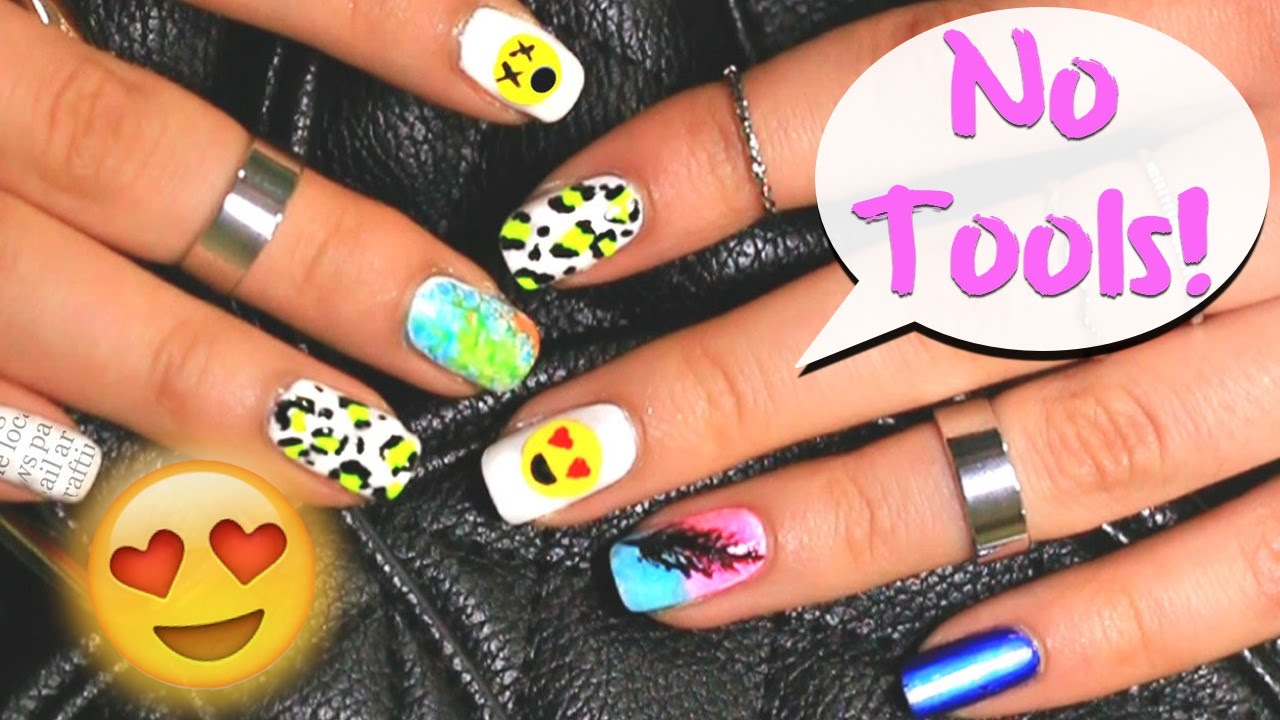
Creating beautiful nail designs on long nails can seem intimidating, but with a step-by-step guide, it can be a breeze. First, prep your nails by filing and shaping them to your desired length and shape. Next, apply a base coat to protect your nails. Then, using nail art brushes and nail polishes, start creating your design. You can also use nail stickers or rhinestones for added detail. Finish off with a top coat to seal in your design and protect your nails.2. Step-by-Step Guide for Long Nail Designs
2. Step-by-Step Guide for Long Nail Designs

.jpg)


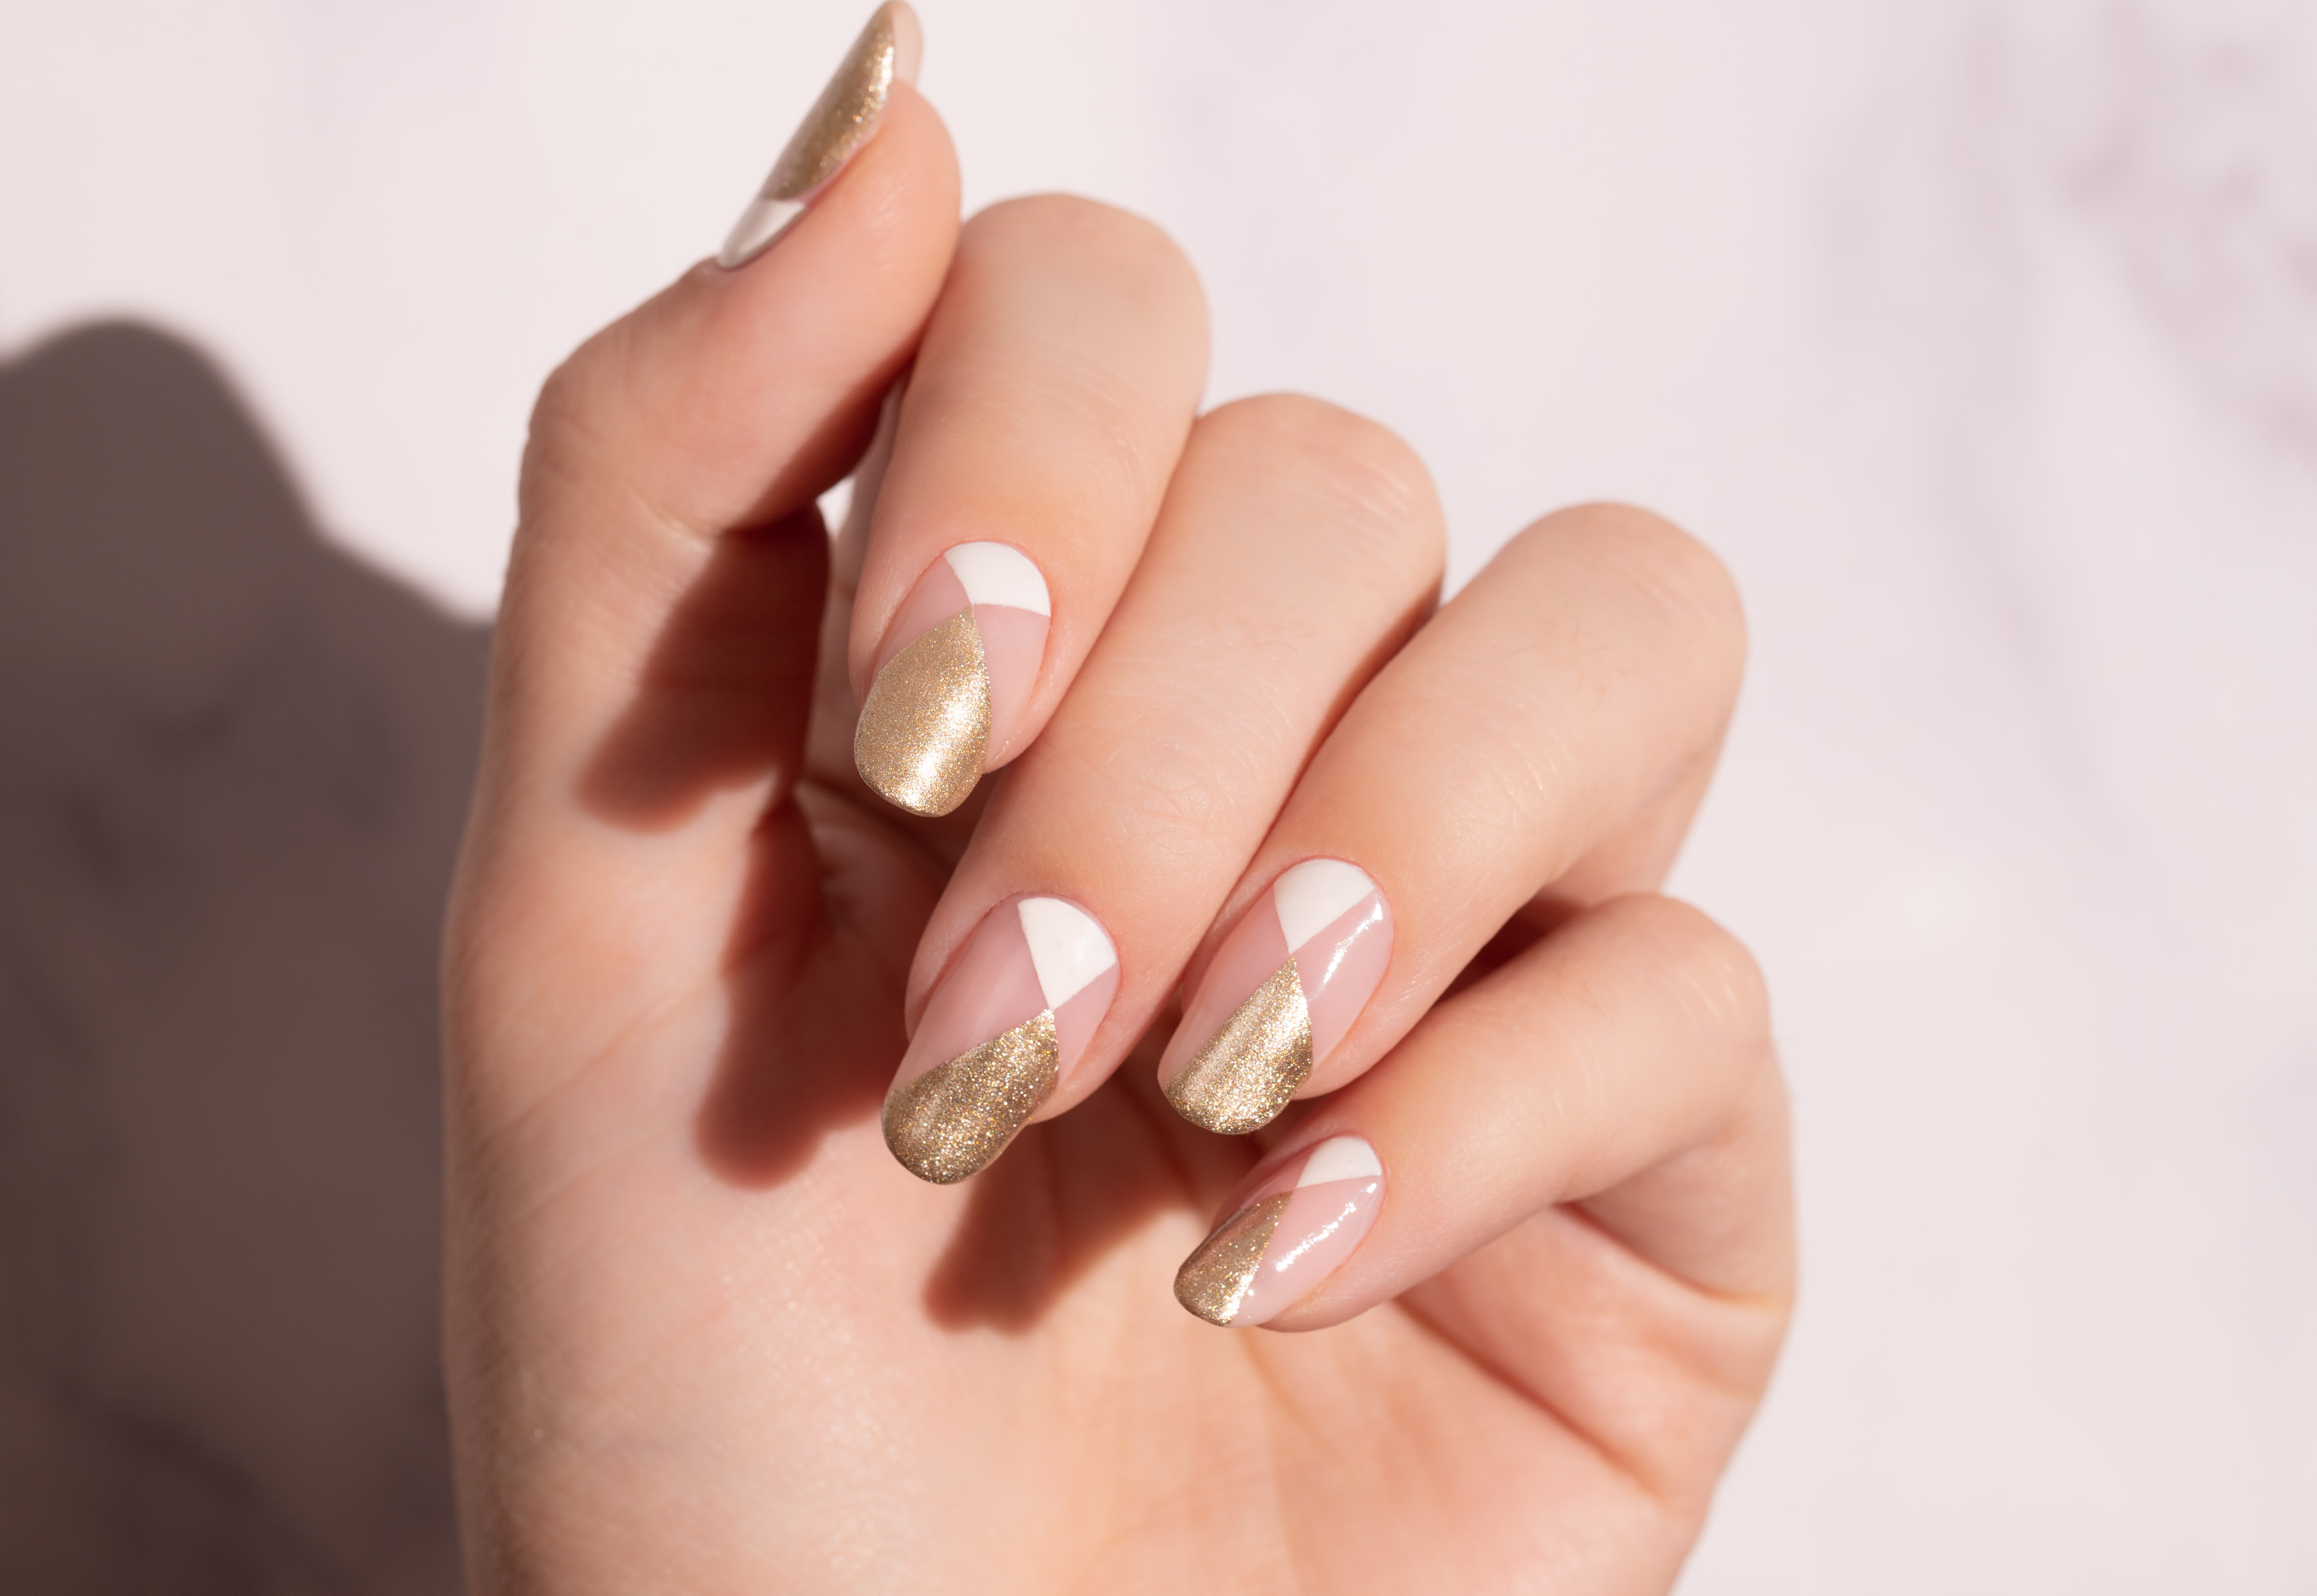
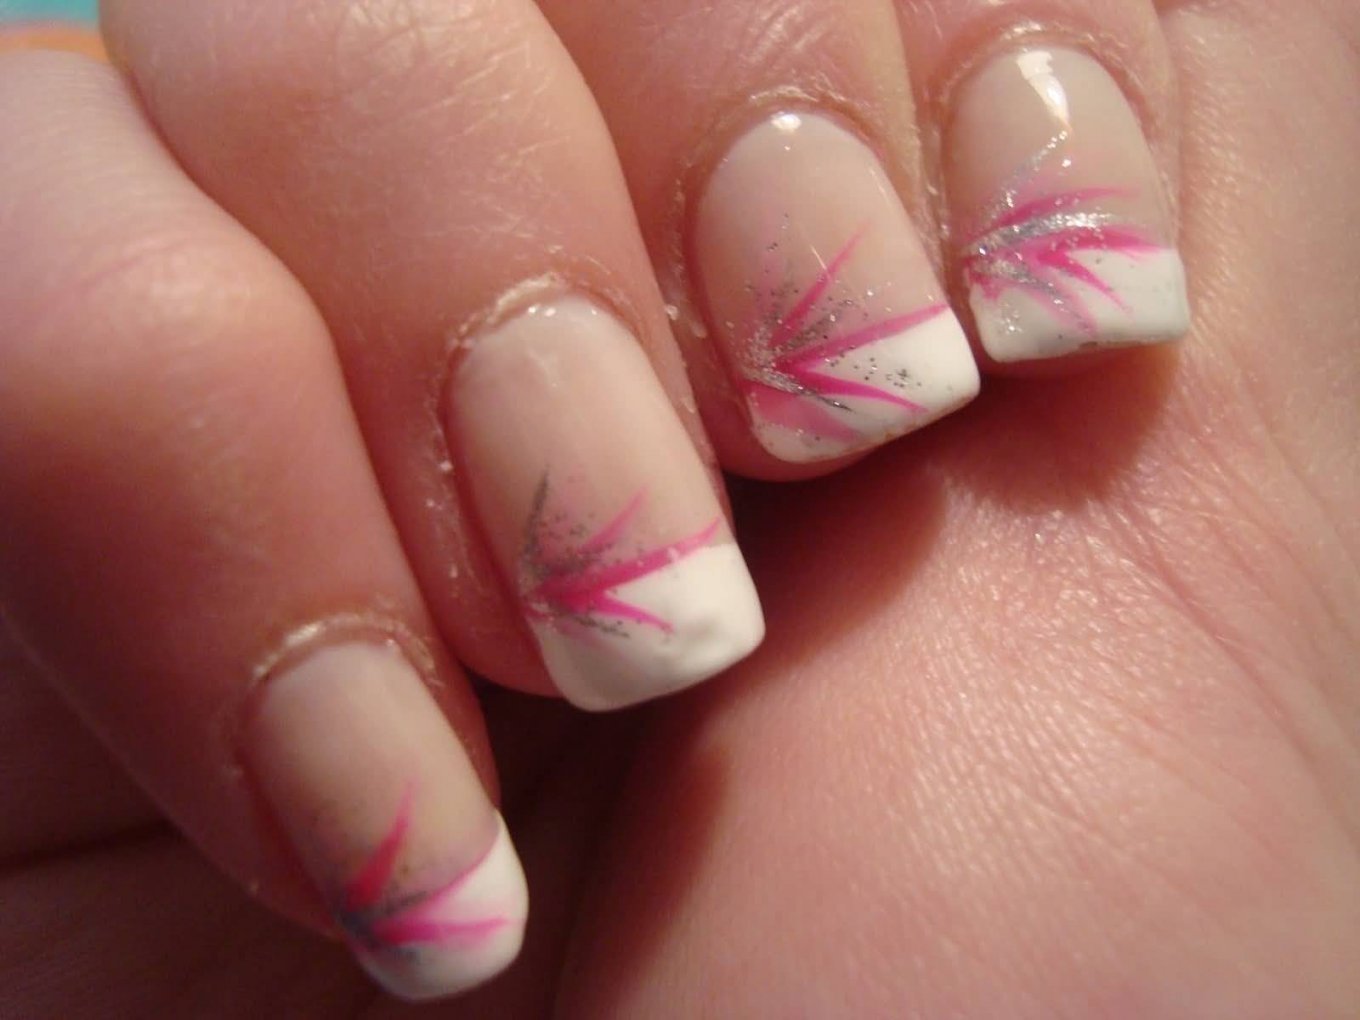
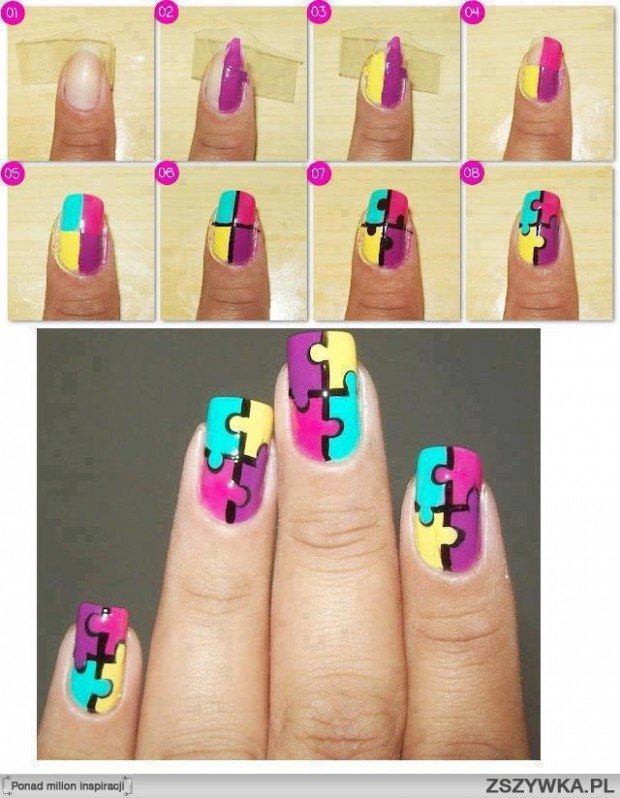
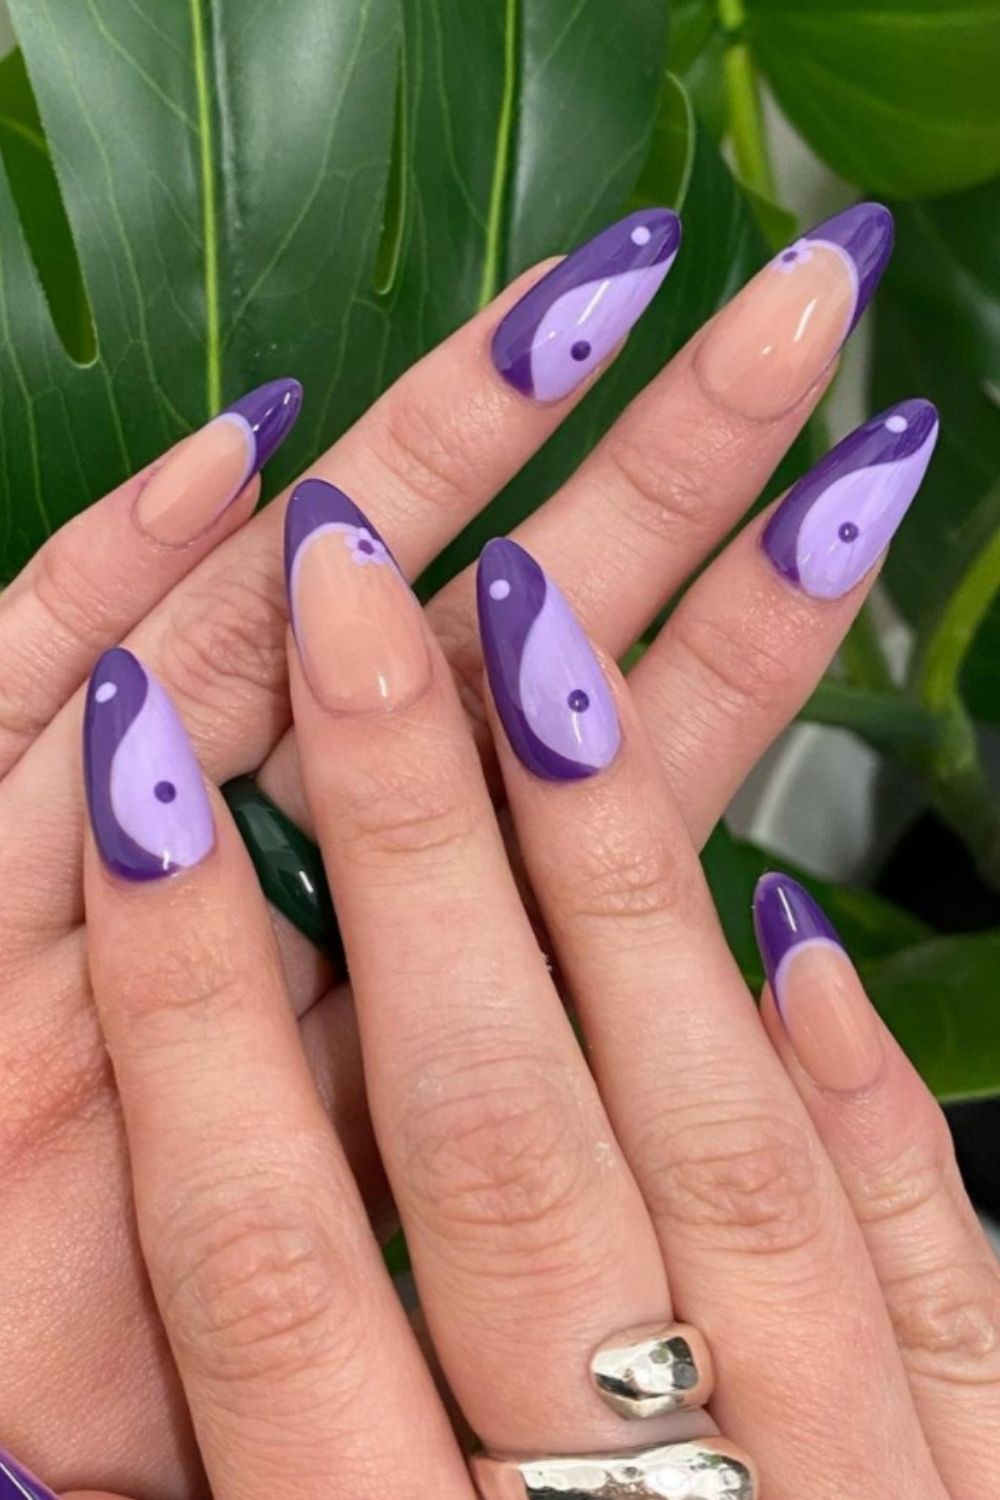
Geometric nail art is a trendy and modern option for long nails. To create this design, start by applying a base coat to your nails. Then, using stripping tape, create geometric patterns on your nails. You can also use nail polishes to paint the different shapes. Once your design is complete, carefully remove the tape and finish off with a top coat for a sleek and polished look.3. Simple Geometric Nail Art for Long Nails
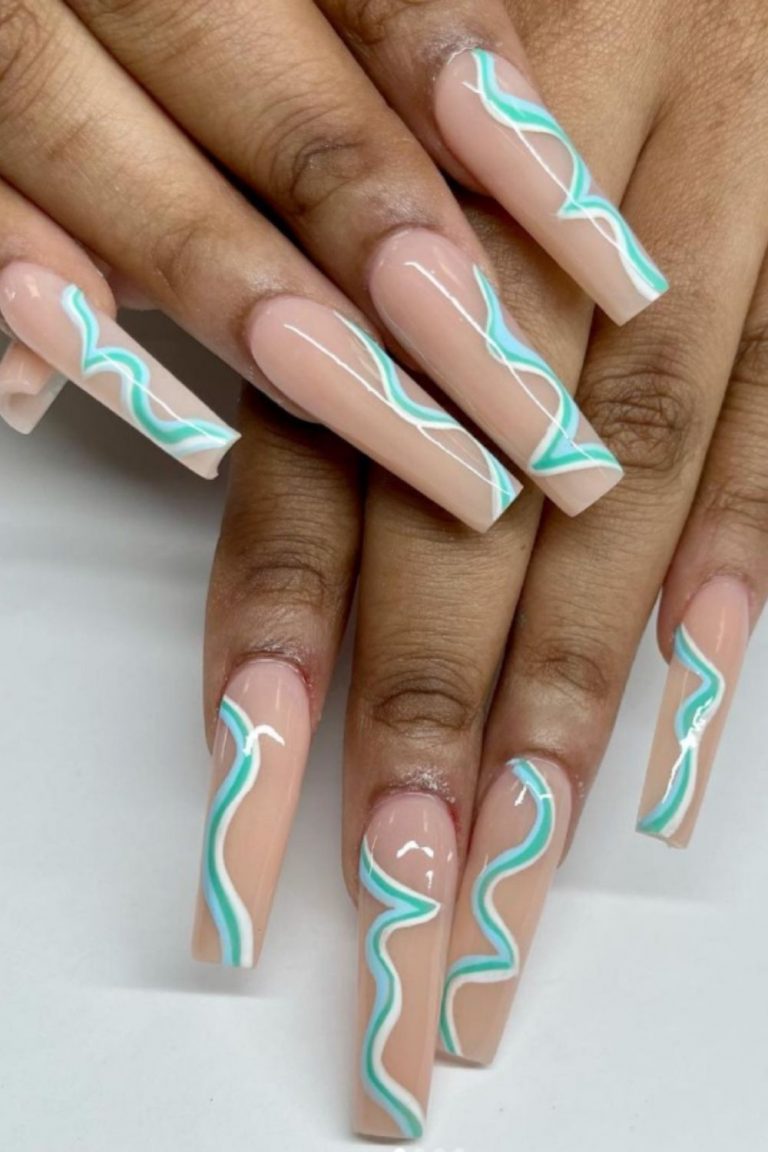

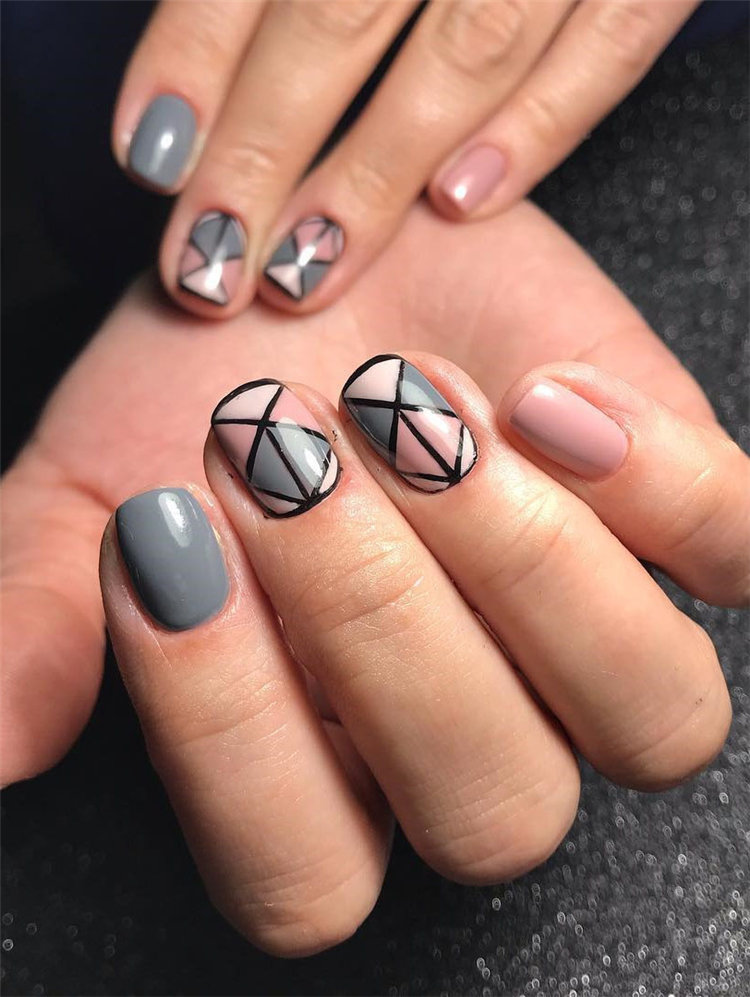
3. Simple Geometric Nail Art for Long Nails


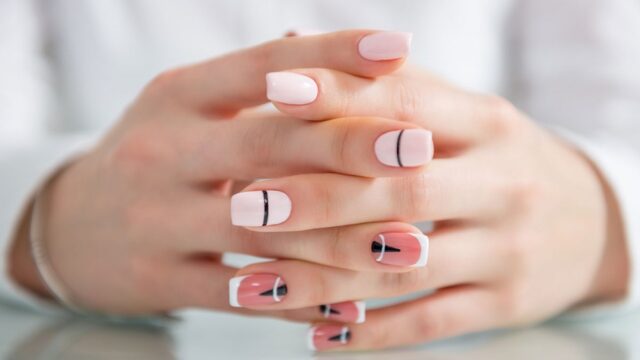
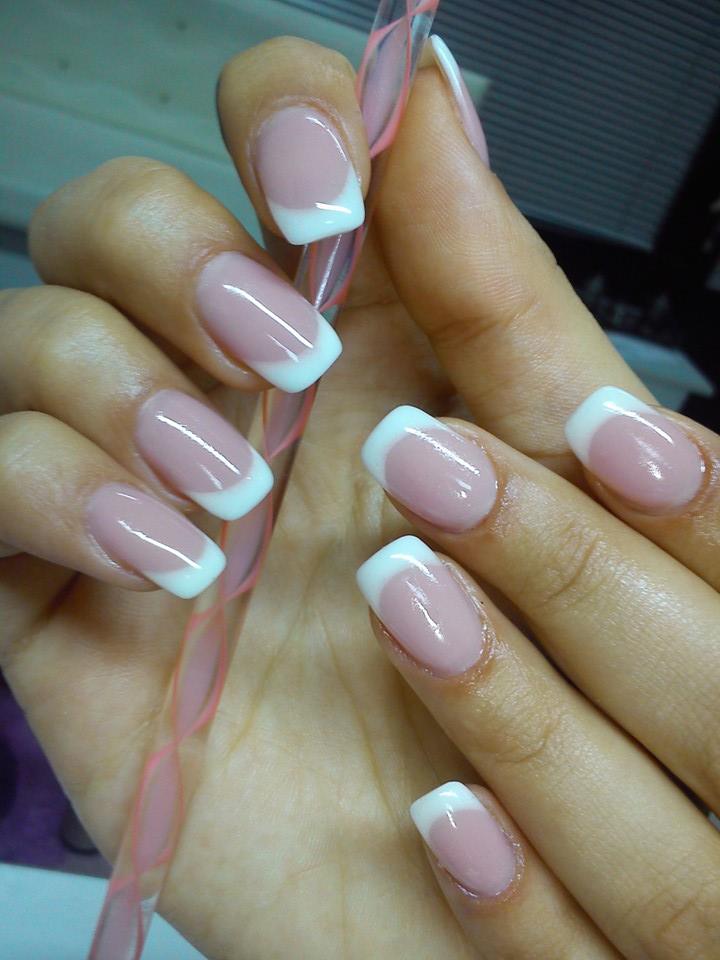
The French tip design is a classic and elegant choice for long nails. To create this look, start by applying a base coat to your nails. Then, using a white nail polish, create a thin line along the tip of your nails. You can also use nail guides to help you create a clean and precise line. Finish off with a top coat to seal in your design and give your nails a glossy finish.4. Elegant French Tip Design for Long Nails
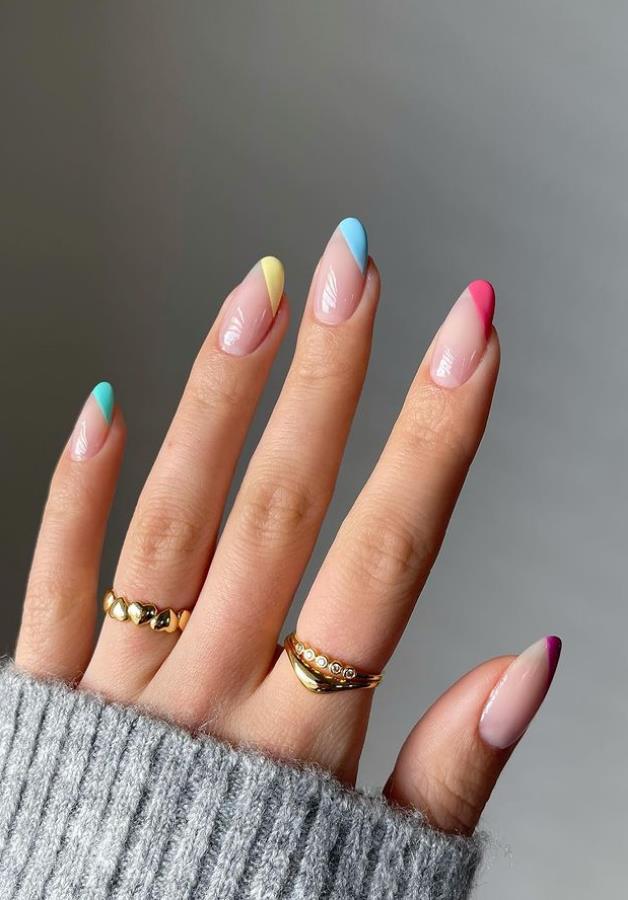


4. Elegant French Tip Design for Long Nails


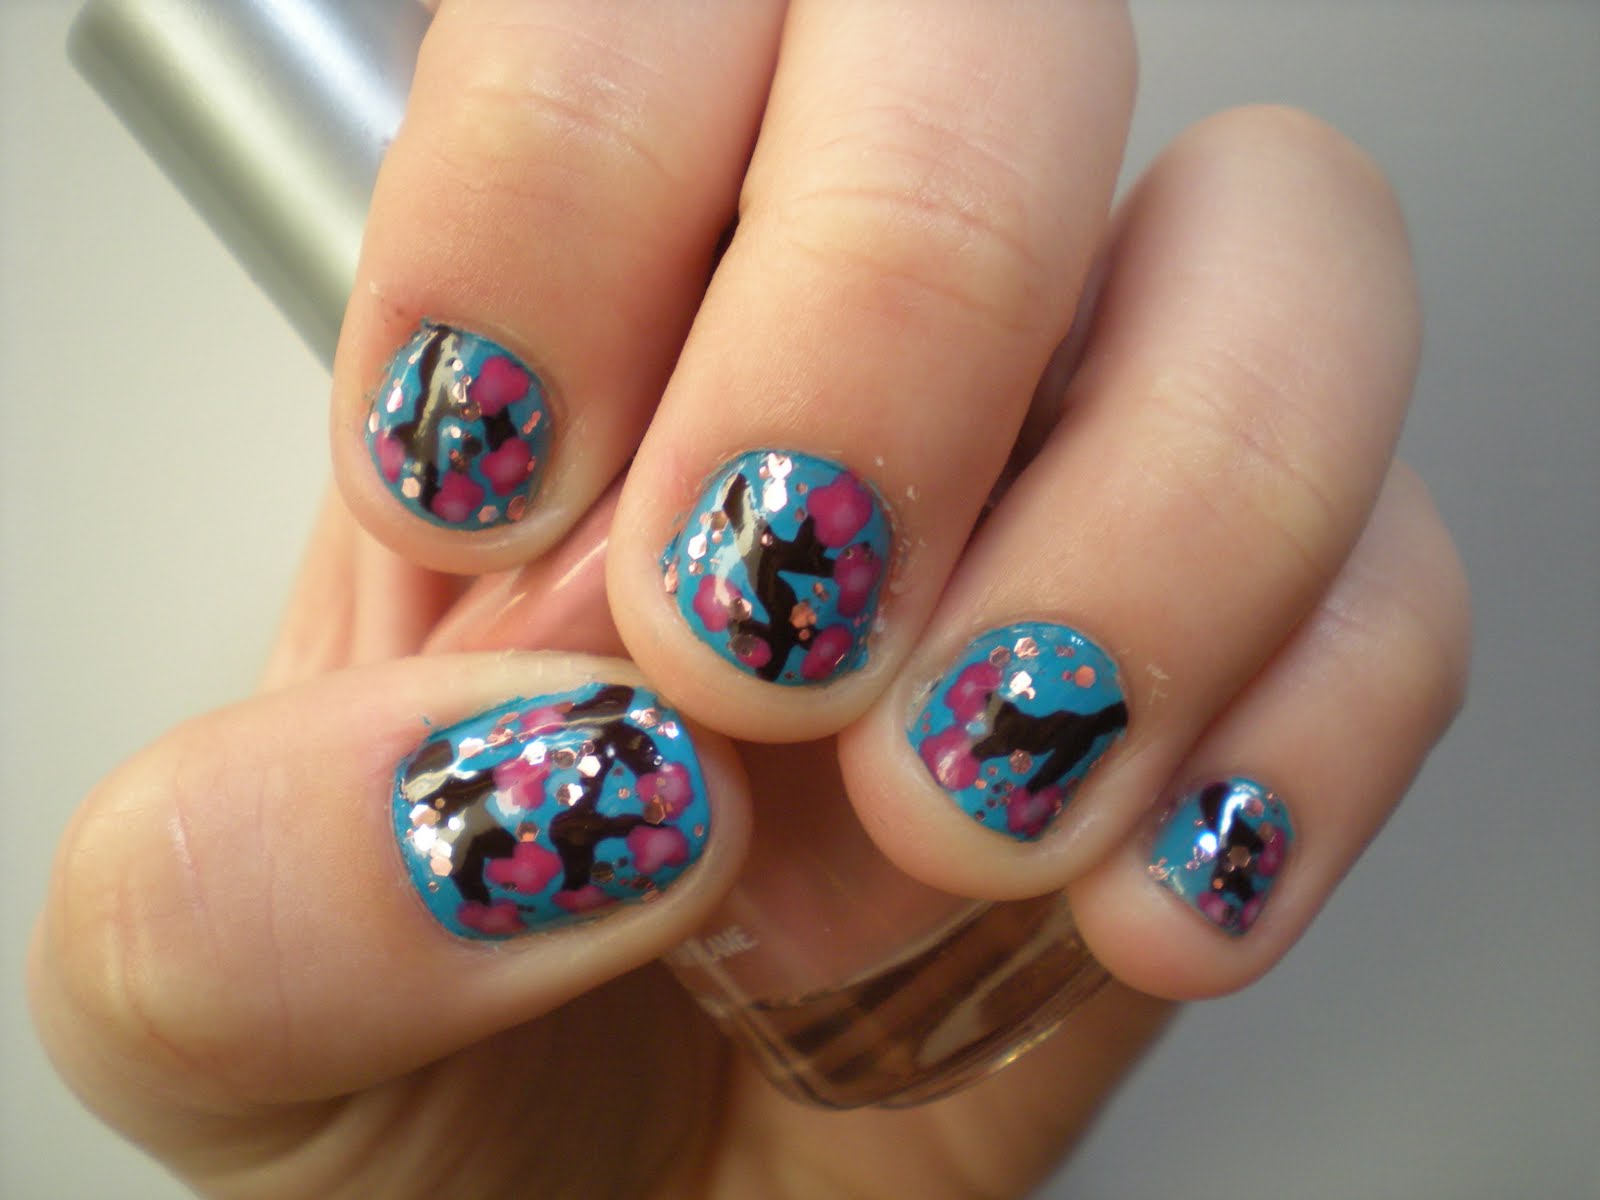
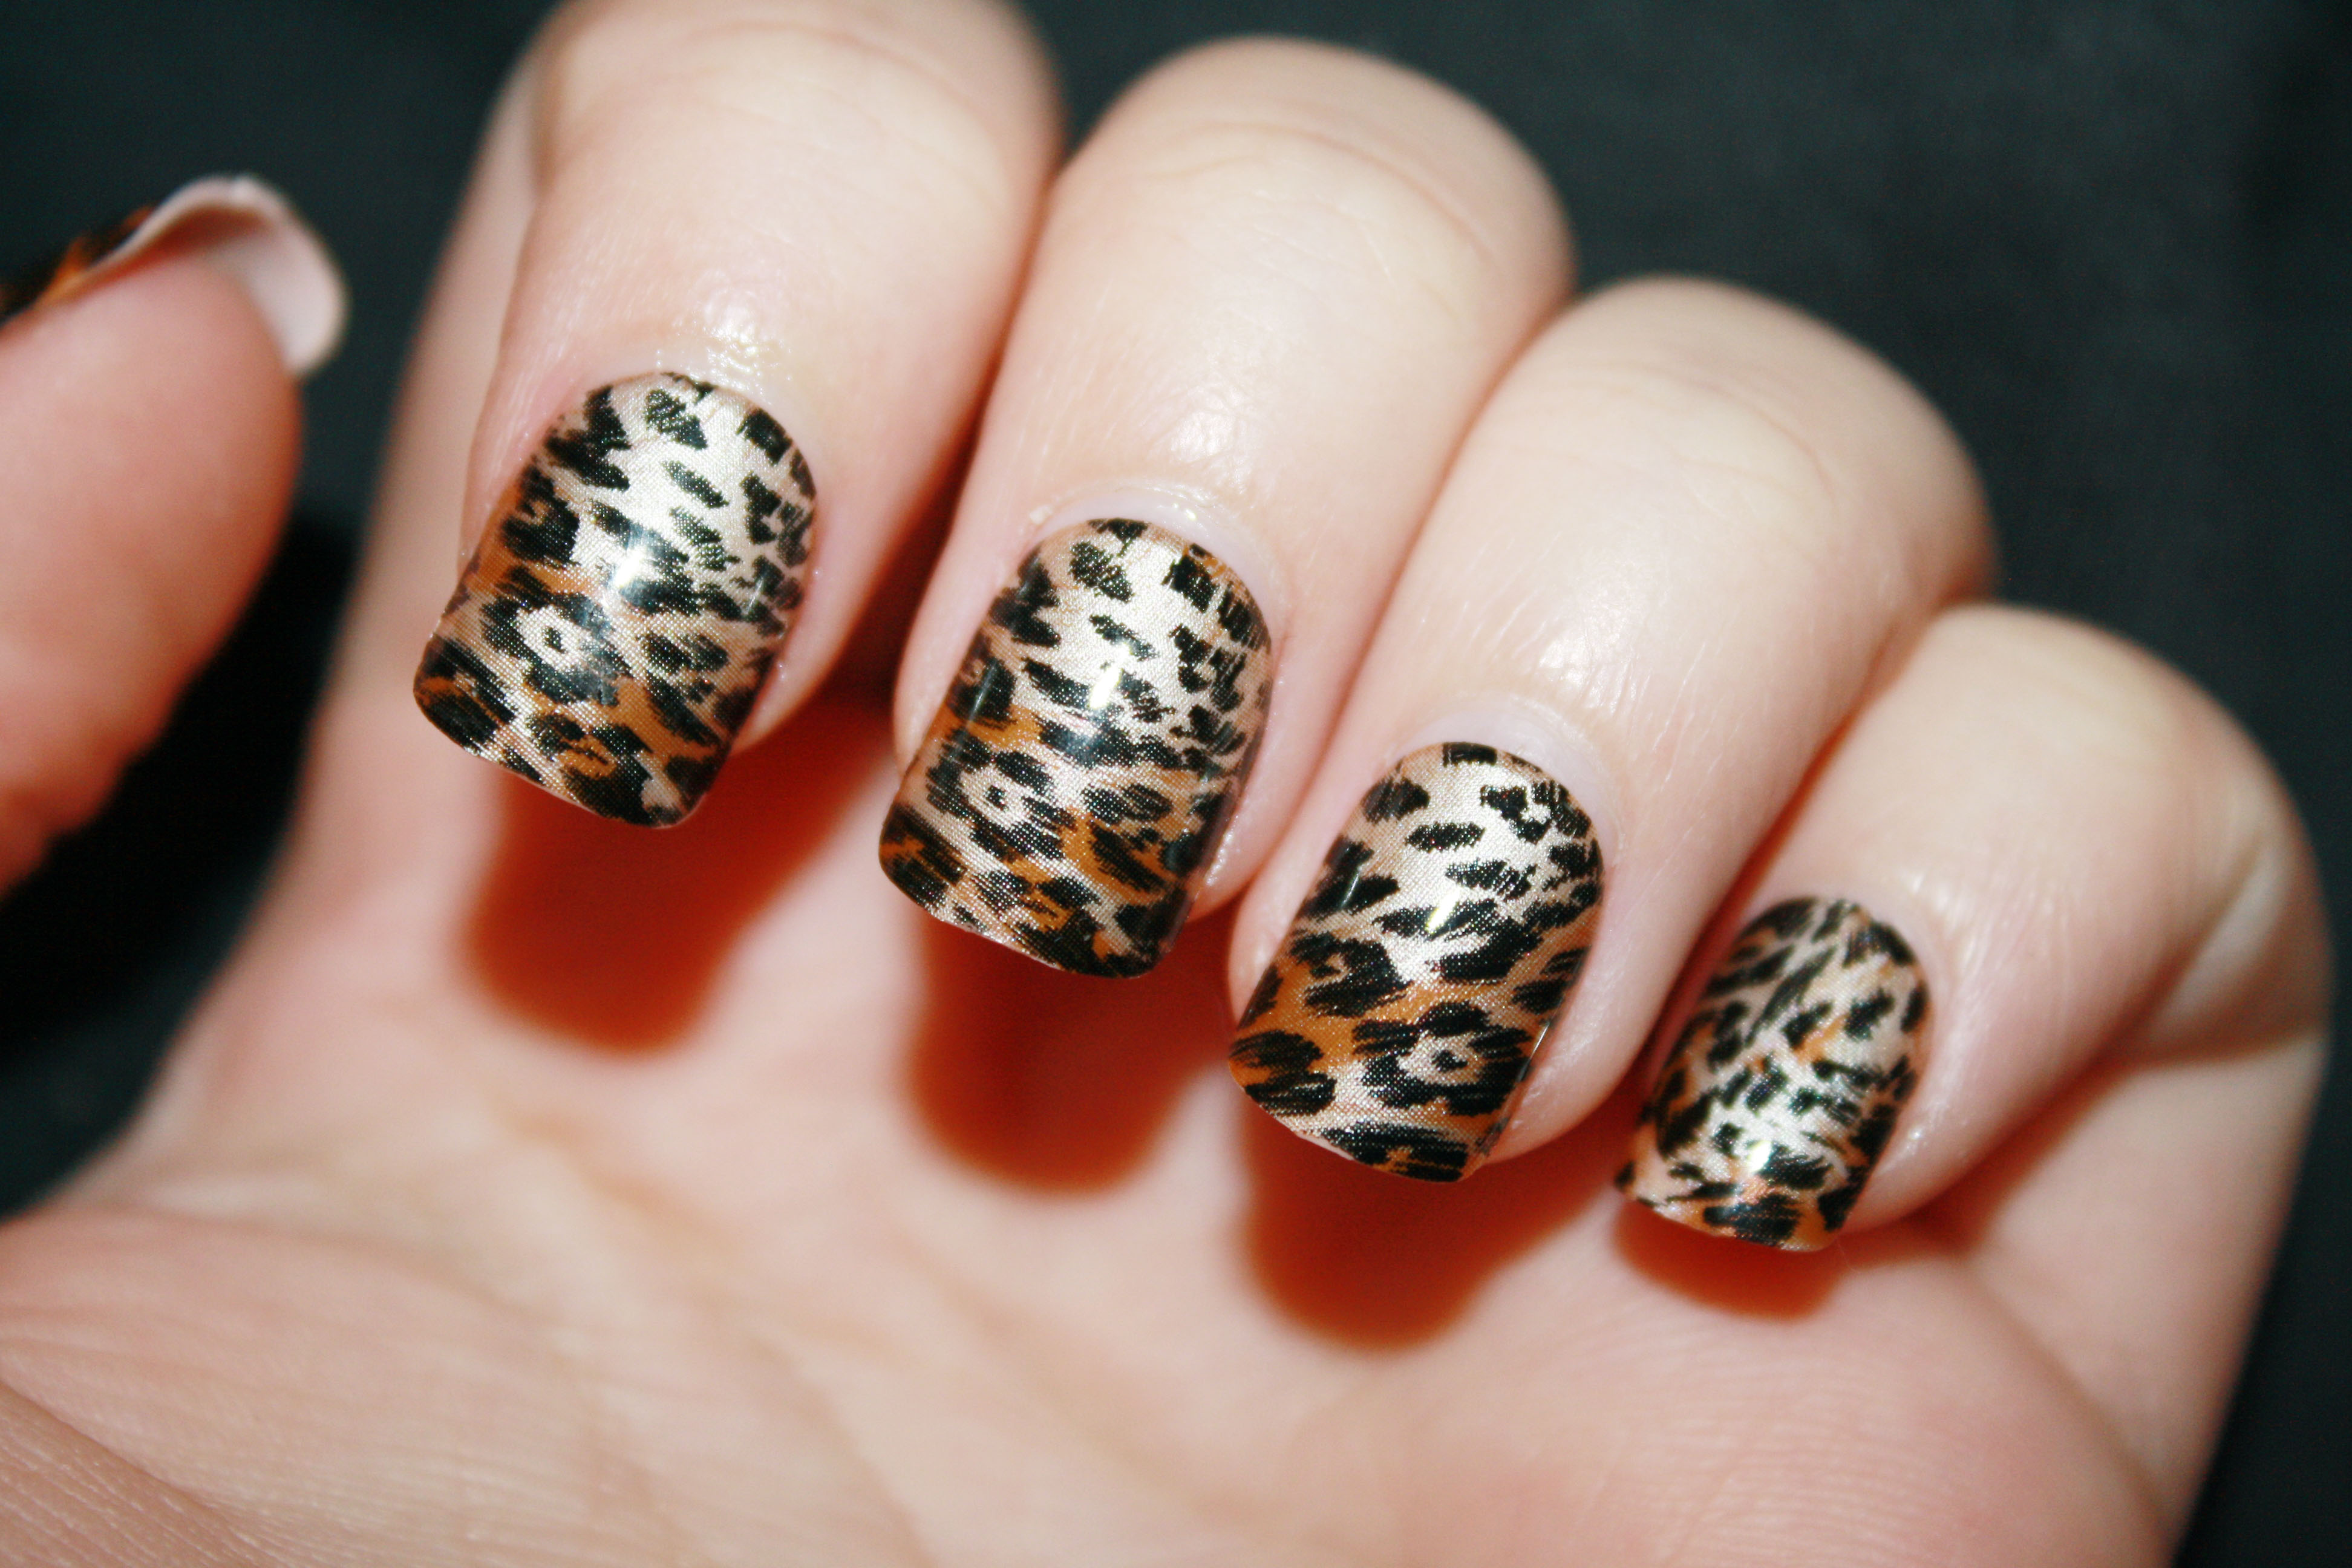
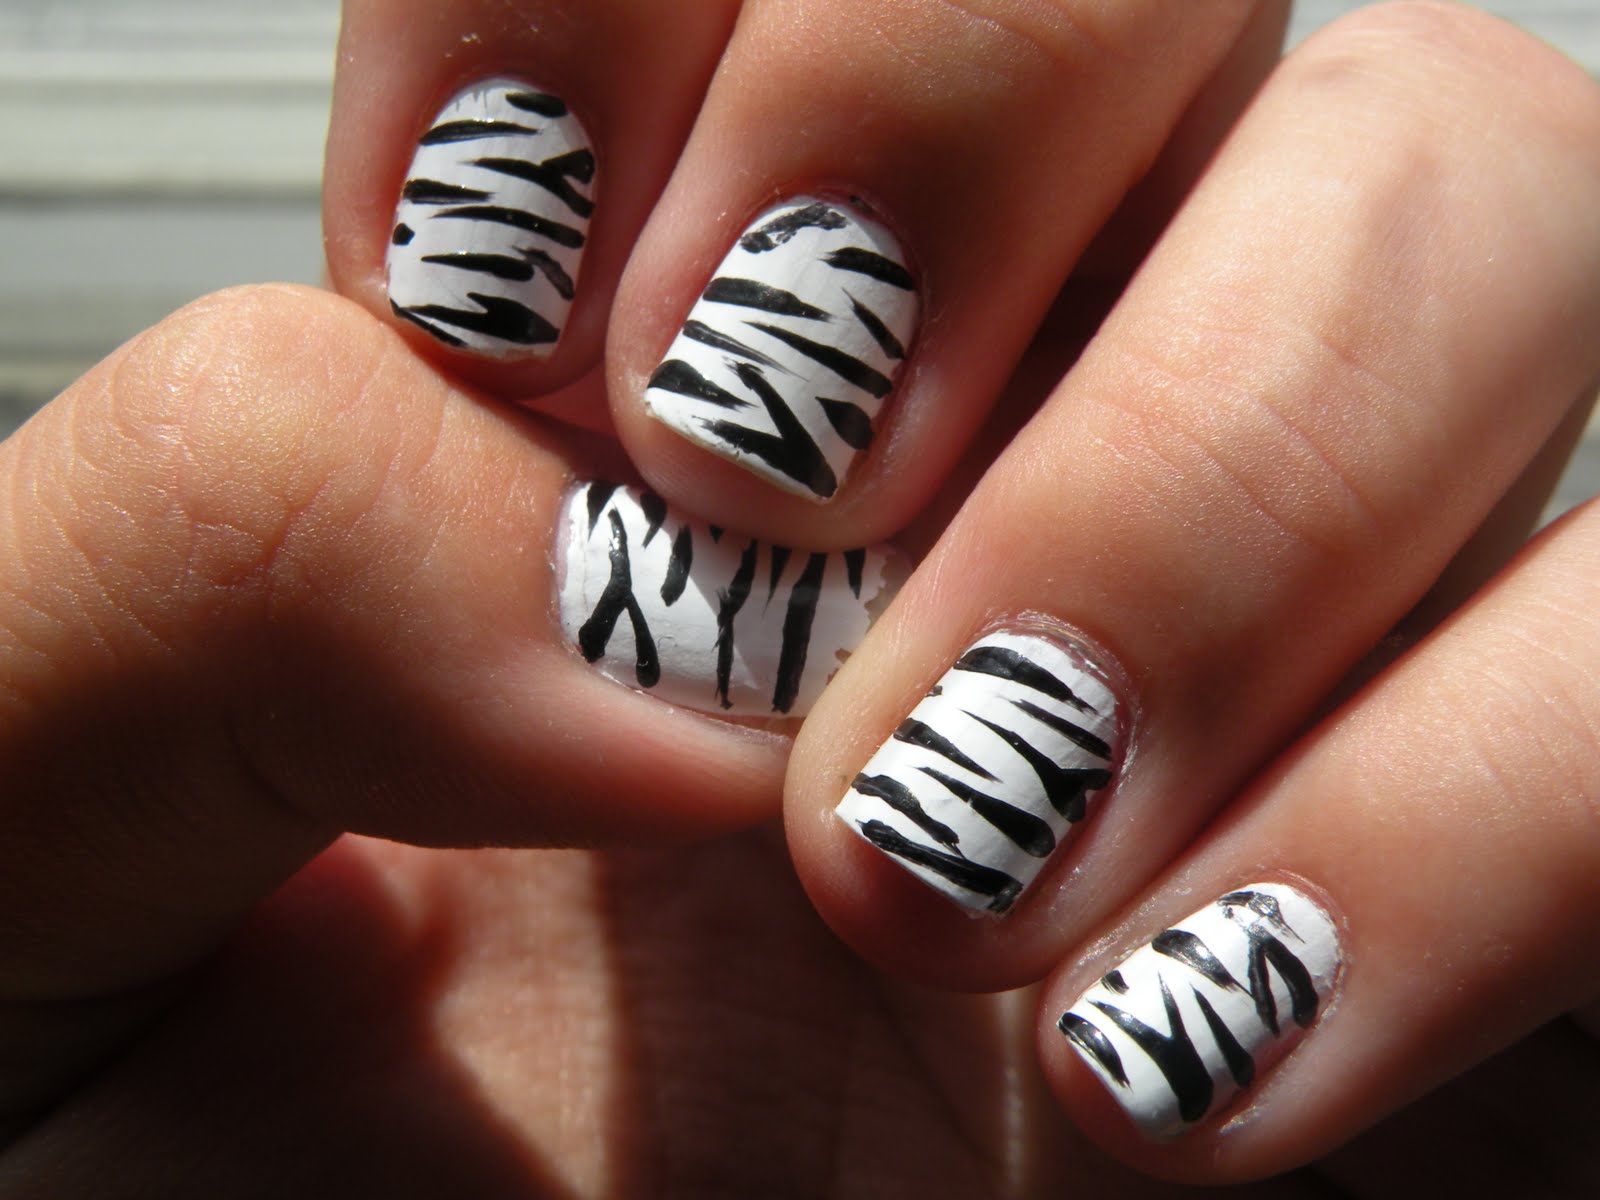
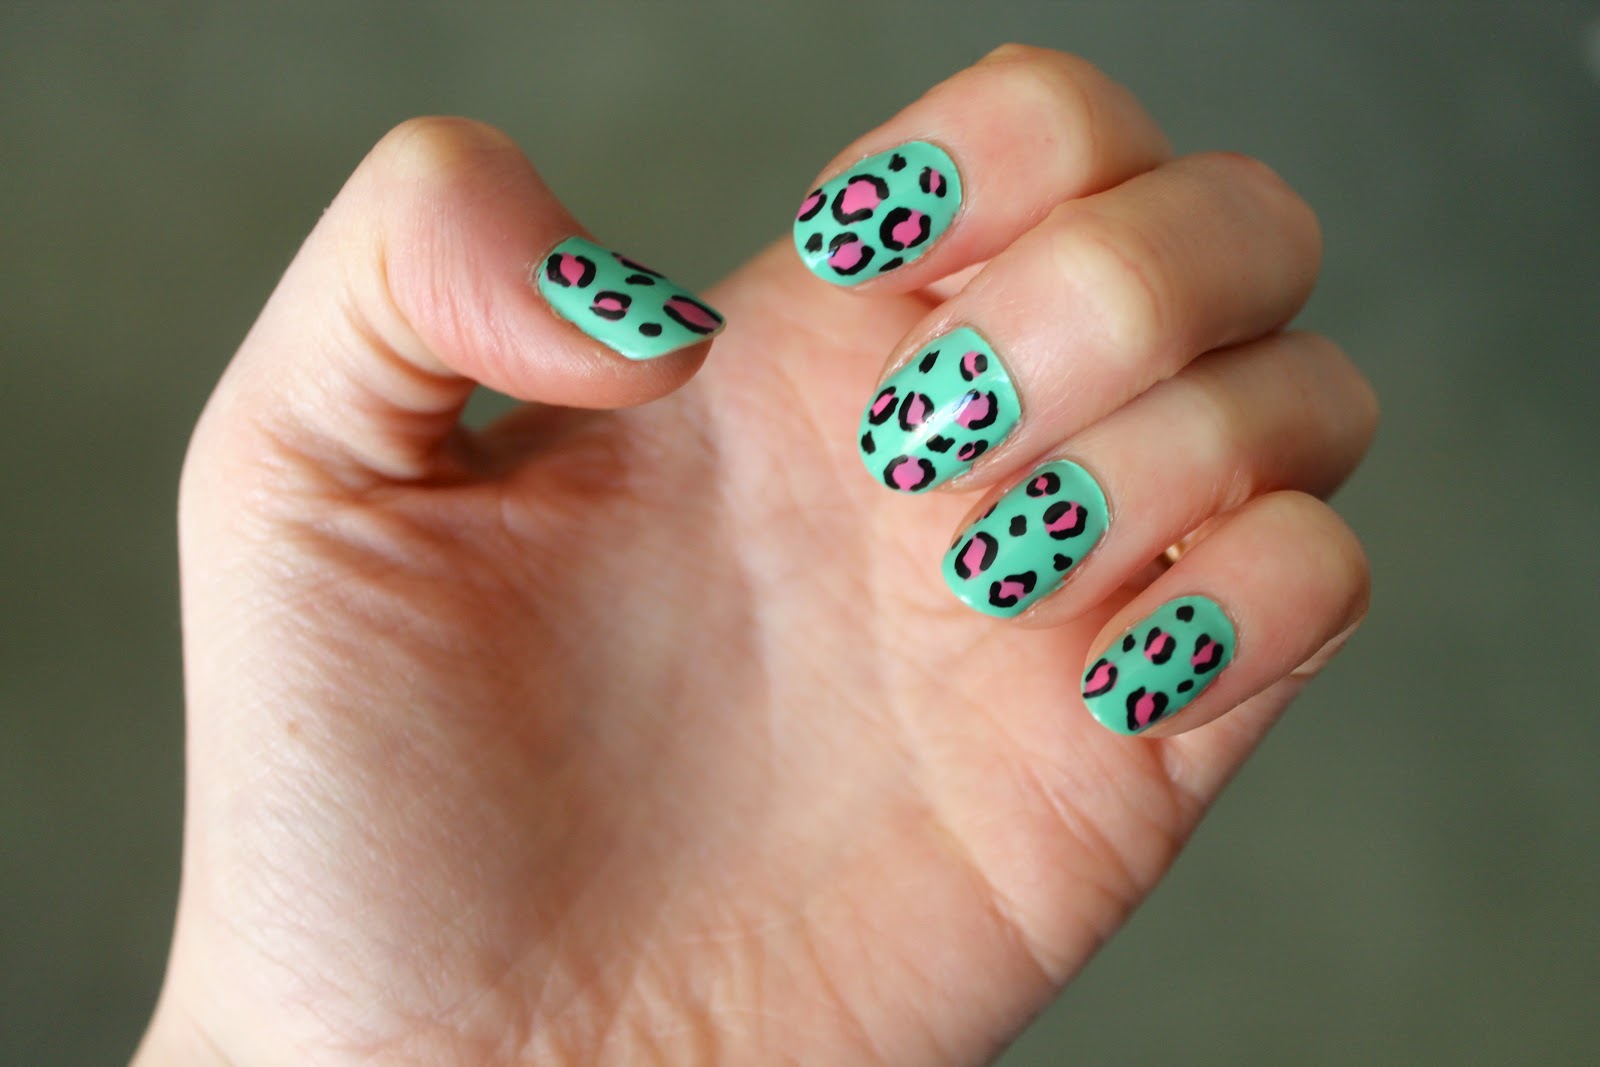
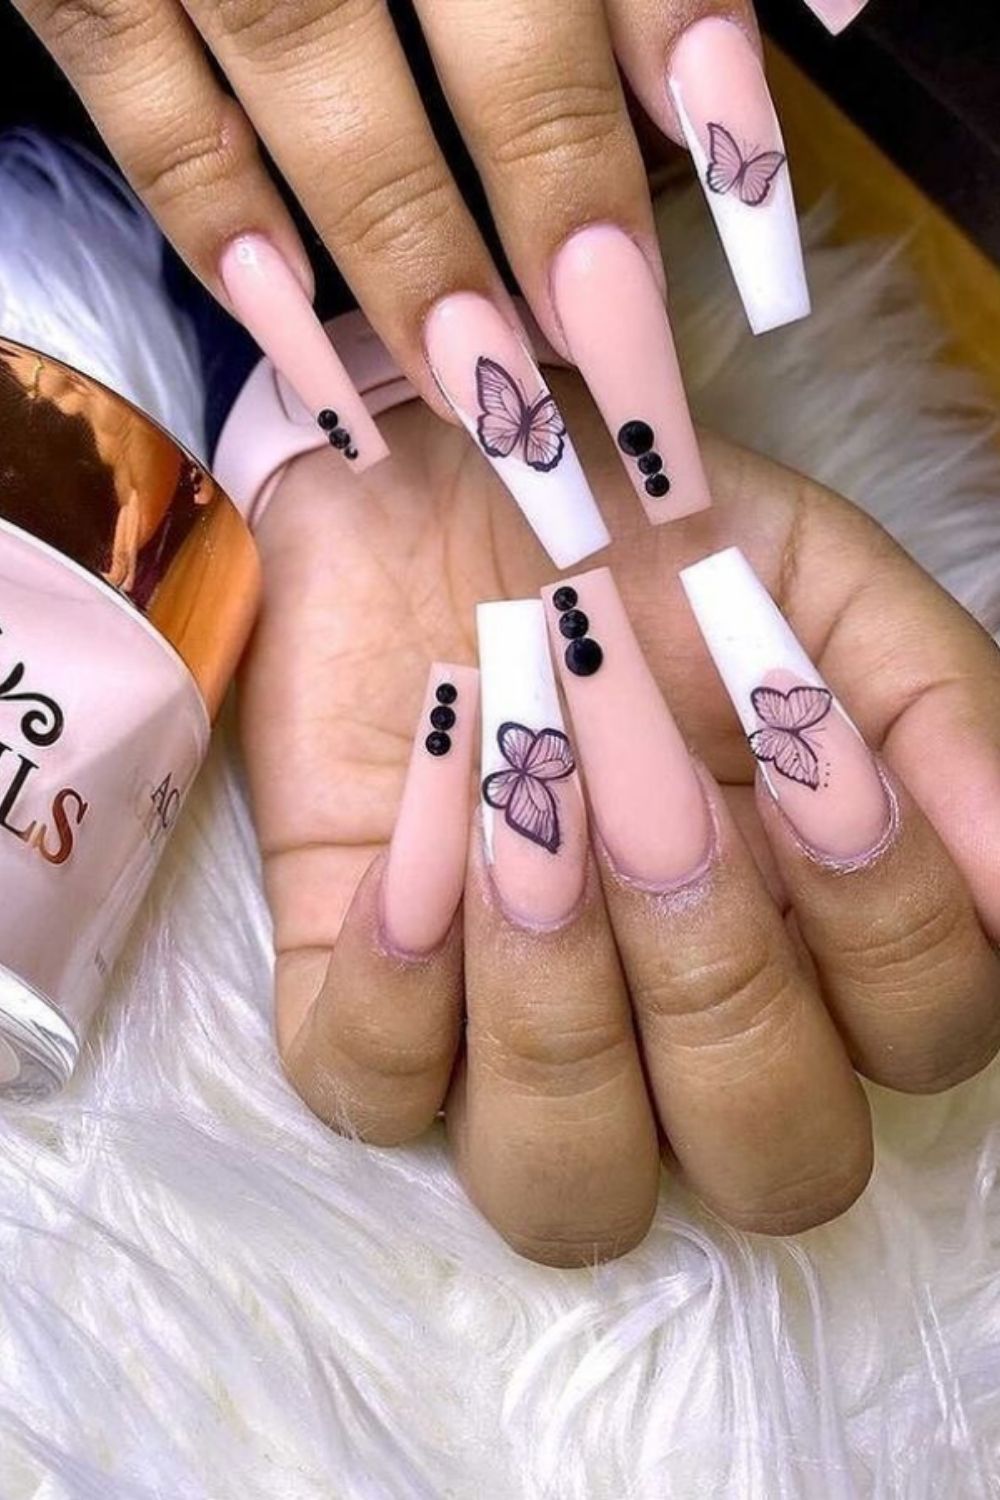
Animal print designs are a fun and playful choice for long nails. To create this cute animal print design, start by applying a base coat to your nails. Then, using nail polish pens, draw animal print patterns on your nails. You can also use nail stickers or nail stamps for added detail. Finish off with a top coat to seal in your design and protect your nails.5. Cute Animal Print Nail Design for Long Nails


5. Cute Animal Print Nail Design for Long Nails


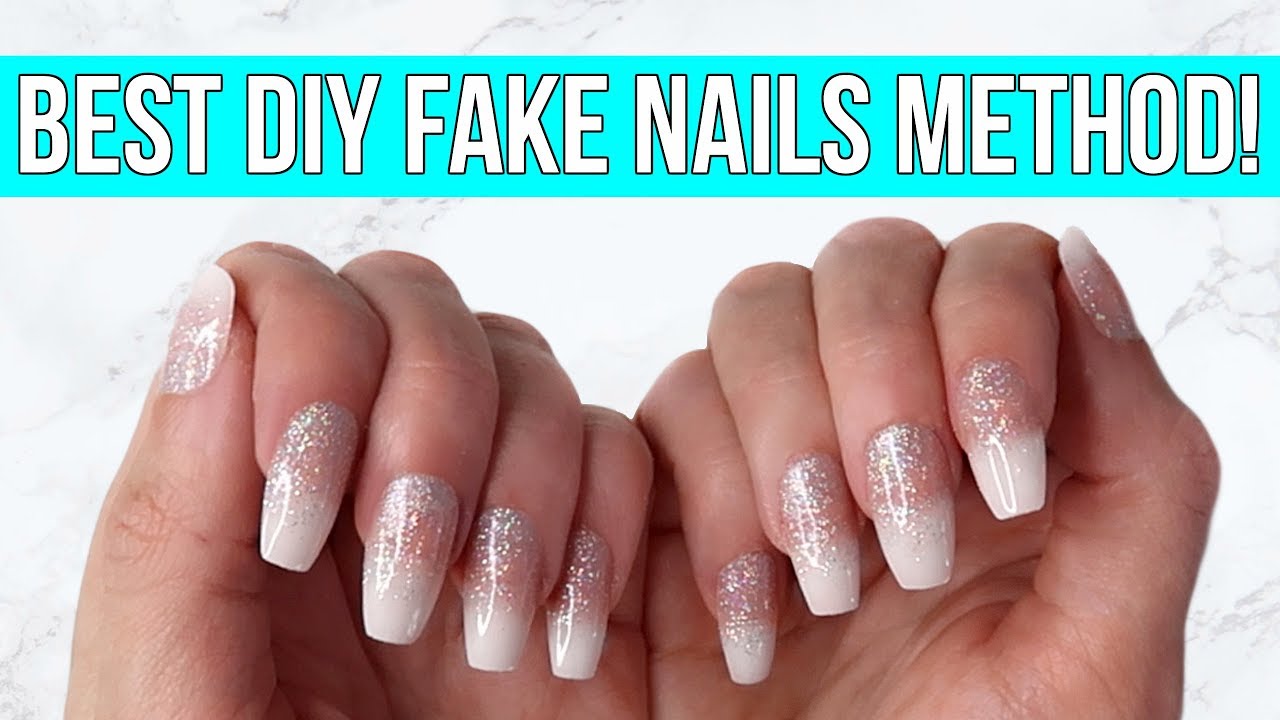
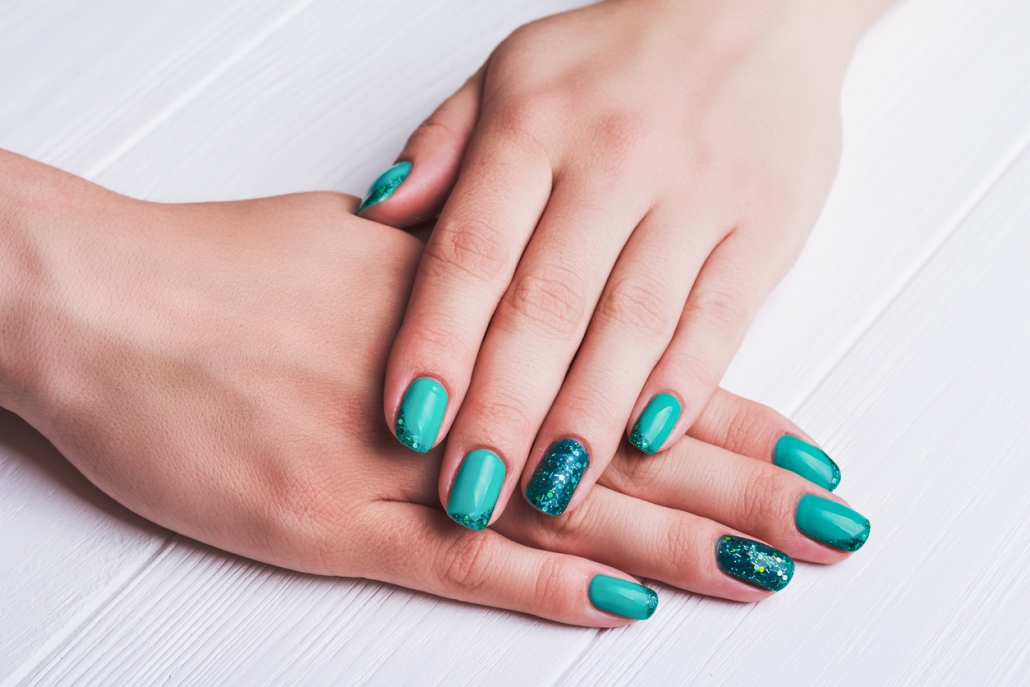
For those who love a bit of sparkle, this glitter ombre nail design is perfect for long nails. Start by applying a base coat to your nails. Then, using a makeup sponge, apply glitter nail polish to the tips of your nails, gradually fading it towards the base. Repeat this step until you achieve your desired level of sparkle. Finish off with a top coat to seal in your design and give your nails a glossy finish.6. Glitter Ombre Nail Design for Long Nails


6. Glitter Ombre Nail Design for Long Nails


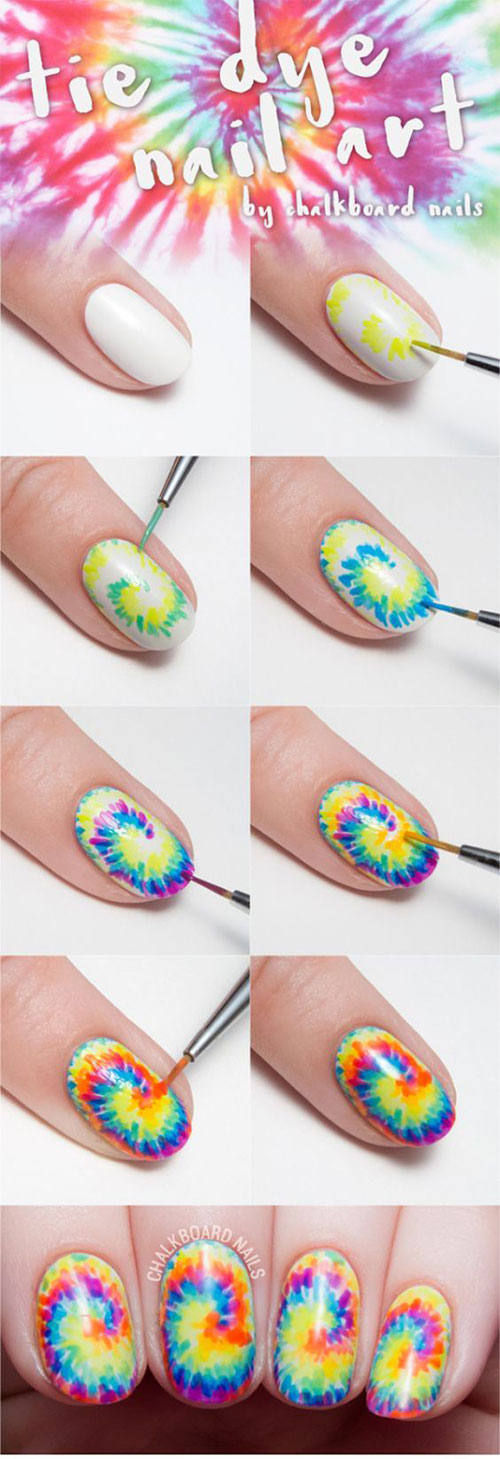
Marble nail art is a popular trend for long nails. To create this easy marble nail art, start by applying a base coat to your nails. Then, using nail polish drops, create marble patterns on your nails. You can use multiple colors to create a unique and colorful design. Finish off with a top coat to seal in your design and give your nails a glossy finish.7. Easy Marble Nail Art Tutorial for Long Nails


7. Easy Marble Nail Art Tutorial for Long Nails


Another way to incorporate florals into your long nail design is with a floral accent nail. Start by applying a base coat to your nails. Then, using a nail art brush, create a small floral pattern on one nail. You can also use nail stickers or nail stamps for added detail. Finish off with a top coat to seal in your design and protect your nails.8. Floral Accent Nail Design for Long Nails


8. Floral Accent Nail Design for Long Nails


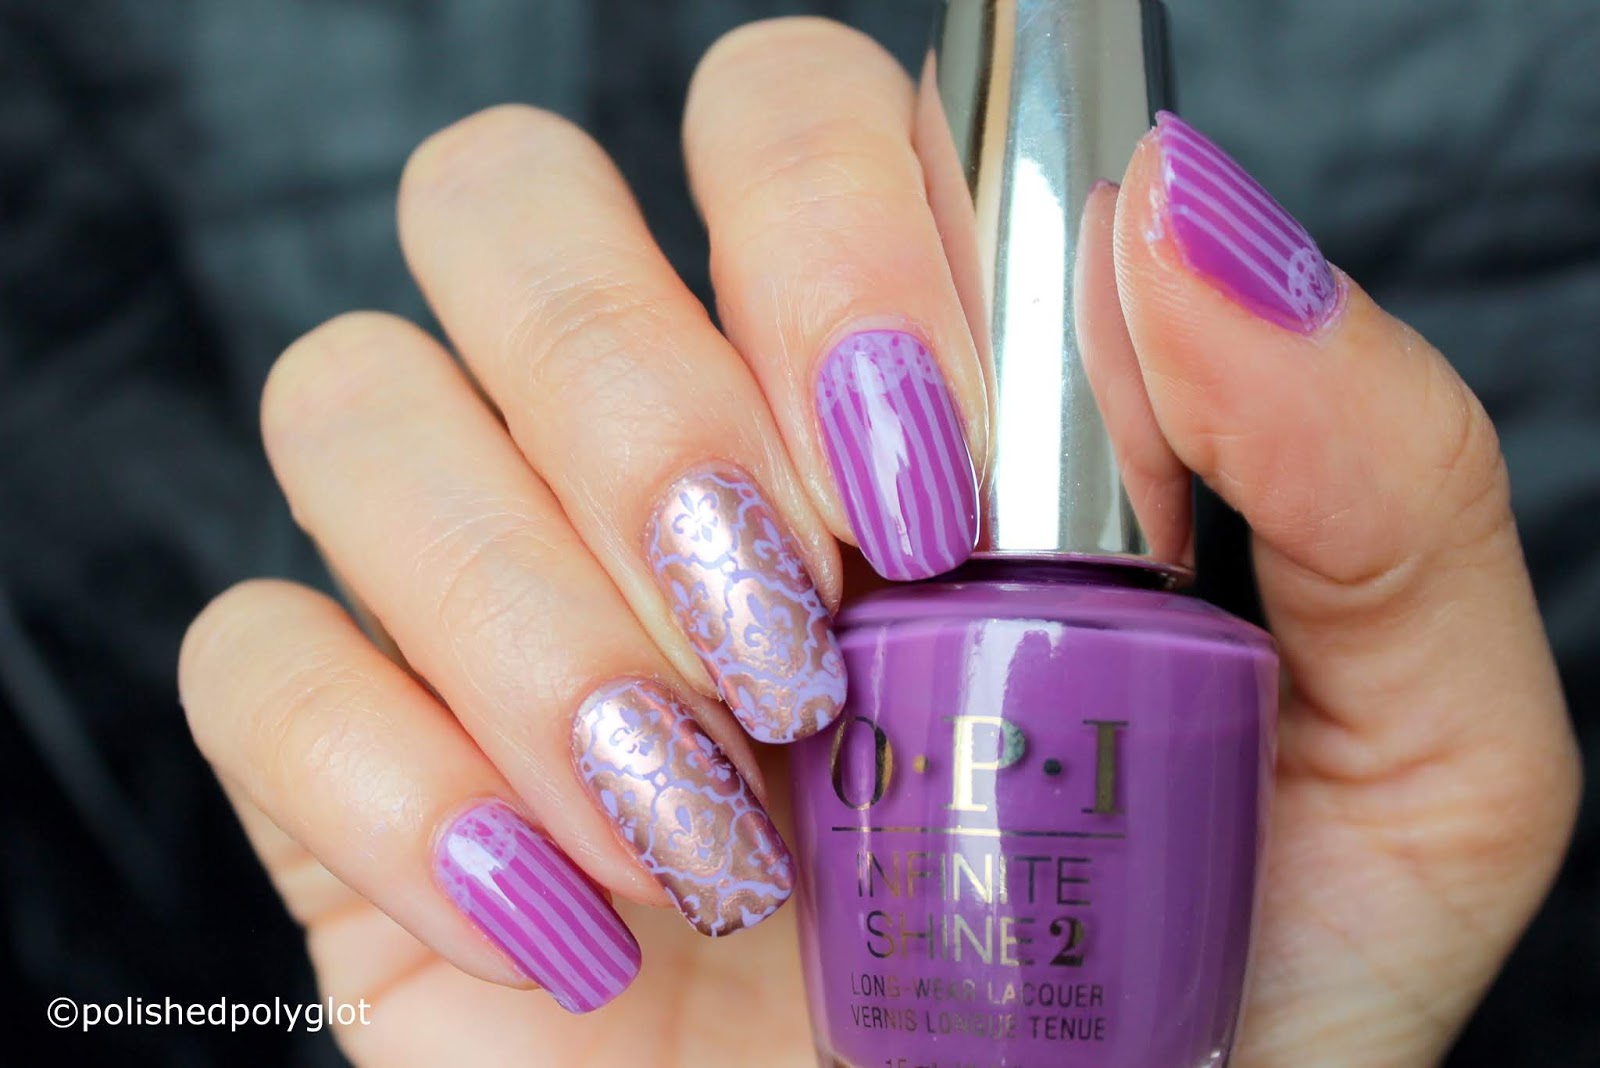
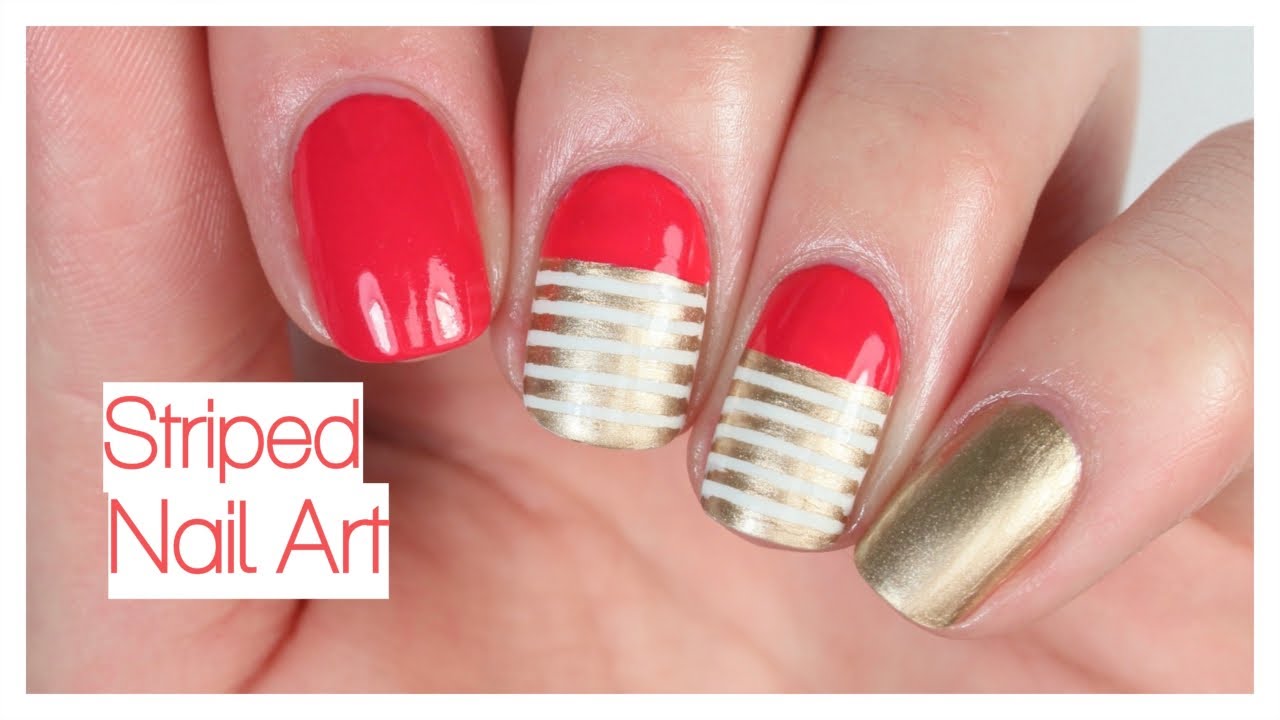
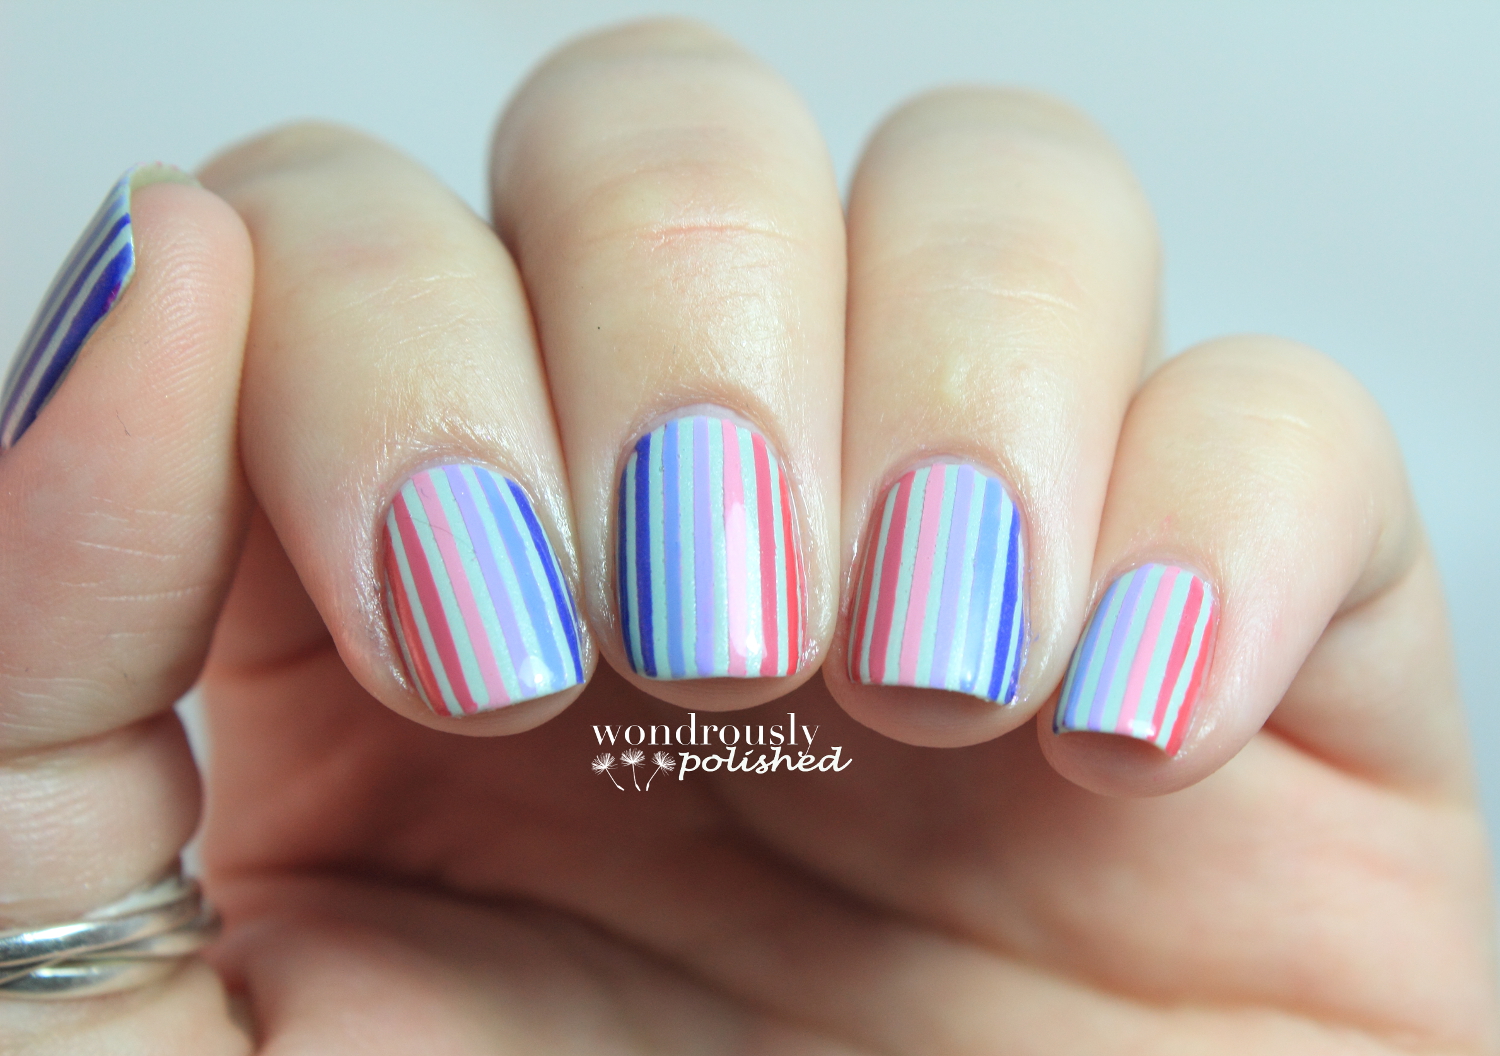
Stripes are a simple but effective design for long nails. To create this colorful striped nail design, start by applying a base coat to your nails. Then, using nail art tape, create striped patterns on your nails. You can use multiple colors to create a bold and vibrant design. Finish off with a top coat to seal in your design and give your nails a glossy finish.9. Colorful Striped Nail Design for Long Nails

9. Colorful Striped Nail Design for Long Nails


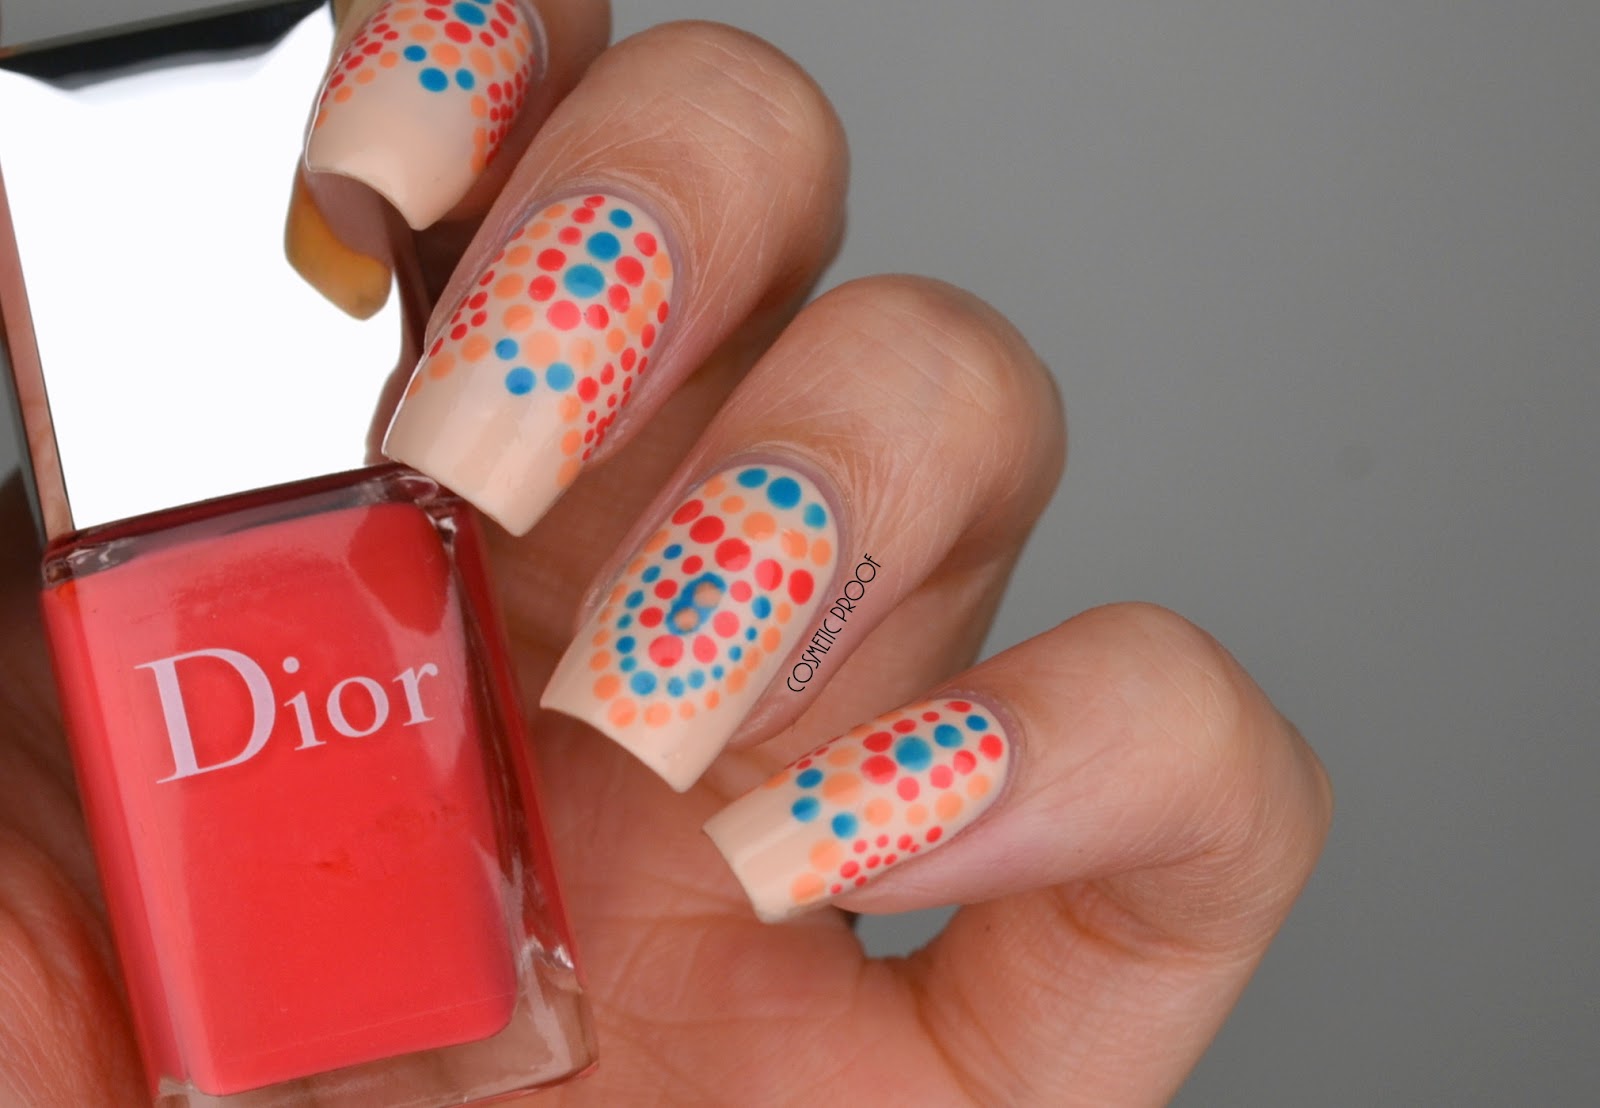
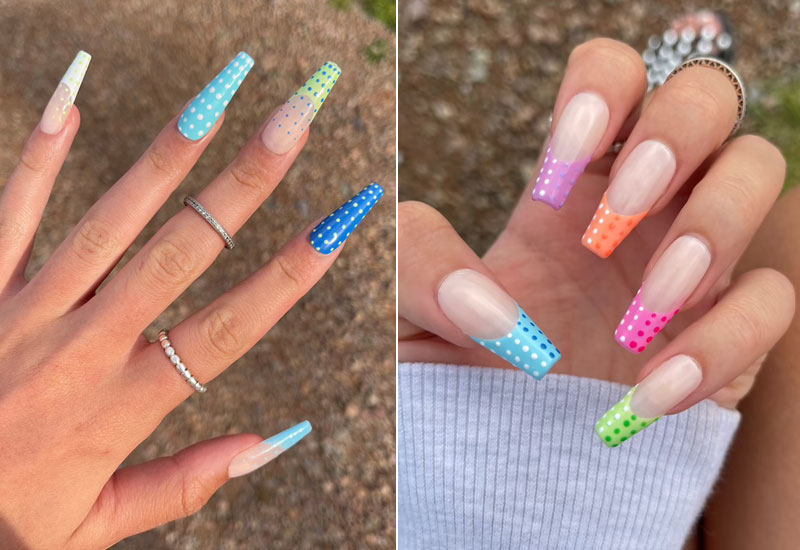
Polka dot nail designs are a fun and playful choice for long nails. Start by applying a base coat to your nails. Then, using a dotting tool, create polka dot patterns on your nails. You can use multiple colors and dot sizes to create a unique and colorful design. Finish off with a top coat to seal in your design and protect your nails.10. Polka Dot Nail Design for Long Nails
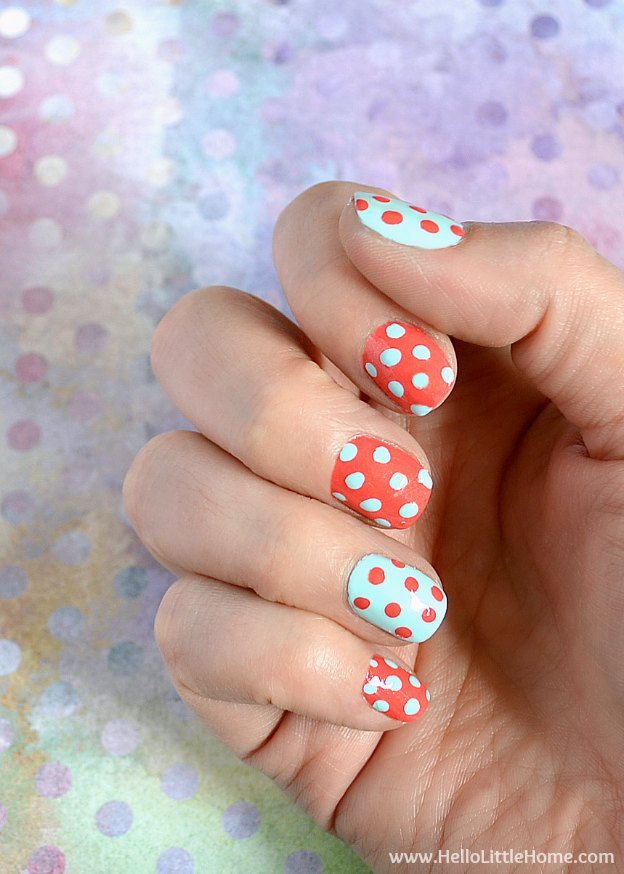
10. Polka Dot Nail Design for Long Nails

Creating Intricate Designs

Tools and Materials
 To create stunning nail designs on long nails, you'll need a few essential tools and materials. These include a base coat,
nail polish
,
nail art brushes
,
dotting tools
,
nail striping tape
, and
nail studs
. You can also use everyday items such as toothpicks or bobby pins as alternative tools. As for
nail polish
, choose a variety of colors and finishes to add dimension to your designs.
To create stunning nail designs on long nails, you'll need a few essential tools and materials. These include a base coat,
nail polish
,
nail art brushes
,
dotting tools
,
nail striping tape
, and
nail studs
. You can also use everyday items such as toothpicks or bobby pins as alternative tools. As for
nail polish
, choose a variety of colors and finishes to add dimension to your designs.
Step-by-Step Guide
 1. Begin by prepping your nails with a base coat to protect them and create a smooth surface for the
nail polish
. Let it dry completely before moving on to the next step.
2. Choose a
nail polish
color for your base. You can opt for a solid color or create an ombre effect by using two or more colors.
3. Once your base is dry, it's time to get creative with your
nail art
brushes. Use them to create intricate designs such as flowers, hearts, or geometric patterns. You can also add
dots
using a dotting tool or toothpick.
4. For a more sophisticated look, try using nail striping tape to create clean and precise lines. Simply place the tape on your nails in the desired pattern and paint over it with a contrasting
nail polish
. Let it dry before carefully peeling off the tape.
5. Another way to add dimension to your designs is by using
nail studs
. These come in various shapes and sizes and can be easily applied using a dab of clear top coat.
6. Once your design is complete, seal it with a top coat to protect and give it a glossy finish.
With these simple steps, you can create intricate and eye-catching nail designs on your long nails. Don't be afraid to experiment with different colors, patterns, and tools to create unique and personalized designs. Remember to have fun and let your creativity shine through your
nail art
.
1. Begin by prepping your nails with a base coat to protect them and create a smooth surface for the
nail polish
. Let it dry completely before moving on to the next step.
2. Choose a
nail polish
color for your base. You can opt for a solid color or create an ombre effect by using two or more colors.
3. Once your base is dry, it's time to get creative with your
nail art
brushes. Use them to create intricate designs such as flowers, hearts, or geometric patterns. You can also add
dots
using a dotting tool or toothpick.
4. For a more sophisticated look, try using nail striping tape to create clean and precise lines. Simply place the tape on your nails in the desired pattern and paint over it with a contrasting
nail polish
. Let it dry before carefully peeling off the tape.
5. Another way to add dimension to your designs is by using
nail studs
. These come in various shapes and sizes and can be easily applied using a dab of clear top coat.
6. Once your design is complete, seal it with a top coat to protect and give it a glossy finish.
With these simple steps, you can create intricate and eye-catching nail designs on your long nails. Don't be afraid to experiment with different colors, patterns, and tools to create unique and personalized designs. Remember to have fun and let your creativity shine through your
nail art
.


