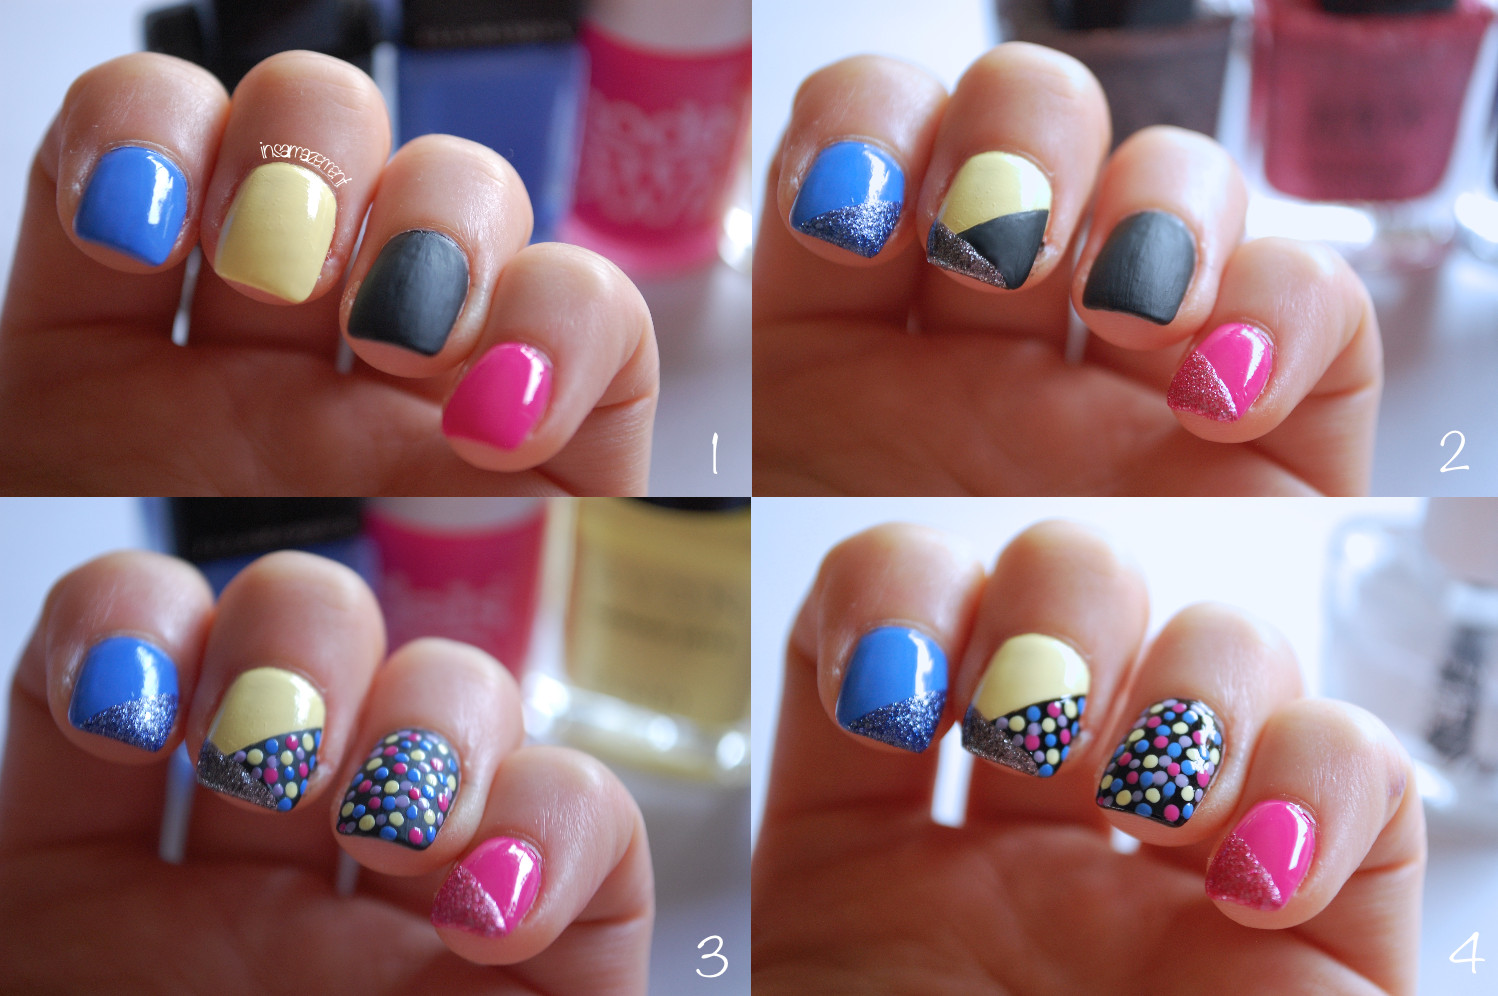
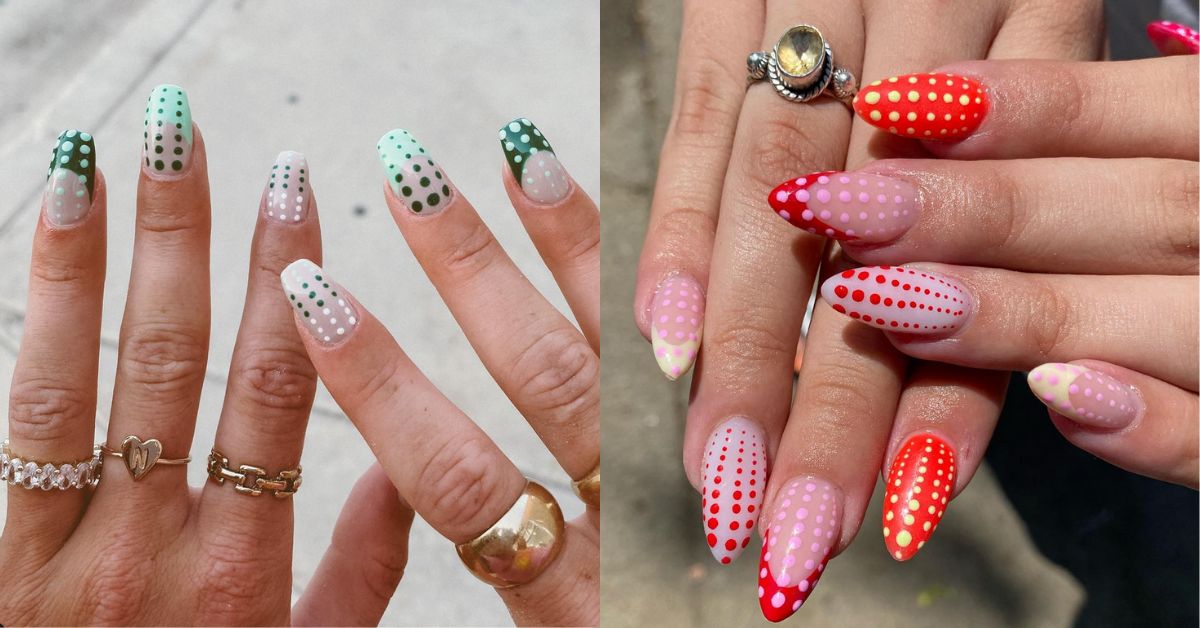
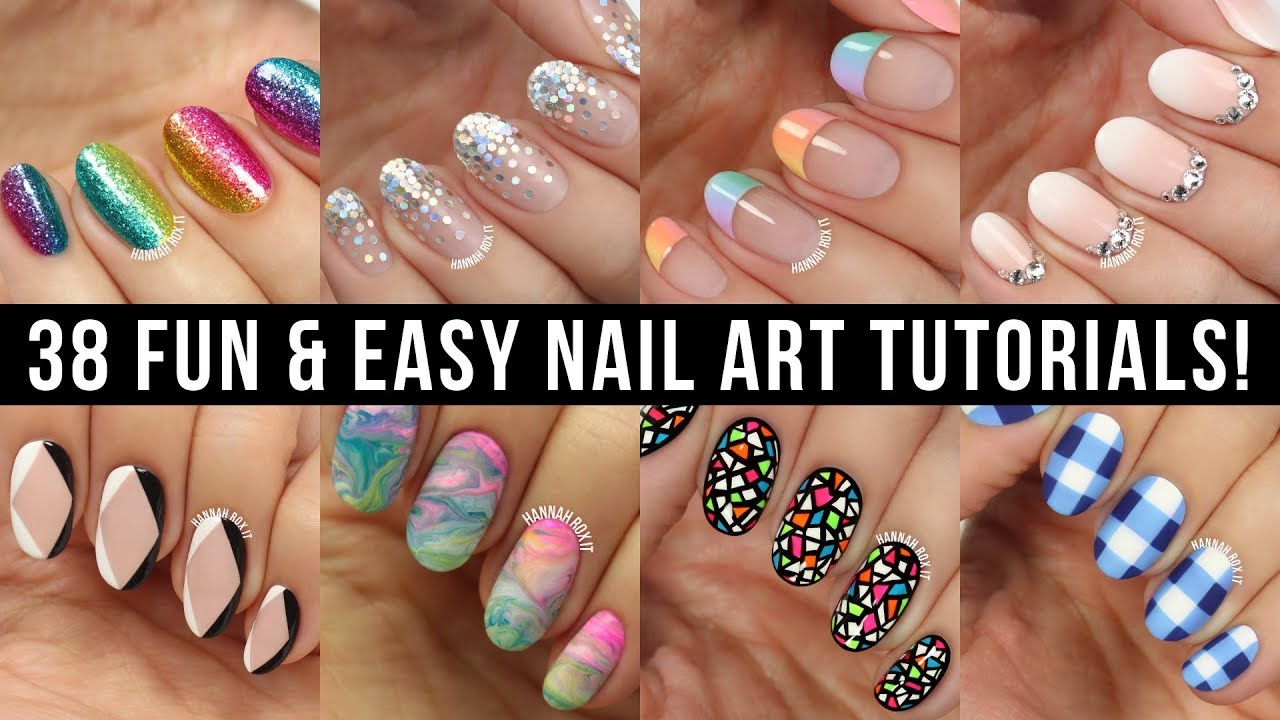
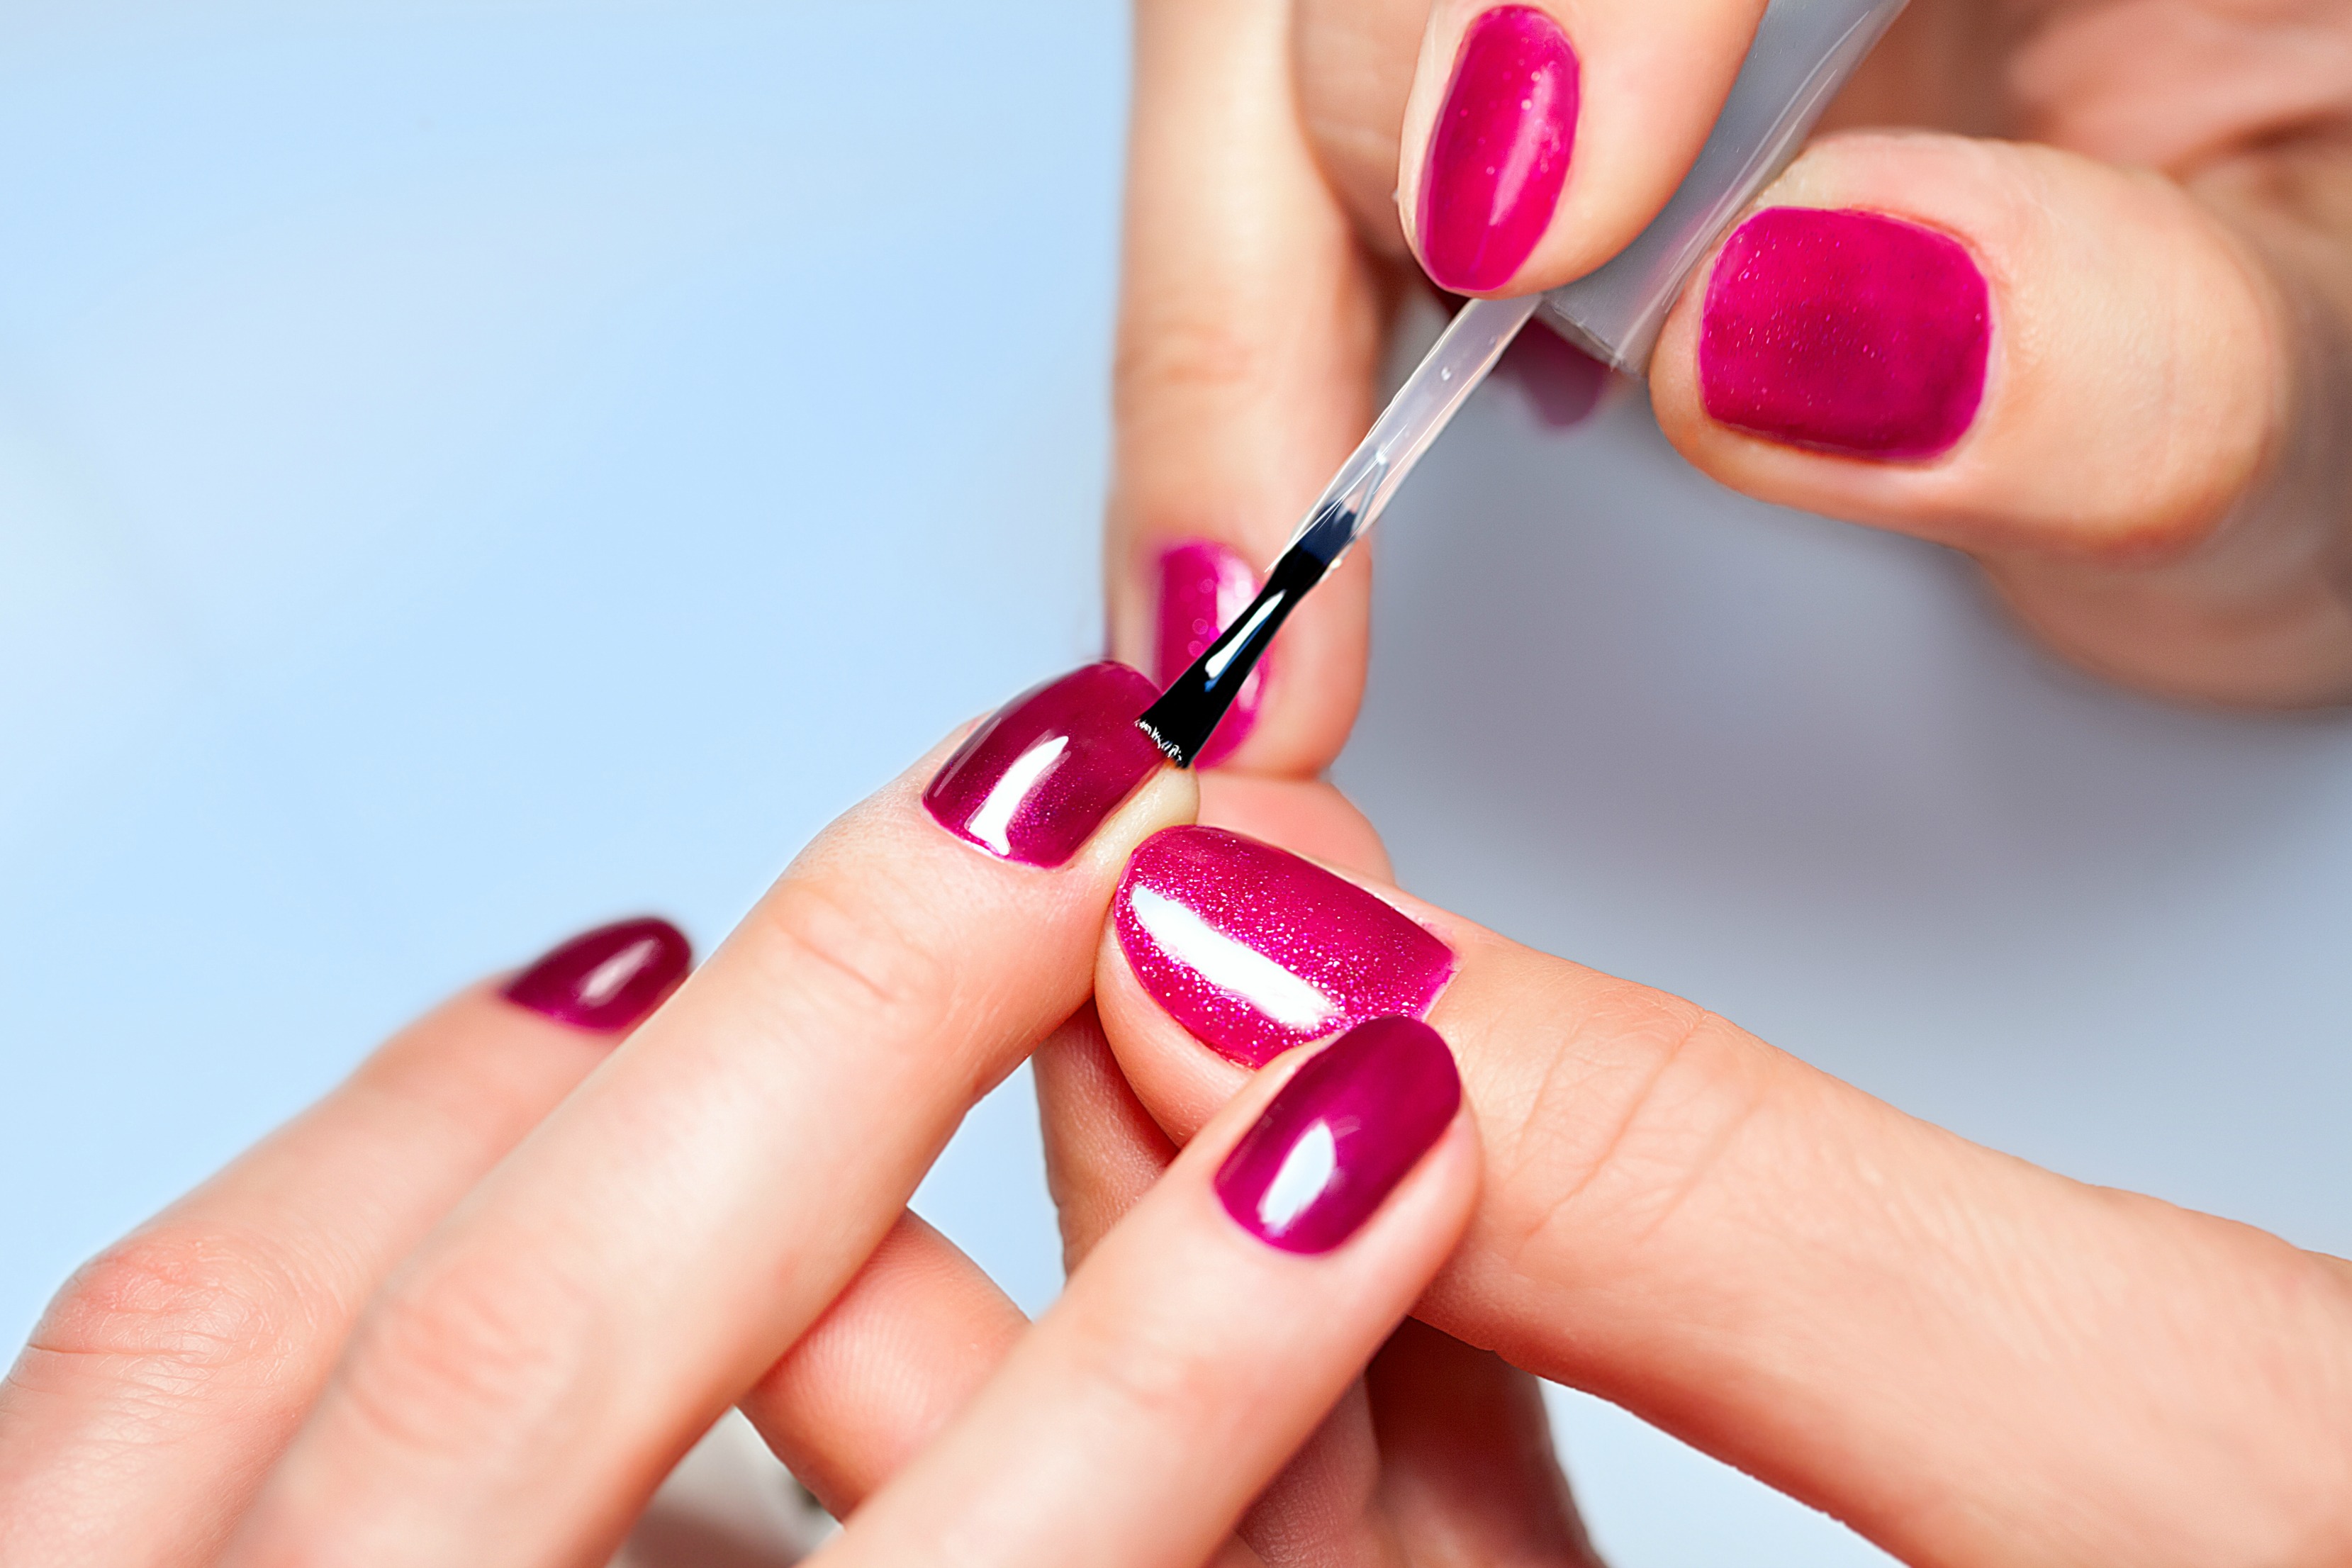
If you're a fan of classic and playful nail designs, then you'll love this polka dot nail art tutorial. It's an easy and fun way to add a pop of color and personality to your nails. Plus, you can customize the colors and size of the dots to create a unique look every time. To start, apply a base coat to protect your nails and help the design last longer. Then, using a dotting tool or a toothpick, dip it in your chosen nail polish color and gently press it onto your nails to create small dots. You can also use multiple colors to create a more vibrant look. For a subtle look, use a small dotting tool and create evenly spaced dots on your nails. If you want a more dramatic look, use a larger dotting tool and create bigger and more random dots.1. Polka Dot Nail Art Tutorial
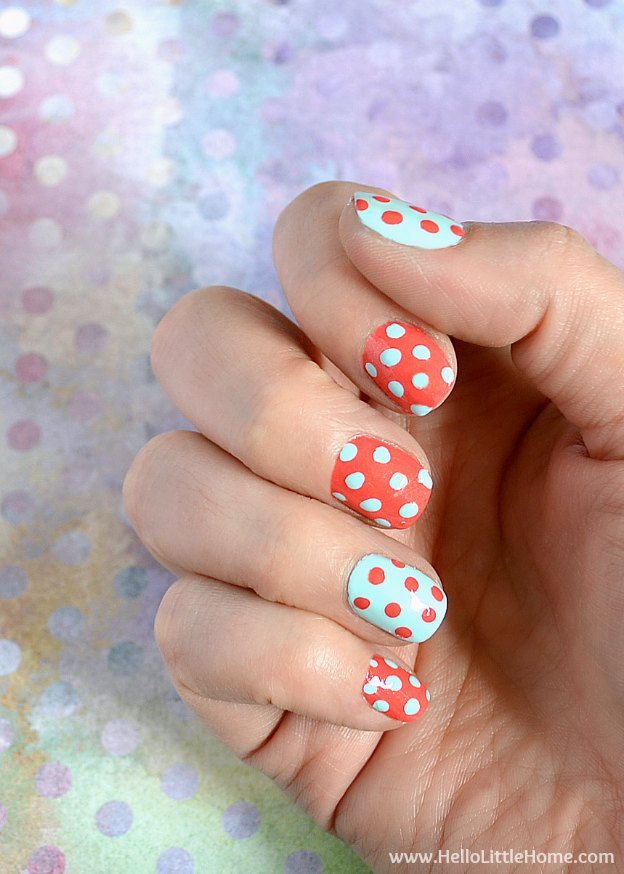


1. Polka Dot Nail Art Tutorial


If you're new to nail art, don't worry, dot nail designs are perfect for beginners. They require minimal tools and skills, yet they still look impressive. One easy design is to create a gradient effect using dots. Start with a light colored base coat and then use darker shades to create small dots, gradually getting bigger as you move towards the tip of your nails. Another easy design is to create a polka dot french manicure. Simply paint your nails with a base color, then use a dotting tool to create small dots along the tip of your nails. You can also experiment with different colors to create a unique look.2. Easy Dot Nail Designs for Beginners


2. Easy Dot Nail Designs for Beginners


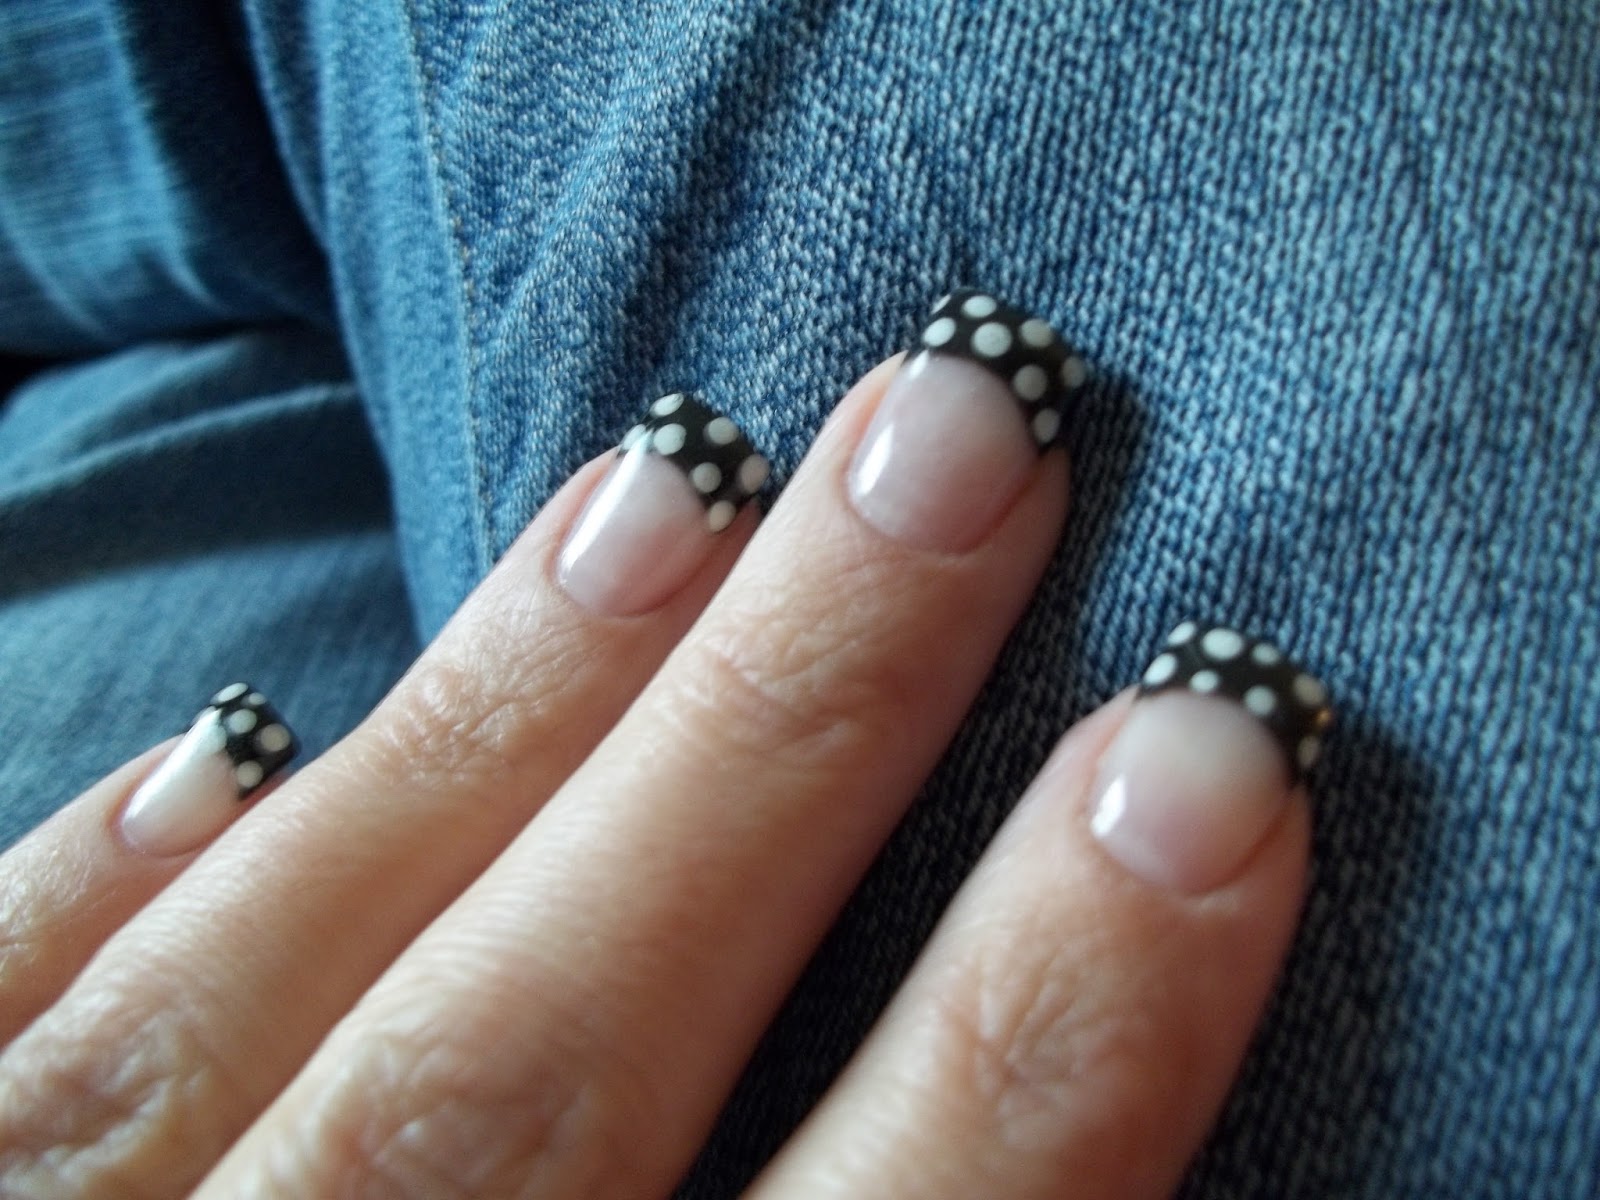
If you're looking for simple yet stylish nail art ideas, try out these dotted designs. You can create a half-moon design using dots by applying a base color and then using a different color to create a row of dots along the bottom of your nails, leaving the top half bare. Another simple idea is to create negative space nail art using dots. Start with a clear or light colored base coat and then use dots to create a design on one side of your nails, leaving the other side bare. This creates a modern and minimalist look.3. Simple Dotted Nail Art Ideas

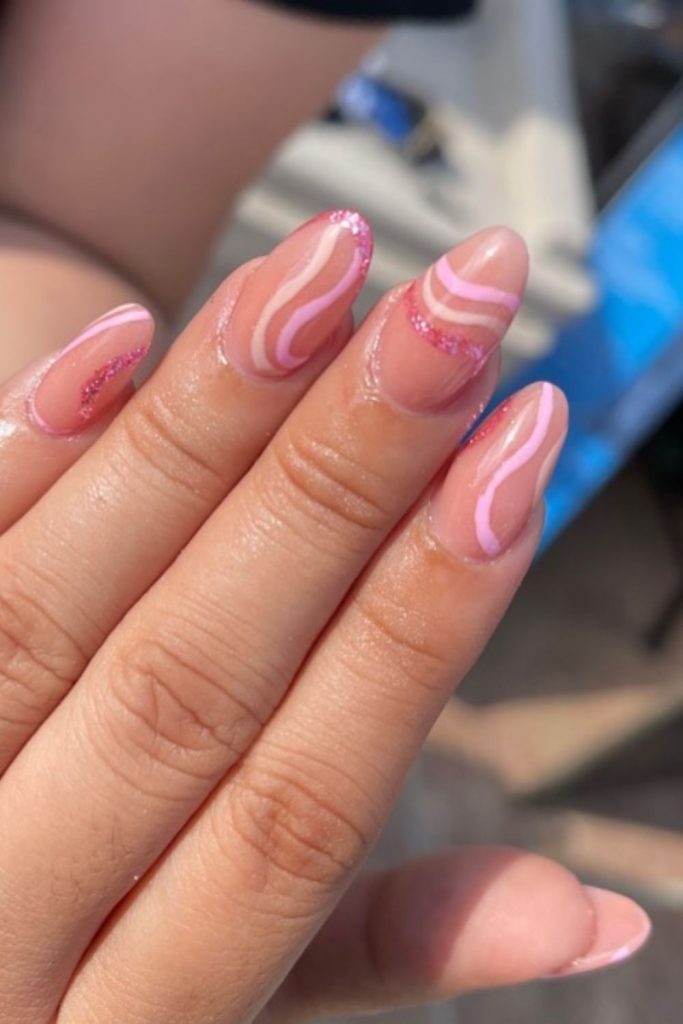

3. Simple Dotted Nail Art Ideas


One of the best things about dot nail designs is that you can easily do them yourself at home. All you need is a dotting tool or a toothpick and your favorite nail polishes. You can also use household items like bobby pins, the end of a makeup brush, or the tip of a pen to create different sized dots. Try out different color combinations and patterns, like creating a checkerboard design using alternating colors or a rainbow design using multiple colors on each nail.4. DIY Dot Nail Designs


4. DIY Dot Nail Designs


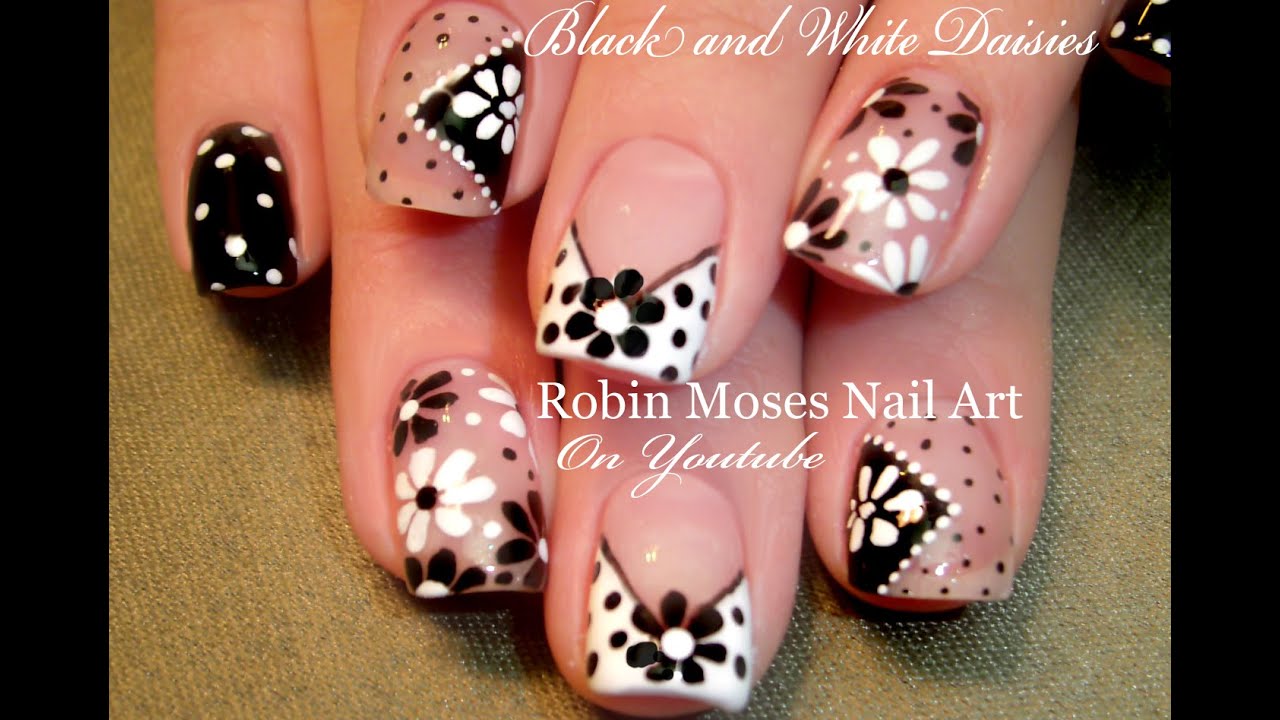
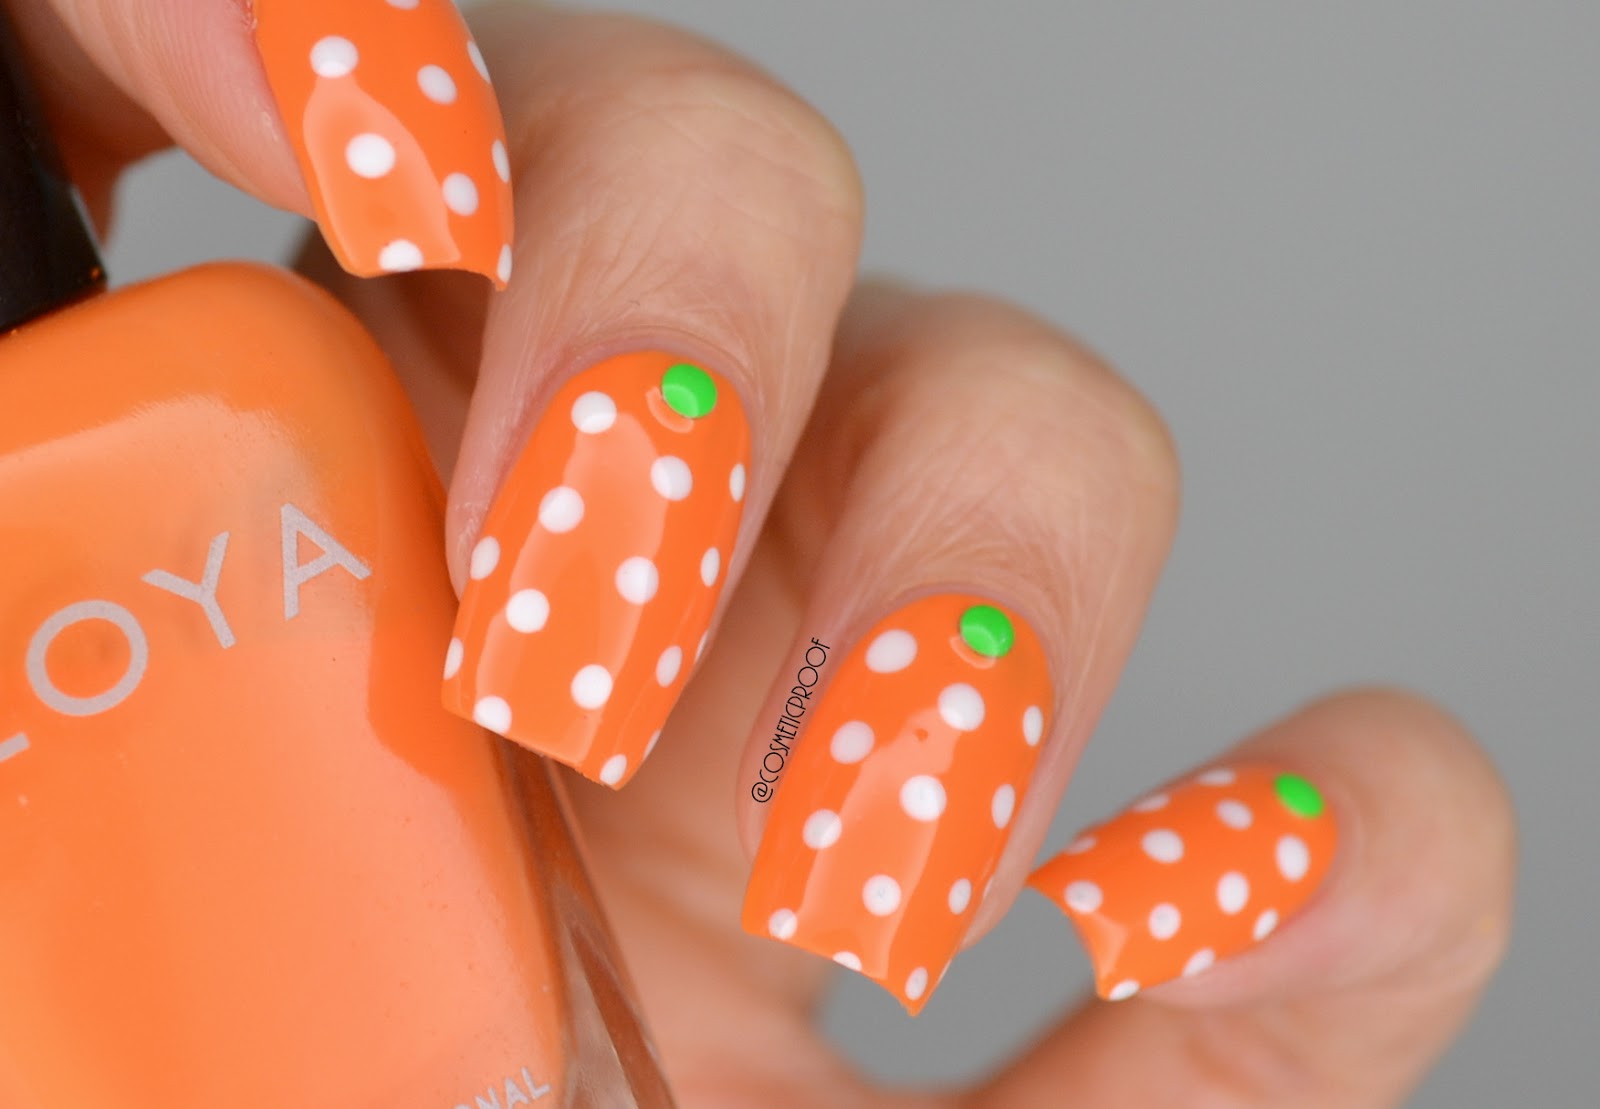
If you want to add some cuteness to your nail designs, try out these cute and easy dotted nail ideas. You can create a heart design using dots by making two dots next to each other and then connecting them at the bottom with a single dot. You can also create a flower design using dots by making a small dot in the center and then surrounding it with 5 or 6 larger dots. Another cute idea is to create a panda design using dots. Simply paint your nails with a white base coat and then use a black dotting tool to create the panda's eyes, nose, and mouth on each nail.5. Cute and Easy Dotted Nail Designs


5. Cute and Easy Dotted Nail Designs

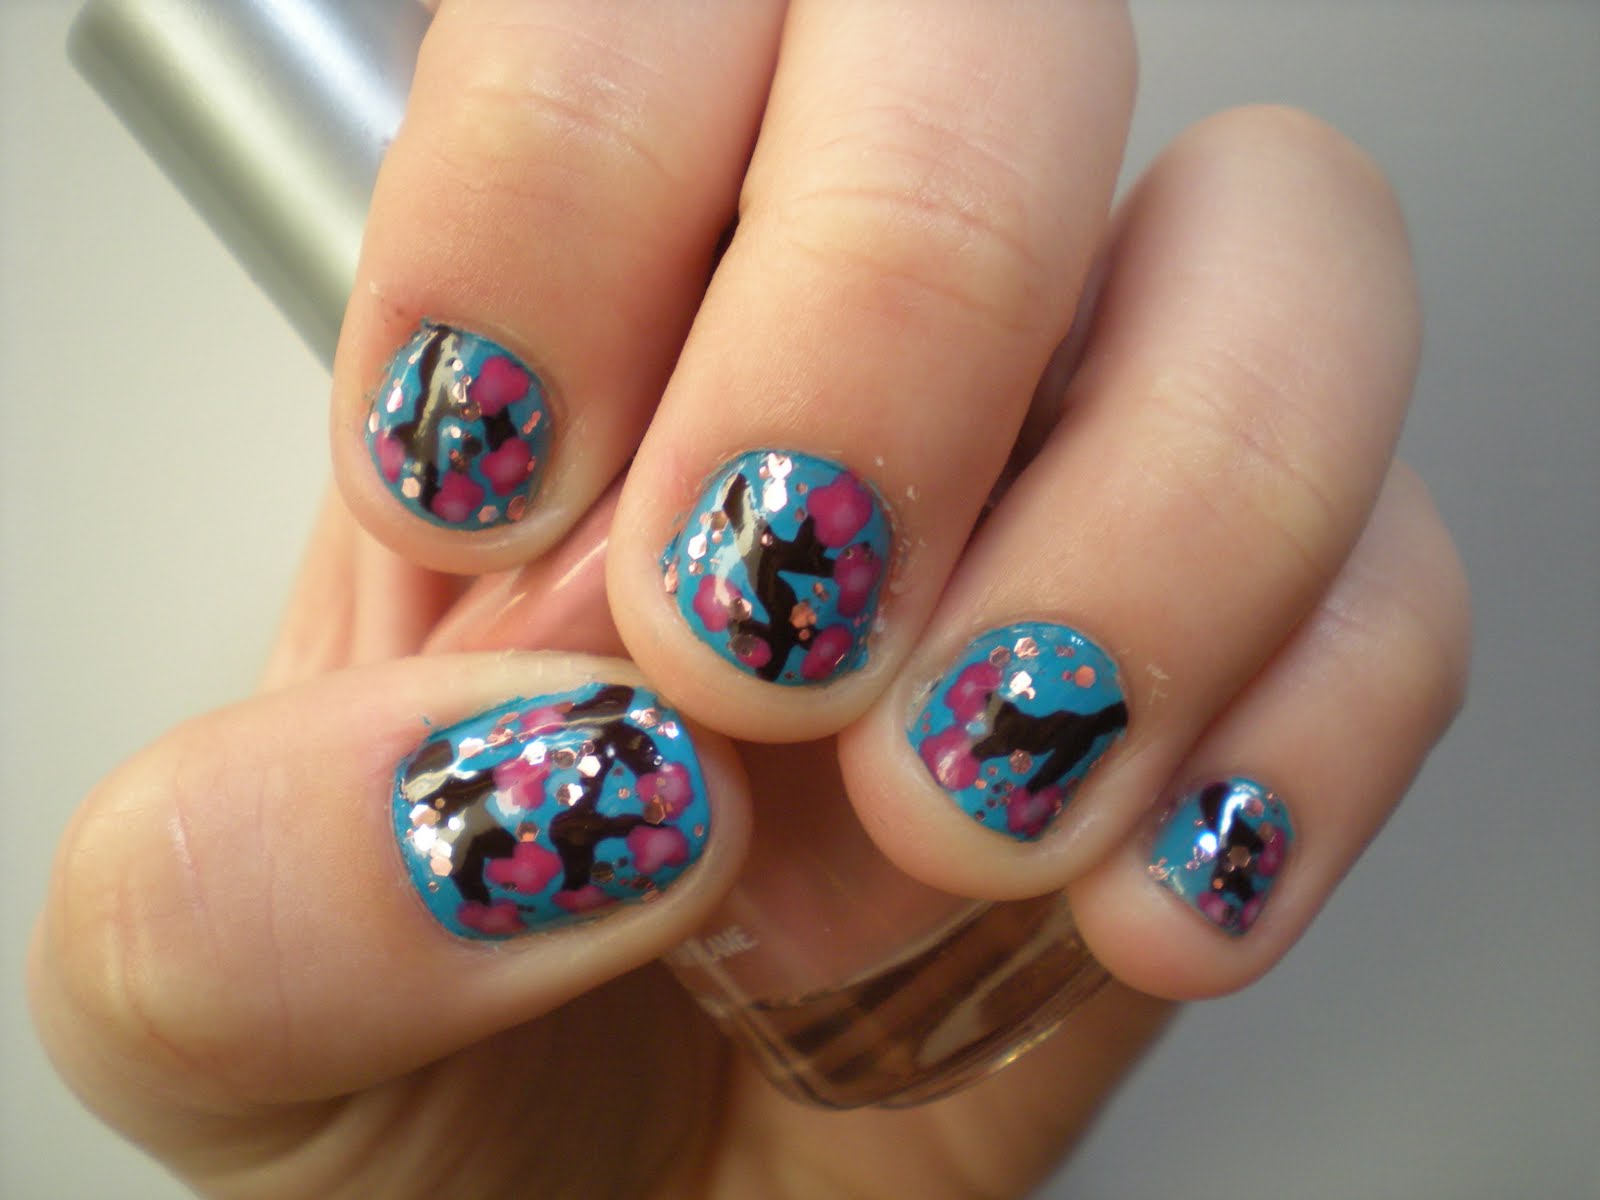


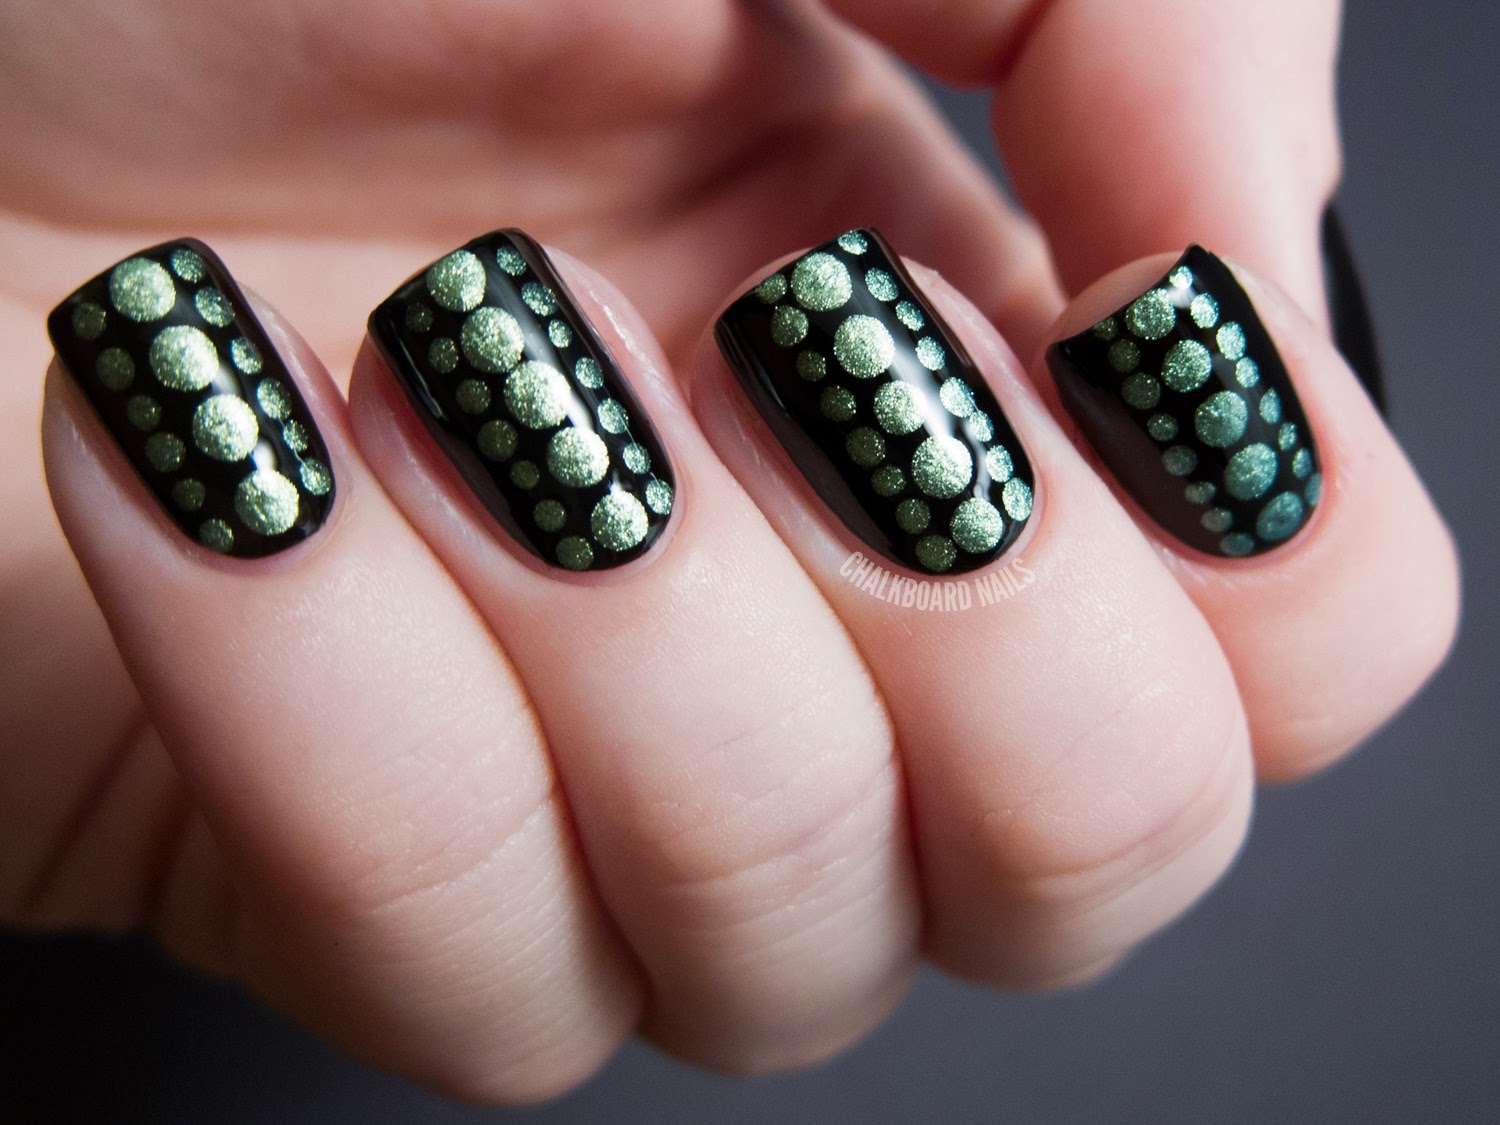
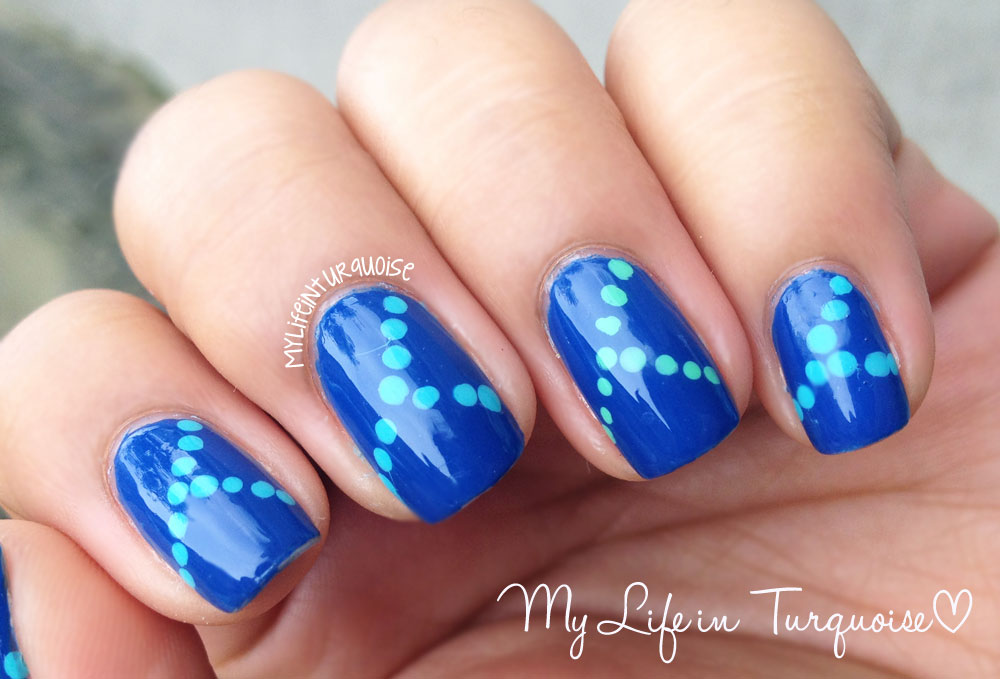
Need a quick and easy nail design for a last-minute event or just want to switch up your look? Try out these quick and easy dot nail art ideas. You can create a galaxy design using dots by using a dark blue or black base coat and then adding dots of different colors to create a starry effect. You can also create a marble design using dots by swirling different colored dots together on your nails. This design looks intricate and unique, but it's actually very easy to do.6. Quick and Easy Dot Nail Art

6. Quick and Easy Dot Nail Art


Nail art should be fun, so why not try out these fun and easy dot nail designs? You can create fruit nail art using dots, like watermelon, strawberries, or kiwi. Simply use different colored dots to create the design and add a top coat for a shiny finish. Another fun idea is to create animal print nail art using dots. You can use a dotting tool to create leopard, zebra, or giraffe print on your nails. This design is perfect for a wild and bold look.7. Fun and Easy Dot Nail Designs


7. Fun and Easy Dot Nail Designs


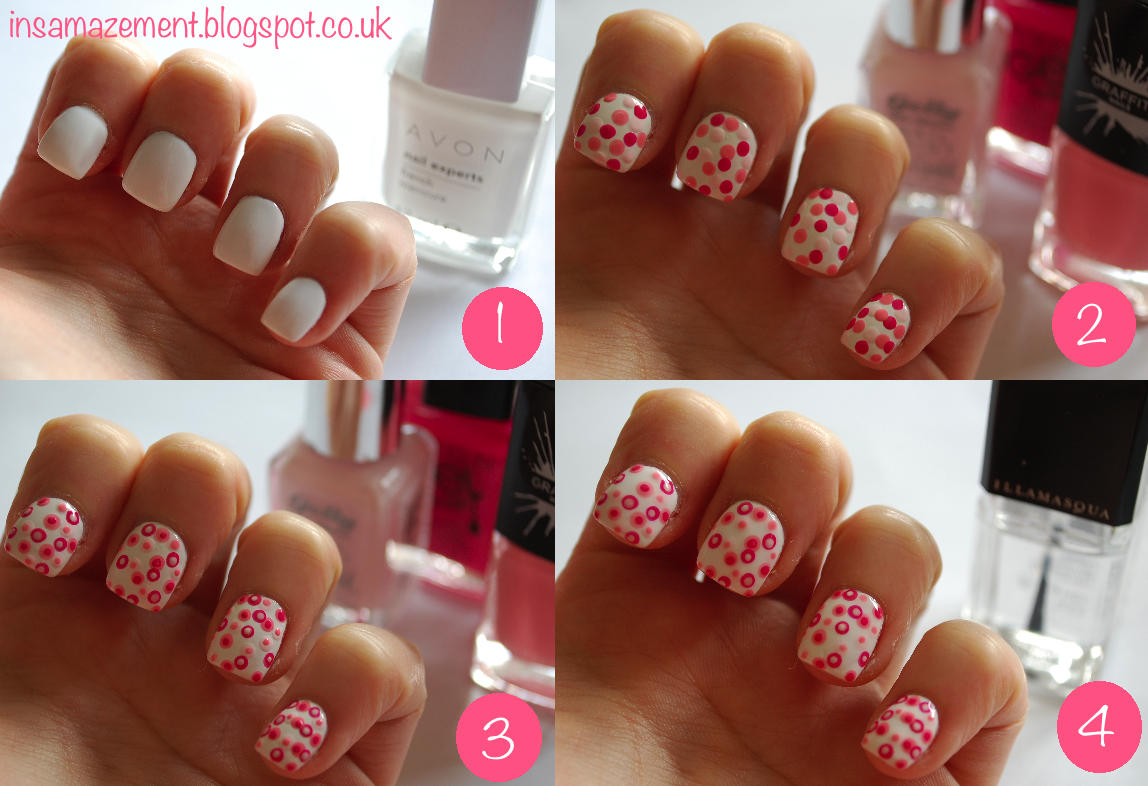
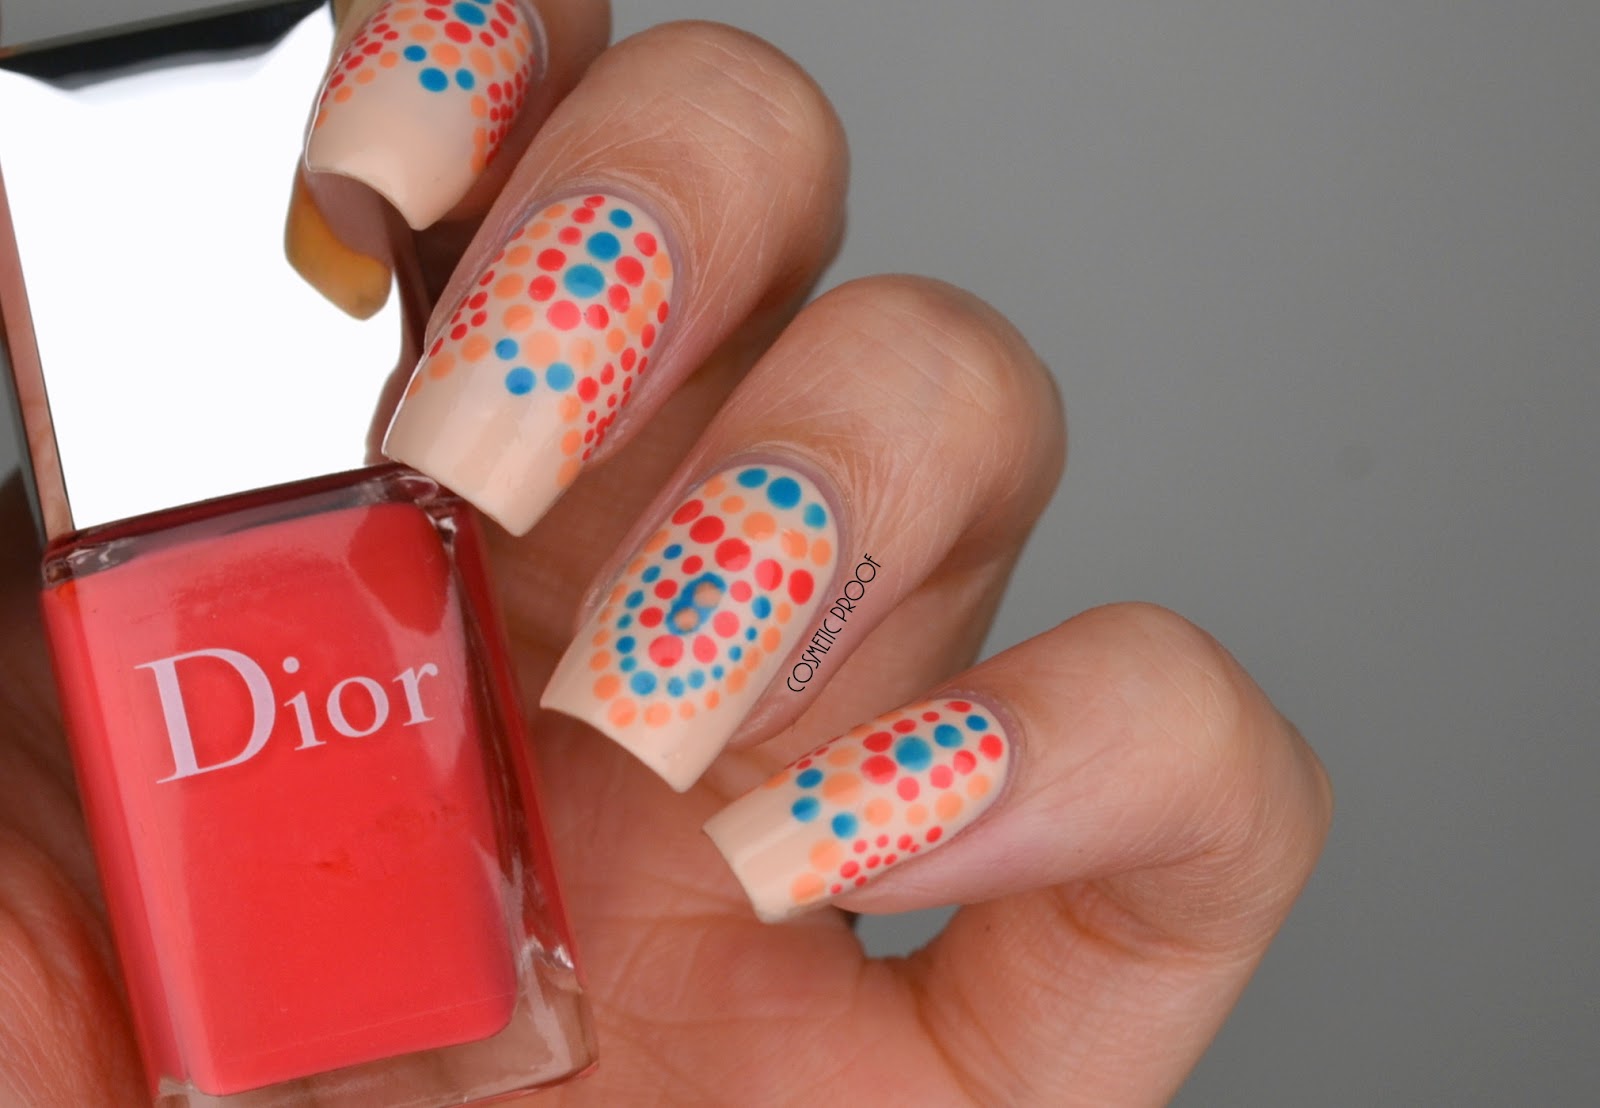
If you're a visual learner, then follow this step-by-step dot nail art tutorial for a flawless and professional look. Start by applying a base coat and then choose 2-3 colors for your design. Using a small dotting tool, create random dots on your nails, leaving some space between them. Then, using a larger dotting tool, create bigger dots in between the smaller ones. You can also use a toothpick to create smaller dots. Finish off with a top coat to seal in your design and give it a glossy finish. With a little practice, you'll be able to create a perfect dot nail design in no time.8. Step-by-Step Dot Nail Art Tutorial


8. Step-by-Step Dot Nail Art Tutorial


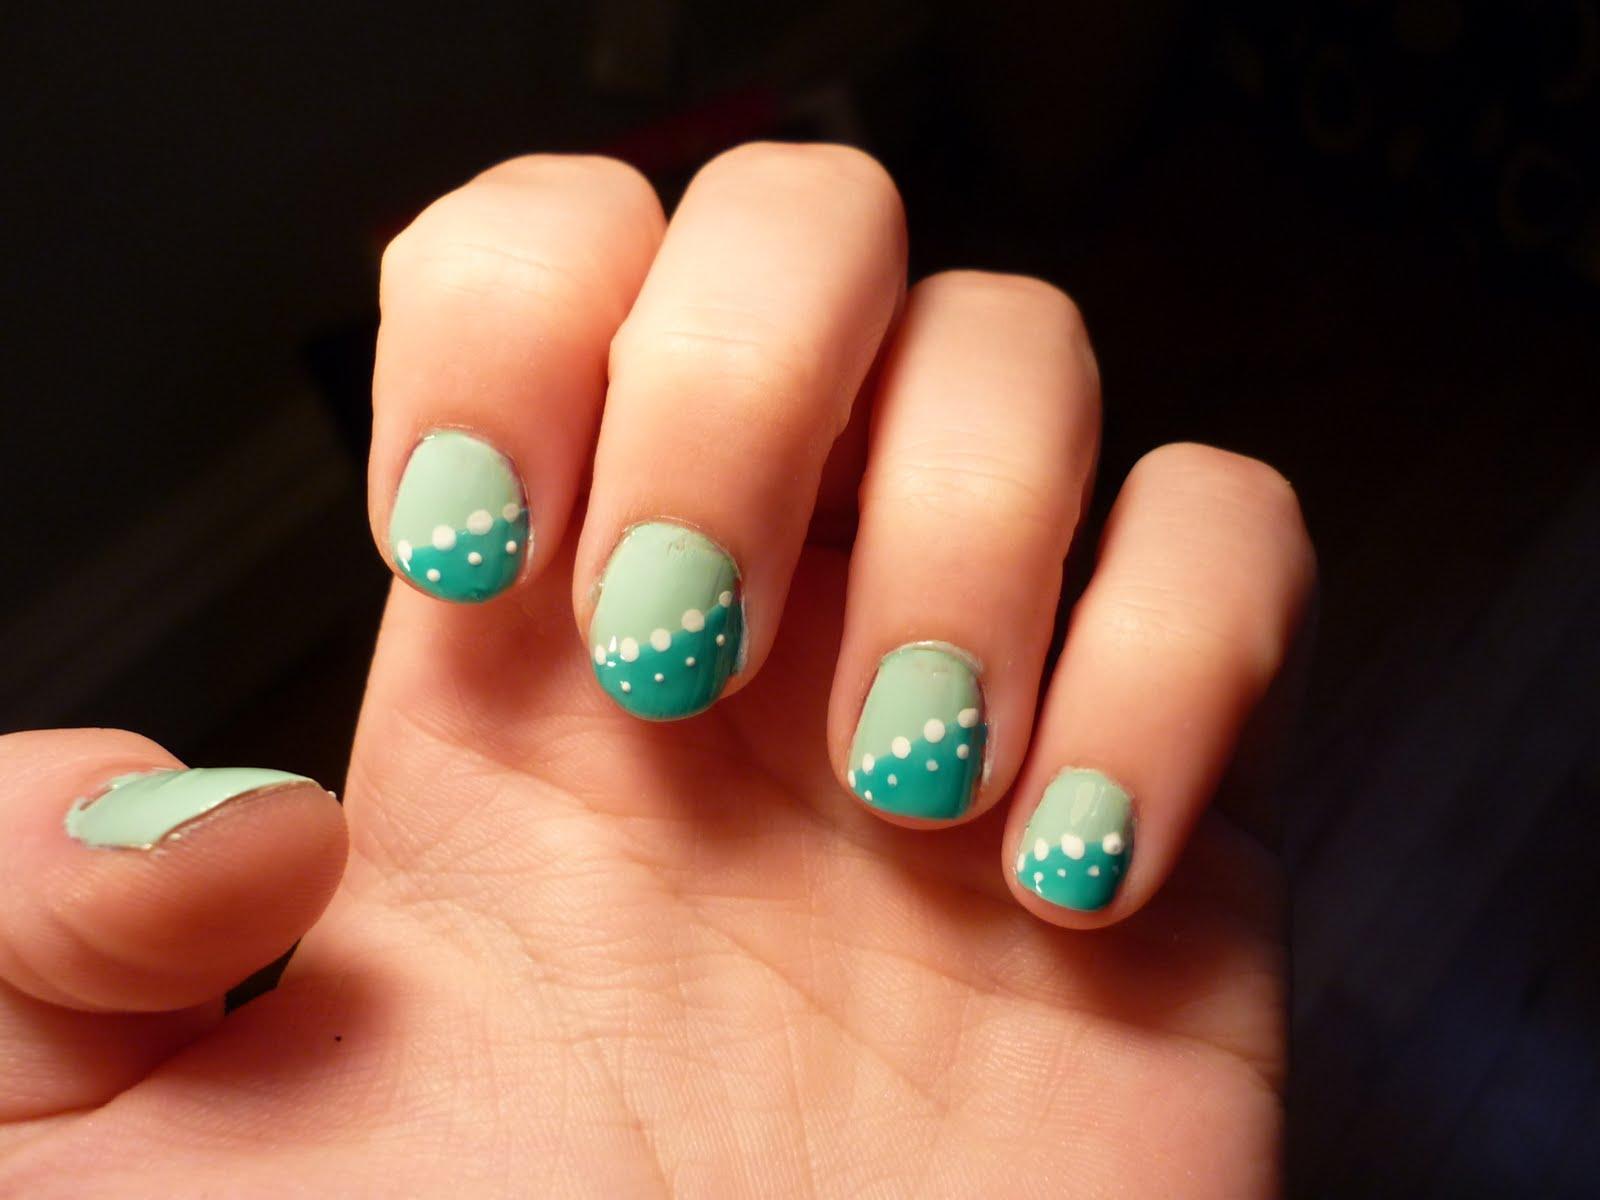
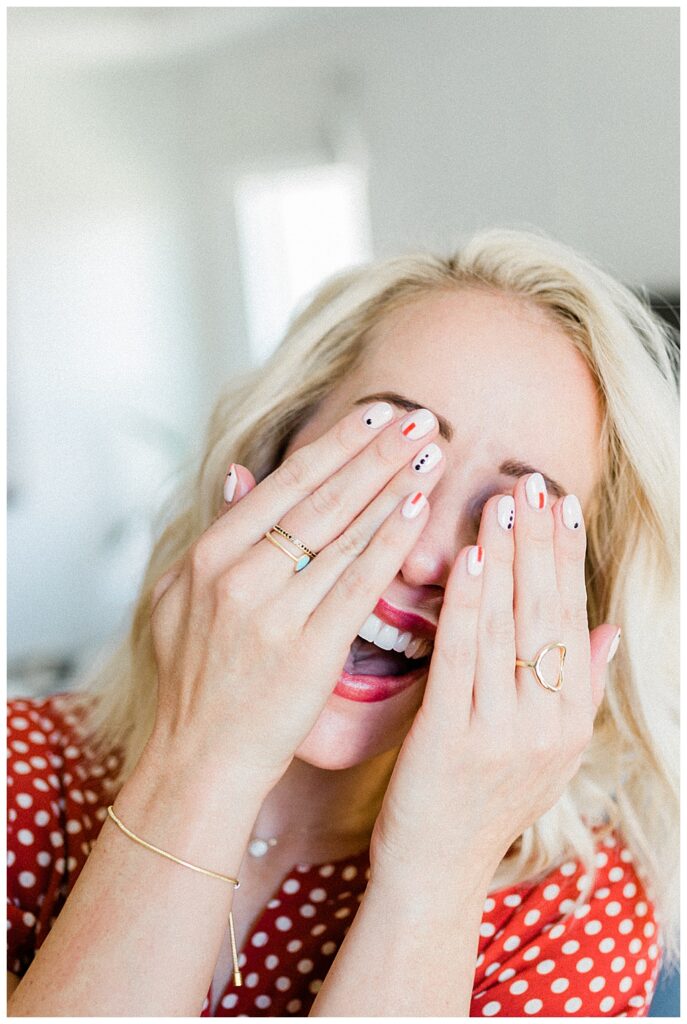
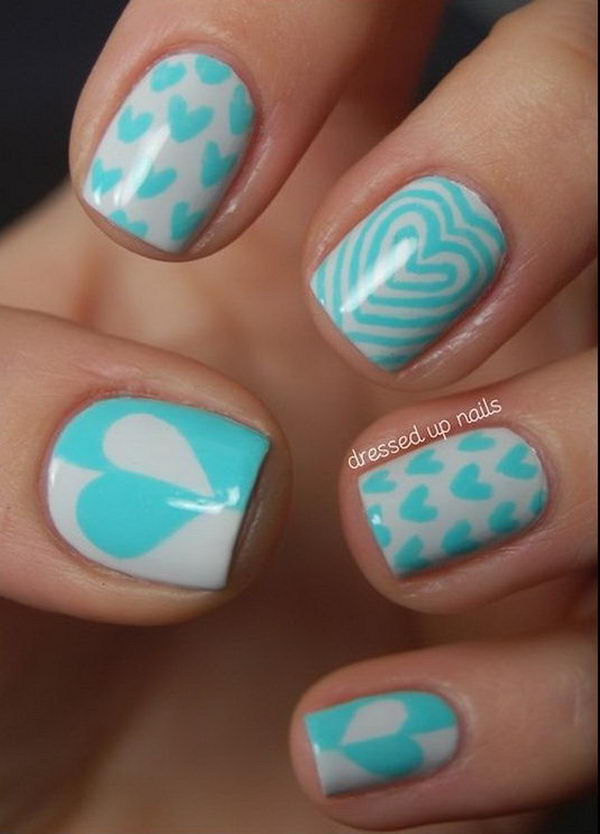
If you prefer a more subtle and minimalist look, try out these dot nail designs. You can create a gradient effect using dots by using different shades of the same color. Or, create a vertical line of dots using 2-3 colors on each nail for a simple and elegant look. You can also create a half-moon design using dots by making a half-circle of dots at the base of your nails and leaving the rest of your nails bare. This design is perfect for a chic and understated look.9. Minimalist Dot Nail Designs


9. Minimalist Dot Nail Designs


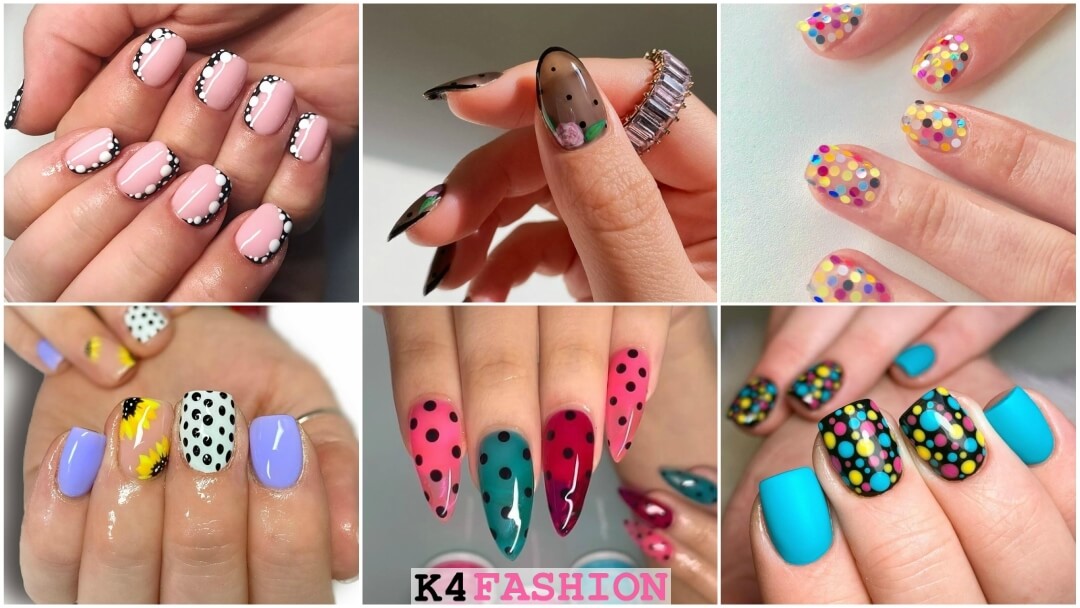
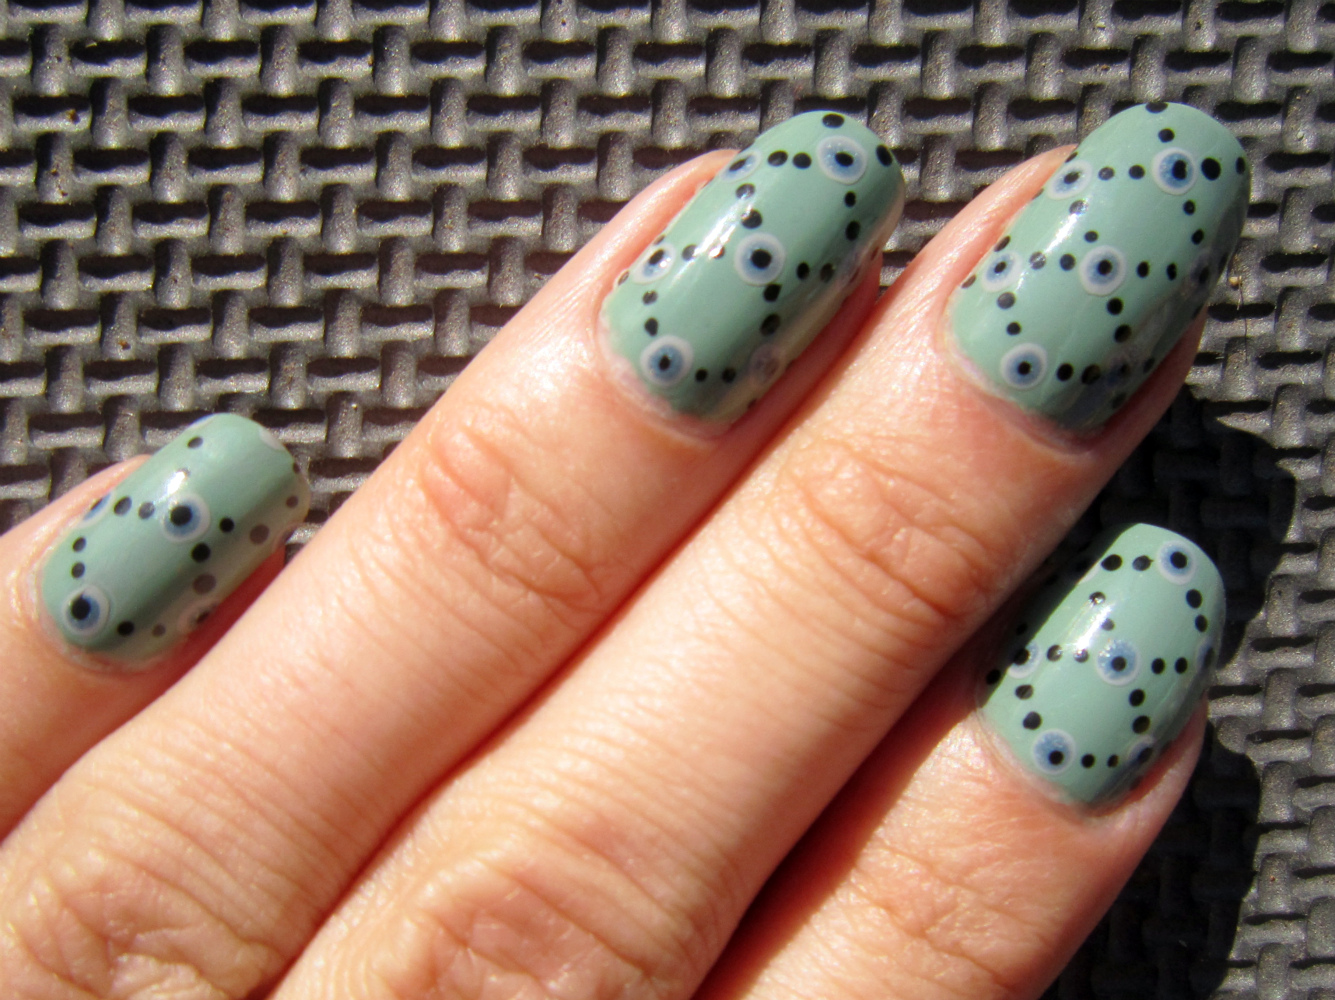
For a more sophisticated and elegant look, try out these dotted nail art ideas. You can create a lace design using dots by making small dots in a circular pattern on your nails. You can also use a toothpick to create a geometric design by connecting dots to create triangles or squares. For a glamorous look, try out a metallic dot nail design using metallic polishes and different sized dotting tools. This design is perfect for a special occasion or a night out. Now that you have 10 easy and creative dot nail designs to choose from, it's time to get painting! Remember to have fun and experiment with different colors and patterns to create your own unique dot nail art. And don't forget to protect your nails with a top coat for a long-lasting and shiny finish. Happy dotting!10. Elegant Dotted Nail Art Ideas


10. Elegant Dotted Nail Art Ideas

Adding Some Sparkle: Easy Nail Design to Paint with Dots

Going Beyond Basic: Elevating Your Nail Game
 Are you tired of the same old basic nail designs? Want to add some flair and pizazz to your nails? Look no further than dot painting! This fun and easy nail design technique is the perfect way to elevate your nail game and add a touch of creativity and sparkle to your fingertips.
The Tools You Need
 The best part about dot painting is that you don't need any fancy tools or equipment. All you need are some
nail polish
, a
dotting tool
(or a toothpick or bobby pin), and a steady hand.
Featured keywords: easy nail design, dots
. That's it! So, let's get started on creating a show-stopping nail design.
The best part about dot painting is that you don't need any fancy tools or equipment. All you need are some
nail polish
, a
dotting tool
(or a toothpick or bobby pin), and a steady hand.
Featured keywords: easy nail design, dots
. That's it! So, let's get started on creating a show-stopping nail design.
Step-by-Step Guide: How to Paint with Dots
 1. Prep your nails by removing any old polish and shaping them to your desired length and shape.
2. Apply a base coat to protect your natural nails.
3. Choose your nail polish colors.
Related main keyword: easy nail design to paint with dots
. You can go for a monochromatic look or mix and match colors for a more playful design.
4. Apply your chosen colors on each nail, leaving one nail blank for the accent design.
5. Using your dotting tool, dip it into a contrasting color and start creating dots on the blank nail. You can create different sizes and patterns, or keep them evenly spaced for a simple look.
6. Let the dots dry completely before adding a top coat to seal in the design and add shine.
1. Prep your nails by removing any old polish and shaping them to your desired length and shape.
2. Apply a base coat to protect your natural nails.
3. Choose your nail polish colors.
Related main keyword: easy nail design to paint with dots
. You can go for a monochromatic look or mix and match colors for a more playful design.
4. Apply your chosen colors on each nail, leaving one nail blank for the accent design.
5. Using your dotting tool, dip it into a contrasting color and start creating dots on the blank nail. You can create different sizes and patterns, or keep them evenly spaced for a simple look.
6. Let the dots dry completely before adding a top coat to seal in the design and add shine.
Get Creative: Adding Some Flair to Your Design
 The best part about dot painting is that you can get as creative as you want.
Featured keyword: nail design technique
. You can create a polka dot pattern, a flower design, or even spell out words or initials using dots. The possibilities are endless, and you can let your imagination run wild.
The best part about dot painting is that you can get as creative as you want.
Featured keyword: nail design technique
. You can create a polka dot pattern, a flower design, or even spell out words or initials using dots. The possibilities are endless, and you can let your imagination run wild.
In Conclusion
 With just a few simple tools and some creativity, you can easily create a stunning nail design using dots. So the next time you want to add some sparkle to your fingertips, try out this easy and fun nail design technique. Say goodbye to basic nails and hello to eye-catching dot painted nails.
Related main keyword: elevate your nail game
.
With just a few simple tools and some creativity, you can easily create a stunning nail design using dots. So the next time you want to add some sparkle to your fingertips, try out this easy and fun nail design technique. Say goodbye to basic nails and hello to eye-catching dot painted nails.
Related main keyword: elevate your nail game
.


