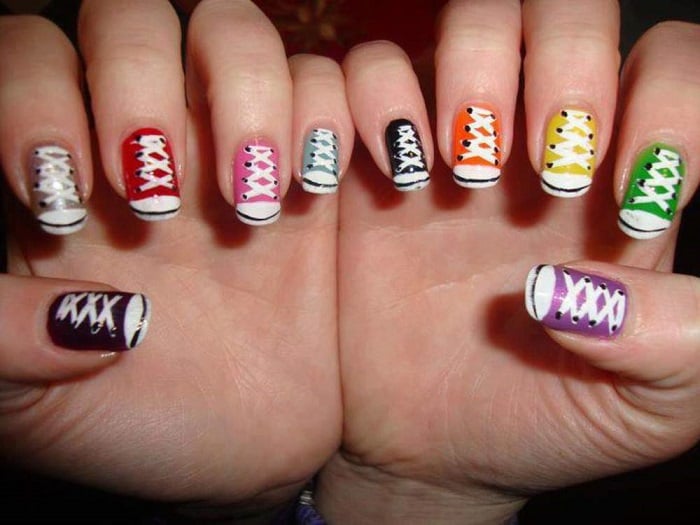
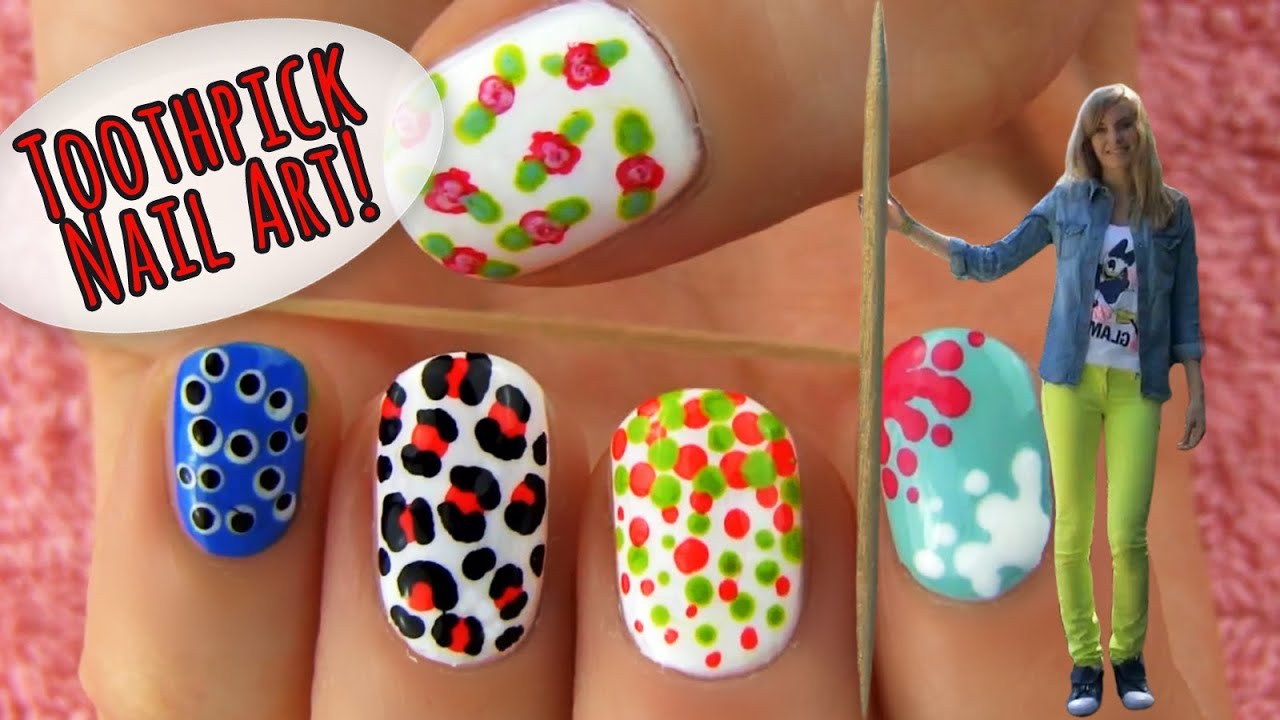
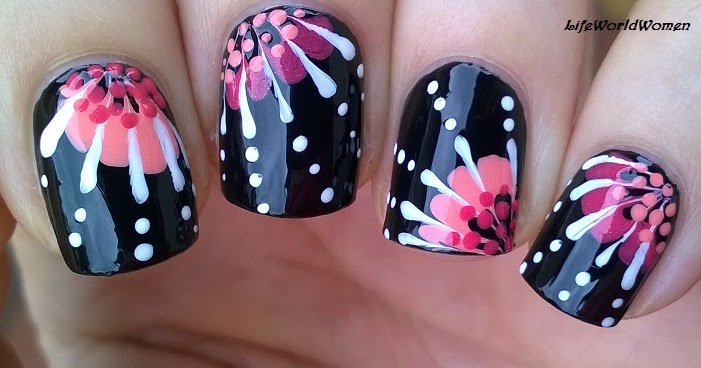
Looking for some fun and easy nail art designs to try at home? Look no further than your kitchen pantry! Toothpicks are the perfect tool for creating intricate and unique designs on your nails. Read on for our top 10 easy nail designs using toothpicks, step by step.Easy Nail Art Designs with Toothpicks Step by Step


Easy Nail Art Designs with Toothpicks Step by Step


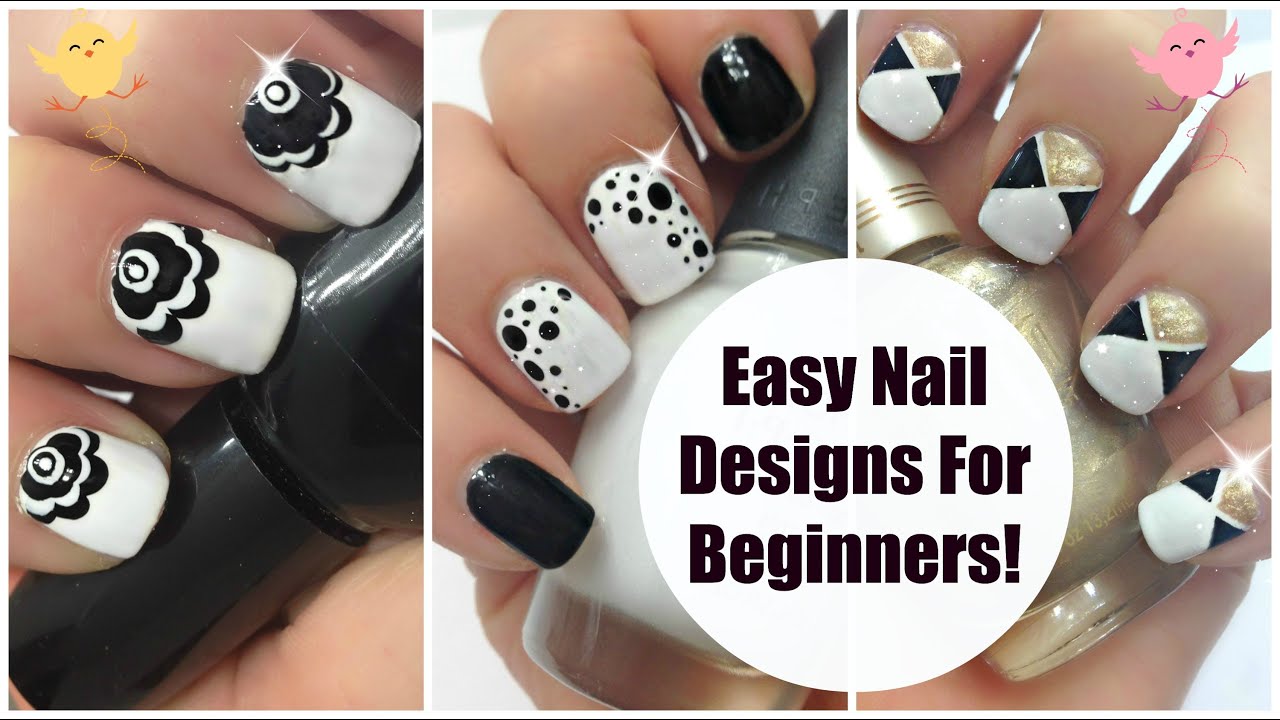
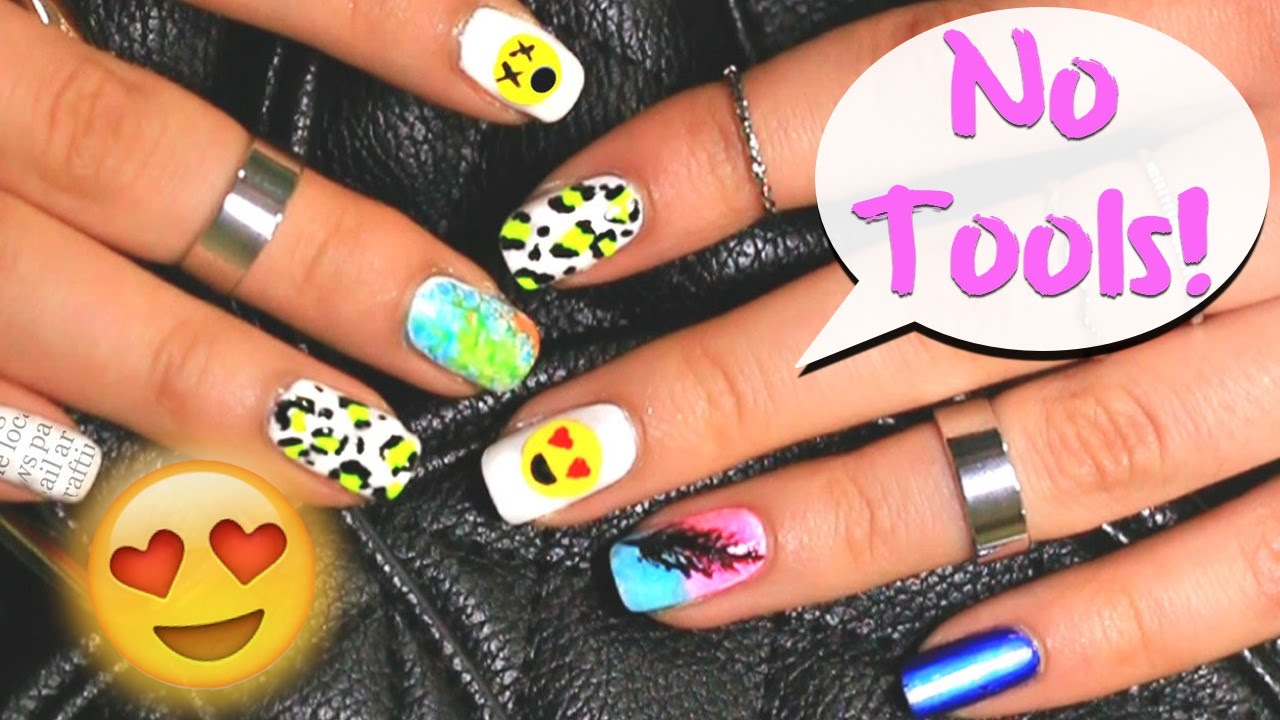
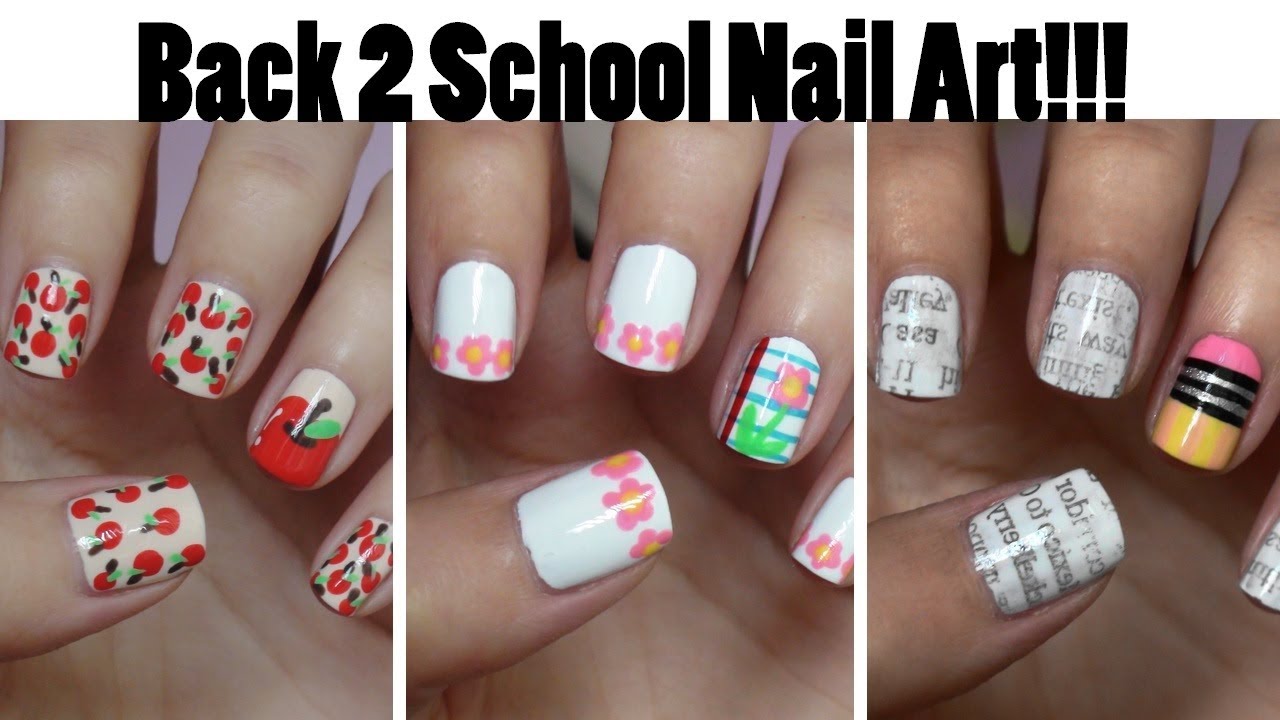
Don’t consider yourself a nail art pro? No problem! These easy designs are perfect for beginners and require no special tools or skills. All you need is a toothpick and some polish to create stunning nail art. You’ll be surprised at how simple and fun these designs can be!Easy Nail Art Designs with Toothpicks for Beginners

Easy Nail Art Designs with Toothpicks for Beginners

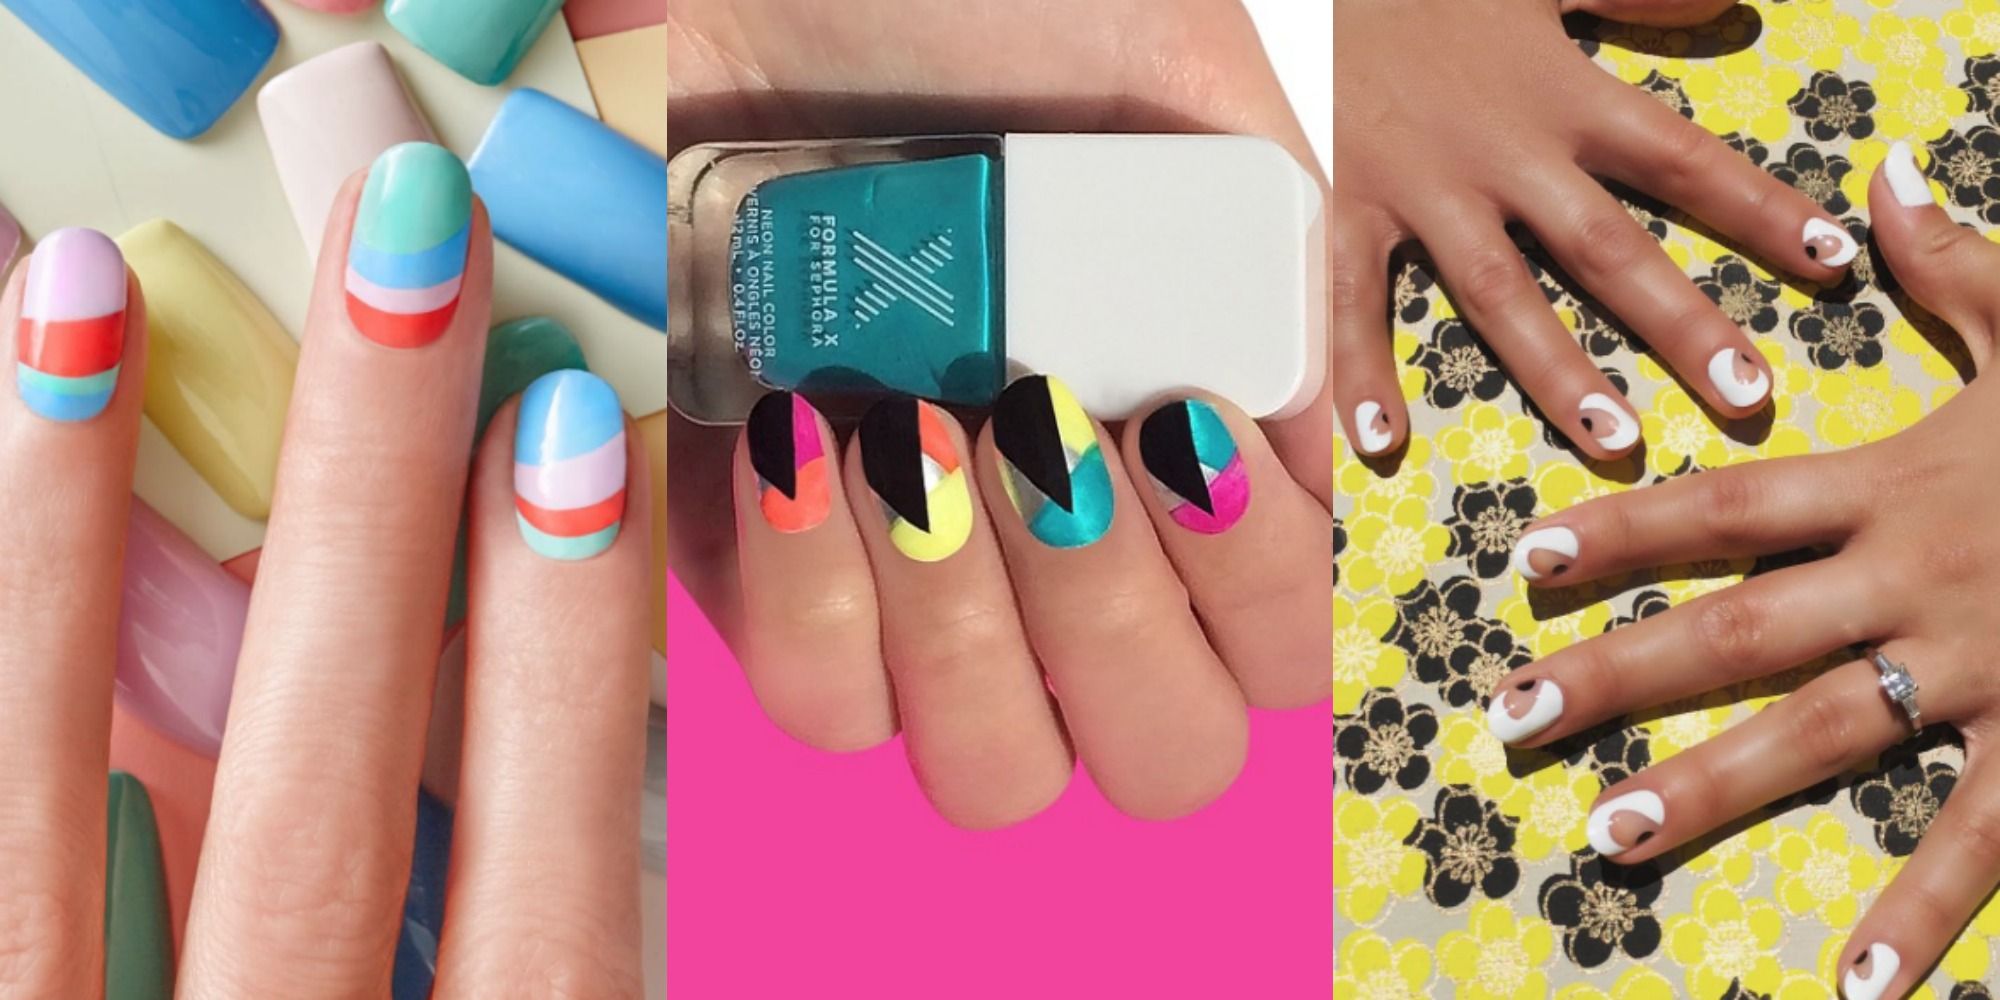
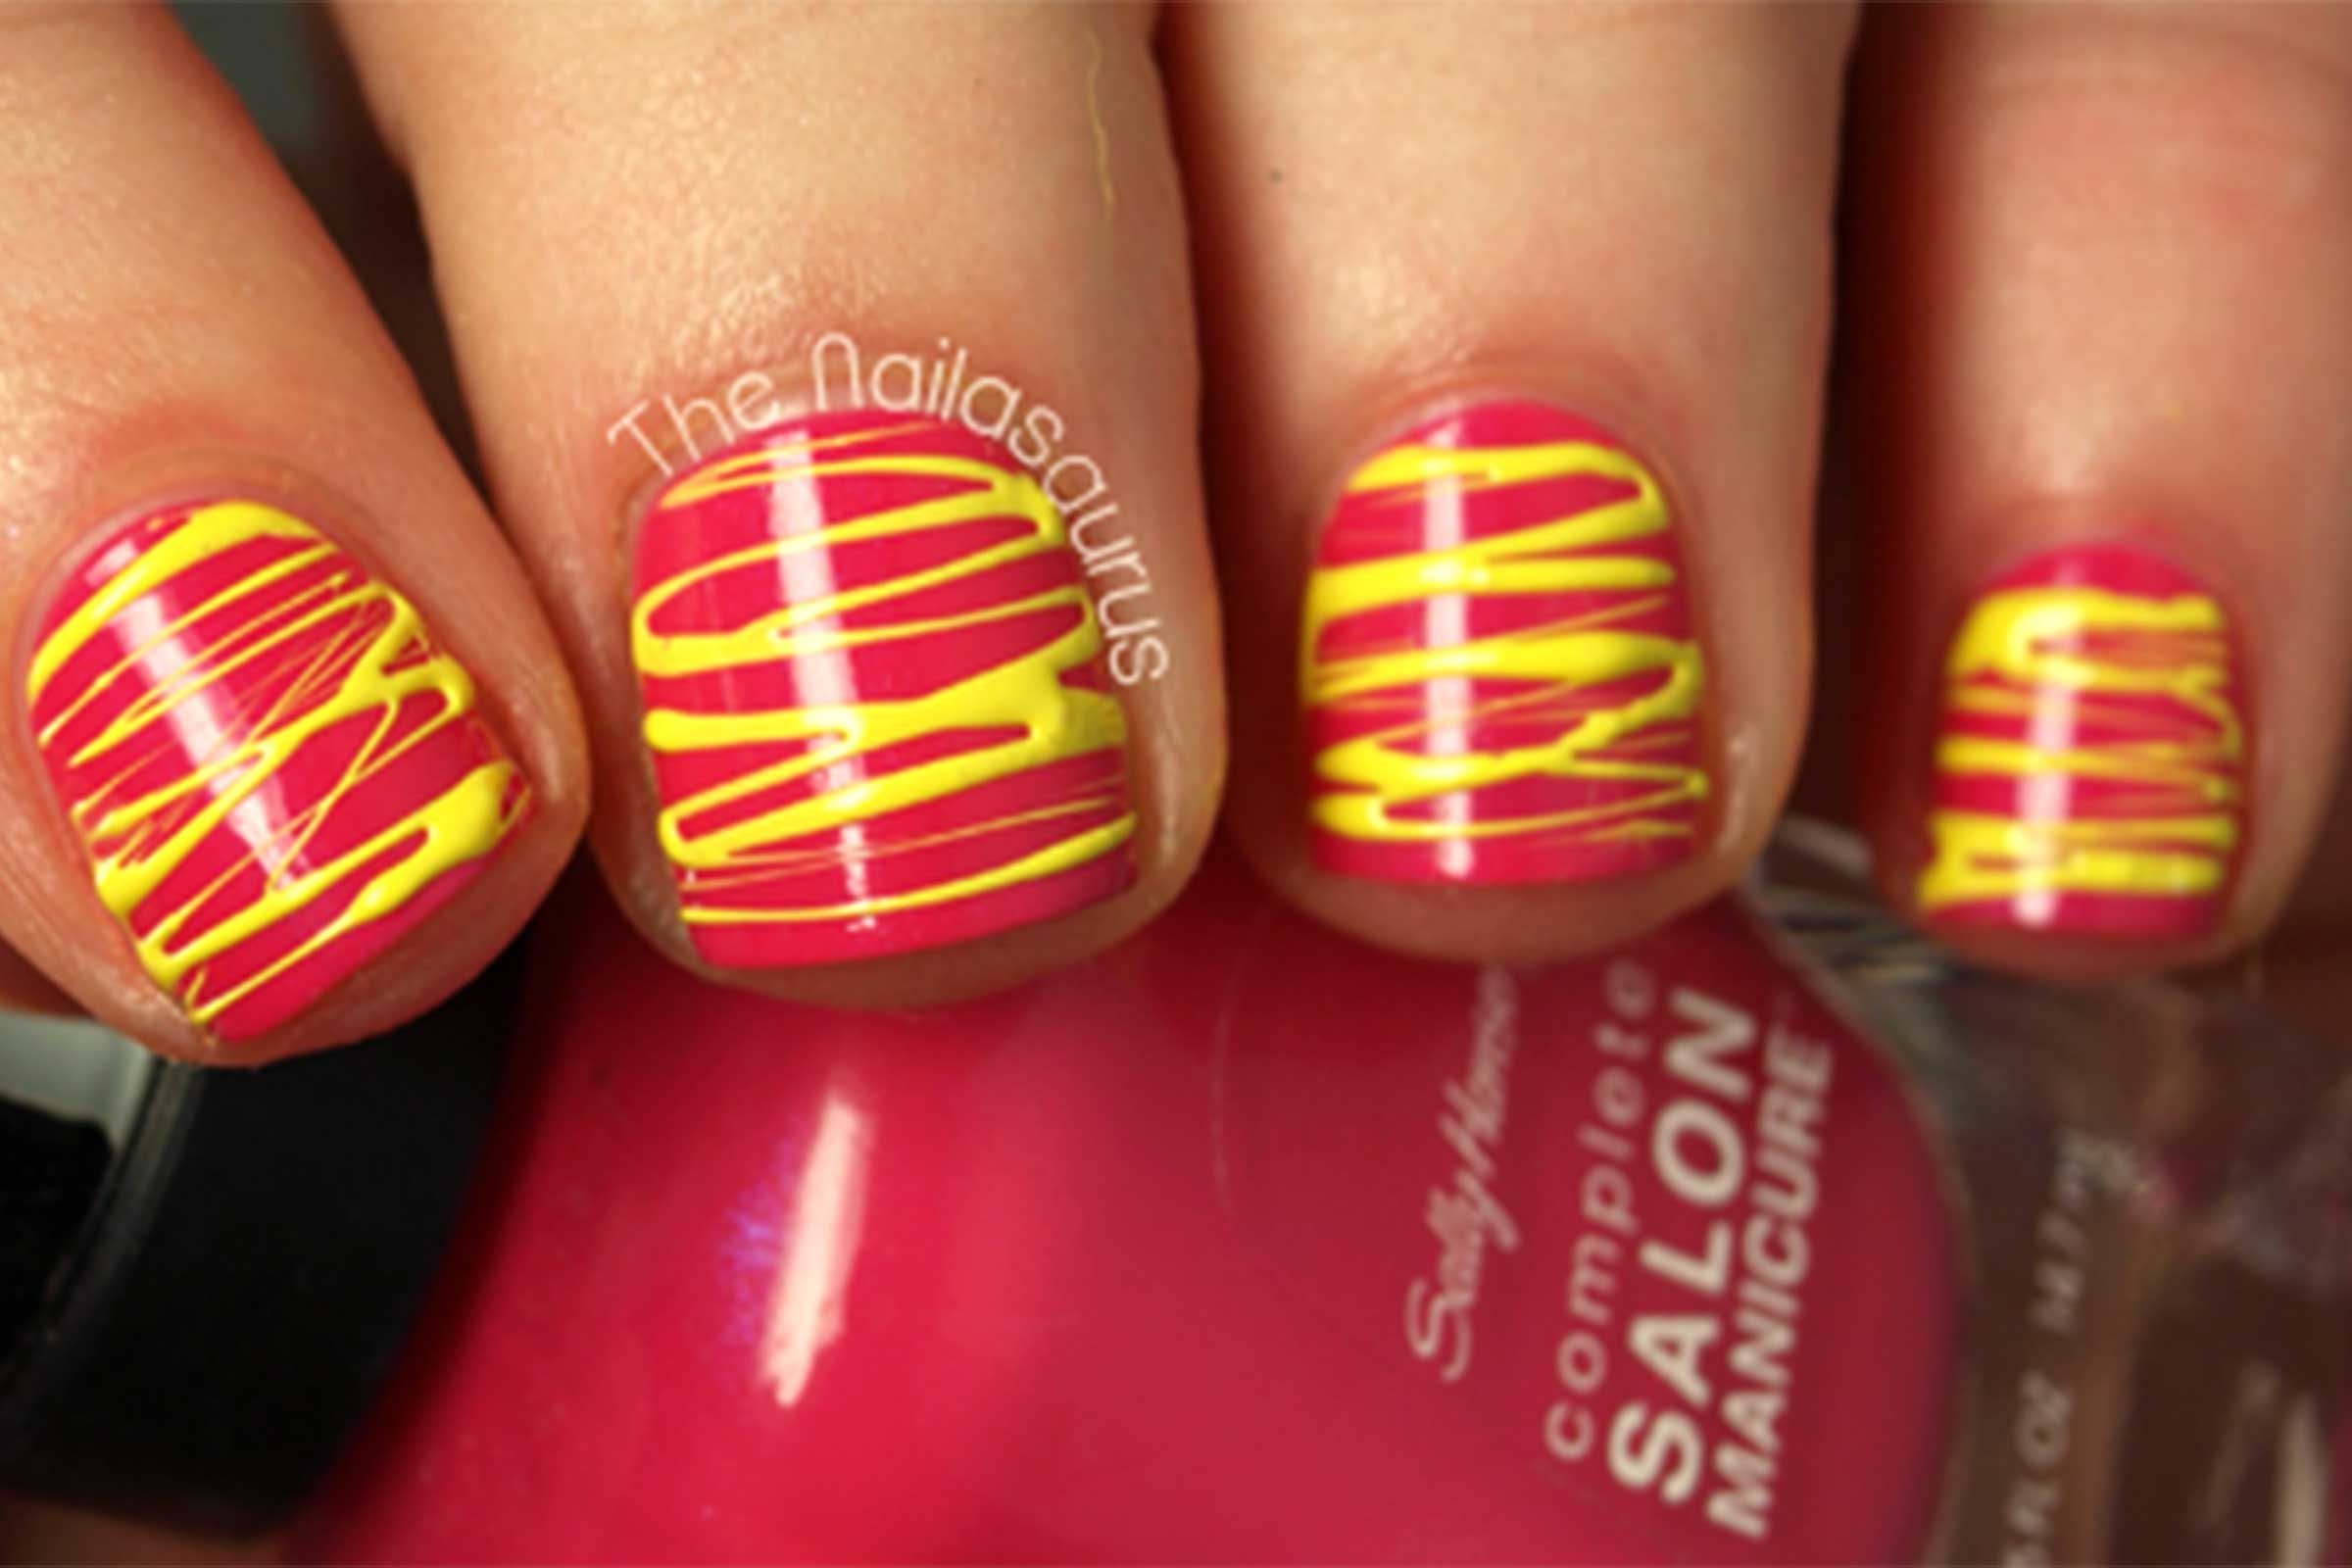
Not a fan of complicated nail art? Keep it simple with these easy toothpick designs. From polka dots to stripes and geometric shapes, you can create a variety of designs using just a toothpick. Plus, it’s a great way to add some personality to your nails without spending hours on intricate designs.Simple Nail Art Designs with Toothpicks


Simple Nail Art Designs with Toothpicks


Save some money and get creative with DIY nail art using toothpicks. Instead of buying expensive nail art tools, use toothpicks to create unique and personalized designs on your nails. It’s a great way to express your creativity and have some fun with your nails.DIY Nail Art with Toothpicks


DIY Nail Art with Toothpicks


Take your toothpick nail art to the next level by combining it with tape. Use tape to create clean lines and shapes on your nails, then use a toothpick to add intricate details and designs. The possibilities are endless when you combine these two techniques.Easy Nail Art Designs with Toothpicks and Tape

Easy Nail Art Designs with Toothpicks and Tape
Want to see how it’s done? Check out our toothpick nail art tutorial for step by step instructions on creating some of our favorite designs. We’ll walk you through each design, from start to finish, so you can recreate them at home. It’s easier than you think!Toothpick Nail Art Tutorial


Toothpick Nail Art Tutorial


Not sure where to start? Don’t worry, we’ve got you covered with our step by step toothpick nail art guide. We’ll break down each design into simple steps, making it easy for you to follow along and create your own unique nail art. From beginner designs to more advanced techniques, there’s something for everyone in our step by step guide.Step by Step Toothpick Nail Art


Step by Step Toothpick Nail Art


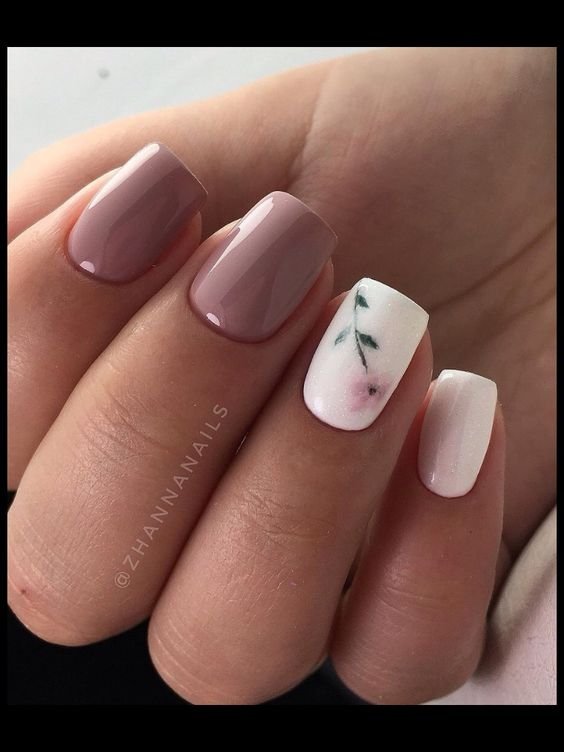
Short nails, don’t care! These easy toothpick designs are perfect for those with shorter nails. You don’t need long nails to create stunning nail art. With the help of a toothpick, you can add details and designs to even the shortest of nails.Easy Toothpick Nail Art for Short Nails

Easy Toothpick Nail Art for Short Nails


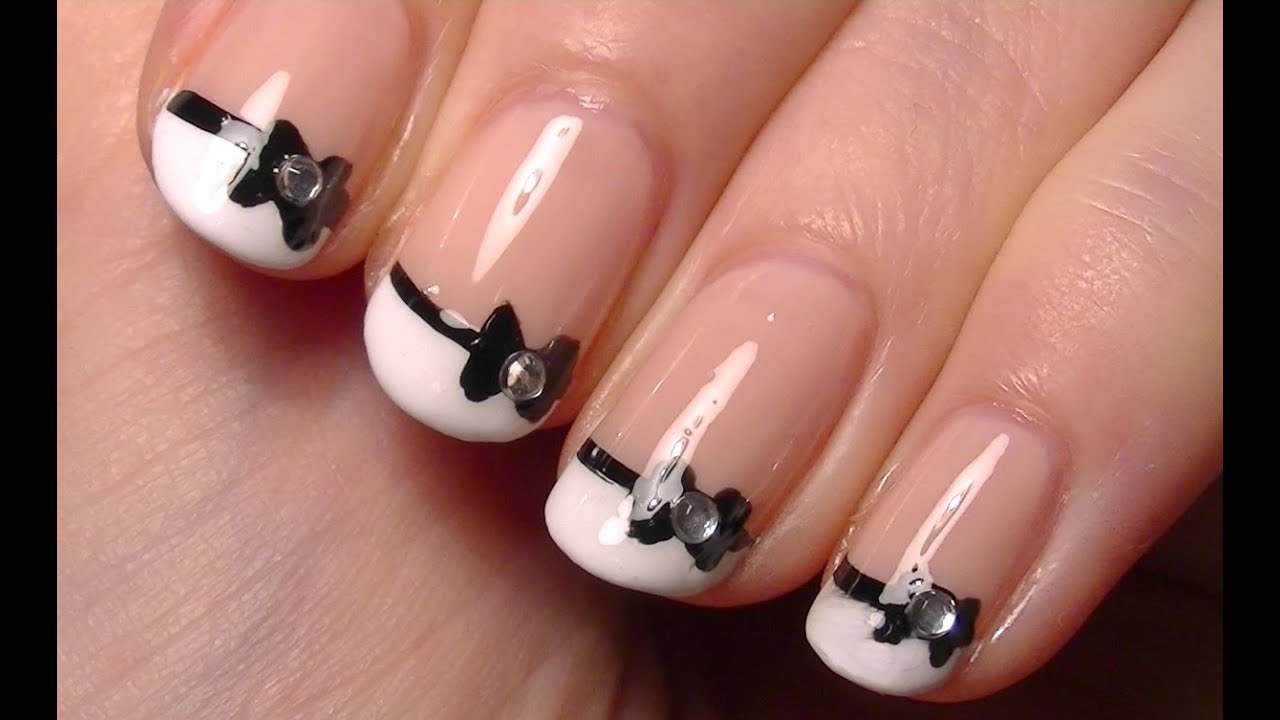
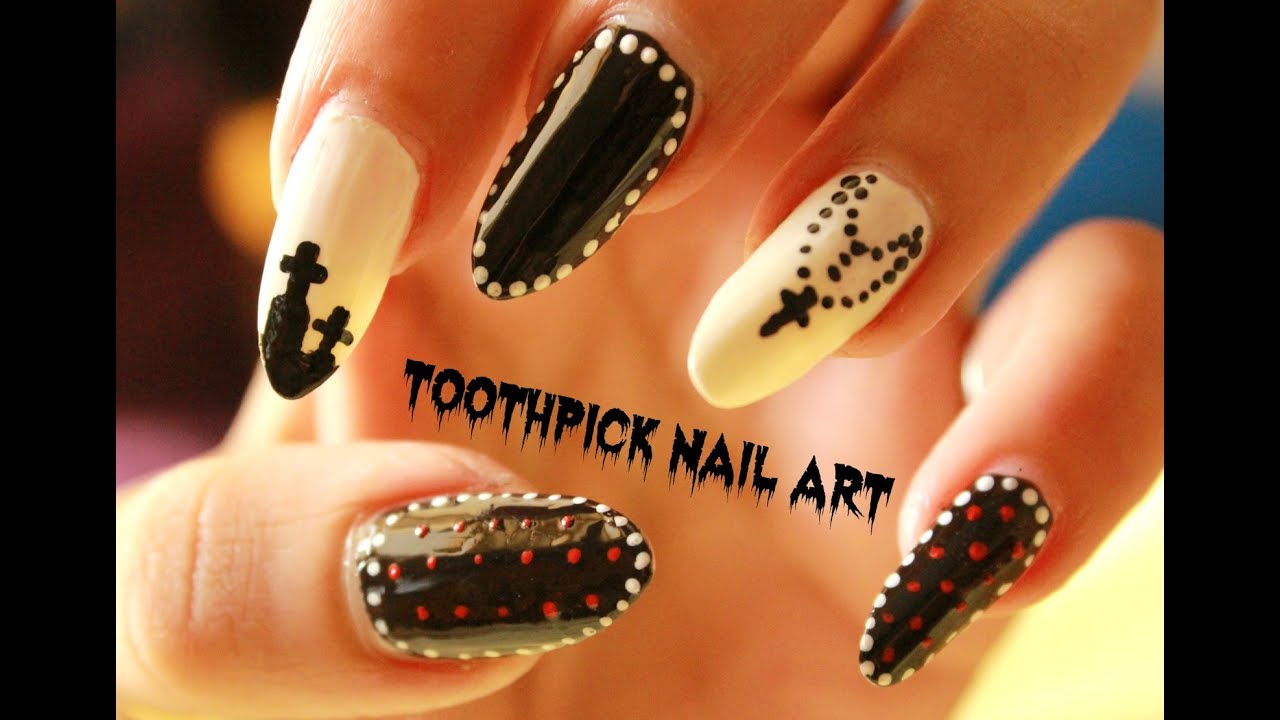
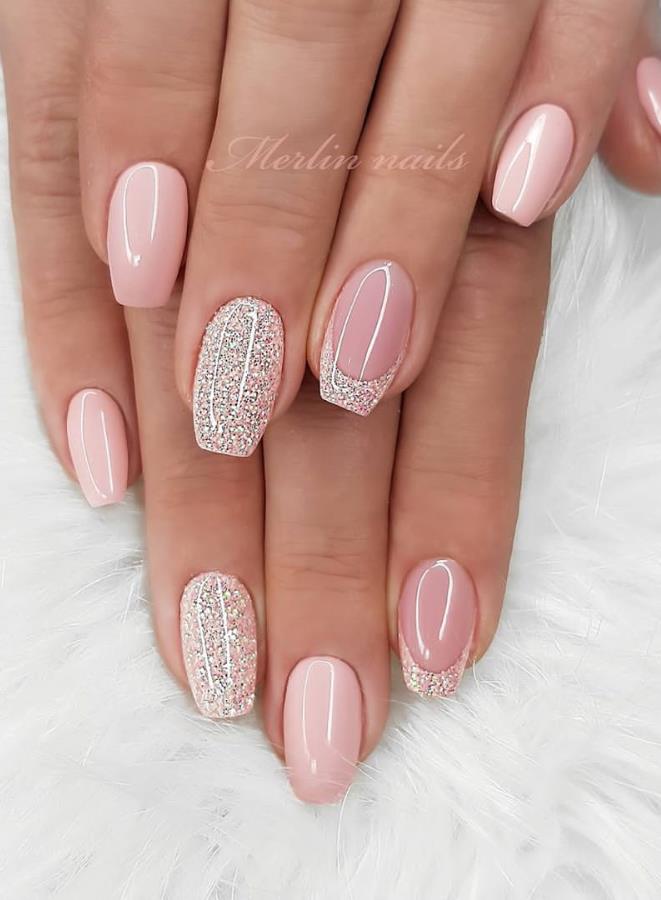
Looking for some adorable nail designs? Look no further than these cute designs using toothpicks. From hearts to flowers and everything in between, you can create some seriously cute nail art with just a toothpick. Get ready to show off your cute and creative side with these designs.Cute Nail Designs with Toothpicks

Cute Nail Designs with Toothpicks


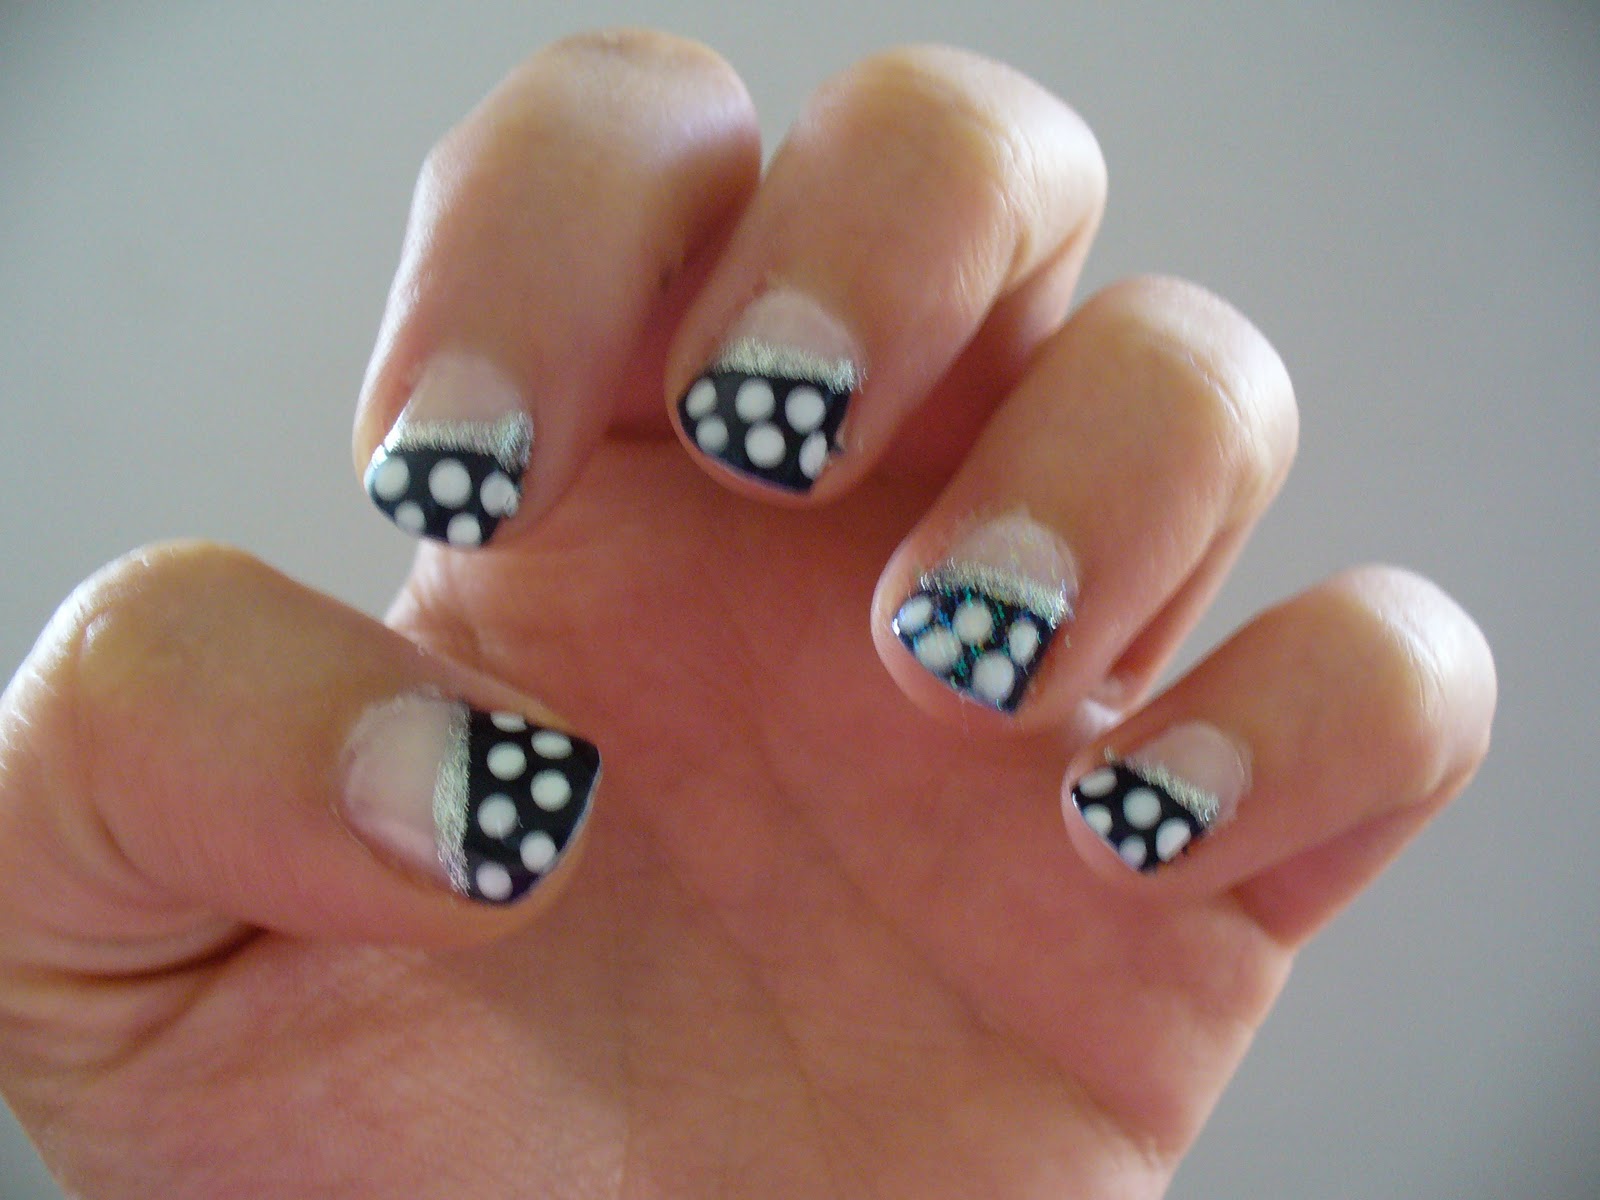
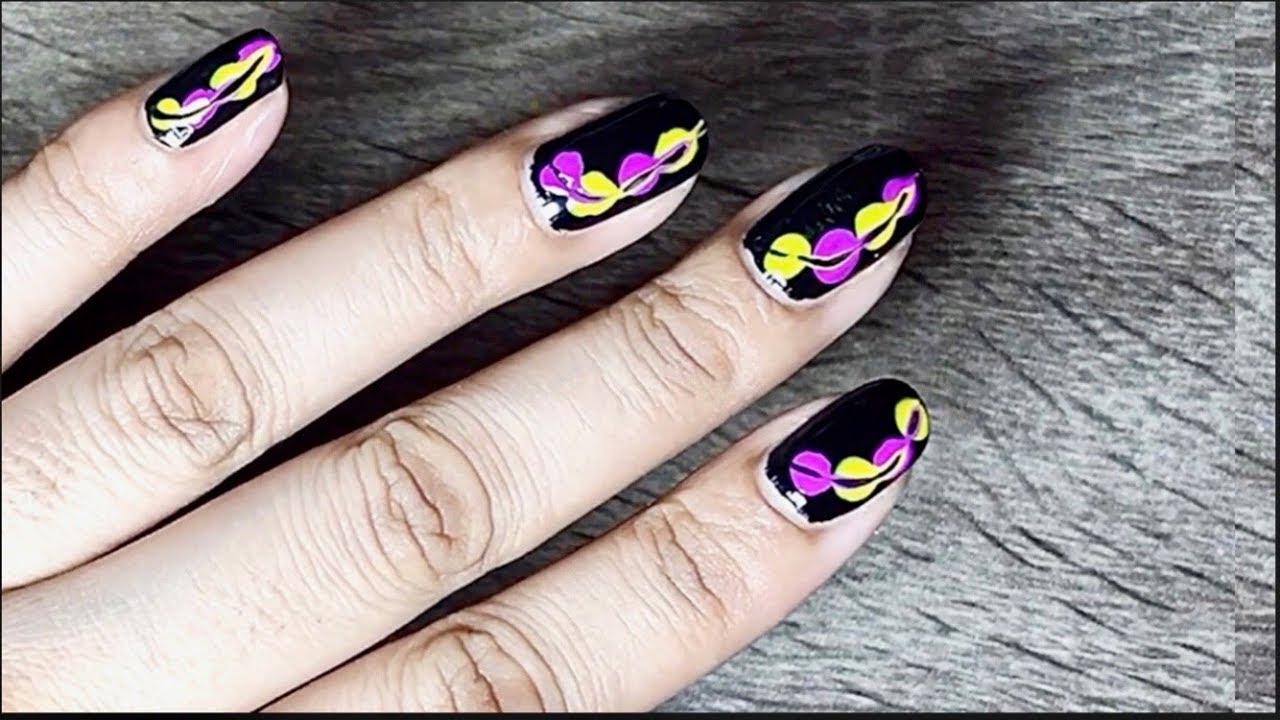
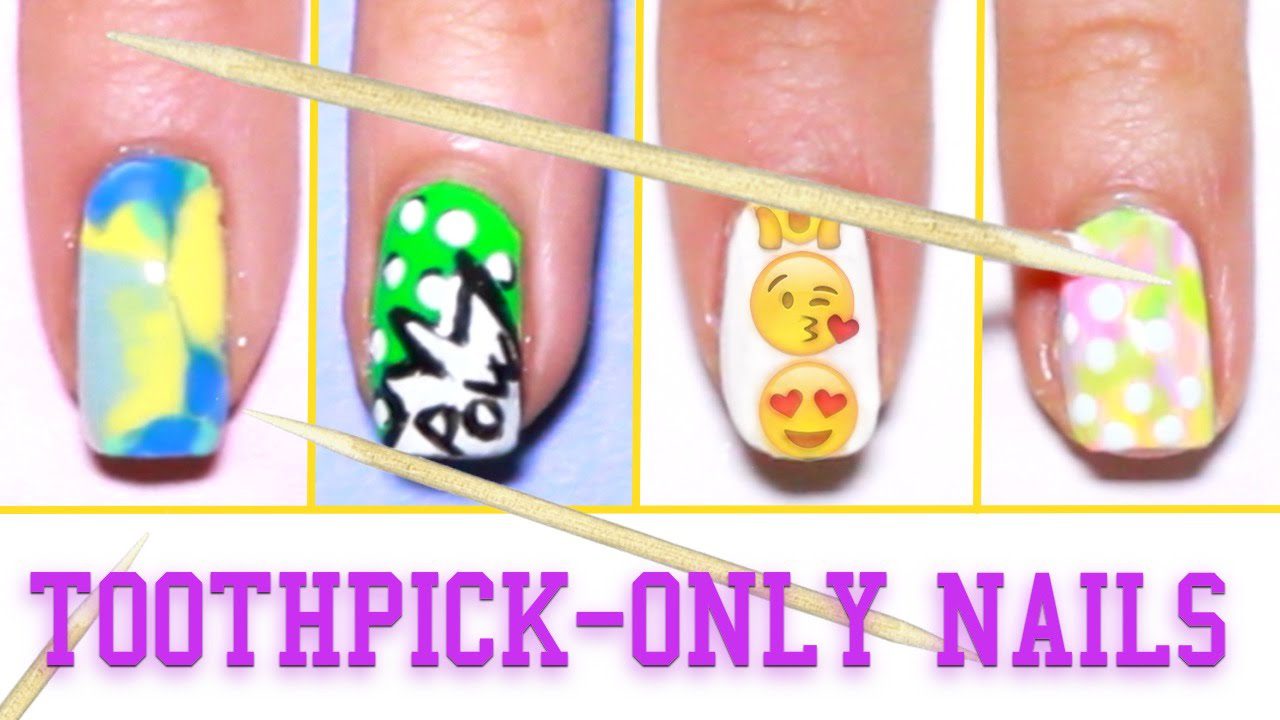
Love the look of polka dots? Add some flair to your polka dot designs with toothpicks. Use a toothpick to create different sized dots and patterns for a unique and fun look. You can even combine different colors for a colorful and playful design. Ready to try out some of these easy nail art designs with toothpicks? Grab some polish, a toothpick, and get creative! With these step by step tutorials, you’ll have gorgeous nails in no time. Have fun experimenting and don’t be afraid to get creative – that’s the beauty of toothpick nail art!Nail Art Designs with Toothpicks and Dots
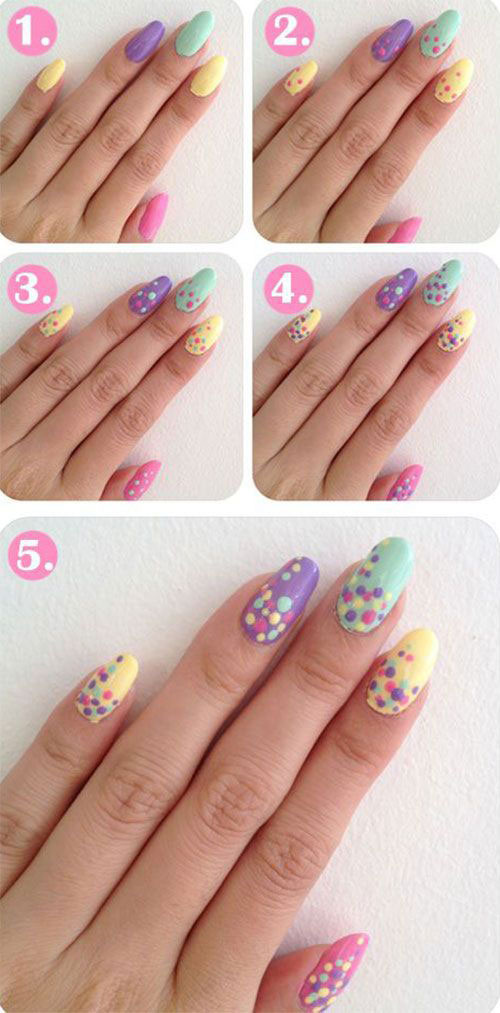
Nail Art Designs with Toothpicks and Dots

The Power of Toothpicks: Creating Unique Nail Designs

Adding a Touch of Creativity
 When it comes to nail art, the possibilities are endless. From intricate designs to bold colors, there are countless ways to express yourself through your nails. But what if you don't have any fancy tools or equipment? Well, that's where toothpicks come in. These simple and inexpensive household items can be used to create stunning and unique nail designs. In this article, we will walk you through a step-by-step guide on how to achieve easy nail designs with toothpicks.
Gather Your Supplies
 Before we get started, let's make sure we have all the necessary materials. You will need
nail polish
in your desired colors, a
base coat
, a
top coat
, and of course,
toothpicks
. You can also use a
small paintbrush
as an alternative to toothpicks if you prefer. It's also helpful to have a
paper towel
or
cotton swabs
on hand for any mistakes or clean-up.
Before we get started, let's make sure we have all the necessary materials. You will need
nail polish
in your desired colors, a
base coat
, a
top coat
, and of course,
toothpicks
. You can also use a
small paintbrush
as an alternative to toothpicks if you prefer. It's also helpful to have a
paper towel
or
cotton swabs
on hand for any mistakes or clean-up.
Step 1: Apply Your Base Coat
 Start by applying a base coat to your nails. This will help protect your nails and create a smooth surface for the nail polish to adhere to. Let it dry completely before moving on to the next step.
Step 2: Choose Your Colors
 Now comes the fun part – choosing your colors! You can use as many or as few colors as you'd like.
Color blocking
is a popular technique where you paint each nail a different color. You can also choose to create a
gradient effect
by using different shades of the same color.
Now comes the fun part – choosing your colors! You can use as many or as few colors as you'd like.
Color blocking
is a popular technique where you paint each nail a different color. You can also choose to create a
gradient effect
by using different shades of the same color.
Step 3: Create Your Design
 This is where the toothpicks come into play. Dip the tip of a toothpick into the nail polish of your choice and carefully create your design on your nail. The possibilities are endless – you can create
dots
,
lines
,
stripes
, or even
flowers
. Don't worry about perfection, the beauty of this technique is in its imperfections.
This is where the toothpicks come into play. Dip the tip of a toothpick into the nail polish of your choice and carefully create your design on your nail. The possibilities are endless – you can create
dots
,
lines
,
stripes
, or even
flowers
. Don't worry about perfection, the beauty of this technique is in its imperfections.
Step 4: Clean Up
 If you make any mistakes, don't panic. Simply use a cotton swab or a small paintbrush dipped in nail polish remover to clean up any smudges or stray lines. Let your design dry completely before moving on to the next step.
Step 5: Apply Your Top Coat
 Once your design is dry, apply a top coat to seal in your design and add shine. This will also help your design last longer.
Final Thoughts
 And there you have it, easy nail designs with toothpicks! Don't be afraid to get creative and experiment with different colors and designs. With a little bit of practice, you'll be able to create unique and eye-catching nail designs using just toothpicks. So next time you're in need of a quick and easy nail art fix, reach for those toothpicks and let your imagination run wild.


