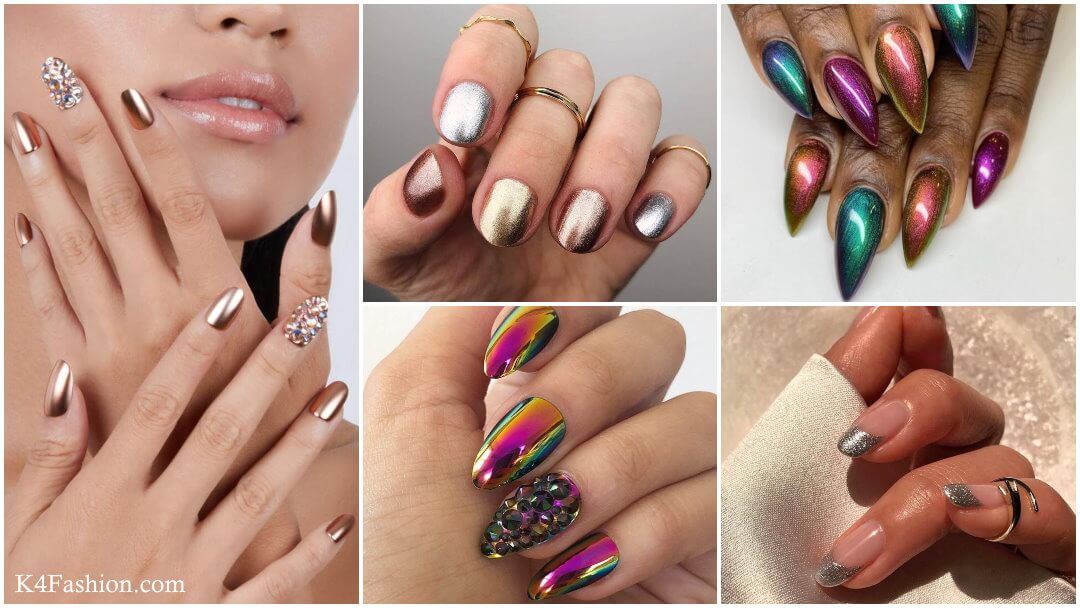
If you're new to the world of nail art, a simple silver nail design is the perfect place to start. With just a few easy steps, you can achieve a chic and sophisticated look that will surely turn heads. Start by painting your nails with a base coat to protect them and allow for better adhesion of the silver polish. Next, apply two coats of silver nail polish to your nails, making sure to cover the entire surface. You can either go for a classic silver shade or opt for a metallic or glittery one for added dimension. Allow the polish to dry completely before moving on to the next step. For a minimalist look, you can leave your nails as is or add a single silver nail on each hand for an accent. If you want to take it up a notch, you can also add small silver dots or stripes using a thin nail brush or a toothpick. Finish off with a clear topcoat to seal in your design and give your nails a shiny finish.1. Simple Silver Nail Design
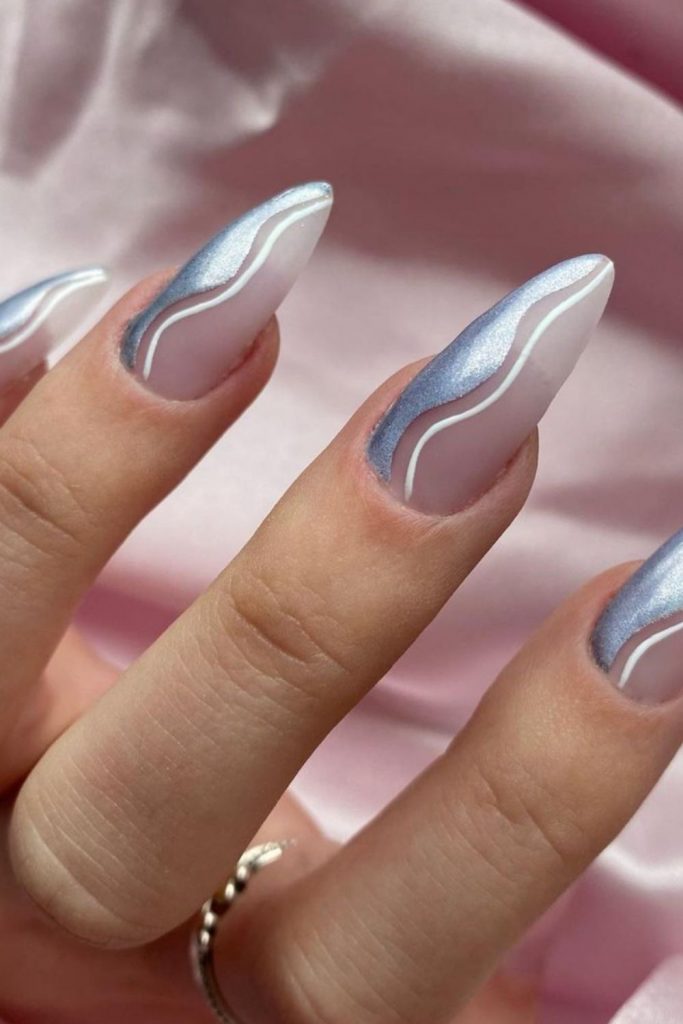


1. Simple Silver Nail Design


.JPG)


For those who are always on the go, a quick and easy silver nail art design is the perfect solution. This design requires minimal effort and time, making it ideal for busy individuals who still want to have stylish nails. To achieve this look, start by painting your nails with a clear base coat. Then, using a silver nail polish, paint a diagonal stripe across your nail, leaving the top half bare. Repeat the same process on your other nails, painting the diagonal stripe in different directions for a more interesting look. Once the silver polish is dry, use a black nail polish to paint a thin line along the edge of the silver stripe, creating a contrast and adding definition to your design. Finish off with a topcoat to seal in your design and give your nails a glossy finish.2. Quick and Easy Silver Nail Art


2. Quick and Easy Silver Nail Art


If you want to add a touch of elegance to your nails, a silver nail design is the way to go. This design is perfect for special occasions or for those who simply want to elevate their everyday look. To achieve this elegant look, start by applying a base coat to your nails. Then, using a silver nail polish, paint your nails with two coats, making sure to cover the entire surface. Next, using a white nail polish, create a half-moon shape at the base of your nail, leaving the tip bare. For added glam, you can also add a small silver gem or rhinestone at the center of the half-moon shape. Finish off with a clear topcoat to seal in your design and give your nails a glossy finish.3. Elegant Silver Nail Designs for Beginners


3. Elegant Silver Nail Designs for Beginners


If you prefer a more simple and understated look, minimalist silver nail ideas are perfect for you. These designs are clean, chic, and can add a touch of sophistication to any outfit. One minimalist design idea is to paint your nails with a light silver nail polish and add a thin black stripe at the base of your nail. Another option is to paint your nails with a nude or light pink shade and add a small silver dot or stripe on one nail for an accent. You can also experiment with different geometric shapes and patterns for a unique minimalist look. Remember, less is more when it comes to minimalist designs, so keep it simple and clean for a chic and modern look. Finish off with a clear topcoat to seal in your design and give your nails a glossy finish.4. Minimalist Silver Nail Ideas


4. Minimalist Silver Nail Ideas


Who says you need to go to a salon to achieve a chic silver nail design? With a few simple tools and techniques, you can create your own DIY silver nail designs at home. One idea is to paint your nails with a light silver nail polish and add a thin black line at the base of your nail. You can also use a silver nail polish with glitter to add some sparkle to your design. Another option is to create a gradient effect by painting your nails with a light silver nail polish and then sponging on a darker silver shade at the tips. Get creative and experiment with different designs and techniques to find your perfect DIY silver nail look. Finish off with a topcoat to seal in your design and give your nails a glossy finish.5. DIY Silver Nail Designs for a Chic Look


5. DIY Silver Nail Designs for a Chic Look


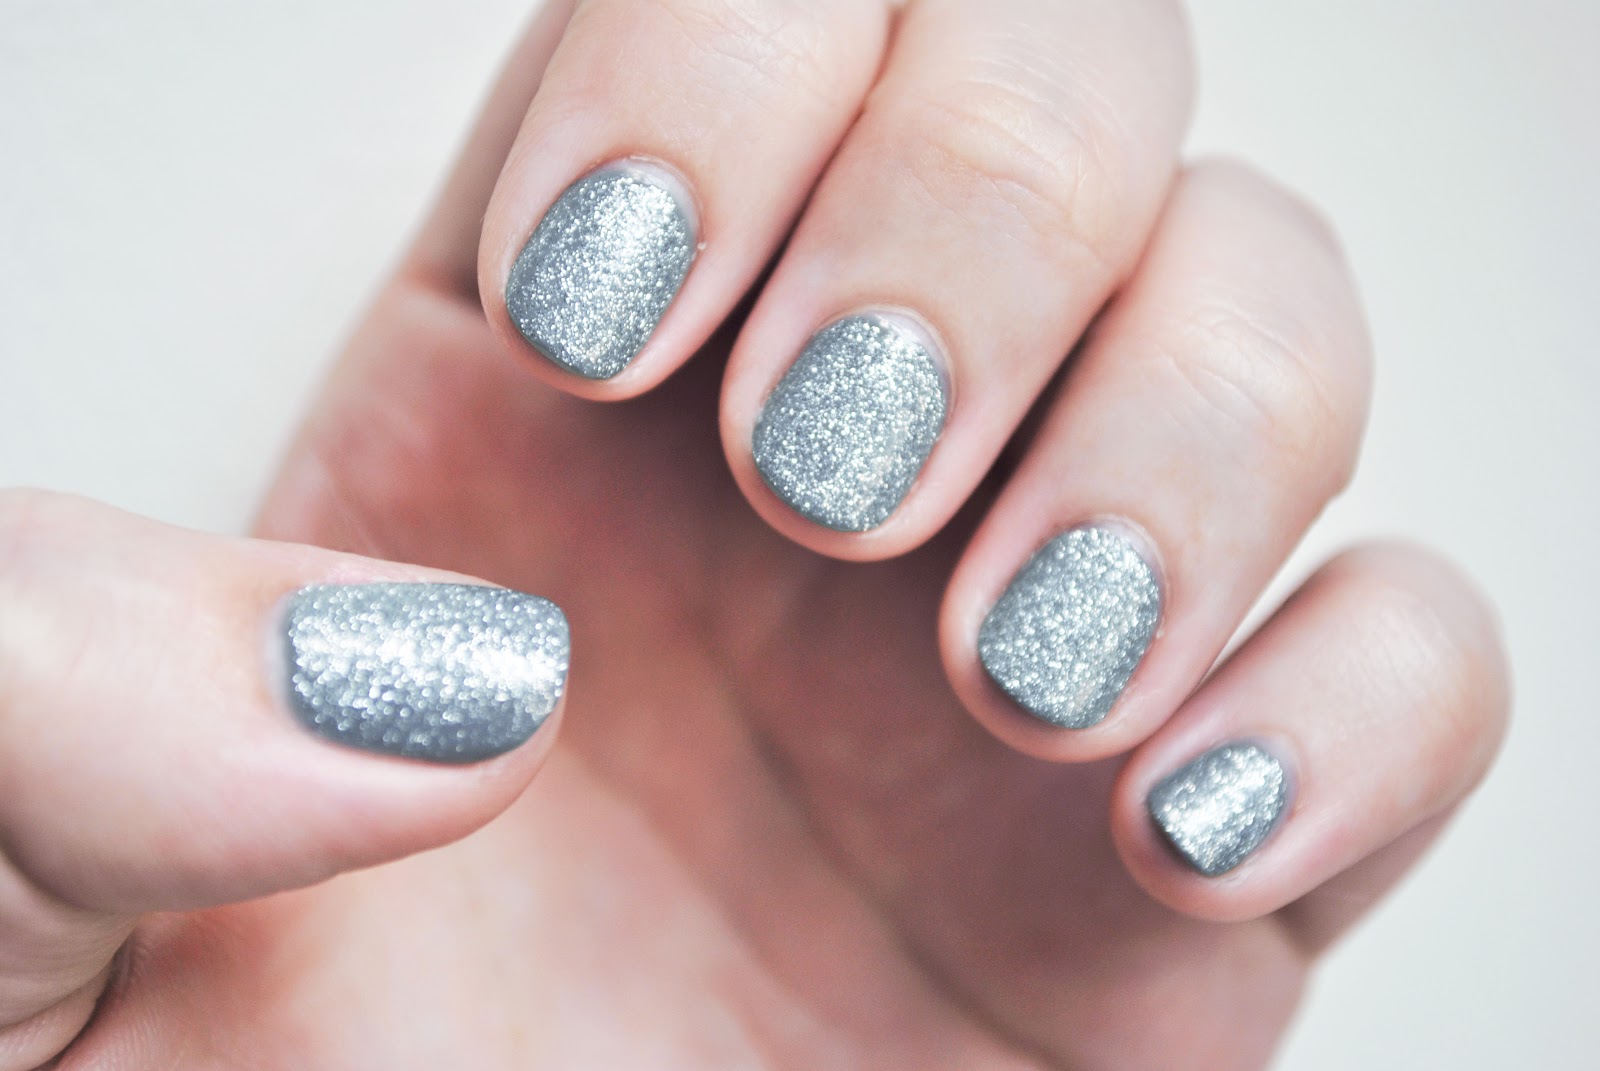
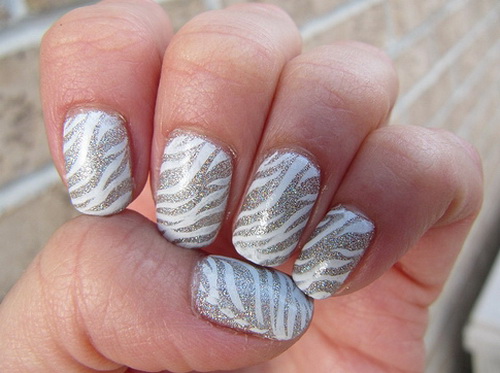
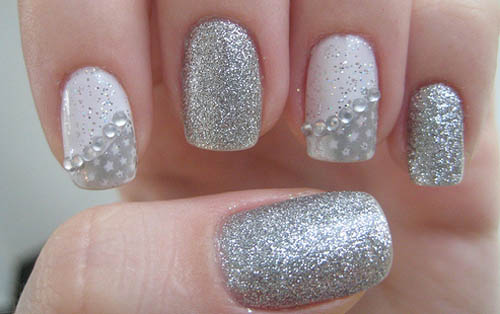
For those who love a bit of sparkle and shine, glittery silver nail designs are the way to go. These designs are perfect for special occasions or for adding a touch of glamour to your everyday look. To achieve a glittery silver look, start by painting your nails with a clear base coat. Then, using a silver glitter nail polish, paint your nails with two coats, making sure to cover the entire surface. You can also add a gradient effect by sponging on the glitter polish at the tips of your nails. If you want to add more dimension to your design, you can also add small silver gems or rhinestones to your nails. Finish off with a clear topcoat to seal in your design and give your nails a shiny finish.6. Glittery Silver Nail Designs for a Glamorous Touch


6. Glittery Silver Nail Designs for a Glamorous Touch


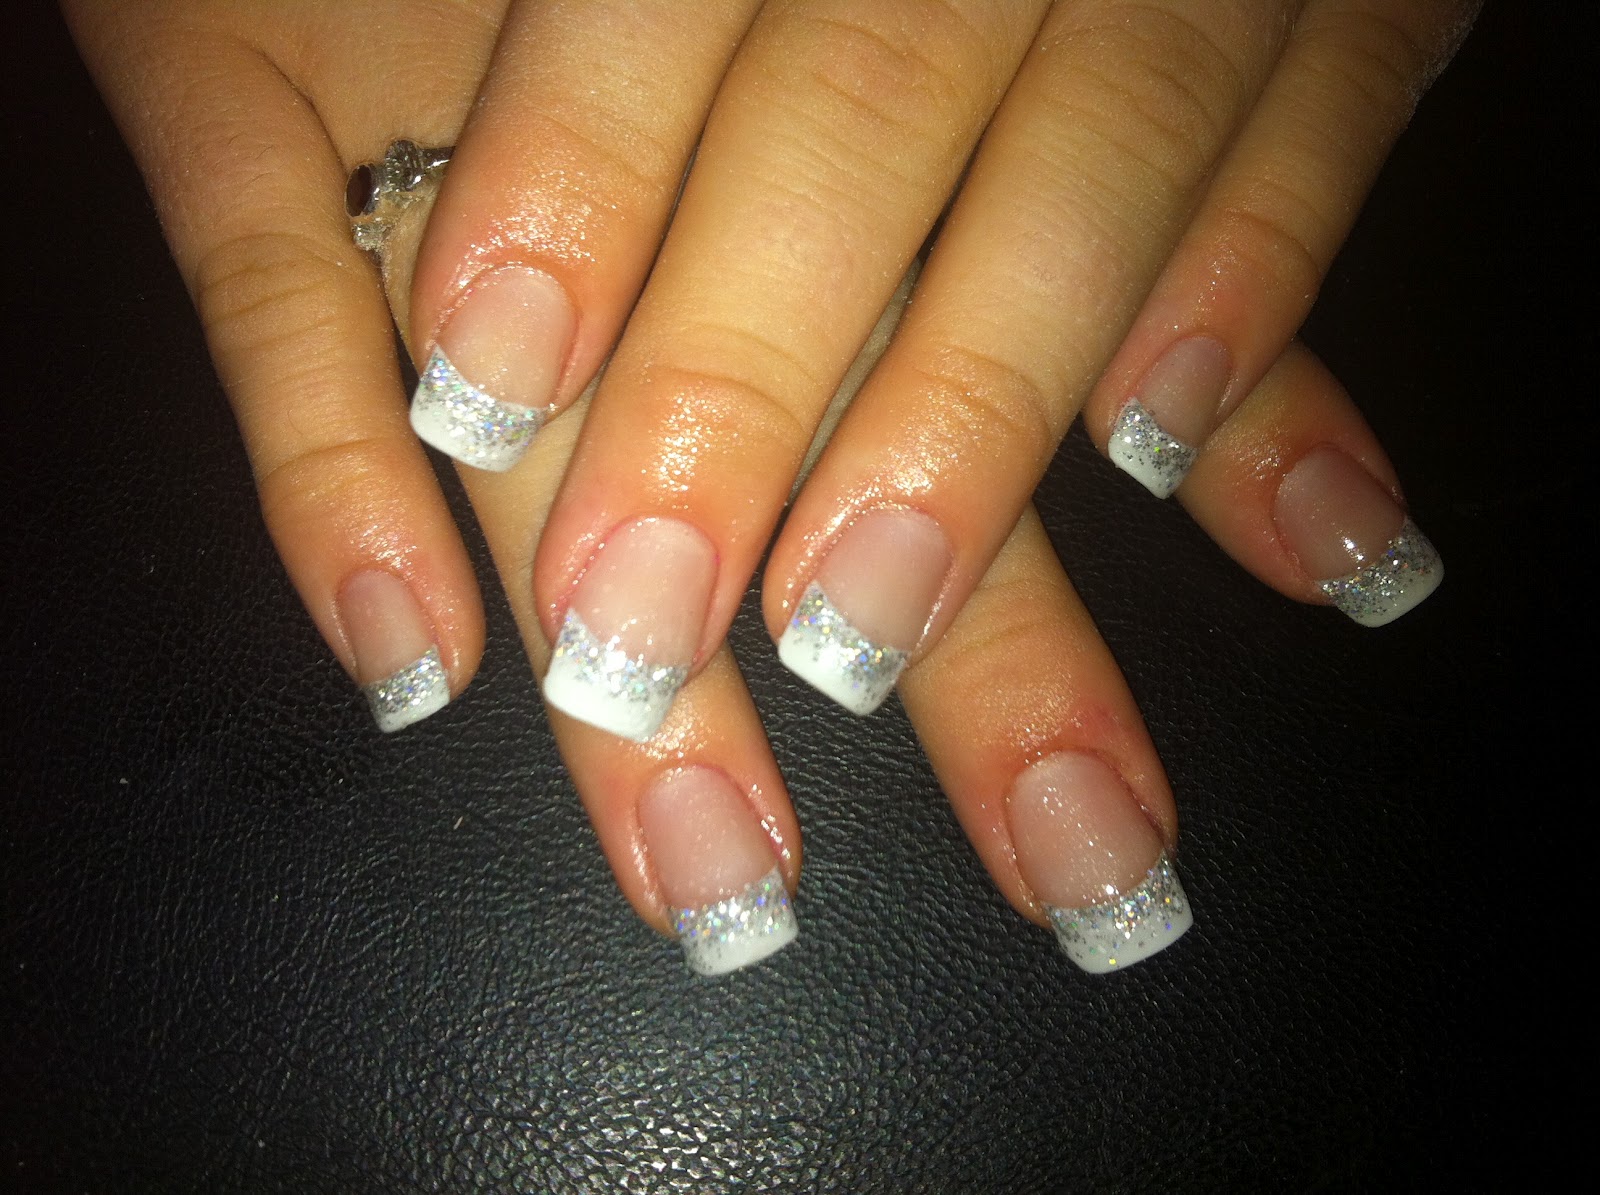
The combination of silver and white creates a classic and elegant look that is perfect for any occasion. This nail design tutorial will guide you through the steps to achieve this stunning look. Start by painting your nails with a clear base coat. Then, using a white nail polish, paint your nails with two coats, making sure to cover the entire surface. Next, using a silver nail polish, create a diagonal stripe across your nail, leaving the top half bare. For added detail, you can also use a thin nail brush or a toothpick to create small silver dots or stripes on the white portion of your nail. Finish off with a topcoat to seal in your design and give your nails a glossy finish.7. Silver and White Nail Design Tutorial

7. Silver and White Nail Design Tutorial
Metallic silver nail designs are a popular trend that gives off a futuristic and edgy vibe. These designs are perfect for those who want to make a statement with their nails. To achieve a metallic silver look, start by applying a clear base coat to your nails. Then, using a metallic silver nail polish, paint your nails with two coats, making sure to cover the entire surface. You can also add a gradient effect by sponging on a darker silver shade at the tips of your nails. Add some extra flair to your design by using a black nail polish to create geometric shapes or lines on your nails. Finish off with a topcoat to seal in your design and give your nails a glossy finish.8. Metallic Silver Nail Designs for a Futuristic Look


8. Metallic Silver Nail Designs for a Futuristic Look


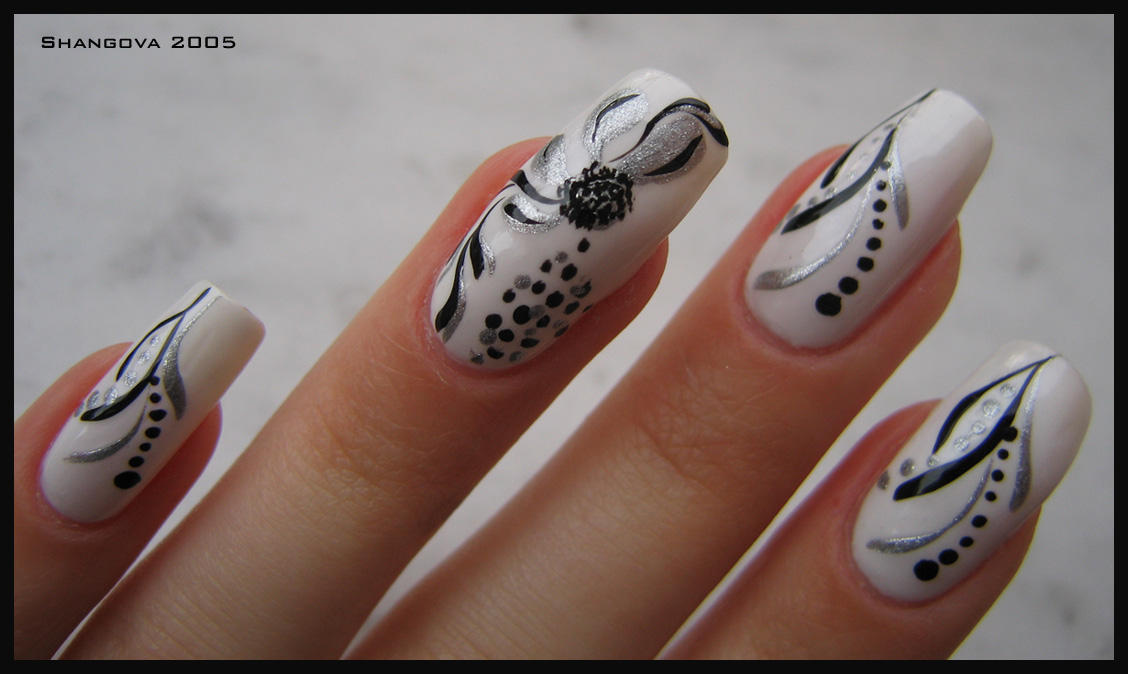
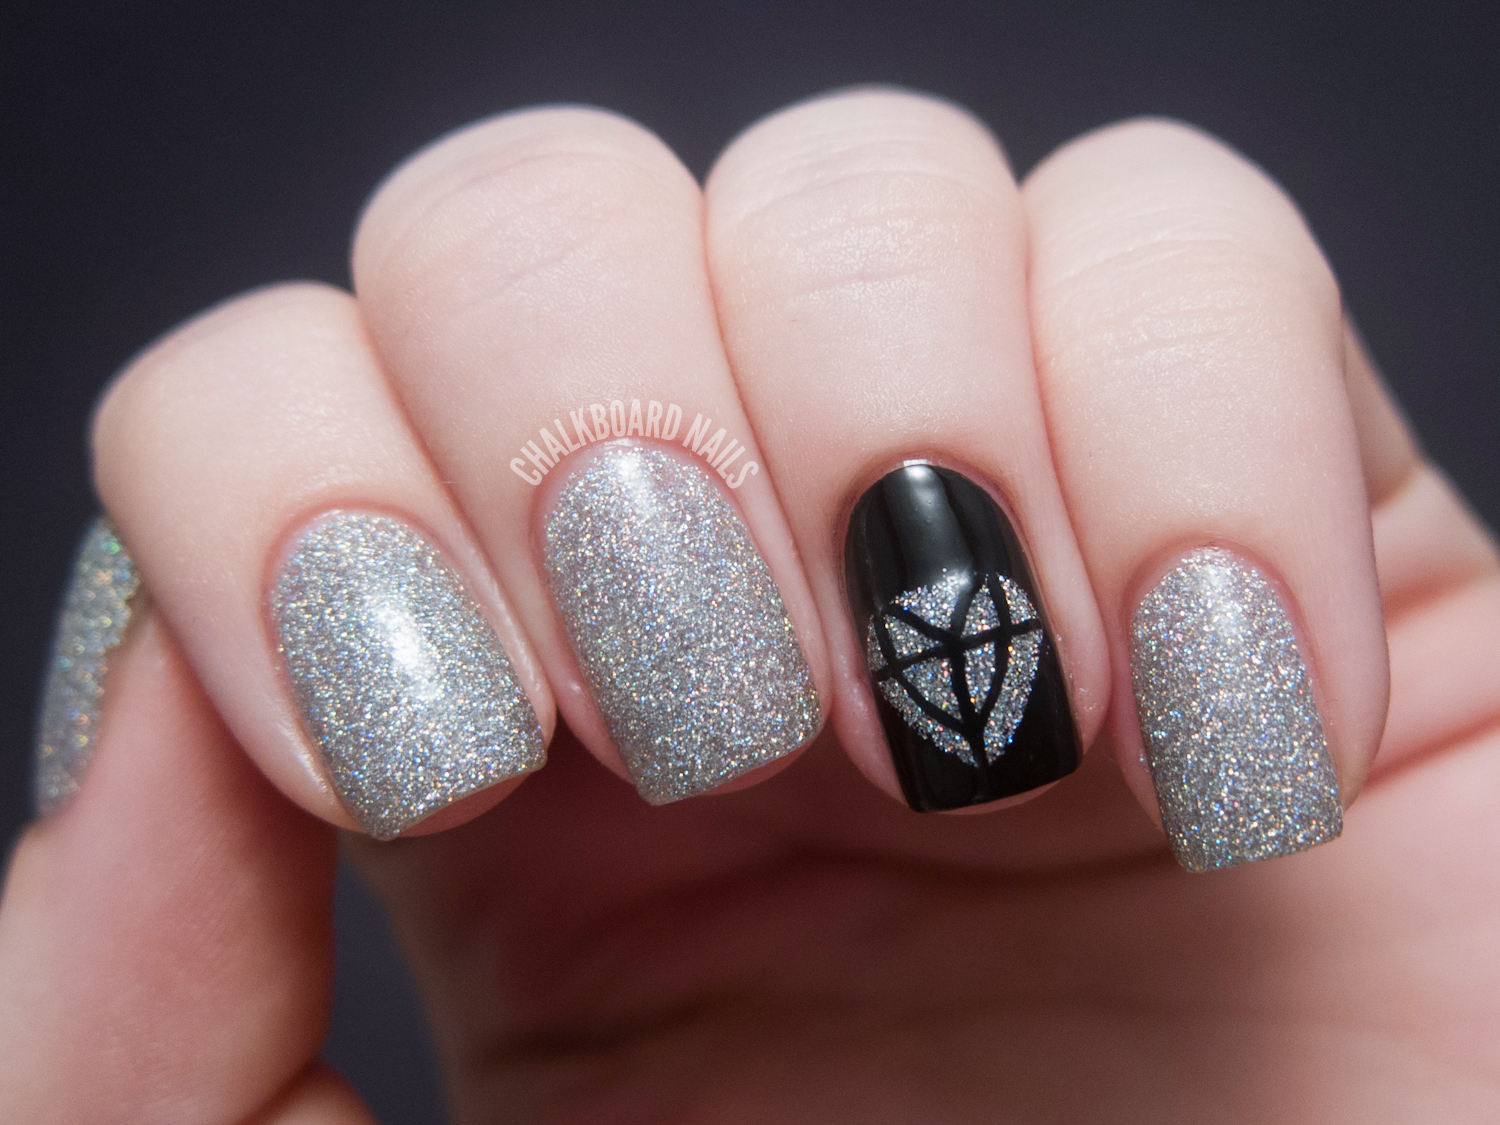
The combination of silver and black creates a bold and striking look that is perfect for any occasion. These nail art ideas are great for those who want to add a touch of edge to their nails. Start by painting your nails with a clear base coat. Then, using a black nail polish, paint your nails with two coats, making sure to cover the entire surface. Next, using a silver nail polish, create a diagonal stripe across your nail, leaving the top half bare. For added detail, you can also use a thin nail brush or a toothpick to create small silver dots or stripes on the black portion of your nail. Finish off with a topcoat to seal in your design and give your nails a glossy finish.9. Silver and Black Nail Art Ideas

9. Silver and Black Nail Art Ideas
:max_bytes(150000):strip_icc()/121020-red-art-nail-designs-lead-2000-d0787e7365f44dfeaa27972ae713d448.jpg)


For a modern and trendy look, geometric silver nail designs are the way to go. These designs are perfect for those who want to add a unique and artistic touch to their nails. Start by painting your nails with a clear base coat. Then, using a white nail polish, paint your nails with two coats, making sure to cover the entire surface. Next, using a silver nail polish, create geometric shapes on your nails using a thin nail brush or a toothpick. Add some extra detail by using a black nail polish to create lines or small dots on your nails. Finish off with a topcoat to seal in your design and give your nails a glossy finish.10. Geometric Silver Nail Designs for a Modern Twist


10. Geometric Silver Nail Designs for a Modern Twist
Easy Silver Nail Design: Elevate Your Nails to a Whole New Level
Get Ready to Shine with These Easy Silver Nail Ideas
 If you're looking for a chic and trendy nail design, look no further than easy silver nail designs. This versatile and eye-catching color is perfect for any occasion and can elevate your nails to a whole new level. Whether you're heading to a formal event or just want to add some sparkle to your everyday look, silver nails are the way to go.
Silver nails are a popular choice for many reasons. Not only do they add a touch of glamour to your overall look, but they also go well with any outfit. From a simple and elegant black dress to a bold and colorful ensemble, silver nails can complement any style. Plus, the metallic shine of silver polish catches the light and adds a subtle yet stunning effect to your nails.
For a simple and easy silver nail design, try a classic silver polish on all your nails. This timeless look is perfect for any occasion and is easy to achieve with just a few coats of silver polish. You can also add some glitter or rhinestones for an extra touch of sparkle.
If you're feeling more adventurous, try incorporating silver into a nail art design. From geometric patterns to intricate designs, silver can add a modern and edgy twist to any nail art. You can also mix and match silver with other colors for a unique and personalized look.
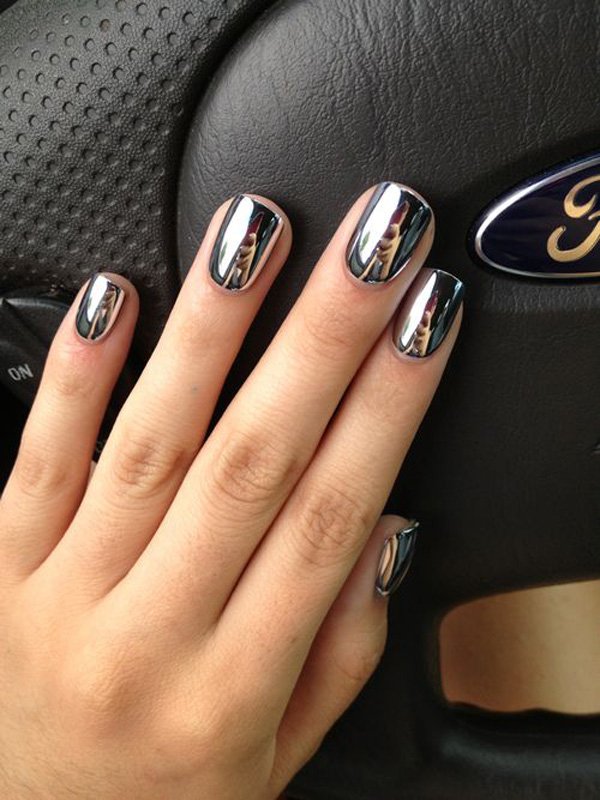
But if you want to take your silver nail game to the next level, try a silver chrome finish. This mirror-like effect is achieved by using a special powder and top coat, giving your nails a high-shine and futuristic look. It's a bit more challenging to achieve but the result is definitely worth it.
In conclusion, easy silver nail designs are a must-try for anyone looking to add some glam to their nails. From a simple and classic look to bold and intricate designs, silver nails are versatile and perfect for any occasion. So go ahead and give them a try, your nails will thank you.
If you're looking for a chic and trendy nail design, look no further than easy silver nail designs. This versatile and eye-catching color is perfect for any occasion and can elevate your nails to a whole new level. Whether you're heading to a formal event or just want to add some sparkle to your everyday look, silver nails are the way to go.
Silver nails are a popular choice for many reasons. Not only do they add a touch of glamour to your overall look, but they also go well with any outfit. From a simple and elegant black dress to a bold and colorful ensemble, silver nails can complement any style. Plus, the metallic shine of silver polish catches the light and adds a subtle yet stunning effect to your nails.
For a simple and easy silver nail design, try a classic silver polish on all your nails. This timeless look is perfect for any occasion and is easy to achieve with just a few coats of silver polish. You can also add some glitter or rhinestones for an extra touch of sparkle.
If you're feeling more adventurous, try incorporating silver into a nail art design. From geometric patterns to intricate designs, silver can add a modern and edgy twist to any nail art. You can also mix and match silver with other colors for a unique and personalized look.
But if you want to take your silver nail game to the next level, try a silver chrome finish. This mirror-like effect is achieved by using a special powder and top coat, giving your nails a high-shine and futuristic look. It's a bit more challenging to achieve but the result is definitely worth it.
In conclusion, easy silver nail designs are a must-try for anyone looking to add some glam to their nails. From a simple and classic look to bold and intricate designs, silver nails are versatile and perfect for any occasion. So go ahead and give them a try, your nails will thank you.


