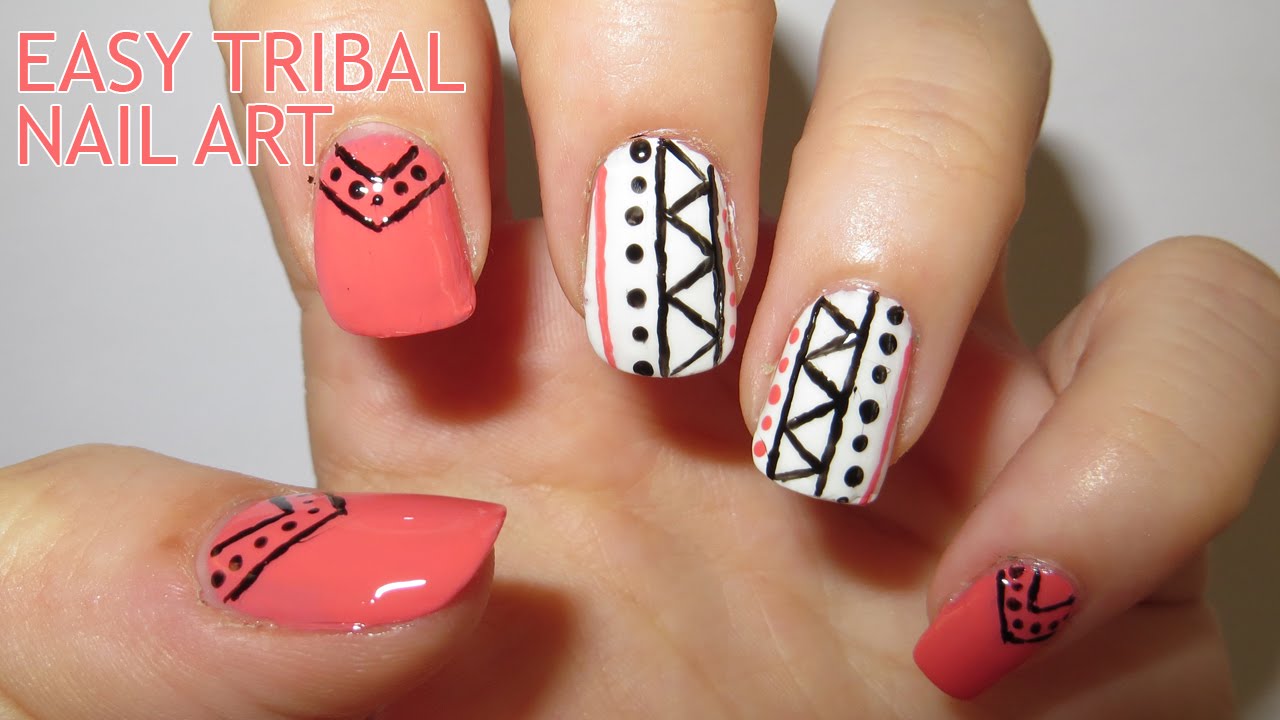
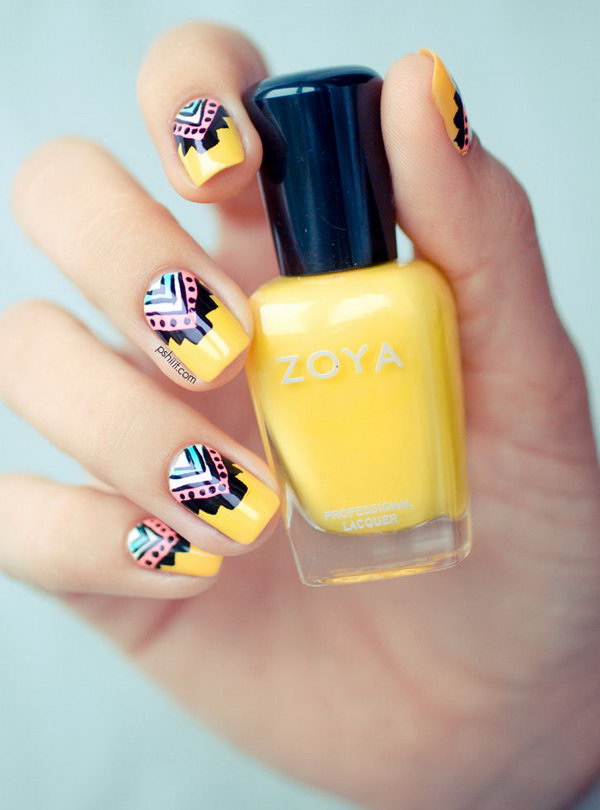
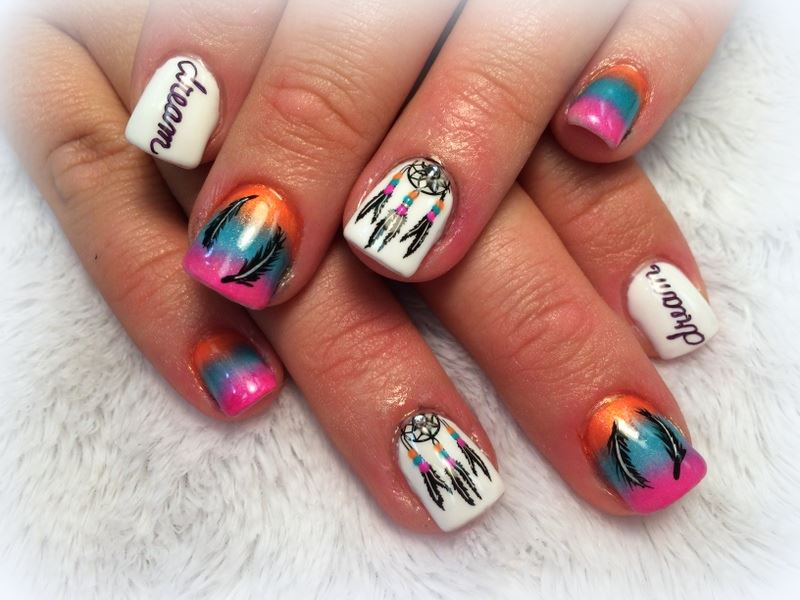
Tribal nail designs have been a popular trend in the world of nail art for quite some time now. They are bold, eye-catching, and can be customized to fit any personal style. If you're new to the tribal nail design game, fear not! This easy tutorial will walk you through the steps to create your own unique tribal nail design. To start, gather all the necessary supplies: a base coat, two different colored nail polishes, a thin brush or toothpick, and a top coat. For the base colors, you can choose any two shades that complement each other. For example, a light pink and navy blue, or a bright yellow and black. Begin by applying a base coat to protect your nails. This step is crucial as it helps the nail polish to adhere better and last longer. Next, apply two coats of your first chosen color and let it dry completely before moving on to the next step. Once the base color is dry, it's time to create the tribal design. Take your thin brush or toothpick and dip it into your second color. Start by creating small, curved lines on one side of your nail. These lines can vary in thickness and direction, creating a unique tribal pattern. After creating the curved lines, use the brush or toothpick to add smaller dots or triangles to the design. This will add more depth and detail to your tribal pattern. Don't worry about making it perfect – the beauty of tribal designs is in their imperfection. Repeat this process on all of your nails, or mix and match different designs on each nail for a more eclectic look. Once you're happy with the design, let it dry completely before applying a top coat to seal in your beautiful tribal nail design.1. Easy Tribal Nail Design Tutorial


1. Easy Tribal Nail Design Tutorial

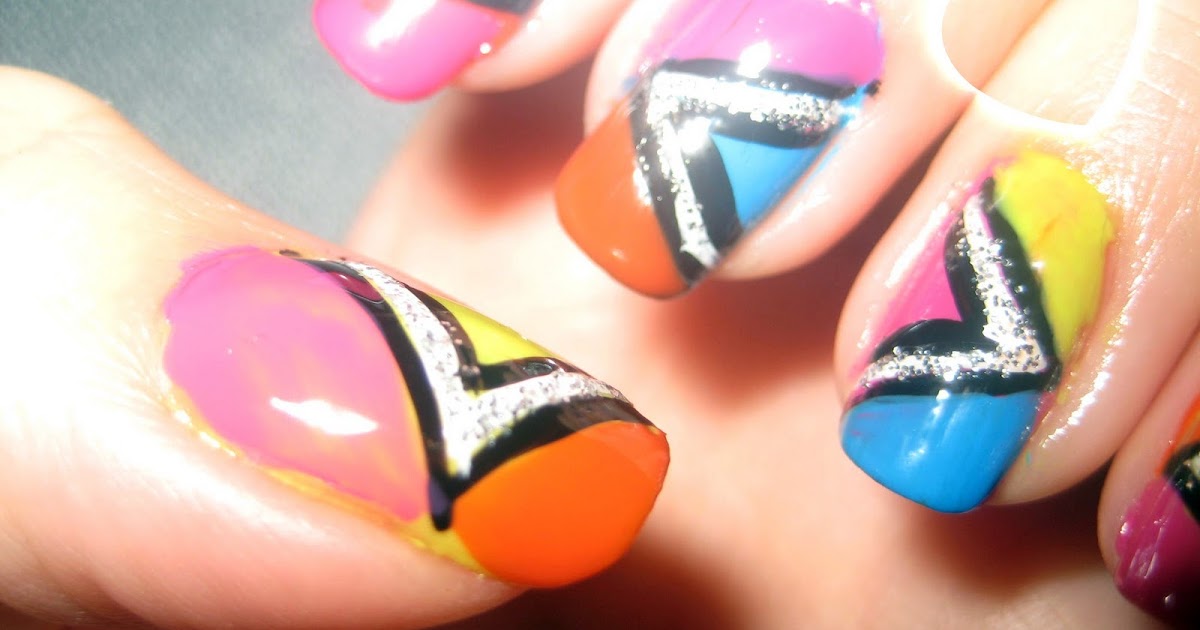

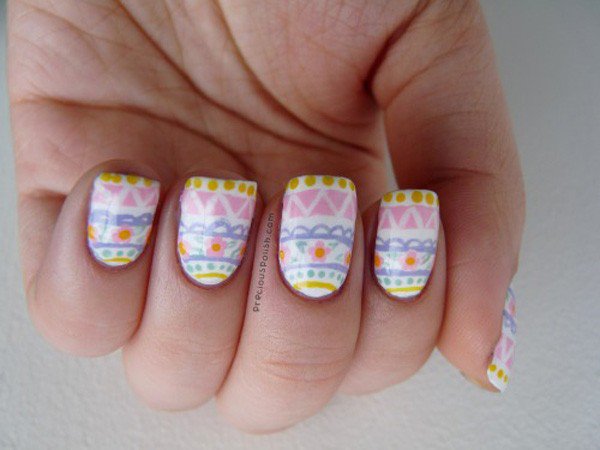
Creating a tribal nail design may seem intimidating, but with the right steps, it can be achieved easily. Follow this step by step guide to create your own stunning tribal nail art. First, start by gathering all the necessary supplies: a base coat, two different colored nail polishes, a thin brush or toothpick, and a top coat. Choose your base colors, keeping in mind that they should complement each other. Begin by applying a base coat to protect your nails. Next, apply two coats of your first chosen color and let it dry completely. Then, take your thin brush or toothpick and dip it into your second color. Create small, curved lines on one side of your nail, varying the thickness and direction for a unique tribal pattern. Next, add smaller dots or triangles to the design using the same color. You can also use a different color to add more dimension to your tribal design. Repeat this process on all of your nails, and let it dry completely before applying a top coat. To add an extra touch to your tribal nail art, you can also incorporate other elements such as glitter, rhinestones, or metallic accents. These can be added to specific parts of the design or all over the nail for a more dramatic look. With this step by step guide, you can create your own tribal nail art in no time. Don't be afraid to experiment and try different color combinations and designs.2. Step by Step Tribal Nail Art


2. Step by Step Tribal Nail Art


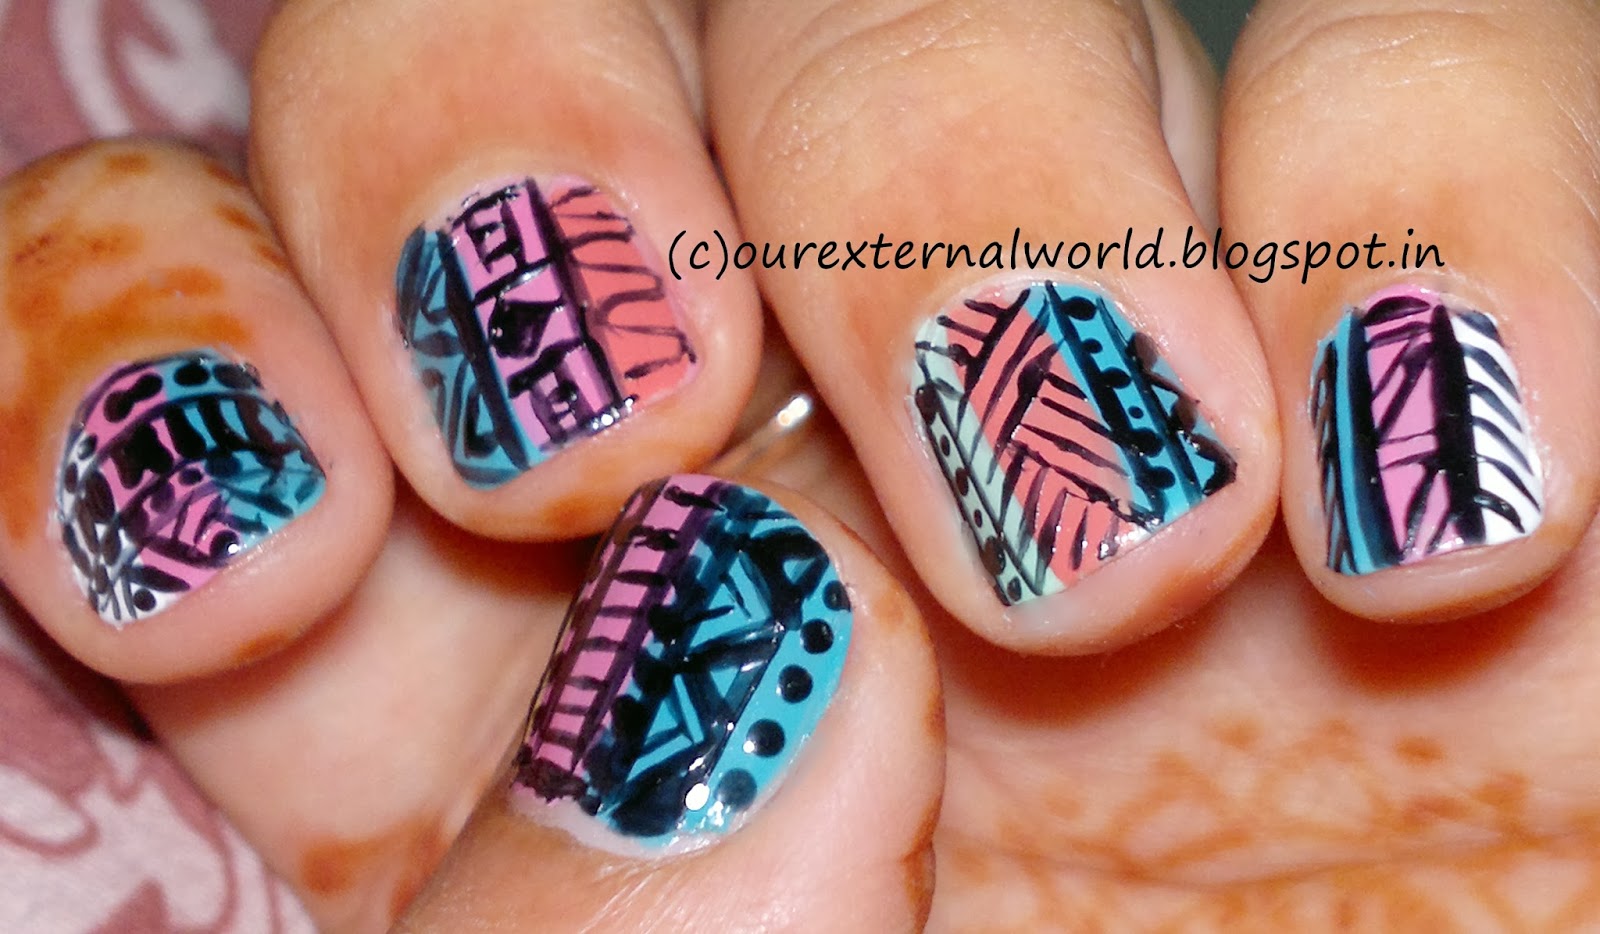
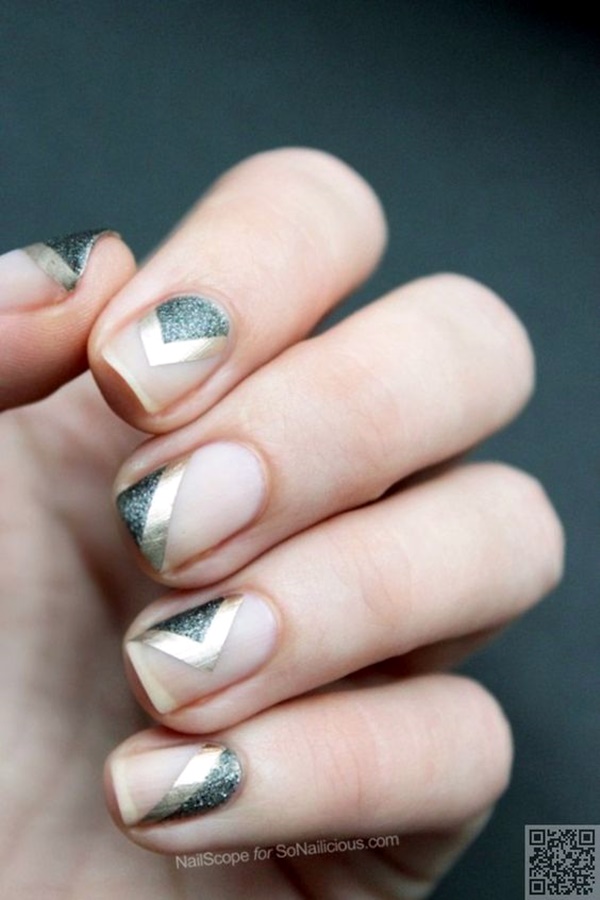
If you're new to the world of tribal nail designs, it's best to start with a simple and easy design. This will help you get comfortable with the techniques and tools needed before moving on to more intricate designs. For this simple tribal nail design, you will need two different colored nail polishes, a thin brush or toothpick, and a top coat. Choose your base colors, keeping in mind that they should complement each other. Begin by applying a base coat to protect your nails. Next, apply two coats of your first chosen color and let it dry completely. Then, using the thin brush or toothpick, create small, curved lines on one side of your nail. You can also vary the direction and thickness of the lines for a more unique look. Next, add smaller dots or triangles to the design using the same color. You can also use a different color to add more dimension to your tribal design. Repeat this process on all of your nails and let it dry completely before applying a top coat. For a simple yet stunning tribal nail design, you can also add a metallic accent to one or two nails. This will add an extra touch of glamour to your nails. With this easy tutorial, even beginners can create a beautiful tribal nail design.3. Simple Tribal Nail Design for Beginners

3. Simple Tribal Nail Design for Beginners


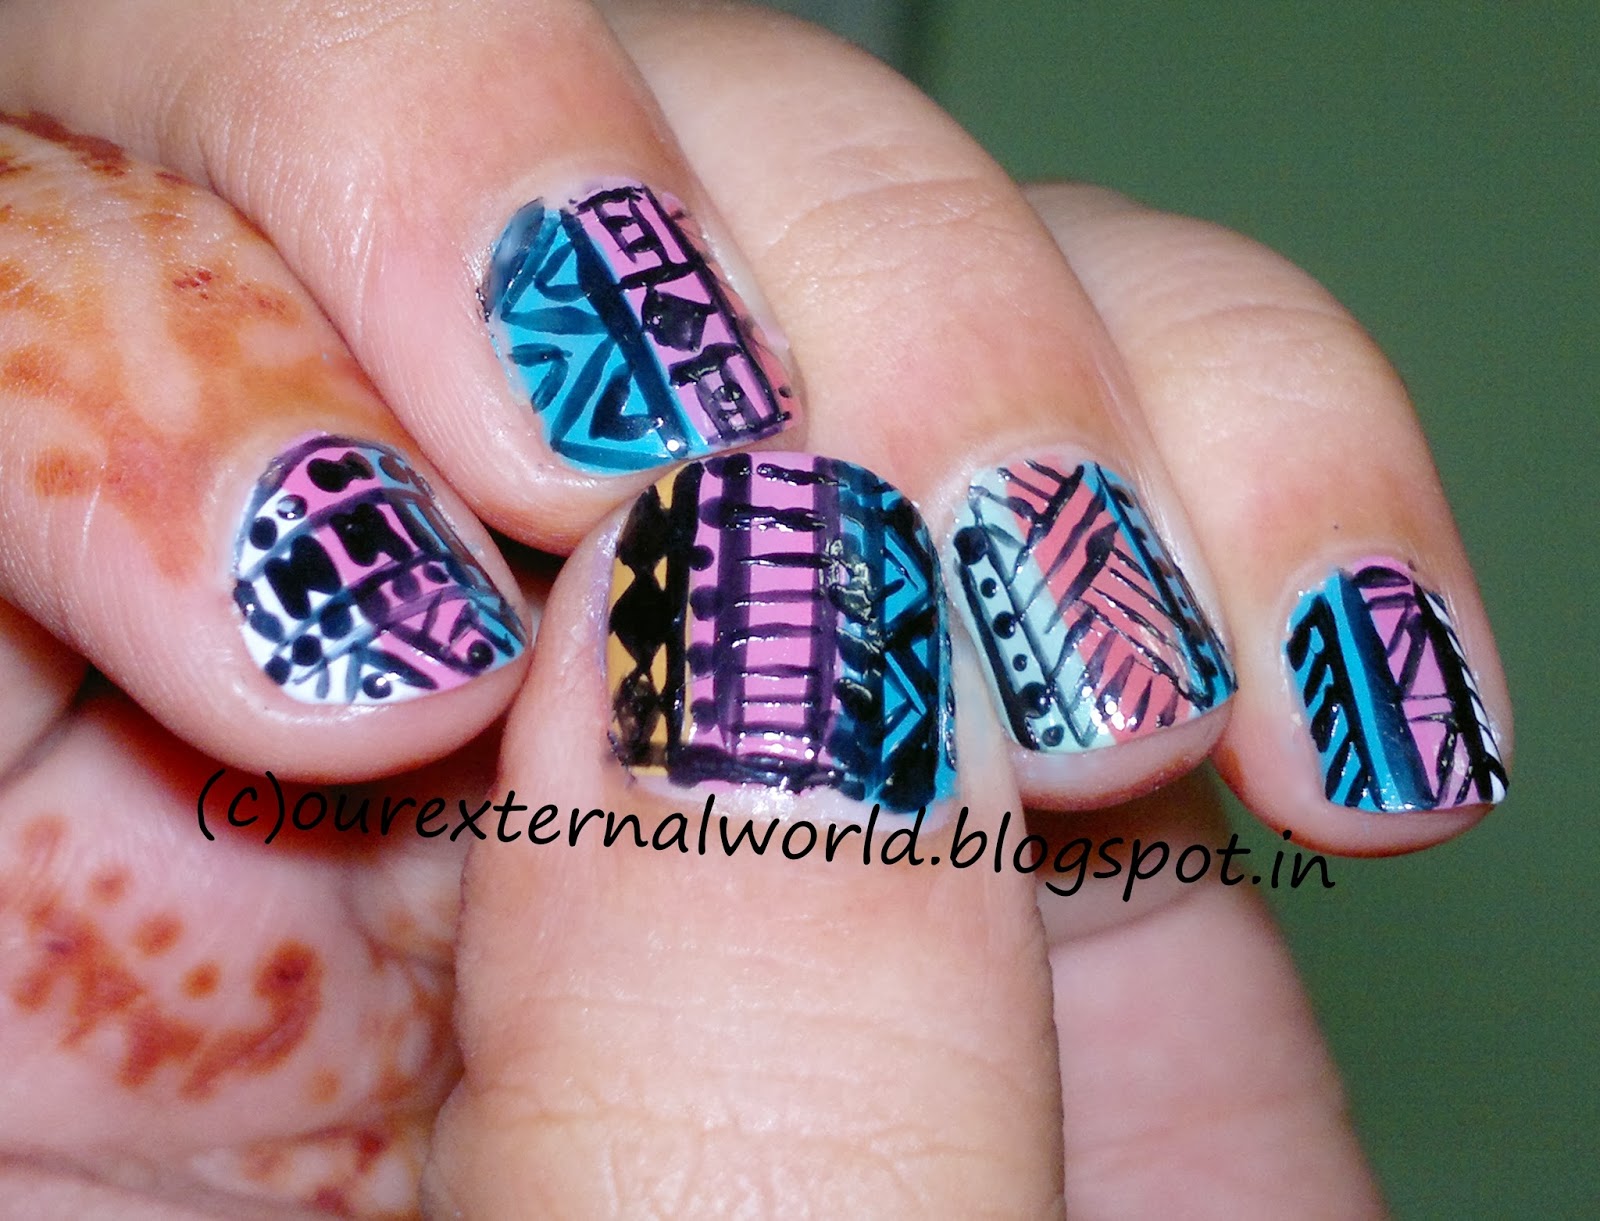

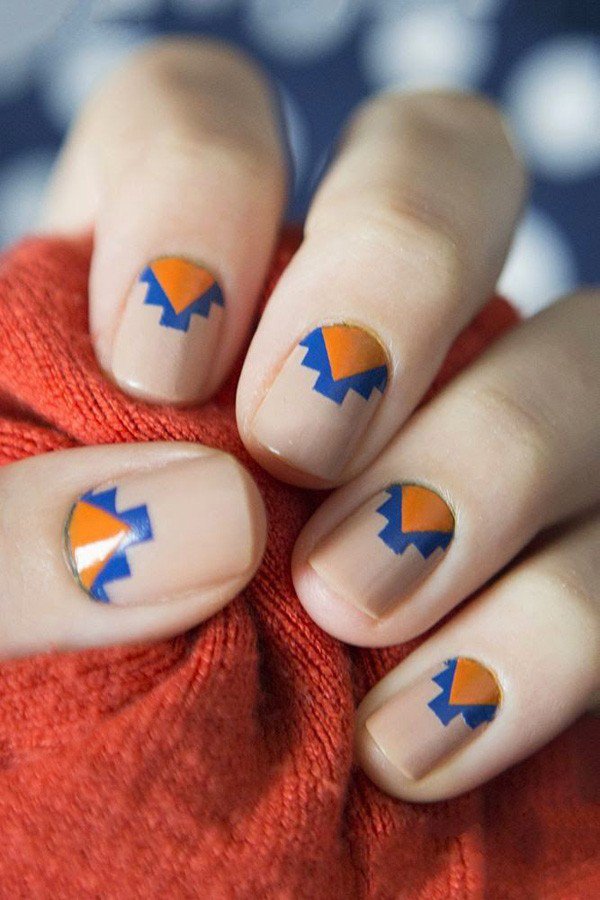
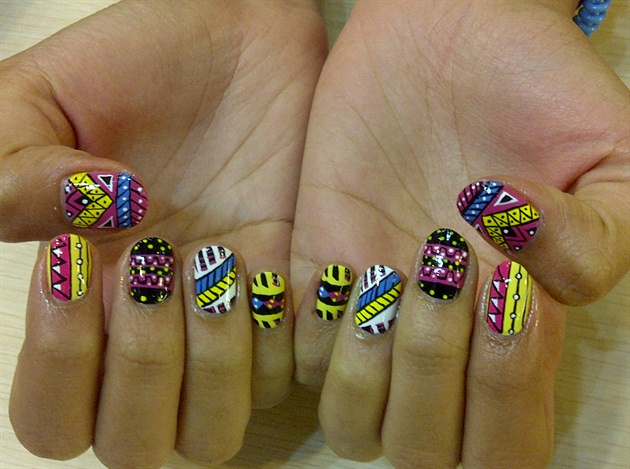
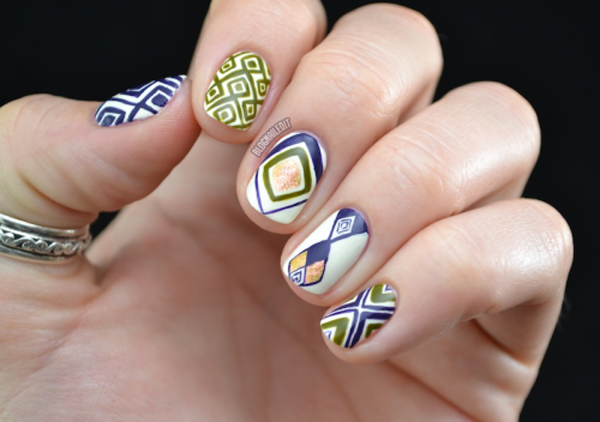
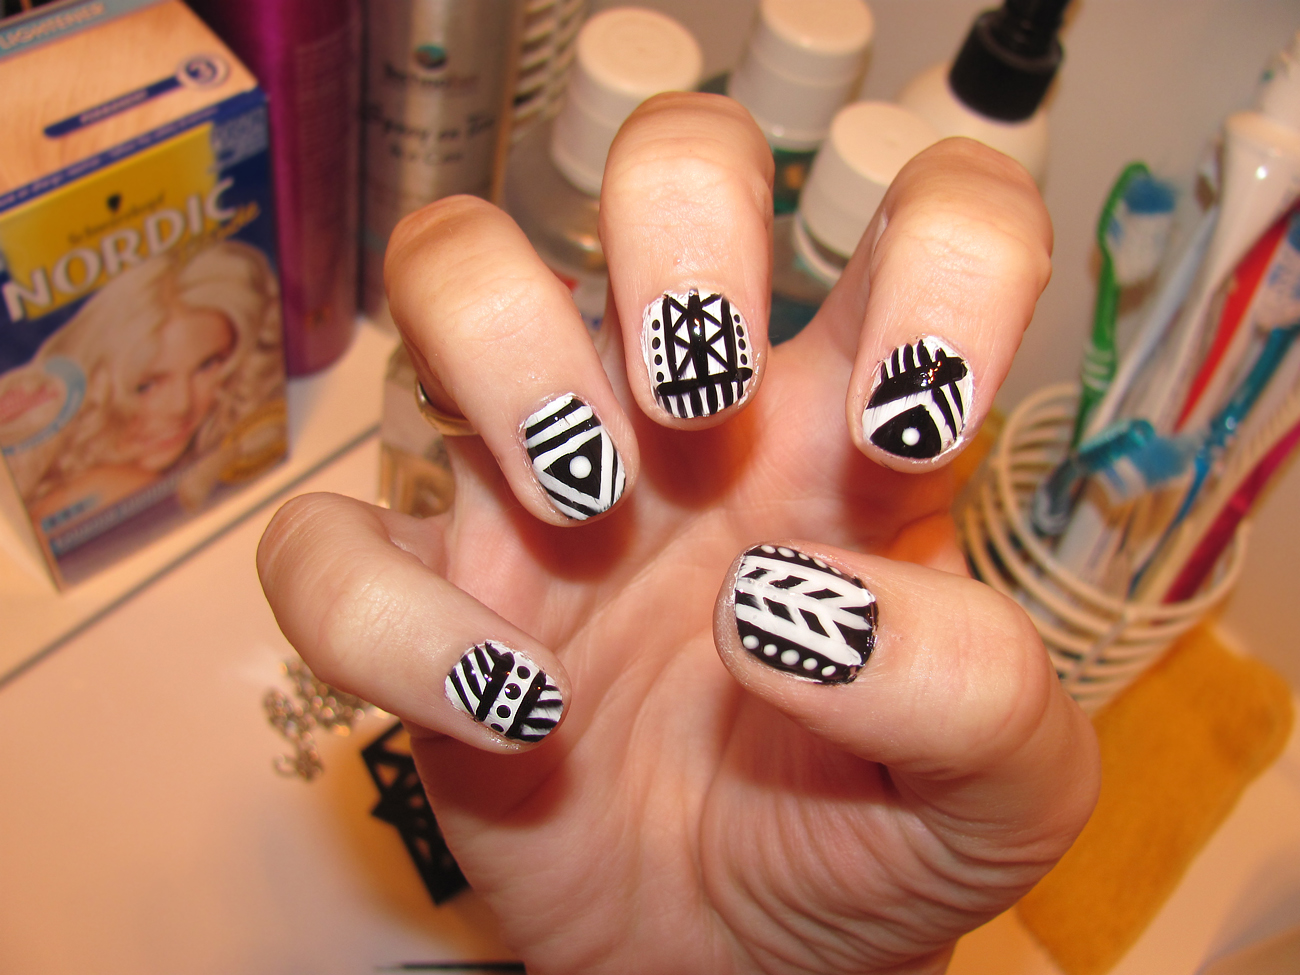
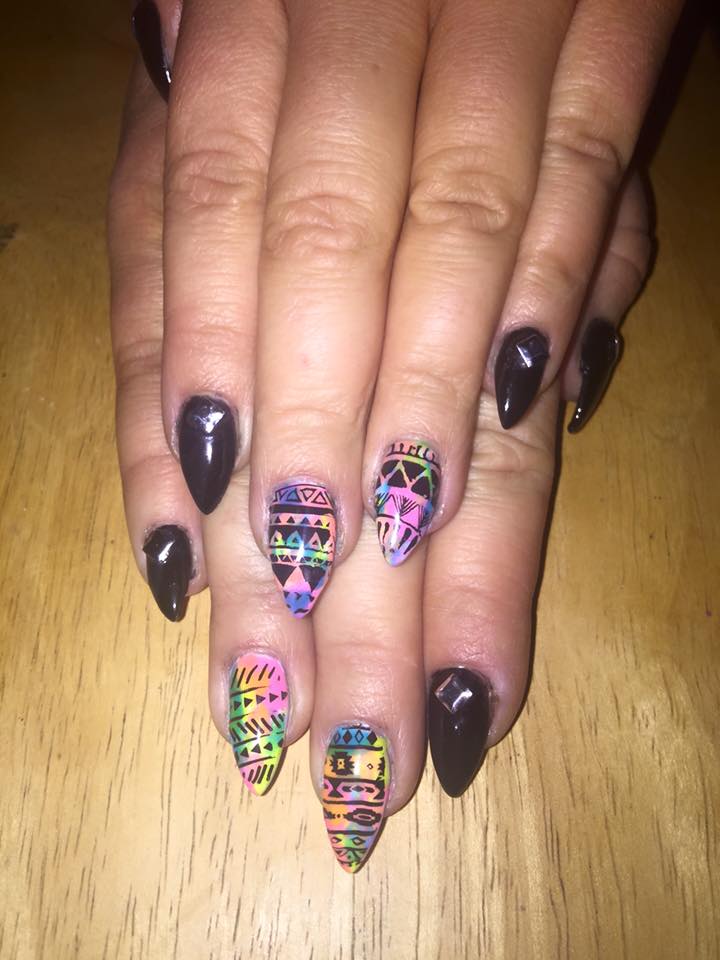
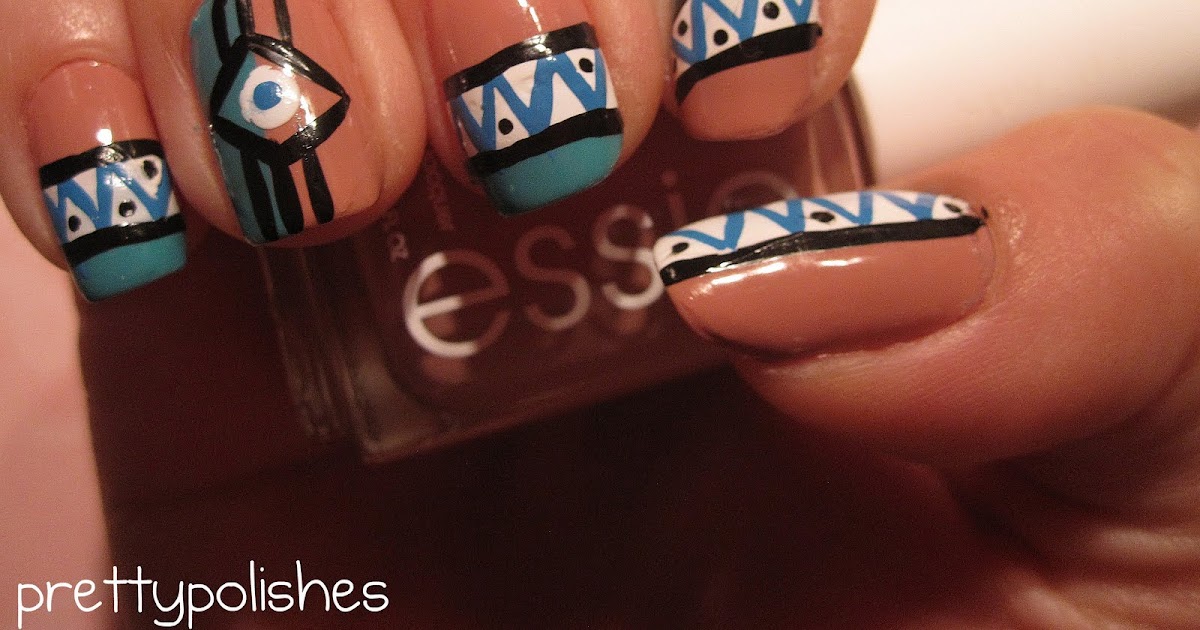
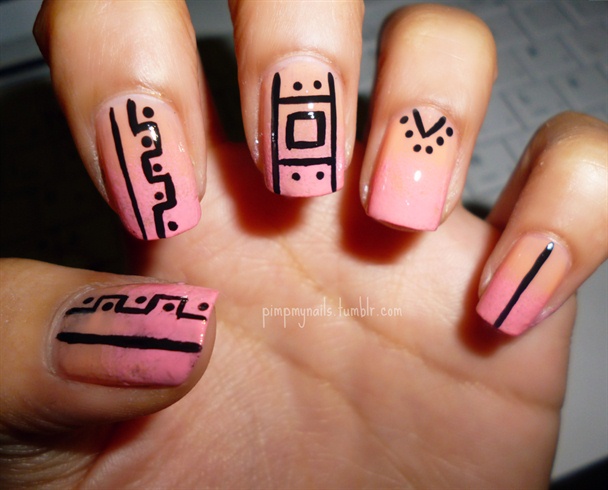
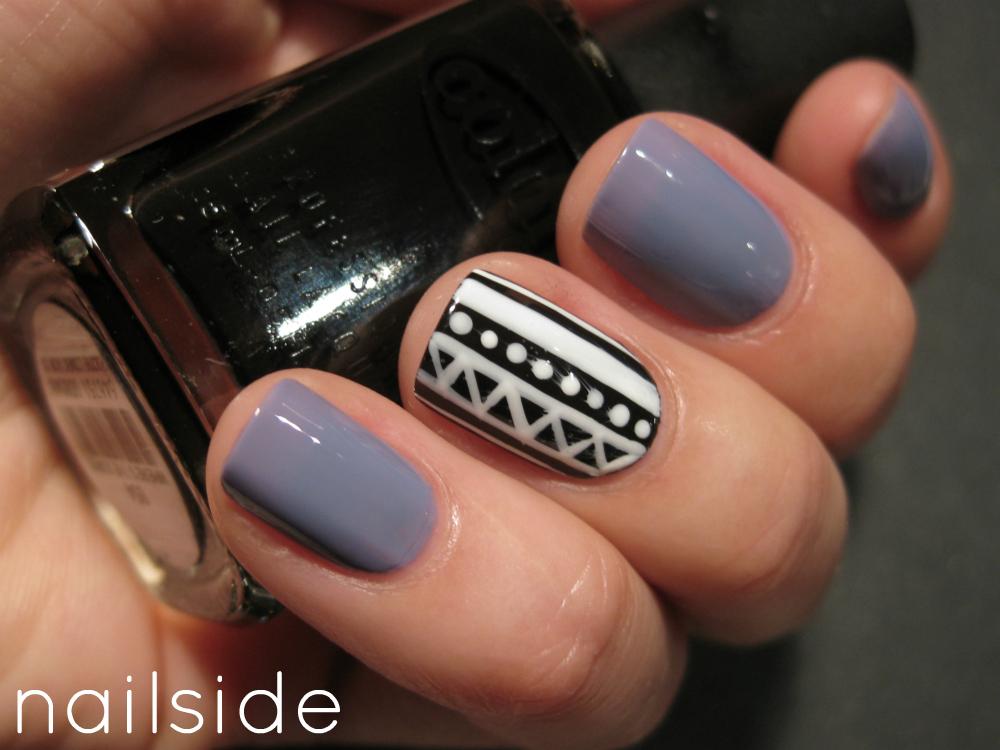
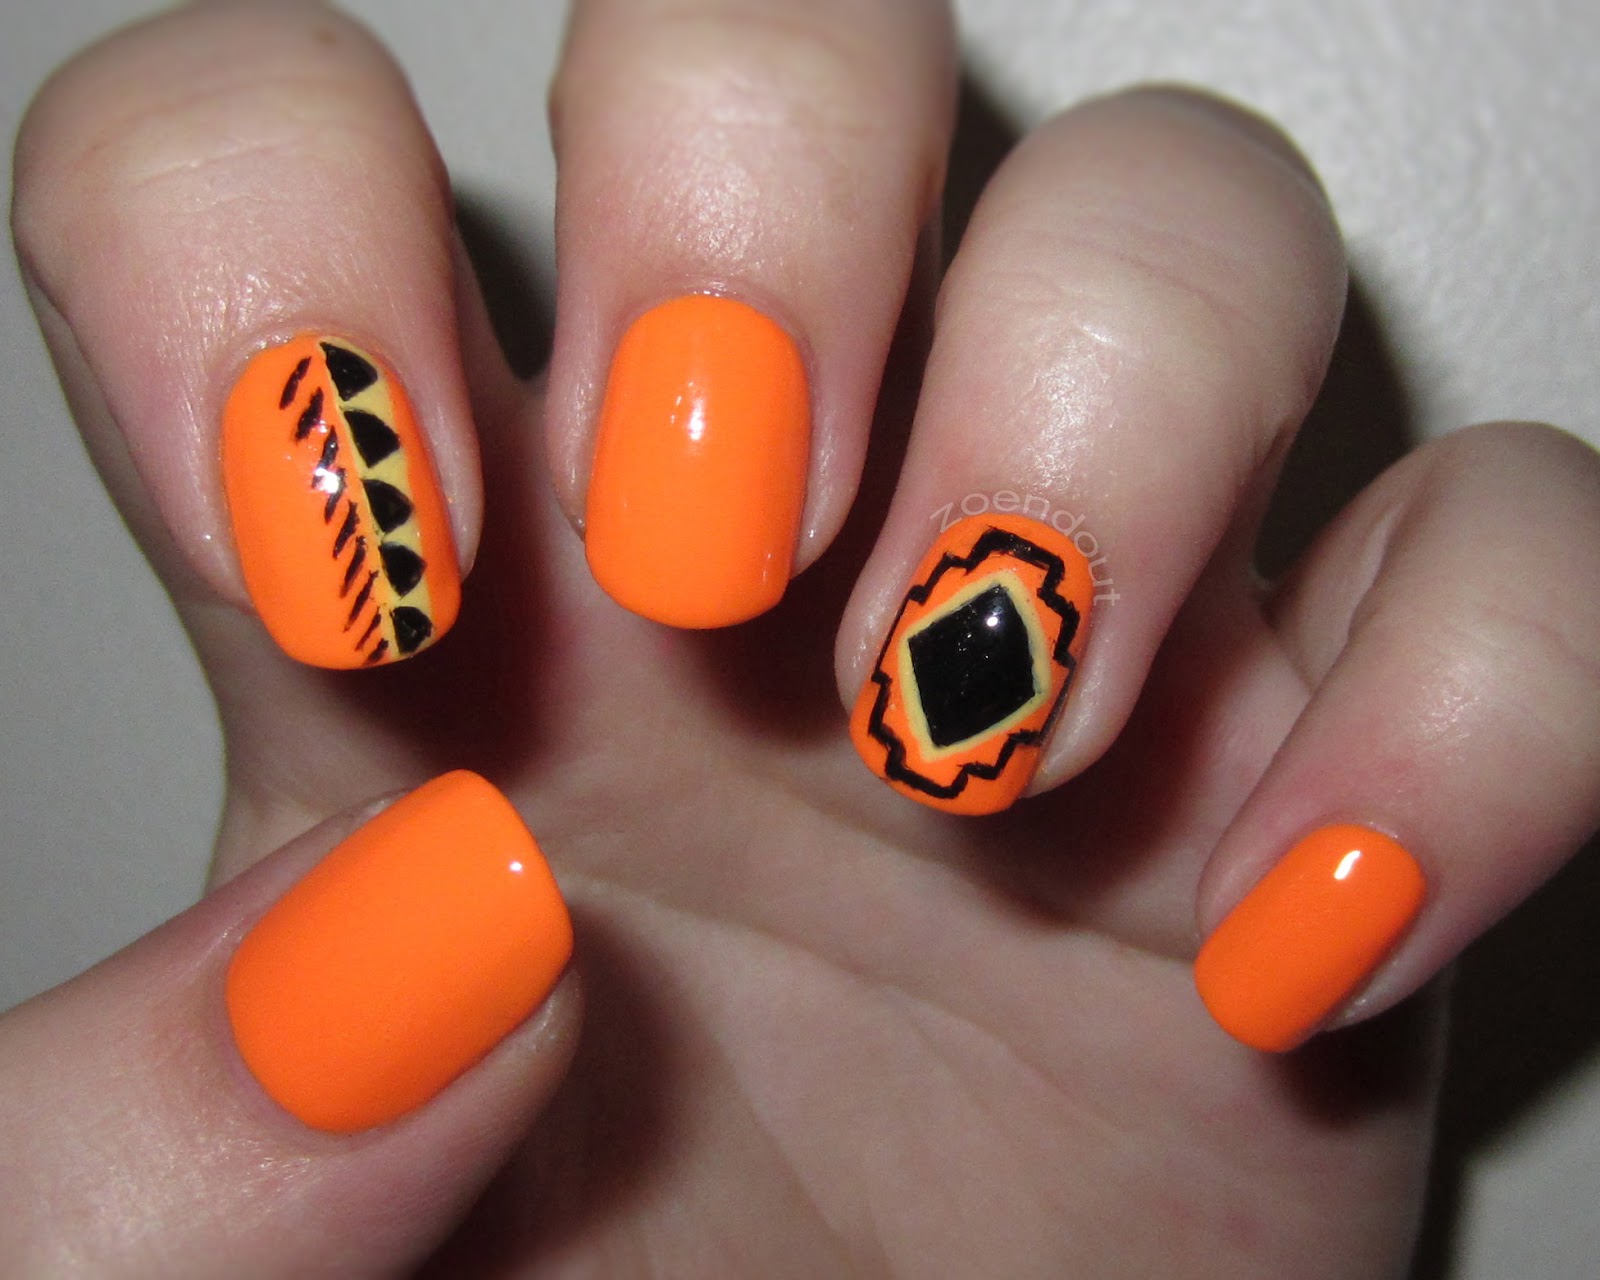
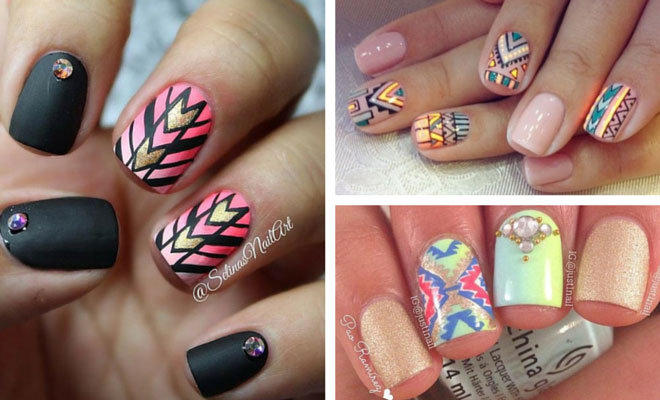
If you're in need of some inspiration for your next tribal nail design, look no further! We've gathered some unique and creative tribal nail design ideas with step by step instructions to help you achieve the perfect look. 1. Geometric Tribal Nail Design Start by applying a base coat to protect your nails. Next, apply two coats of a light pink polish and let it dry completely. Then, using a thin brush or toothpick, create geometric shapes in different colors on each nail. You can also add small dots or lines for more detail. Finish off with a top coat to seal in the design. 2. Aztec Inspired Tribal Nail Design Apply a base coat and two coats of a light blue polish. Let it dry completely. Then, using a thin brush or toothpick, create intricate patterns in black and white on each nail. You can also add small dots or lines for more detail. Seal with a top coat. 3. Tribal Gradient Nail Design Start with a base coat and two coats of a light purple polish. Let it dry completely. Then, using a makeup sponge, create a gradient effect with two different shades of purple. Once dry, add tribal patterns in black using a thin brush or toothpick. Seal with a top coat. With these step by step instructions, you can easily recreate these stunning tribal nail designs at home.4. Tribal Nail Design Ideas with Step by Step Instructions


4. Tribal Nail Design Ideas with Step by Step Instructions
Creating a tribal nail design may seem daunting, but with these easy steps, you can achieve the perfect design in no time. Step 1: Gather all the necessary supplies, including a base coat, two different colored nail polishes, a thin brush or toothpick, and a top coat. Step 2: Apply a base coat to protect your nails. Step 3: Apply two coats of your first chosen color and let it dry completely. Step 4: Using a thin brush or toothpick, create small, curved lines on one side of your nail. Vary the thickness and direction for a unique tribal pattern. Step 5: Add smaller dots or triangles to the design using the same color or a different one. Let it dry completely before applying a top coat to seal in your tribal nail design. With these five easy steps, you can create a stunning tribal nail design without any hassle.5. How to Create a Tribal Nail Design in 5 Easy Steps

5. How to Create a Tribal Nail Design in 5 Easy Steps


Why spend money at a salon when you can create your own tribal nail art at home? Follow this simple DIY tutorial to create your own unique tribal nail design. First, gather all the necessary supplies: a base coat, two different colored nail polishes, a thin brush or toothpick, and a top coat. Choose your base colors, keeping in mind that they should complement each other. Begin by applying a base coat to protect your nails. Next, apply two coats of your first chosen color and let it dry completely. Then, using the thin brush or toothpick, create small, curved lines on one side of your nail. You can also vary the direction and thickness of the lines for a more unique look. Next, add smaller dots or triangles to the design using the same color. You can also use a different color to add more dimension to your tribal design. Repeat this process on all of your nails and let it dry completely before applying a top coat. For an added touch, you can also add glitter or metallic accents to your tribal nail design. With this DIY tutorial, you can save money and still have beautiful tribal nails.6. DIY Tribal Nail Art Tutorial

6. DIY Tribal Nail Art Tutorial


If you're new to the world of tribal nail designs, fret not! This step by step guide will walk you through the process of creating your own unique tribal nail design. Step 1: Gather all the necessary supplies, including a base coat, two different colored nail polishes, a thin brush or toothpick, and a top coat. Step 2: Apply a base coat to protect your nails. Step 3: Apply two coats of your first chosen color and let it dry completely. Step 4: Using a thin brush or toothpick, create small, curved lines on one side of your nail. Vary the thickness and direction for a unique tribal pattern. Step 5: Add smaller dots or triangles to the design using the same color or a different one. Let it dry completely before applying a top coat to seal in your tribal nail design. With this step by step guide, even beginners can create a stunning tribal nail design with ease.7. Step by Step Guide to Tribal Nail Designs


7. Step by Step Guide to Tribal Nail Designs


If you're short on time but still want to achieve a stunning tribal nail design, this quick and easy tutorial is perfect for you. Start by gathering all the necessary supplies: a base coat, two different colored nail polishes, a thin brush or toothpick, and a top coat. Choose your base colors, keeping in mind that they should complement each other. Begin by applying a base coat to protect your nails. Next, apply two coats of your first chosen color and let it dry completely. Then, using the thin brush or toothpick, create small, curved lines on one side of your nail. You can also vary the direction and thickness of the lines for a more unique look. Next, add smaller dots or triangles to the design using the same color. You can also use a different color to add more dimension to your tribal design. Repeat this process on all of your nails and let it dry completely before applying a top coat. With this quick and easy tutorial, you can have stunning tribal nails in no time.8. Quick and Easy Tribal Nail Design Tutorial

8. Quick and Easy Tribal Nail Design Tutorial
Just because you have short nails doesn't mean you can't rock a tribal nail design. Follow this step by step guide to achieve a stunning tribal nail design on short nails. Begin by gathering all the necessary supplies: a base coat, two different colored nail polishes, a thin brush or toothpick, and a top coat. Choose your base colors, keeping in mind that they should complement each other. Apply a base coat to protect your nails. Next, apply two coats of your first chosen color and let it dry completely. Then, using the thin brush or toothpick, create small, curved lines on one side of your nail. You can also vary the direction and thickness of the lines for a more unique look. Next, add smaller dots or triangles to the design using the same color. You can also use a different color to add more dimension to your tribal design. Repeat this process on all of your nails and let it dry completely before applying a top coat. For a more intricate design, you can also add small dots or lines in between the tribal pattern. With this step by step guide, you can create a stunning tribal nail design on short nails.9. Tribal Nail Design for Short Nails Step by Step


9. Tribal Nail Design for Short Nails Step by Step


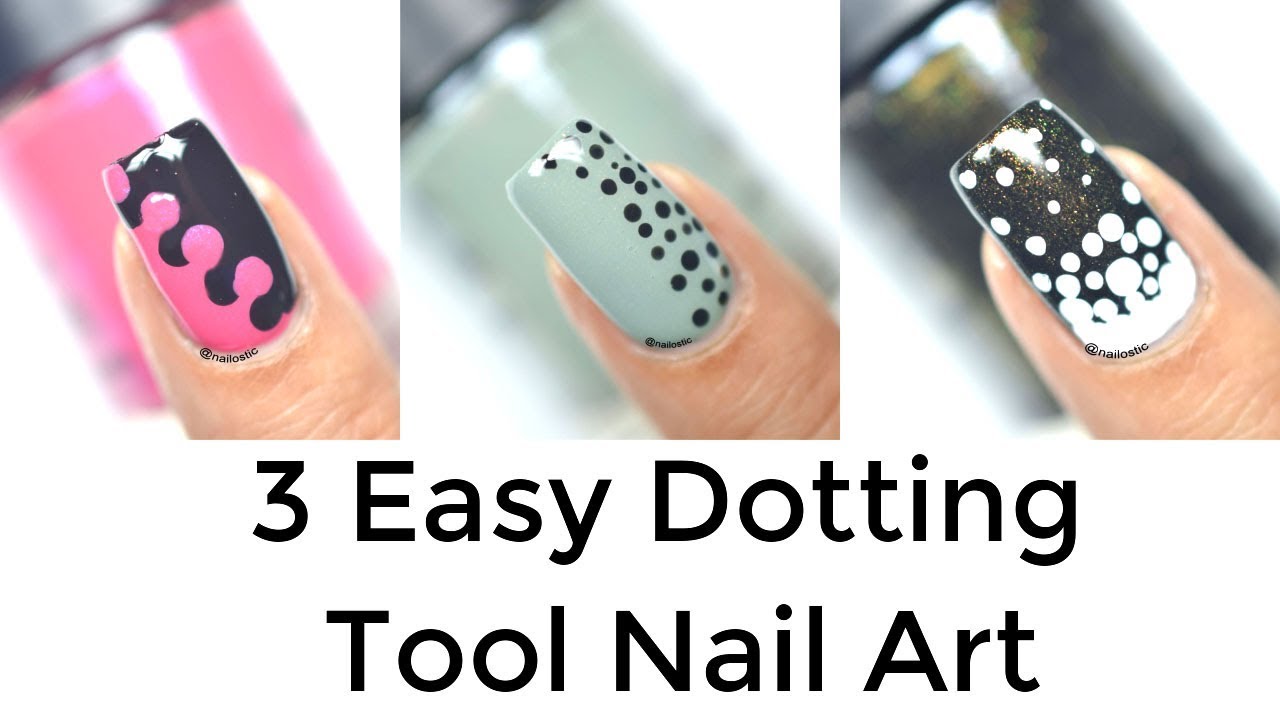
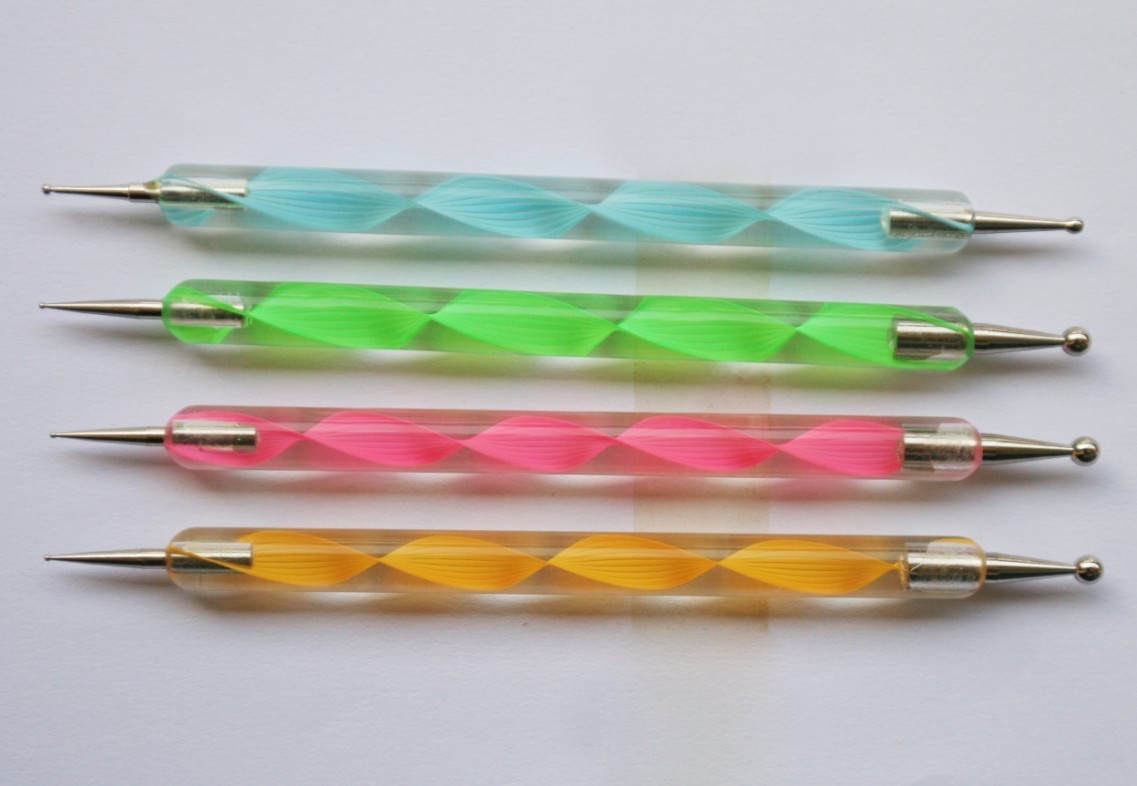
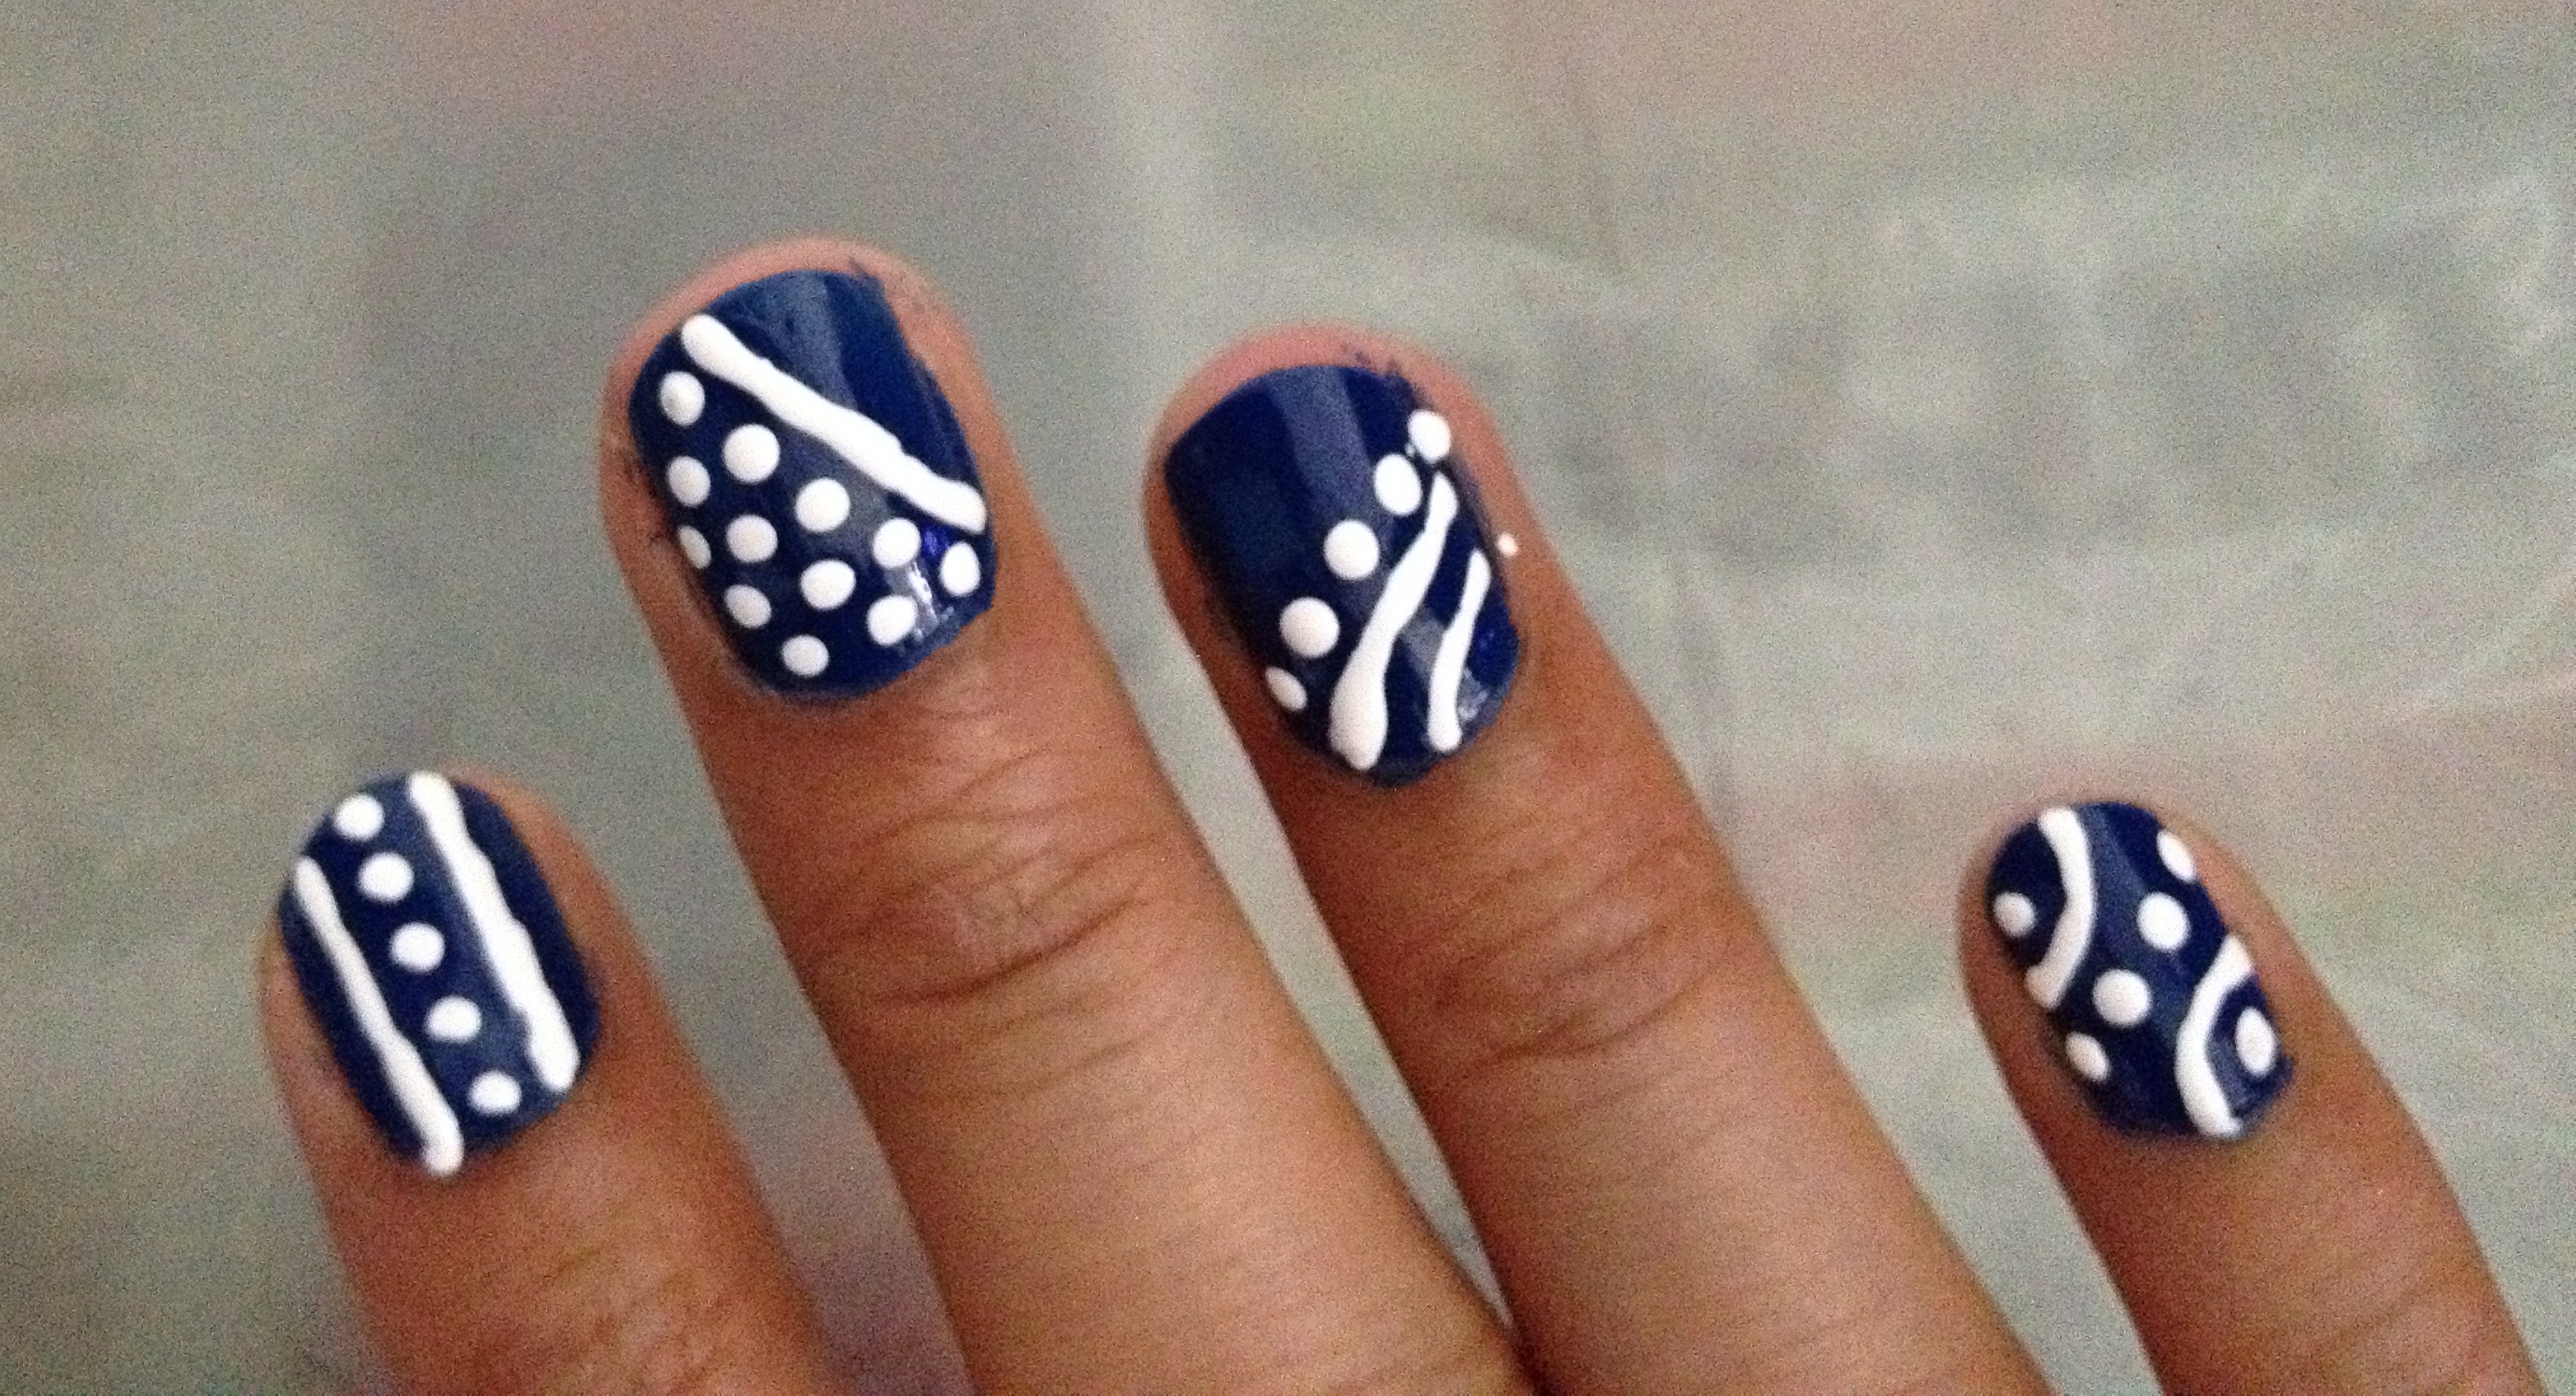
If you have a dotting tool at home, you can use it to create a unique tribal nail design. Follow this step by step guide to achieve the perfect design using a dotting tool. First, gather all the necessary supplies: a base coat, two different colored nail polishes, a dotting tool, and a top coat. Choose your base colors, keeping in mind that they should complement each other. Start by applying a base coat to protect your nails. Next, apply two coats of your first chosen color and let it dry completely. Then, using the dotting tool, create small dots in a pattern on one side of your nail. These dots can vary in size and color. Next, using the dotting tool, create small triangles or other geometric shapes in between the dots. This will create a unique tribal pattern on your nails. Repeat this process on all of your nails and let it dry completely before applying a top coat. With this step by step guide, you can use a simple dotting tool to create a stunning tribal nail design. Don't be afraid to experiment with different colors and patterns for a more personalized look.10. Tribal Nail Design with Dotting Tool Step by Step


10. Tribal Nail Design with Dotting Tool Step by Step


Easy Tribal Nail Design: Step by Step Tutorial

The Beauty of Tribal Nail Designs
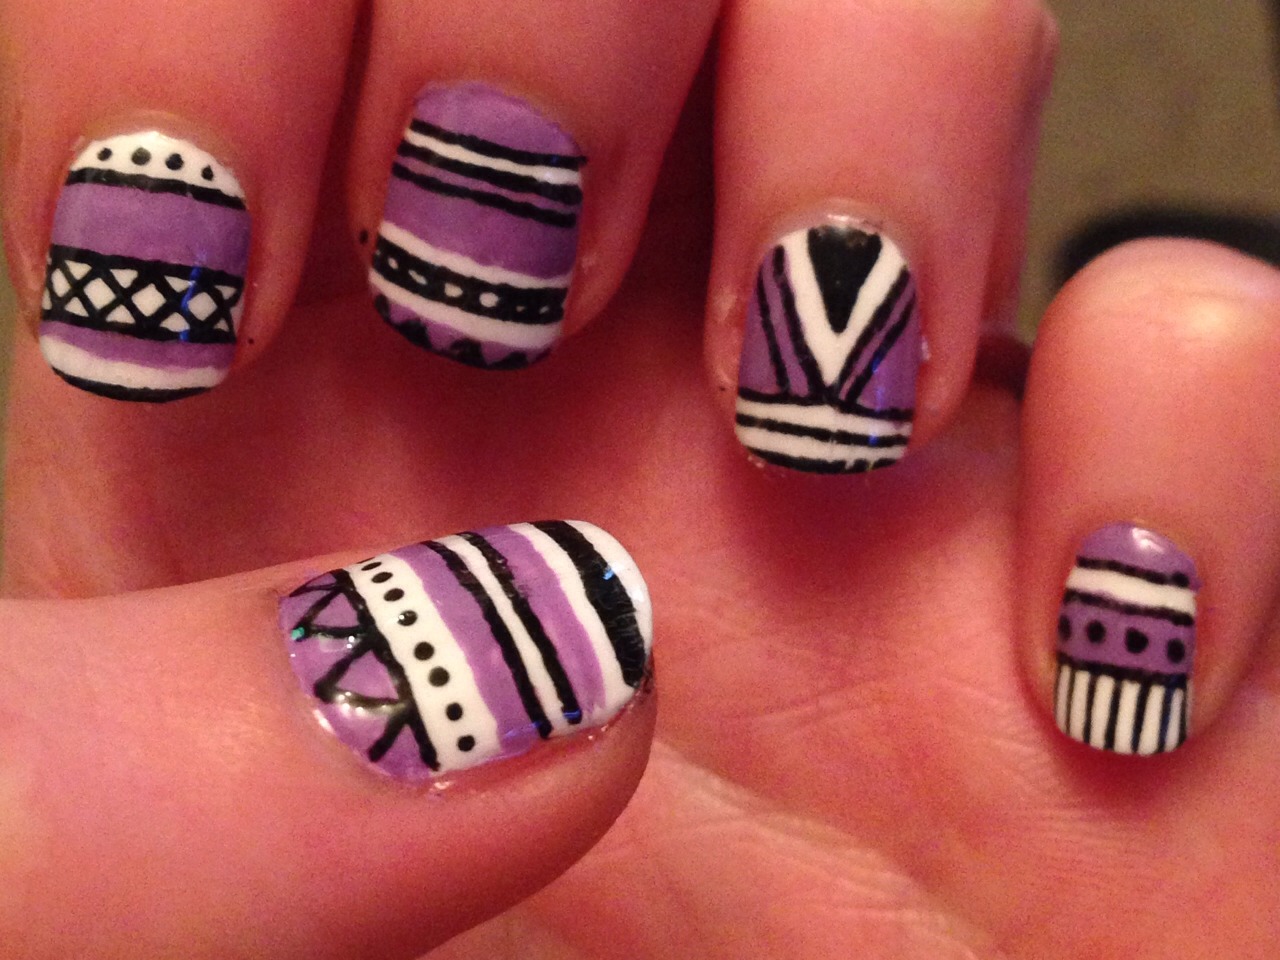
 When it comes to nail art, tribal designs have become a popular and stylish choice. The intricate patterns and bold colors of tribal art make for eye-catching and unique nail designs. These designs are often inspired by ancient cultures and have a rich history, making them even more interesting to incorporate into your nail art. Plus, with a step by step guide, creating your own tribal nail design can be easy and fun.
Gather Your Materials
 Before beginning your tribal nail design, make sure you have all the necessary materials. You will need a base coat, top coat, nail polish colors of your choice, a thin nail art brush, and a small piece of paper or palette to mix colors on. It's also helpful to have a cotton swab and nail polish remover on hand for any mistakes.
Step 1: Base Coat
 Start by applying a base coat to your nails. This will protect your nails and help the polish stay on longer.
Step 2: Choose Your Colors
 Tribal designs often feature bright and bold colors, so feel free to get creative with your color choices.
Bright shades like bold red, vibrant blue, or sunny yellow
work well for tribal designs.
Tribal designs often feature bright and bold colors, so feel free to get creative with your color choices.
Bright shades like bold red, vibrant blue, or sunny yellow
work well for tribal designs.
Step 3: Create a Base Color
 Once you have chosen your colors, pour a small amount of each onto your palette or piece of paper. Using your nail art brush, mix two or three colors together to create a unique base color for your design.
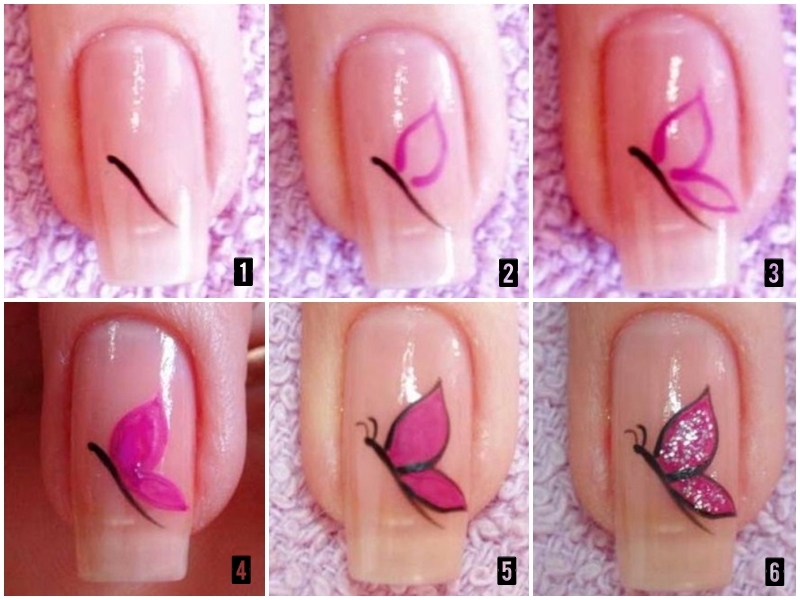
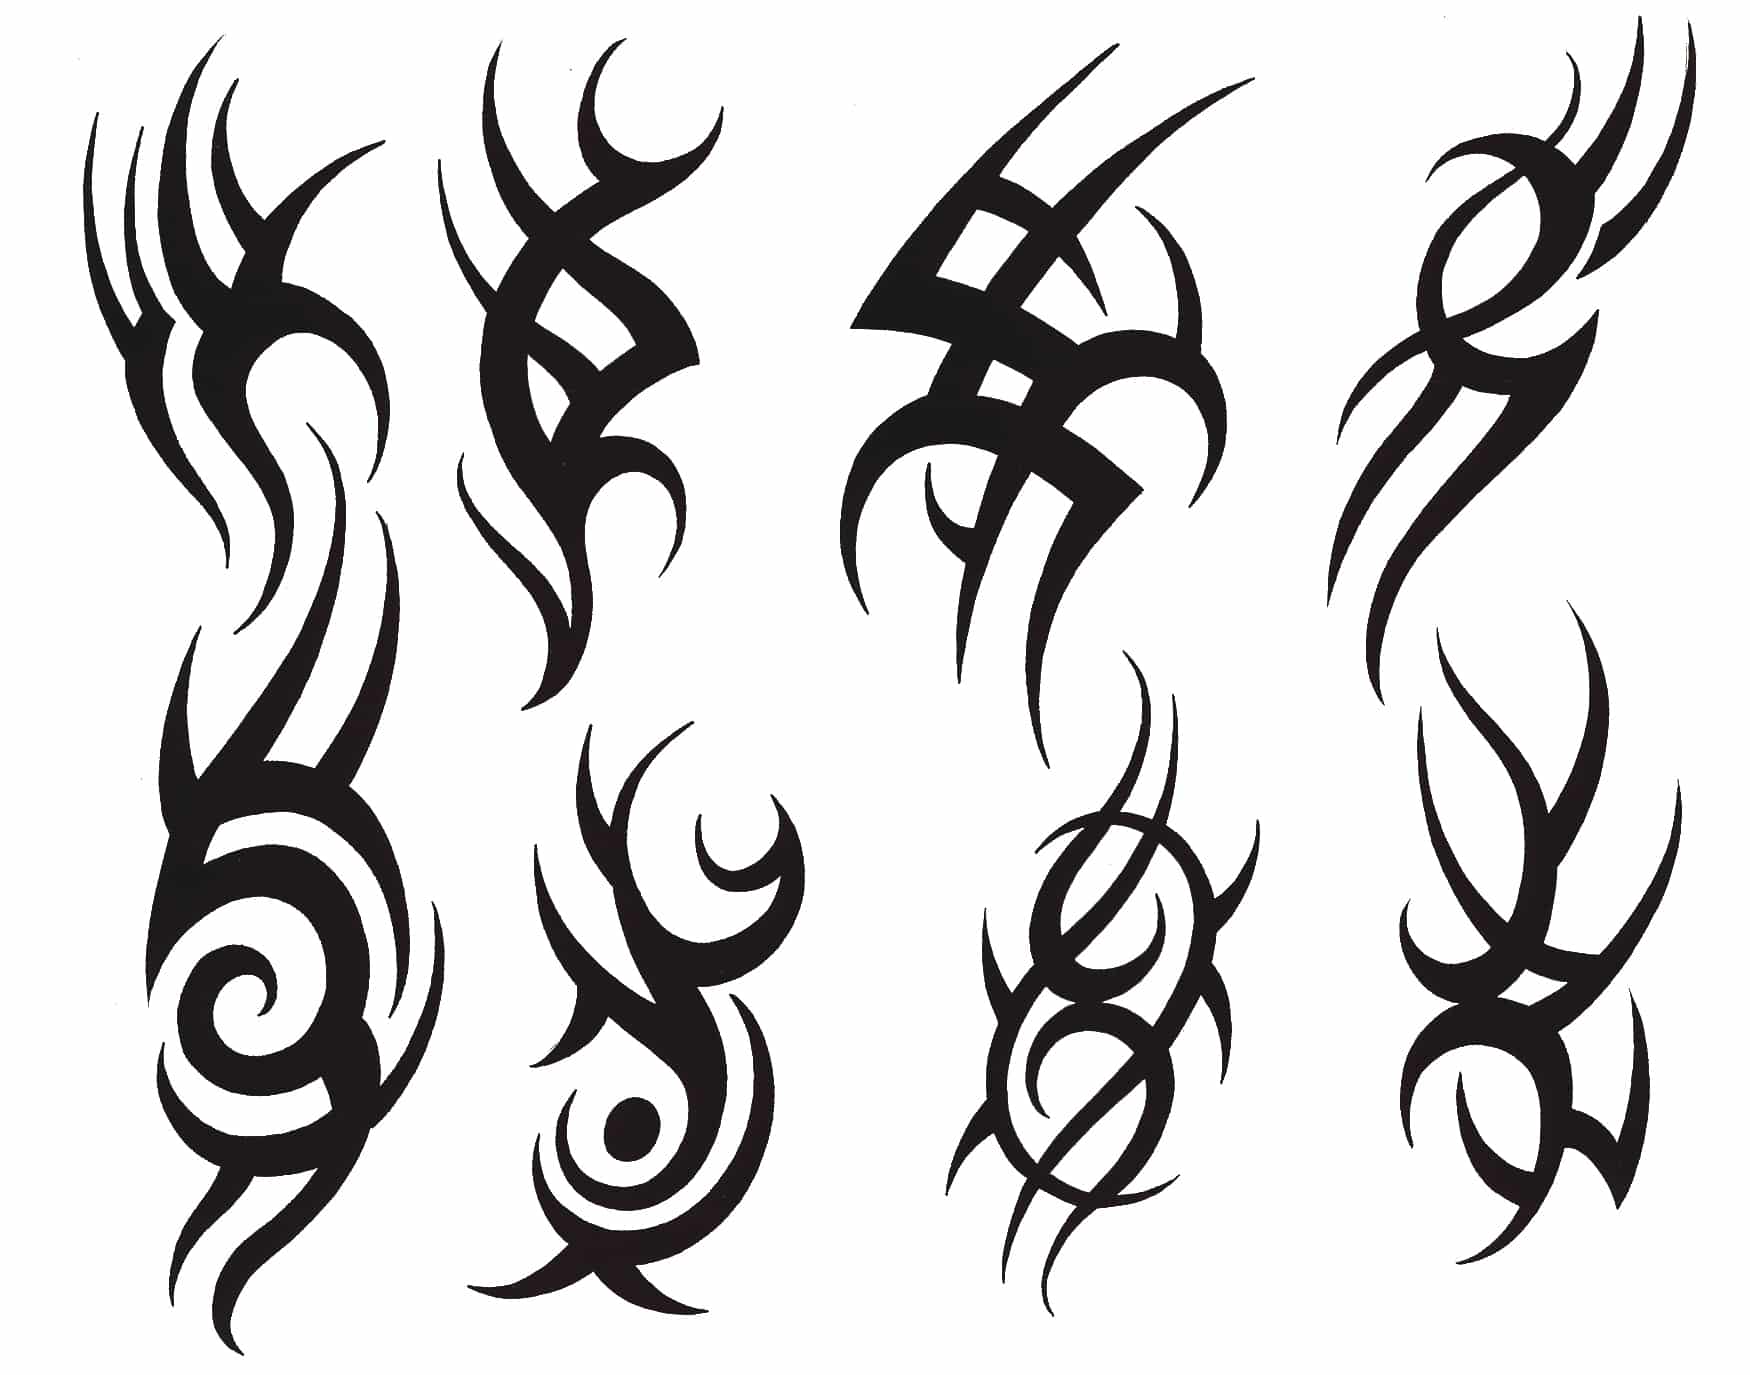
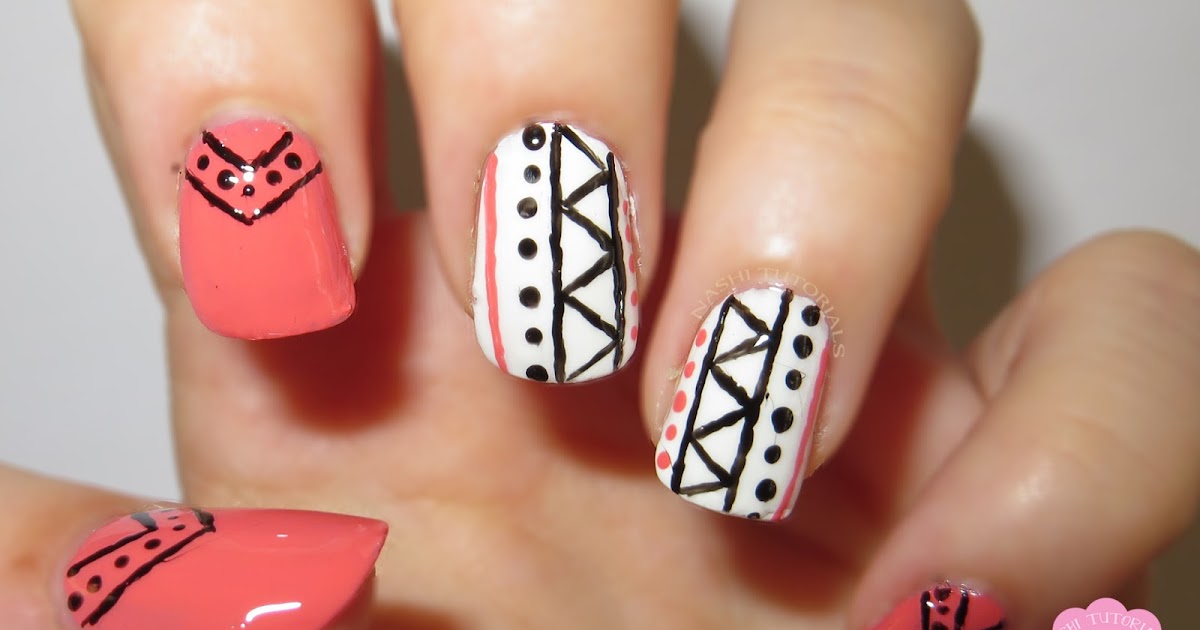
Step 4: Create the Tribal Pattern
 Using your nail art brush, begin creating the tribal pattern on your nails. You can start with simple lines and shapes, gradually building up to more intricate designs. Don't worry about making mistakes, you can always use a cotton swab dipped in nail polish remover to fix any errors.
Step 5: Add Details
 Once you have your base pattern, you can add details and accents using different colors and shapes. You can also use a smaller nail art brush to add finer details to your design.
Step 6: Top Coat
 Once your design is complete and has dried, apply a top coat to seal and protect your design.
Final Thoughts
 Tribal nail designs are a fun and unique way to express yourself through nail art. With this step by step tutorial, you can easily create your own tribal nail design that will be sure to turn heads. So gather your materials and let your creativity run wild with this easy tribal nail design.


