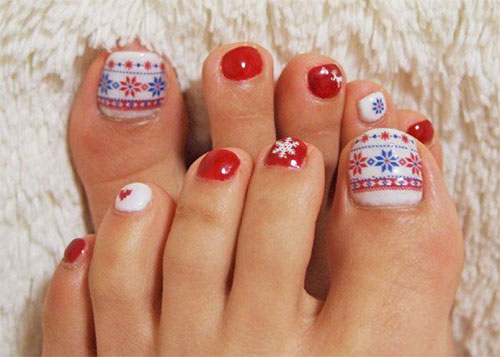
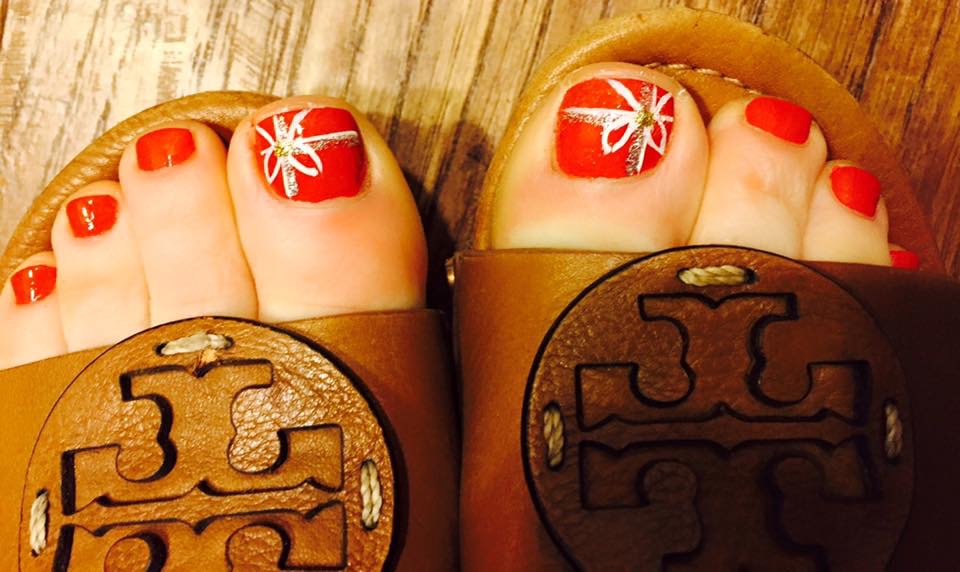
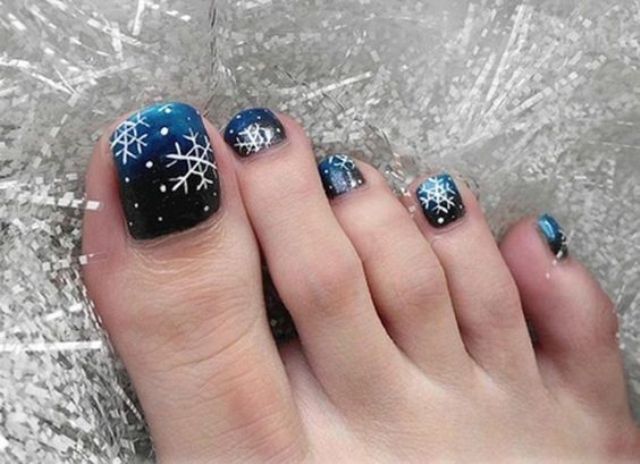
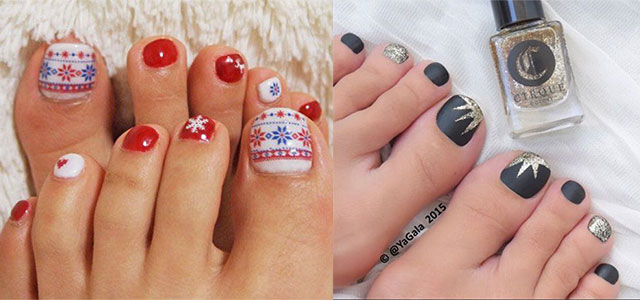
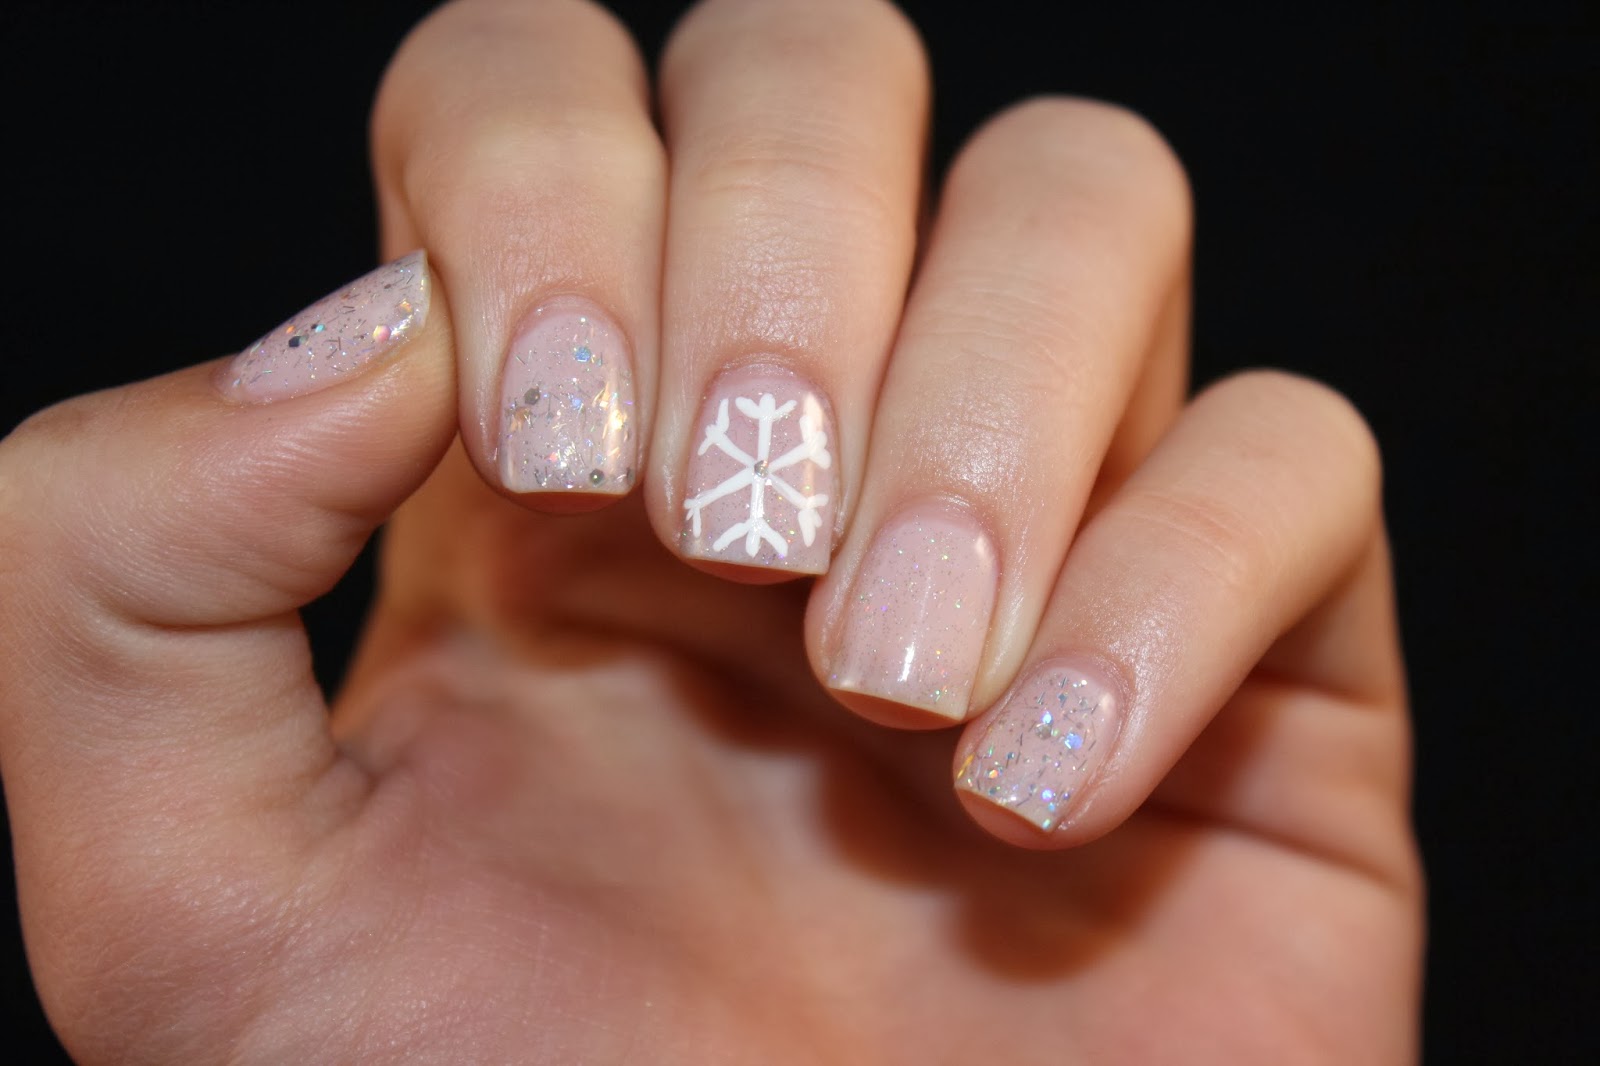
If you're looking for a nail design that is both festive and easy to create, a simple snowflake design is the perfect choice. All you need is a white nail polish and a toothpick or a small dotting tool. Begin by painting your nails with a base coat. Then, using the toothpick or dotting tool, create a small white dot in the center of your nail. Next, draw three lines radiating from the dot to create the snowflake shape. Repeat this design on all your toes for a cohesive and chic look.1. Simple Snowflake Design


1. Simple Snowflake Design


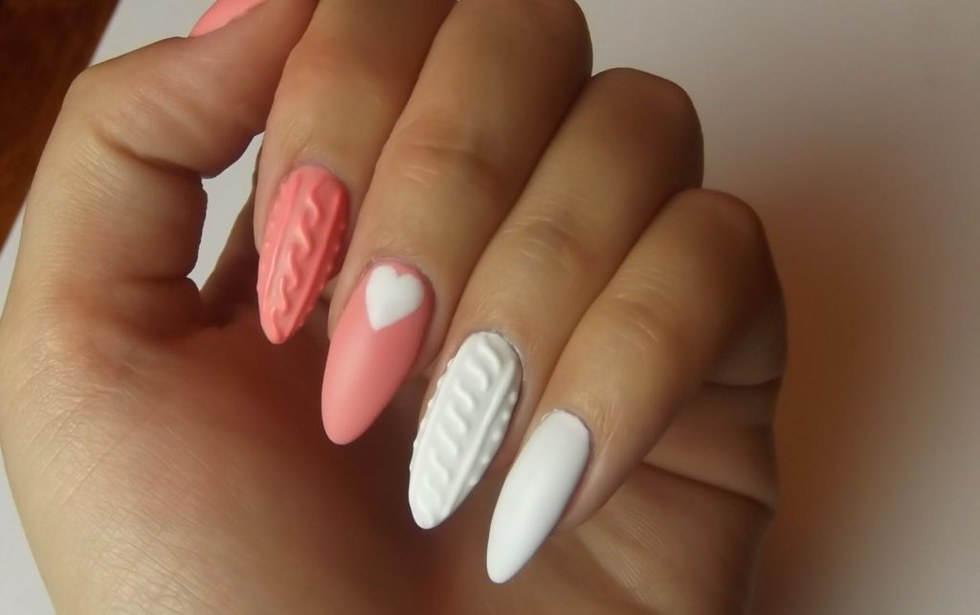
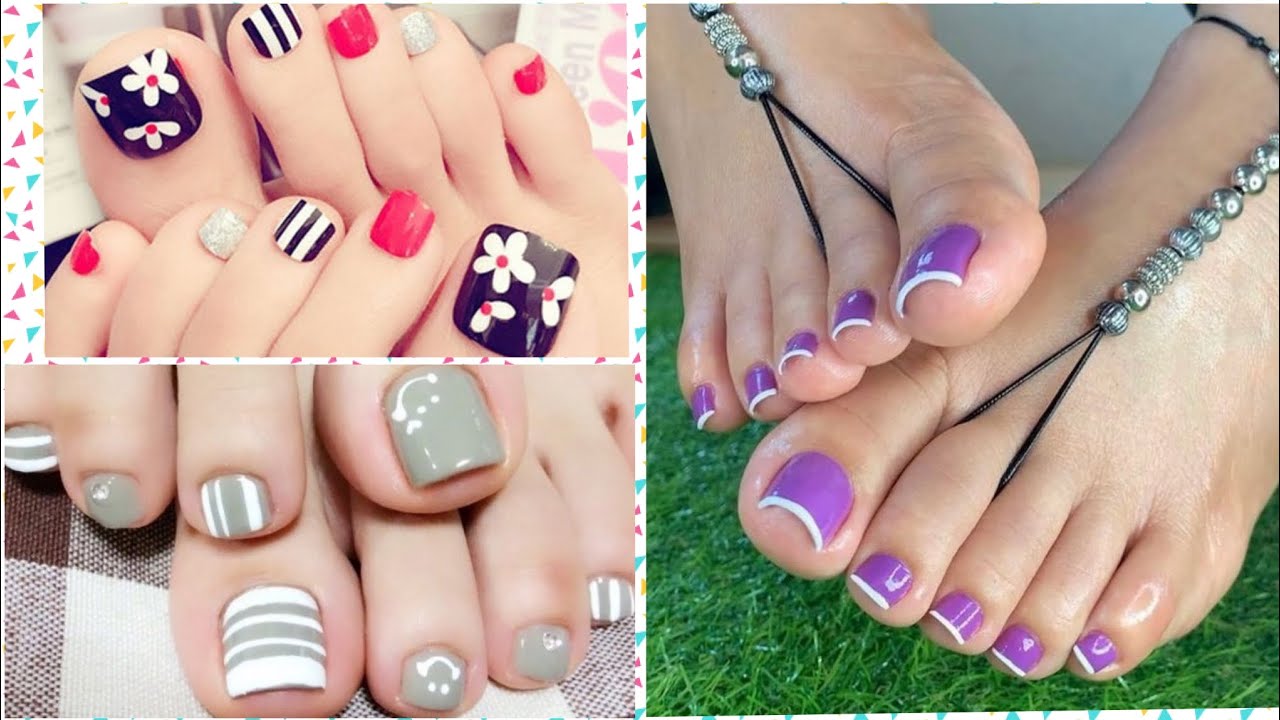
Nothing says winter like a cozy sweater, so why not incorporate that into your toe nail design? Start by painting your nails with a base coat and a neutral color like beige or light grey. Then, using a thin brush or a toothpick, draw a simple sweater pattern on each nail in a contrasting color. This could be stripes, zigzags, or even a cable knit design. Finish off with a top coat for a polished look.2. Cozy Sweater Inspired Nails

2. Cozy Sweater Inspired Nails


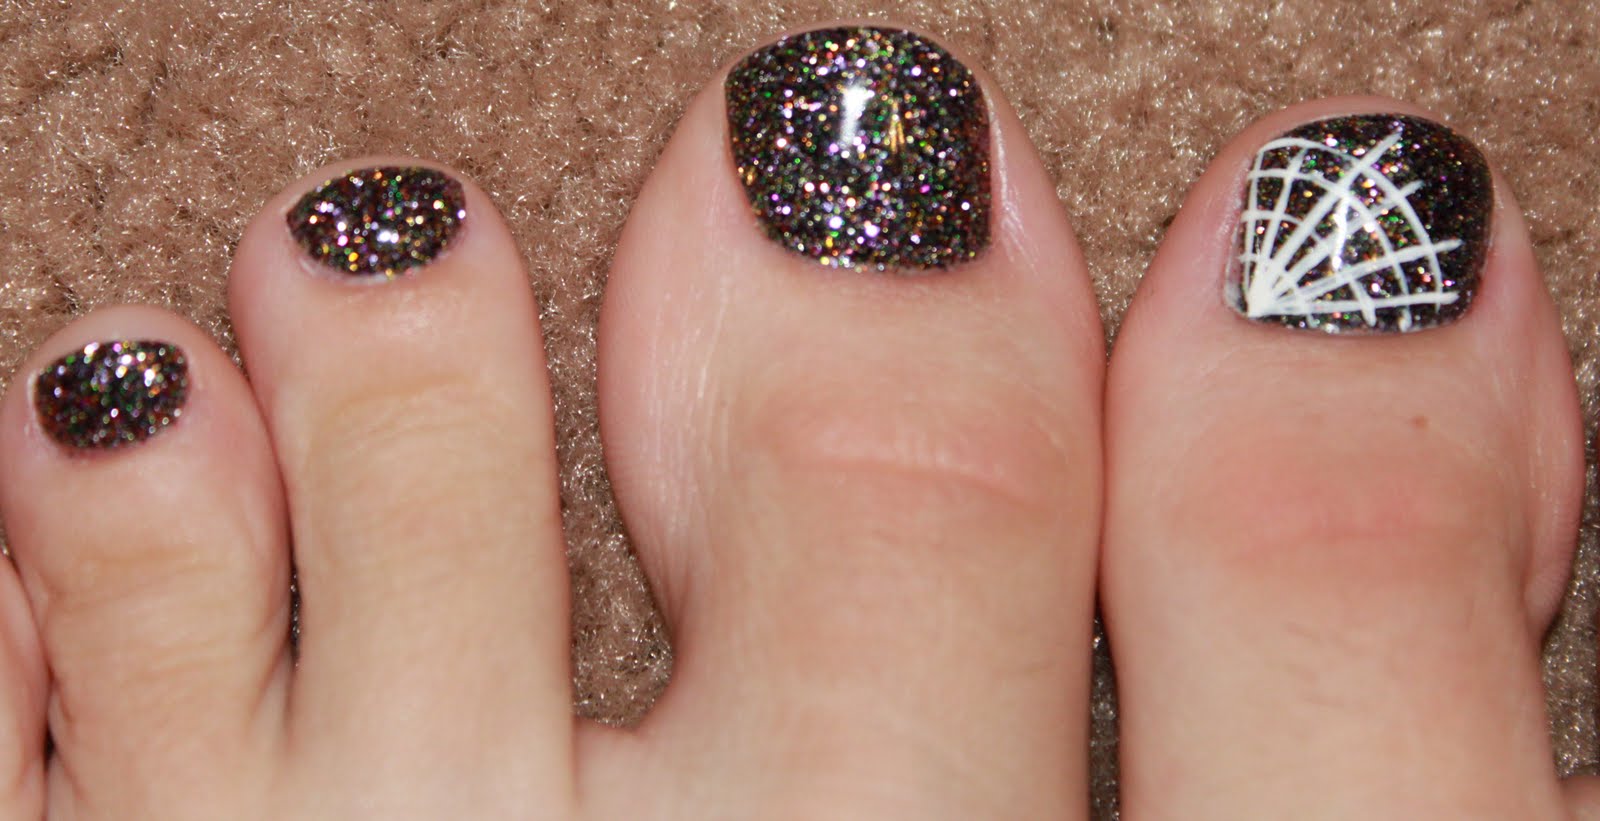
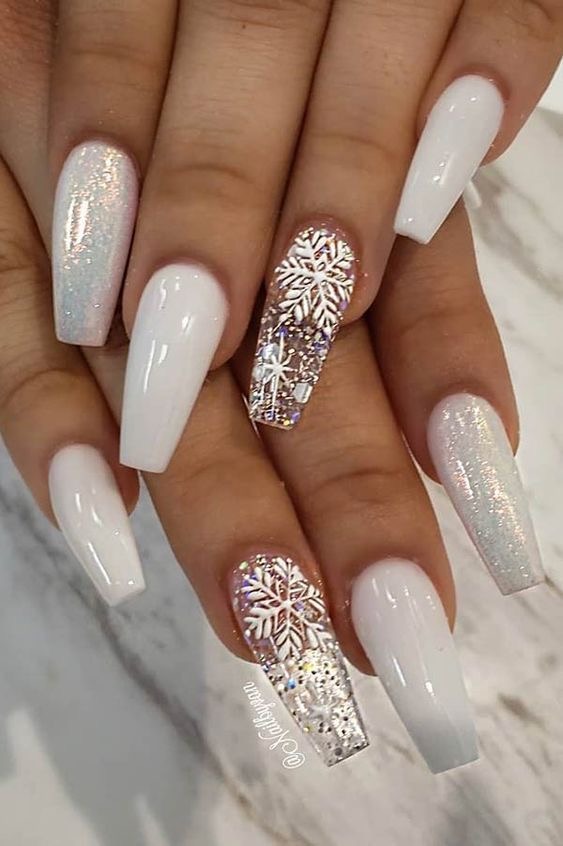
For a glamorous and eye-catching toe nail design, go for a glittery winter wonderland look. Begin by painting your nails with a base coat and then choose a glittery nail polish in a silver or gold tone. Apply the glitter polish on your nails, leaving some space at the base for a negative space effect. To add more dimension, use a fine brush to create snowflake or snowflake-inspired patterns with a white nail polish. Seal the design with a top coat for a dazzling finish.3. Glittery Winter Wonderland Nails


3. Glittery Winter Wonderland Nails


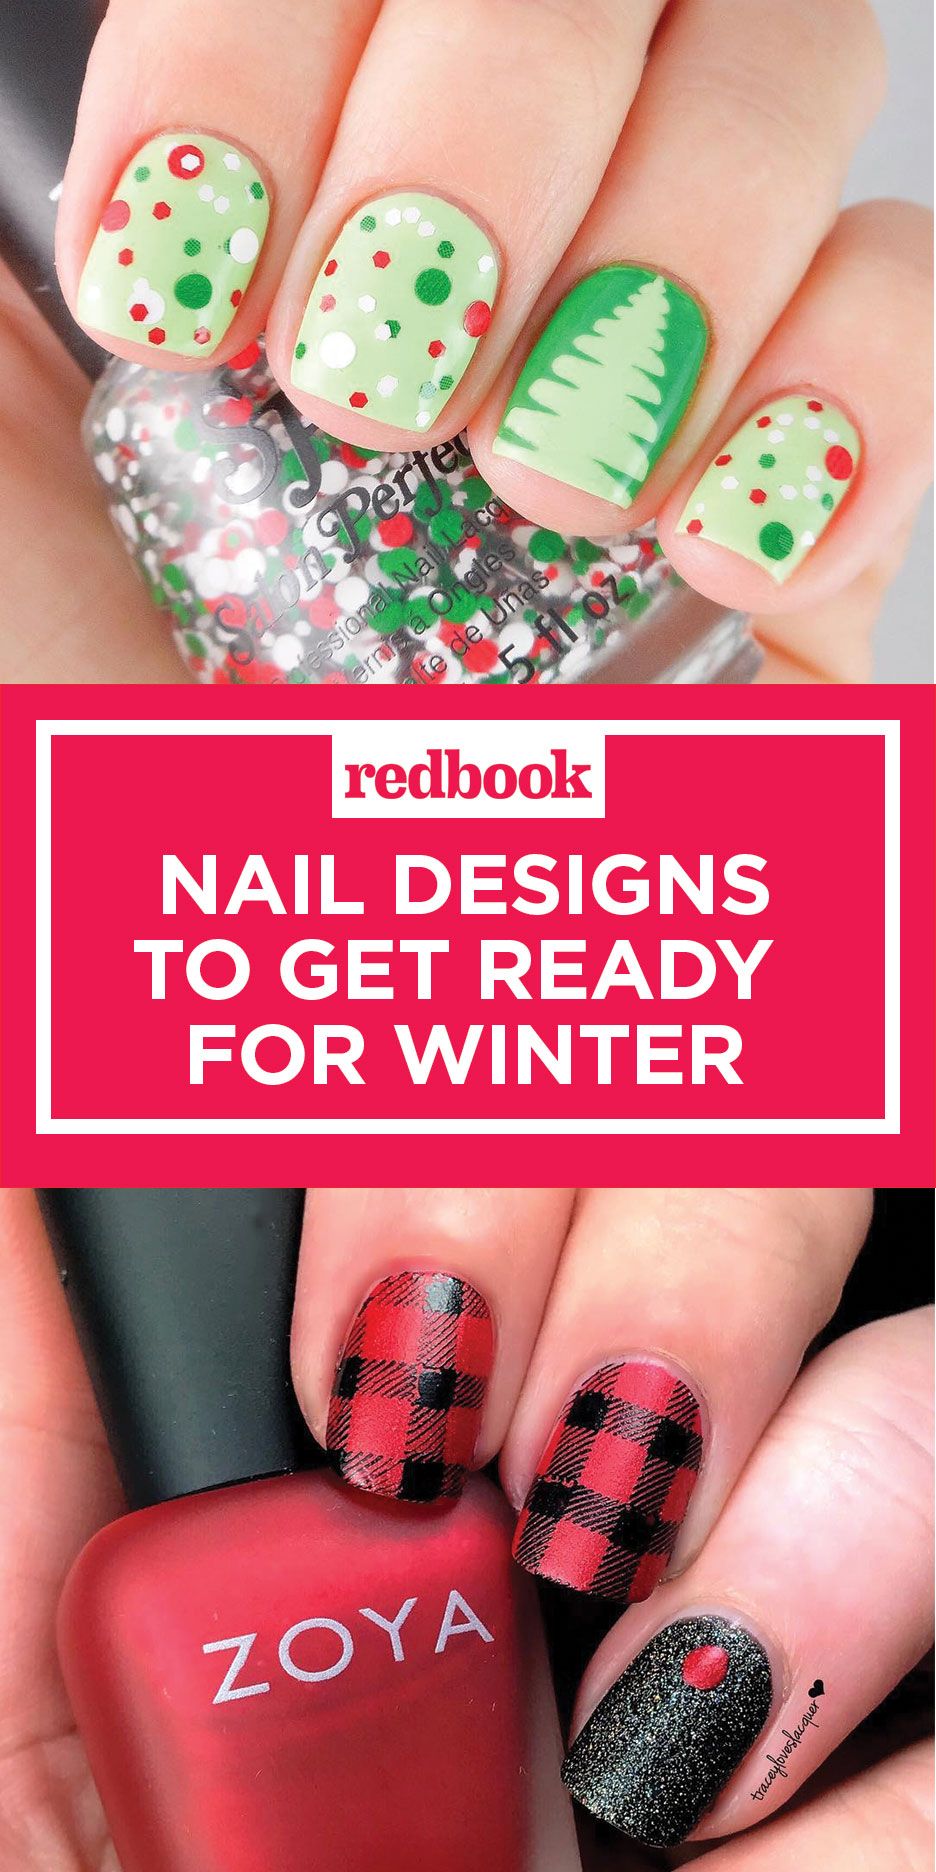
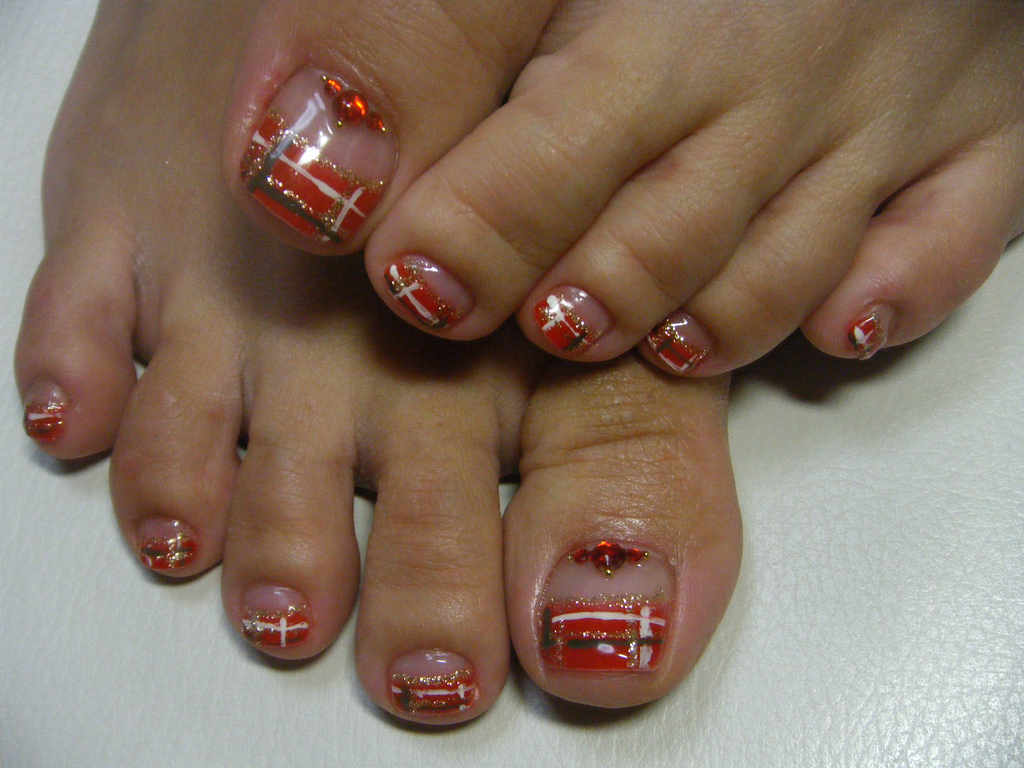
Plaid is a classic pattern that is perfect for the winter season. To create this design, start by painting your nails with a base coat and a bold red or green nail polish. Then, using a thin brush or a toothpick, draw thin lines in a contrasting color to create the plaid pattern. This can also be done with a nail stamping kit for a faster and more precise application. Finish off with a top coat for a festive and cozy look.4. Festive Plaid Toe Nails


4. Festive Plaid Toe Nails


If you're feeling a little more adventurous with your toe nail design, try creating a snowy mountain landscape on your nails. Begin by painting your nails with a base coat and then use a sponge to create a gradient effect with blue and white nail polish. Next, use a fine brush or a toothpick to draw a mountain range on your nails using a black nail polish. Finish off with a top coat for a winter wonderland on your toes.5. Snowy Mountain Landscape Nails

5. Snowy Mountain Landscape Nails


Add a touch of cuteness to your winter toe nail design with some adorable penguin nails. Start by painting your nails with a base coat and a light blue or grey nail polish. Then, using a fine brush or a toothpick, create a small white oval at the base of your nail for the penguin's belly. Next, add a small black circle on top for the head and two smaller circles for the eyes. Finish off with a tiny orange triangle for the beak and two small black lines for the feet. Seal the design with a top coat for some wintery cuteness on your toes.6. Cute Penguin Toe Nails


6. Cute Penguin Toe Nails


Hot cocoa is a staple during the winter season, so why not bring that warmth and coziness to your toe nails? Begin by painting your nails with a base coat and a neutral color like beige or light brown. Then, using a fine brush or a toothpick, create a small mug shape on each nail with a dark brown nail polish. Next, add some white dots for marshmallows and use a glittery nail polish to create a steam effect. Finish off with a top coat for a sweet and sparkly design.7. Sparkly Hot Cocoa Nails


7. Sparkly Hot Cocoa Nails


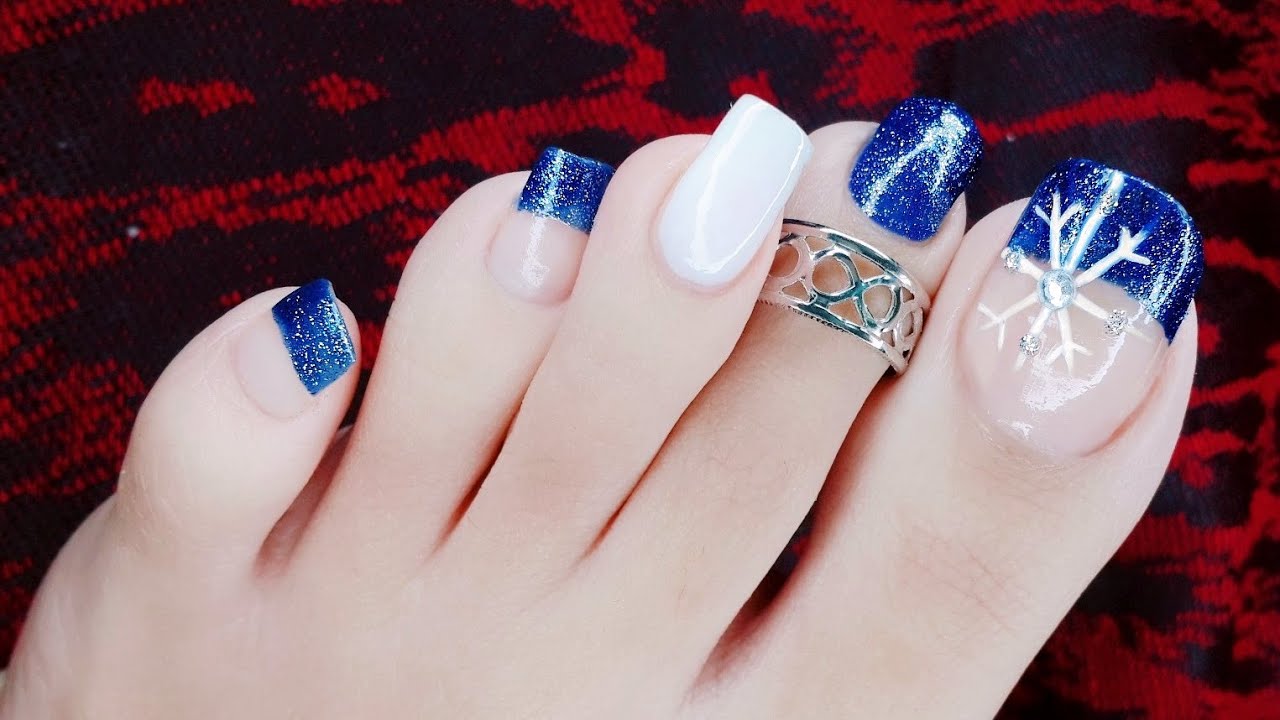
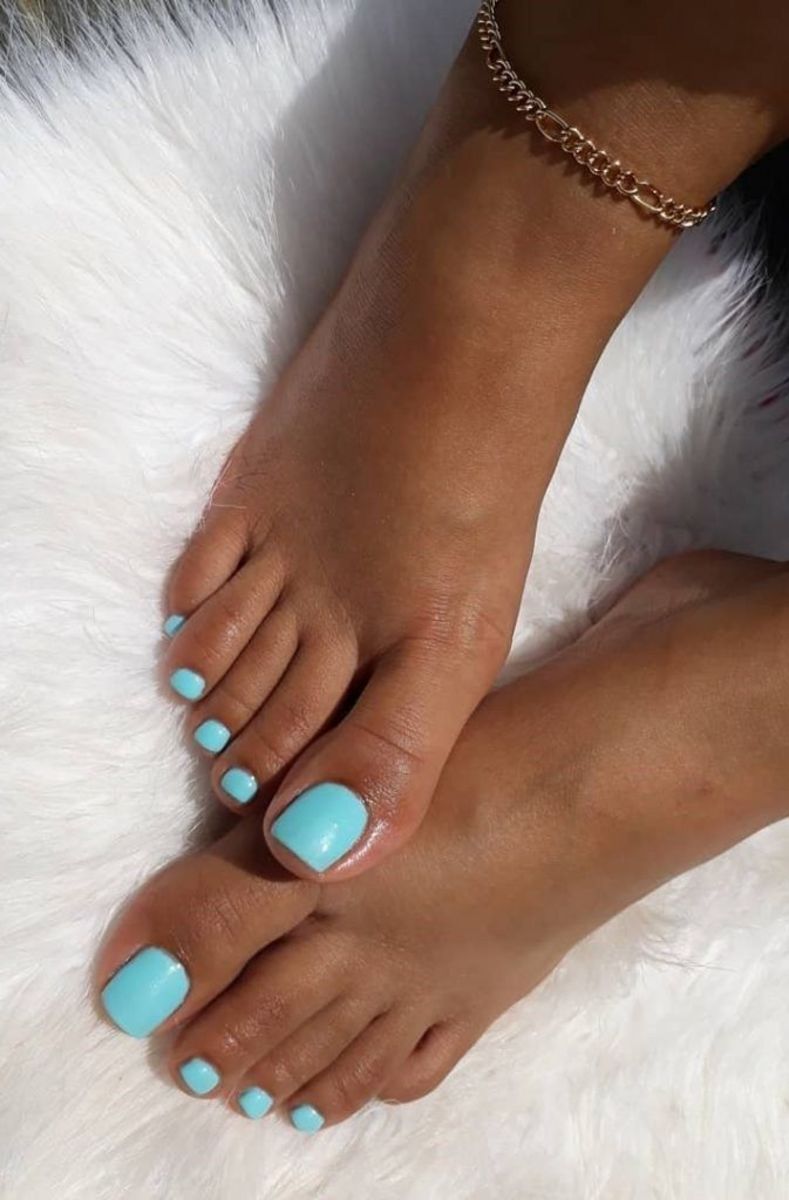
For a chic and elegant winter toe nail design, try a frosty blue and white look. Start by painting your nails with a base coat and then use a sponge to create a gradient effect with a light blue and white nail polish. Next, use a fine brush or a toothpick to create small snowflake patterns with a white nail polish. Finish off with a top coat for a sophisticated and wintry touch on your toes.8. Frosty Blue and White Nails


8. Frosty Blue and White Nails

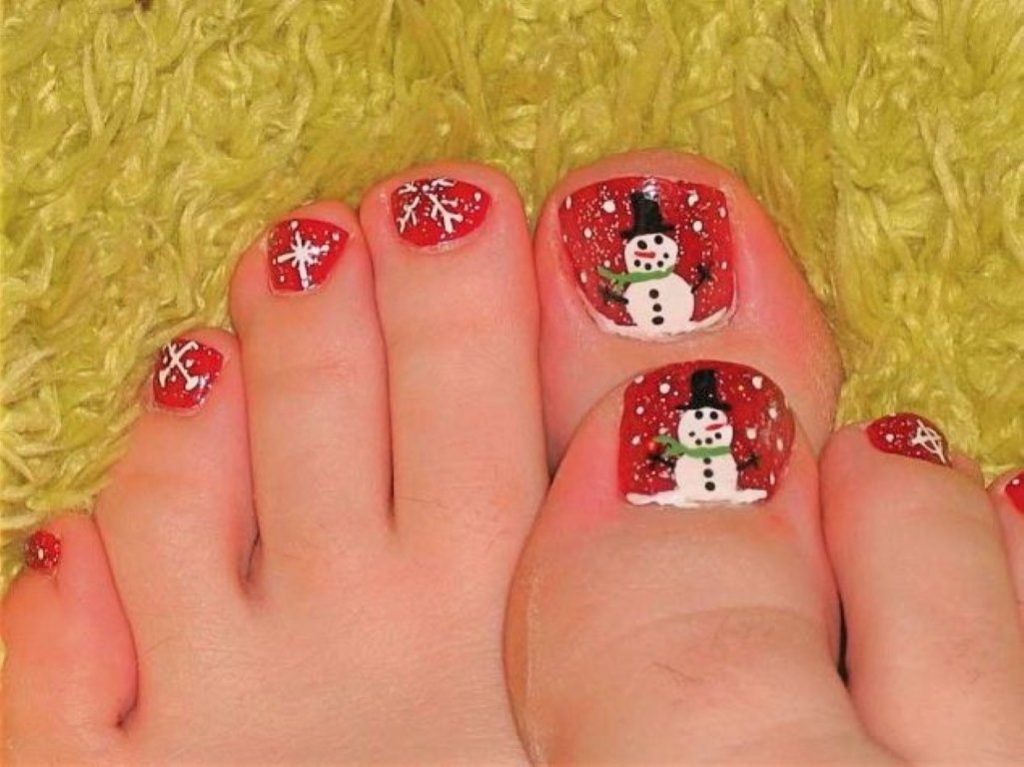
Snowmen are a classic symbol of winter, so why not have them on your toe nails? Begin by painting your nails with a base coat and a light blue or grey nail polish. Then, using a fine brush or a toothpick, create three small white circles on each nail for the snowman's body. Next, add two small black dots for the eyes and a small orange triangle for the nose. Finish off with a top coat for some adorable snowmen on your toes.9. Snowman Toe Nails


9. Snowman Toe Nails


For a glamorous and elegant winter toe nail design, go for a silver and gold look. Start by painting your nails with a base coat and then use a sponge to create a gradient effect with silver and gold nail polish. Next, use a fine brush or a toothpick to create thin lines or swirls on each nail with a contrasting color. Finish off with a top coat for a luxurious and festive touch on your toes.10. Elegant Silver and Gold Nails


10. Elegant Silver and Gold Nails

Easy Winter Toe Nail Designs for a Festive Look
 Winter is a time for cozy sweaters, warm blankets, and hot cocoa. But just because we're bundled up doesn't mean we can't add a little festive touch to our appearance. One way to do that is through
winter toe nail designs
. These
easy
and
festive
designs will have your toes looking just as
stylish
as your winter wardrobe.
Winter is a time for cozy sweaters, warm blankets, and hot cocoa. But just because we're bundled up doesn't mean we can't add a little festive touch to our appearance. One way to do that is through
winter toe nail designs
. These
easy
and
festive
designs will have your toes looking just as
stylish
as your winter wardrobe.
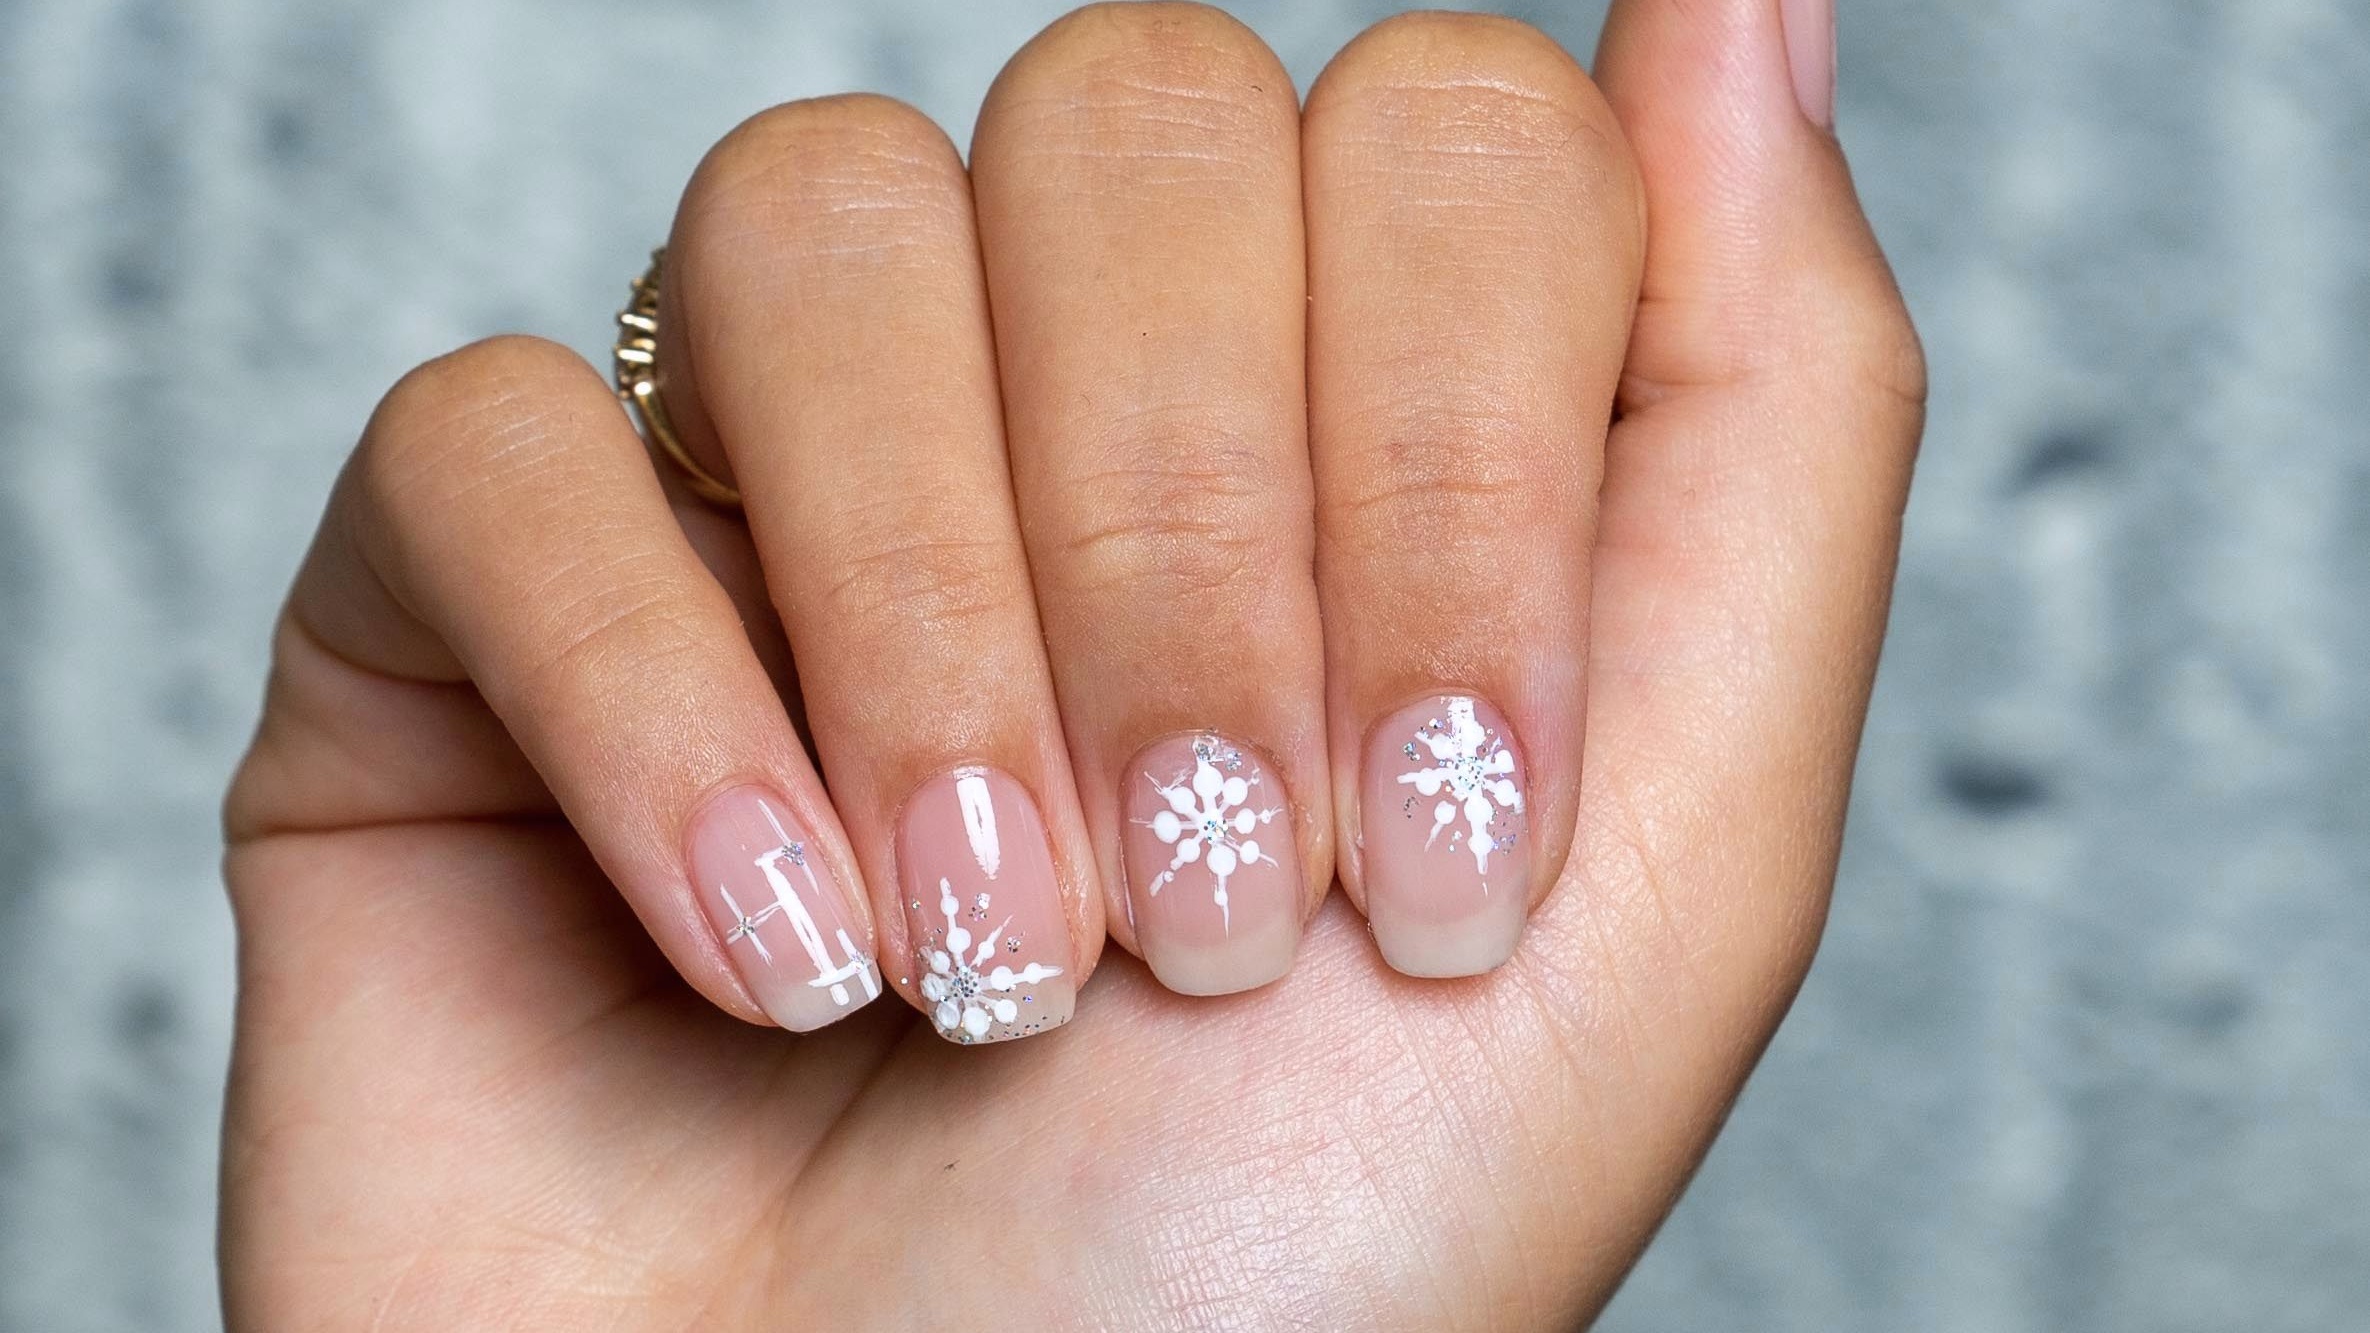
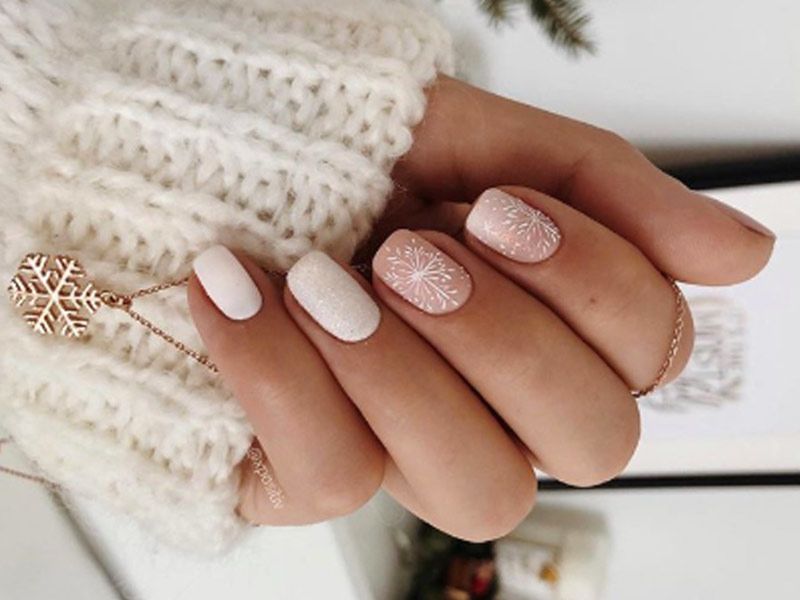
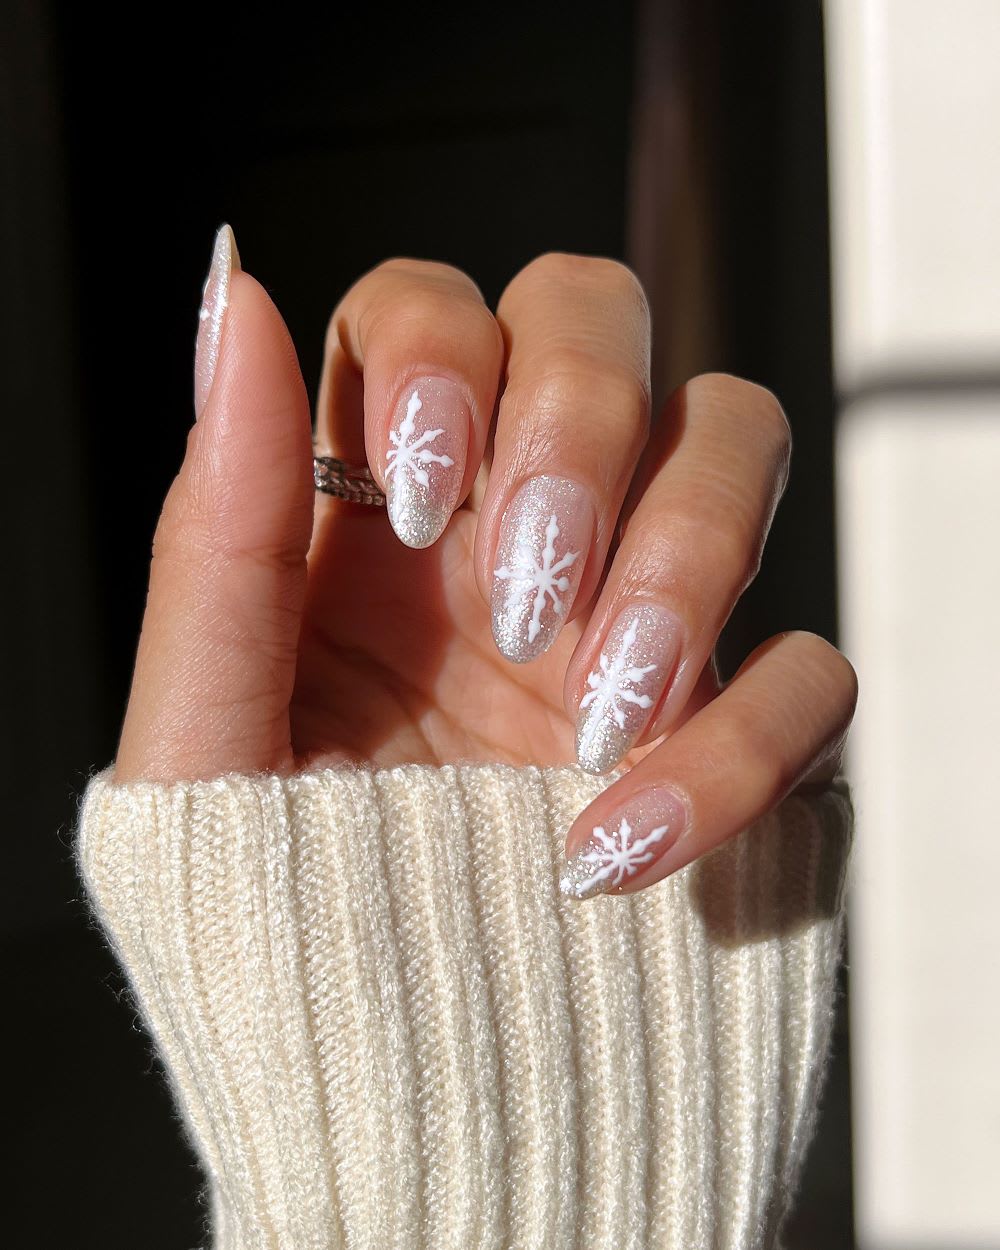
1. Snowflake Nails
 For a subtle yet elegant winter touch, try painting snowflakes on your toes. Start with a base coat of
pearl white
or
light blue
polish. Then, using a
nail art brush
or
toothpick
, create delicate snowflakes with
silver
or
white
nail polish. Top it off with a
clear top coat
for a shiny finish.
For a subtle yet elegant winter touch, try painting snowflakes on your toes. Start with a base coat of
pearl white
or
light blue
polish. Then, using a
nail art brush
or
toothpick
, create delicate snowflakes with
silver
or
white
nail polish. Top it off with a
clear top coat
for a shiny finish.
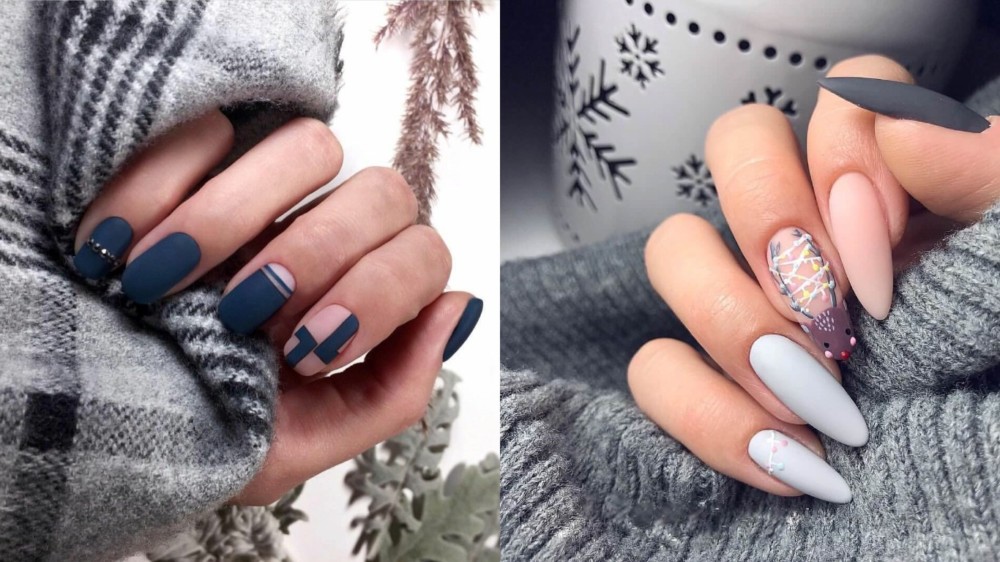
2. Plaid Nails
 Nothing says winter like a cozy plaid pattern. To achieve this look on your toes, start with a base coat of
red
,
green
, or
blue
polish. Then, use a
nail art brush
or
striping tape
to create thin lines in
white
or
black
polish, forming a plaid pattern. Finish with a
clear top coat
to seal in your design.
Nothing says winter like a cozy plaid pattern. To achieve this look on your toes, start with a base coat of
red
,
green
, or
blue
polish. Then, use a
nail art brush
or
striping tape
to create thin lines in
white
or
black
polish, forming a plaid pattern. Finish with a
clear top coat
to seal in your design.
3. Glitter Gradient Nails
 Add some sparkle to your winter look with a glitter gradient on your toes. Start with a base coat of
dark blue
or
purple
polish. Then, using a
sponge
, dab on some
silver
or
gold
glitter polish from the tips of your nails, fading it towards the base. Finish with a
clear top coat
for a dazzling finish.
Add some sparkle to your winter look with a glitter gradient on your toes. Start with a base coat of
dark blue
or
purple
polish. Then, using a
sponge
, dab on some
silver
or
gold
glitter polish from the tips of your nails, fading it towards the base. Finish with a
clear top coat
for a dazzling finish.
4. Holiday Lights Nails
 Get into the holiday spirit with this fun and colorful design. Start with a base coat of
white
polish. Then, use a
nail art brush
or
toothpick
to create a string of holiday lights with
red
,
green
,
blue
, and
yellow
polish. Finish with a
clear top coat
to make your lights shine.
Get into the holiday spirit with this fun and colorful design. Start with a base coat of
white
polish. Then, use a
nail art brush
or
toothpick
to create a string of holiday lights with
red
,
green
,
blue
, and
yellow
polish. Finish with a
clear top coat
to make your lights shine.
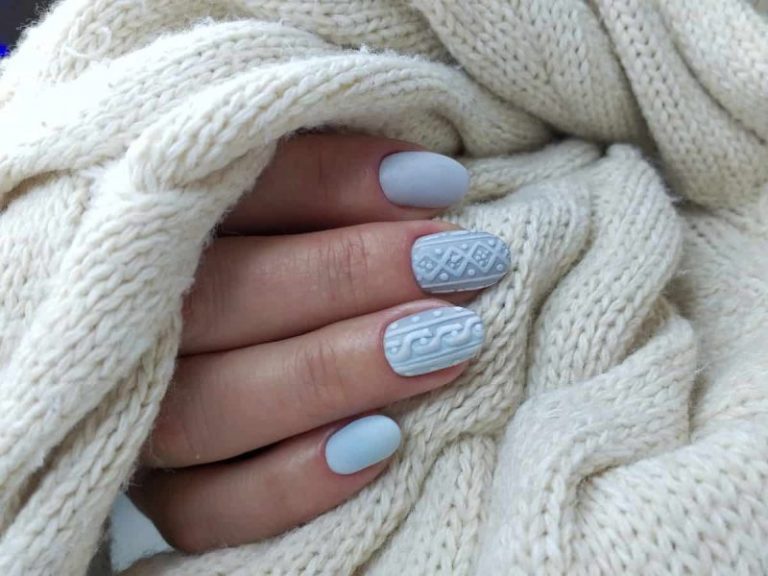
5. Sweater Nails
 Who says sweaters are just for your body? Bring the cozy knit pattern to your toes with this design. Start with a base coat of
light pink
,
gray
, or
cream
polish. Then, use a
nail art brush
or
toothpick
to draw on a cable knit pattern in
white
or
black
polish. Finish with a
matte top coat
for a cozy, sweater-like finish.
With these
easy winter toe nail designs
, your toes will be ready for any winter occasion. So grab your polish and get creative with these festive designs. Your toes will thank you.
Who says sweaters are just for your body? Bring the cozy knit pattern to your toes with this design. Start with a base coat of
light pink
,
gray
, or
cream
polish. Then, use a
nail art brush
or
toothpick
to draw on a cable knit pattern in
white
or
black
polish. Finish with a
matte top coat
for a cozy, sweater-like finish.
With these
easy winter toe nail designs
, your toes will be ready for any winter occasion. So grab your polish and get creative with these festive designs. Your toes will thank you.


